 zaphod
I did a previous project log on the case, and since then some things have changed.
Specifically I've done the following:
- redesigned the top cover now that I know how big the internals are
- designed some feet to allow airflow over the power supply
- put the FreeCAD files up on github: https://github.com/ZakSN/z_1_rtc_mech
- printed all of the parts
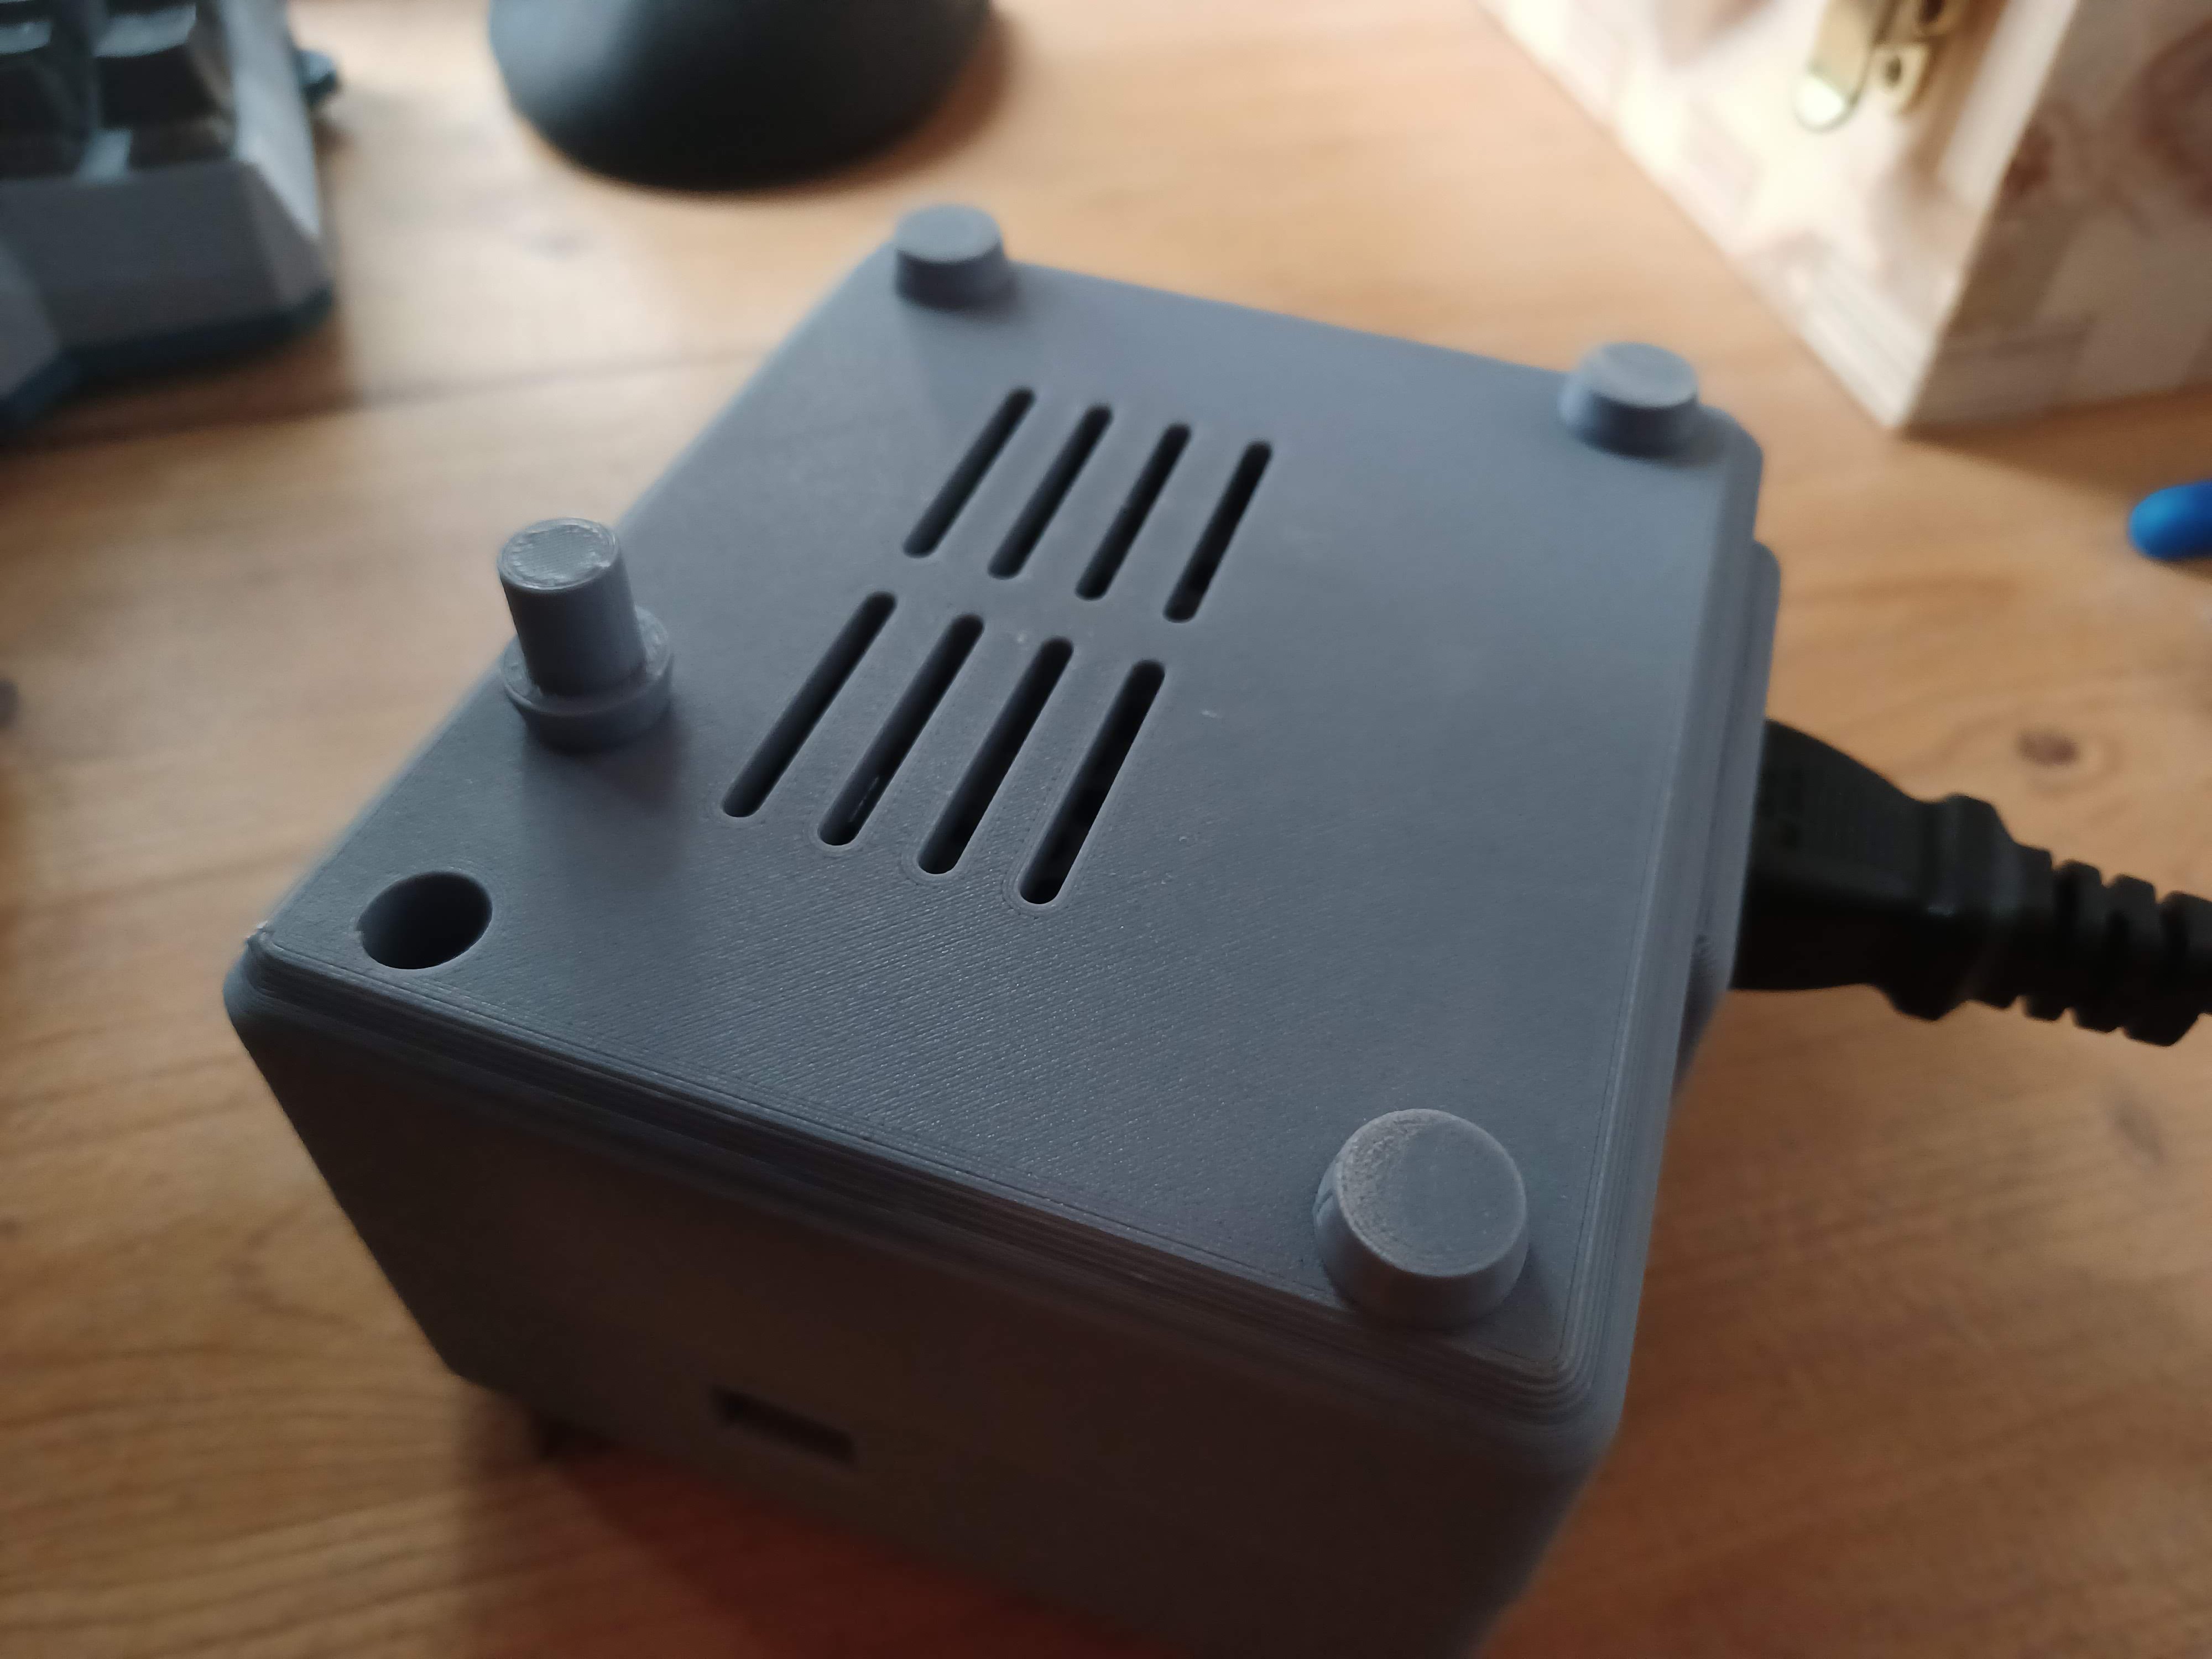
The Top Cover
I made two major changes to the top cover, its now taller than I originally anticipated since the wiring boards and SMA cables add some height, and the USB plug hole was redesigned to fit around the SMA cable.
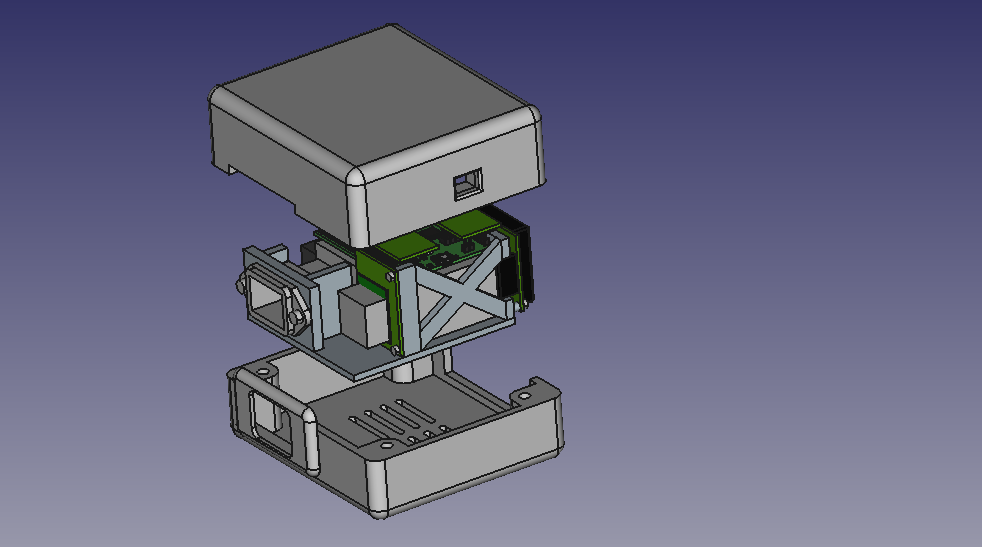
here's the old exploded view showing the USB plug hole:

and here's a new exploded view showing the modified USB plug hole, and slightly different aspect ratio:
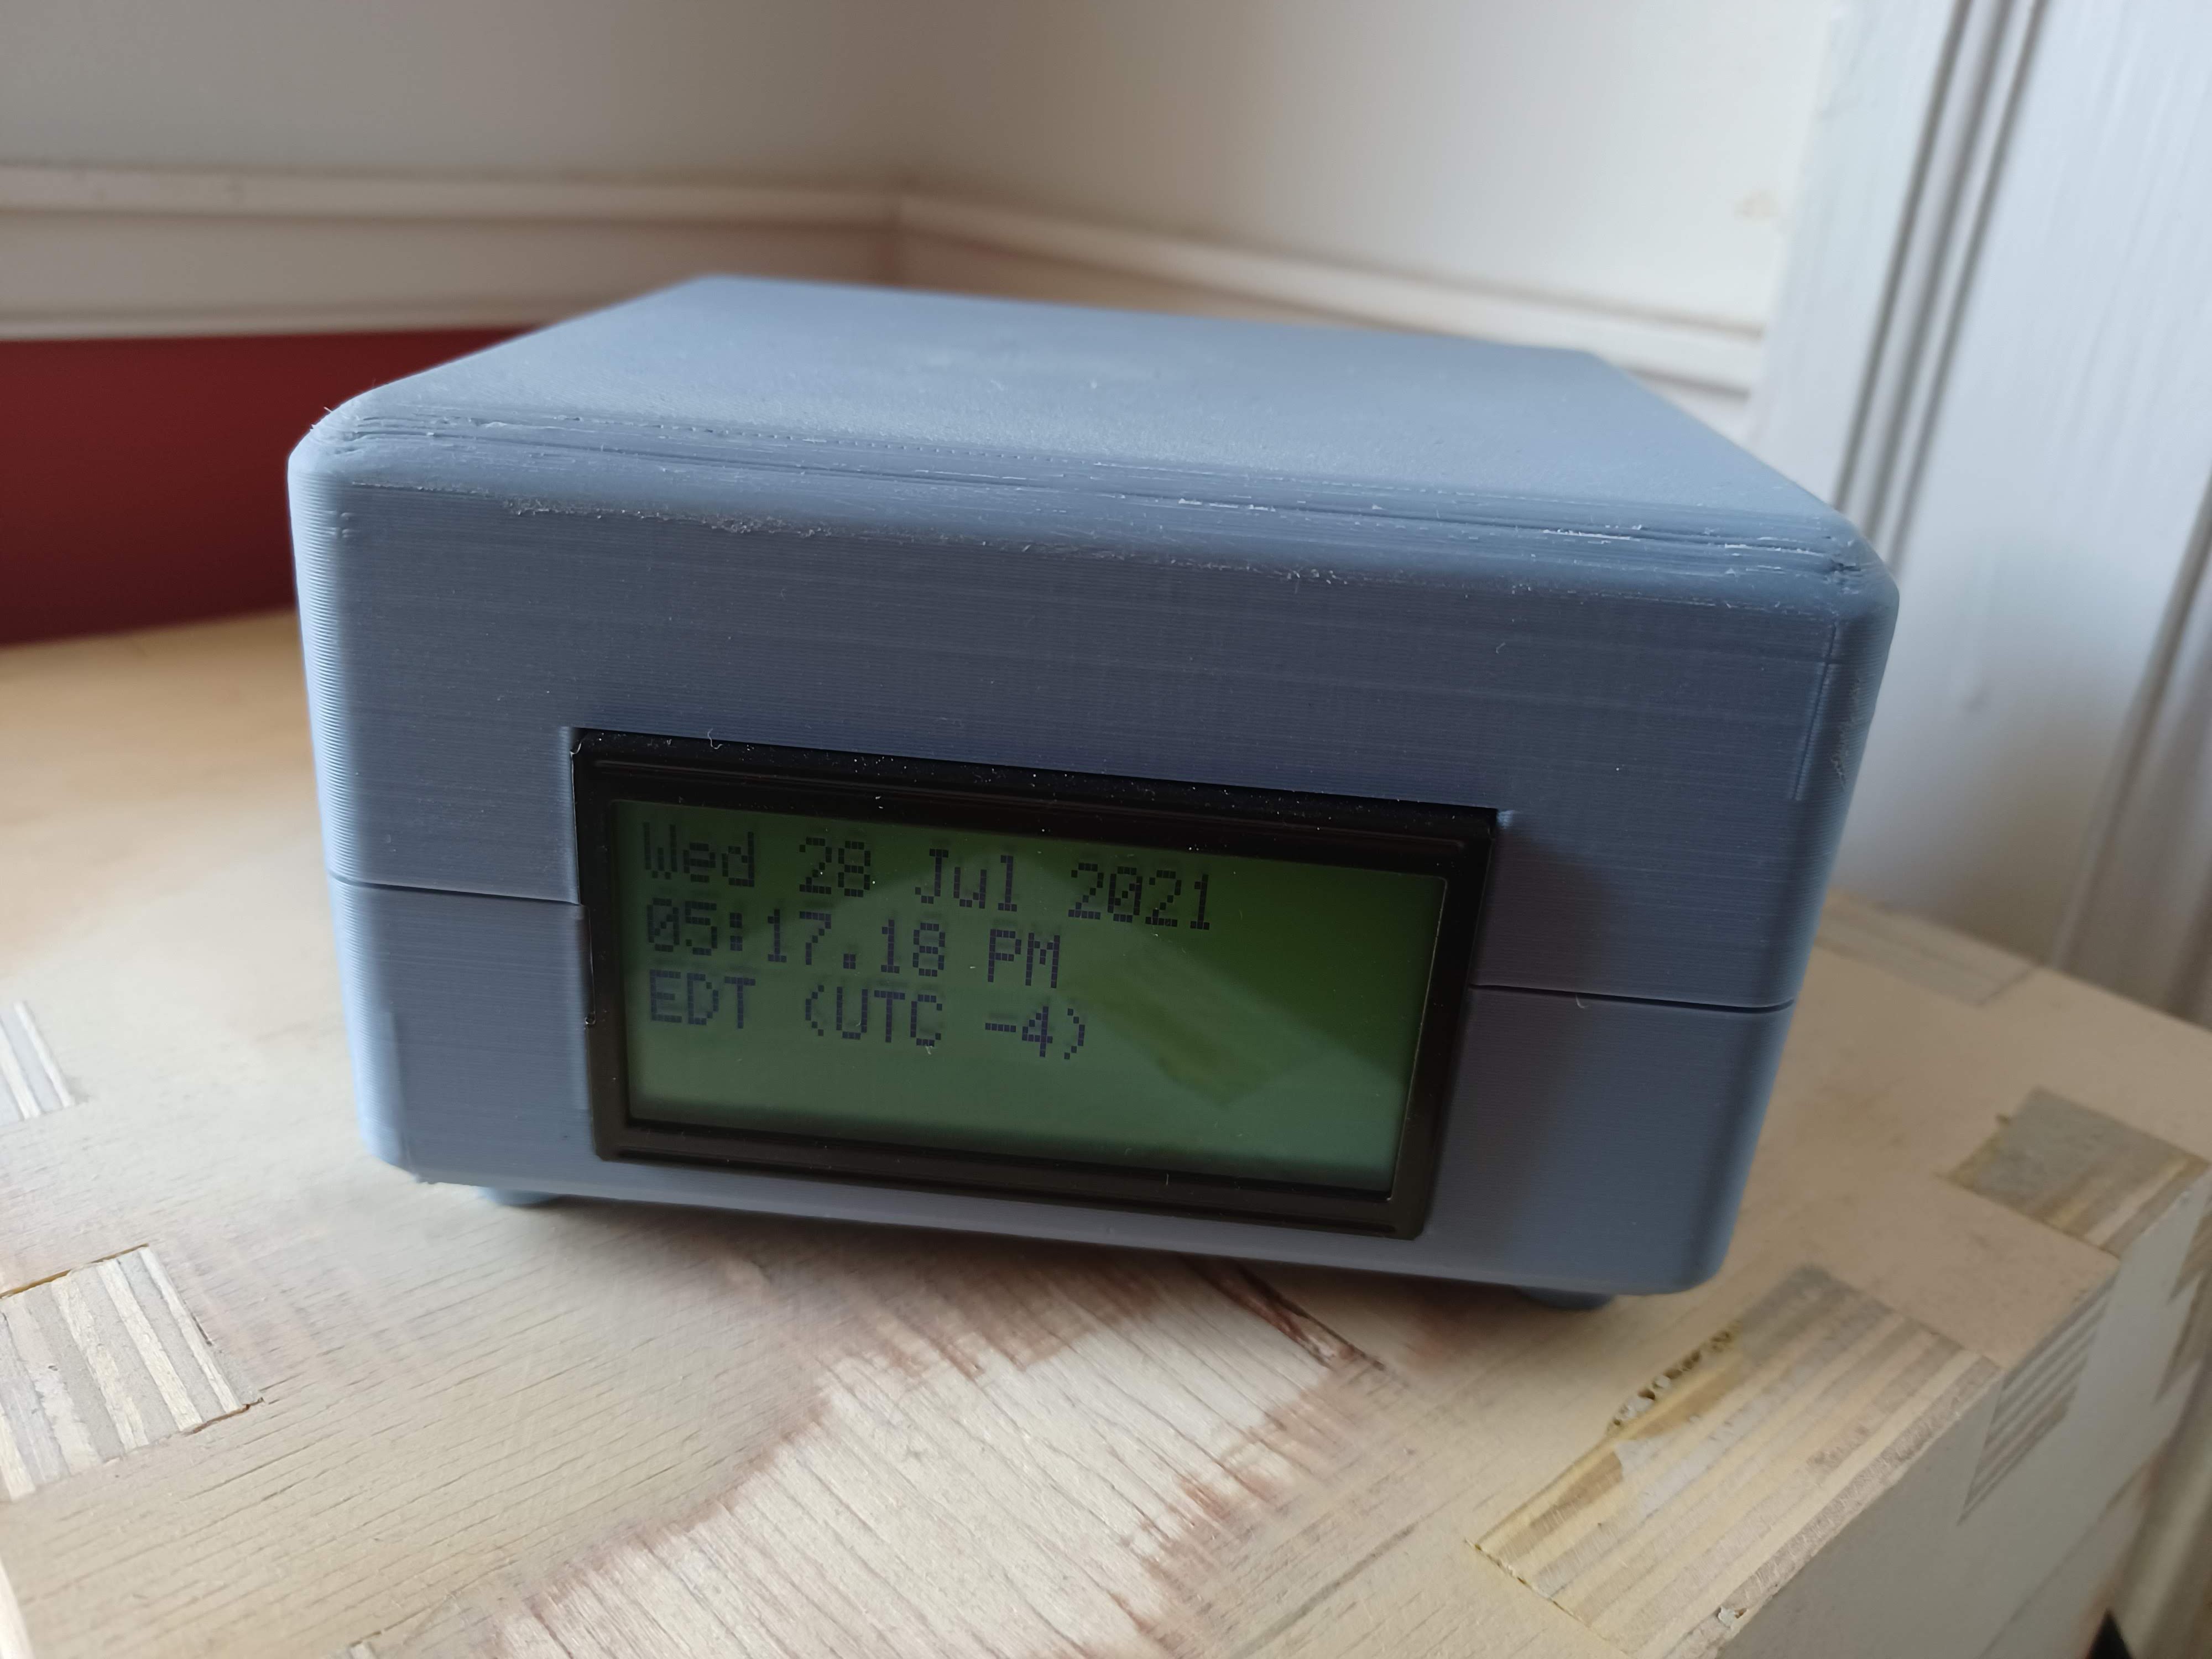
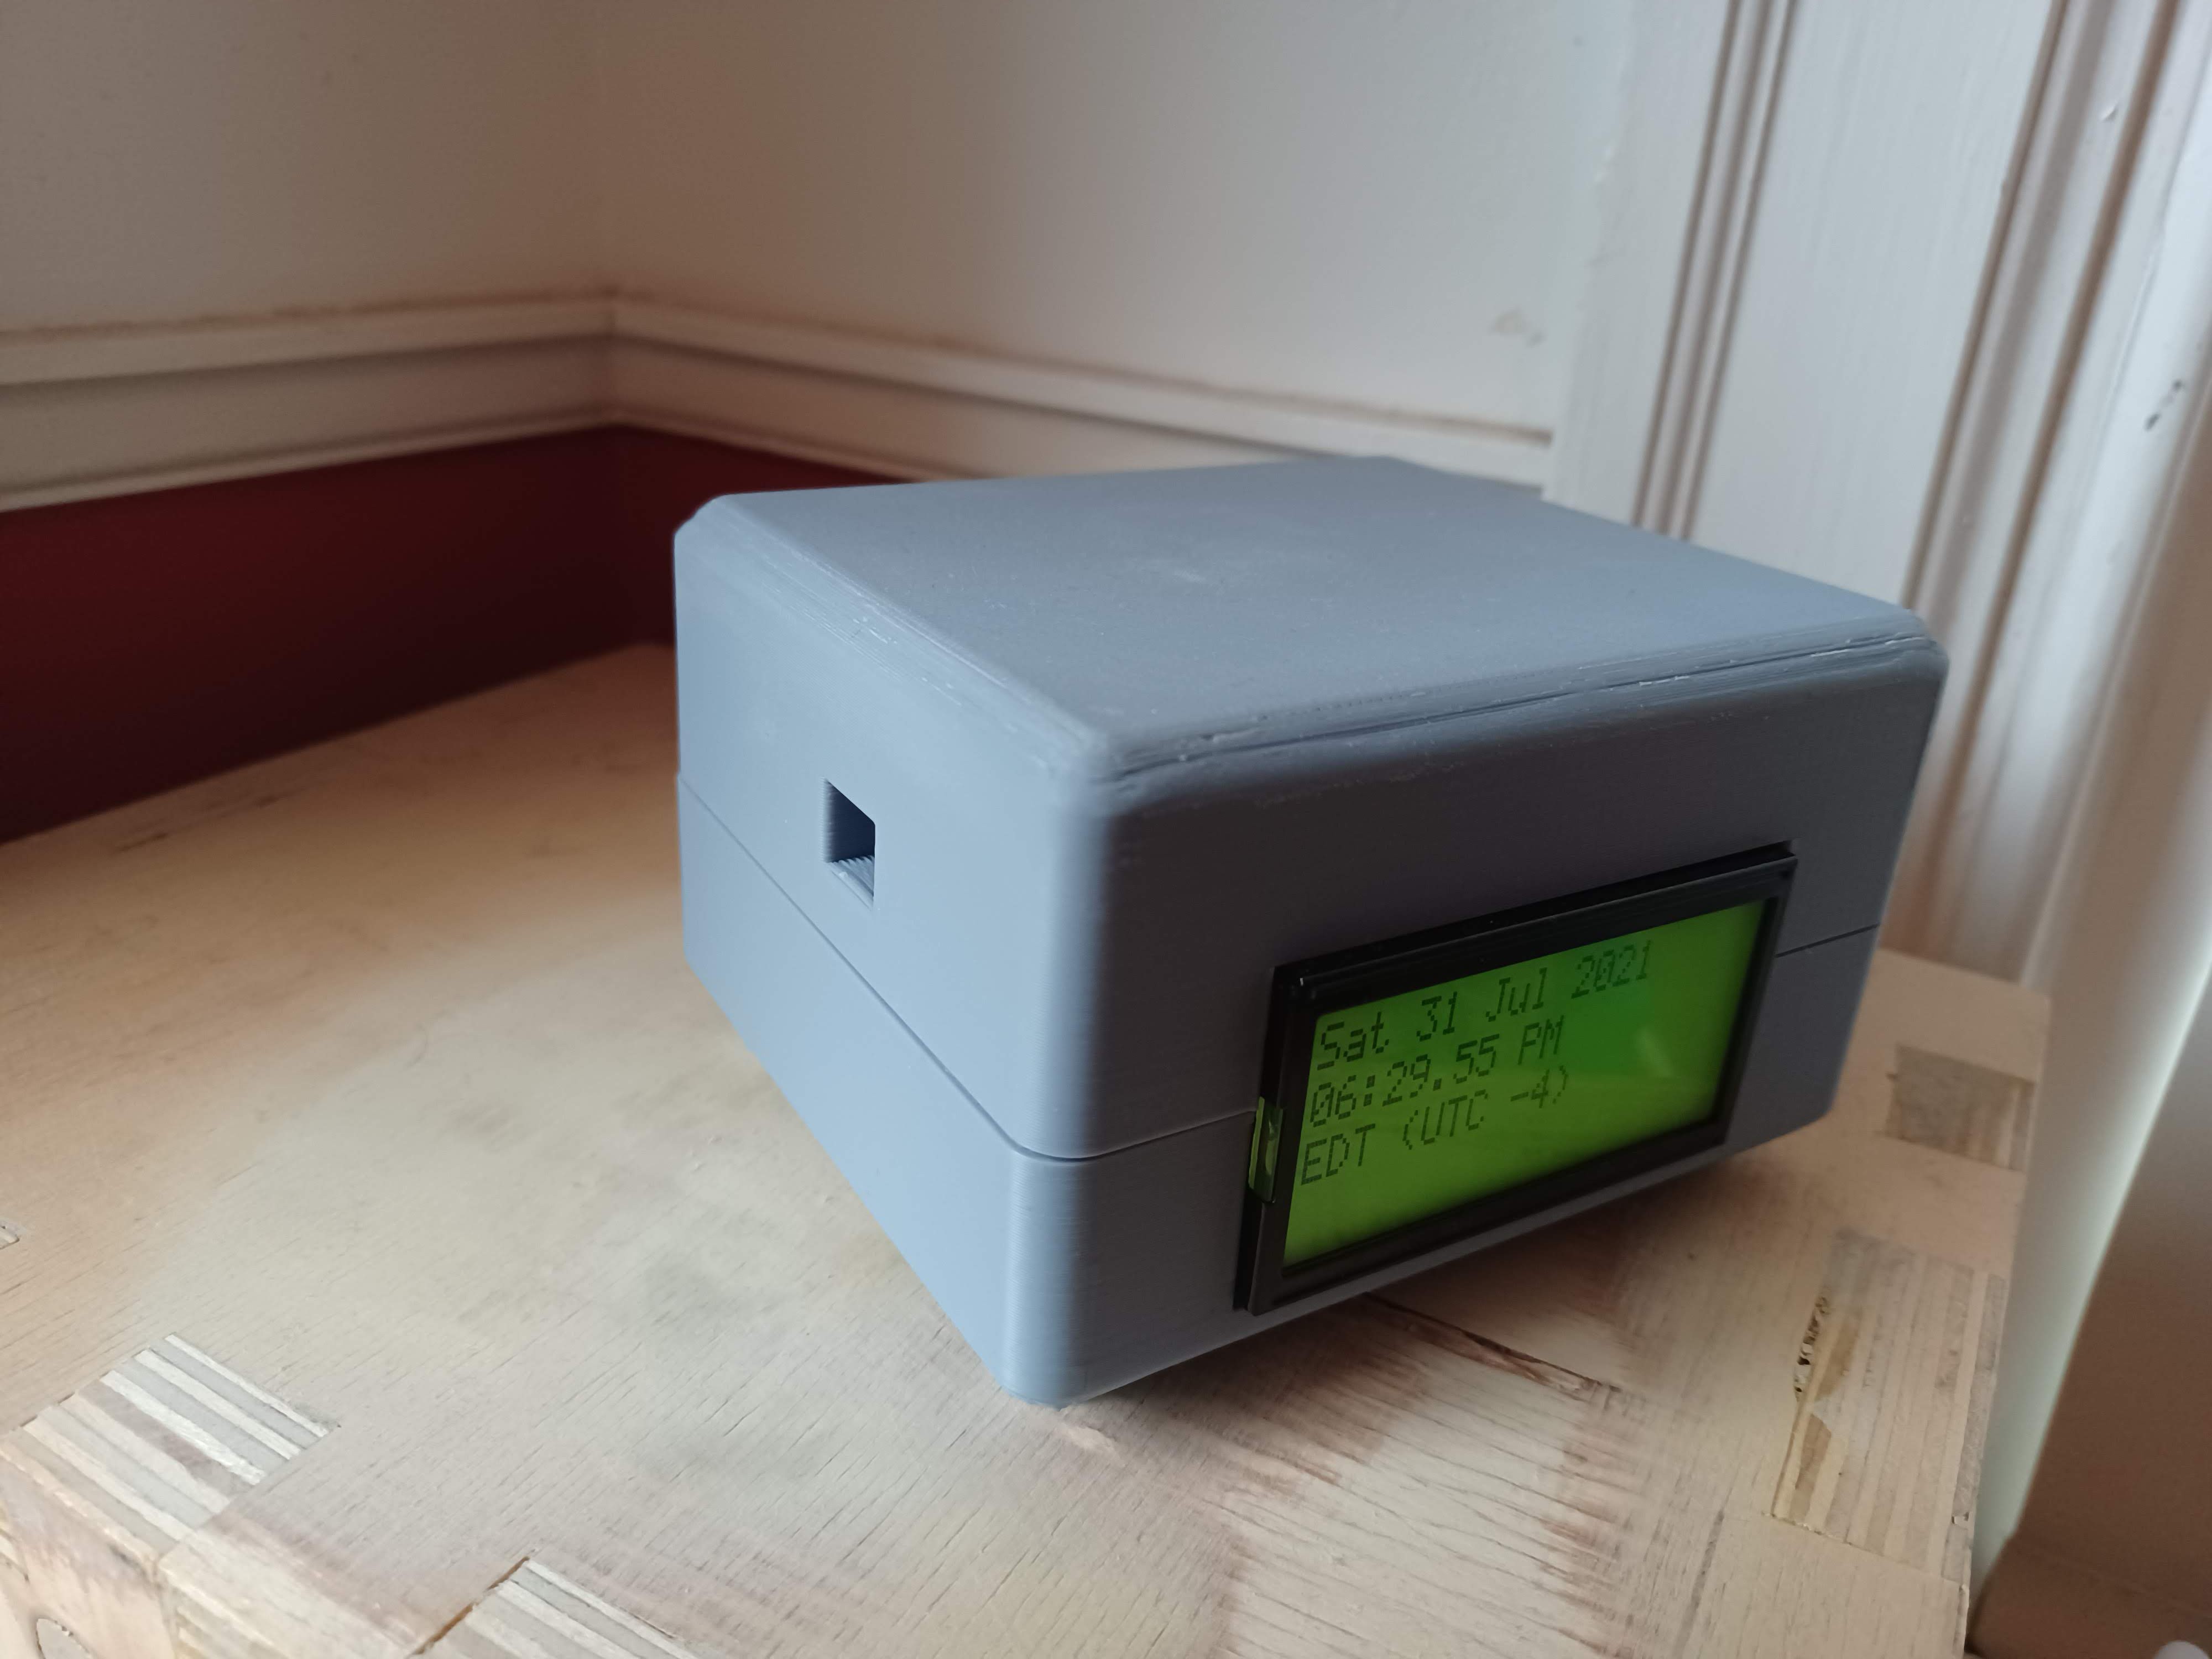
finally here's a few shots of the real case in situ:
and one of the case removed from the clock so that you can see the inside:
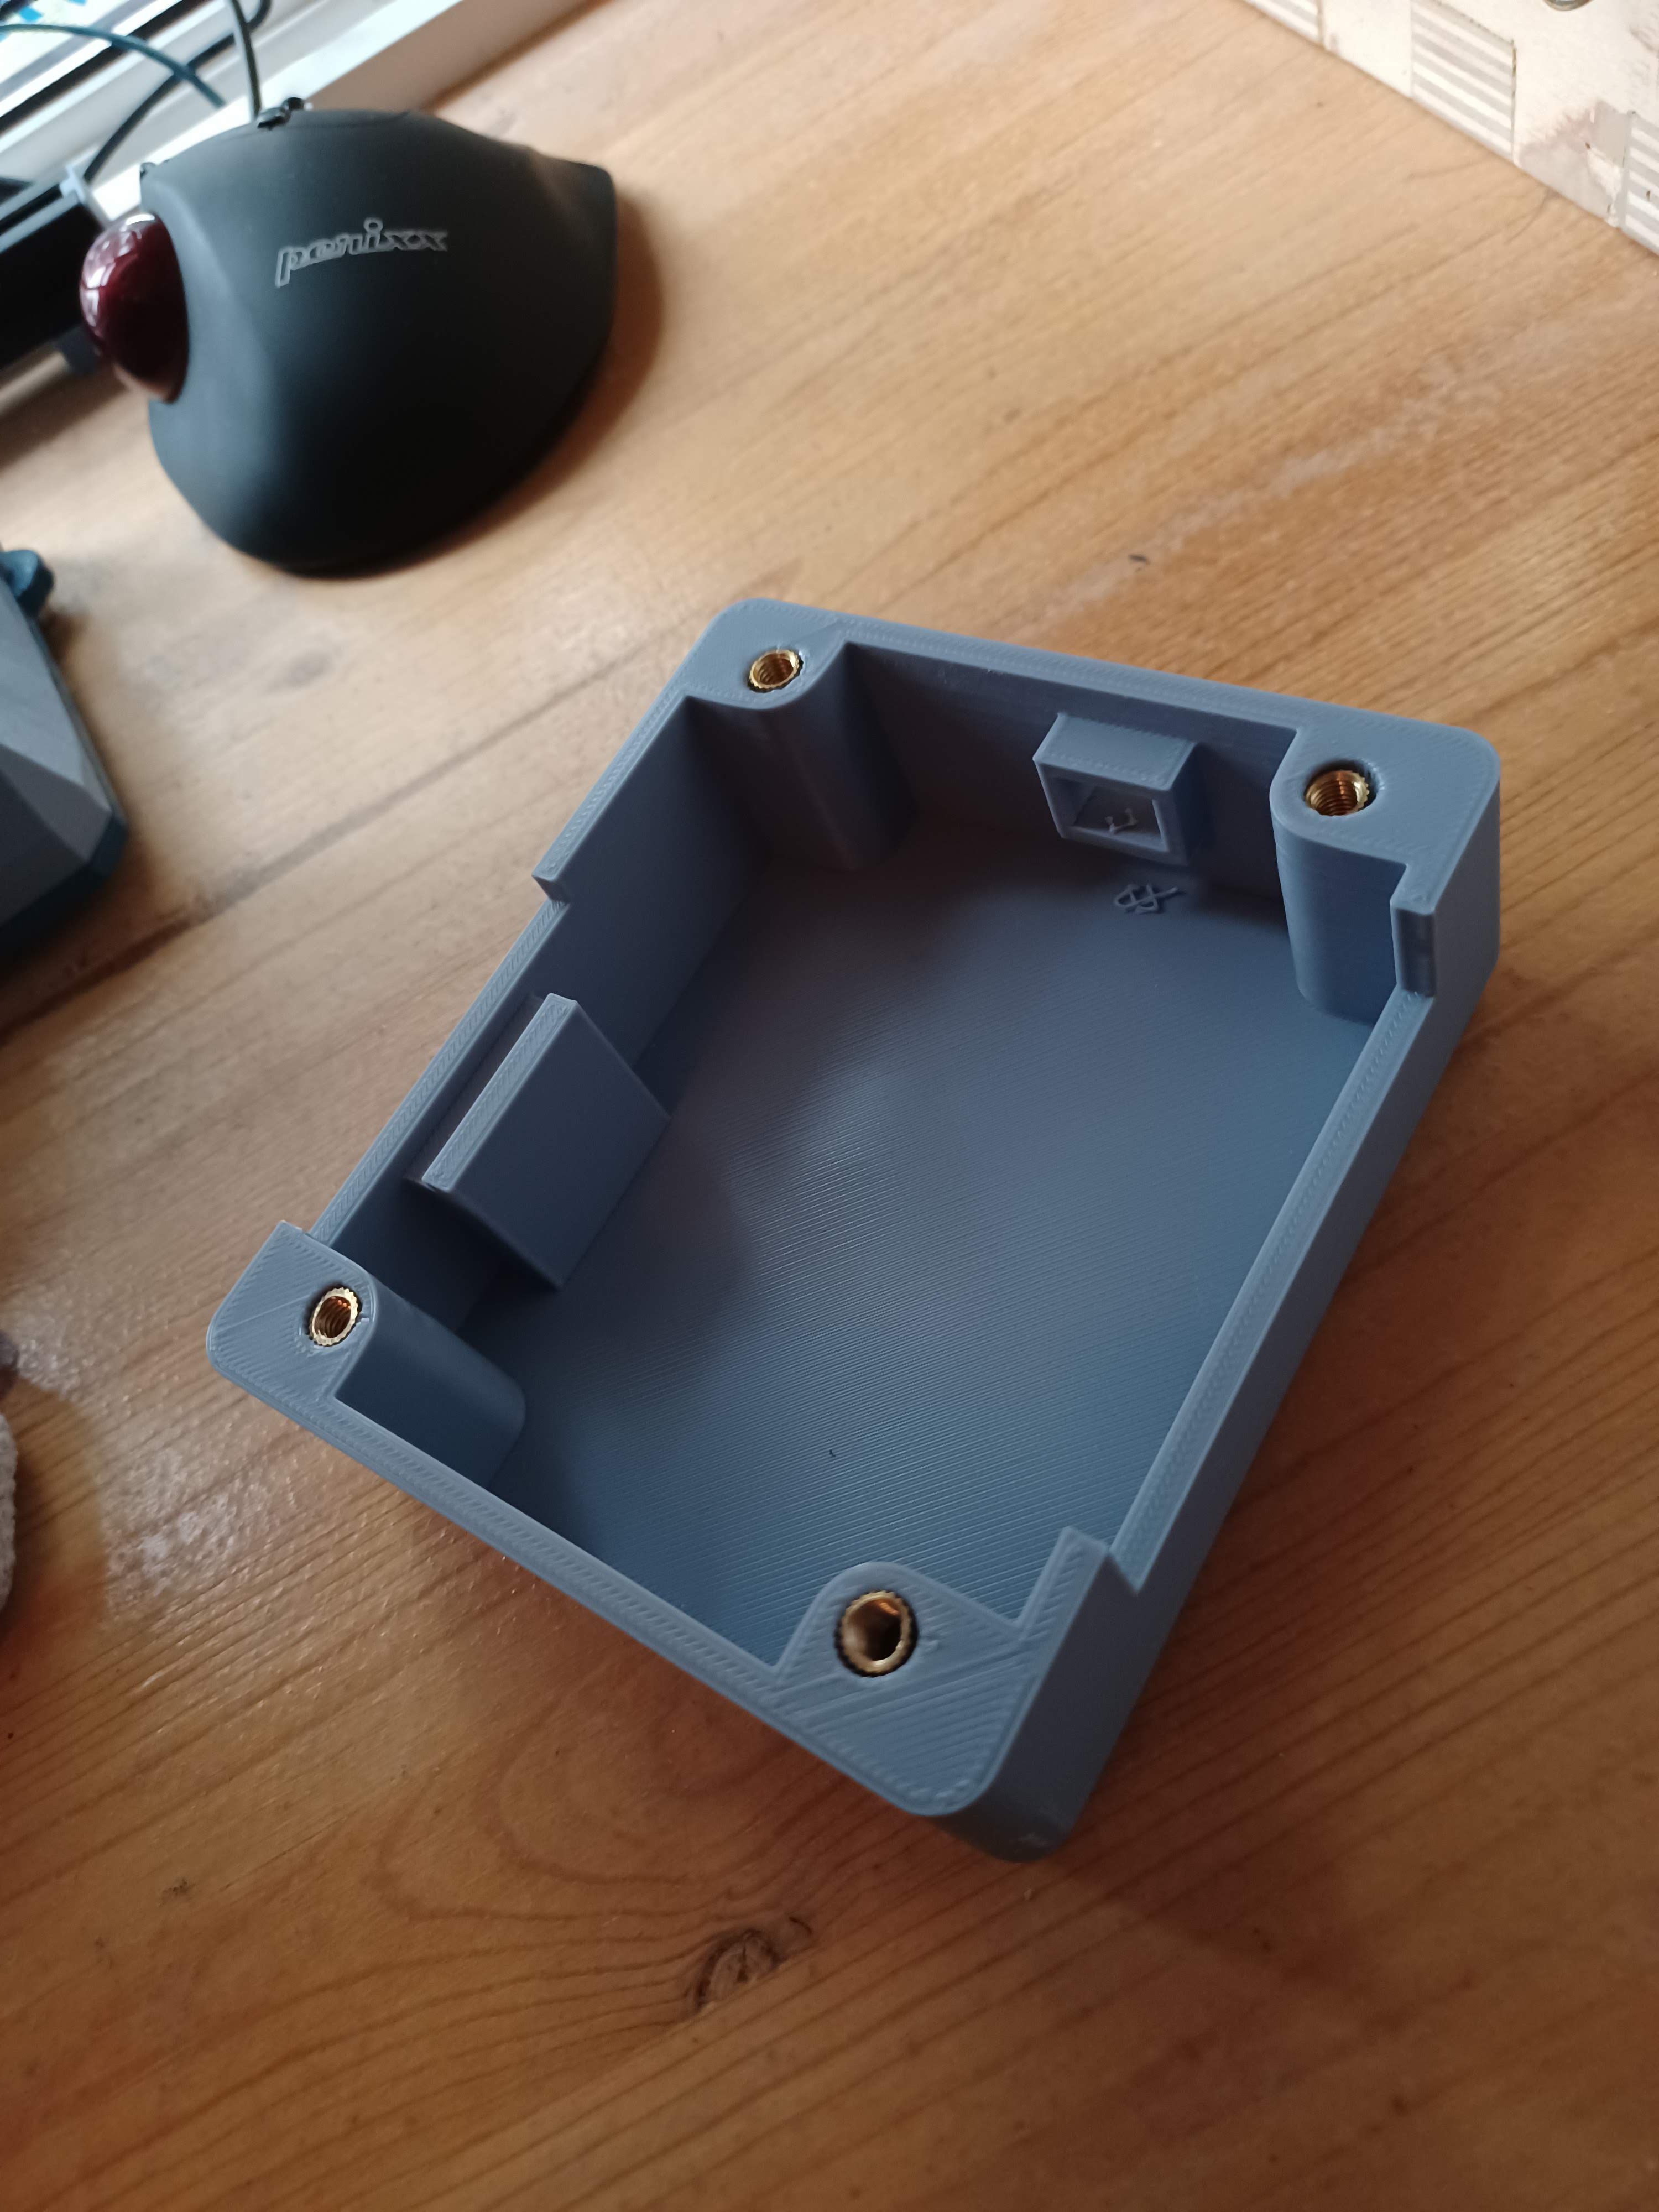
Note the lug at the back of the case. This is to help retain the midframe near the AC power jack so that nothing bends when you plug/unplug the cable, this feature actually works pretty well.
The threaded inserts and USB plug hole weren't as much of a success. The threaded inserts work ok, but its hard to make them go in square, and as I set them in with my soldering iron they sort of filled up with plastic, hopefully they'll be more durable than just threading into the plastic.
The USB plug hole is a major annoyance, since it's two small and far away from the USB jack on the board and is therefore pretty hard to get a cable to plug in properly. I knew this would be a problem, which is why I originally designed a bigger recess (see image above), but there ended up just not being room for such a large recess once I had the SMA cable installed as well.
The Feet
The clock needed some little feet to raise it up off the surface it sits on so that there would be some airflow through the cooling grille on the bottom of the enclosure. The electronics don't get particularly hot, but I figured a little airflow probably couldn't hurt.
The feet are pretty simple and just friction fit into the bottom of the case (They pry out with a pocket knife for disassembly):
everything is printed with PLA+ on my Ender 3, with ~0.3mm layer height, 70C bed and 200C nozzle. I don't have gcode or STLs posted anywhere, so if you want the STLs for some reason you'll have to export them out of FreeCAD yourself: https://github.com/ZakSN/z_1_rtc_mech. I did this because I didn't want to maintain up to date STLs in a repo (probably there's a git build hook for this, but oh well).
Whew, that's it for build logs. Next I'll write up a conclusion, next steps post, and I'll try and add an index of these build logs for easier navigation.
Discussions
Become a Hackaday.io Member
Create an account to leave a comment. Already have an account? Log In.