 Fabian
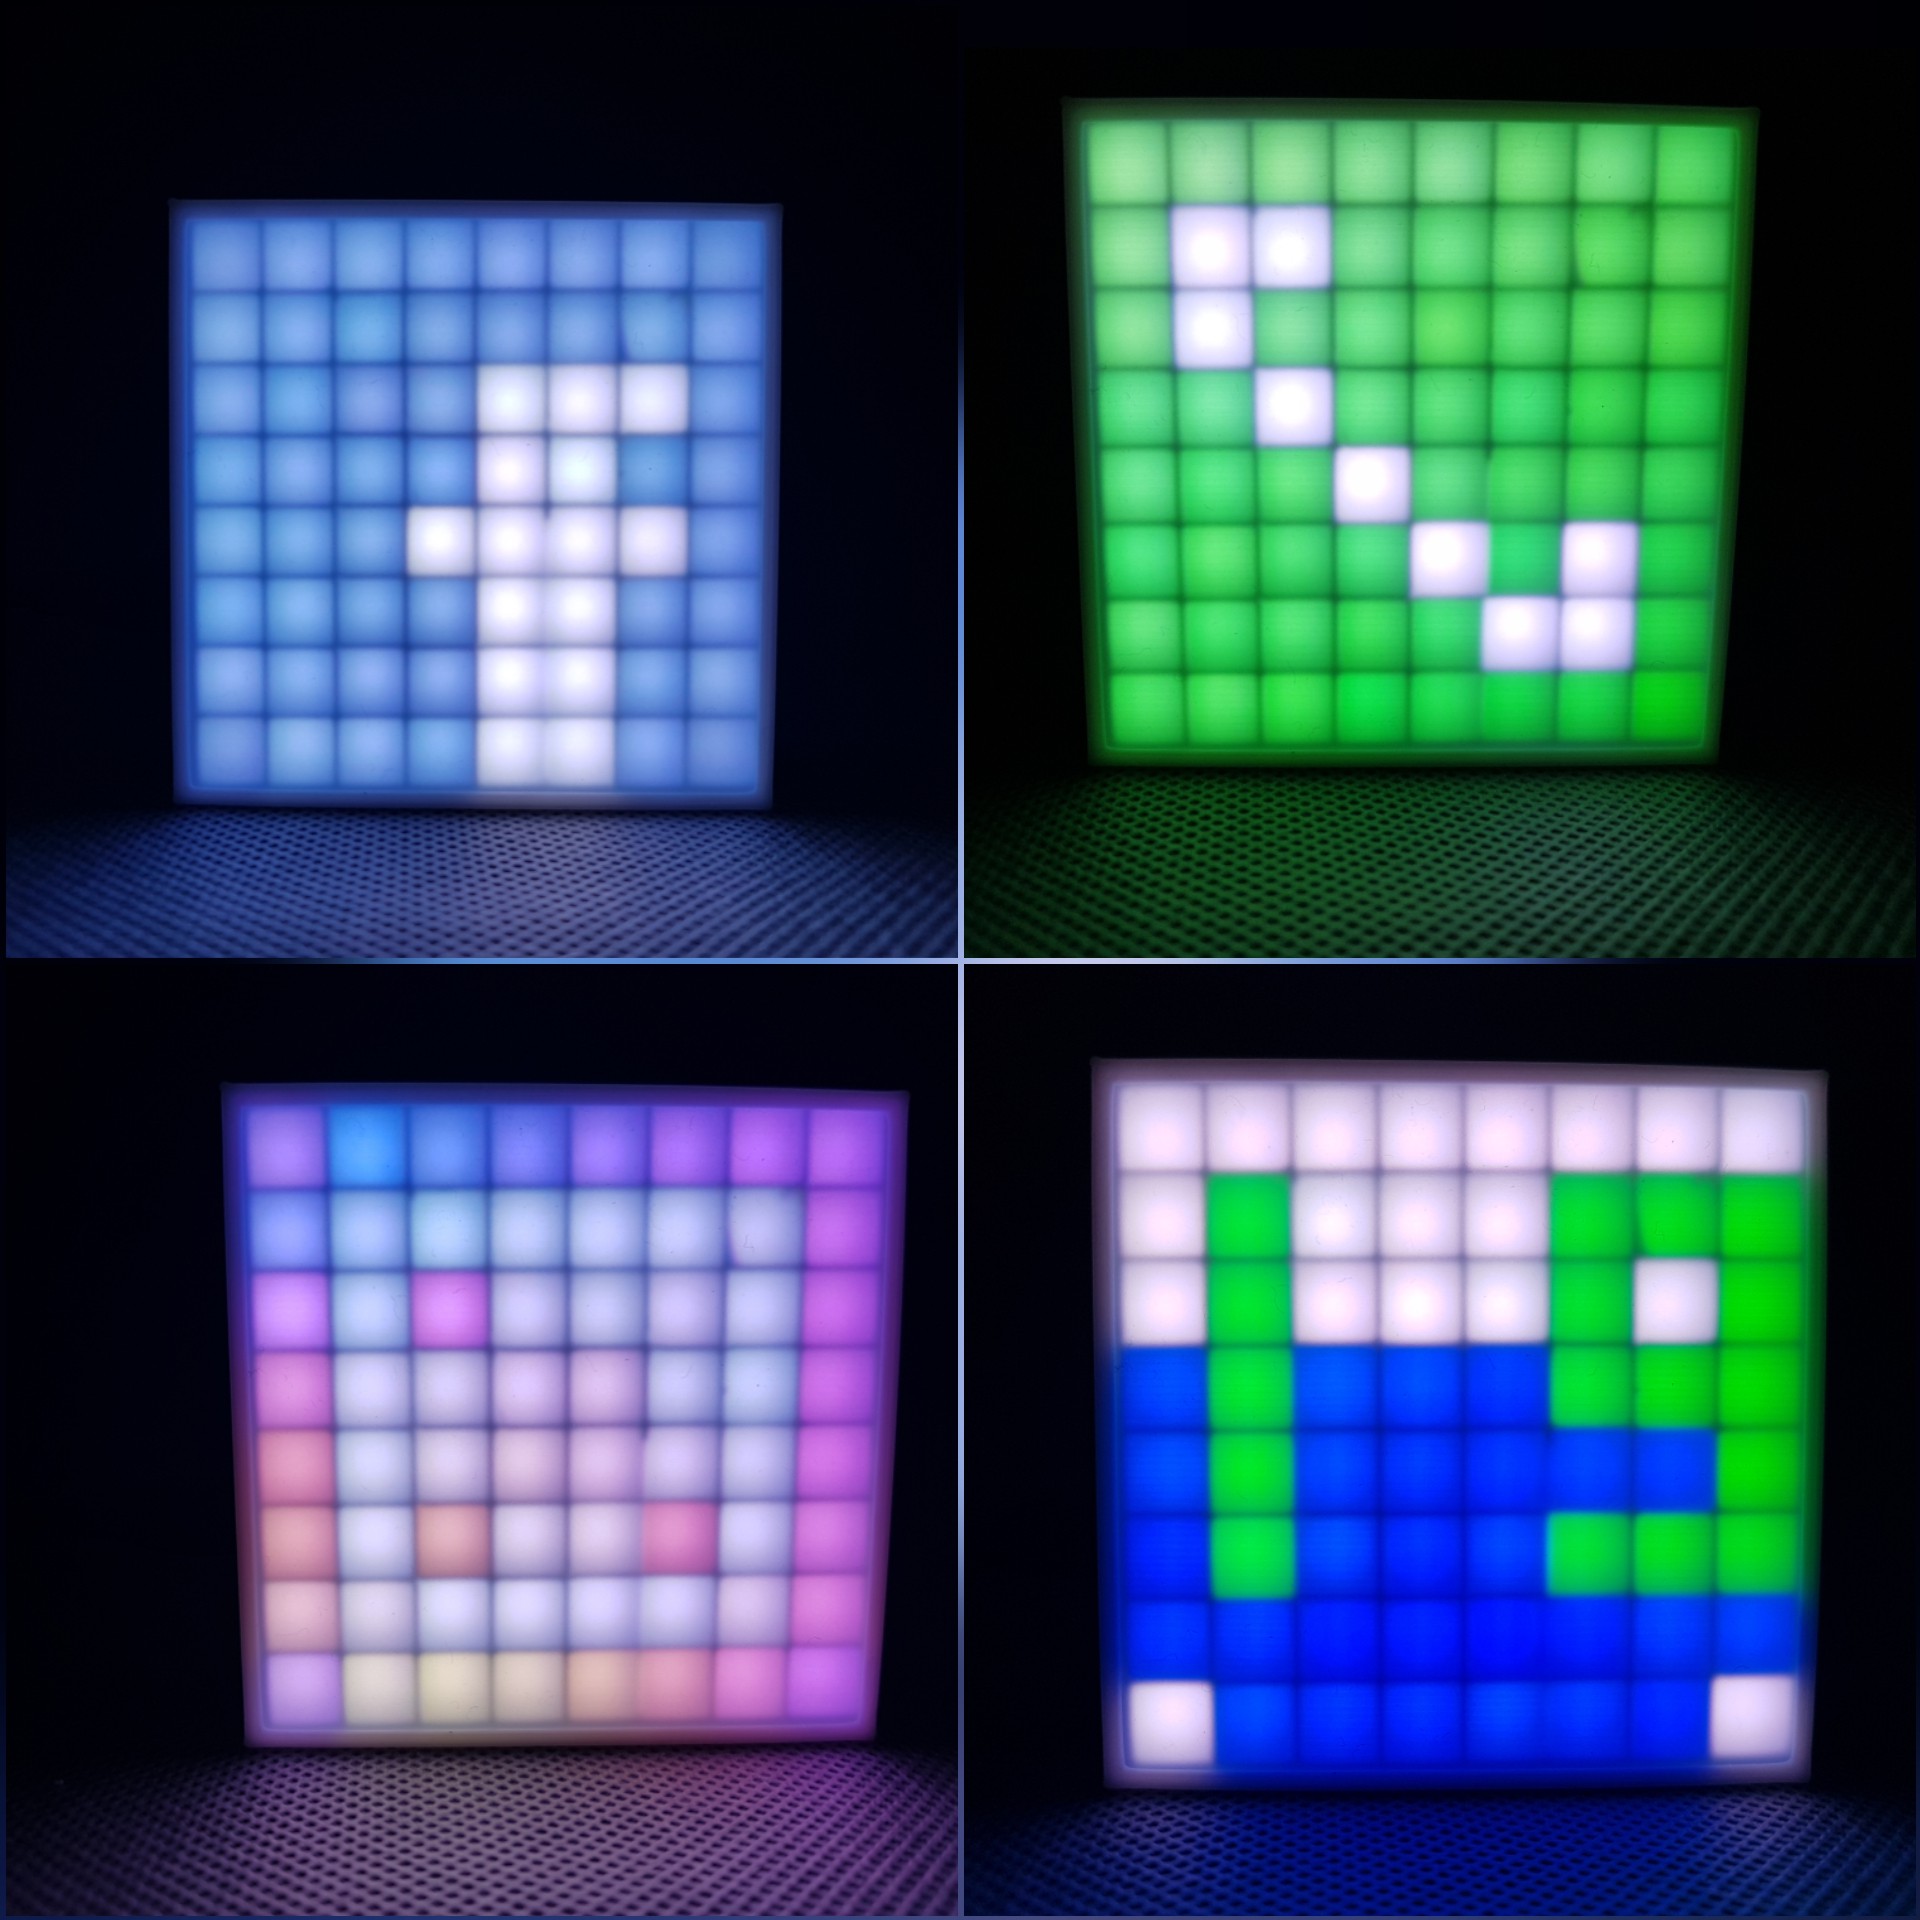
pxlBlck is a basis for a smartHome indication system. Several software and Hardware options are available. Thanks to the ESPEasy interface the devices can be automated wihtout the need of external automation-software. In combination with external automation-software (e.g. NodeRed, MQTT server) it is also possible to display several notifications like doorbell, social media notifications (e.g whatsapp, facebook, ...), call notifications on mobile and landline, etc.
Every pxlBlck can be eqipped with several sensors. So it is also possible to measure different environment data, forward this data via wifi and/or react to this measured data.
Short overview:
- System for displaying notifications in the SmartHome
- Software is based on an ESPEasy plugin
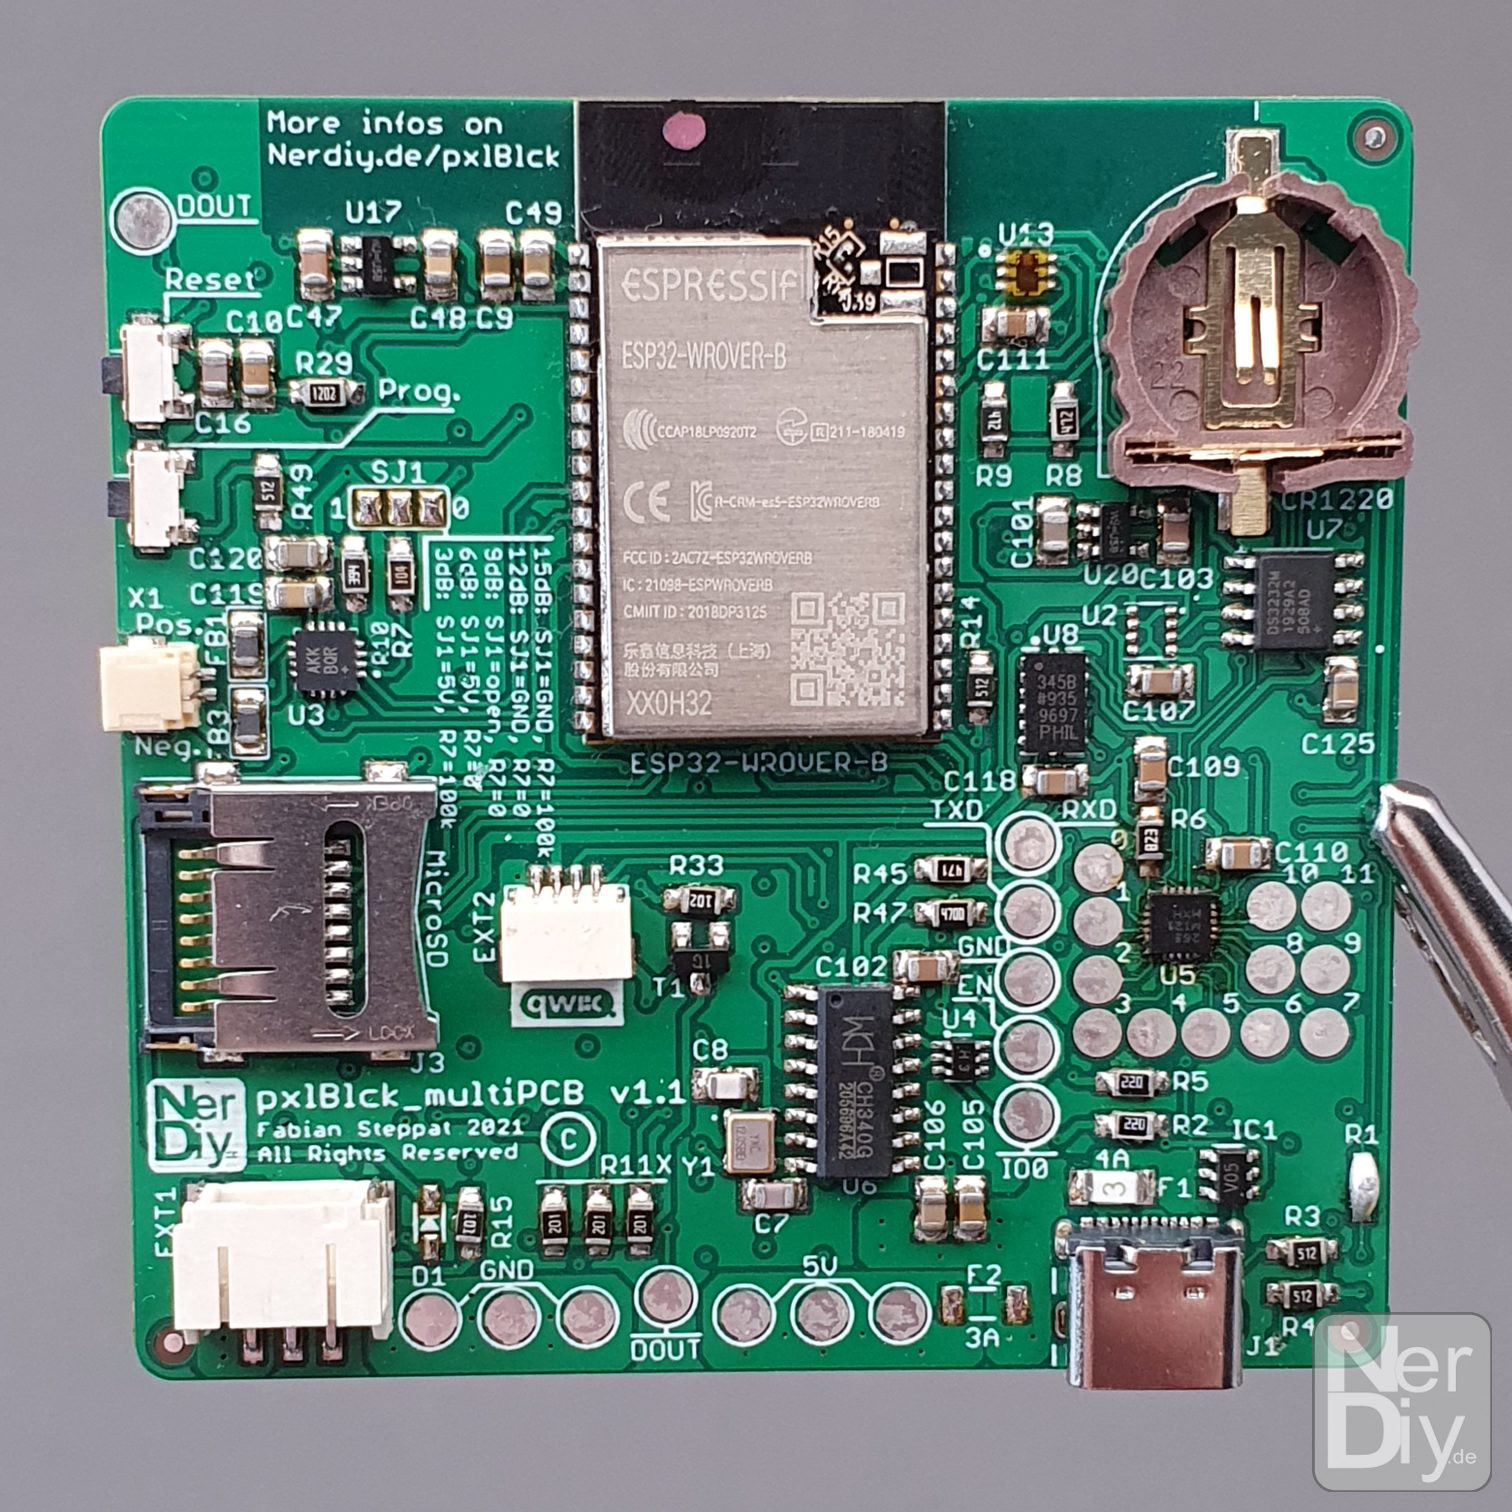
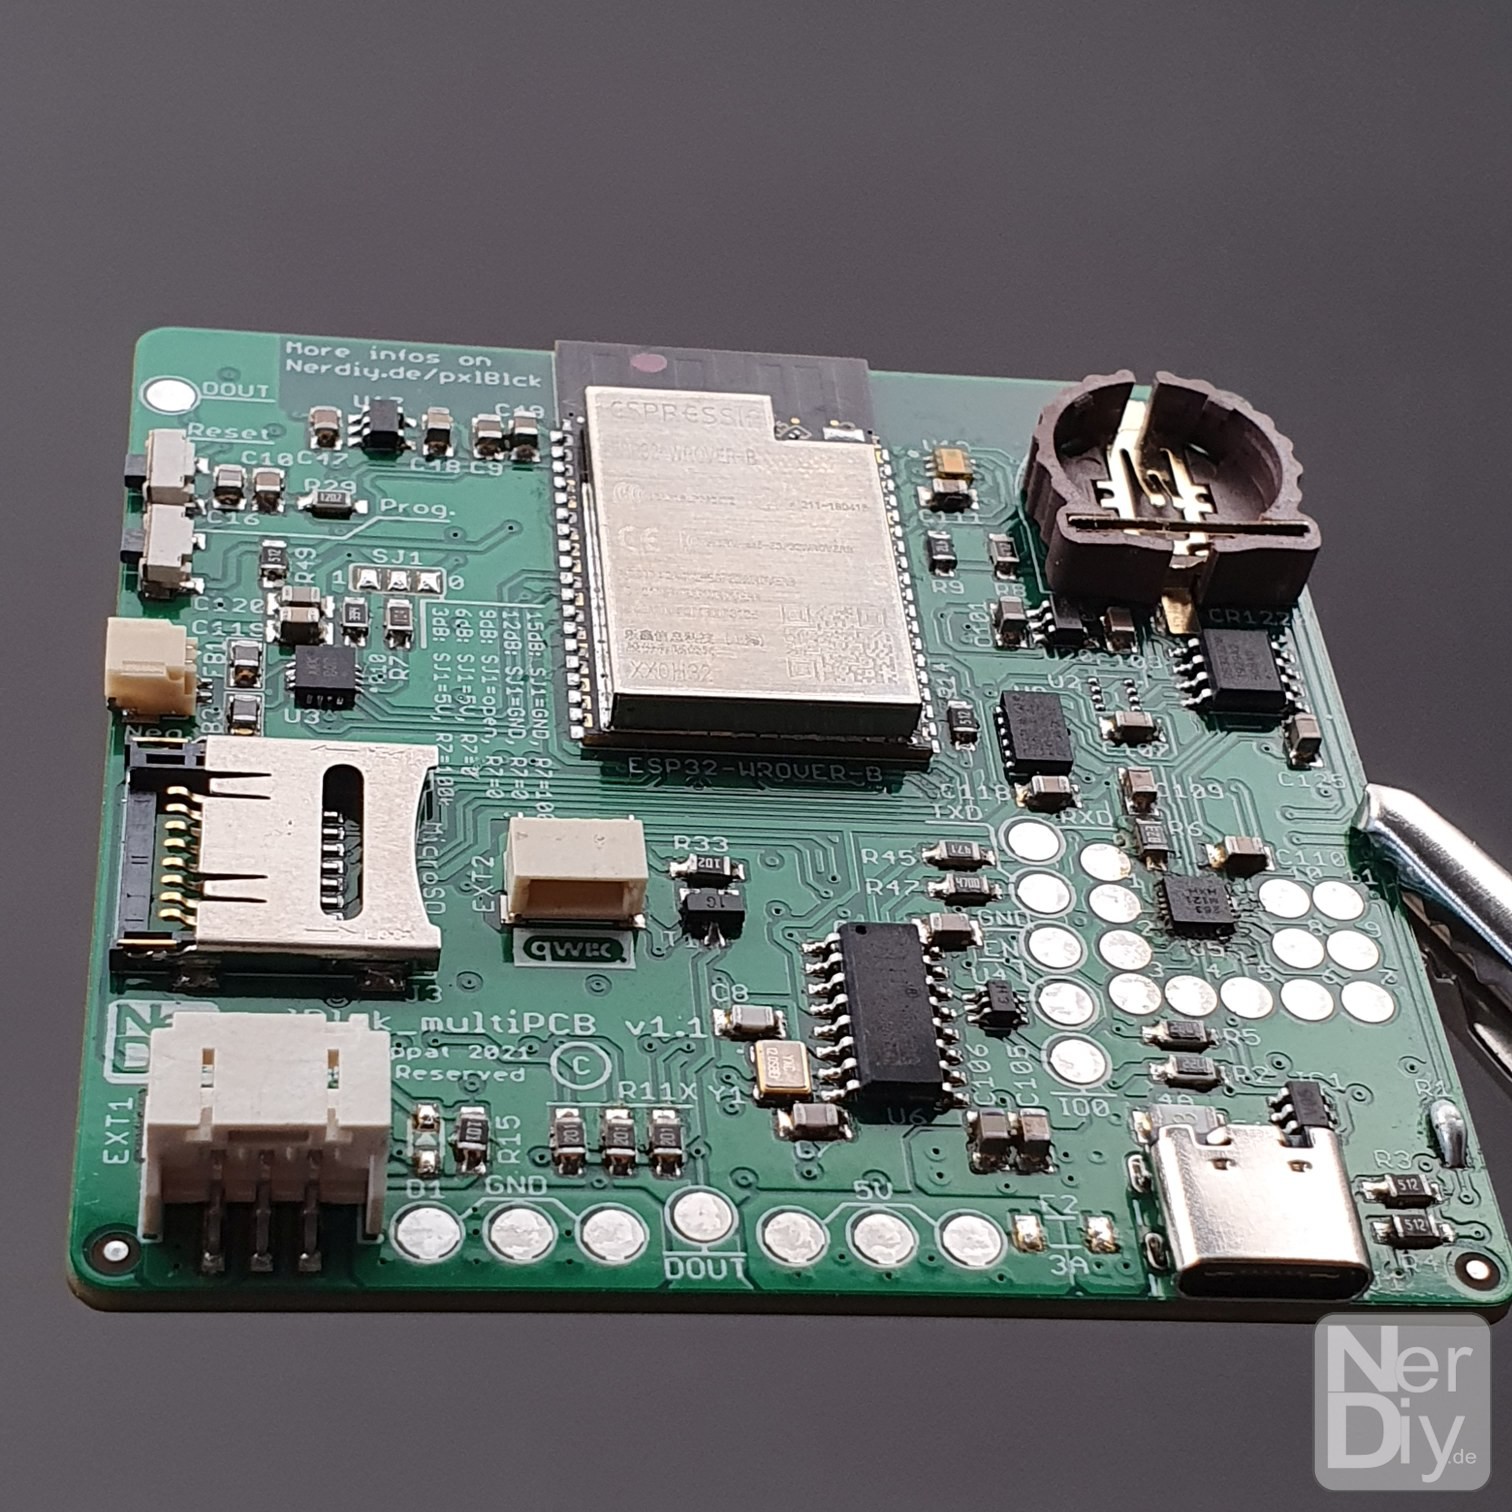
- Runs on an ESP8266 or ESP32
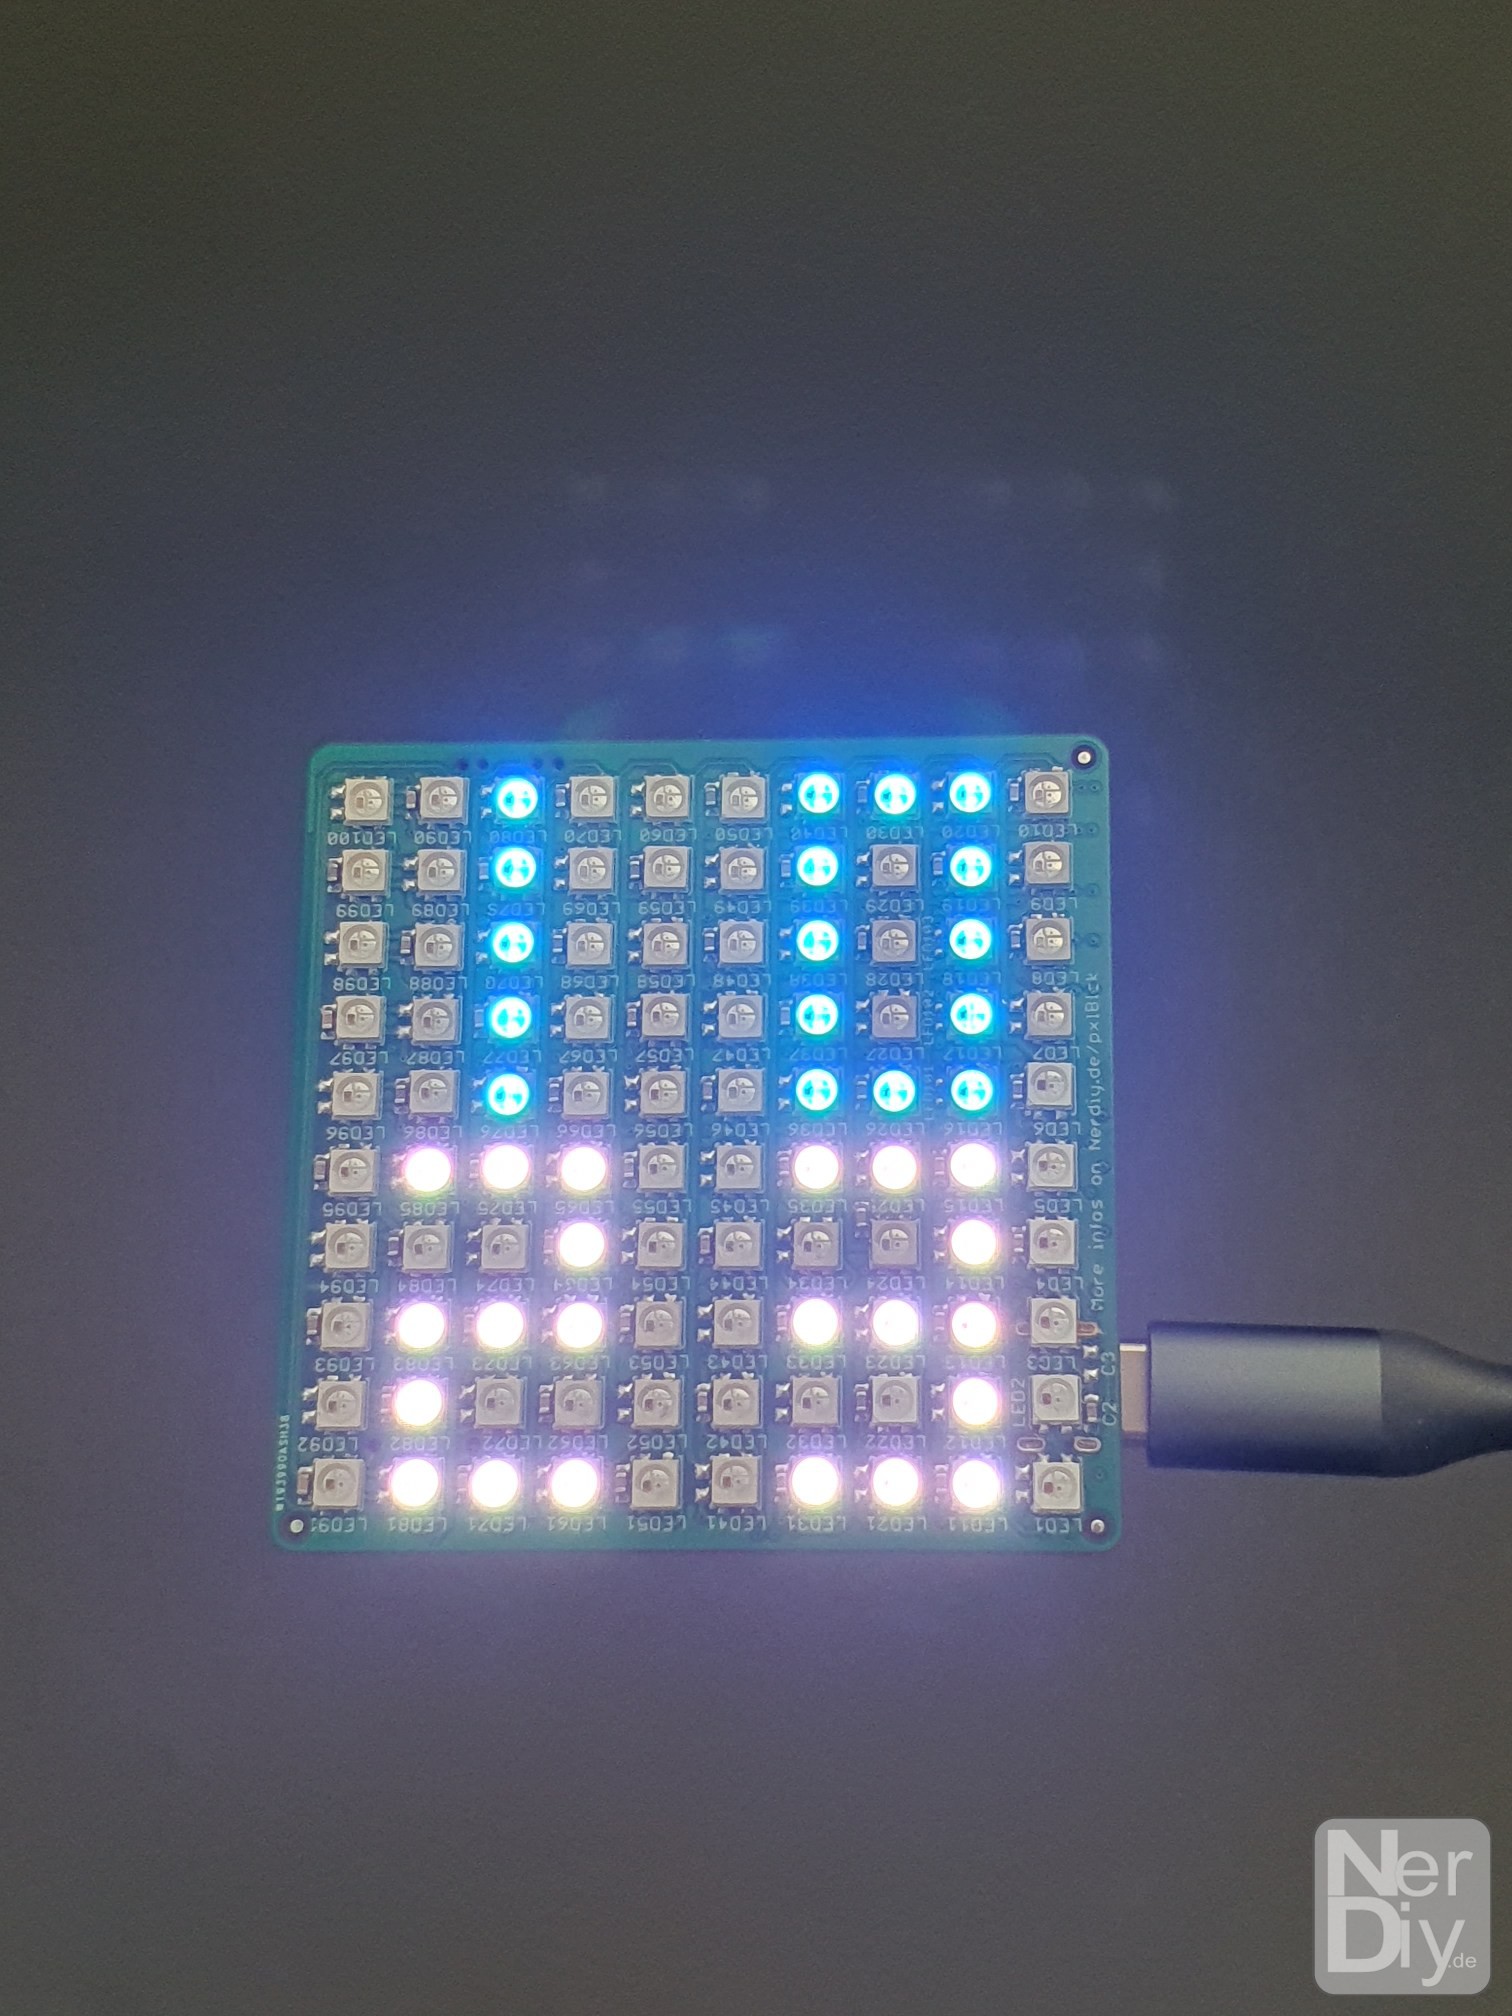
- Display of notifications via an LED matrix and/or sound module
- Various LED matrices supported
- Different animations can be displayed
- Can also be used as a basis for various sensors in the SmartHome
- Display of user-defined icons possible
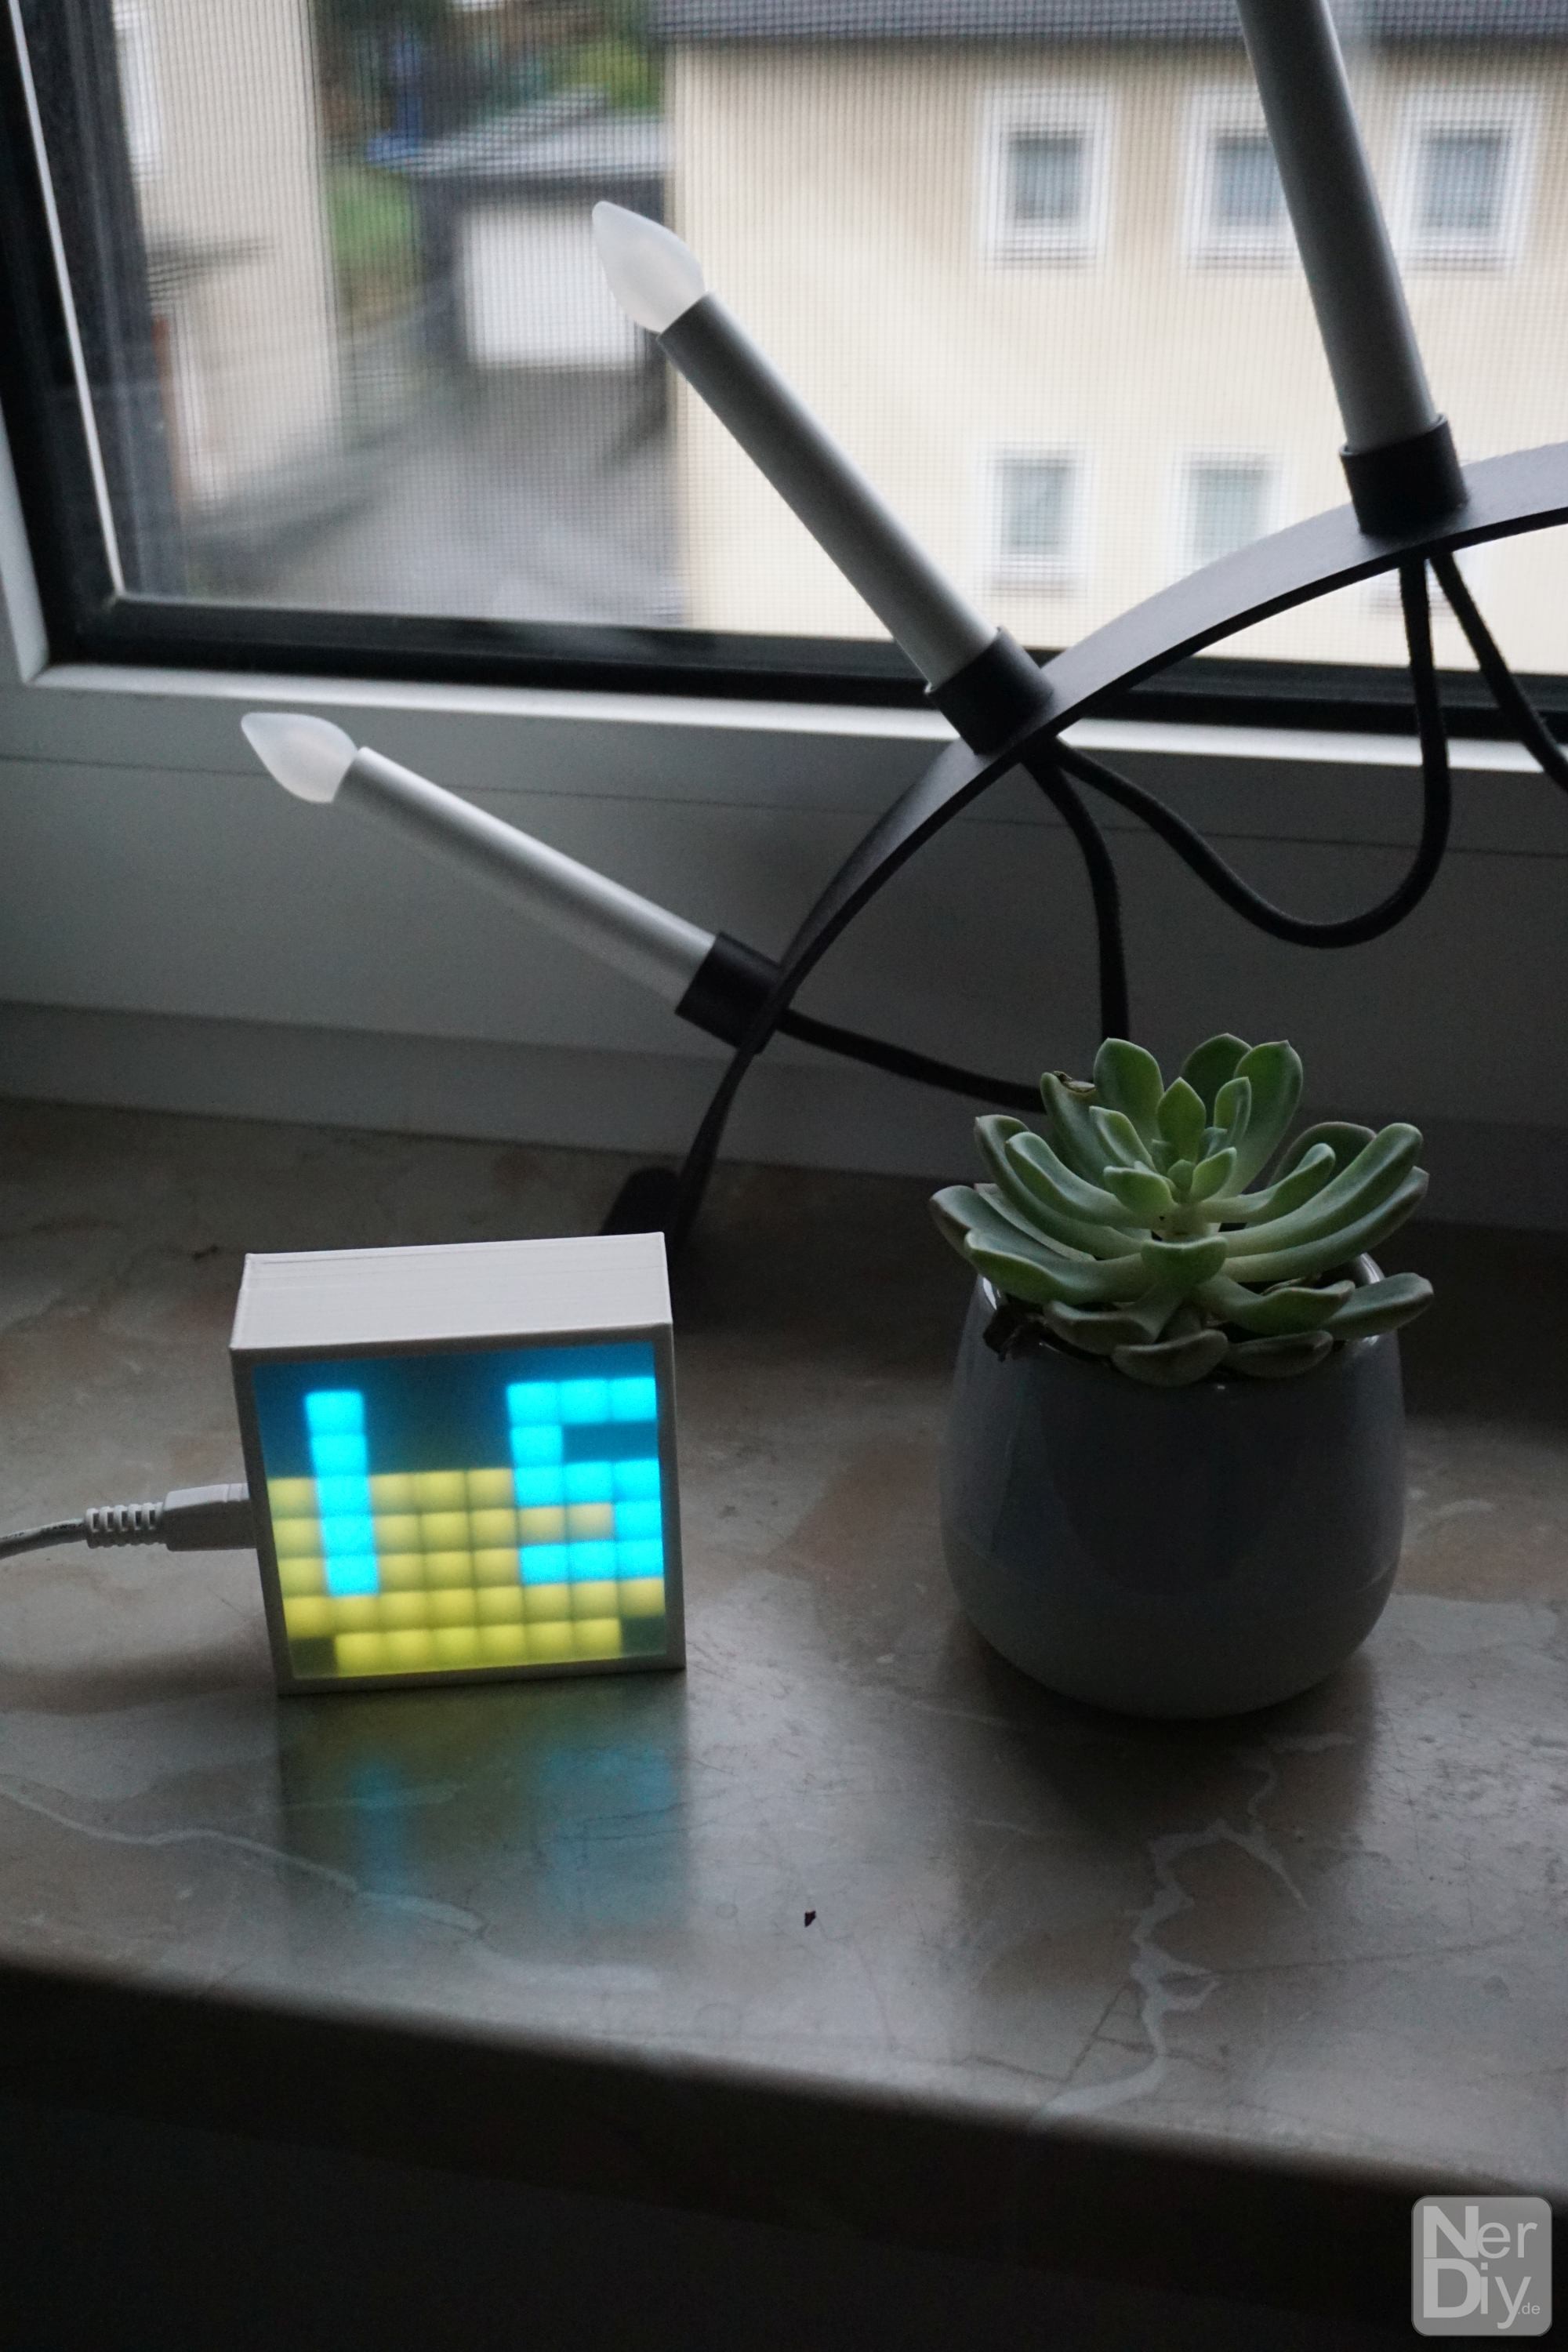
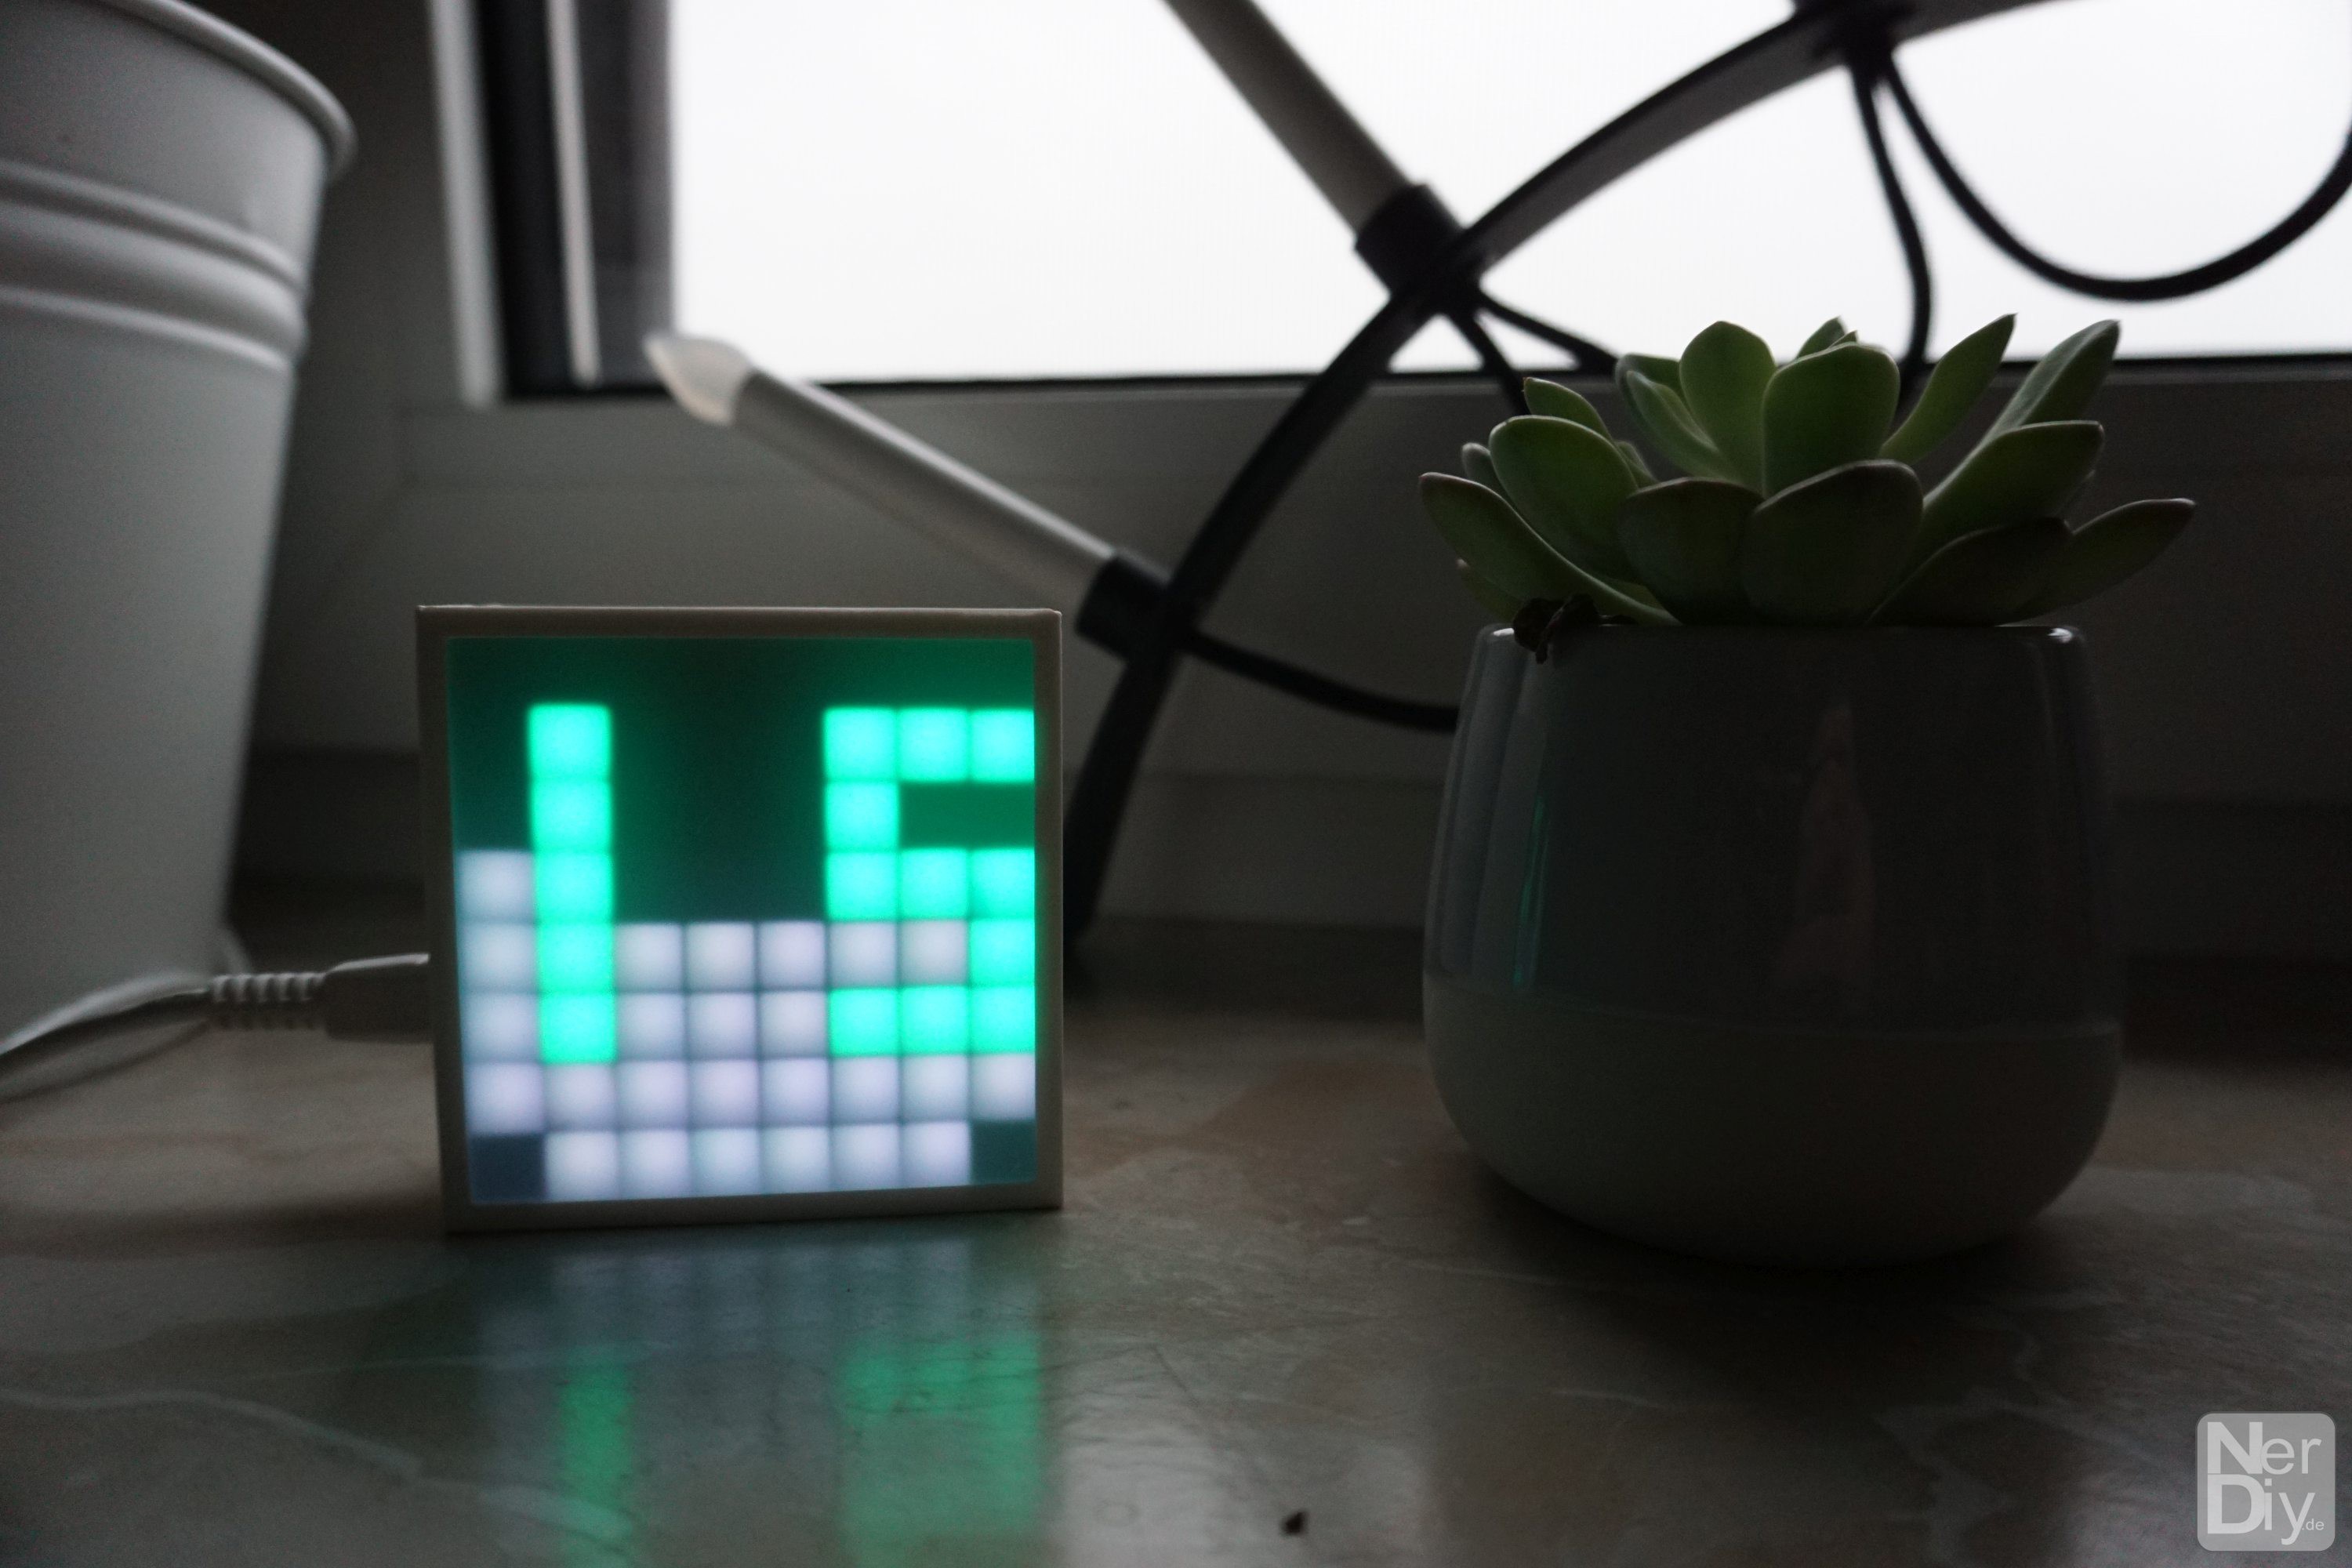
- Display of time is possible during "standBy"
More detailed overview here: https://nerdiy.de/en/pxlblck/
Future goals:
In the following I would like to list and explain a few of the future goals for my pxlBlck project.
- Simplify structure
I would like to create an app so that the construction and, above all, the programming and configuration of the pxlBlck's is easier. It should be able to program and configure the pxBlck easily. In the ideal case even without the need of a computer. - Implement features for people with hearing impairments
At this point I would like to be honest that I did not have this use case as my goal from the very beginning. But during the development, I noticed that the pxlBlck's can also be used as an optical notification device. Especially people with hearing impairments are unable to hear, for example, the doorbell or the phone ringing. A pxlBlck in every room or in special places could indicate these events optically. As an alternative to commercial systems, I would like to equip the pxlBlck system with these features. - GroupWare status display
Due to the corona pandemic, I (like probably many others) was confronted with the challenges of the home office. Online meetings quickly became part of everyday life and of course the day came when I sat in silence at my desk with the microphone activated and my girlfriend walked into the room talking. By the time I deactivated my microphone, my work colleagues had of course heard the first sentences. Not a big problem in itself, of course, but later we joked that something like an "on-air" display could be usefull to avoid such situations. Like a tiny display that signals when you are in a meeting. Only later I thought, "Wait a minute, something like that can also be made possible with the pxlBlcks. All that is needed is a little bit of software that controls the pxlBlck accordingly." So I want to make this possible as well. :)
Of course, a few more challenges have to be solved before then. If you have any further ideas or suggestions, please leave me a comment. :)
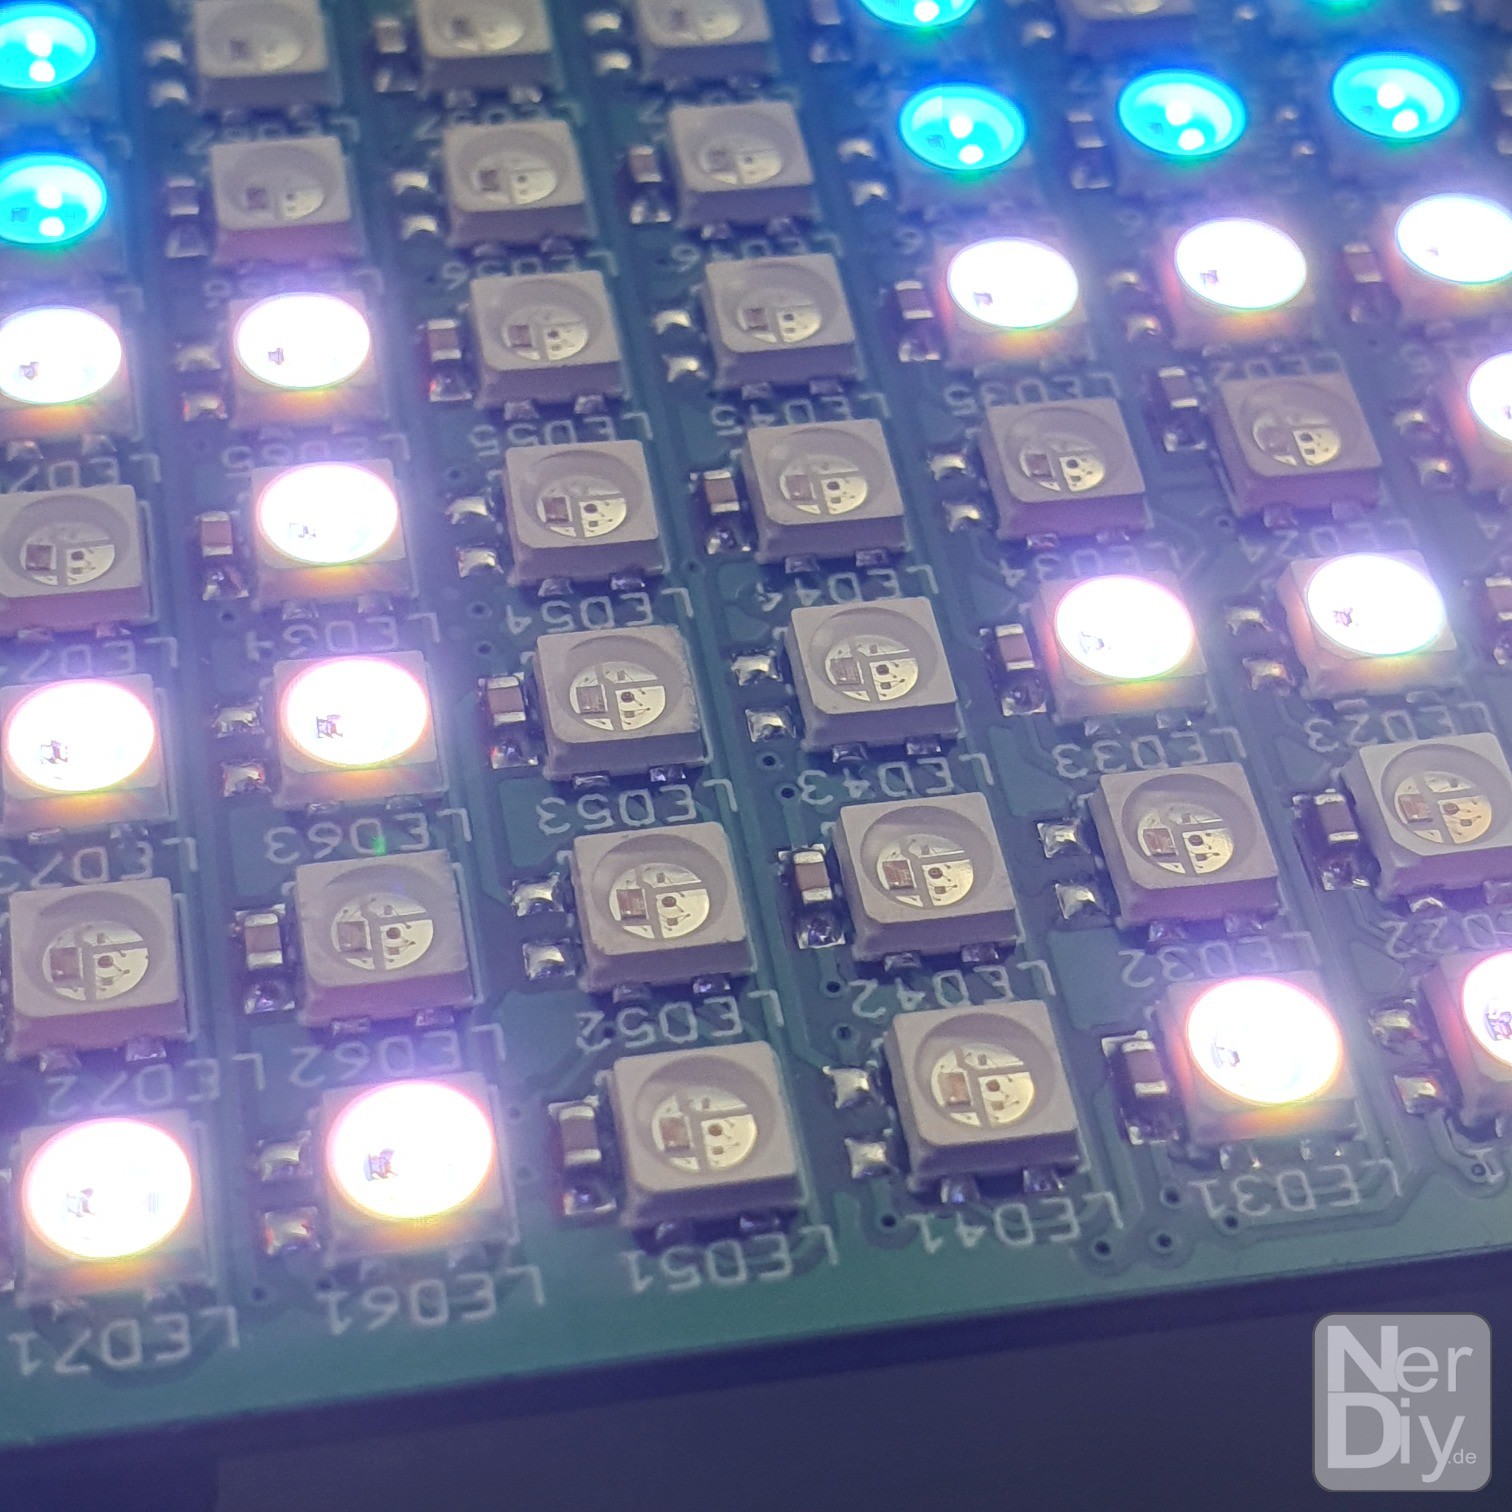
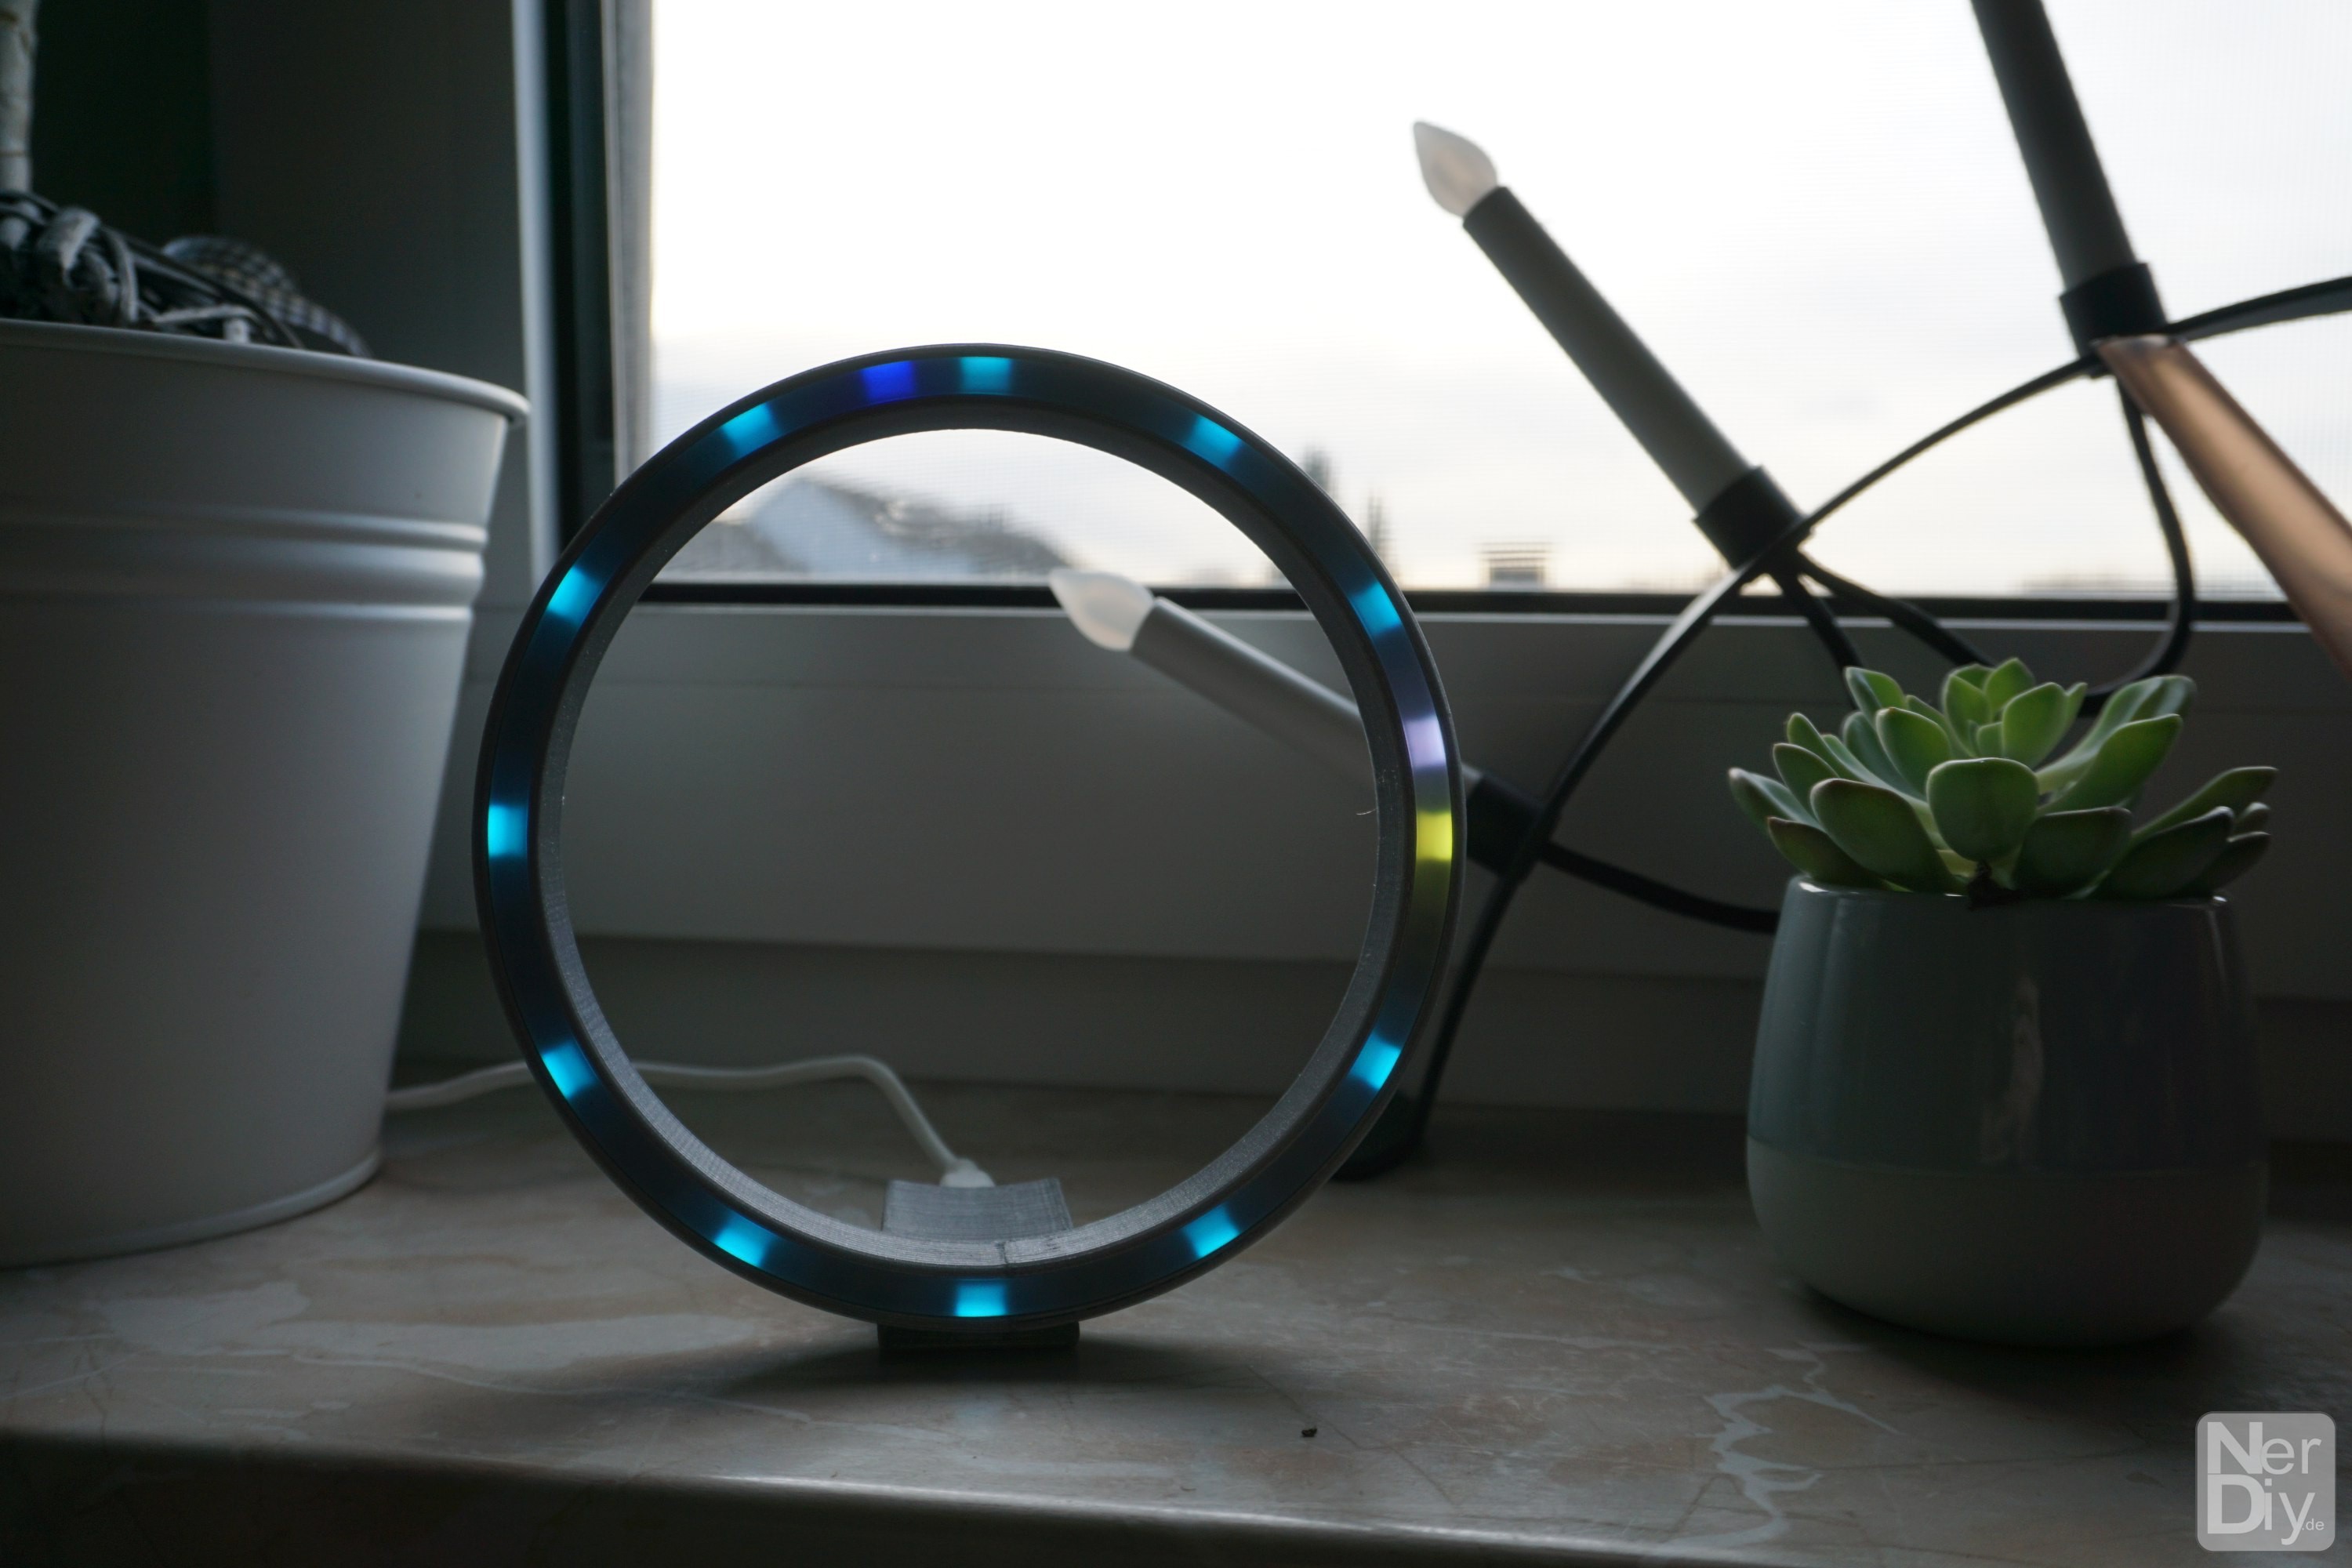
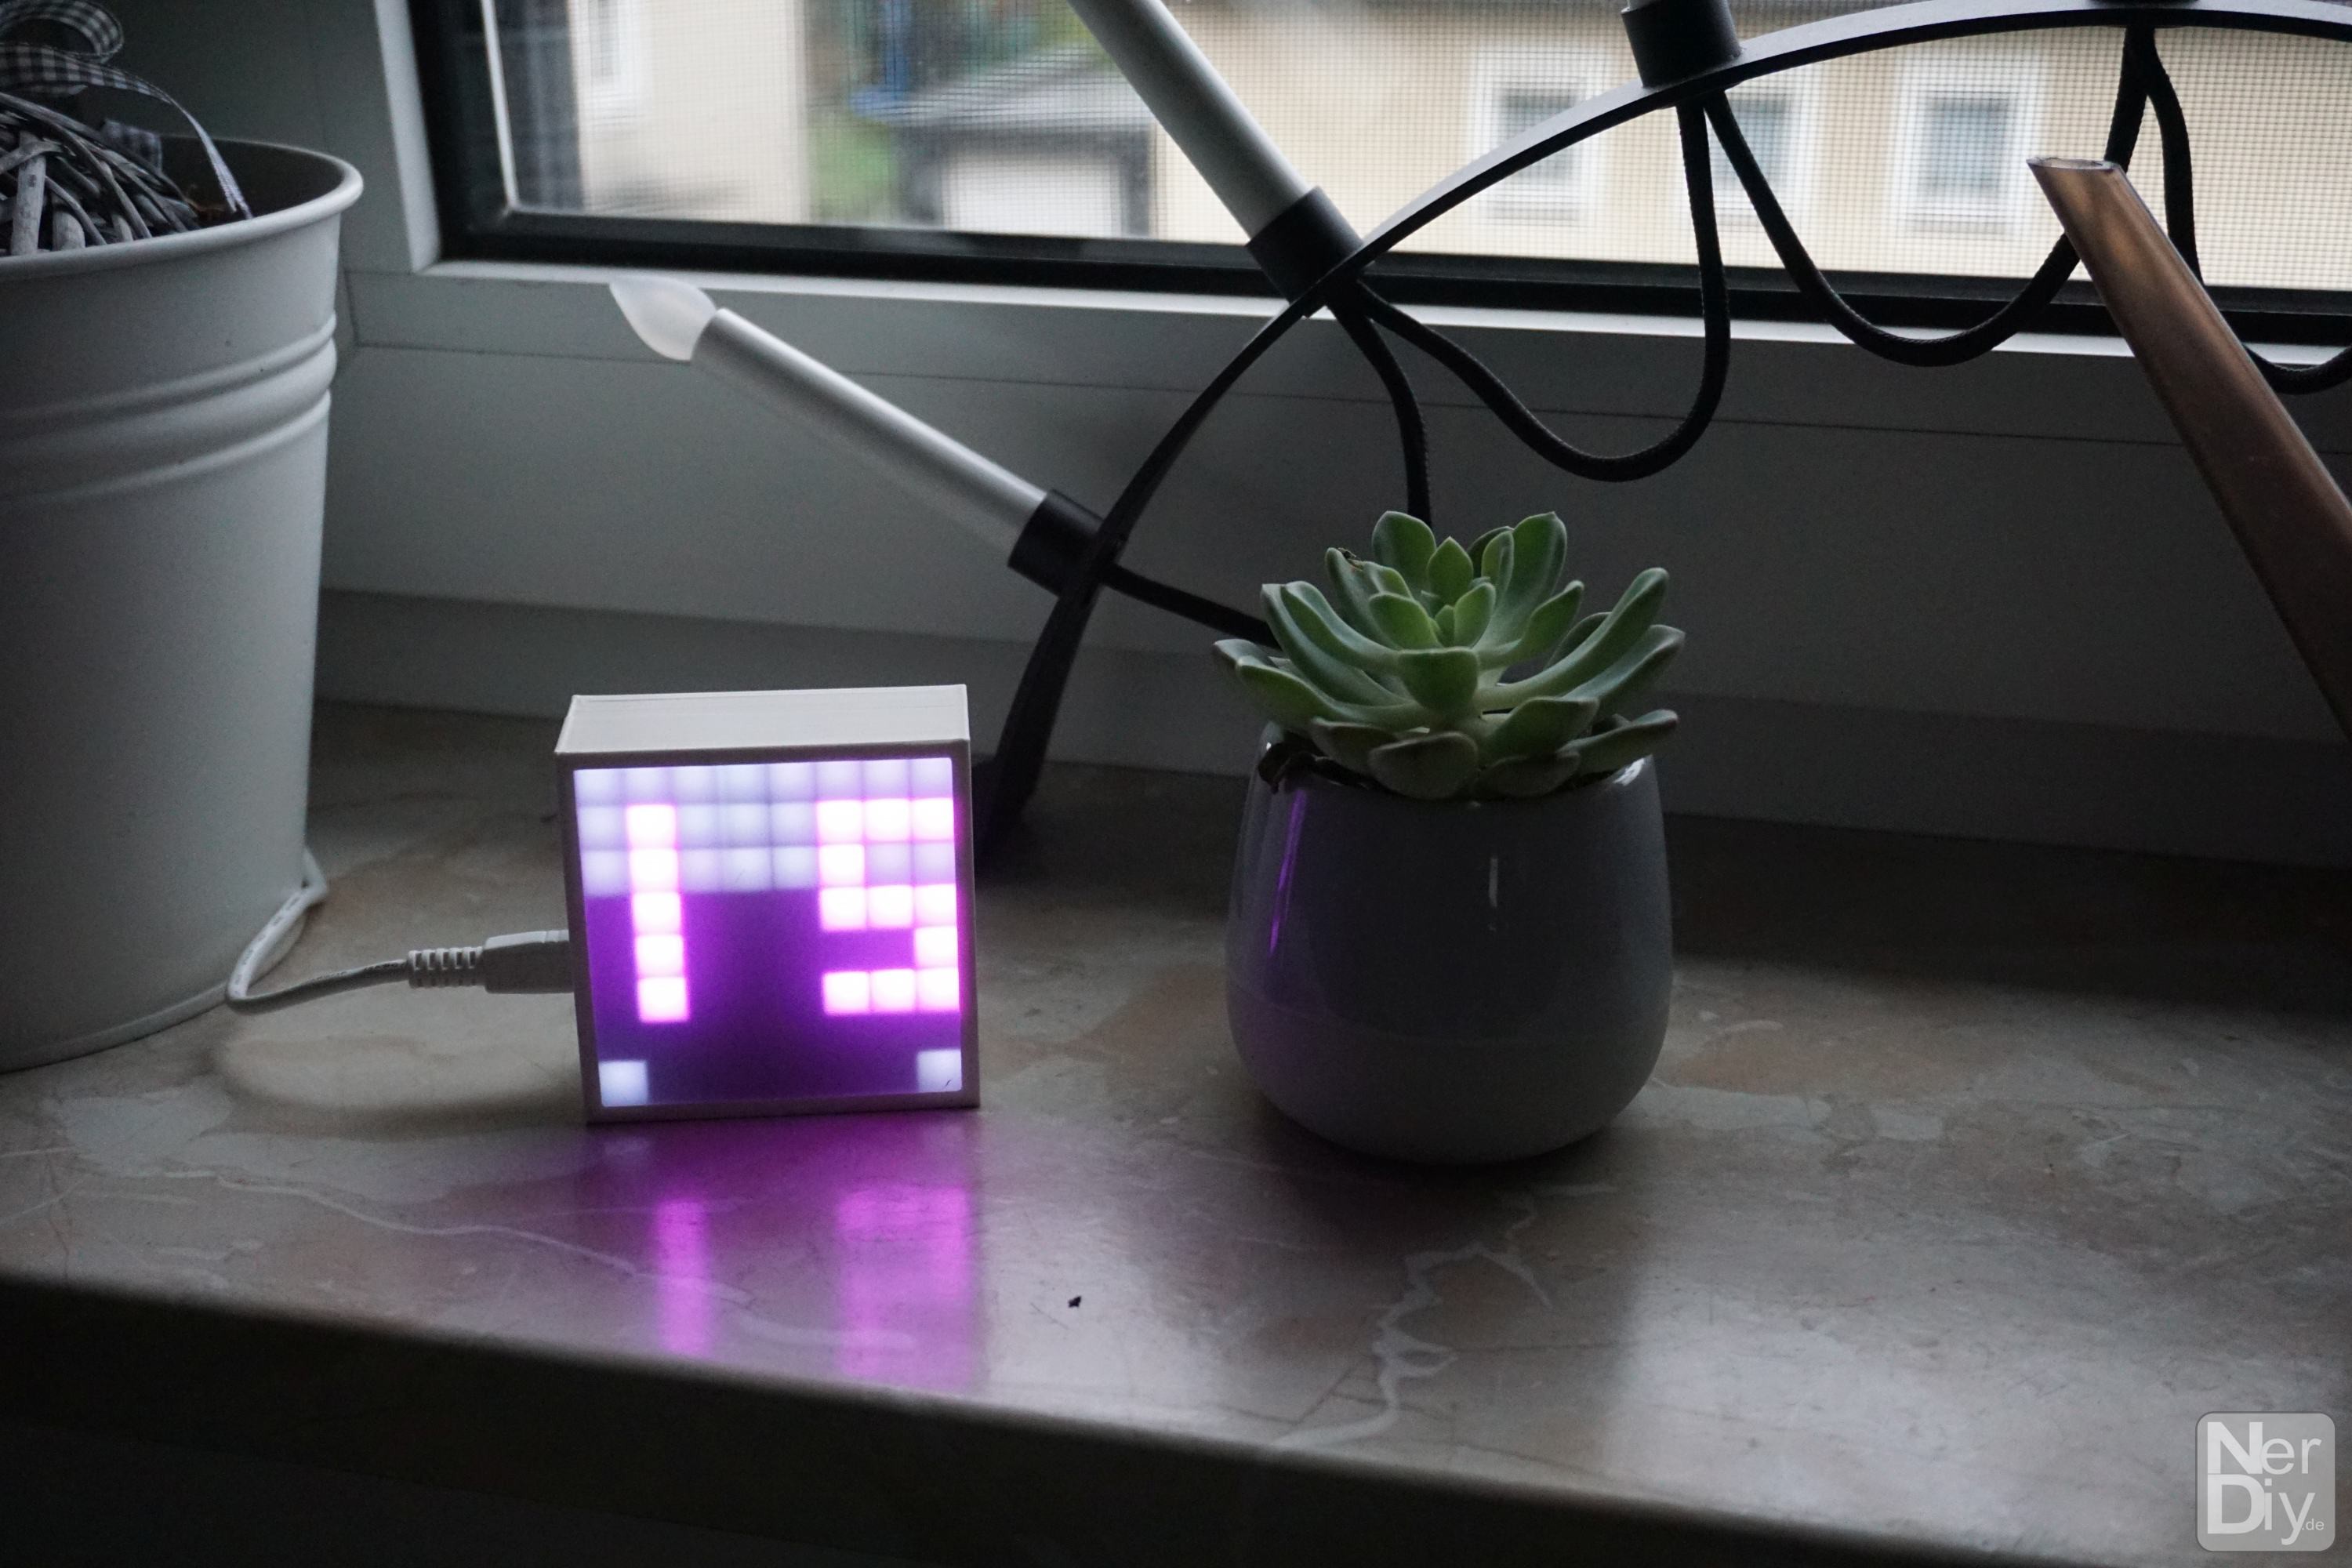
History: Initially, the pxlBlck consisted of an 8x8 WS2812 aka Neopixel LED matrix (looks like a block of pixels. Hence the name :)), powered by an ESP8266 and related software.
The purpose of this was to create a simple way of keeping me up to date on the events in my SmartHome.
It kind of bothered me that I collect all kinds of data with my SmartHome, but that I rarely see this data. For example, I was informed on my smartphone when the doorbell rang. But what if I don't have my cell phone with me (directly) at the moment (which can happen at home)? (Granted: A little luxury problem for me, but for people with hearing impairments this is a real problem.)
So I was looking for an easy way to get information about current events in the SmartHome. In the ideal case, this type of "SmartHome event indicator" would also be so cheap and discreet that I can equip every room with it.
... Read more »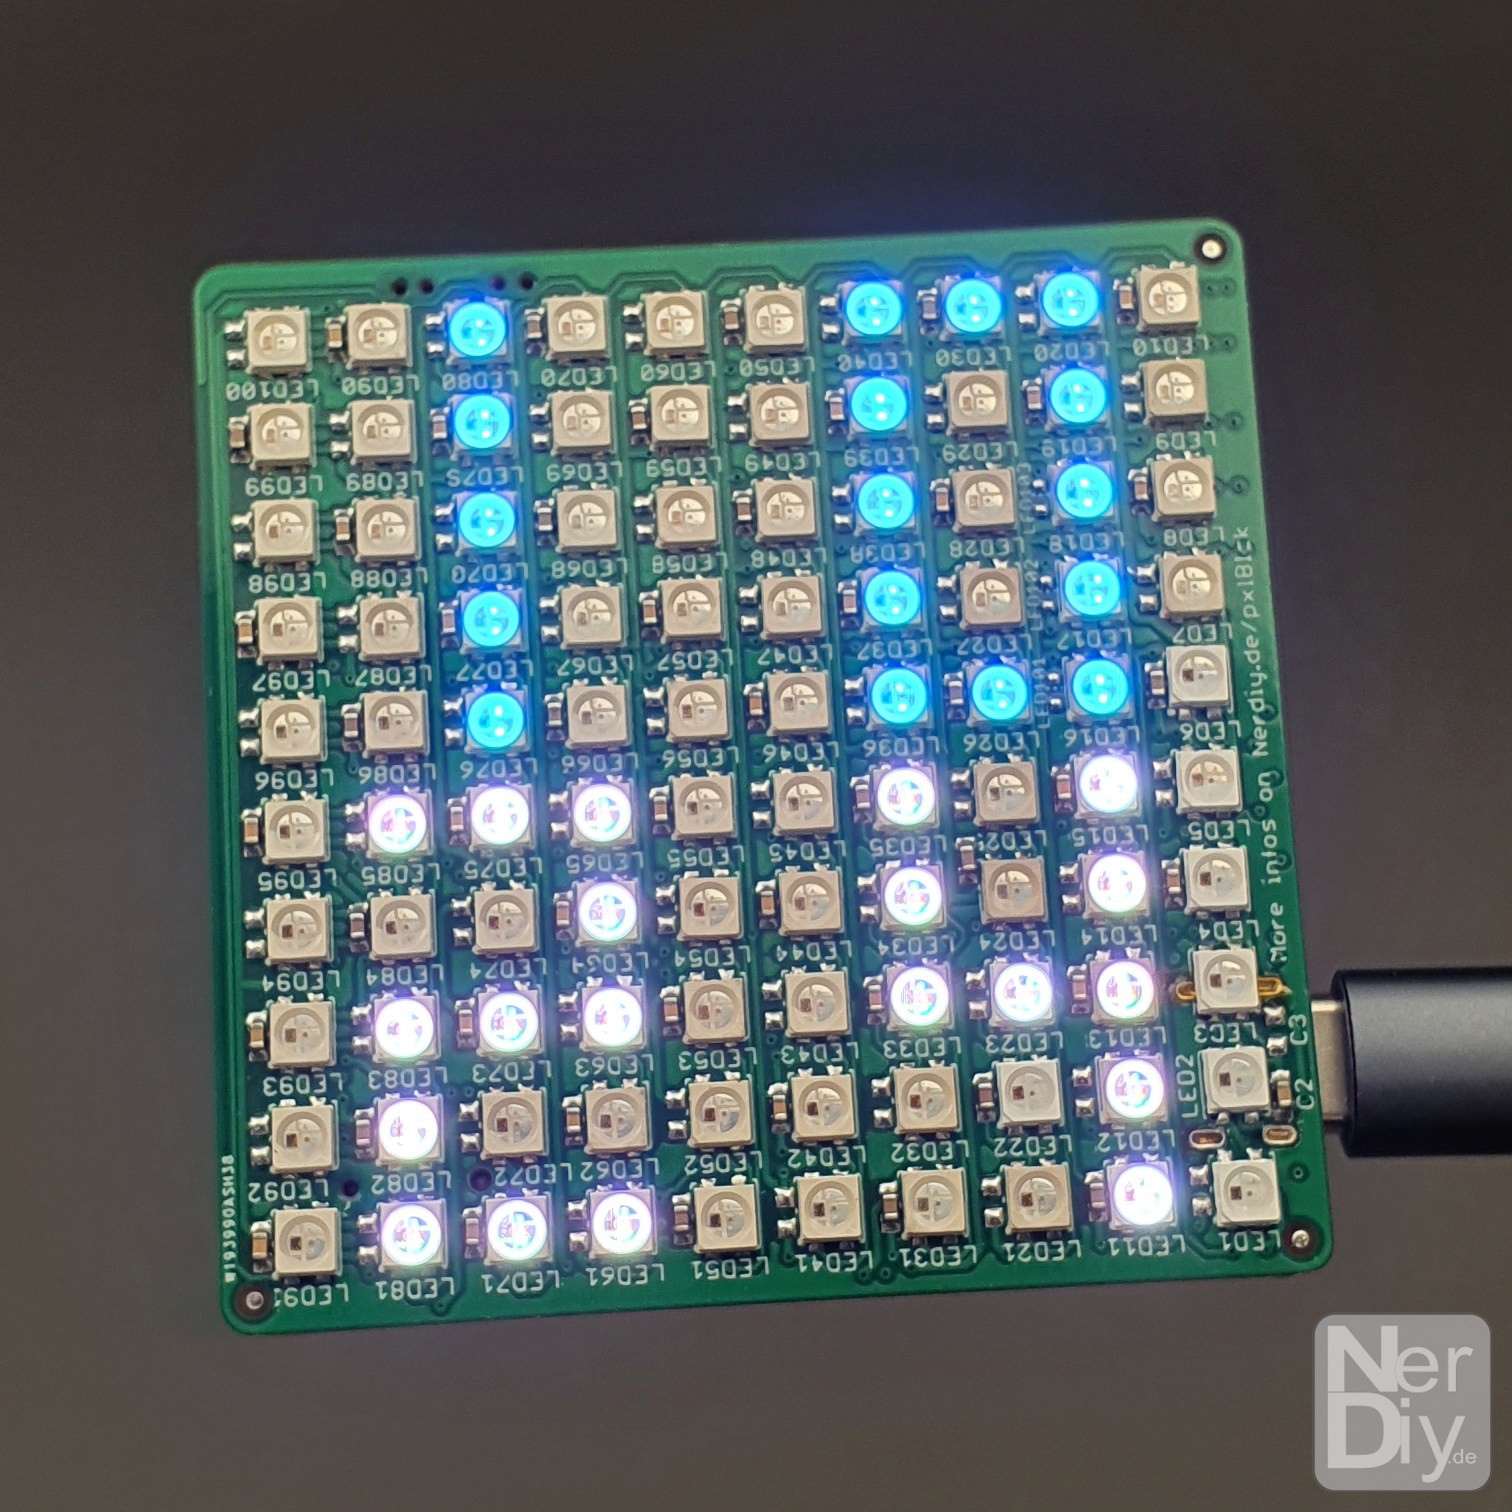


 robotbugs
 David Christianson
 Lexcis
 zakqwy
This is impressive idea and I think you can click on the roblox where you can explore and get some new benefits.