Fabian
-
MAX98357 I2S Class D amplifier test
06/02/2021 at 16:23 • 0 commentsThis section of the pxlBlck_multiPCB is literally self-explaining. :D
On the first revision of the PCB I was already able to test the 3W I2S DAC. The MAX98357 I2S Class D amplifier is connected to the ESP32 via I2S. MP3s can be played from the inserted micro SD card, web radio can be streamed or text can be read aloud.
The goal is that the pxlBlcks will soon also be able to play audio data. For example, you could be informed acoustically about events in your Home. Alternatively, you could also play a web radio stream in this way. :)
In the following video I did a little test with the Google TTS engine.
-
The pxlBlck_multiPCB
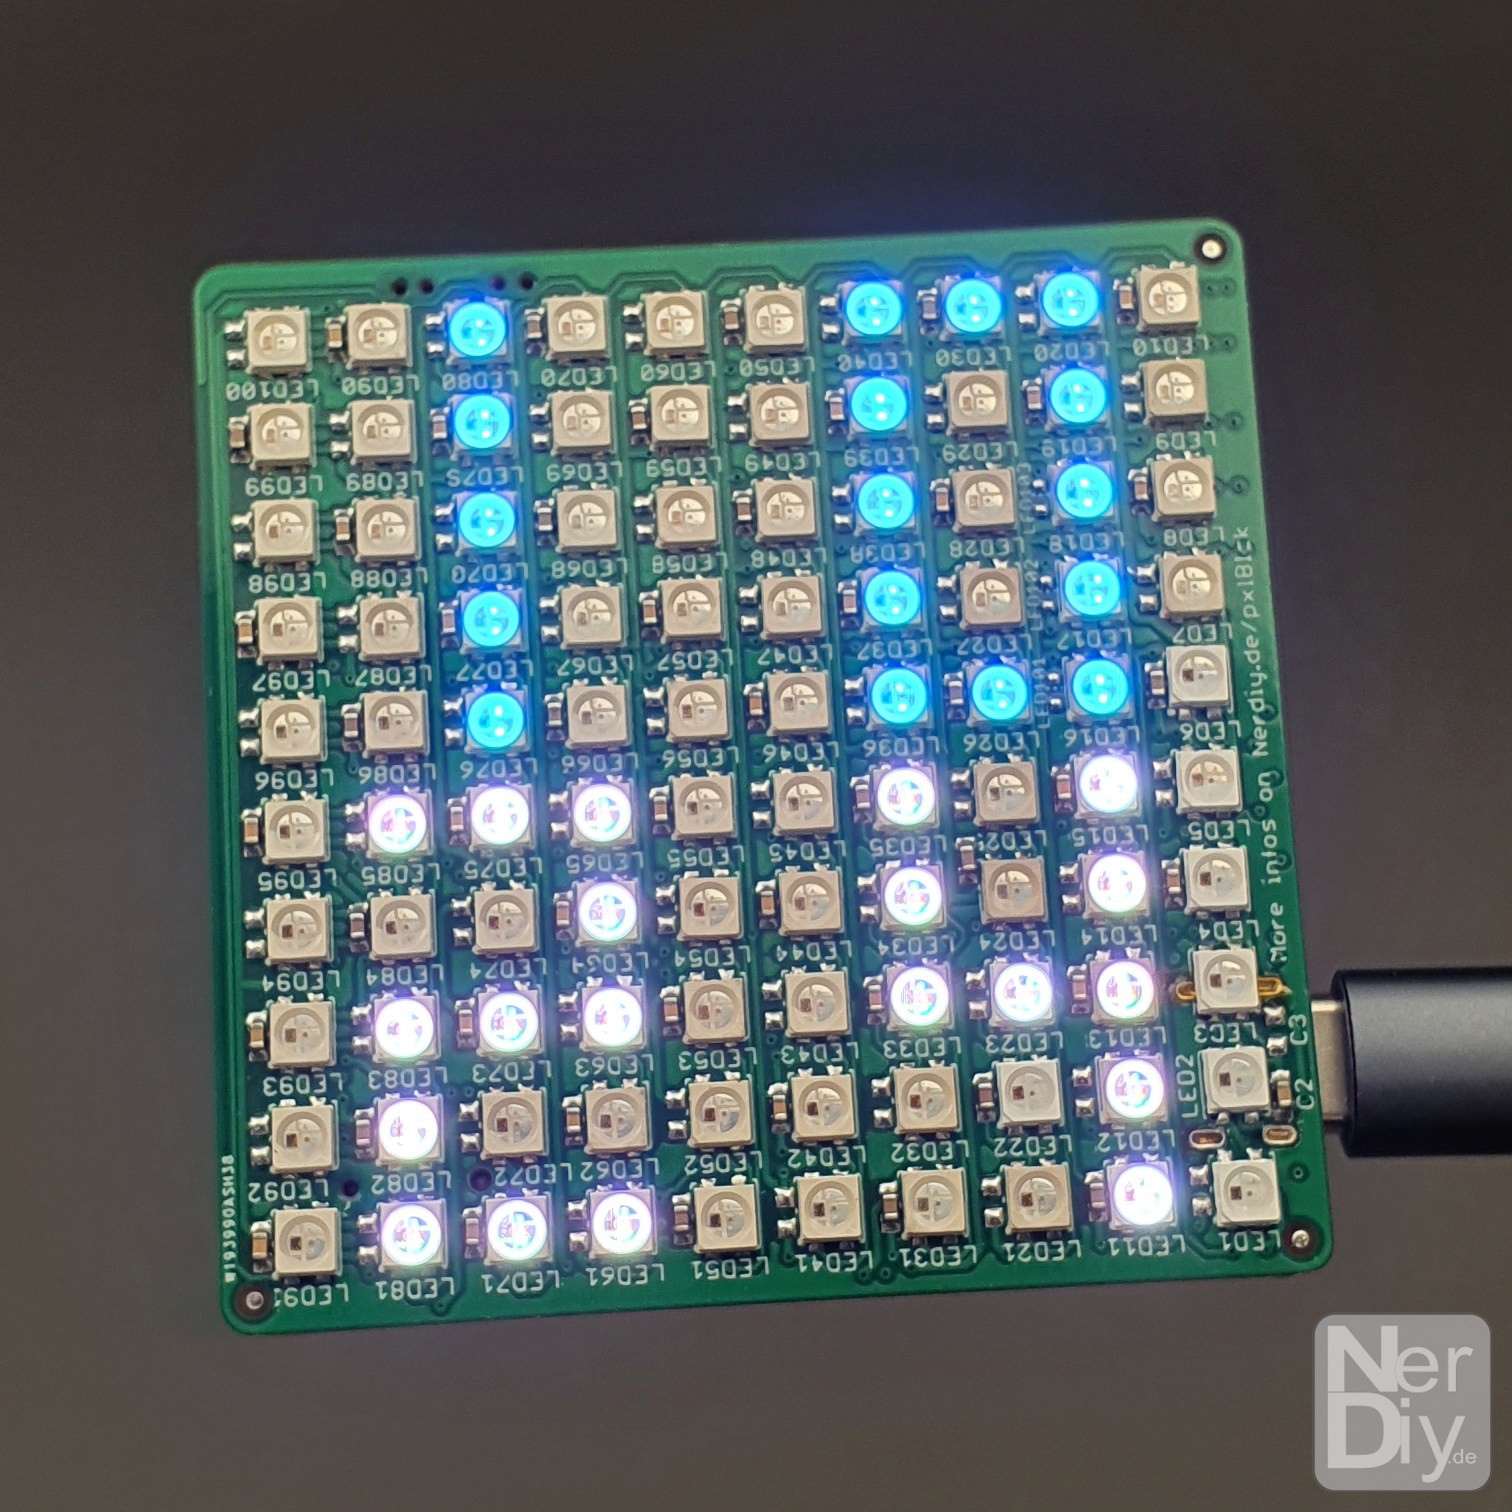
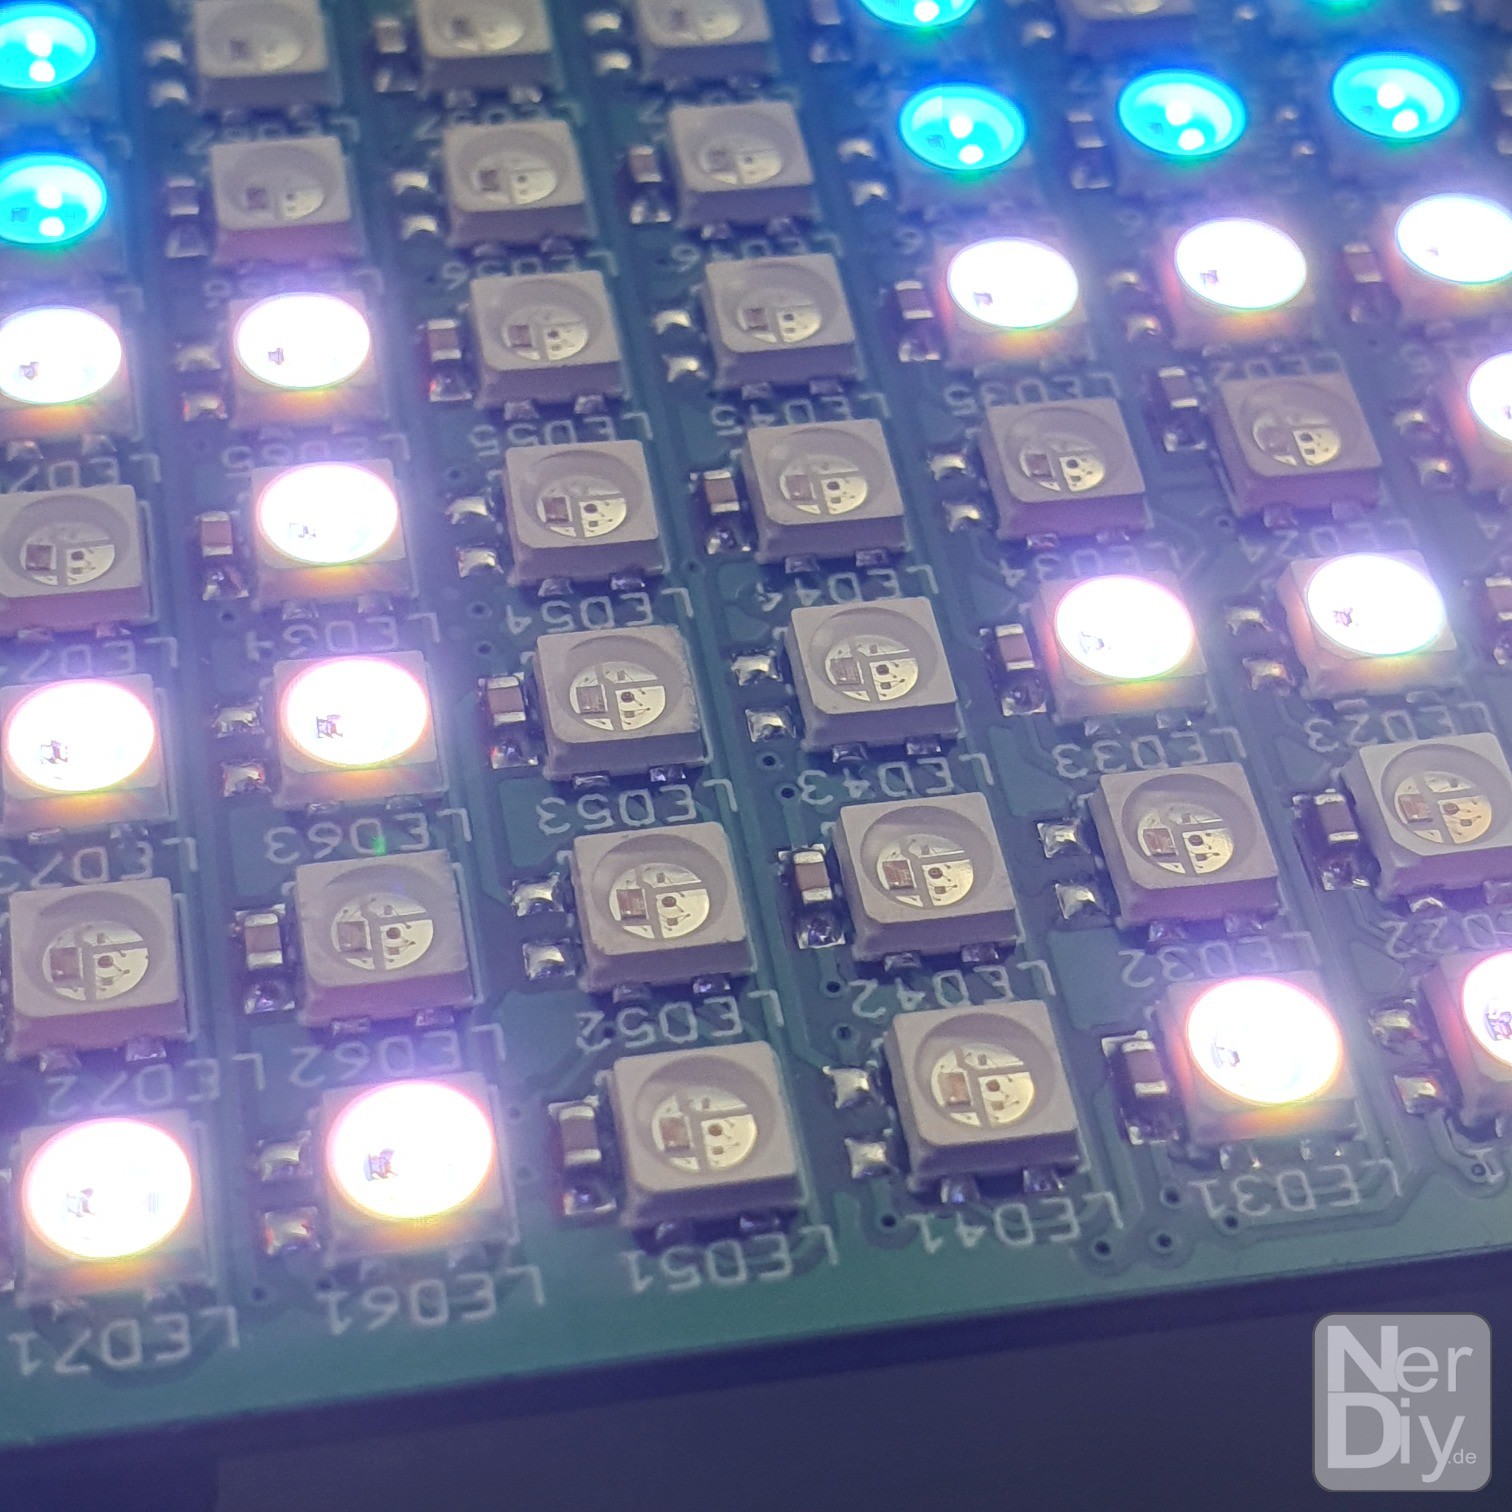
05/31/2021 at 15:31 • 0 commentsAfter the first revision, many tests and a few anxious minutes, in which I thought my T-962 reflow oven had grilled all 100 WS2812 3535 LEDs on the pxlBlck_multiPCB, I was able to put my current pxlBlck project into operation.
With the pxlBlck_multiPCB I try to accommodate the pxlBlck typical functions on a compact PCB.
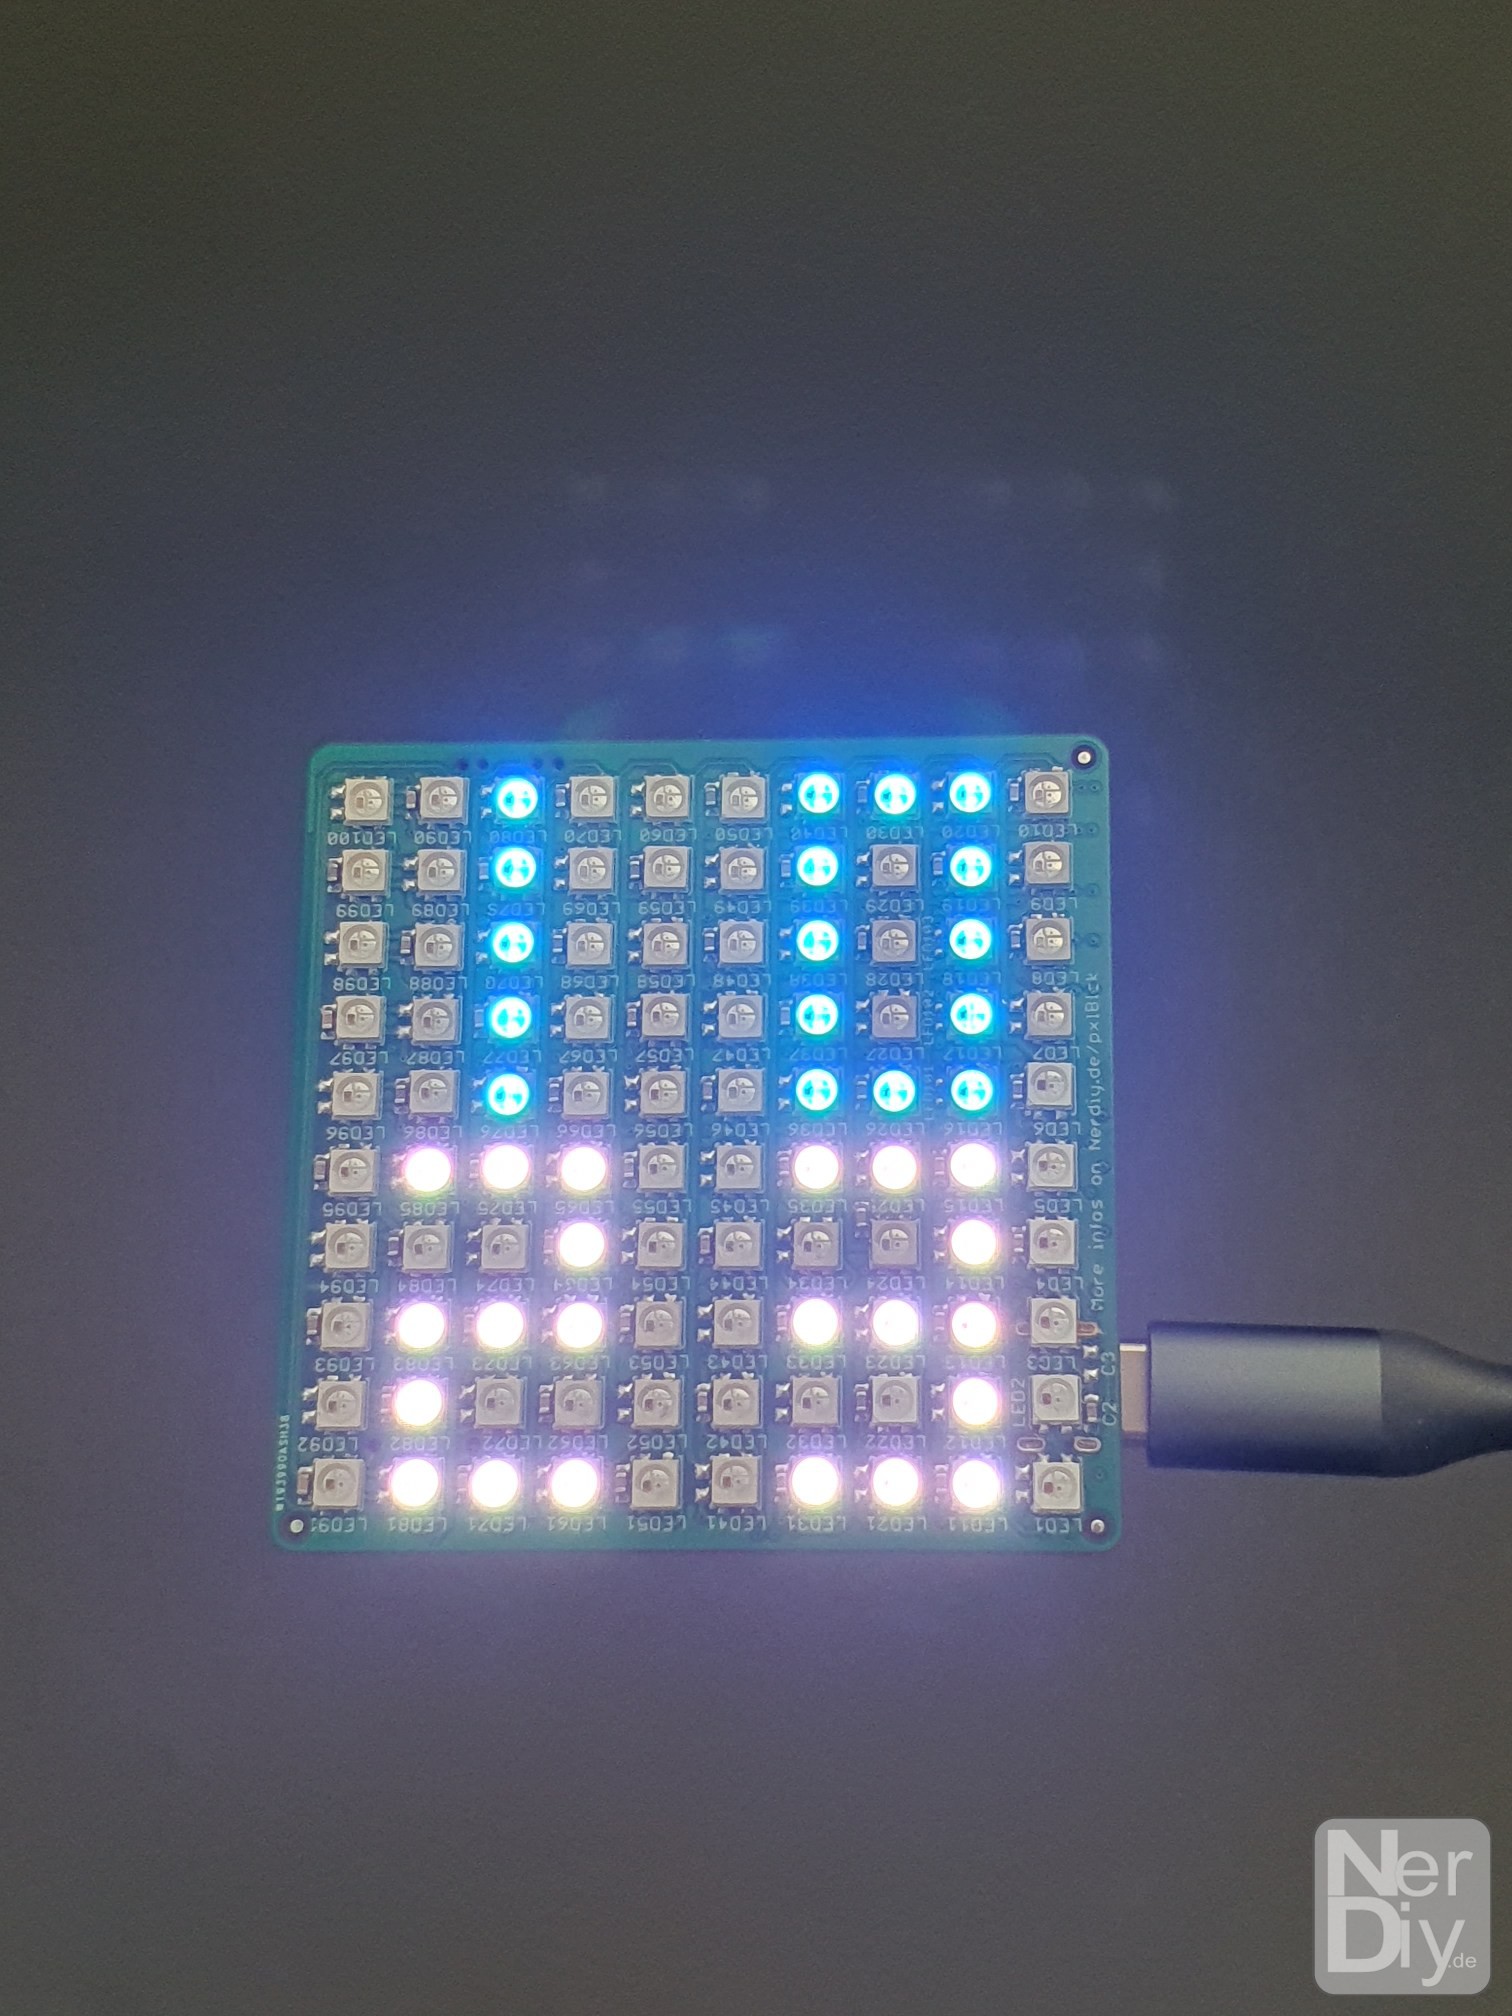
For this purpose, a 10x10 LED matrix made of WS2812 3535 LEDs is installed on the front of the board. As usual, animations, icons, scrolling texts and other notifications can be displayed on this.
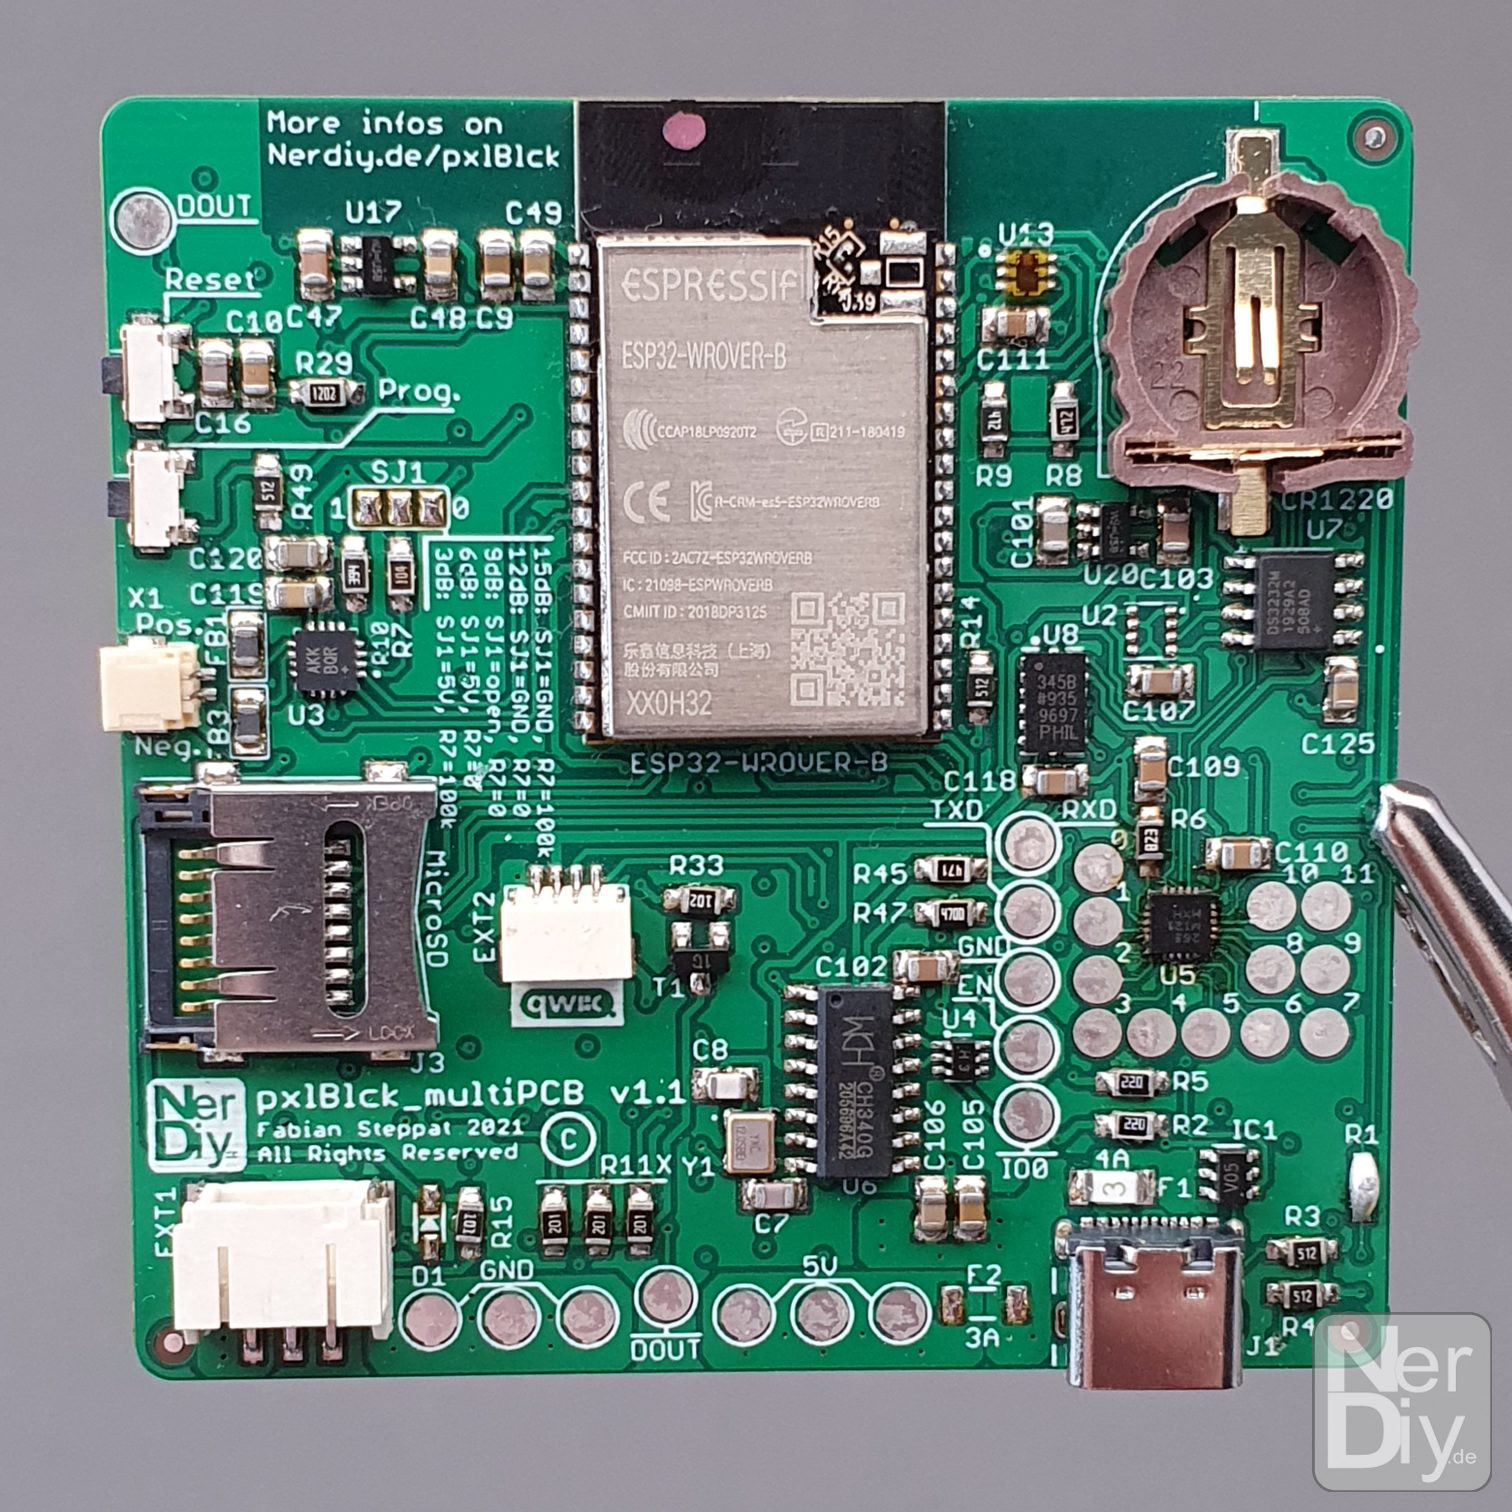
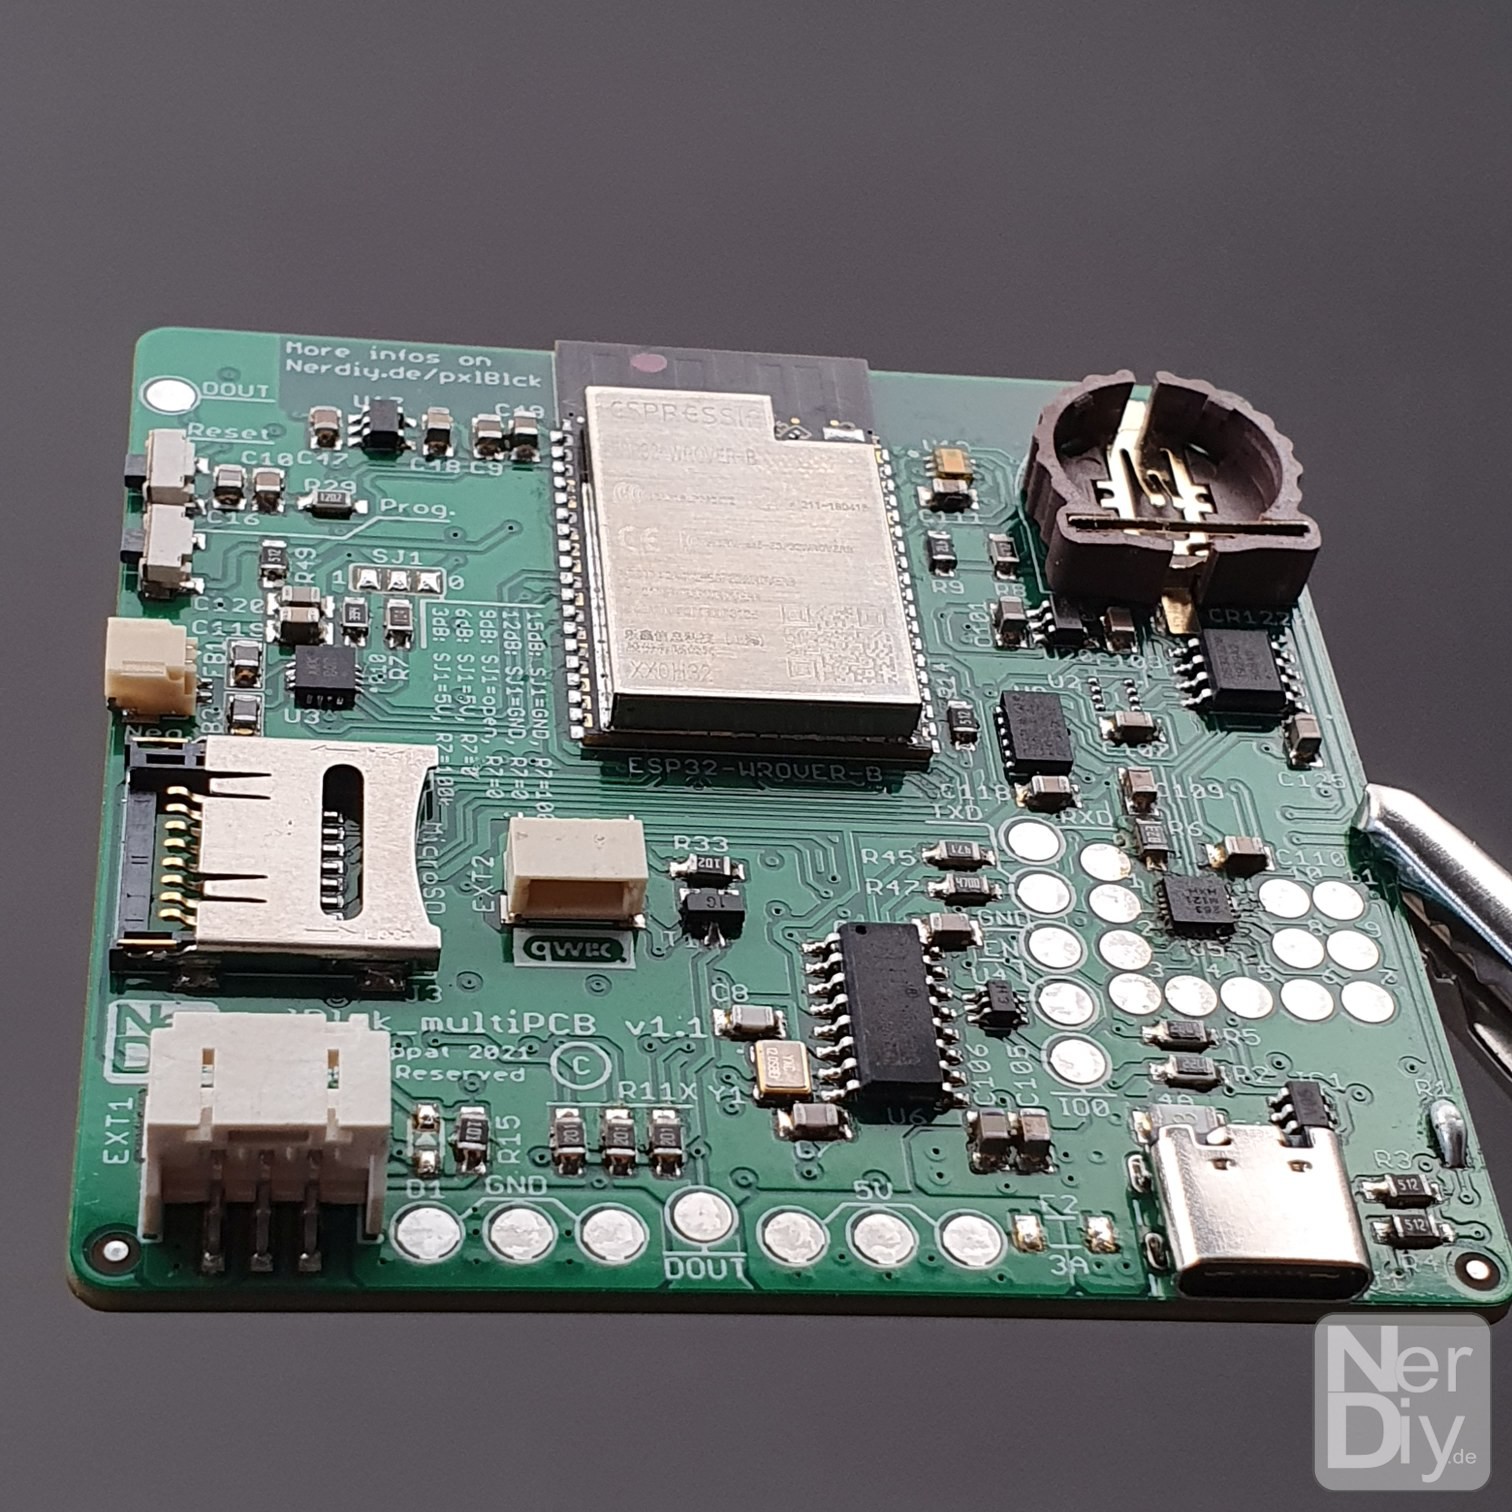
An ESP32 Wrover-B including programming circuit and USB-C connection is installed on the back.
The built-in sensors can also be used to read humidity, temperature, air pressure, brightness, UV index, 12 touch electrodes and acceleration values / orientation. In addition, additional sensors can be connected via the #qwiic connection.
The built-in 3W I2S DAC also works. MP3 files can be played via the integrated micro SD card slot or as an audio stream via WiFi.
Another WS2812 LED strip can be connected via the #Stemma 3pin connector. In this way you could (for example) set up a kind of "Ambilight".
I also installed soldering pads to connect finished Neopixel matrices. So you can connect and properly fuse them (3A fuse) to the PCB in case you want to use other matrix sizes.
Thanks to the USB-C connection, the connected matrix can also be supplied with up to 15W power. :)
![]()
![]()
![]()
![]()
![]()
-
The pxlBlck_CassetteLamp
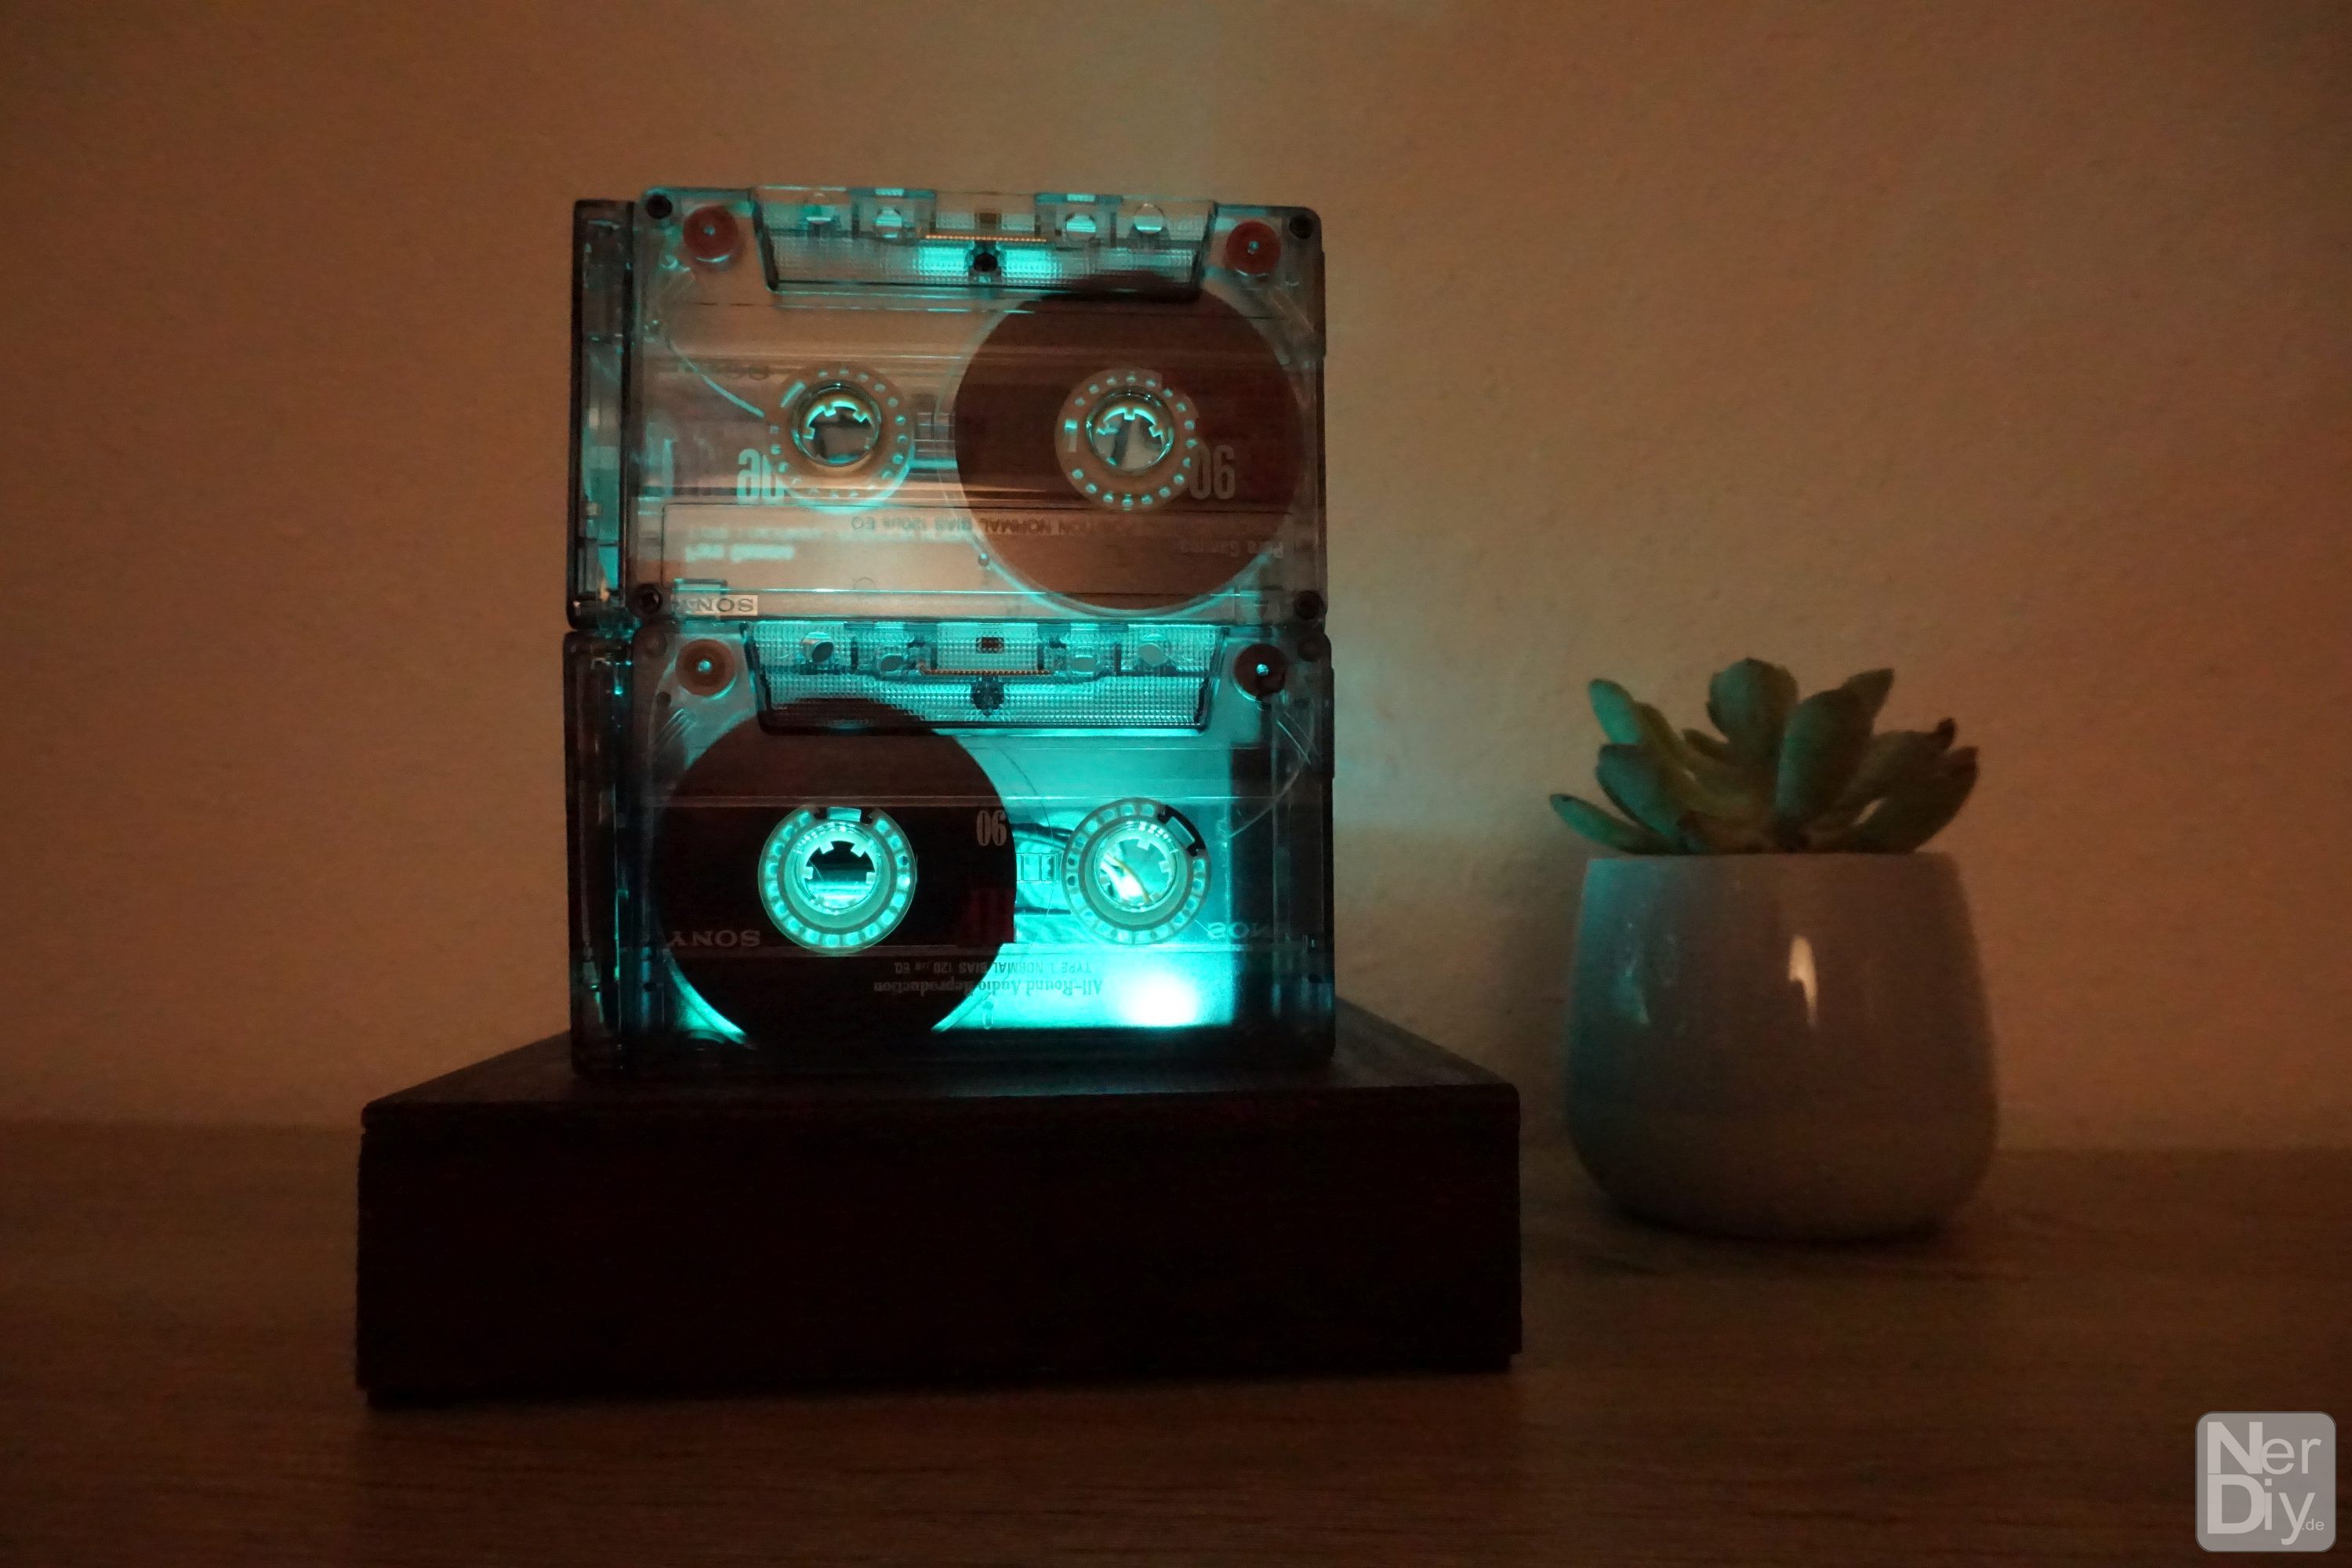
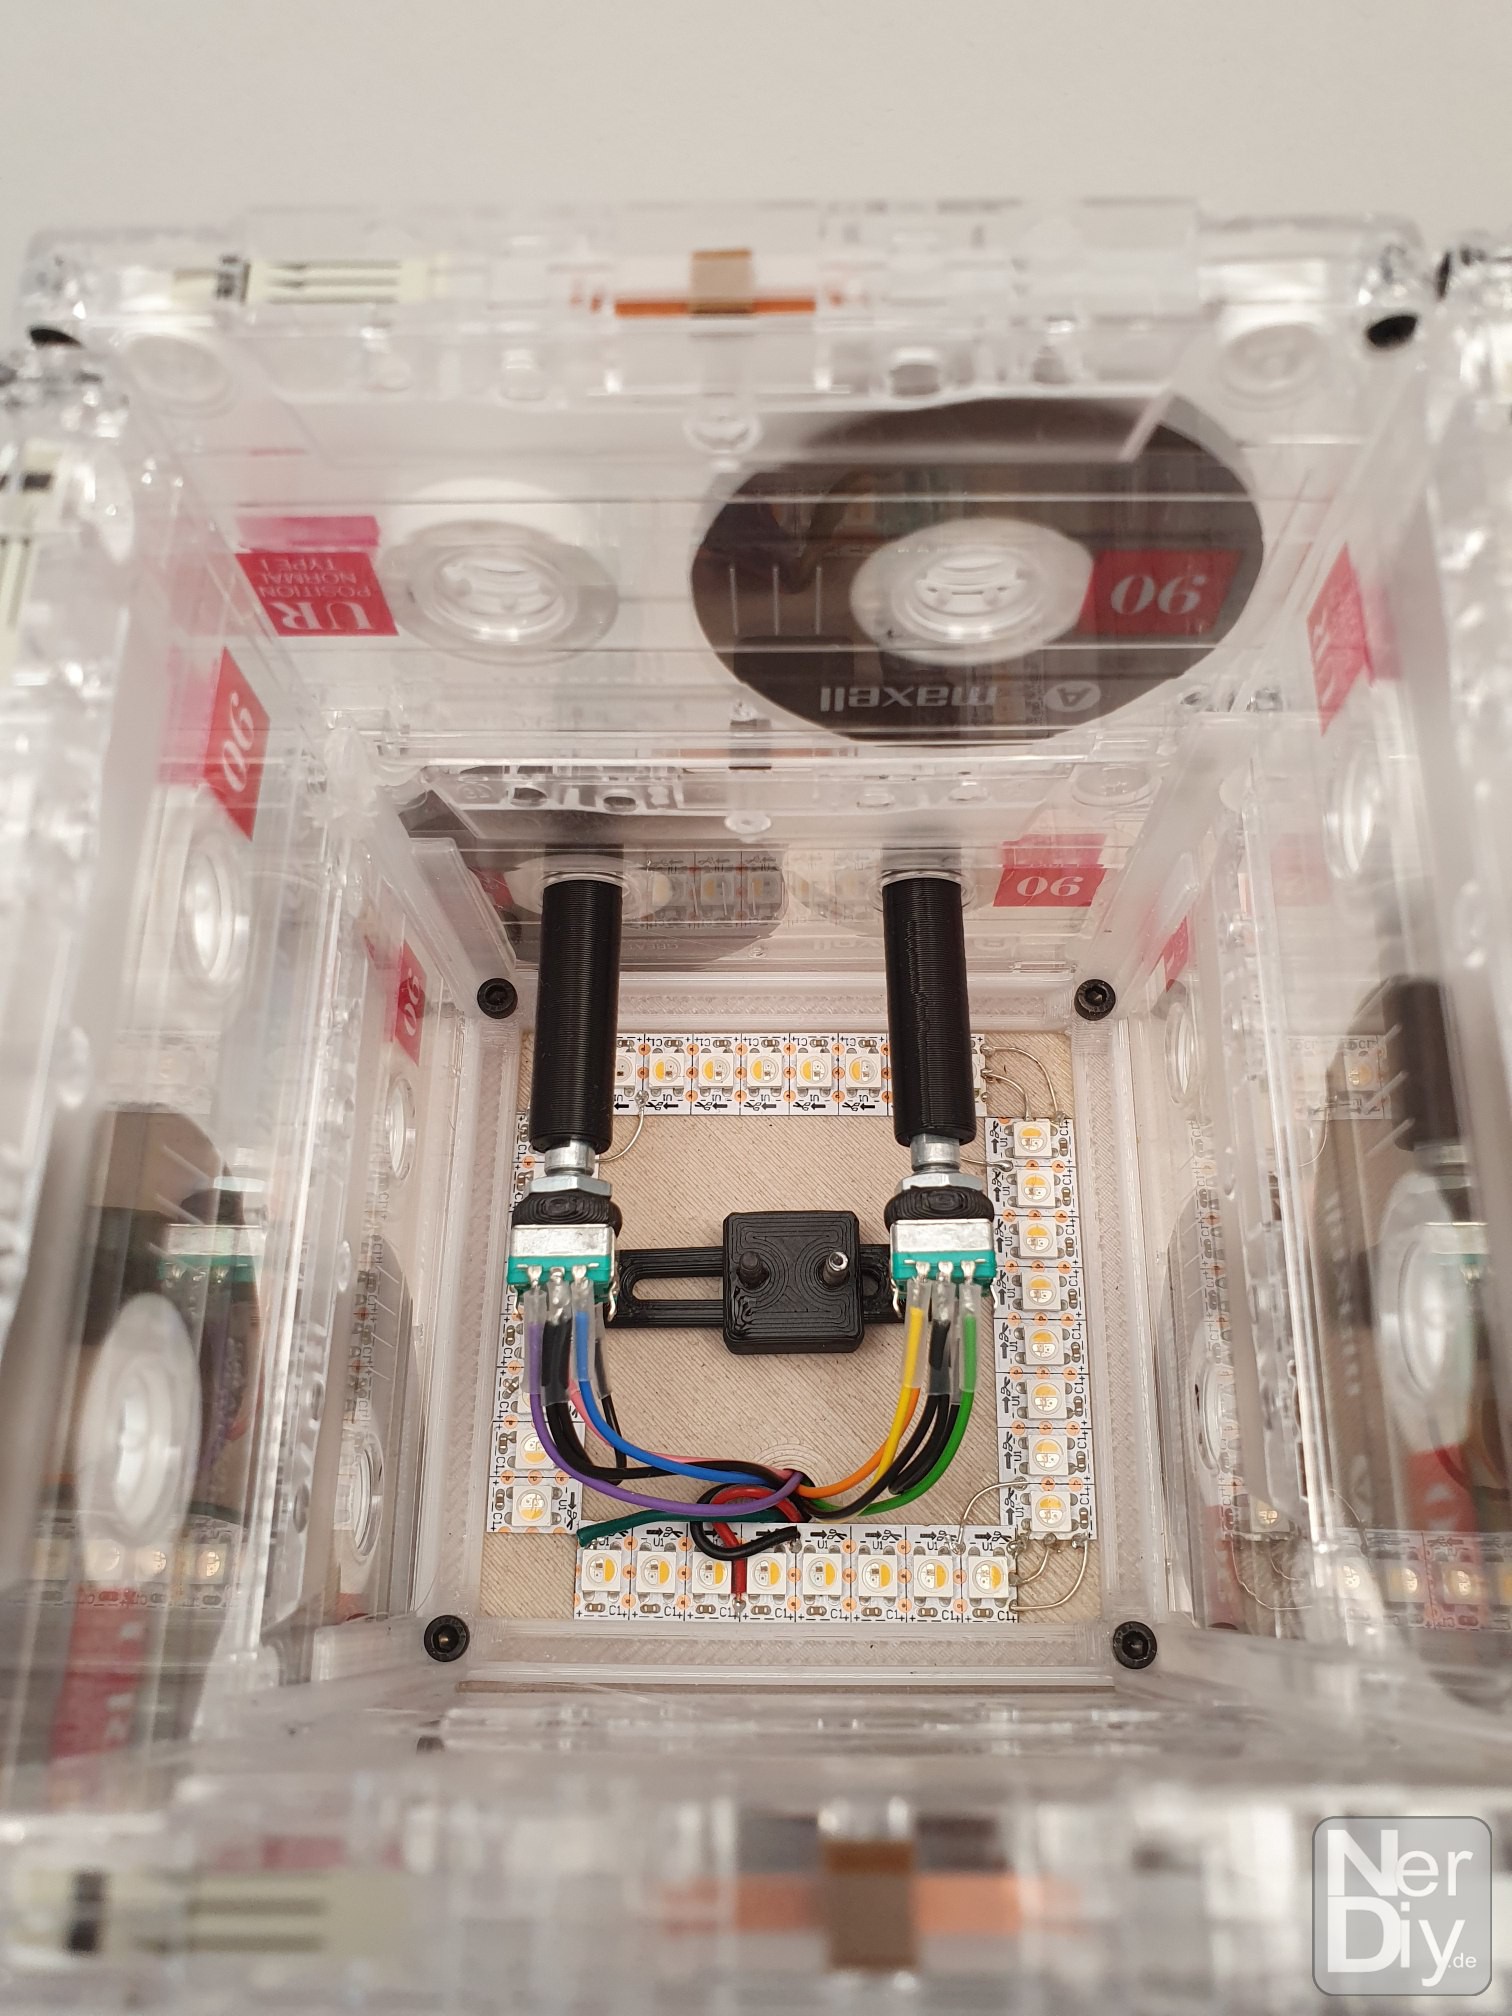
05/31/2021 at 14:59 • 0 commentsThe pxlBlck_CassetteLamp is another platform that is also based on the pxlBlck plugin.
The plug-in controls the 32 LEDs long LED strip that is built into the lamp. So of course no icons can be displayed for it, but the usual animations. :)
More infos are available here: https://nerdiy.de/en/howto-pxlblck-pxlblck_cassettelamp-aufbauen/ or here:https://hackaday.io/project/178225-pxlblckcassettelamp
or in the video and pictures below. :)![]()
![]()
-
Build guide for pxlBlck_RingClock
05/31/2021 at 14:52 • 0 commentsHey guys,
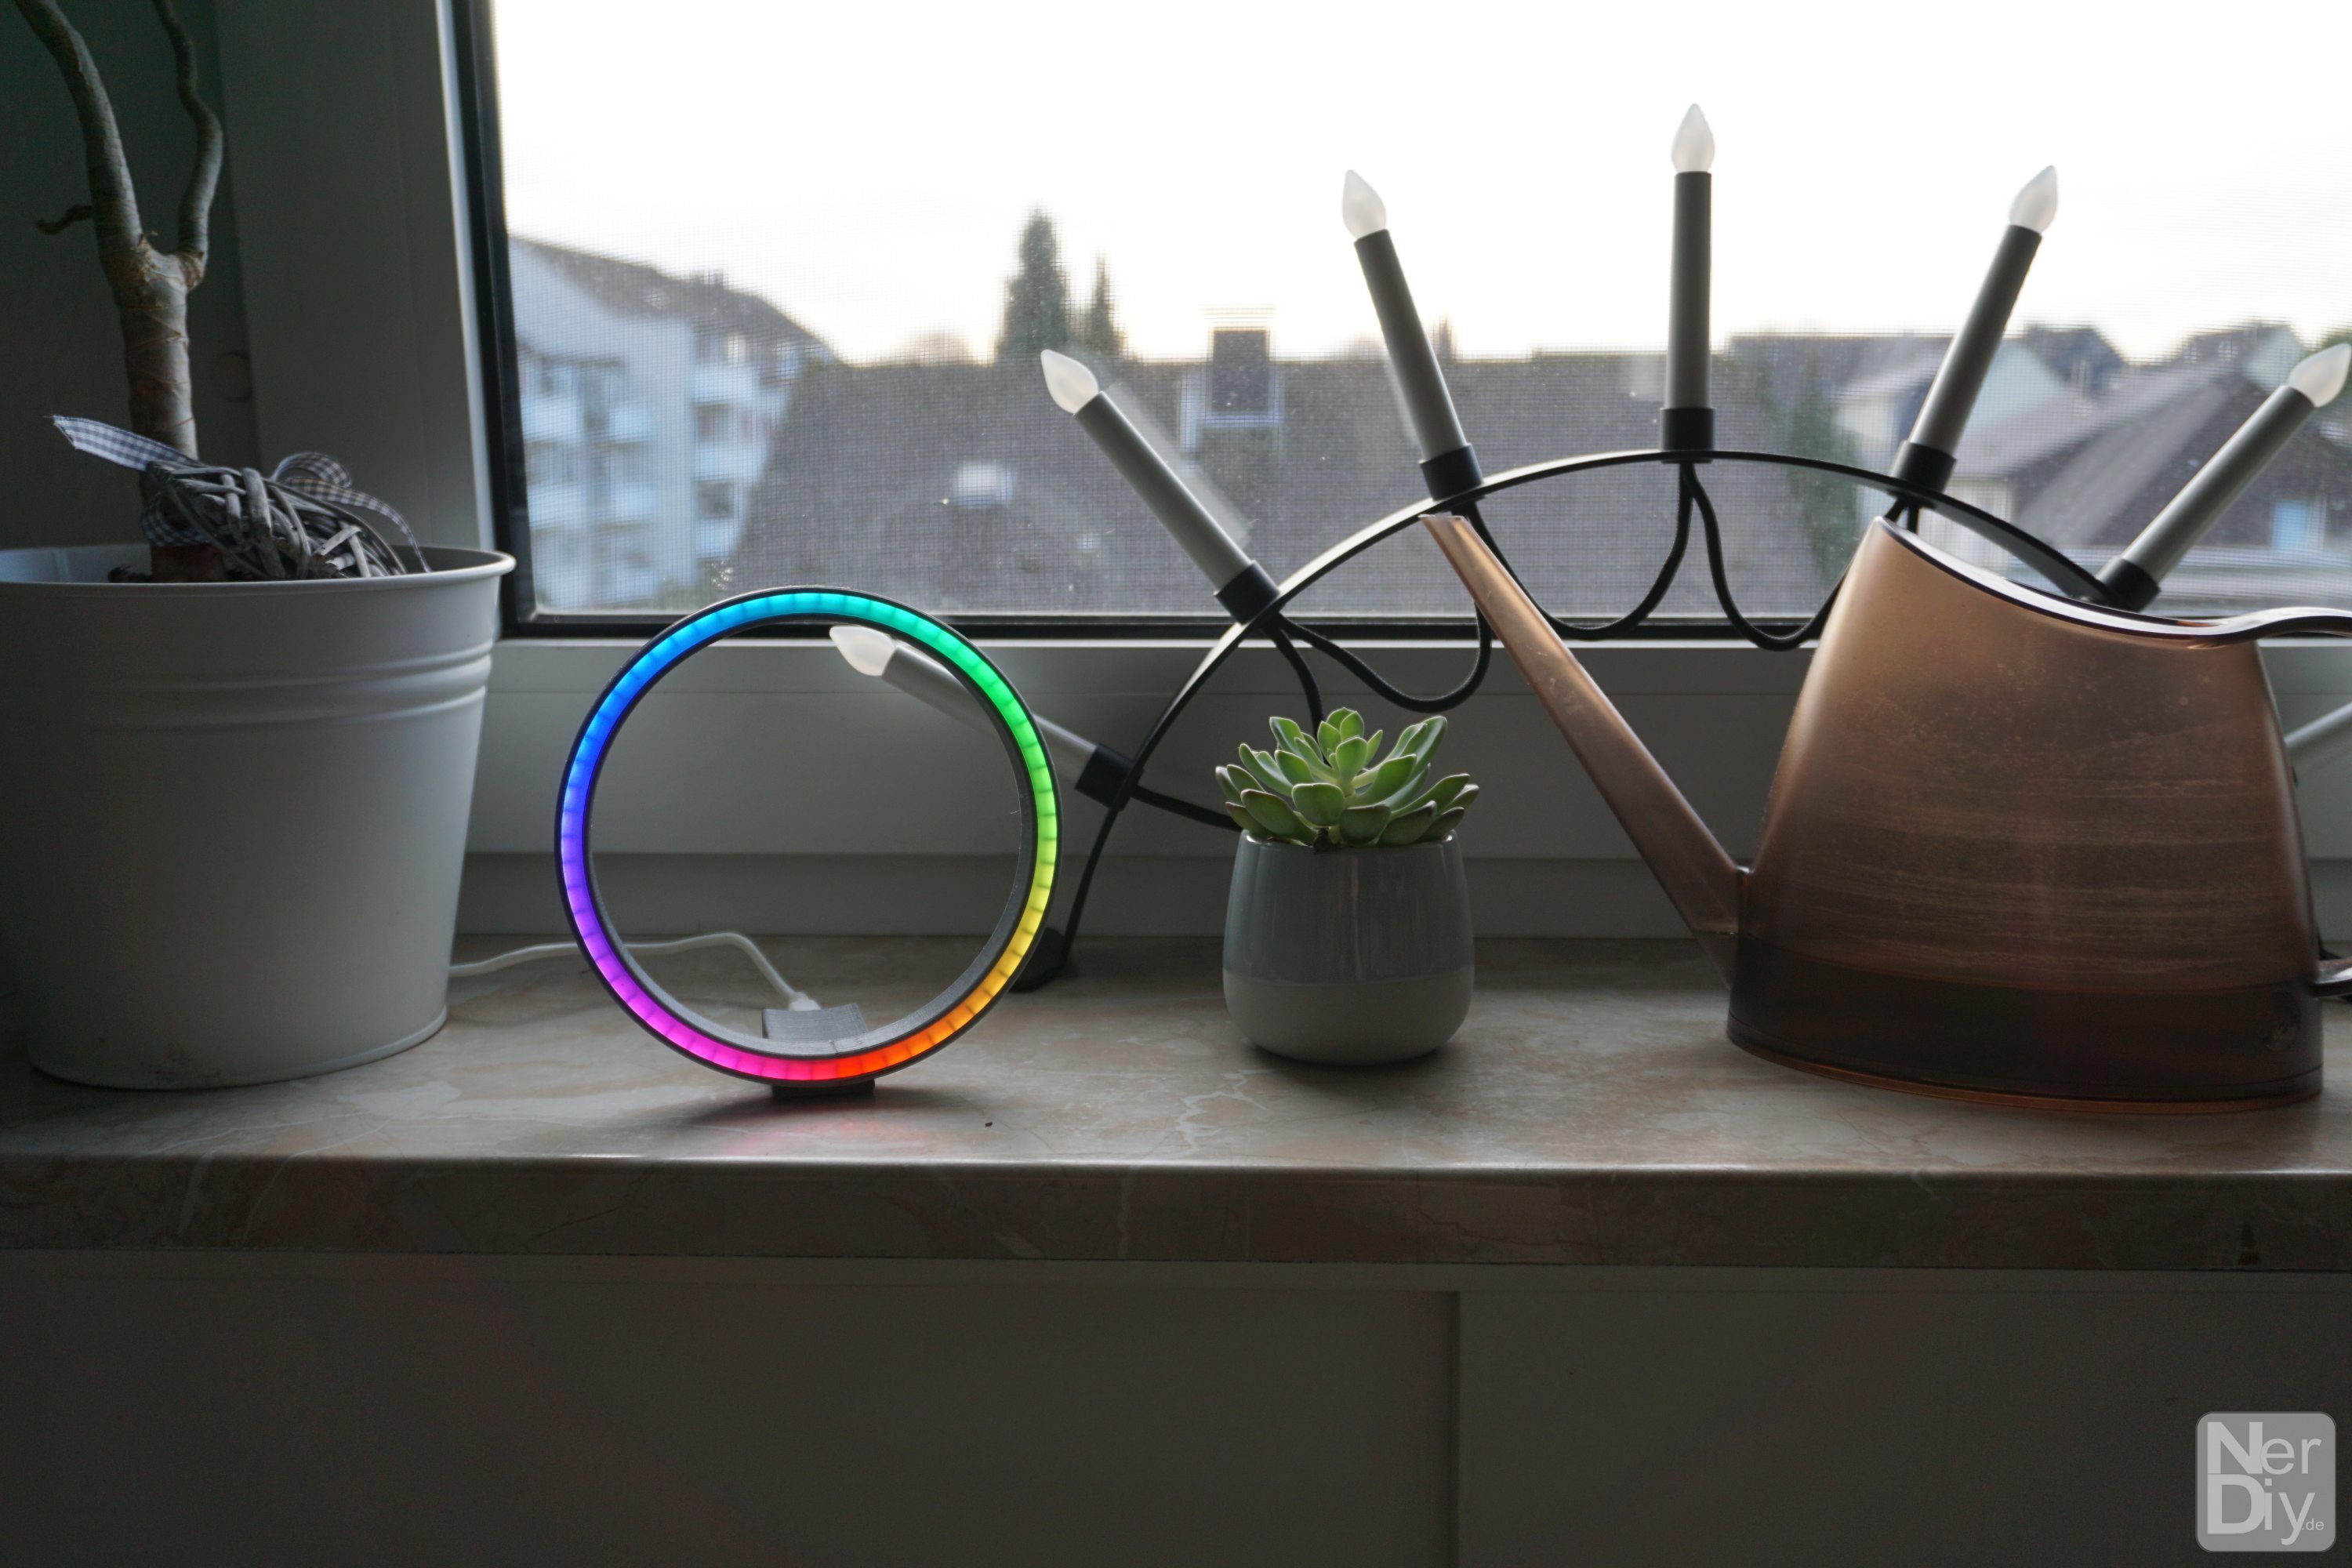
the article on the construction of the pxlBlck_RingClock is available at the following link. The RingClock is very similar to the pxlBlck_SlotClock. Only that the frame is a little more filigree. There is also the option to integrate an RTC in the housing of the RingClock. So the clock can also be operated without a time source via NTP or even wifi. :) Only downside in this case: Of course without wifi it wouldnt be able to receive and display notifications.
Build article is available here: https://nerdiy.de/en/howto-pxlblck-die-pxlblck_ringclock-aufbauen/
![]()
![]()
-
pxlBlck_8x8 build article
05/31/2021 at 14:47 • 0 commentsHey guys,
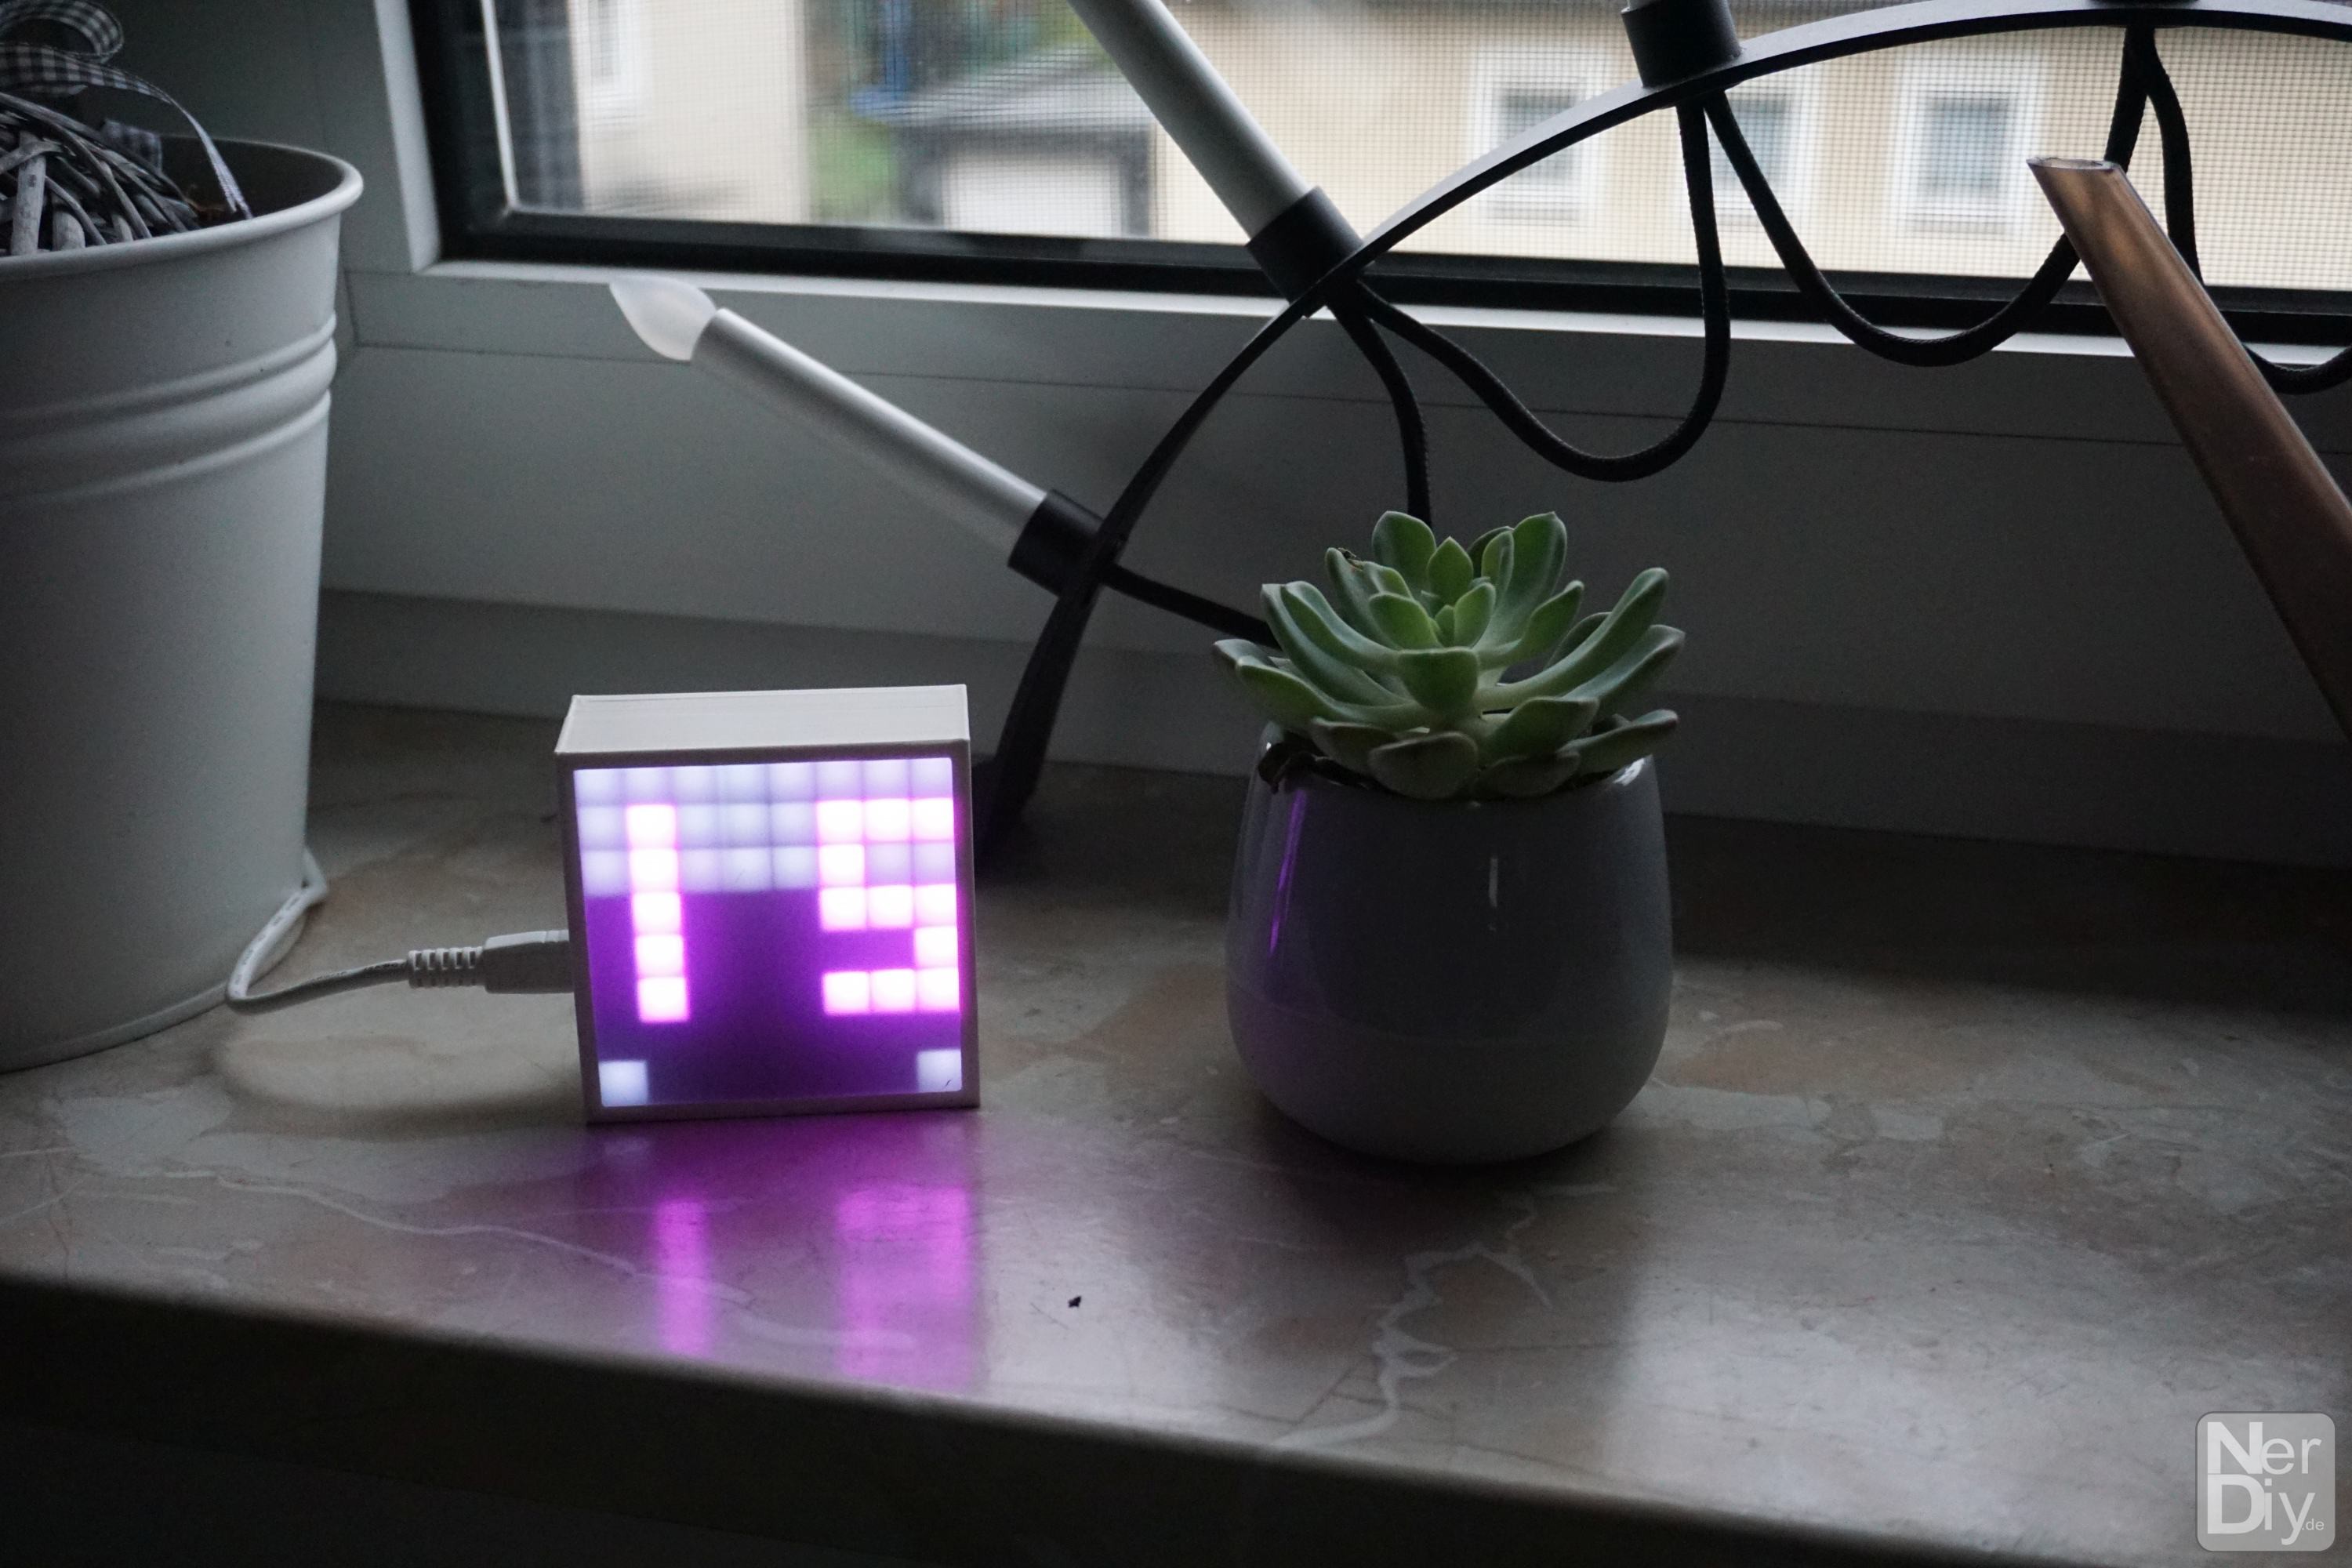
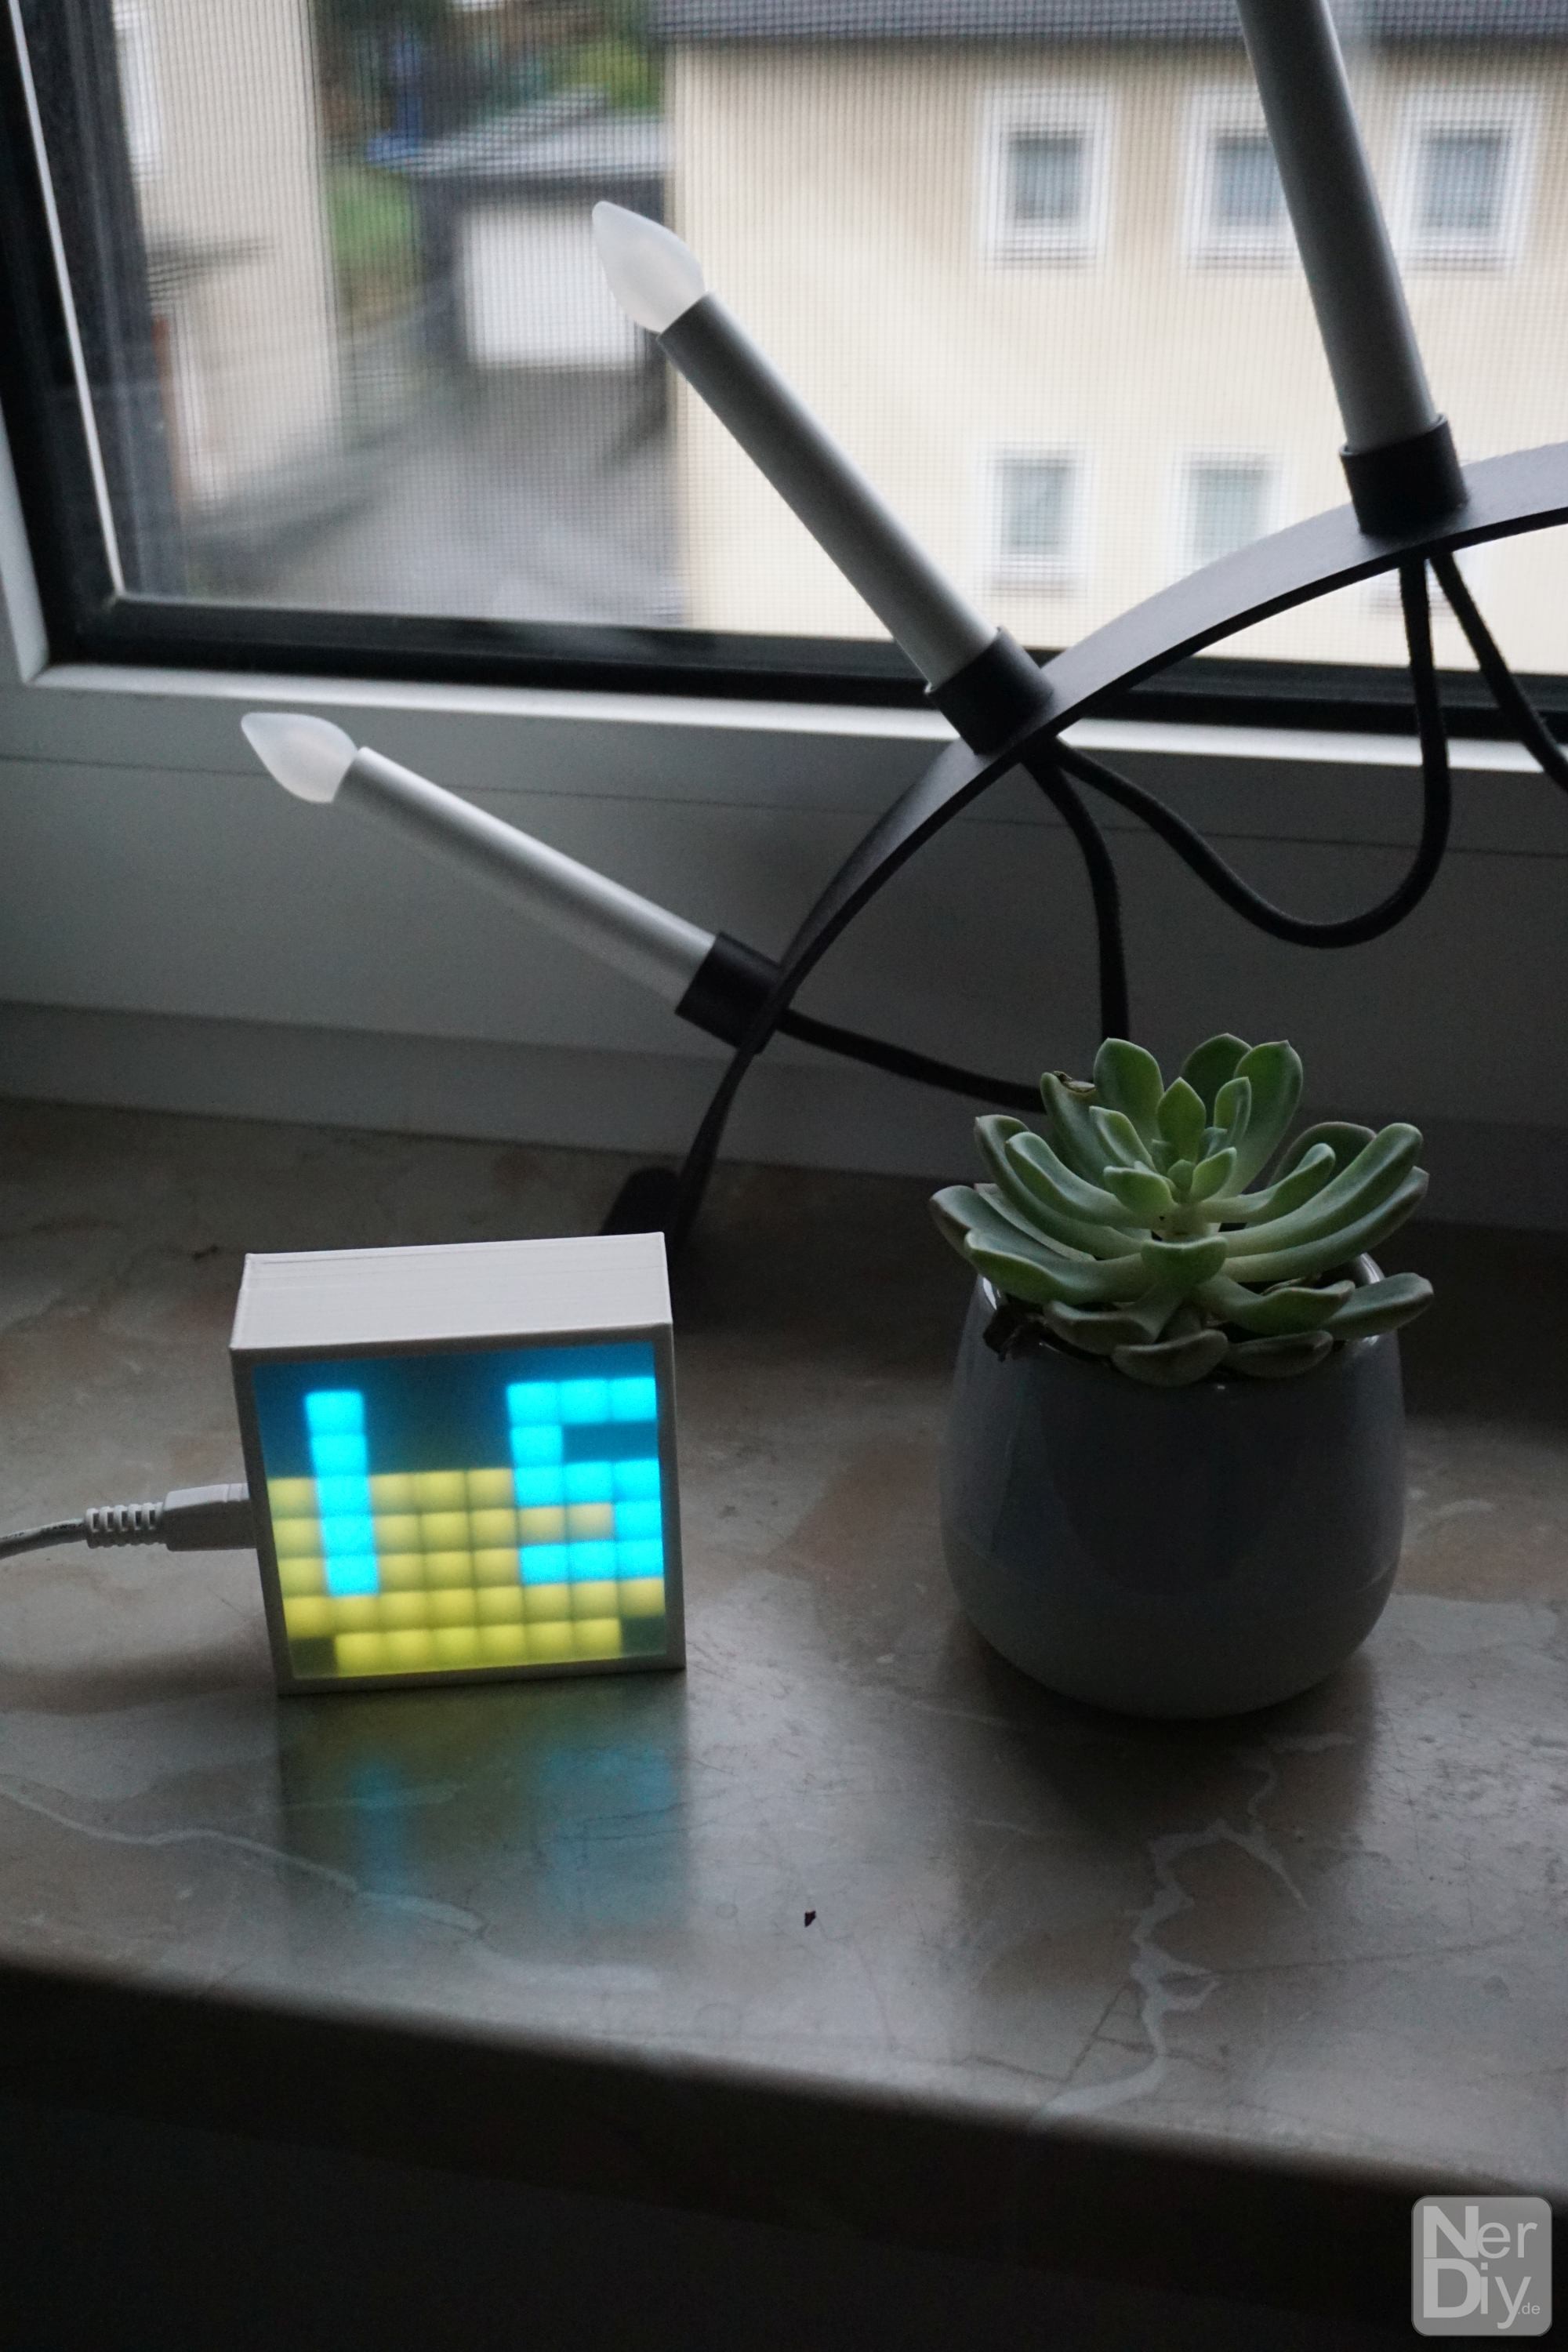
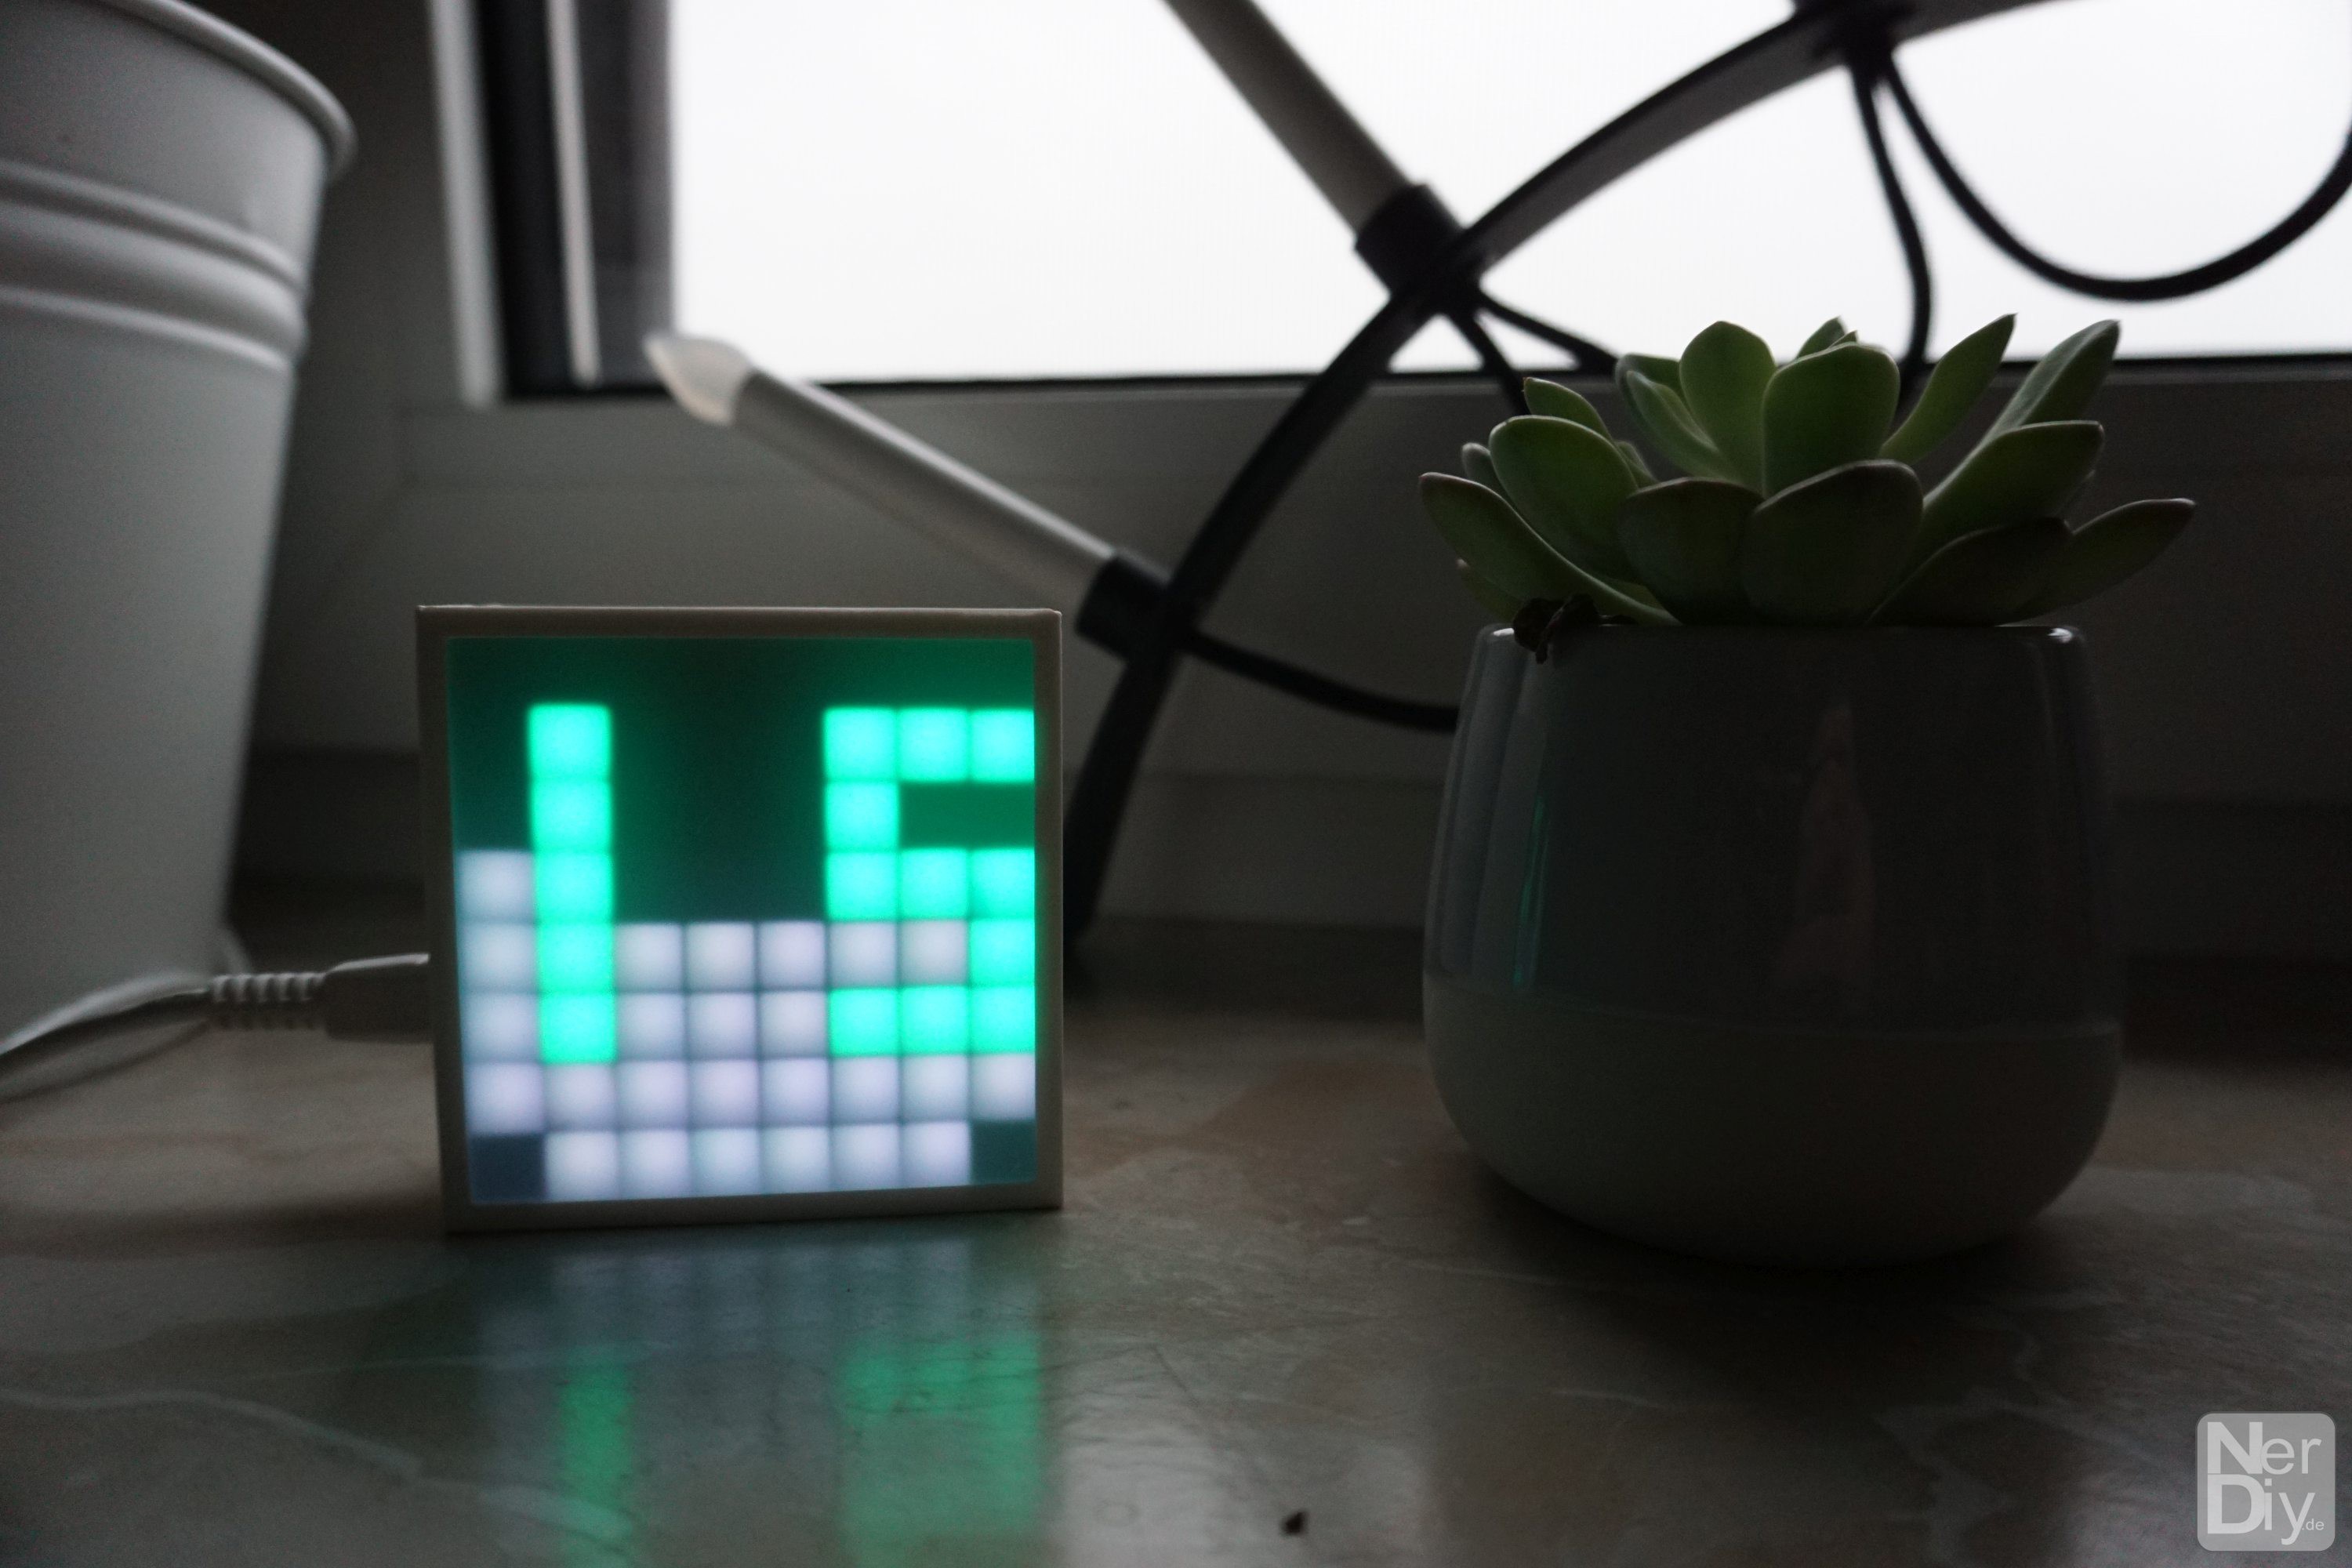
Apart from the pxlBlck_pot and pxlBLck_SlotClock there is another member of the pxlBlck family: the pxlBlck_8x8 This uses an 8x8 WS2812 LED matrix to display icons and animations and is powered by an ESP8266 as well. So you can use the complete range of functions of ESPEasy again.
Due to the limited display resolution, it was not so easy to find a clock face with which you can show both hours and minutes simultaneously on the display. The clock face shown now shows the number of hours by means of the large visible number. The minutes are shown by means of the displayed pixels. The display consists of 8x8 = 64 pixels. So the pixels in the corners of the square are not used to display the minutes. Reading down to the minute is unfortunately not as fast / intuitive with this dial as with the dials for the larger LED matrixes, but you can at least roughly estimate how far the hour has progressed (or not). : D
If you have any other ideas for a clock face on such a small LED matrix, I look forward to your comment. :)
The full build article incl. material list ist available here: https://nerdiy.de/en/howto-pxlblck-pxlblck_8x8-aufbauen/
And of course some pictures following. :)
![]()
![]()
![]()
![]()
![]()
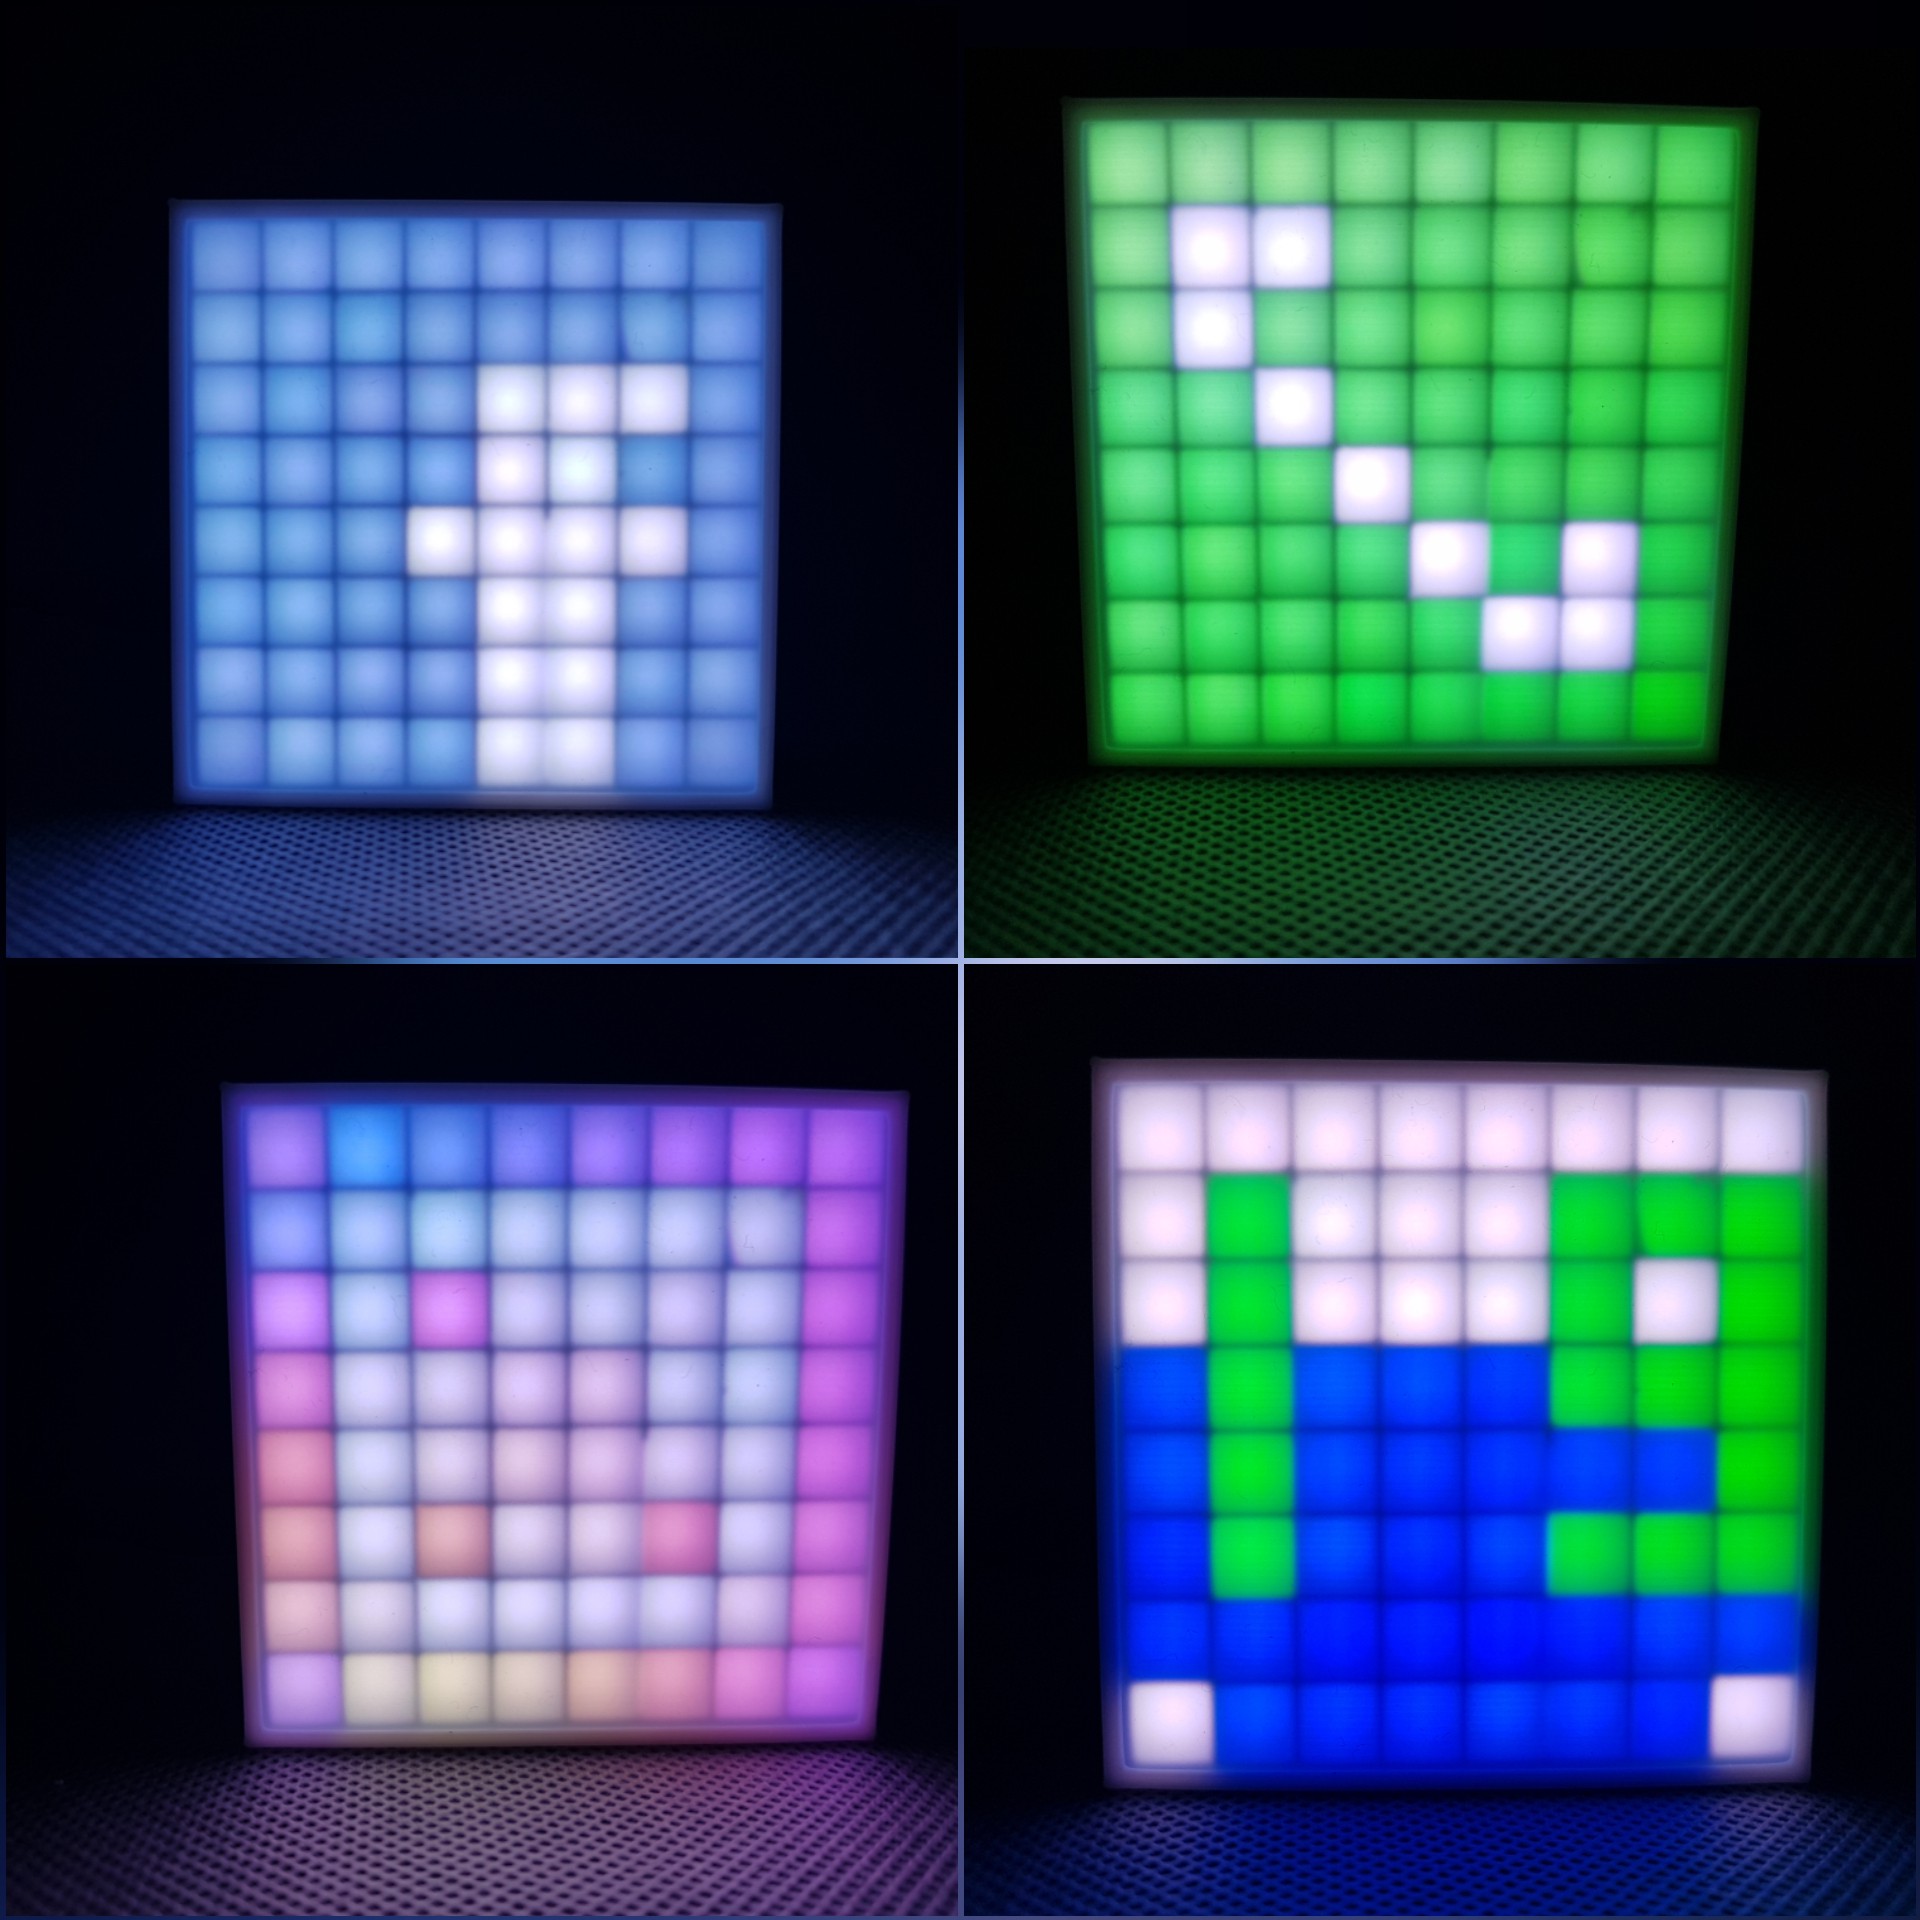
Overview of some example icons. (Yes the instagram-icon needs a little redesign. :D) -
The first two hardware plattforms: pxlBlck_SlotClock & pxlBlck_Pot
05/31/2021 at 14:43 • 0 commentsPlease see the first two hardware platforms of the pxlBlck family. :)
pxlBlck_Pot
The pxlBlck_Pot is basically a 3D printed flower planter. A 32×8 WS2812 LED matrix can be inserted into this. The whole functionality of the pxlBlck can thus be invisibly integrated into a flower pot.
The LED matrix cannot be seen when it is not switched on. The display is only visible on the outside when the LEDs are activated.
More info incl. detailed build log and material list is available here: https://nerdiy.de/en/howto-pxlblck-pxlblck_pot-aufbauen/
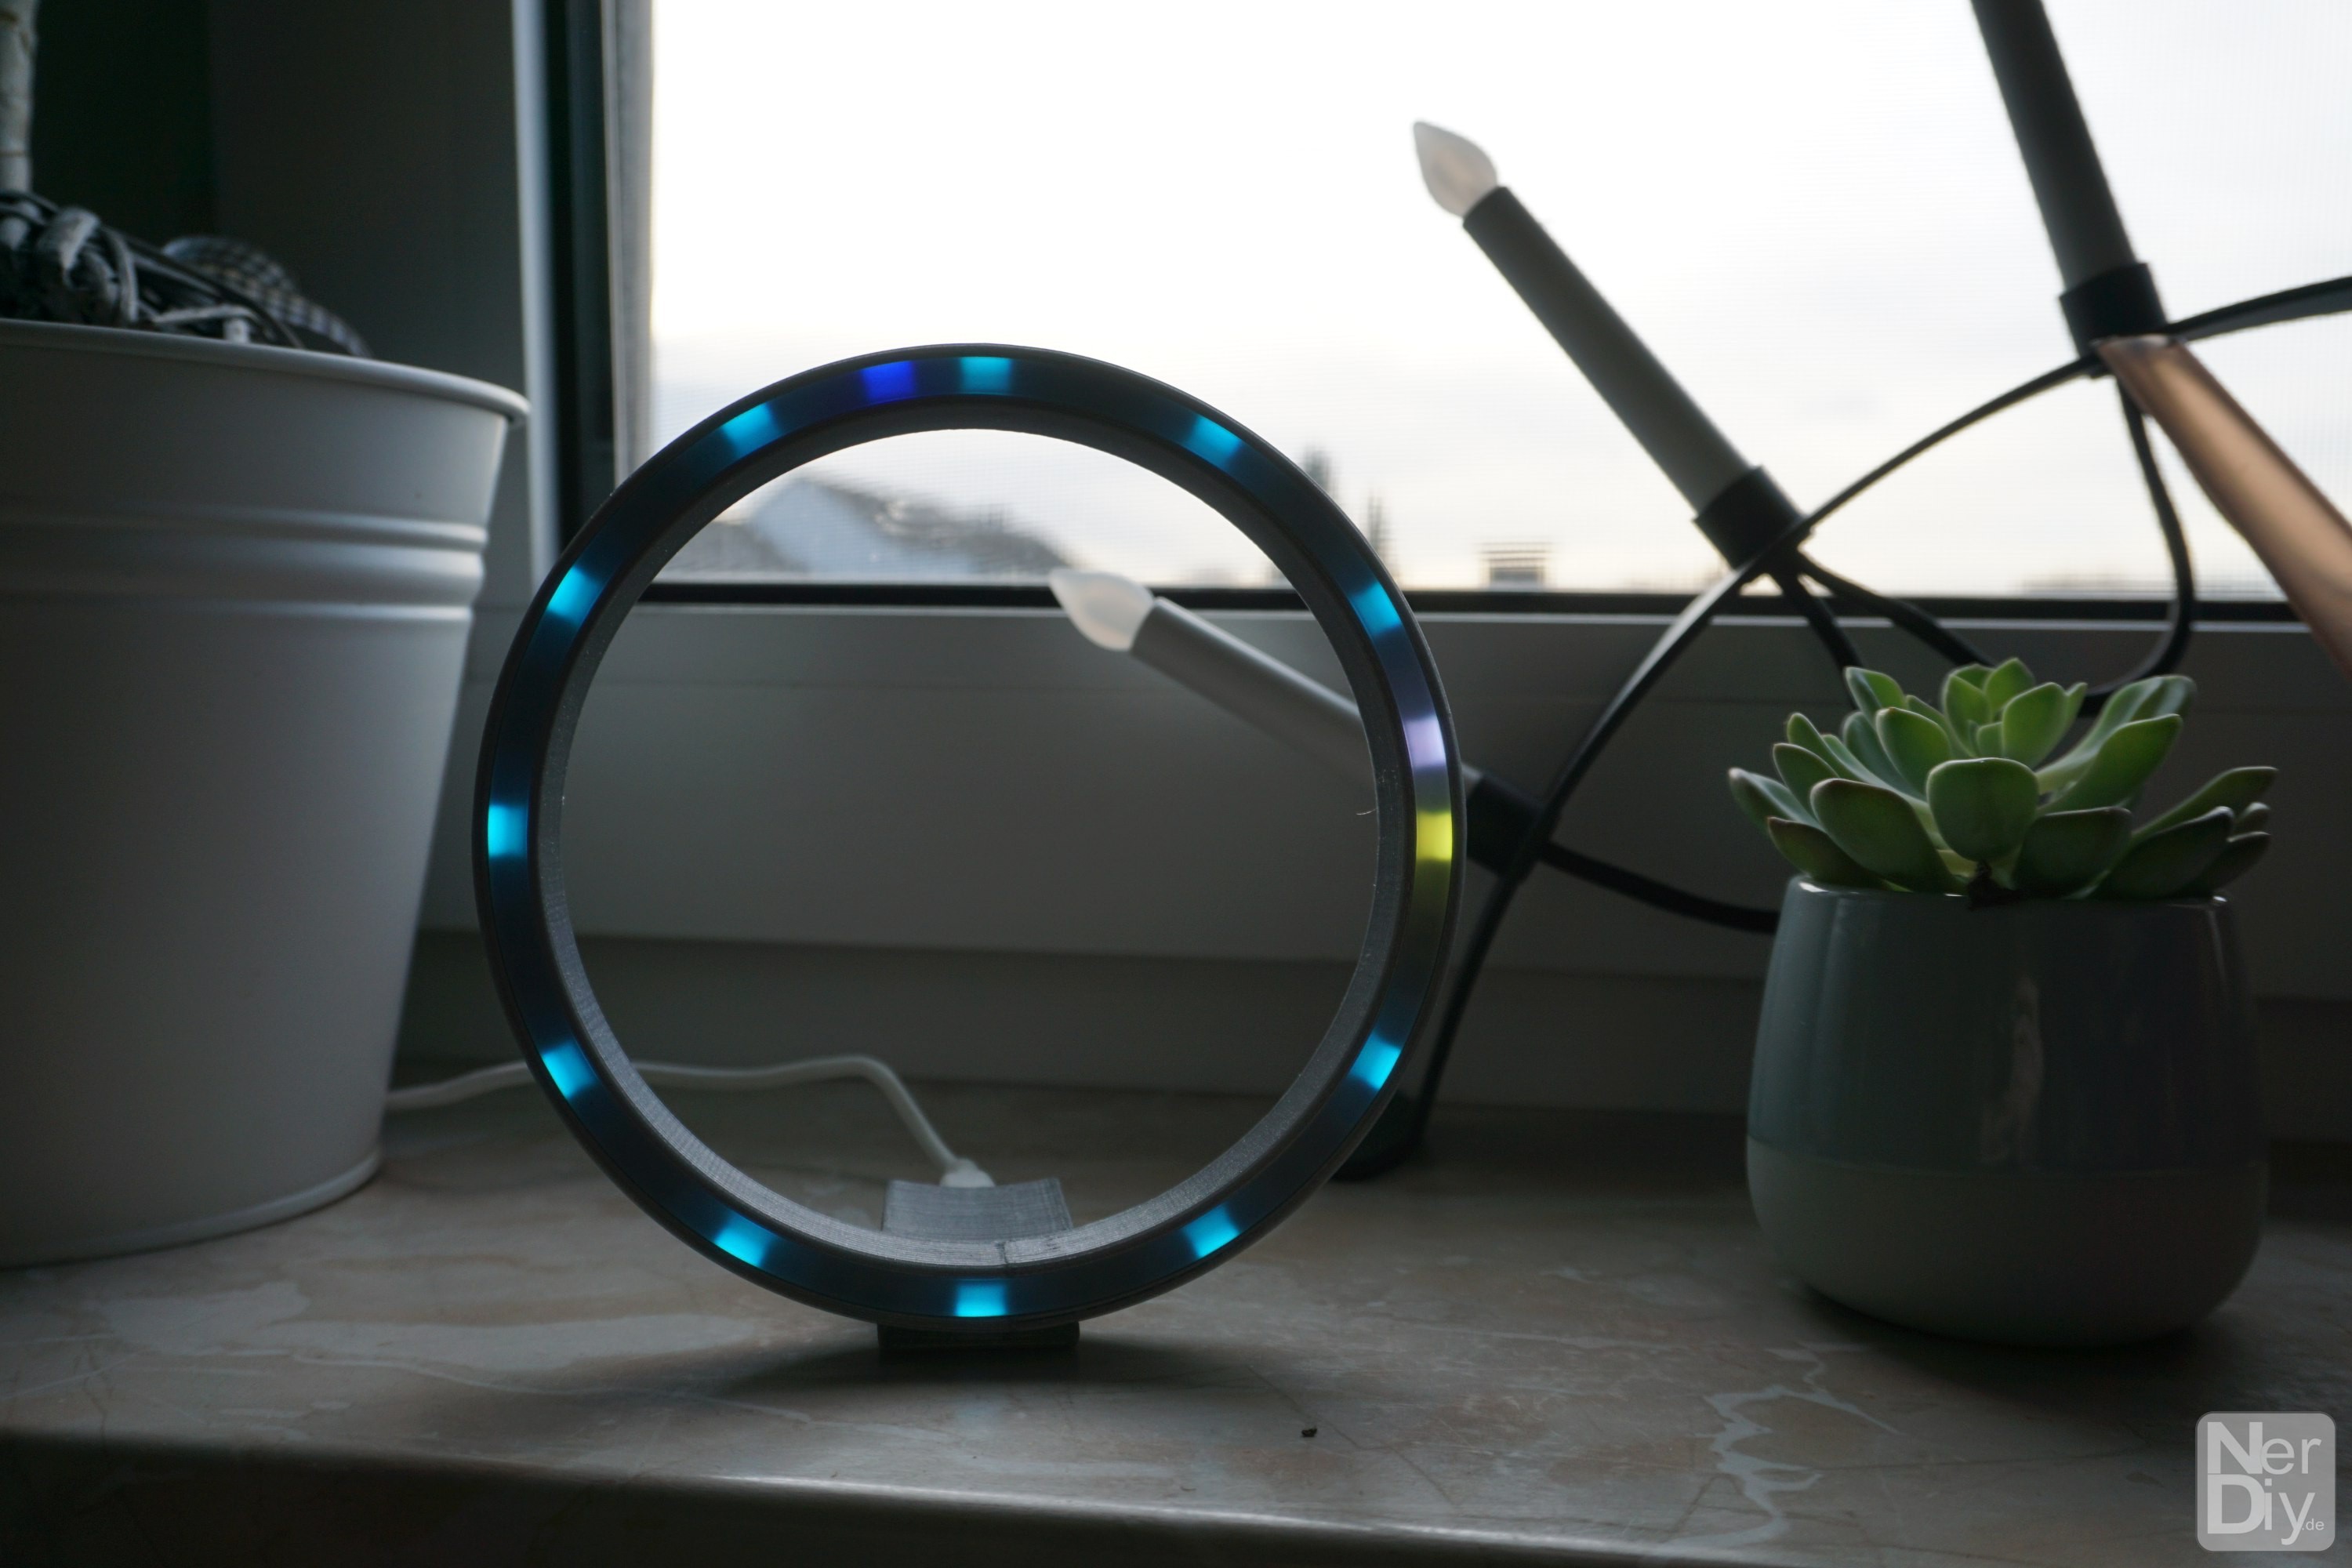
pxlBlck_SlotClock
The pxlBlck_SlotClock consists of a 1×60 LED matrix. It can display the time in the same way as an analog clock. The colors of the individual hands can be adjusted. Hour markers can also be displayed. This makes orientation and reading the time a little easier. :)
Animations can also be shown on the LED display to provide information about events.
More info incl. detailed build log and material list is available here: https://nerdiy.de/en/howto-pxlblck-pxlblck_slotclock-aufbauen/

pxlBlck_Pot 
pxlBlck_SlotClock -
Design icons, transfer them to the pxlBlck and display them
05/31/2021 at 14:31 • 0 commentsAnother article is available on my blog. This describes how the icons can be created using the .PPM format and uploaded to the SPIFFS of the pxlBlck.
The icons can then be displayed on the pxlBlck. You can use different fade-in and fade-out effects and also display an associated scrolling text. :)
All of this can be triggered using the (for ESPEasy) typical commands via MQTT, UDP or HTTP requests. So the whole thing can be controlled and triggered very well from the well-known SmartHome system. :)
The article is available here: https://nerdiy.de/en/howto-pxlblck-icons-designen-auf-den-pxlblck-uebertragen-und-anzeigen/
![]()
Sorry for the bad video quality. Really tricky to film something with such a high contrast. :/ Any tipps about how to film that properly are really welcome. :)
-
pxlBlck – Configure watch faces and screensavers
05/31/2021 at 14:22 • 0 commentsI also managed to create a few first tutorials. This one explains how you can set and configure the various clock faces and screensavers. You can see a small overview of the individual clock faces and animations here. :)
Here is the tutorial: https://nerdiy.de/en/howto-pxlblck-ziffernblaetter-und-bildschirmschoner-konfigurieren/
Some examples are visible in the following videos. Of course most of them look cooler in reality. Sadly, my camera has problems to display the partly huge contrasts and colors in general properly. :/
-
Install and configure the pxlBlck plugin
05/31/2021 at 14:18 • 0 commentsIn addition to a few other articles, I have published an article to explain the installation and configuration of the pxlBlck plugin.
A small feature that I'm a little proud of (not because it's special, but because I've worked on it for a long time) is the color picker with which you can set the different colors of the screensaver or clock faces. The color can be set directly in the web menu of the ESPEasy plug-in and you don't have to enter RGB values manually (which is still possible). :)
The full article is available here: https://nerdiy.de/en/howto-pxlblck-das-pxlblck-plugin-installieren-und-konfigurieren/
![]()
-
Git-Repository published
05/31/2021 at 14:05 • 0 commentsIn the meantime the pxlBlck-repository is filled with all the information you need to build your own pxlBlck. :)
It includes the pxlBlck-plugin (for ESPEasy) and the needed STL files for the first kinds of pxlBlcks. More information will follow. :)Link to the repository is here: https://github.com/Nerdiyde/pxlBlck
pxlBlck - An unobtrusive home information display
A multifunctional home display and optical notification system for everyone