 Alex
AlexWe did some work on a nice mostly 3d printed Enclosure for the two cameras. We also diced do go for two custom PCBs: One on the Camera side and one as HAT for the Raspberry Pi. This makes it possible to replace the two flatflex cables with a more robust solution and to add buttons as user interface and LEDs to the Camera-"Head". For the cable we planning to reuse a DVI dual link cable. This has enough lines for both cameras and some extras.
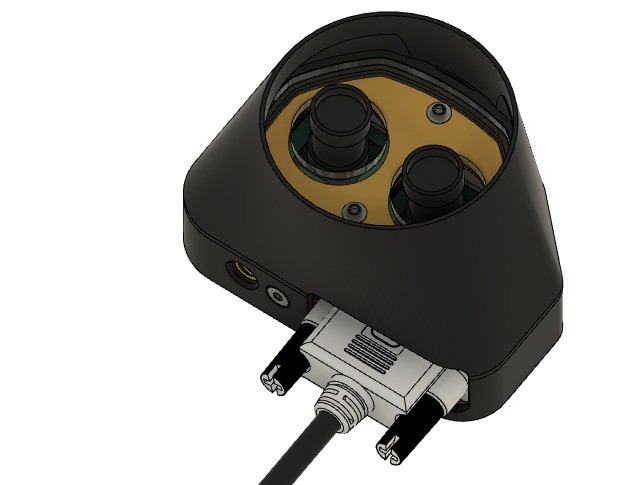
View from Bottom on the Cameras. Yellow is the place holder for the LED-PCB
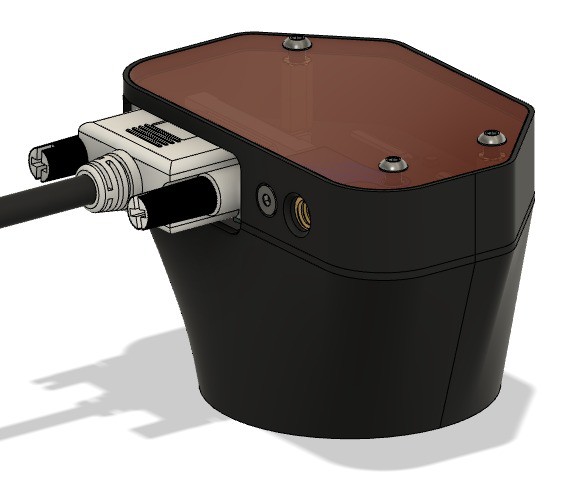
Top view. The top could be any 3mm plate. I am thinking of laser cut acrylic right now. There could be also cut-outs for additional LEDs and Buttons for user interface. You can also see the mounting nut for standard camera Hardware (Magic Arm our similar).
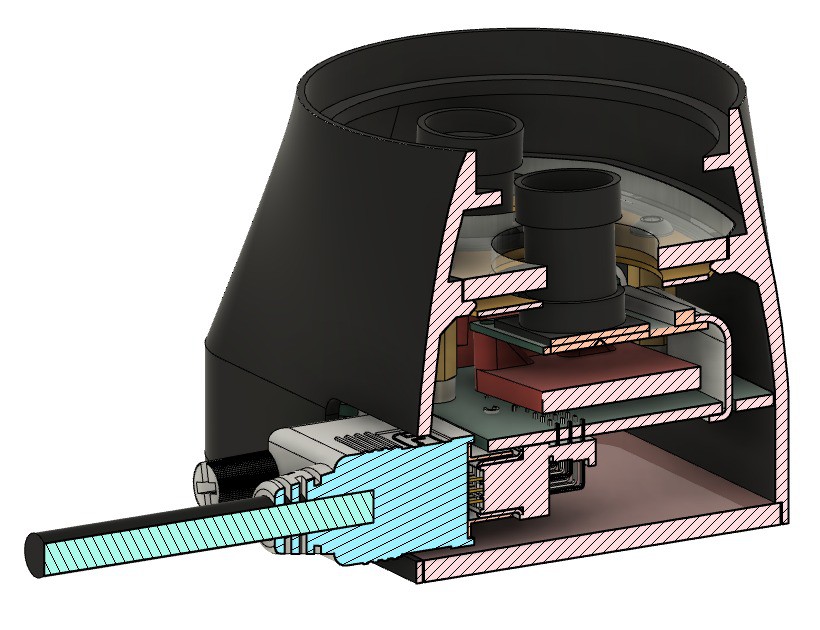
Cut to see some of the internals. Here you can also see the planned difusor (probably also laser cut acrylic) above the LED-PCB
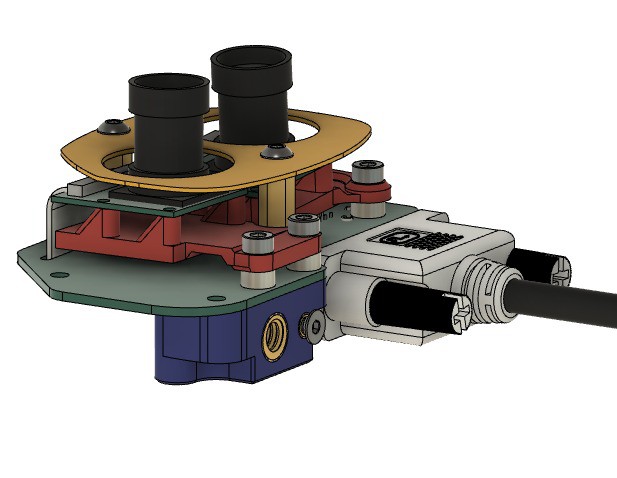
Side view without the outer shell. It is usable like this. The outer shell is mechanically not needed it does not fall apart and the mounting nut is bolted to the PCB (green). We are also thinking of using the two stand off connecting the Main PCB (green) and LED-PCB (yellow) as electrical connection for the LEDs.
Discussions
Become a Hackaday.io Member
Create an account to leave a comment. Already have an account? Log In.