 Canine Defense Technologi
Gimbal/Enclosure Assembly & Starlight Electro Optic Dev
The gimbal-stabilized enclosure pod is the heart of the ISR part of Valor sUAS. Building a gimbal isn't too tricky nowadays with great open-sourced gimbal controllers and a wide selection of motors, which we made sure to take full advantage of. The next challenge was building a weatherproof and aerodynamic pod to compactly cram in multiple optics. The optics pod enclosure had the most amount of full revisions in CAD out of any assembly we designed for Valor sUAS, with development on the SPOT dating back to 2020, but we managed to cook up a very good geometry and intuitive assembly to make integration and tuning a breeze.
One of the challenges we faced was miniaturizing the optic pod. To provide operators with an effective and practical FPV feed, the ISR package needs to be able to zoom into a subject. Initially we looked at large zoom camera modules that required heavy lenses and a large overall dimension. This would mean to achieve the same mass/form factor budget for the SPOT optic pod, the laser and thermal camera could not be added as part of the package. The solution we came up with was what modern phones have adopted, taking advantage of multiple lenses and sensors to effectively create a hybrid zoom! By using 2 sets of optics and sensors with carefully selected focal lengths, we ran multiple bench tests to create the best combination till we reached an insane range of 170 degrees if wide angle camera feed to 30x zoom equivalent maximum zoom. With 2 tiny cameras and lenses, we effectively reached an equivalent performance of most medium size fixed wing ISR drone optics!
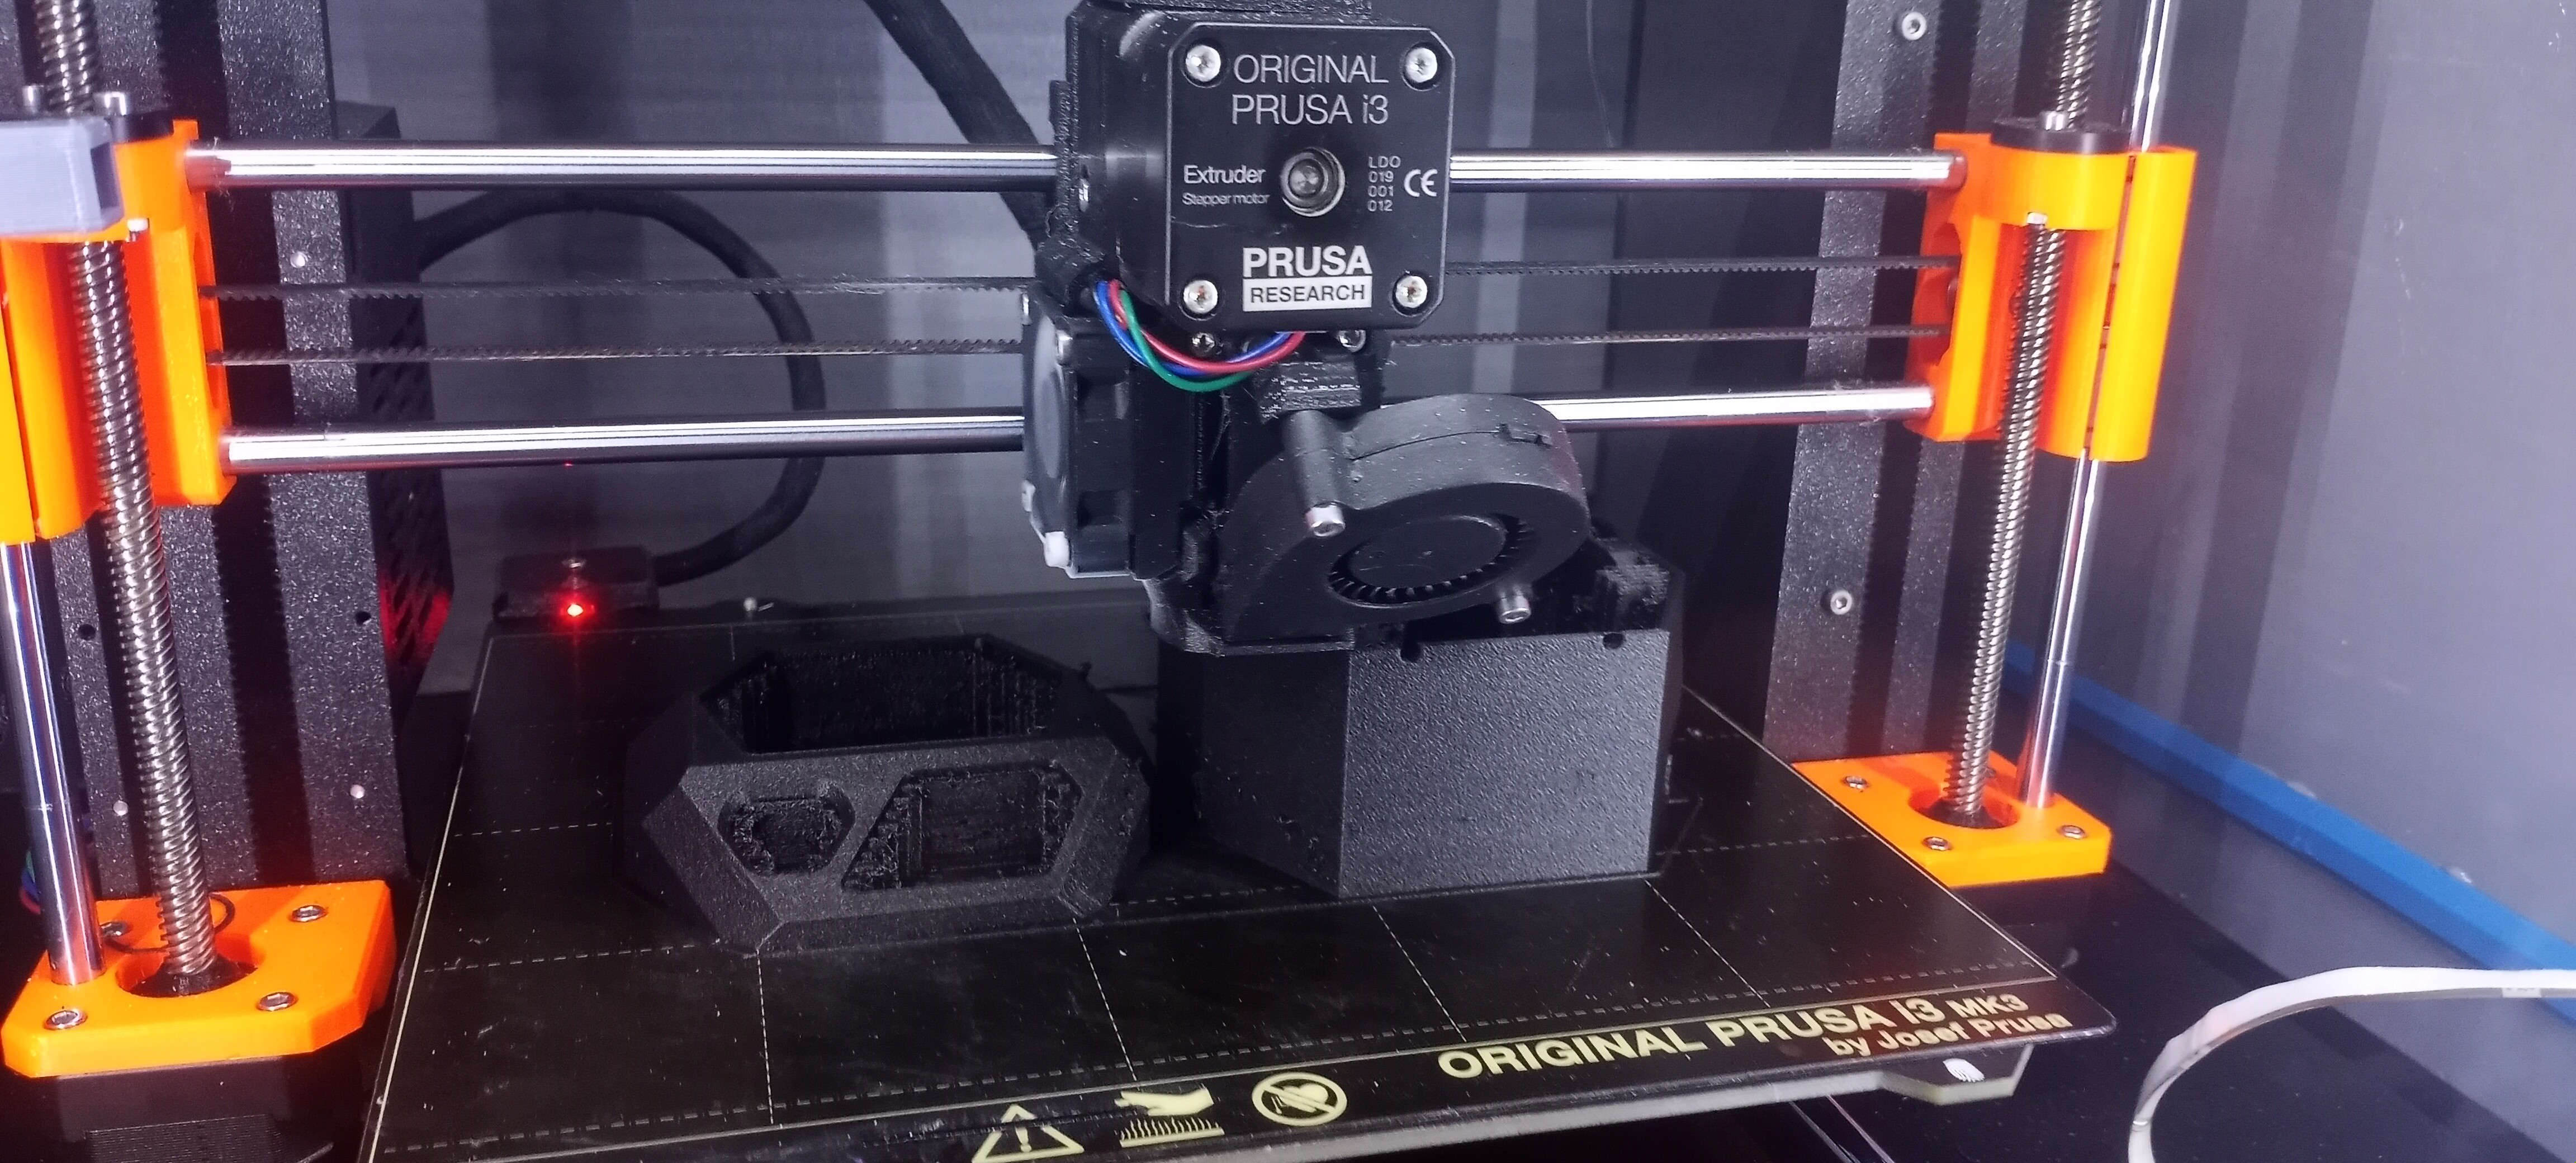
3D Printing the prototype enclosure pod. The final version is SLS 3D printed.
The enclosure is a 3D-printed sealed pod that houses all the electronics. The prototypes are FDM 3D printed, however, the final version is SLS 3D printed with a waterproof coating. FDM 3D printing is not watertight, which is problematic for an optic enclosure, we really don't want condensation or any moisture overall.
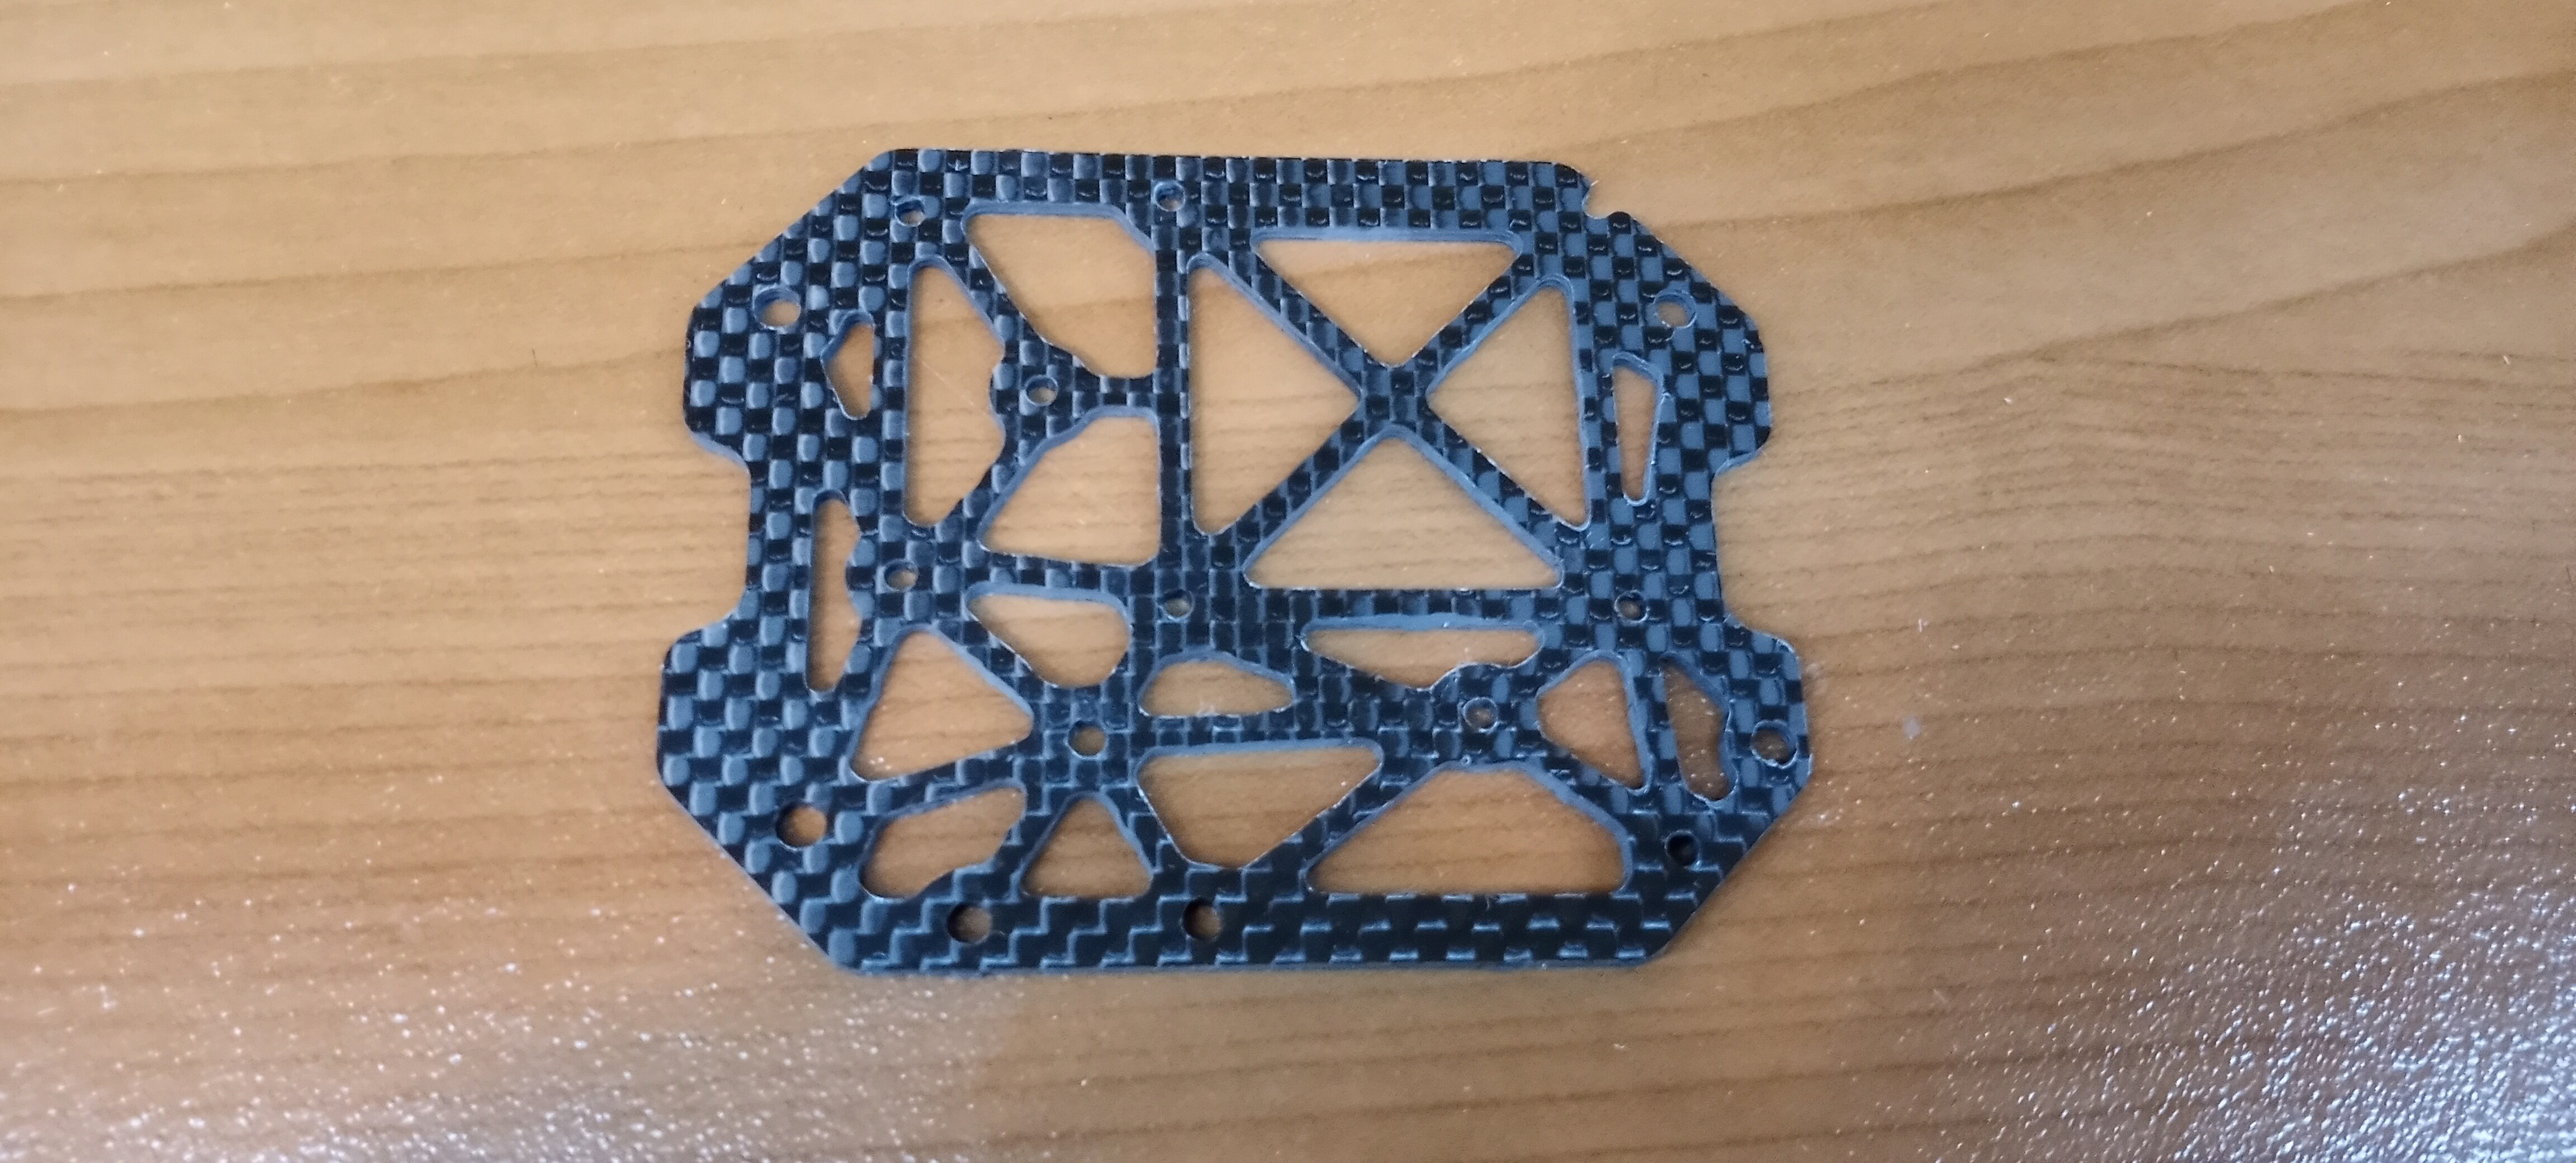
View of machined optical frame
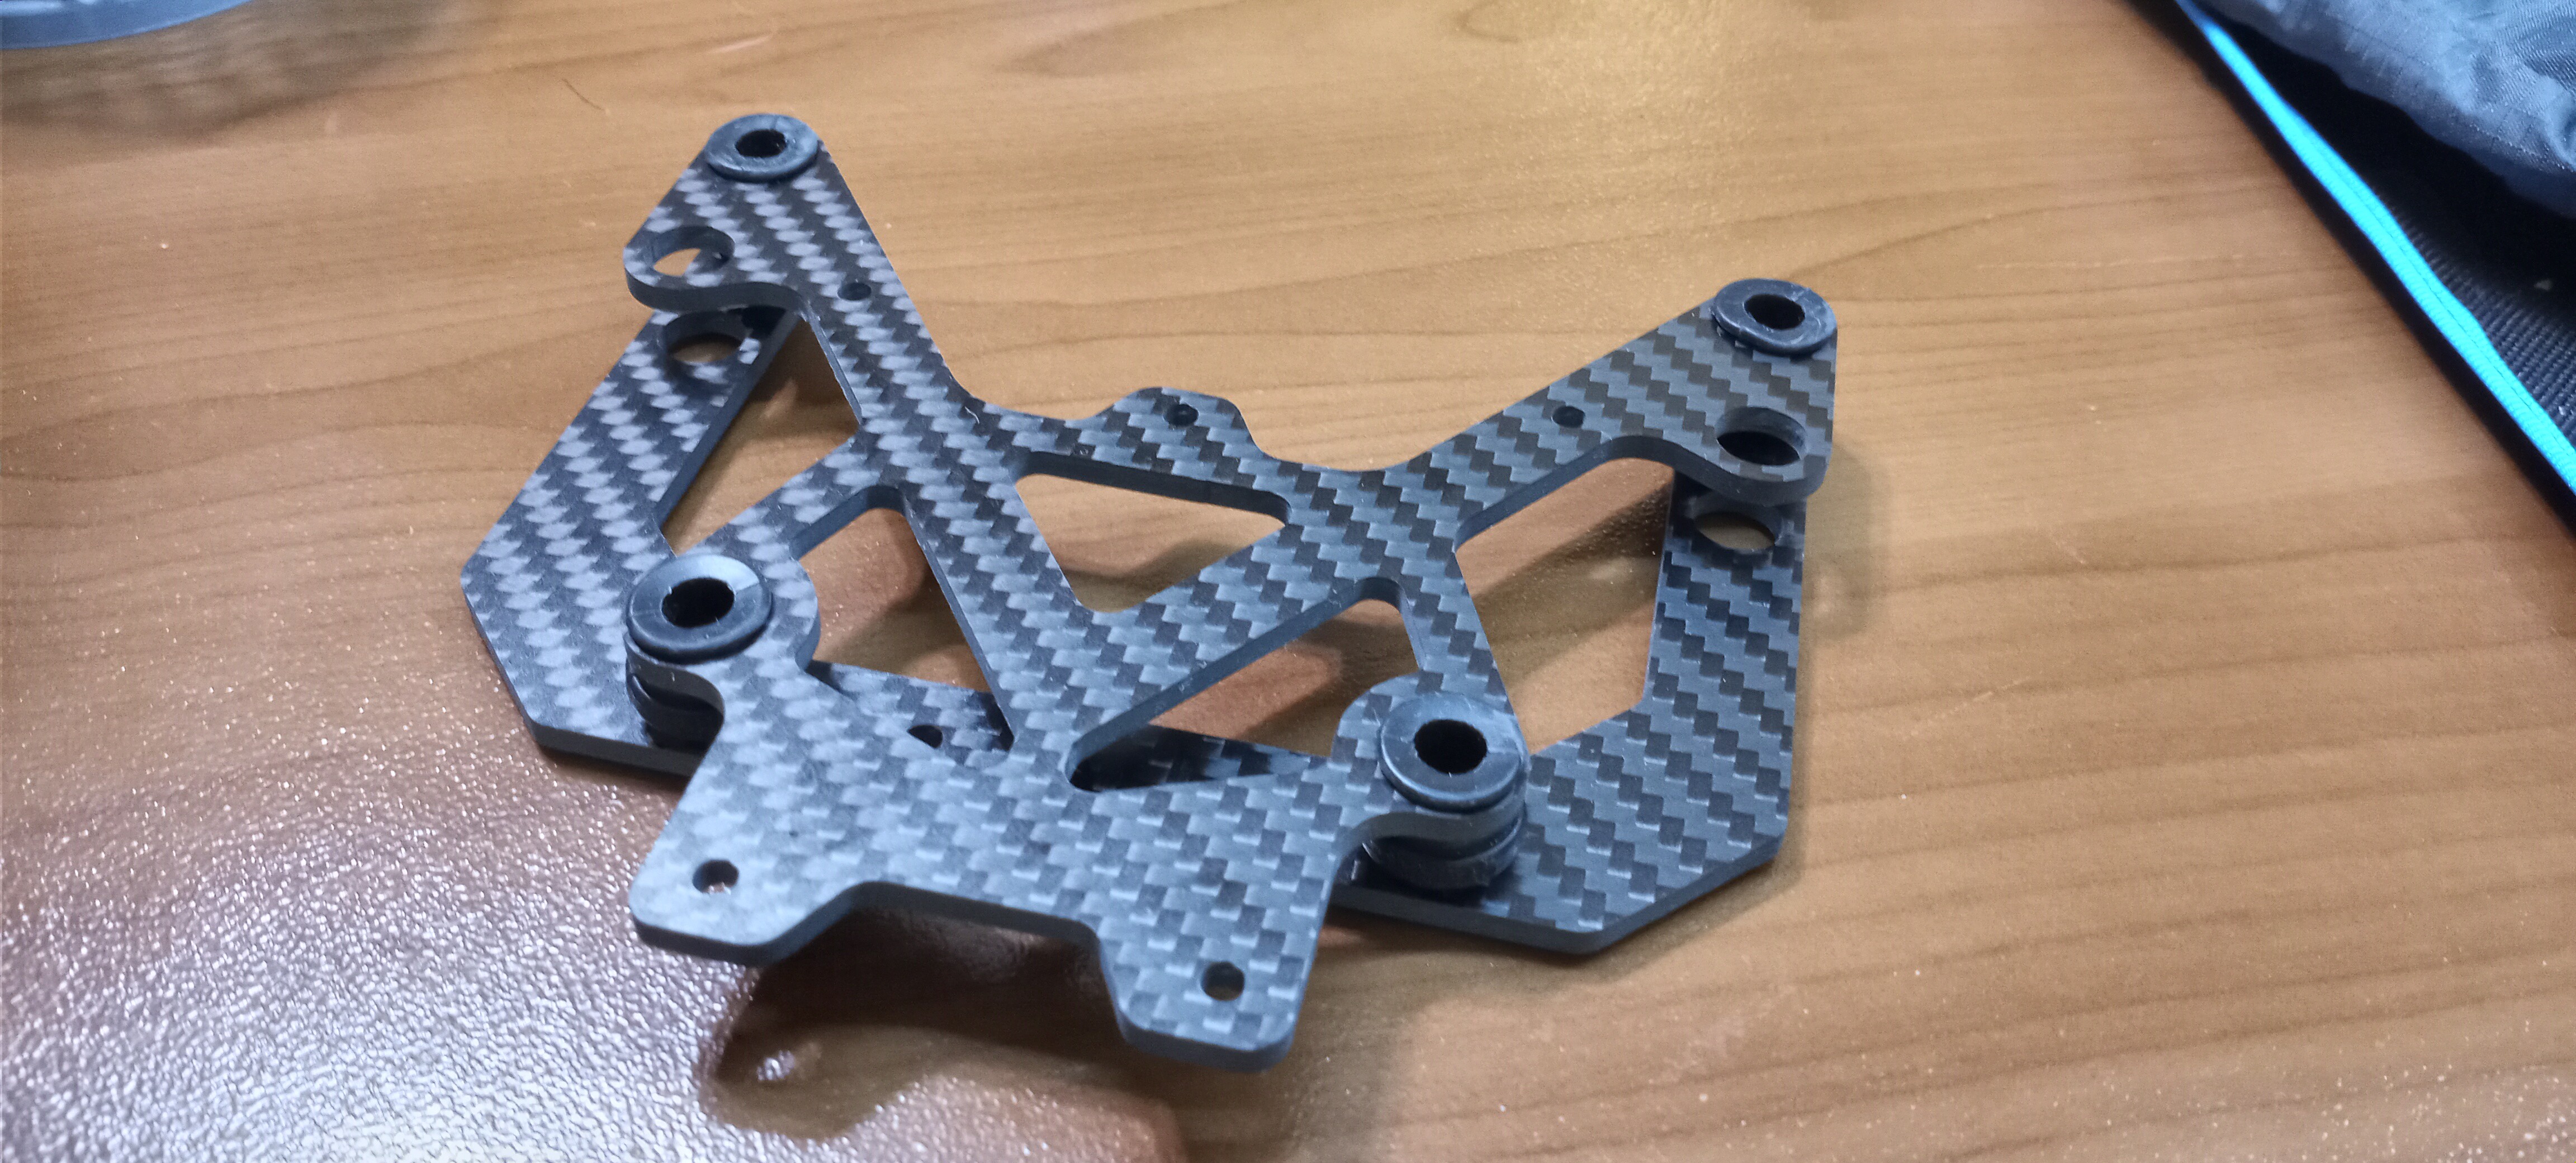
View of vibration dampener assembly
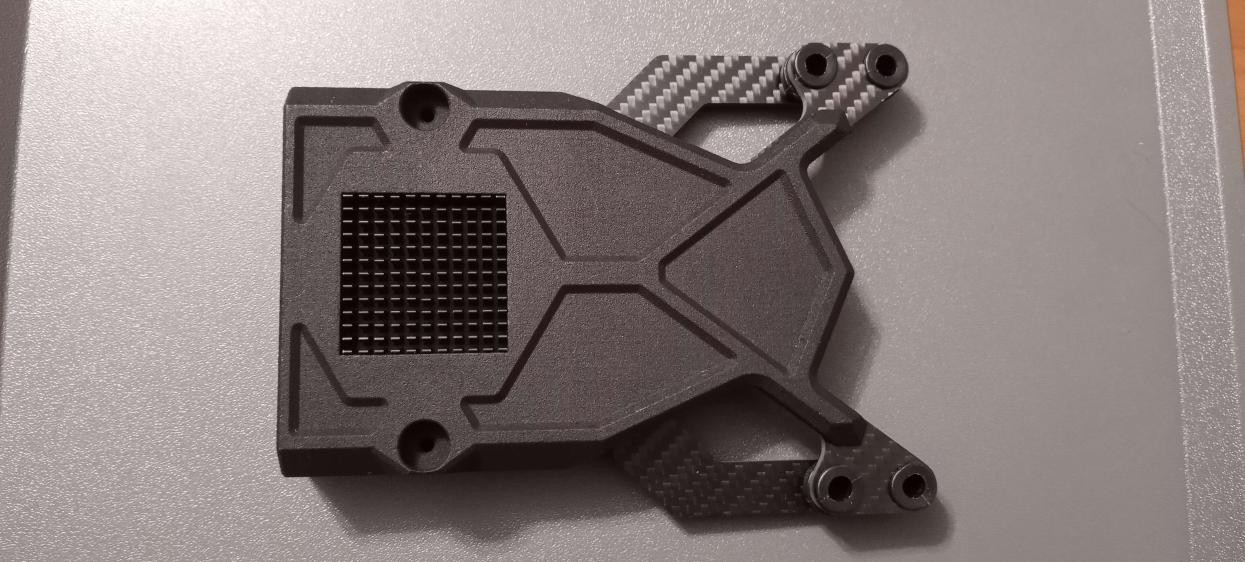
View of electronics enclosure and vibration dampener assembly
Like the airframe, carbon fiber was the material of choice for most of the gimbal's structural components for its superior strength-to-weight ratio. The vibration dampener isolating the optic pod from the vehicle interface is a critical component in preventing video jitter. For this application, carbon fiber, a material with very high stiffness properties is preferred to prevent resonance.
A lot of optics pods seem to have the optics built into the enclosure. We did the opposite by building the enclosure around the optics. This means if the optics need to be removed for maintenance, it slides out of their slots with the removal of only four screws. The carbon fiber optics frame holds everything together in one piece, so lenses can be easily swapped out and changed, any kind of tuning or even swapping the sensors requires minimal tools (Only an allen wrench).

View of EO/IR assembly mounted on the optic frame
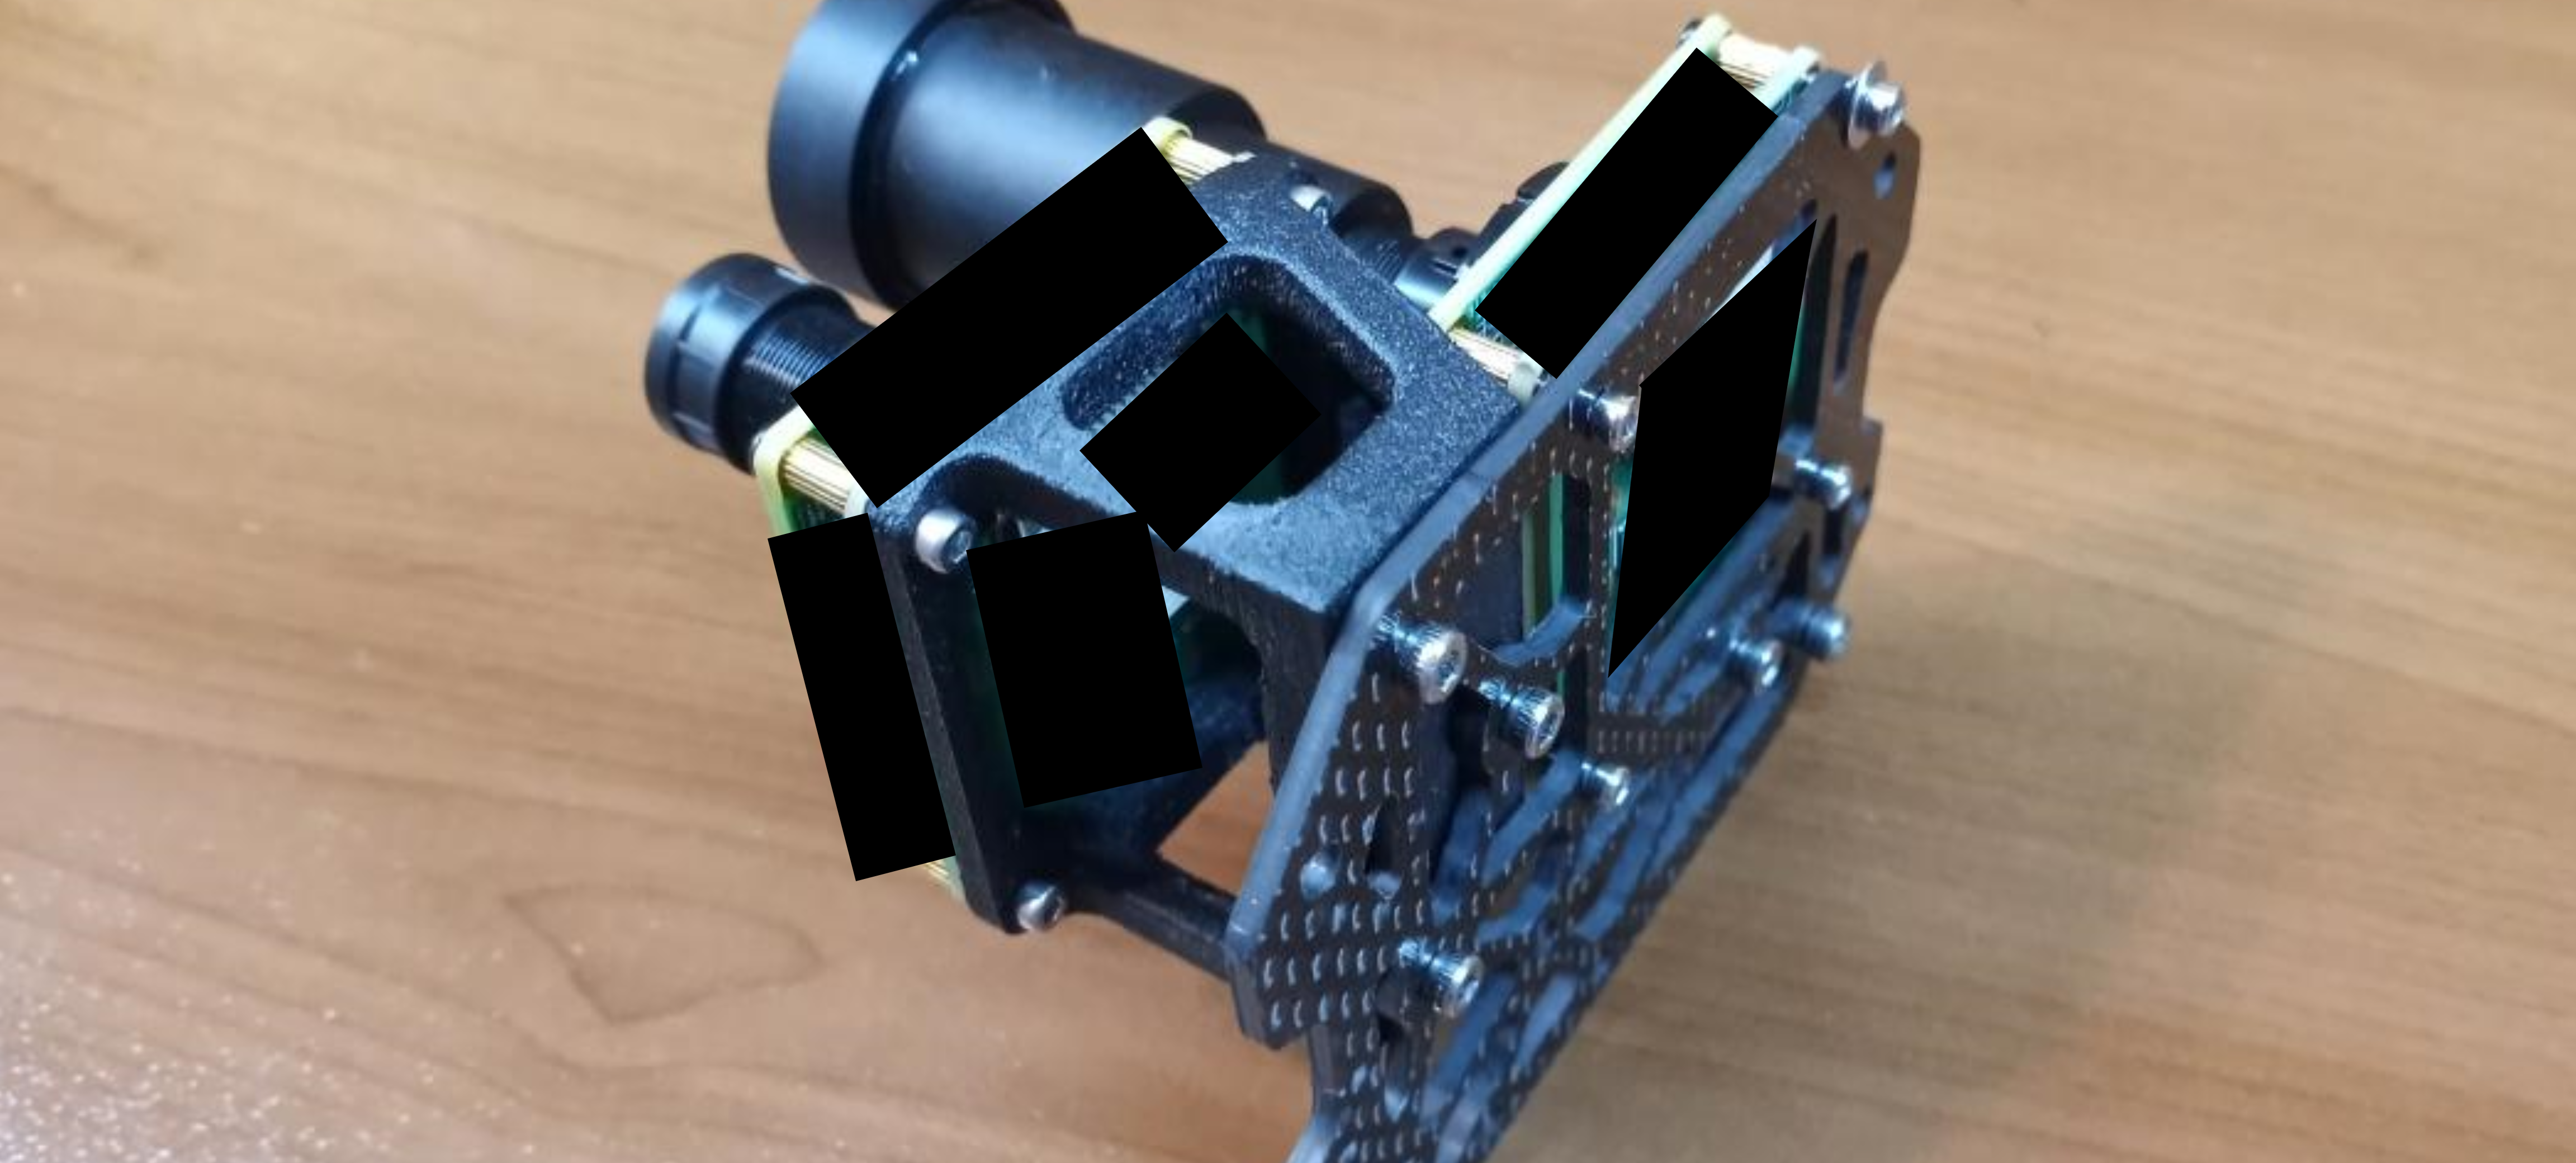
Side view of EO/IR assembly mounted on the optic frame

SPOT Optic pod after integration, laser assembly not installed yet
The enclosure pod acts as a frame holding the Lexan optic windows and the germanium window. Thermal cameras can not see through glass or Lexan, so a special optical-grade germanium window needs to be used. Germanium is like the opposite of glass, completely blocking all visible light and only letting IR through. It looks like a metal disk

Demonstration of Germanium window and its LWIR transparent property
After integration, we proceeded to test the thermal optics and the electro-optics. Details on the thermal optics can be seen below. The visible electro-optic camera sensors were carefully chosen starlight sensors, offering incredible low-light performance on par with commercial digital night vision. We were blown away by the low light sensitivity of our sensor!
Our lab serves as a simulated low-light demo. Exposure and clarity increased to match what the human eye could see
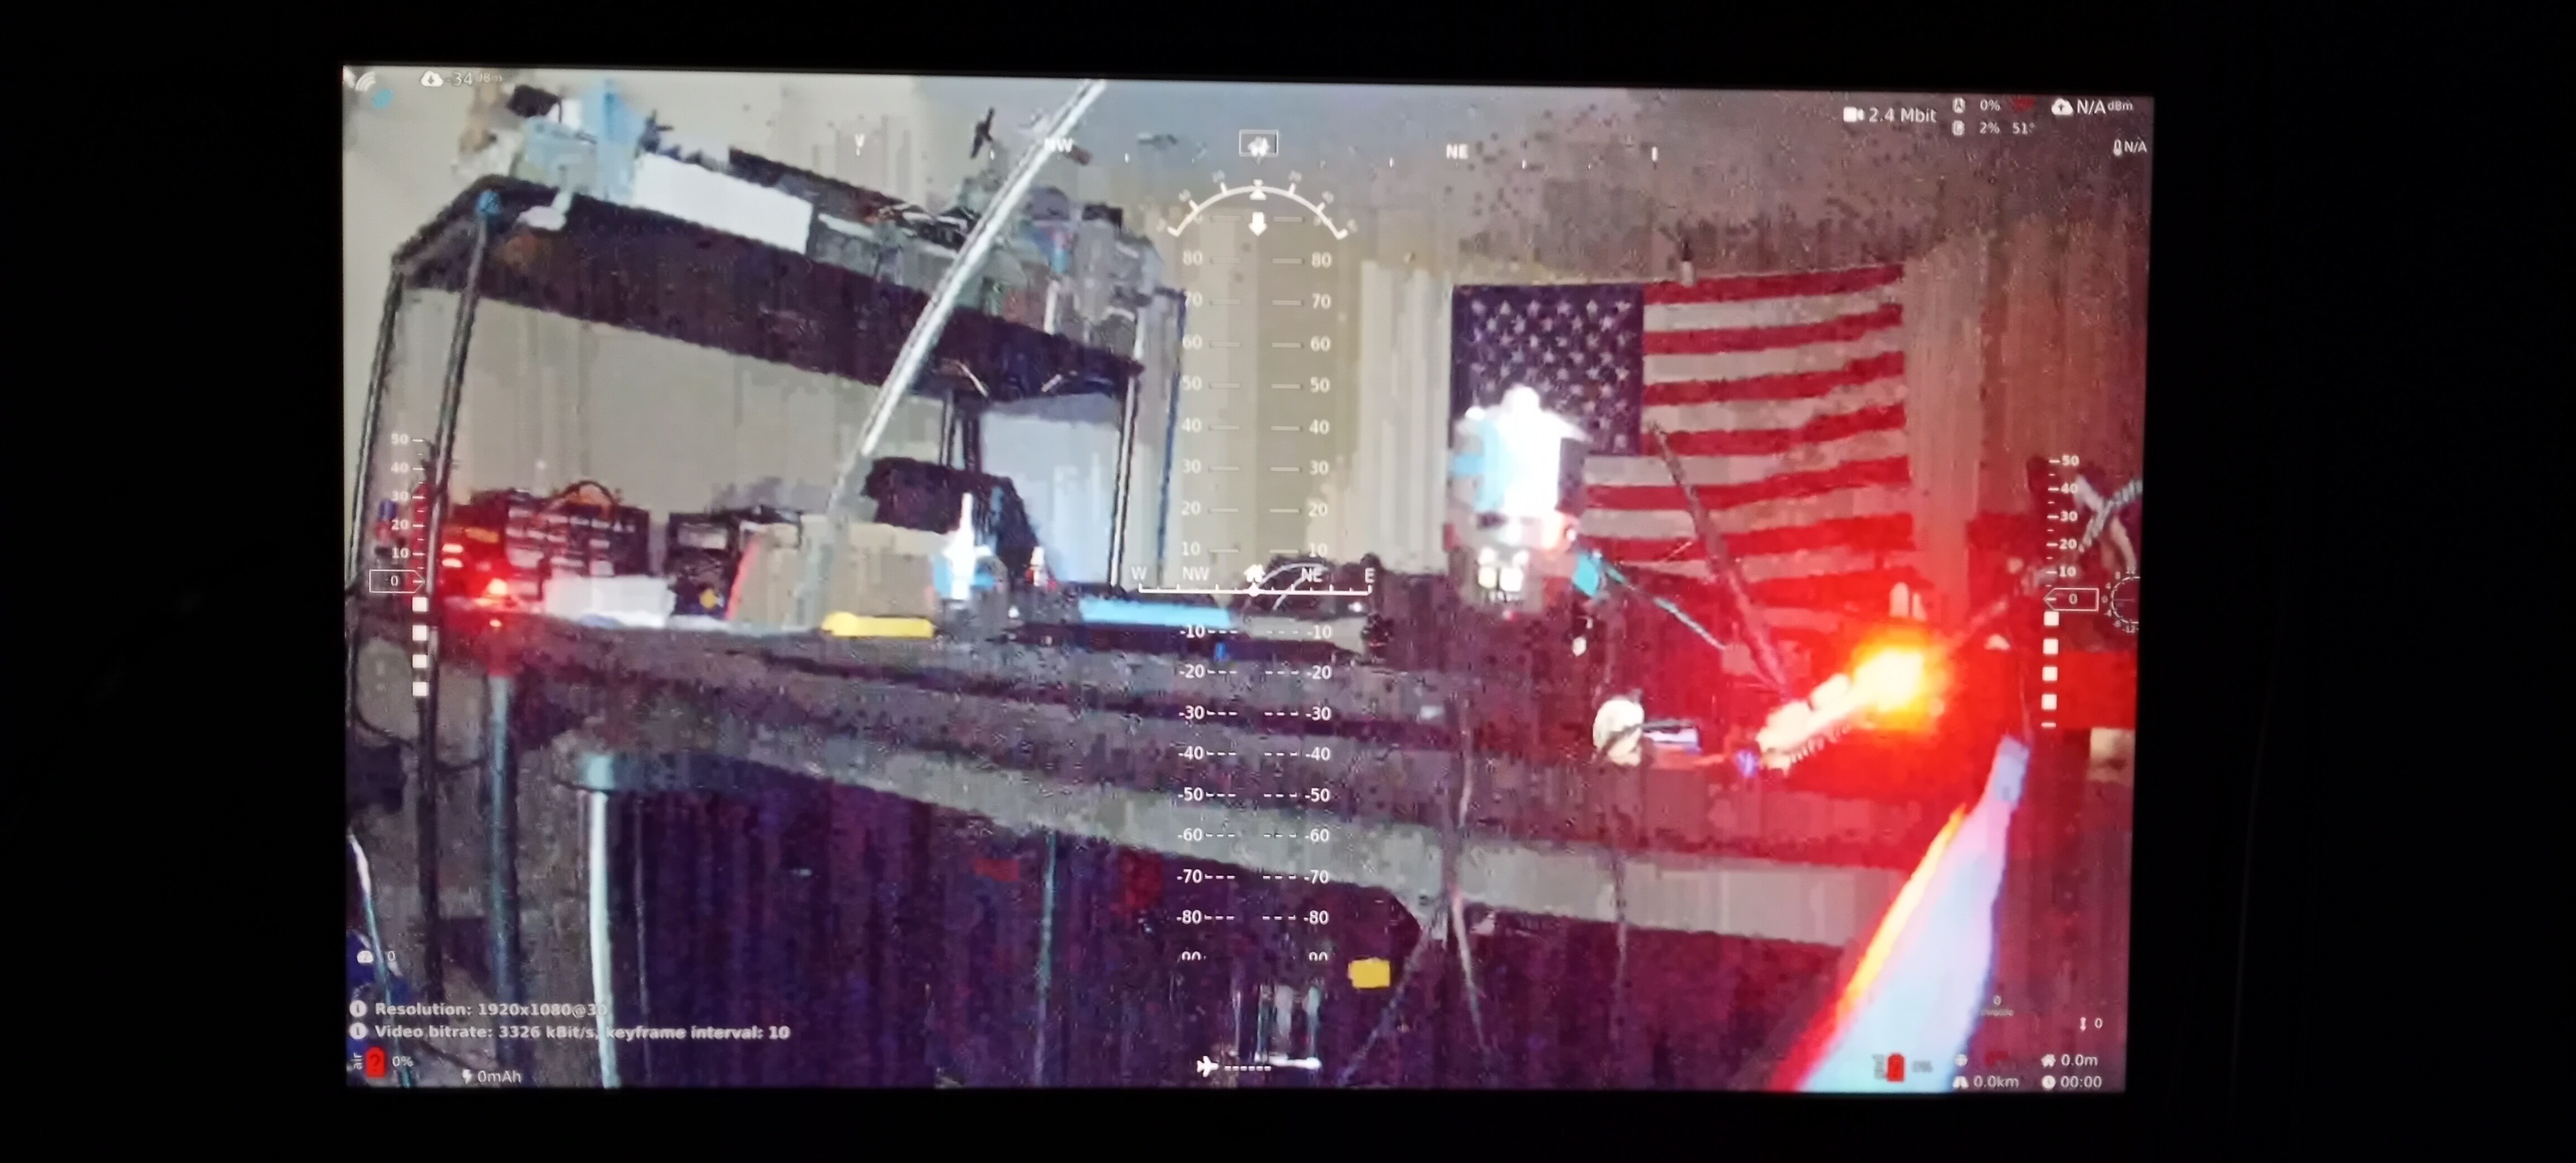
What EO sensor on SPOT could see, notice HUD view. Absolutely incredible low-light performance!
*Just to give you a perspective, the red glare on the right side of the image is a tiny red status light from a microcontroller that's barely visible.
Thermal Electro Optic Dev
Thermal optics is a must on any effective ISR platform. A thermal camera allows us to see in the infrared spectrum making subjects of interest such as people quite literally glow in the dark. Because the mass budget is very tight on the SPOT optic pod, the visible electro-optics were prioritized over thermal. In this platform, the small LWIR thermal sensor will serve as a detection role while the visible sensors will serve as the identification role.
We carefully selected a thermal camera that was small enough to fit into SPOT, gave a decent resolution, and most importantly provided an effective refresh rate (Most sensors are locked at 9hertz to be easily exportable). Afterward, we looked into various germanium optics. The current sensor we selected has the option to swap out between a wide angle and narrow view lens, and even with the wide view lens, it demonstrates exceptionally amazing performance as can be observed below!
Private Jet about 1.5km away at night
Group of people 75 meters away
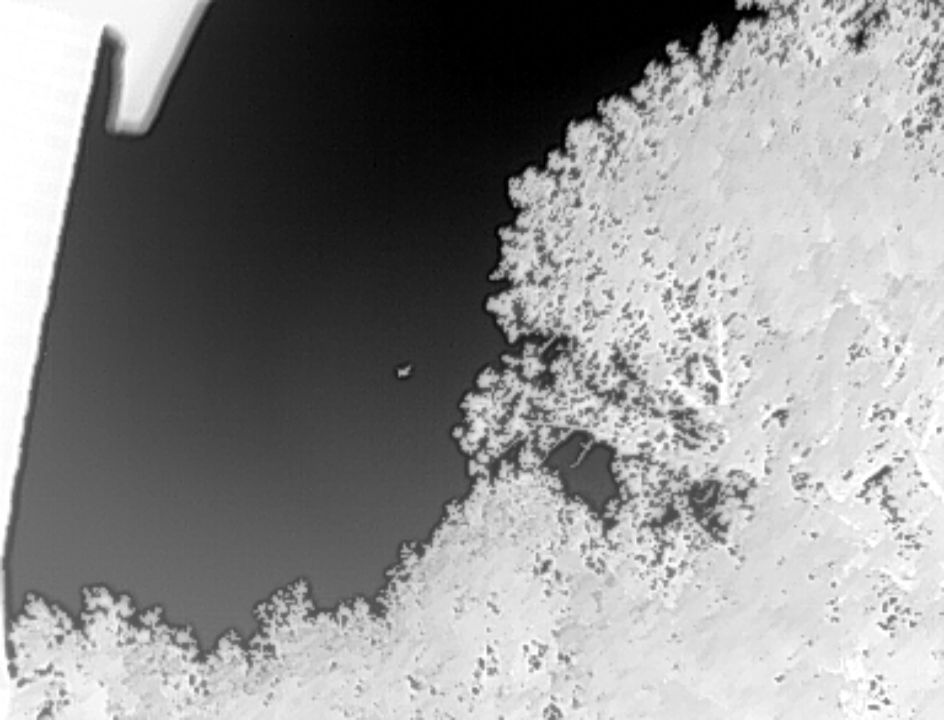
For those unfamiliar with thermal cameras, the resolution of these sensors doesn't need to be very high to serve their roles in detection. The best analogy is the "heat radar", you need just enough resolution to detect and know what it's looking at. An important metric especially for a drone payload is DRI or Detection, Recognition, and Identification. Using pixel counts and different user feedback, we conducted various tests in various environments to test the effective DRI of our optic. We were shocked at the result from our sensor with a wide-angle lens :
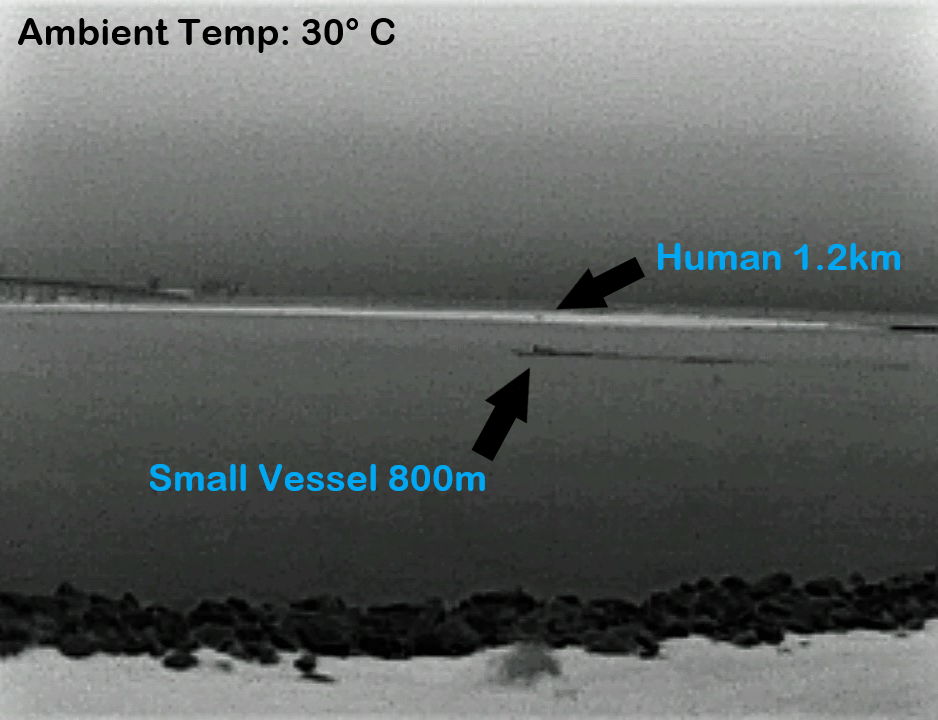
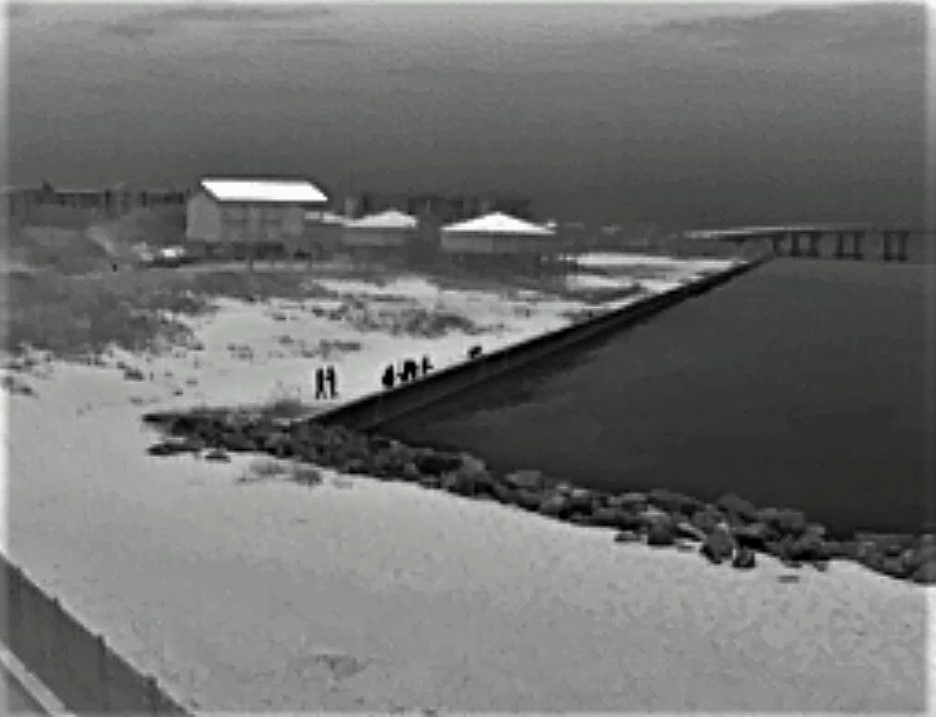
DRI Test on a hot day at the beach. The camera picked up a person 1.2km away on a warm day!
Keep in mind that with our narrow-view lens it would perform even better which we, unfortunately, forgot to take on our beach trip (SPOT can easily accommodate bigger lenses thanks to its modularity). Out of all the tests we've conducted, this is one of our favorite ones to show, as you can tell from the ambient temperature, it was a pretty warm day! Even then it demonstrated effective DRI resolution to pick up a person at 1.2km away. In the future when we implement computer vision and an on-the-edge video processing SBC onto SPOT (It already has the expansion ports for it built in!) It could easily notify the operator of what is being detected.
Laser Designator/Illuminator Dev
We like to call this part of the project the "Flying Peq-15", since it literally has the same features and capabilities. This is the part of SPOT we are taking the slowest due to the inherent risk. IR lasers are completely invisible to the naked eye, and the power levels we're working with is enough to instantly blind you. The designator lasers, both visible and IR, are rated for 5mw, the highest limit considered eye safe. The Illuminator however holds a much more powerful laser that could easily instantly blind you at close range. Because the beam is but through a beam expander, at long ranges there isn't enough concentrated energy to hurt your eyes. But by no means should it be neglected or treated as a toy! The parts are already designed and being tested, however, the most challenging part is making a reliable system that can be entrusted with powering on such a powerful device remotely. You can see some of our tests below:

Proof of concept test prototype using cheap off the shelf laser
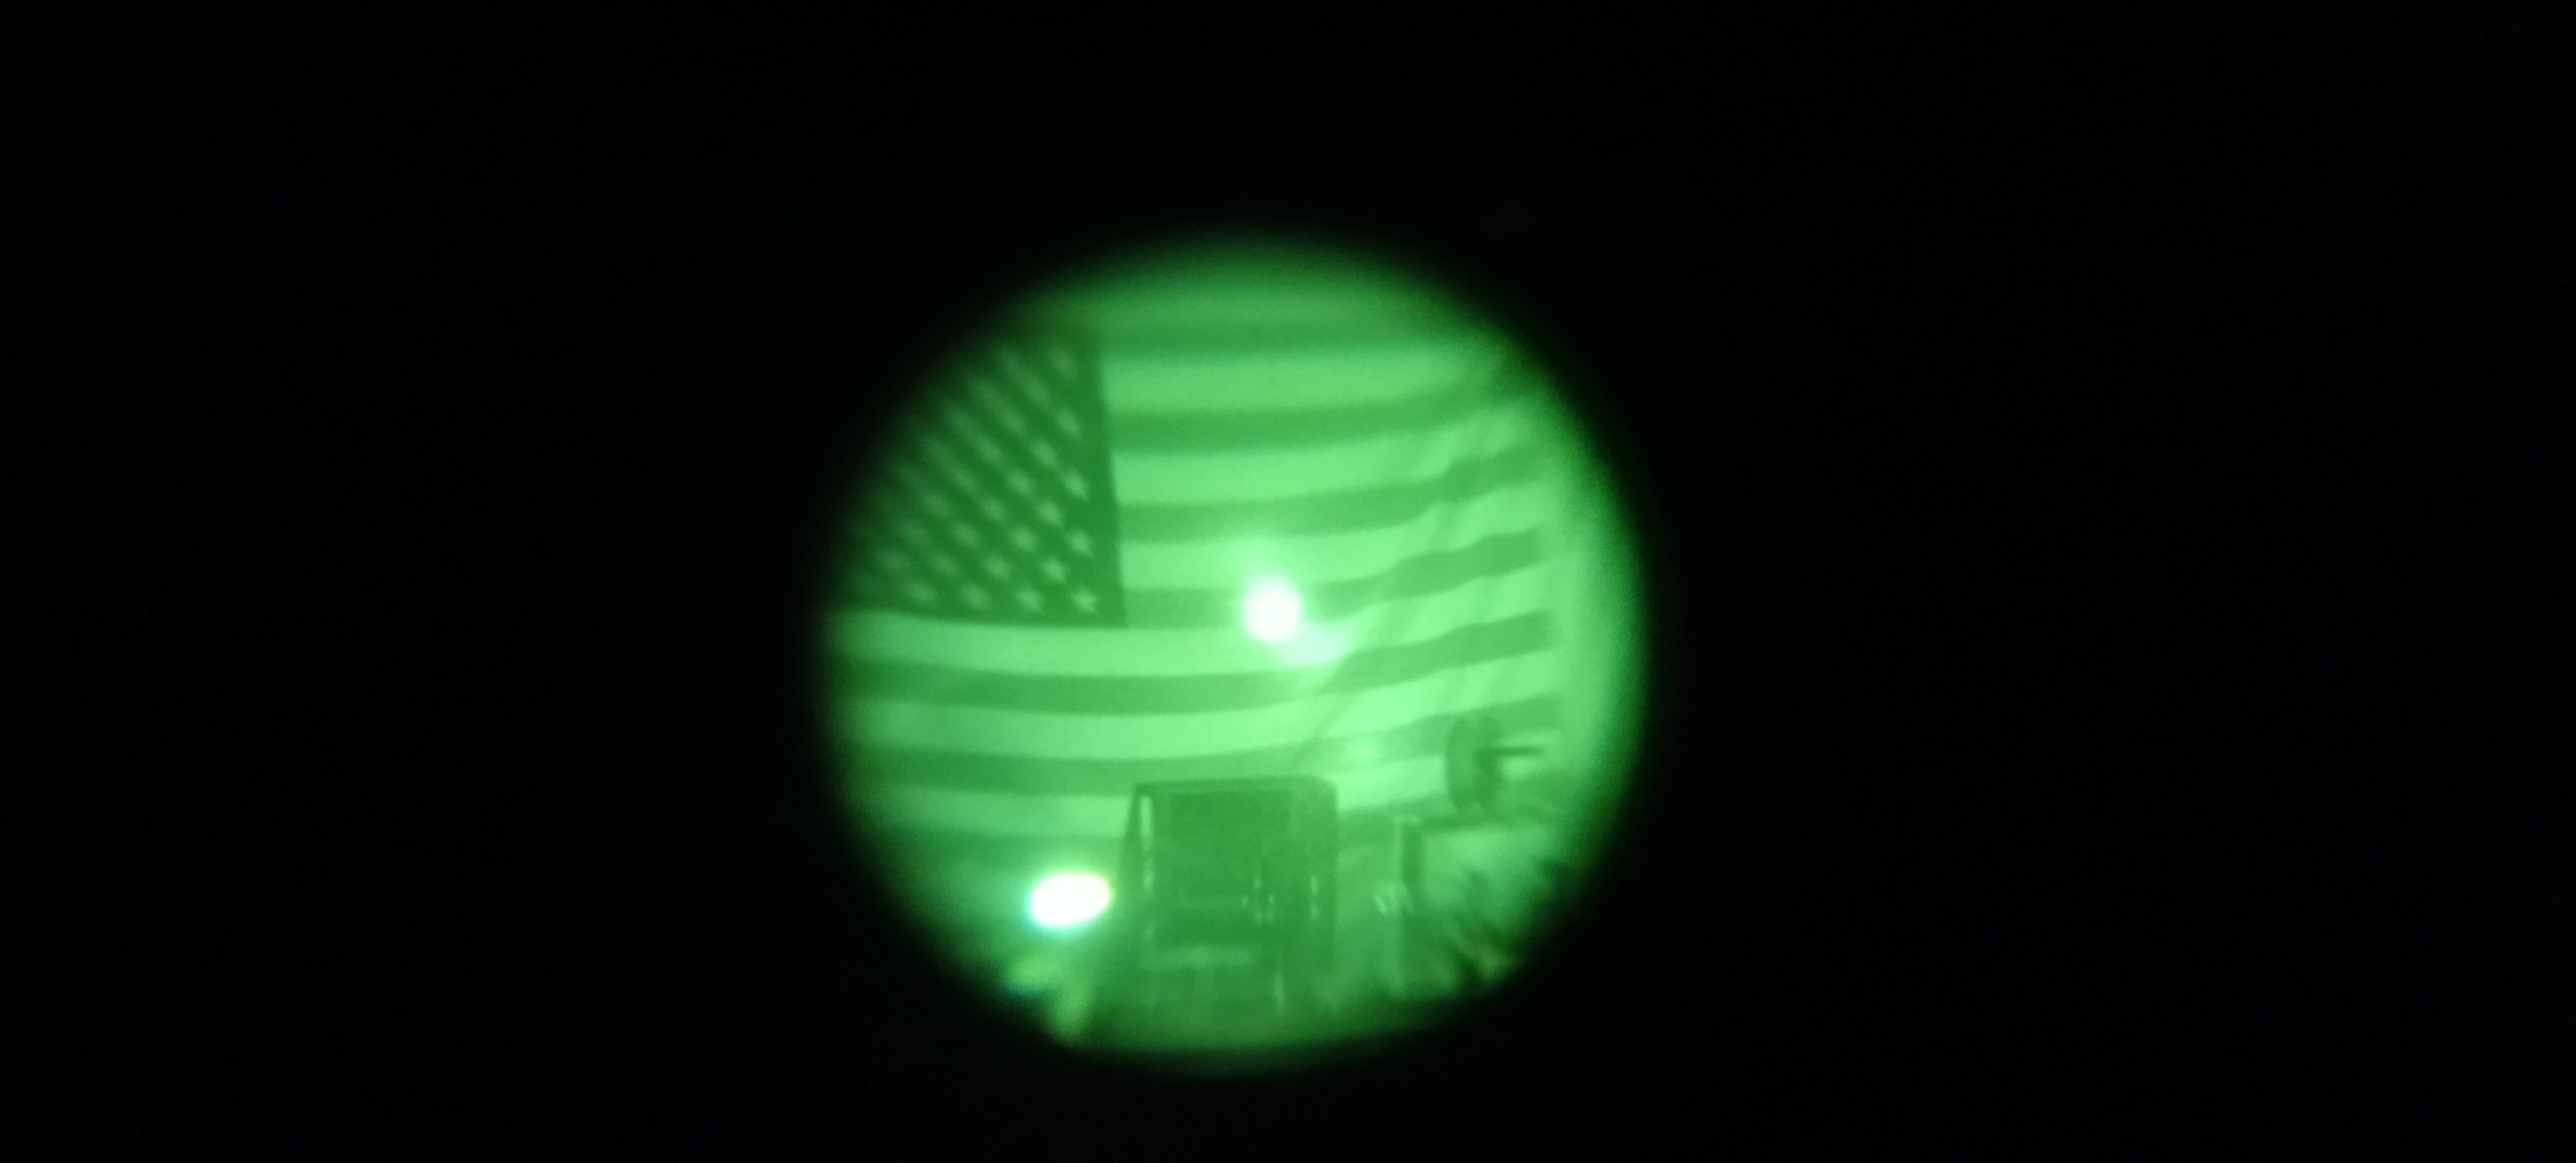
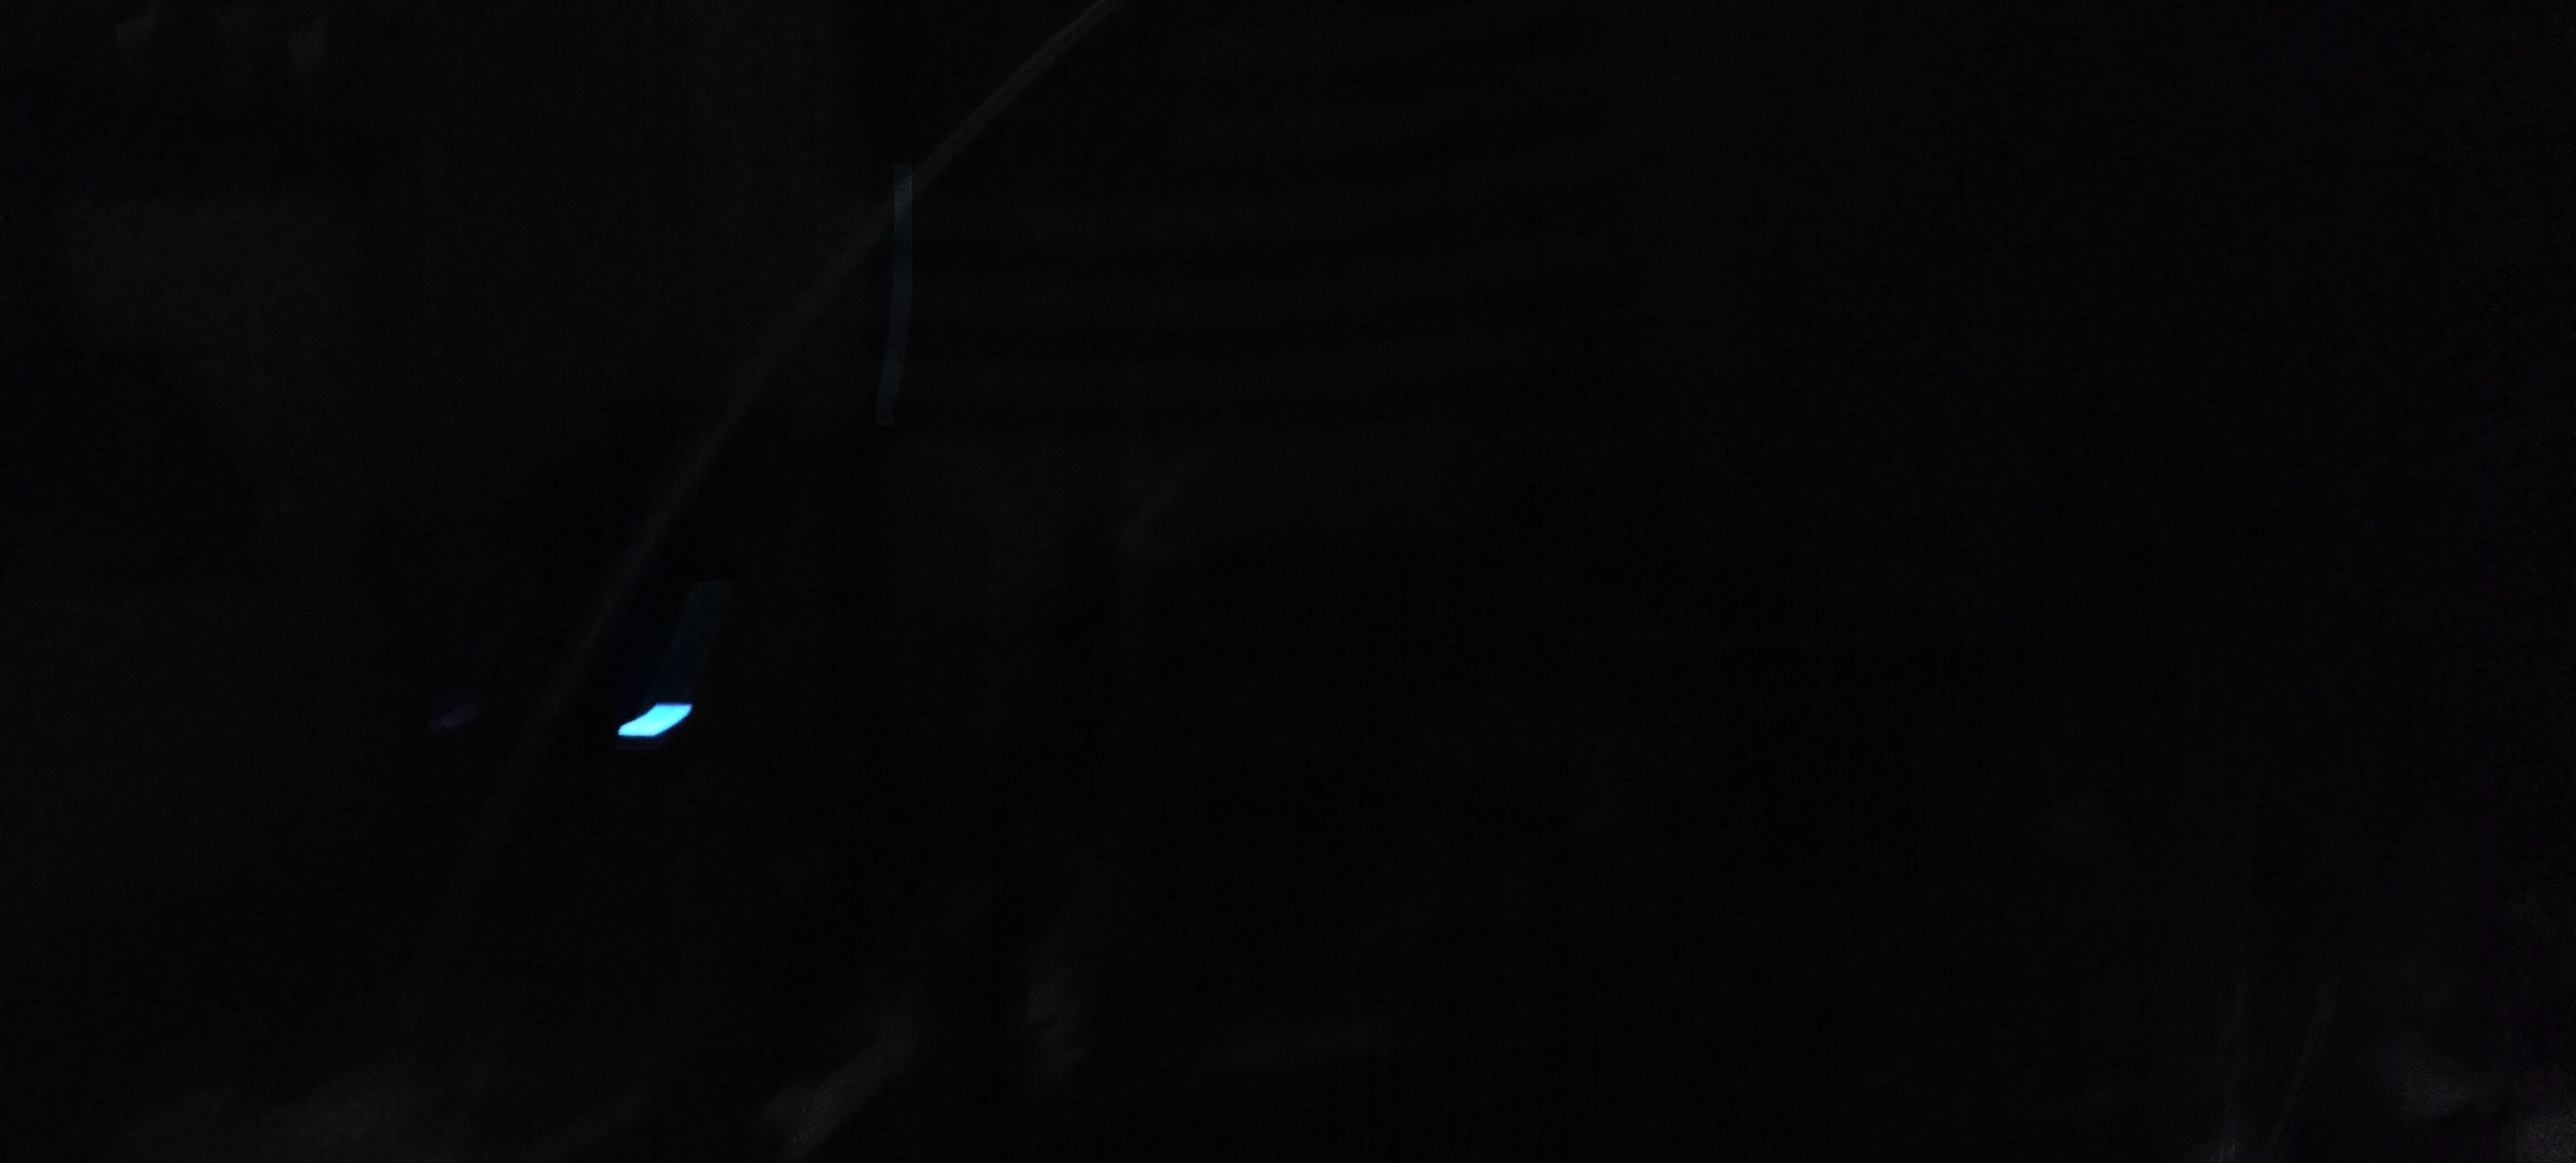
Night vision view of IR laser indoors
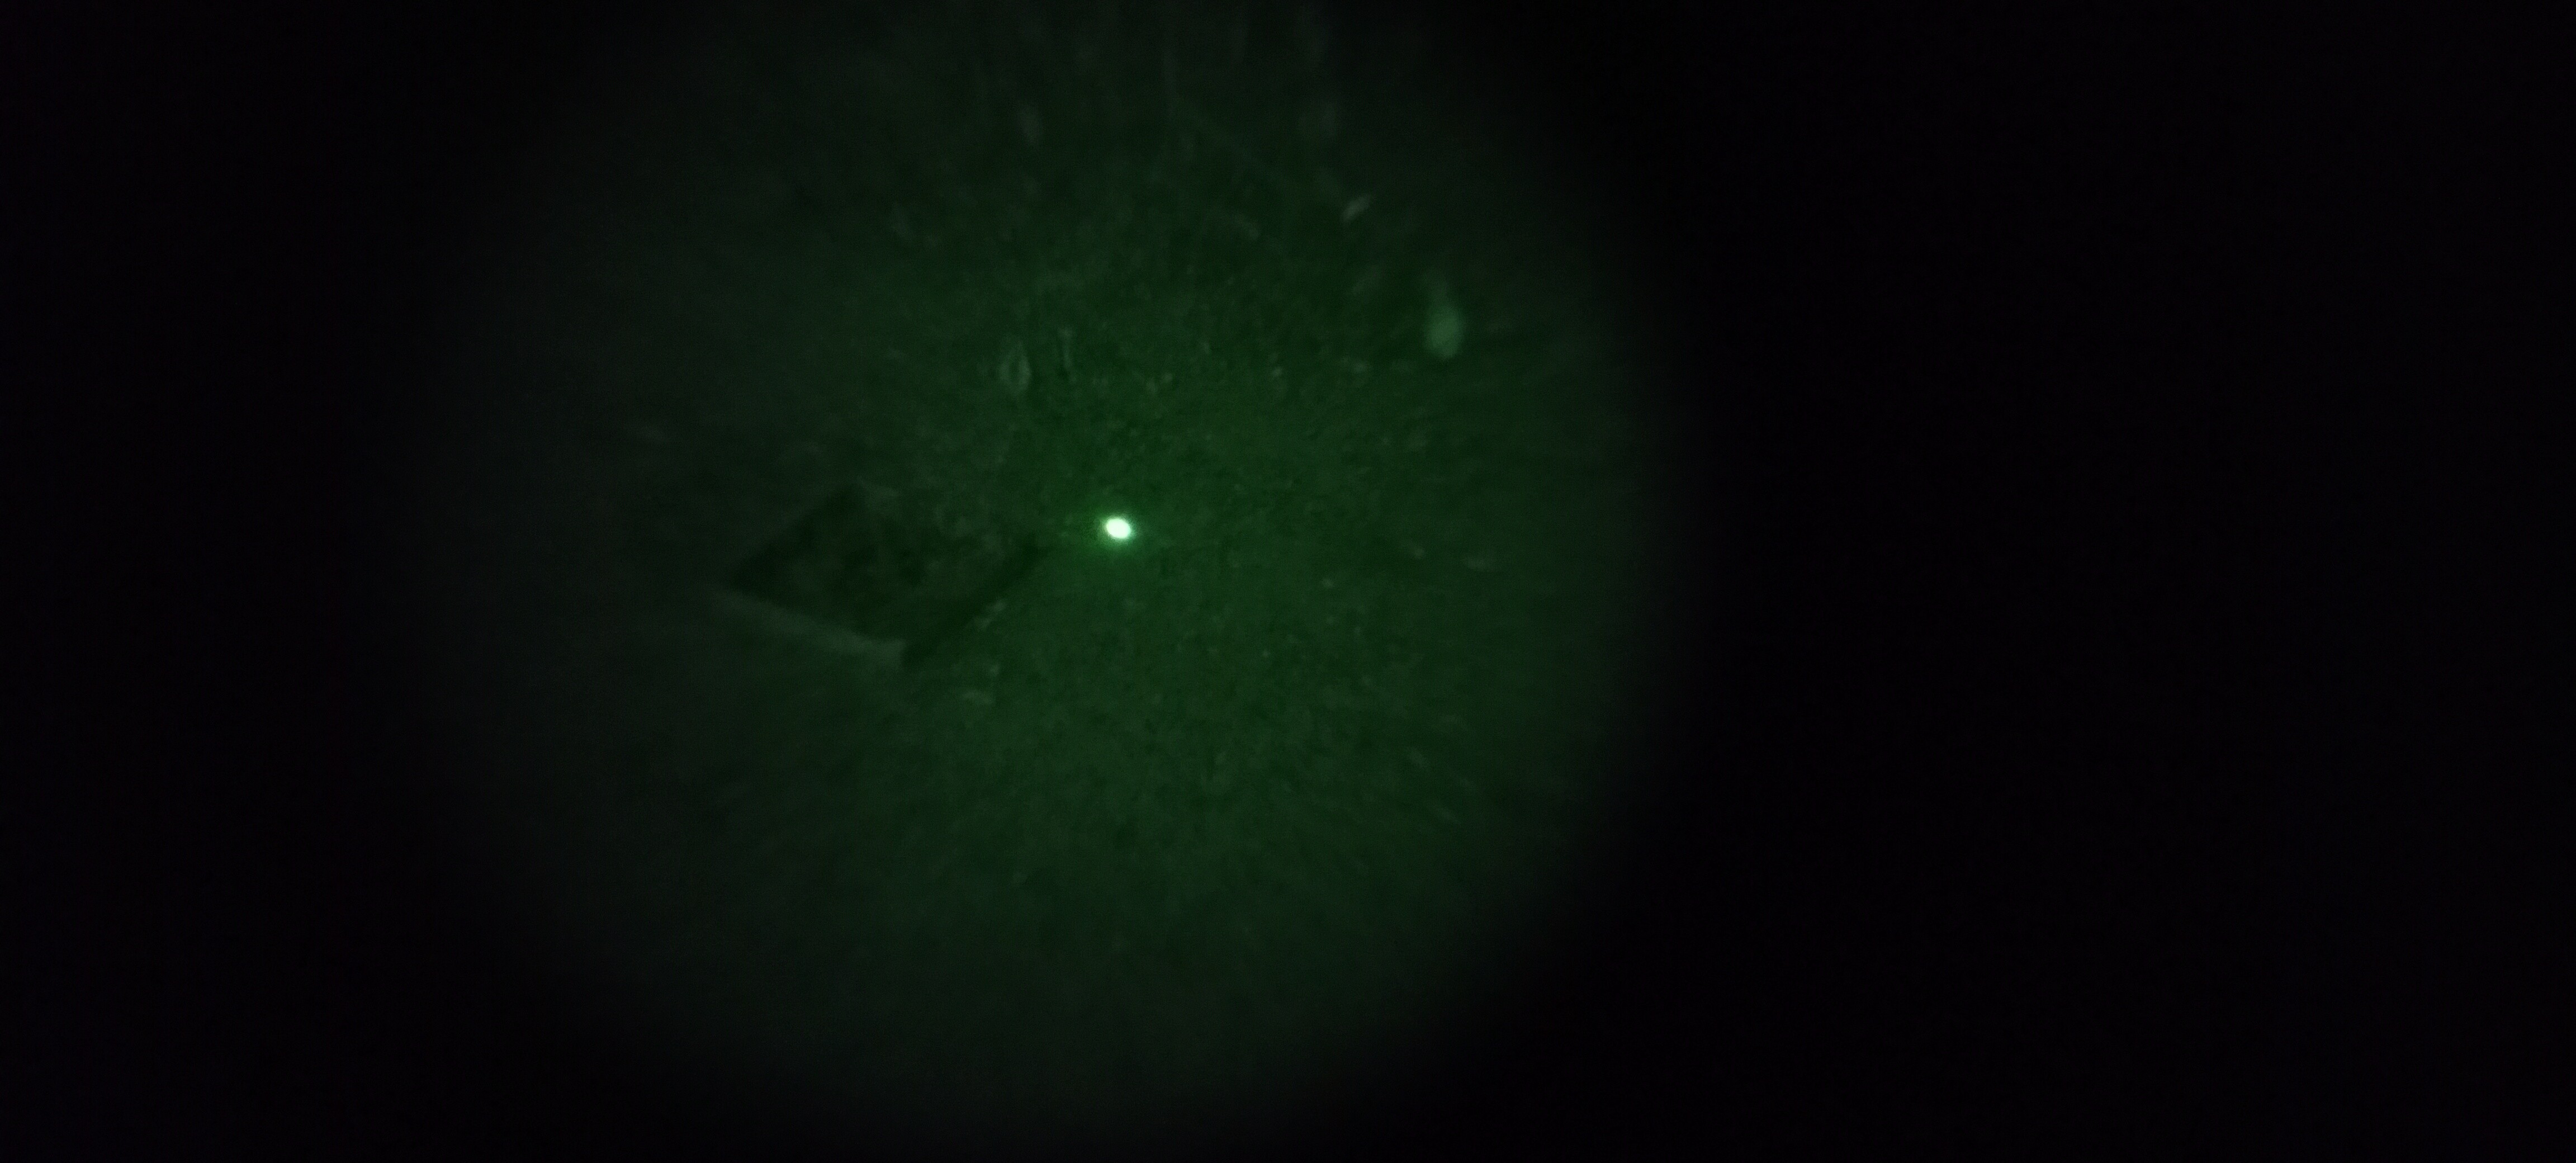
Night vision view of IR laser outdoors
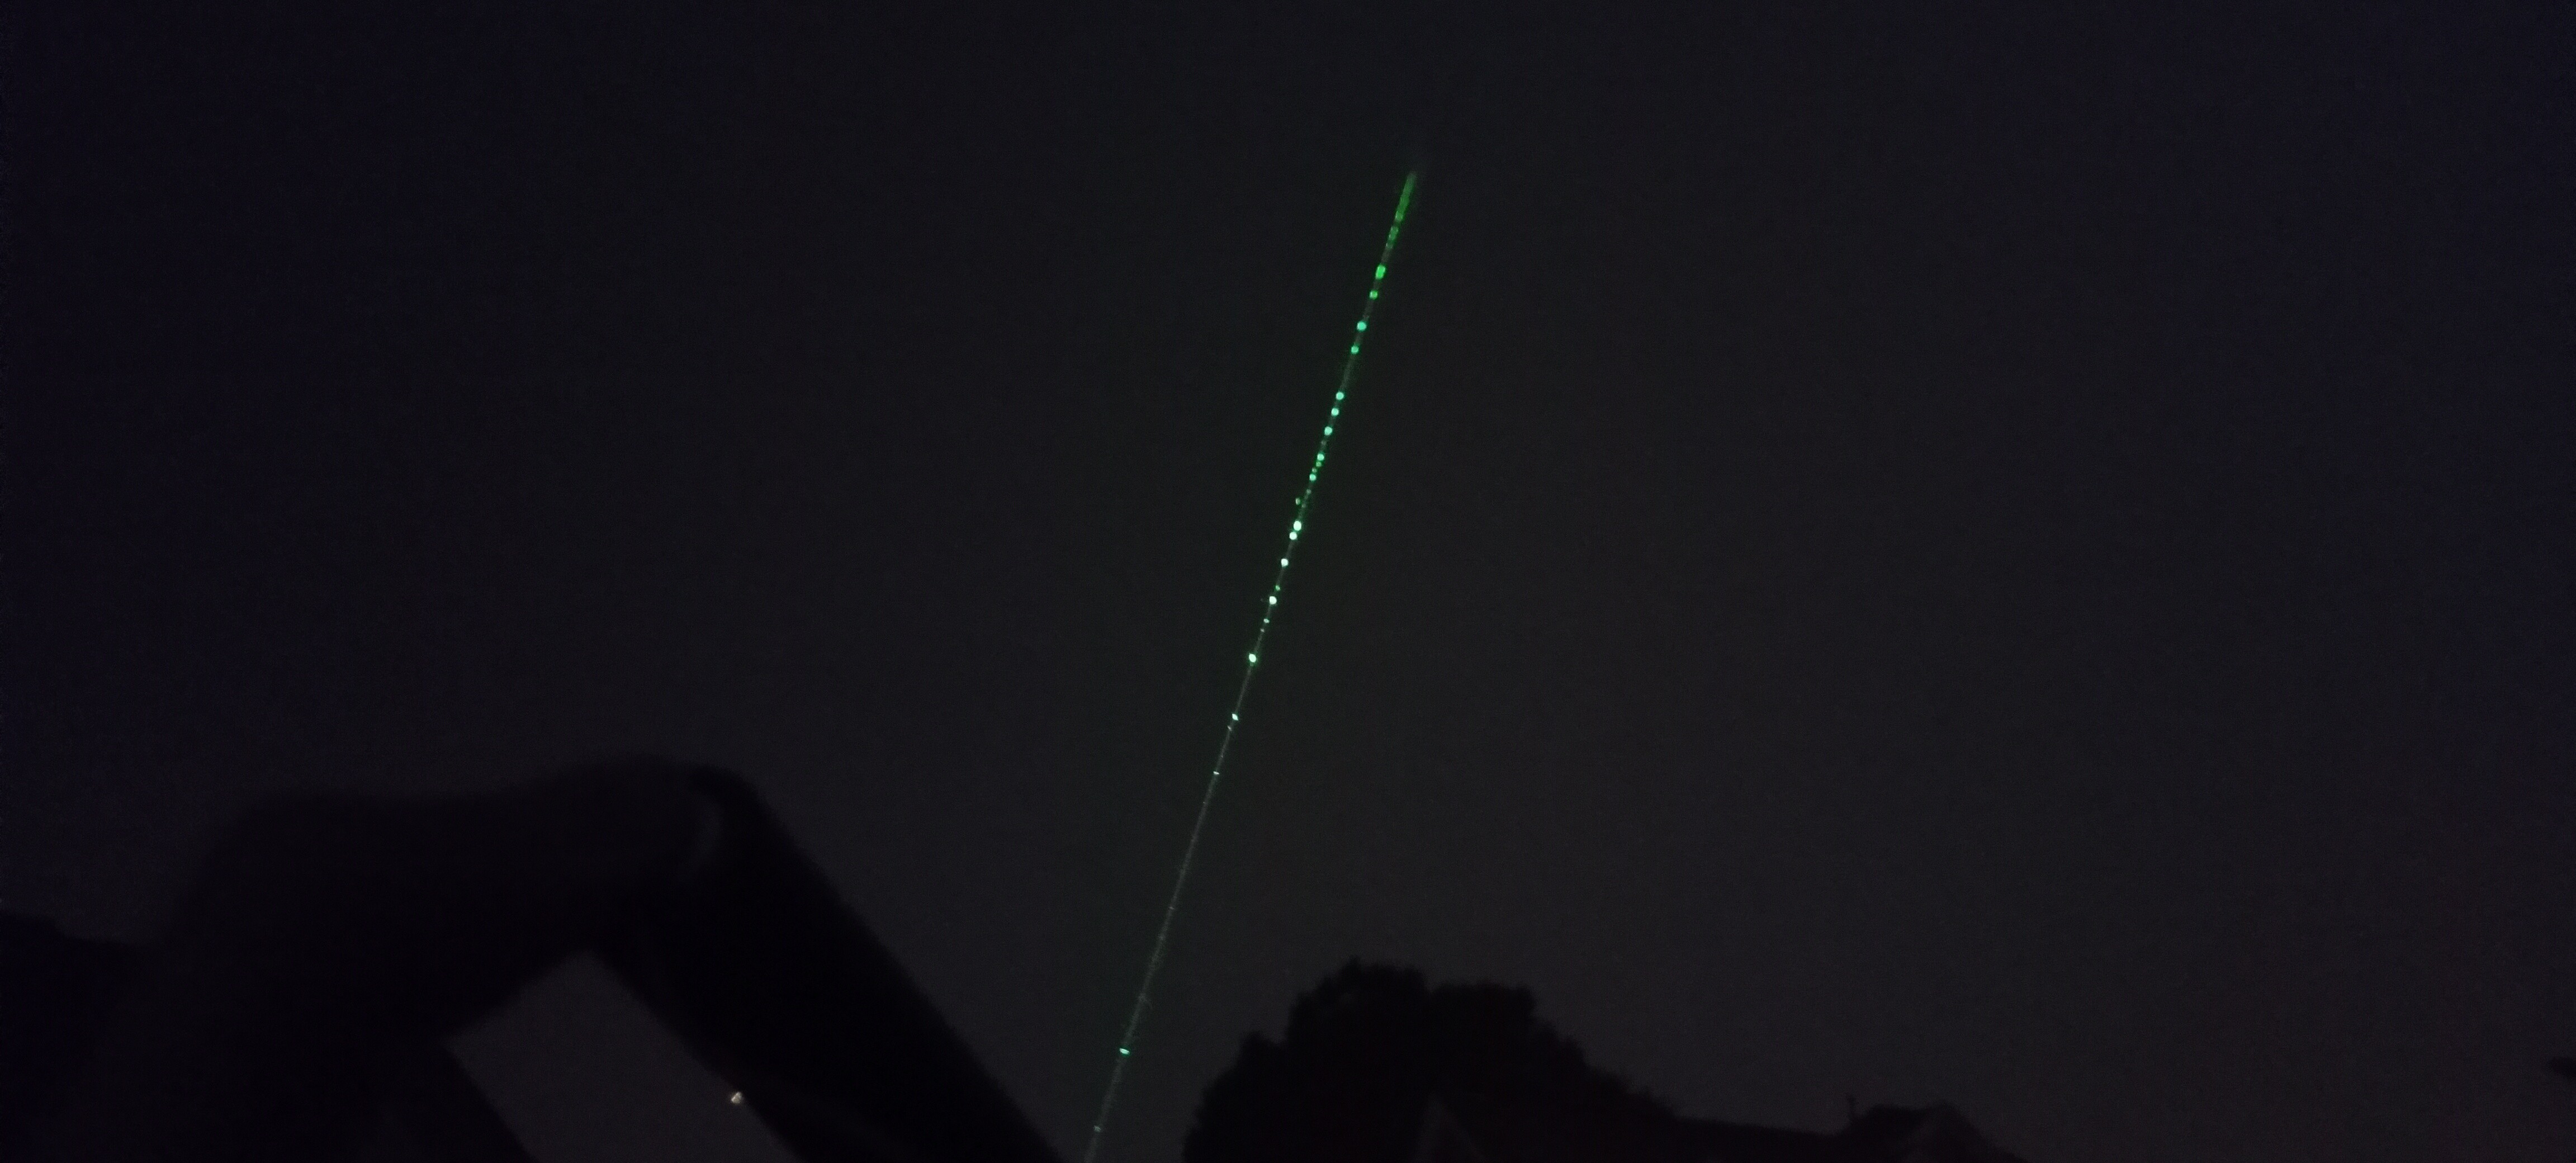
Vis laser test outdoors, beam easily visible via low light cameras
Discussions
Become a Hackaday.io Member
Create an account to leave a comment. Already have an account? Log In.