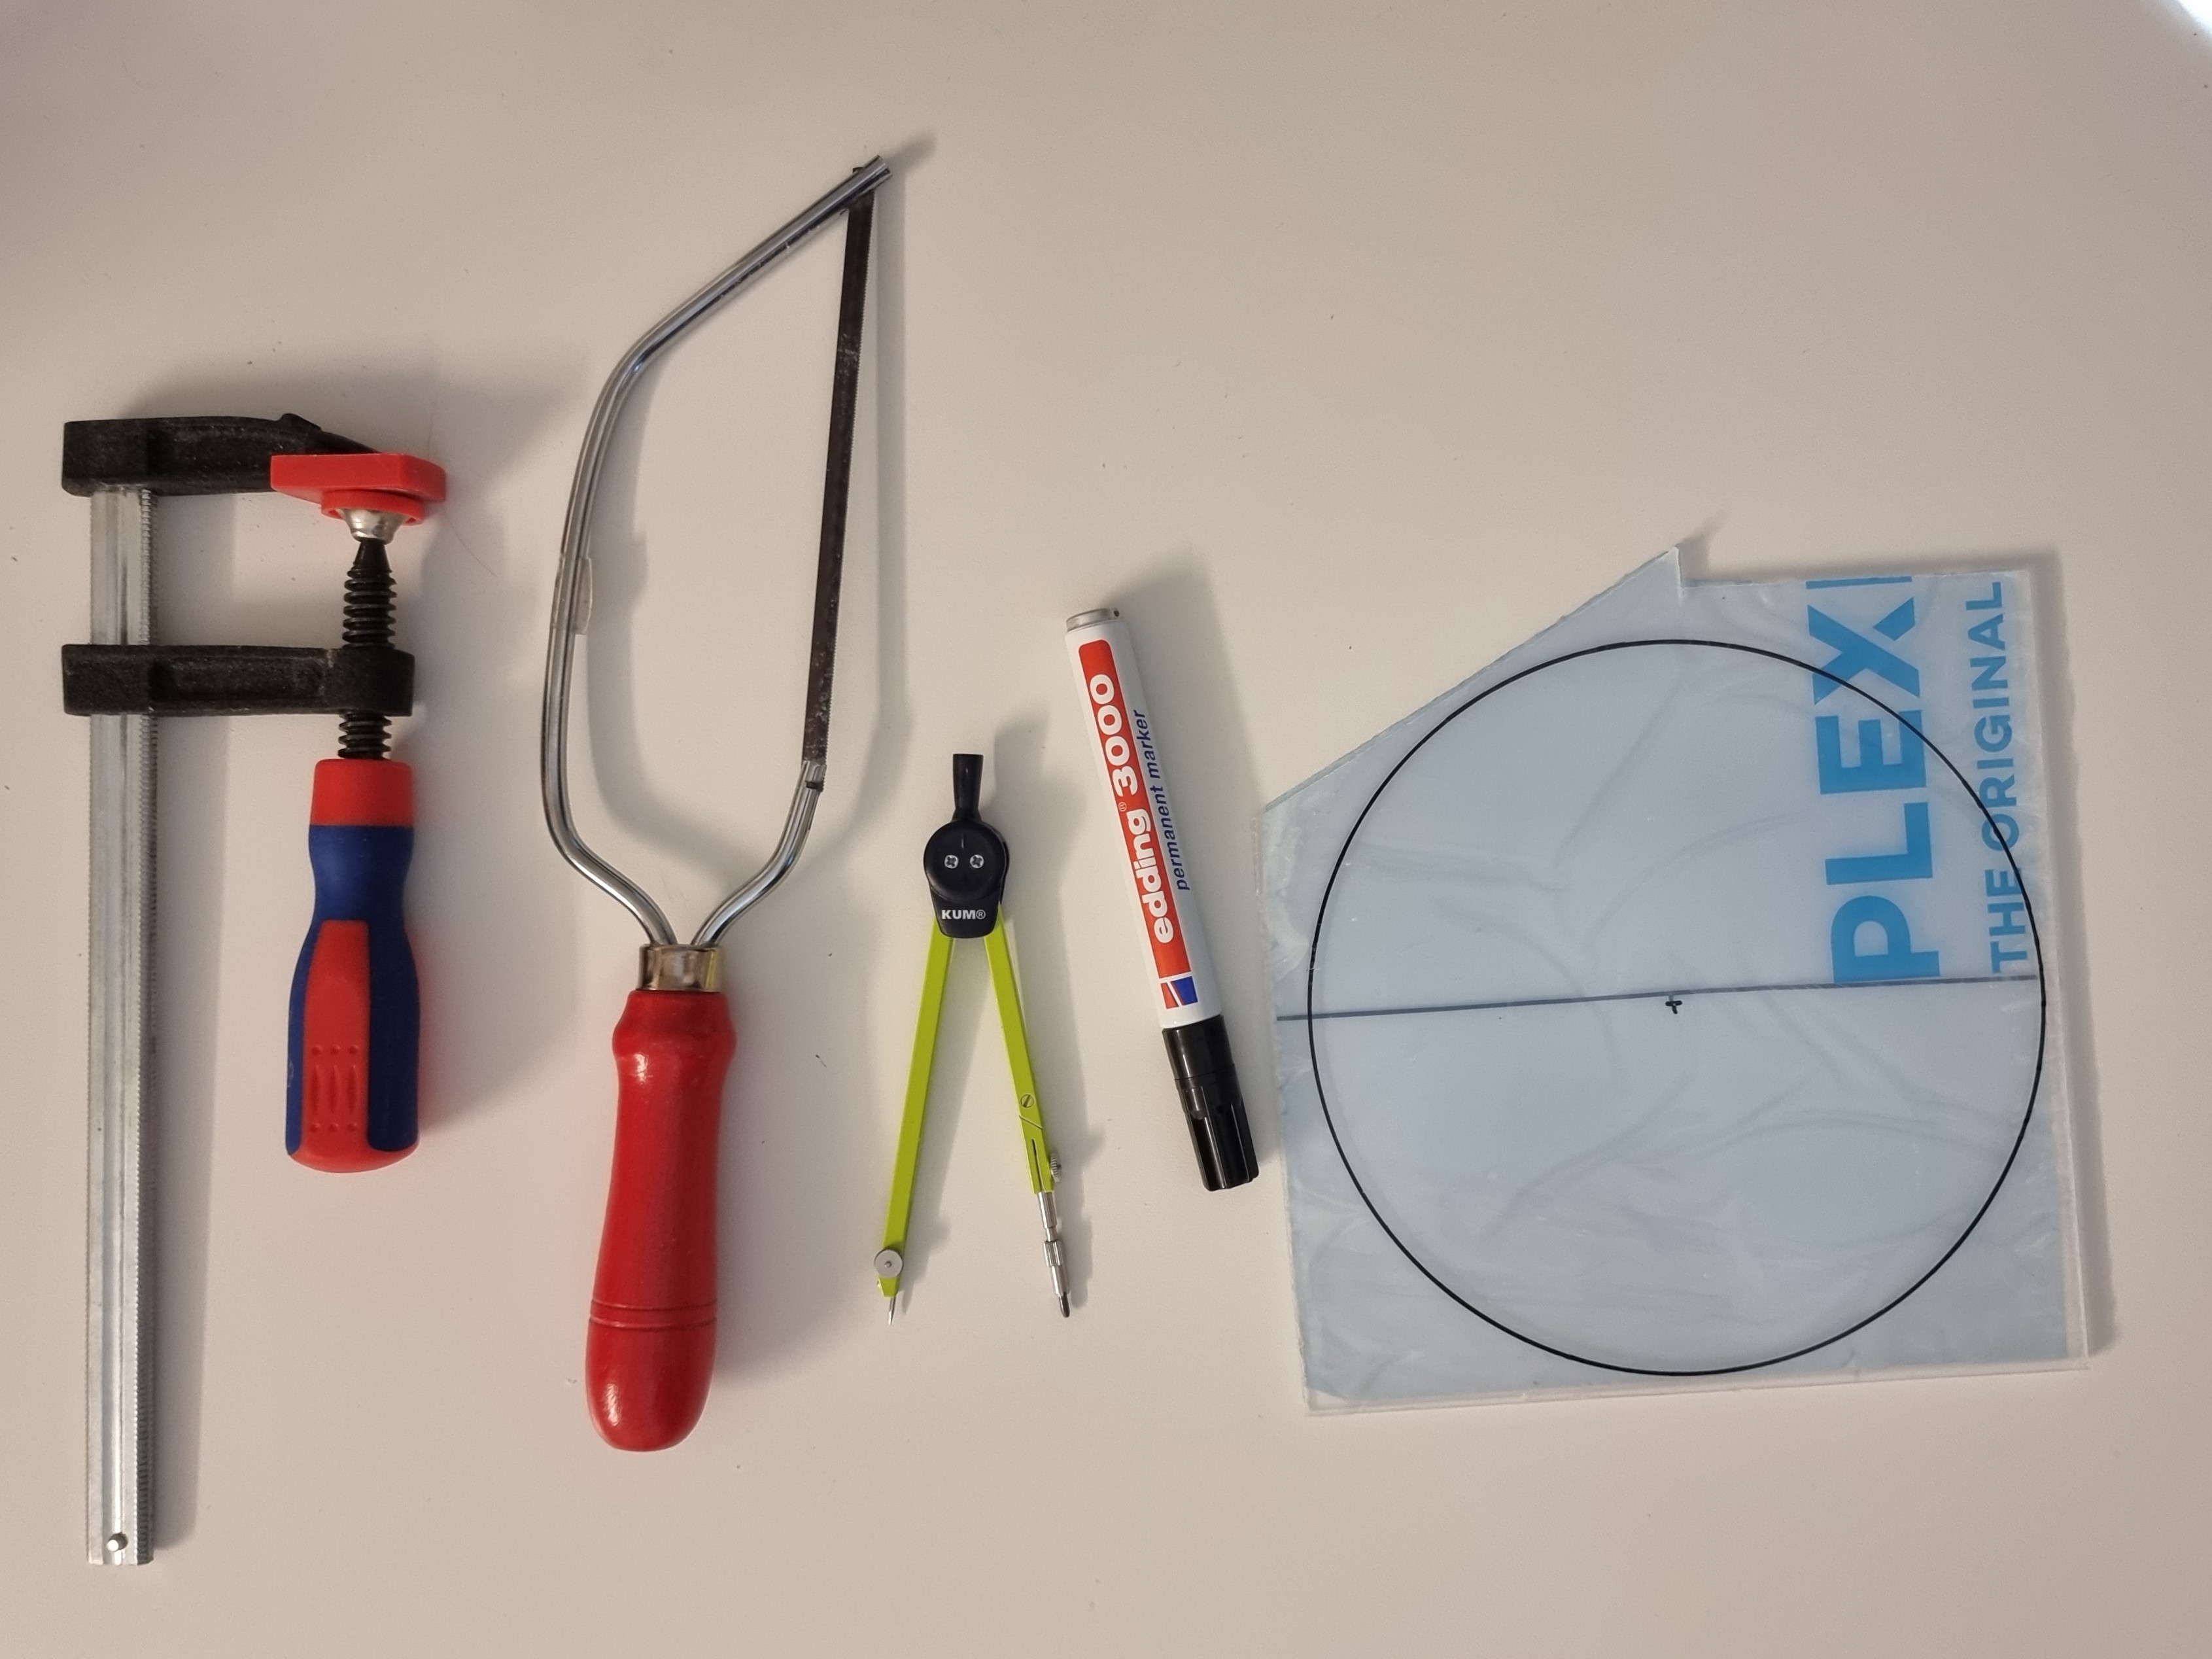
After the maths, I decided to get my hand dirty and actually make something more than some marks on paper. This resulted in two circular panes of acrylic which will make up the front and the back of the clock. Since this is a "lockdown" project I haven't gone and used any fancy tools, just a couple of saws, markers, a compass, a clamp and some sandpaper.
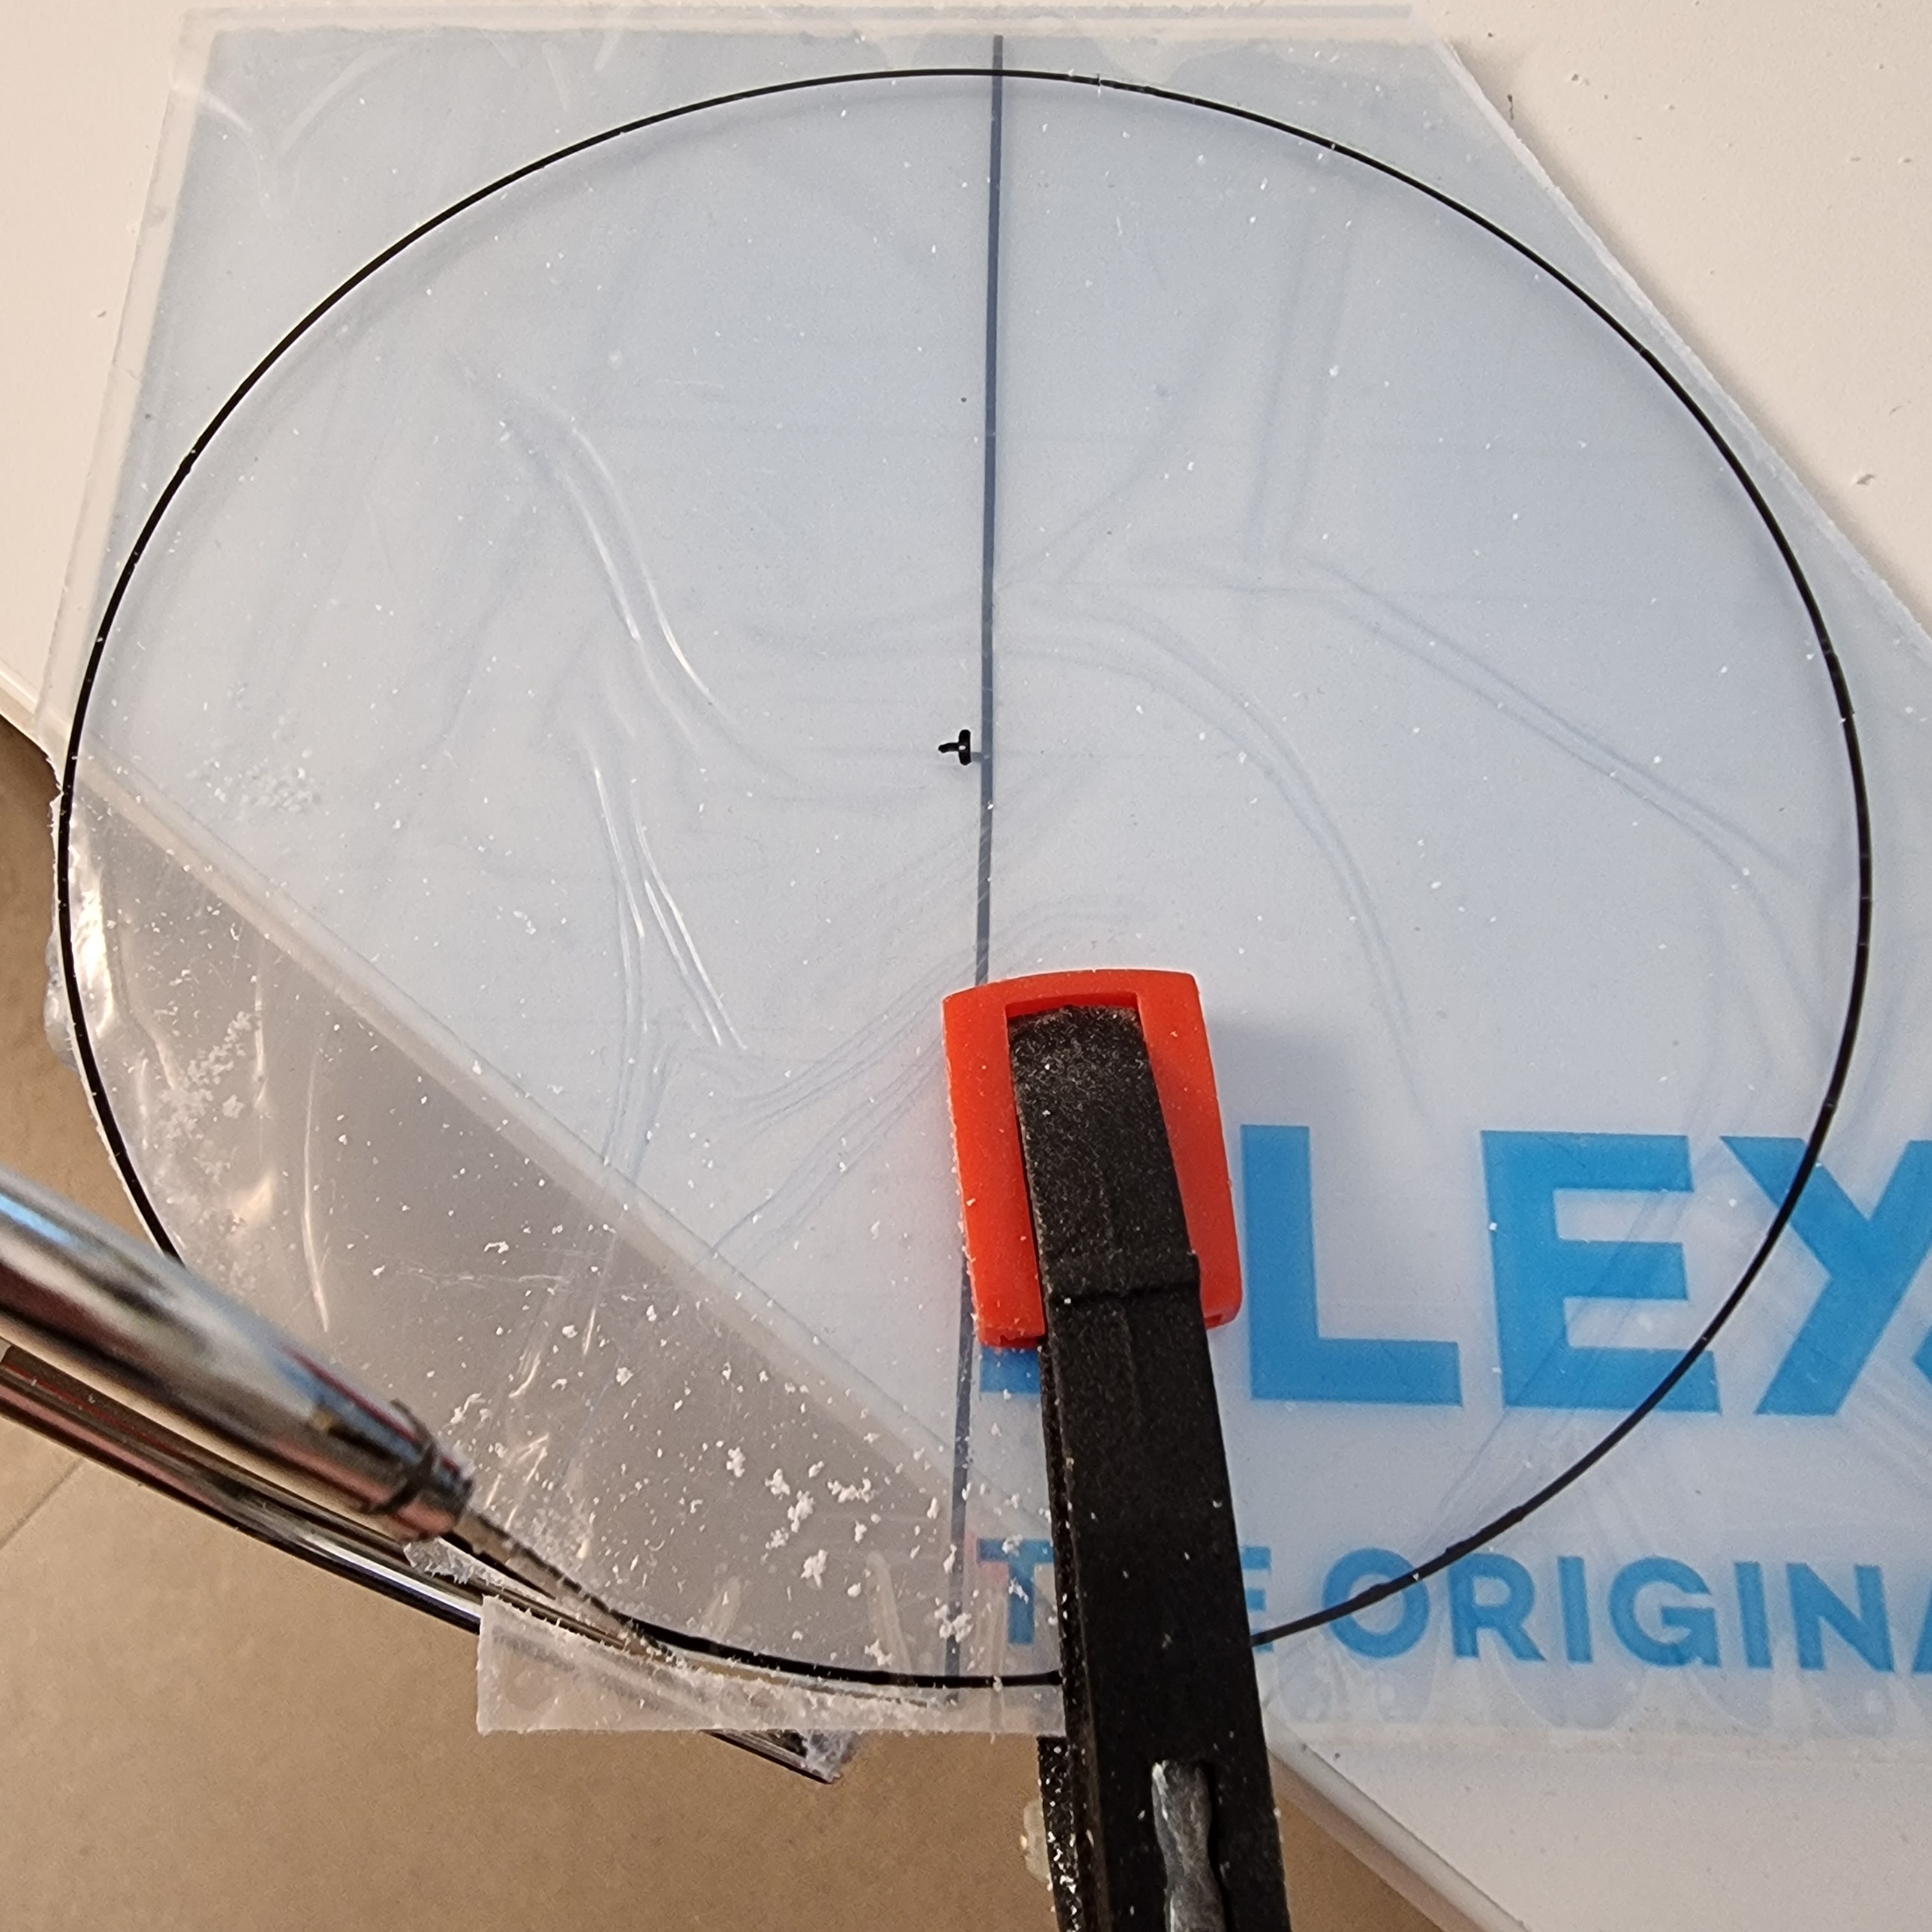
The acrylic sheet was bought at a local hardware store for 2 euros from the offcut bin. The acrylic was then cut up using a Ryoba saw, the only flat-bladed saw in my toolbox, and has the added bonus of a high number of teeth. When cutting acrylic sheets I recommend using a fine-toothed saw and clamping close to the cut to reduce the risk of cracking the acrylic.
There was no real trick to putting the circle onto the acrylic, I just taped the marker to the compass. You could get fancy and try to protect the acrylic from the sharp point of the compass, but I figured that it would be hardly noticeable, which was the right assumption.
With the circle drawn, it was finally time to get messy.
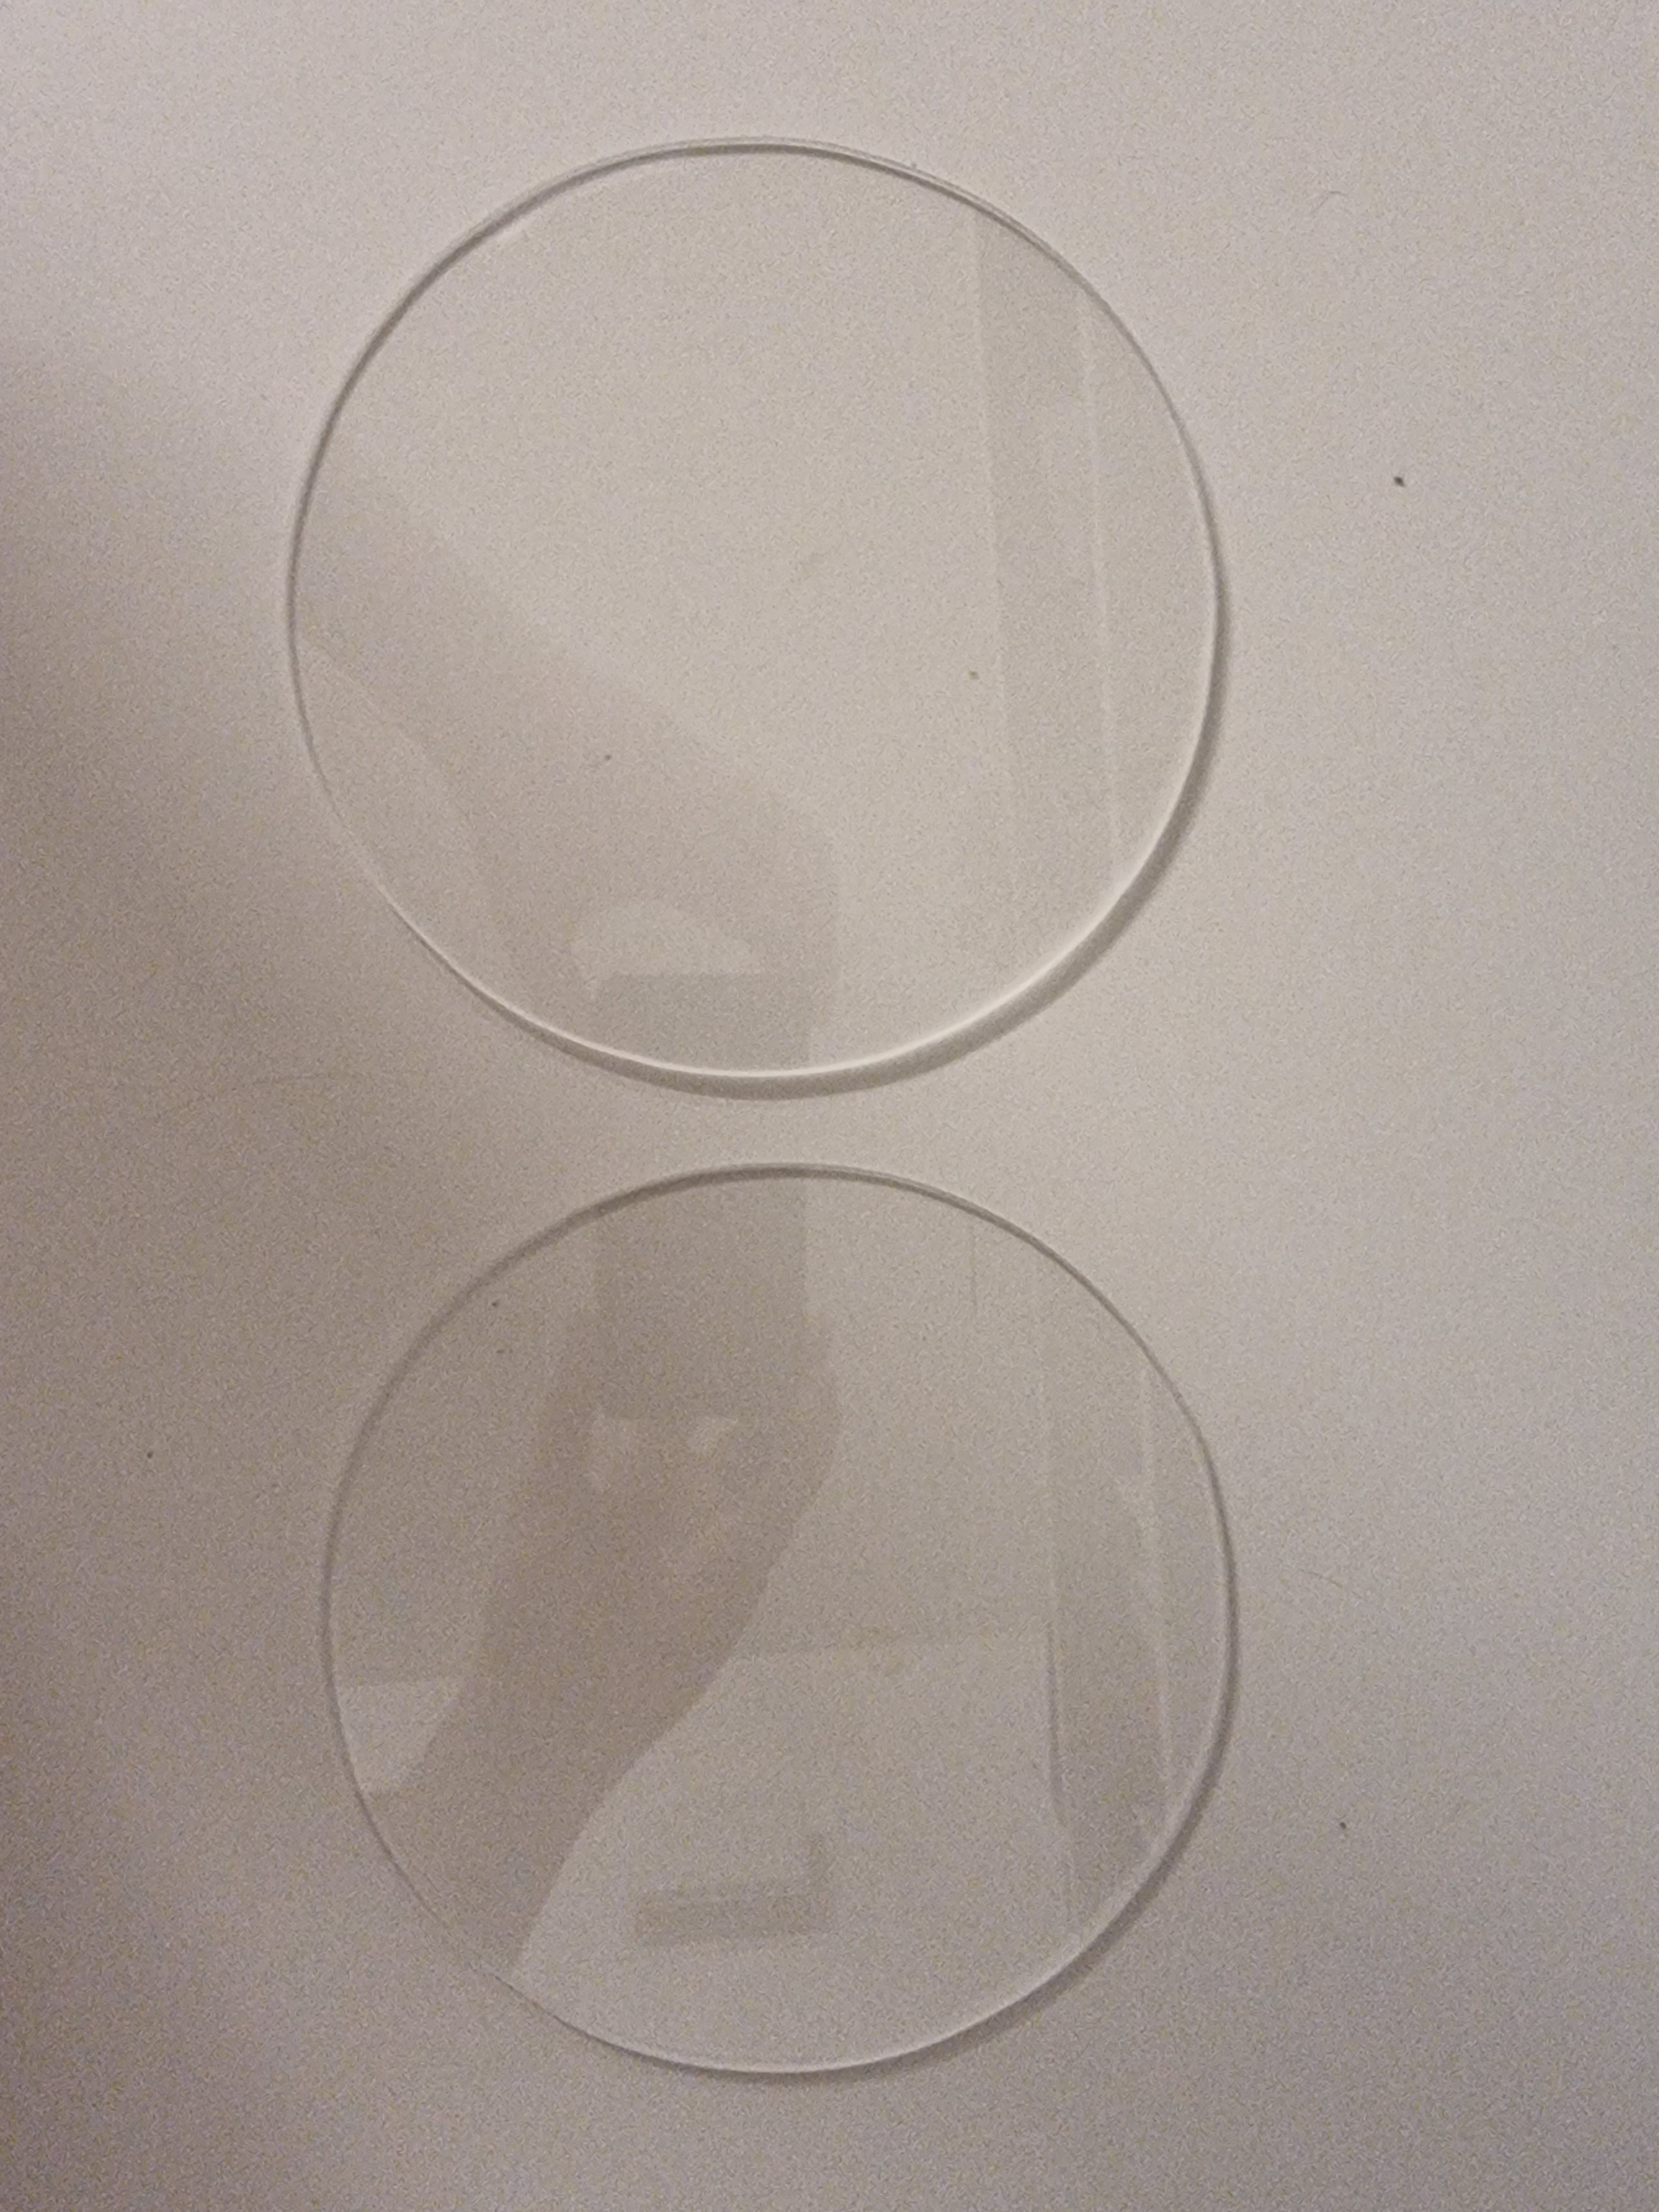
I wouldn't recommend doing this in your bedroom like me, but without a workshop space what can you do. The final result was by no means a perfect circle, but it was observably good enough, and this was improved by sanding the edges round.
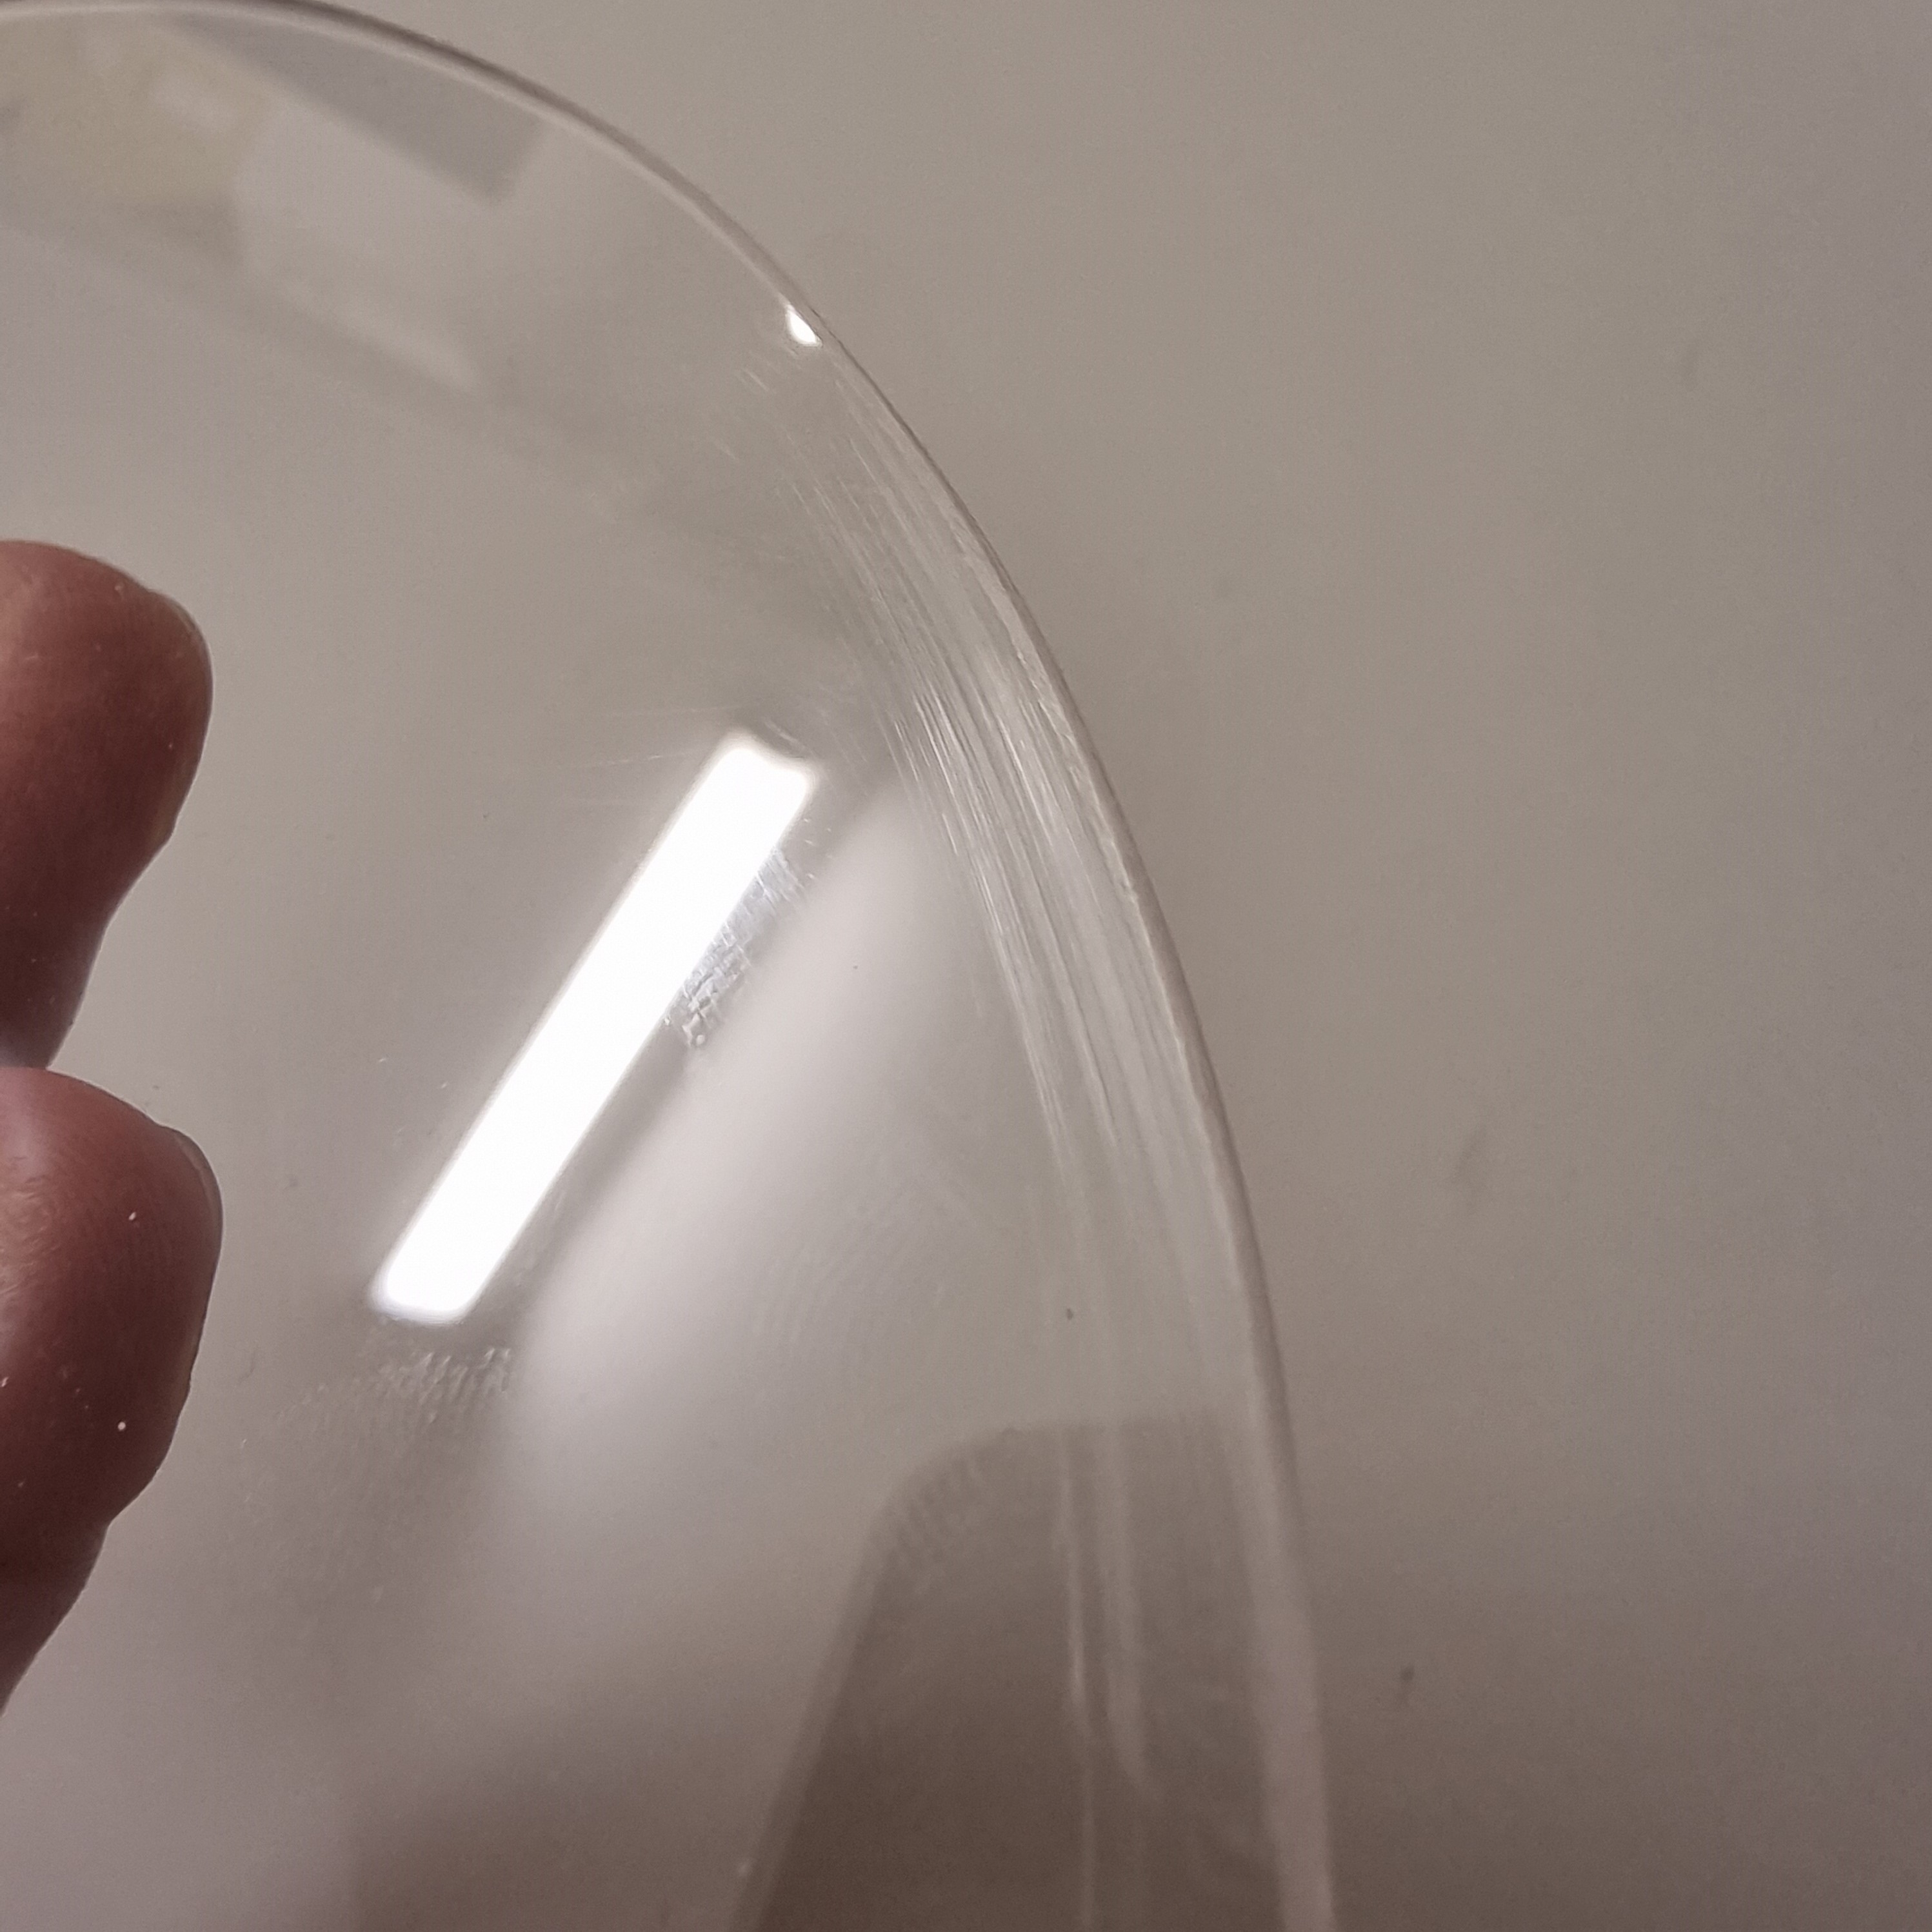
When doing this I should have left the protective plastic on until the end, the lightest brush with the sandpaper left visible scratches on the acrylic. Maybe later they can be replaced with some nicer glass when I find some cheap and get the appropriate tools.
But all in all, I'm happy with the result. For the next update, I'll have to order some parts, the last remaining decision for that is which wire to use, unshielded copper, or enamelled transformer wire.
Discussions
Become a Hackaday.io Member
Create an account to leave a comment. Already have an account? Log In.