 Max.K
Max.KOne mistake I had made with my earlier quadruped robot was to build the hardware without knowing how the software could be done. For this project, I wanted to be absolutely sure that I could get the robot to walk before investing time and money into a physical prototype. And the best way to do this is using a simulation. Instead of a specialized robotics simulator I decided to go with Processing again, which I had already used to create a simulator for my quadruped robot. Processing is a programming language and IDE very similar to Arduino, only that it is based on Java instead of C++. To me one of the biggest benefits is that the languages are so similar that code developed for a Processing desktop application can be easily ported to Arduino with only minor modifications.
I started with a very simple animation of a robot’s leg moving, then added more and more complexity until the hexapod was moving properly. You can see a little supercut of the development process below:

The most difficult part was figuring out the locomotion. As the speed, direction and rotation of the movement are variables, the hexapod has to determine what legs to move to what position at a given time. Now my implementation of a locomotion engine works like this:
Each leg has tree coordinates: A default position, a starting position and its current position. The default is the coordinate that the leg will try to resume. With every leg at this default position the robot’s is in a neutral pose. When the hexapod starts to walk, its legs first move opposite to the body. This means shifting the starting and current position while the legs are on the ground. Obviously without the legs making a step they will exceed their range of motion very quickly. To determine which legs to lift a gait sequence is used. This is nothing more than a lookup table that says which leg can take a step at what time in the sequence. If it is a leg’s turn to step, the starting coordinate is frozen. The leg now follows a path between the start coordinate towards the default position until it has reached its target. The step height is determined by the progression along that path, making the leg move in the shape of an inverted parabola. As the code loops through the gait sequence, each leg tries to catch up with the body’s movement, trying to reach their default positions.

This is the simplest approach I could come up and it’s enough to make the robot move quite smoothly. After developing this locomotion function, the rest is fairly easy to implement. To make the hexapod move and rotate statically, the leg coordinates get translated/rotated around the body’s center point. To determine the angles for the leg joints, inverse kinematics are calculated. While this might sound complex, it’s just basic mathematical equations that have to be performed for each leg.
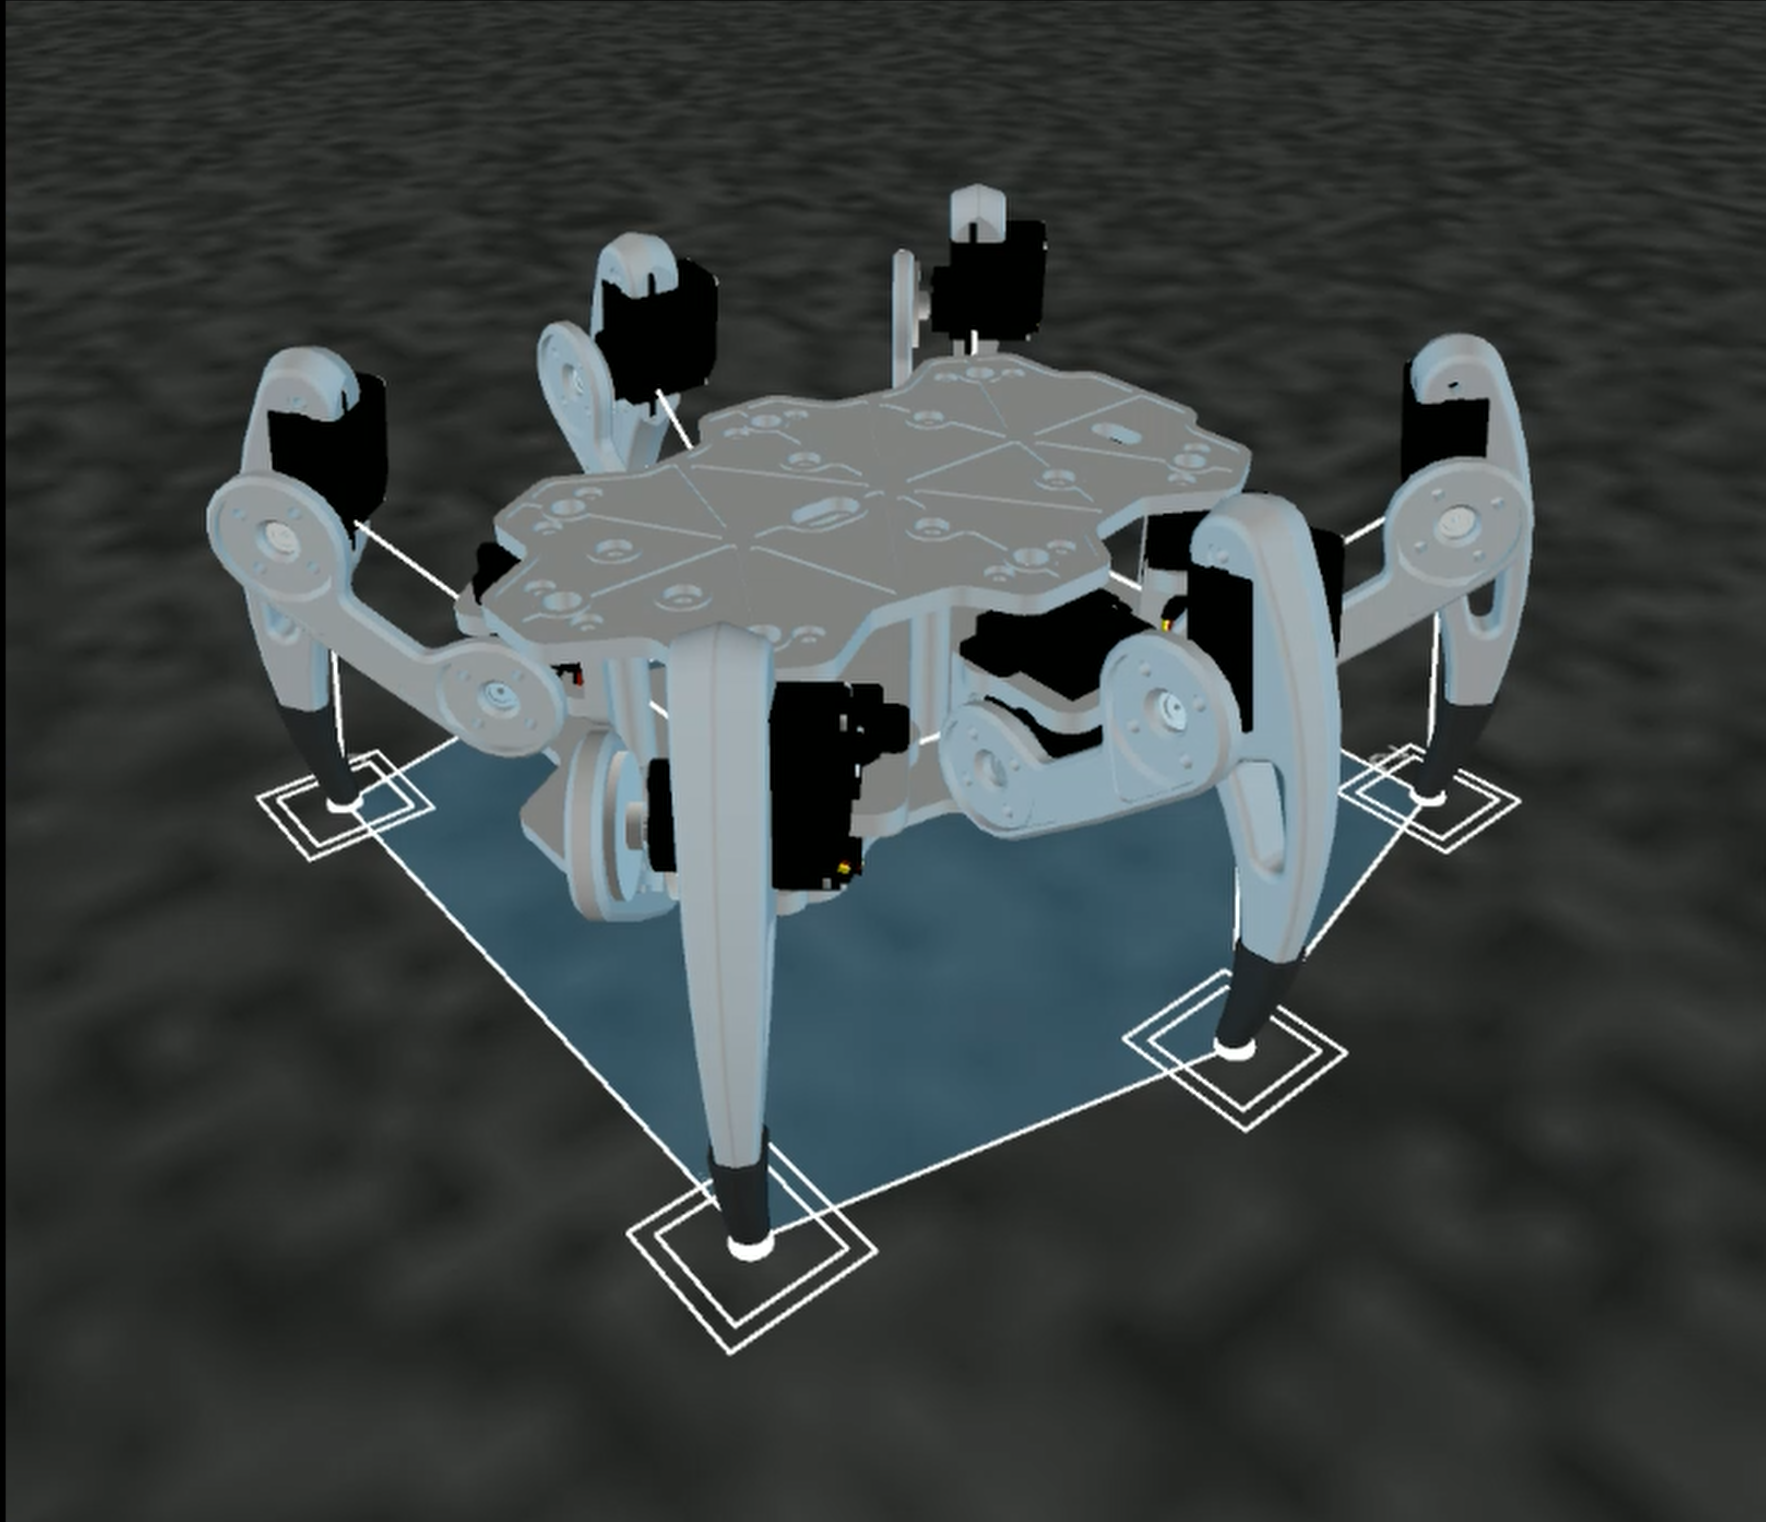
For the simulator, Processing’s 3D rendering is used to display the hexapod either as a wire mesh or with its later CAD files. Controlling the robot is done via mouse and keyboard. This was more than enough to get a sense of what the walking would look like without the need for any hardware.
Discussions
Become a Hackaday.io Member
Create an account to leave a comment. Already have an account? Log In.