 Daphne
-
1Setup
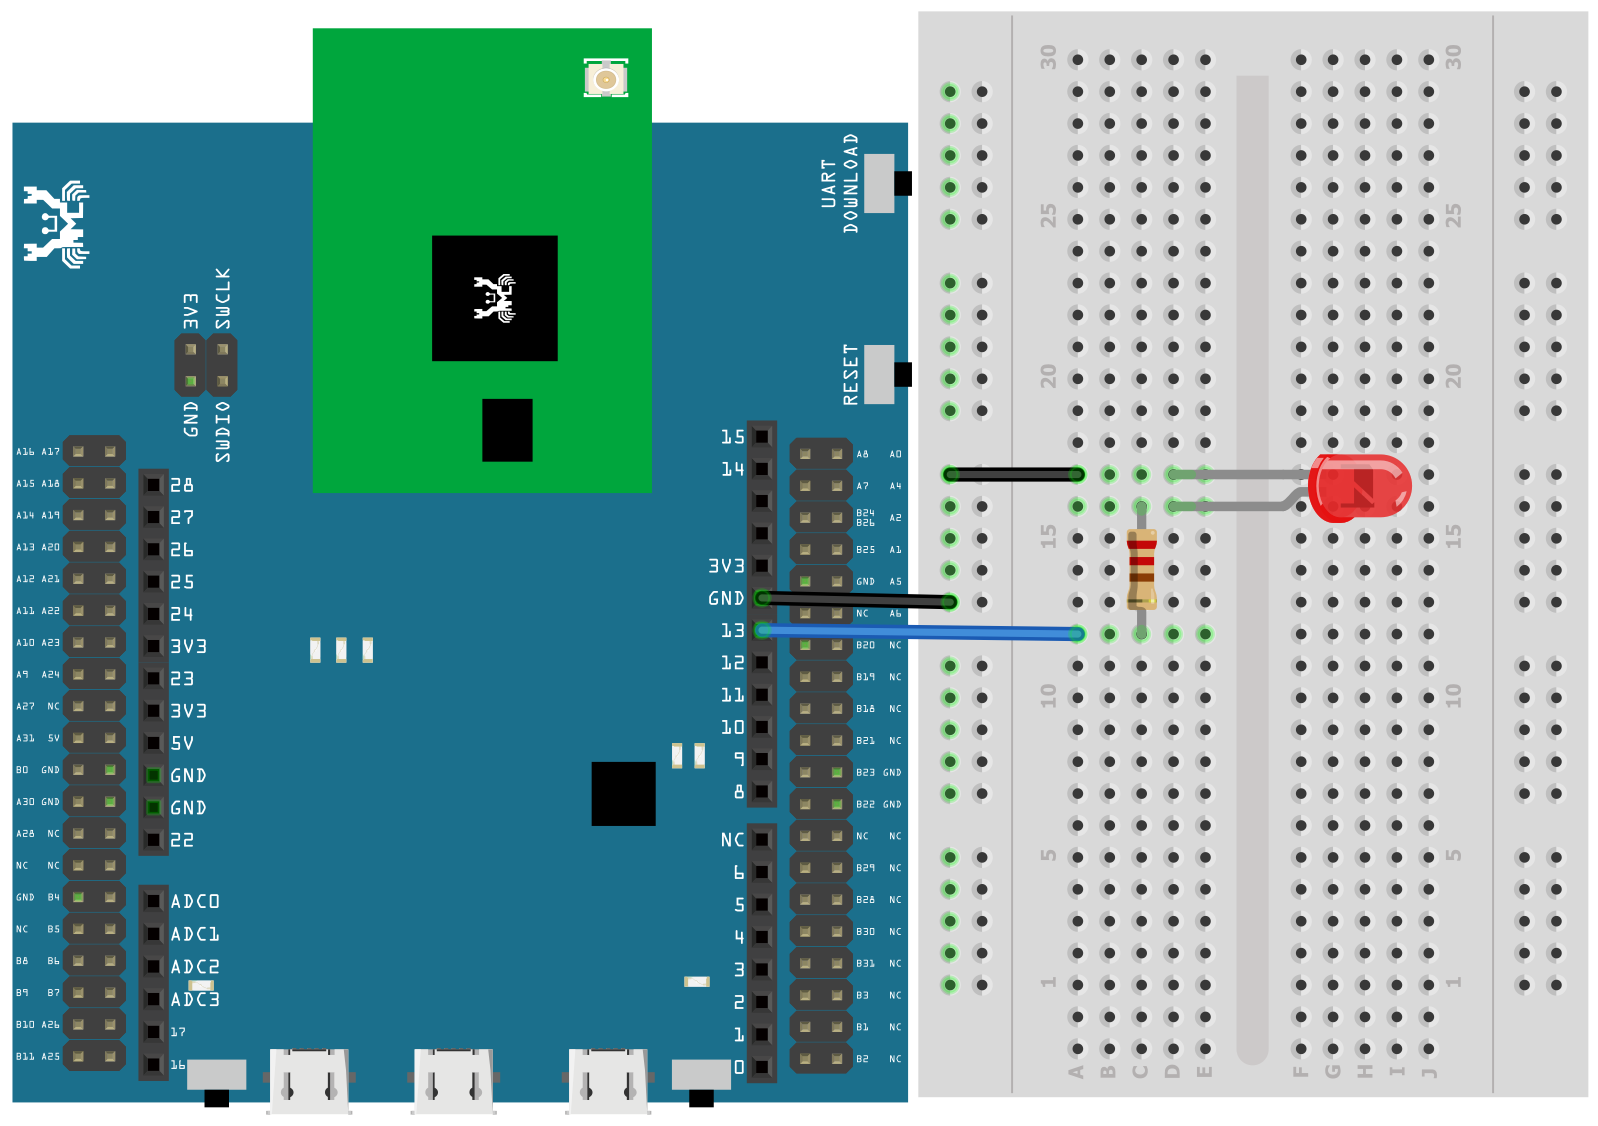
First, connect the breadboard to the Ameba.
Then, connect the LED and the resistor in.
For the LED, the longer is the positive pole while the shorter pin is the negative pole. Therefore, connect the shorter pin to the GND and the longer pin D13 on the Ameba. In addition, to limit the current through the LED and prevent it from damage, we have to connect a resistor to the positive pole.
![]()
-
2Programming
![]()
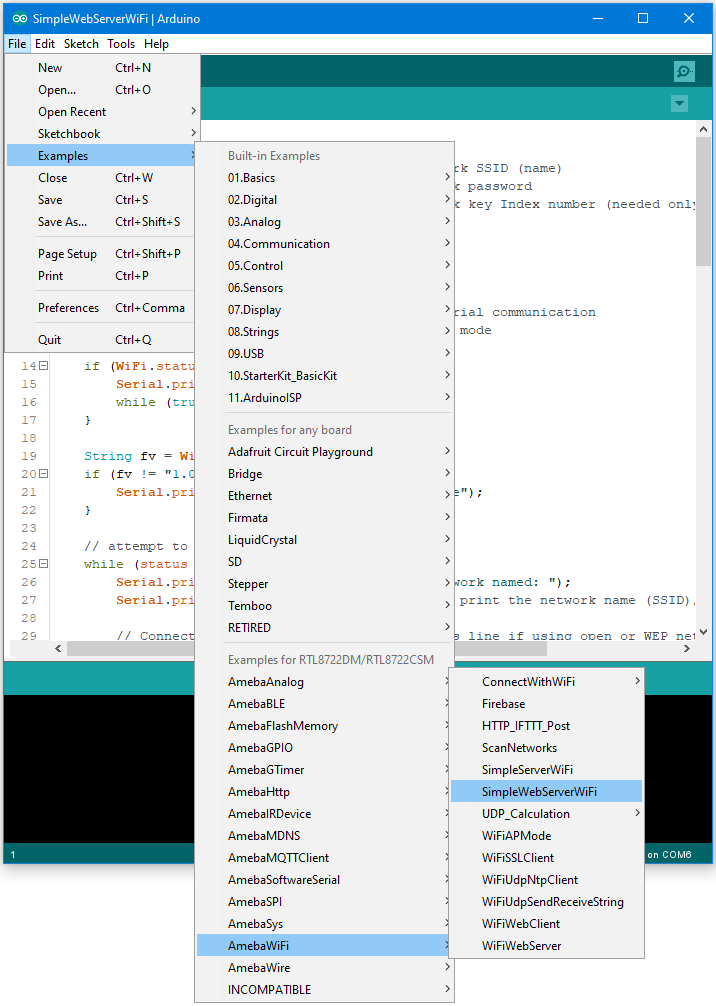
The programming can done using Arduino IDE which makes it very easy to write code and upload to the Ameba board.
- Open “File” -> “Examples” -> “AmebaWiFi” -> “SimpleWebServerWiFi”
![]()
-
3Final Results!
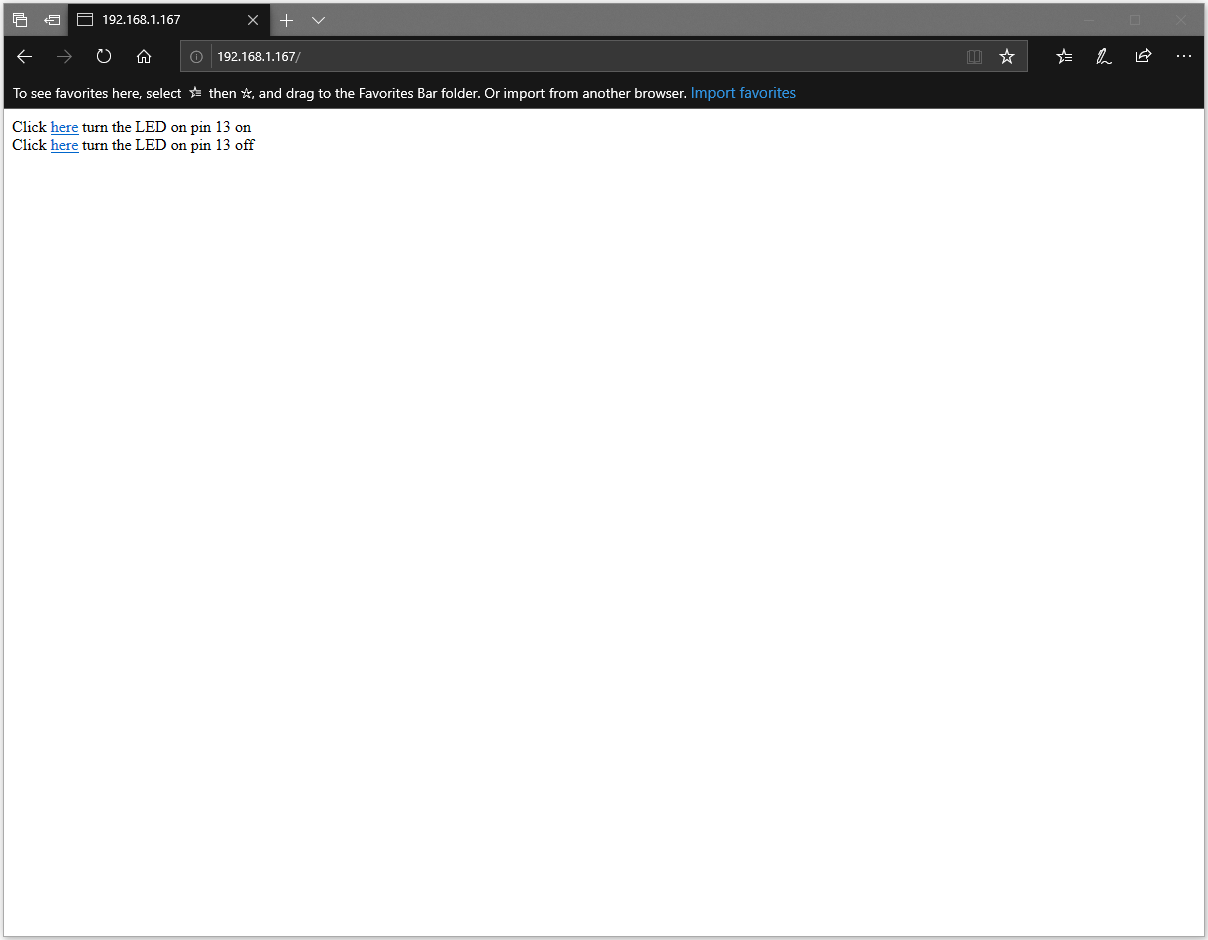
When the programming and setup is done.
Open the browser of a computer or a cell phone under the same Wifi network as the Ameba, then enter the IP address of the Ameba.
![]()
And in this webpage you can turn on or turn off the LED.
-
4More resources
If you need additional technical documents or the source code for this project. Check out the links below:
- Ameba Facebook Page: https://bit.ly/amebaFB
- Ameba Official Website: https://bit.ly/amebaofficialwebsite
- Ameba Forums: https://bit.ly/amebaforums
RTL8722DM as a Server to Control LED
A Web Server to control the LED to turn on or off

Discussions
Become a Hackaday.io Member
Create an account to leave a comment. Already have an account? Log In.