Close
0%
0%

TinyTyper (Stage One)

One REALLY lousy, 26char/line "typewriter", from a PS/2 keyboard, an old IBM receipt printer, and a bit of Arduino magic...

Similar projects worth following
A simple "word processor" -- the idea being a pocket version of the Smith Corona PWP machines, basically. Stage One (it prints!) is complete. A new project page will be created for Stage Two, shortly, for which the hardware is extant, but the software does not yet function.

STAGE ONE (THIS PROJECT, **COMPLETE** )--
Prints 26 char/line plain ASCII, blind, to an IBM 4610-TM6 receipt printer via RS232C connection. Input is via PS/2 keyboard, interpretation in between is via Arduino Nano (ATMega328) eBay clone and Harris Semi HIN232CP second-sourced MAX232 clone -- one of the old ones that still requires 1uF electrolytic caps!

STAGE TWO (TBD) --
Get the #$@**#@!~!!!!!!!%ing 20x2 LCD working via I2C serial backpack. This will restrict character output to 19char/line (meh, 26 is already awful, TBH) but it will also allow for simple editing and formatting -- bold and underline support, overwrite editing via ← / → and typing over existing text, Backspace/Tab key

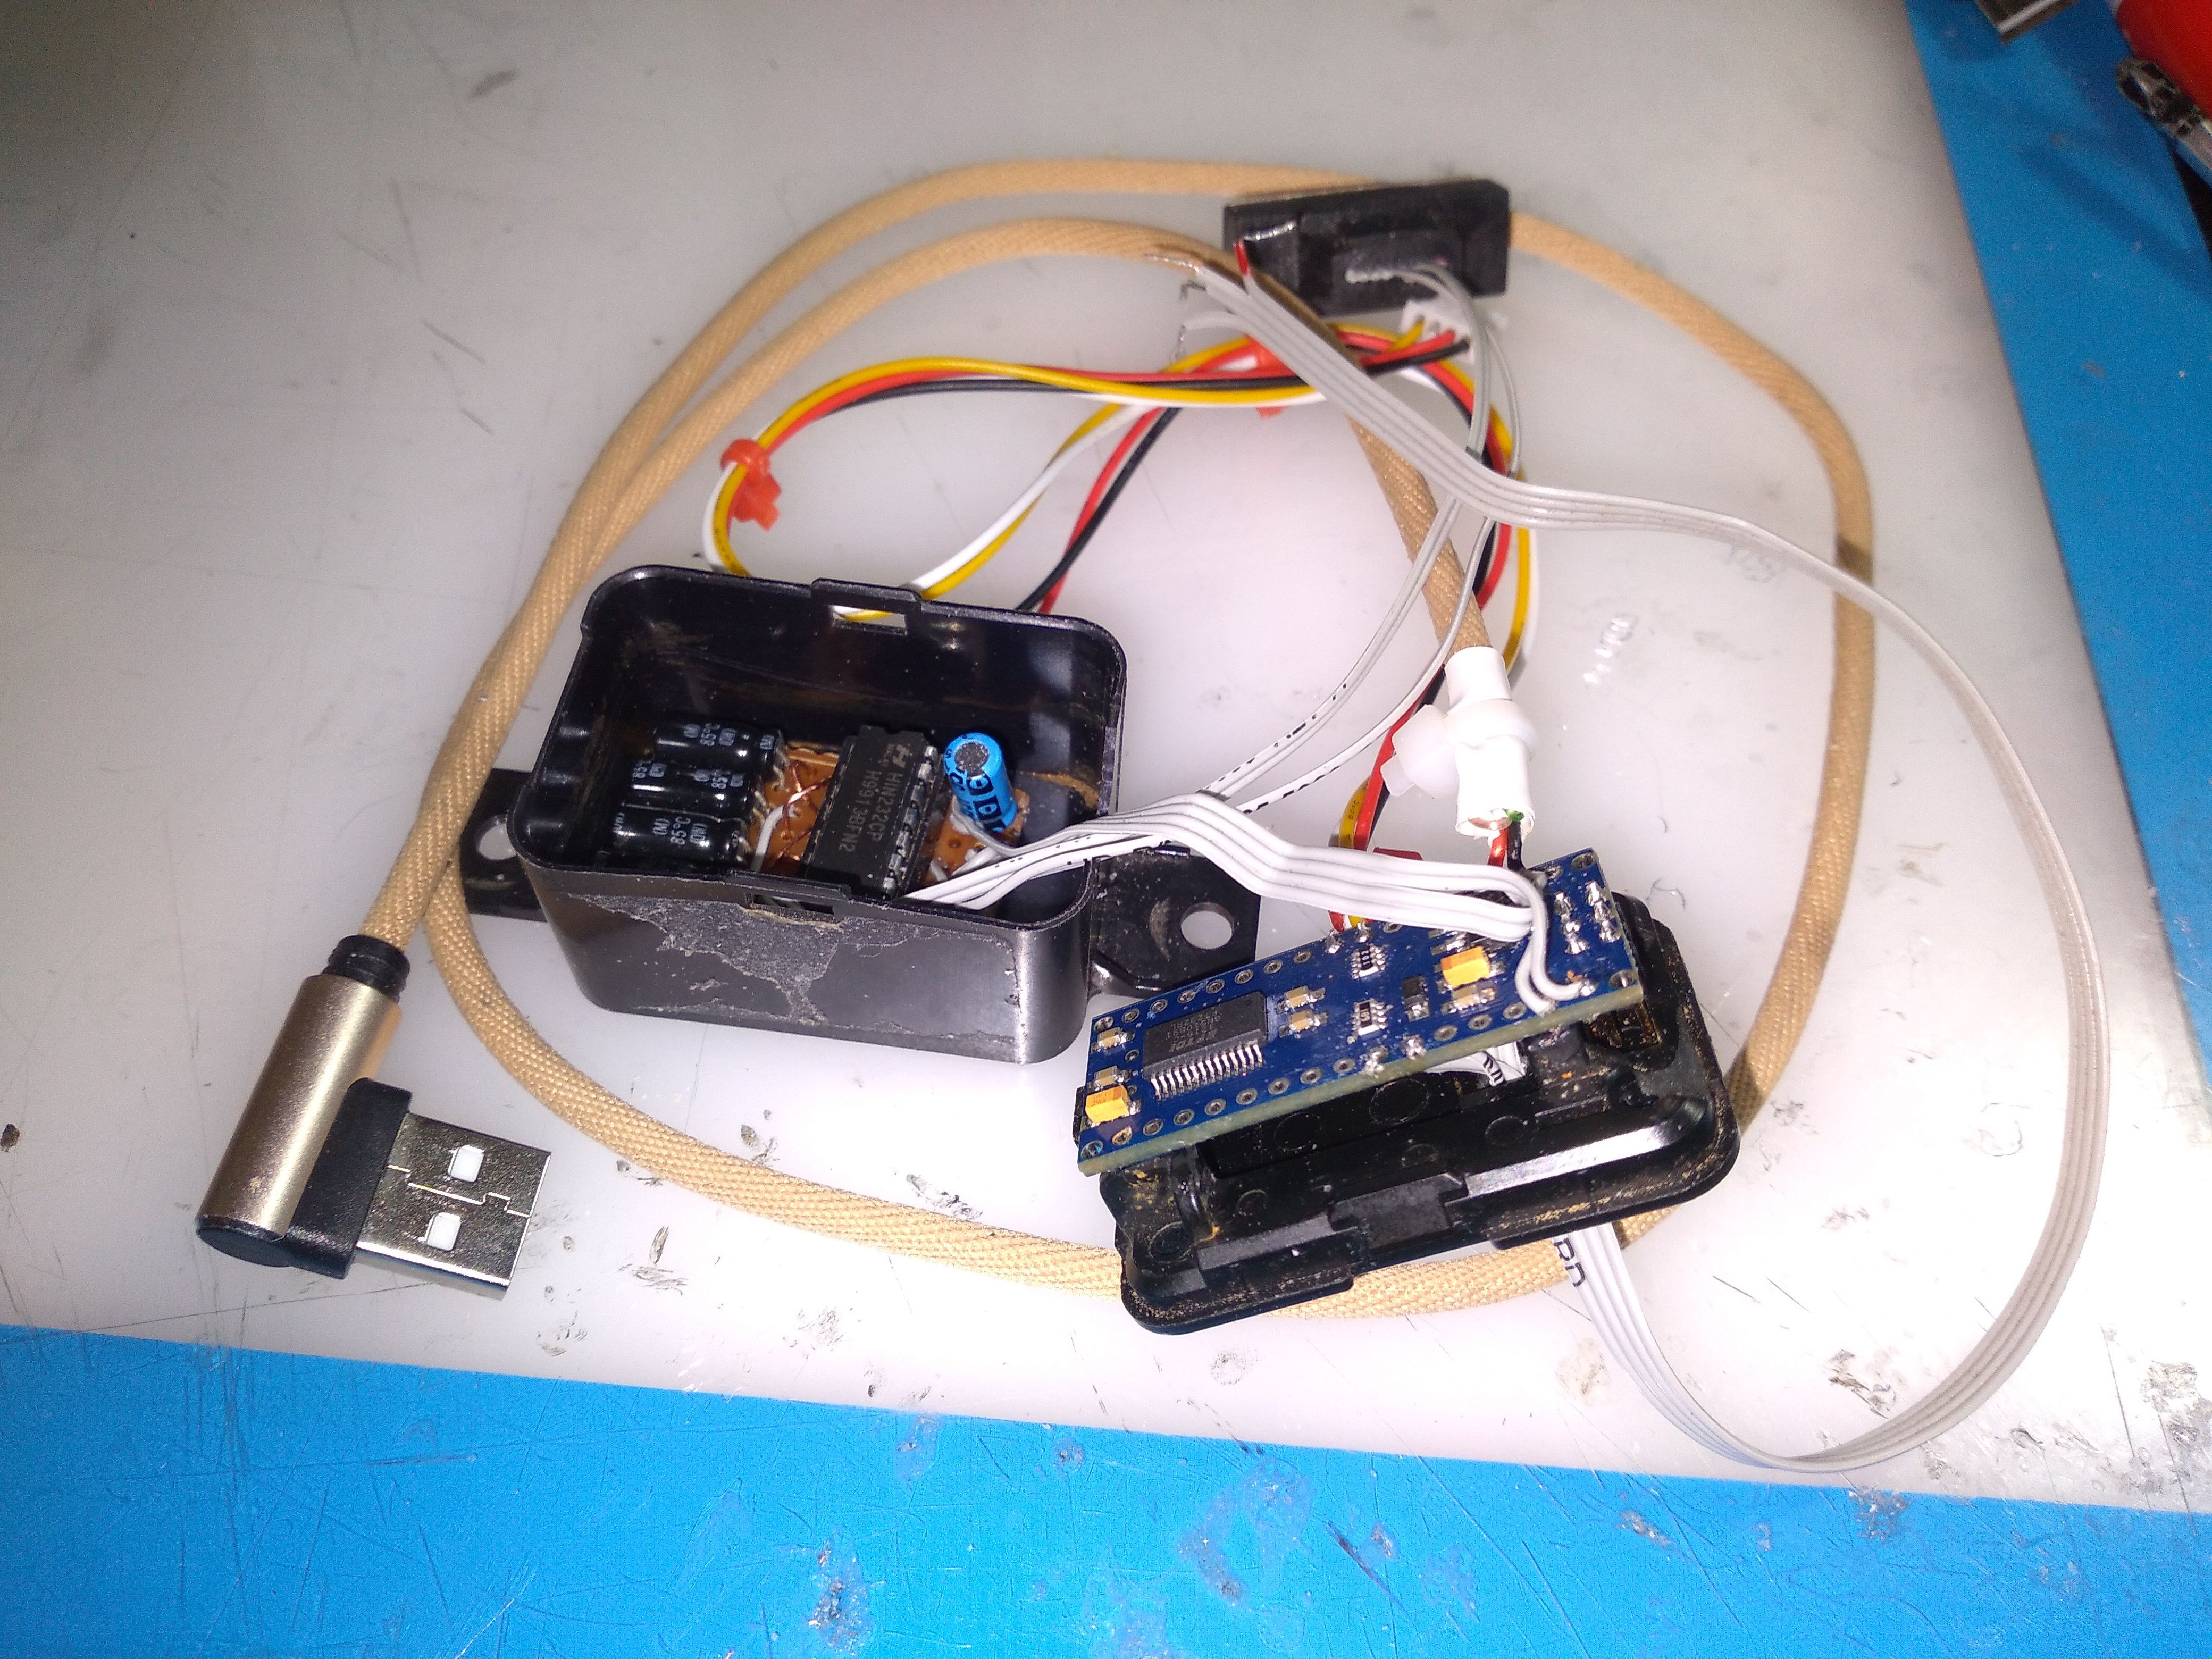
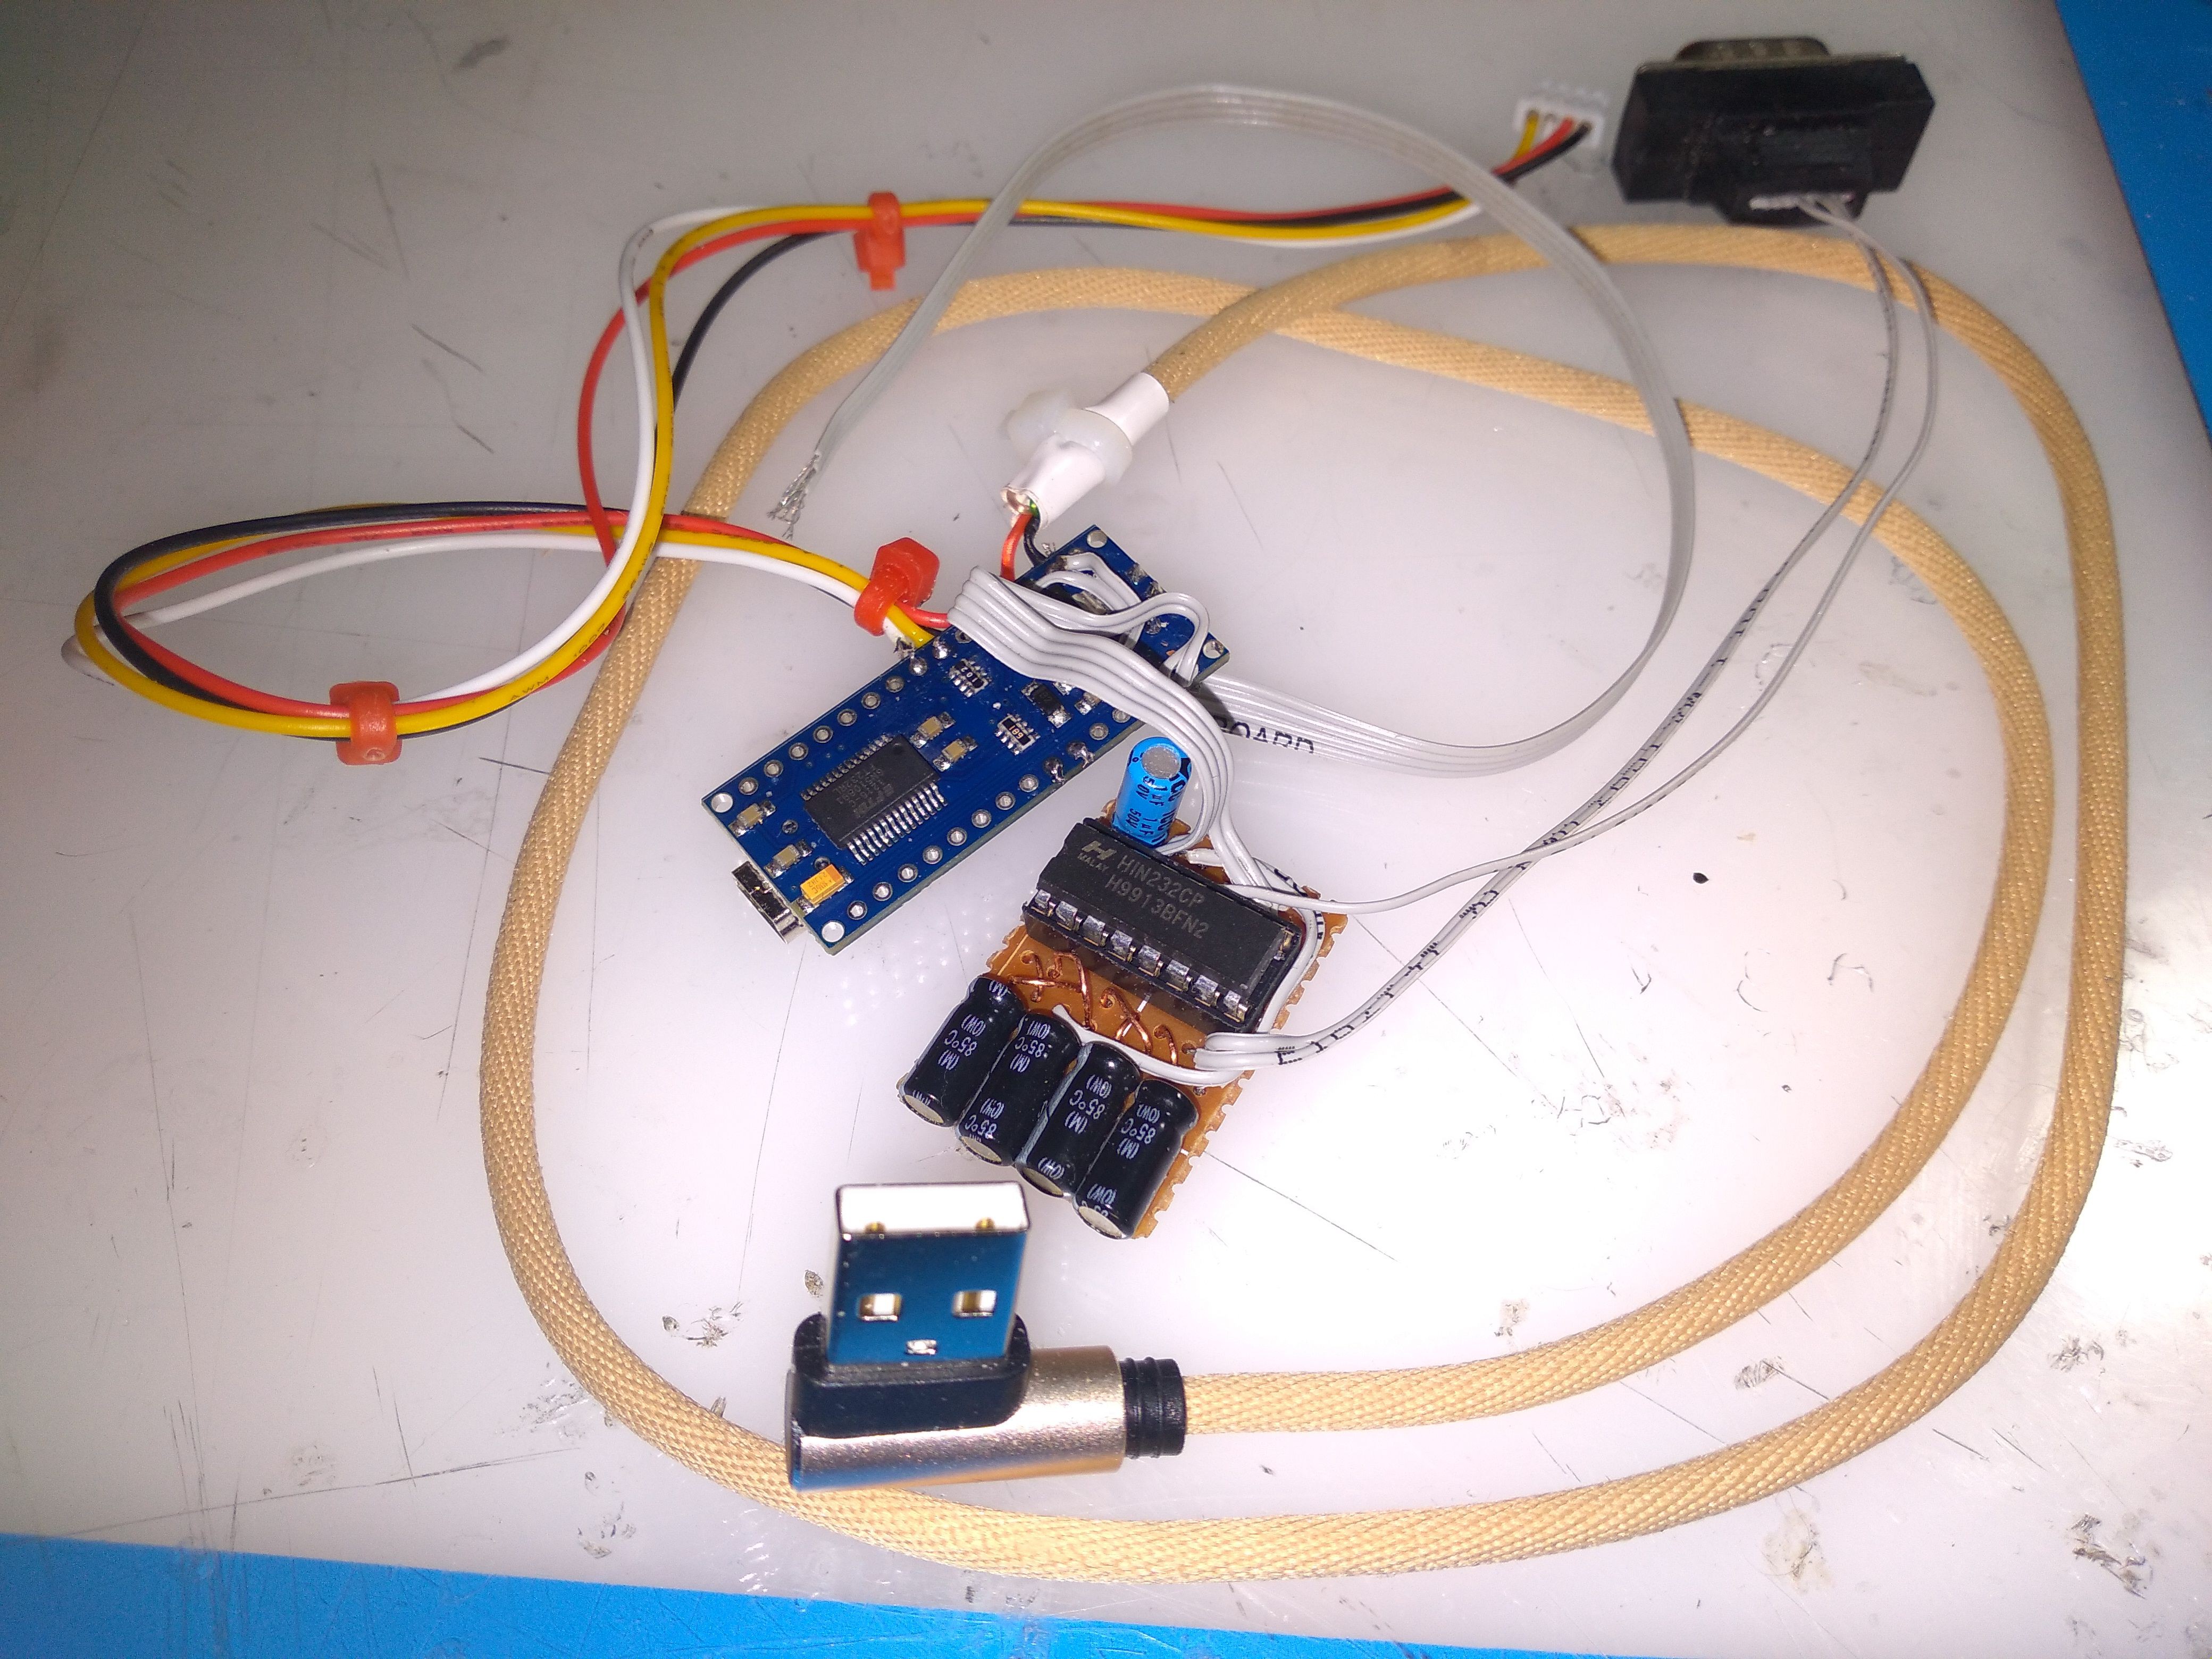
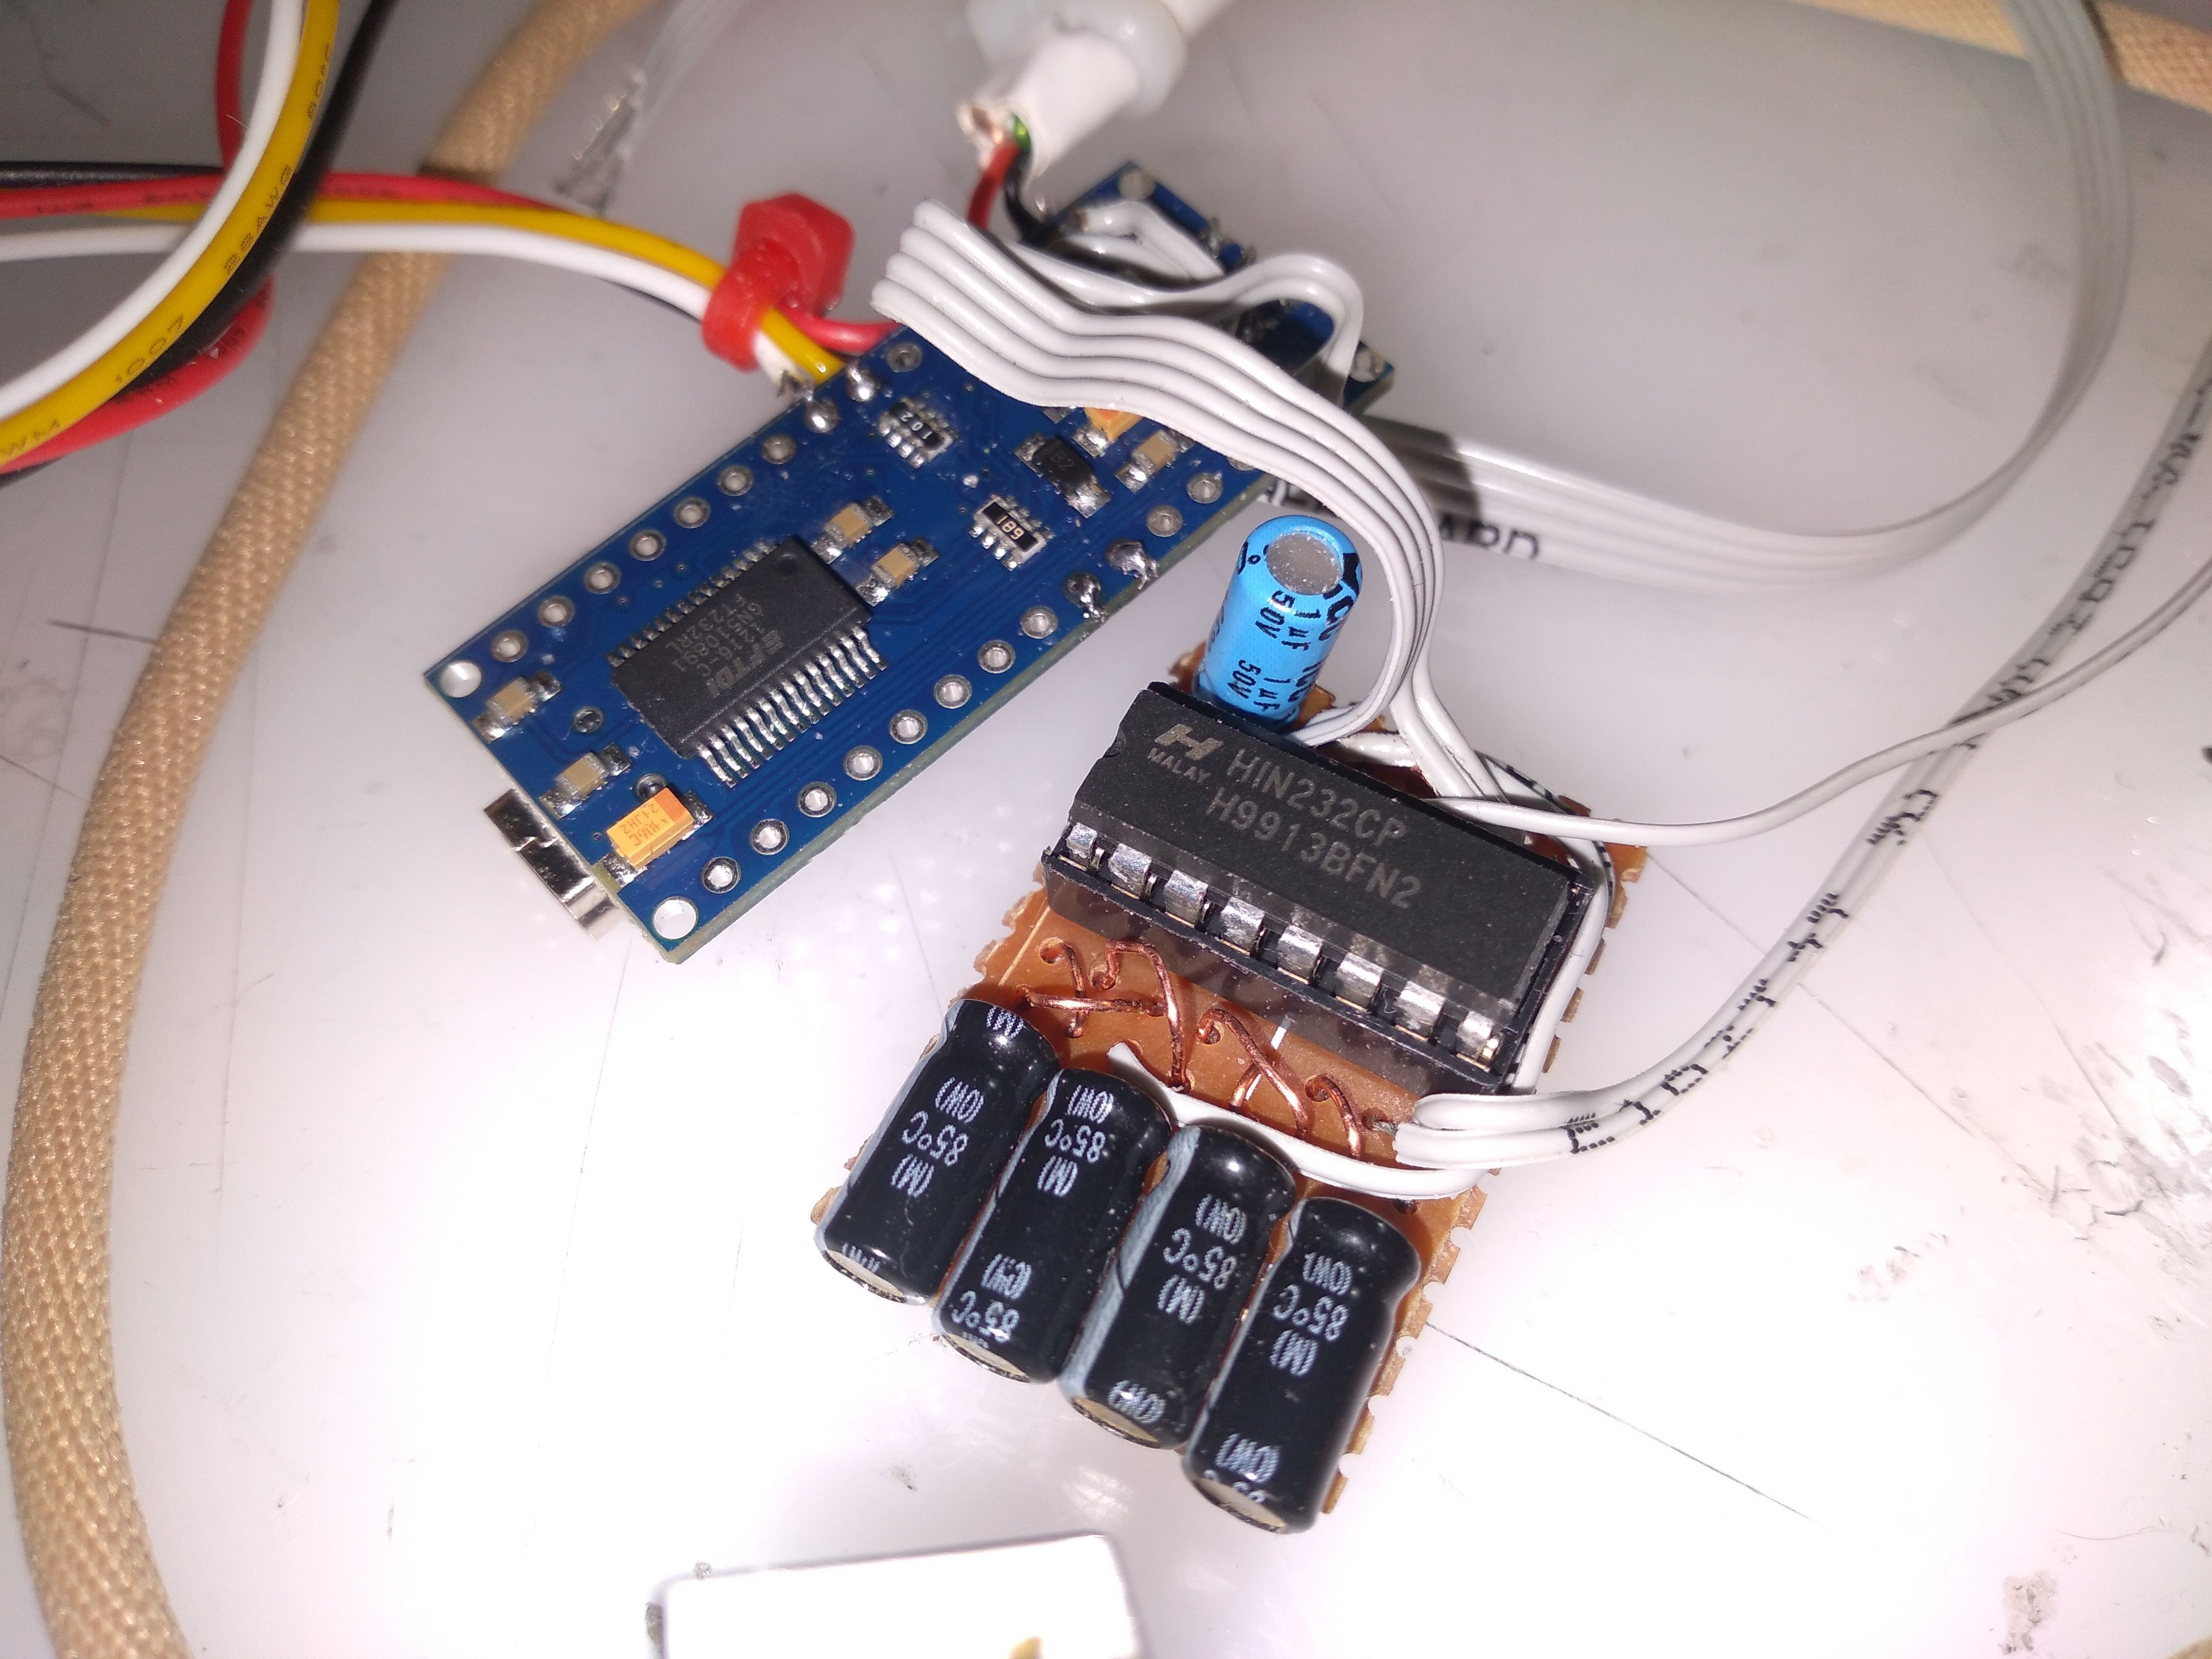
This is a simple project that lets you use an ATMega328-based Arduino (Uno, Duemilanove, Nano, Pro Mini, or compatible/clone) to type words oldschool-style on an IBM 4610-series receipt printer. Your printer must support RS232 for the reference design, as presented here, to work.

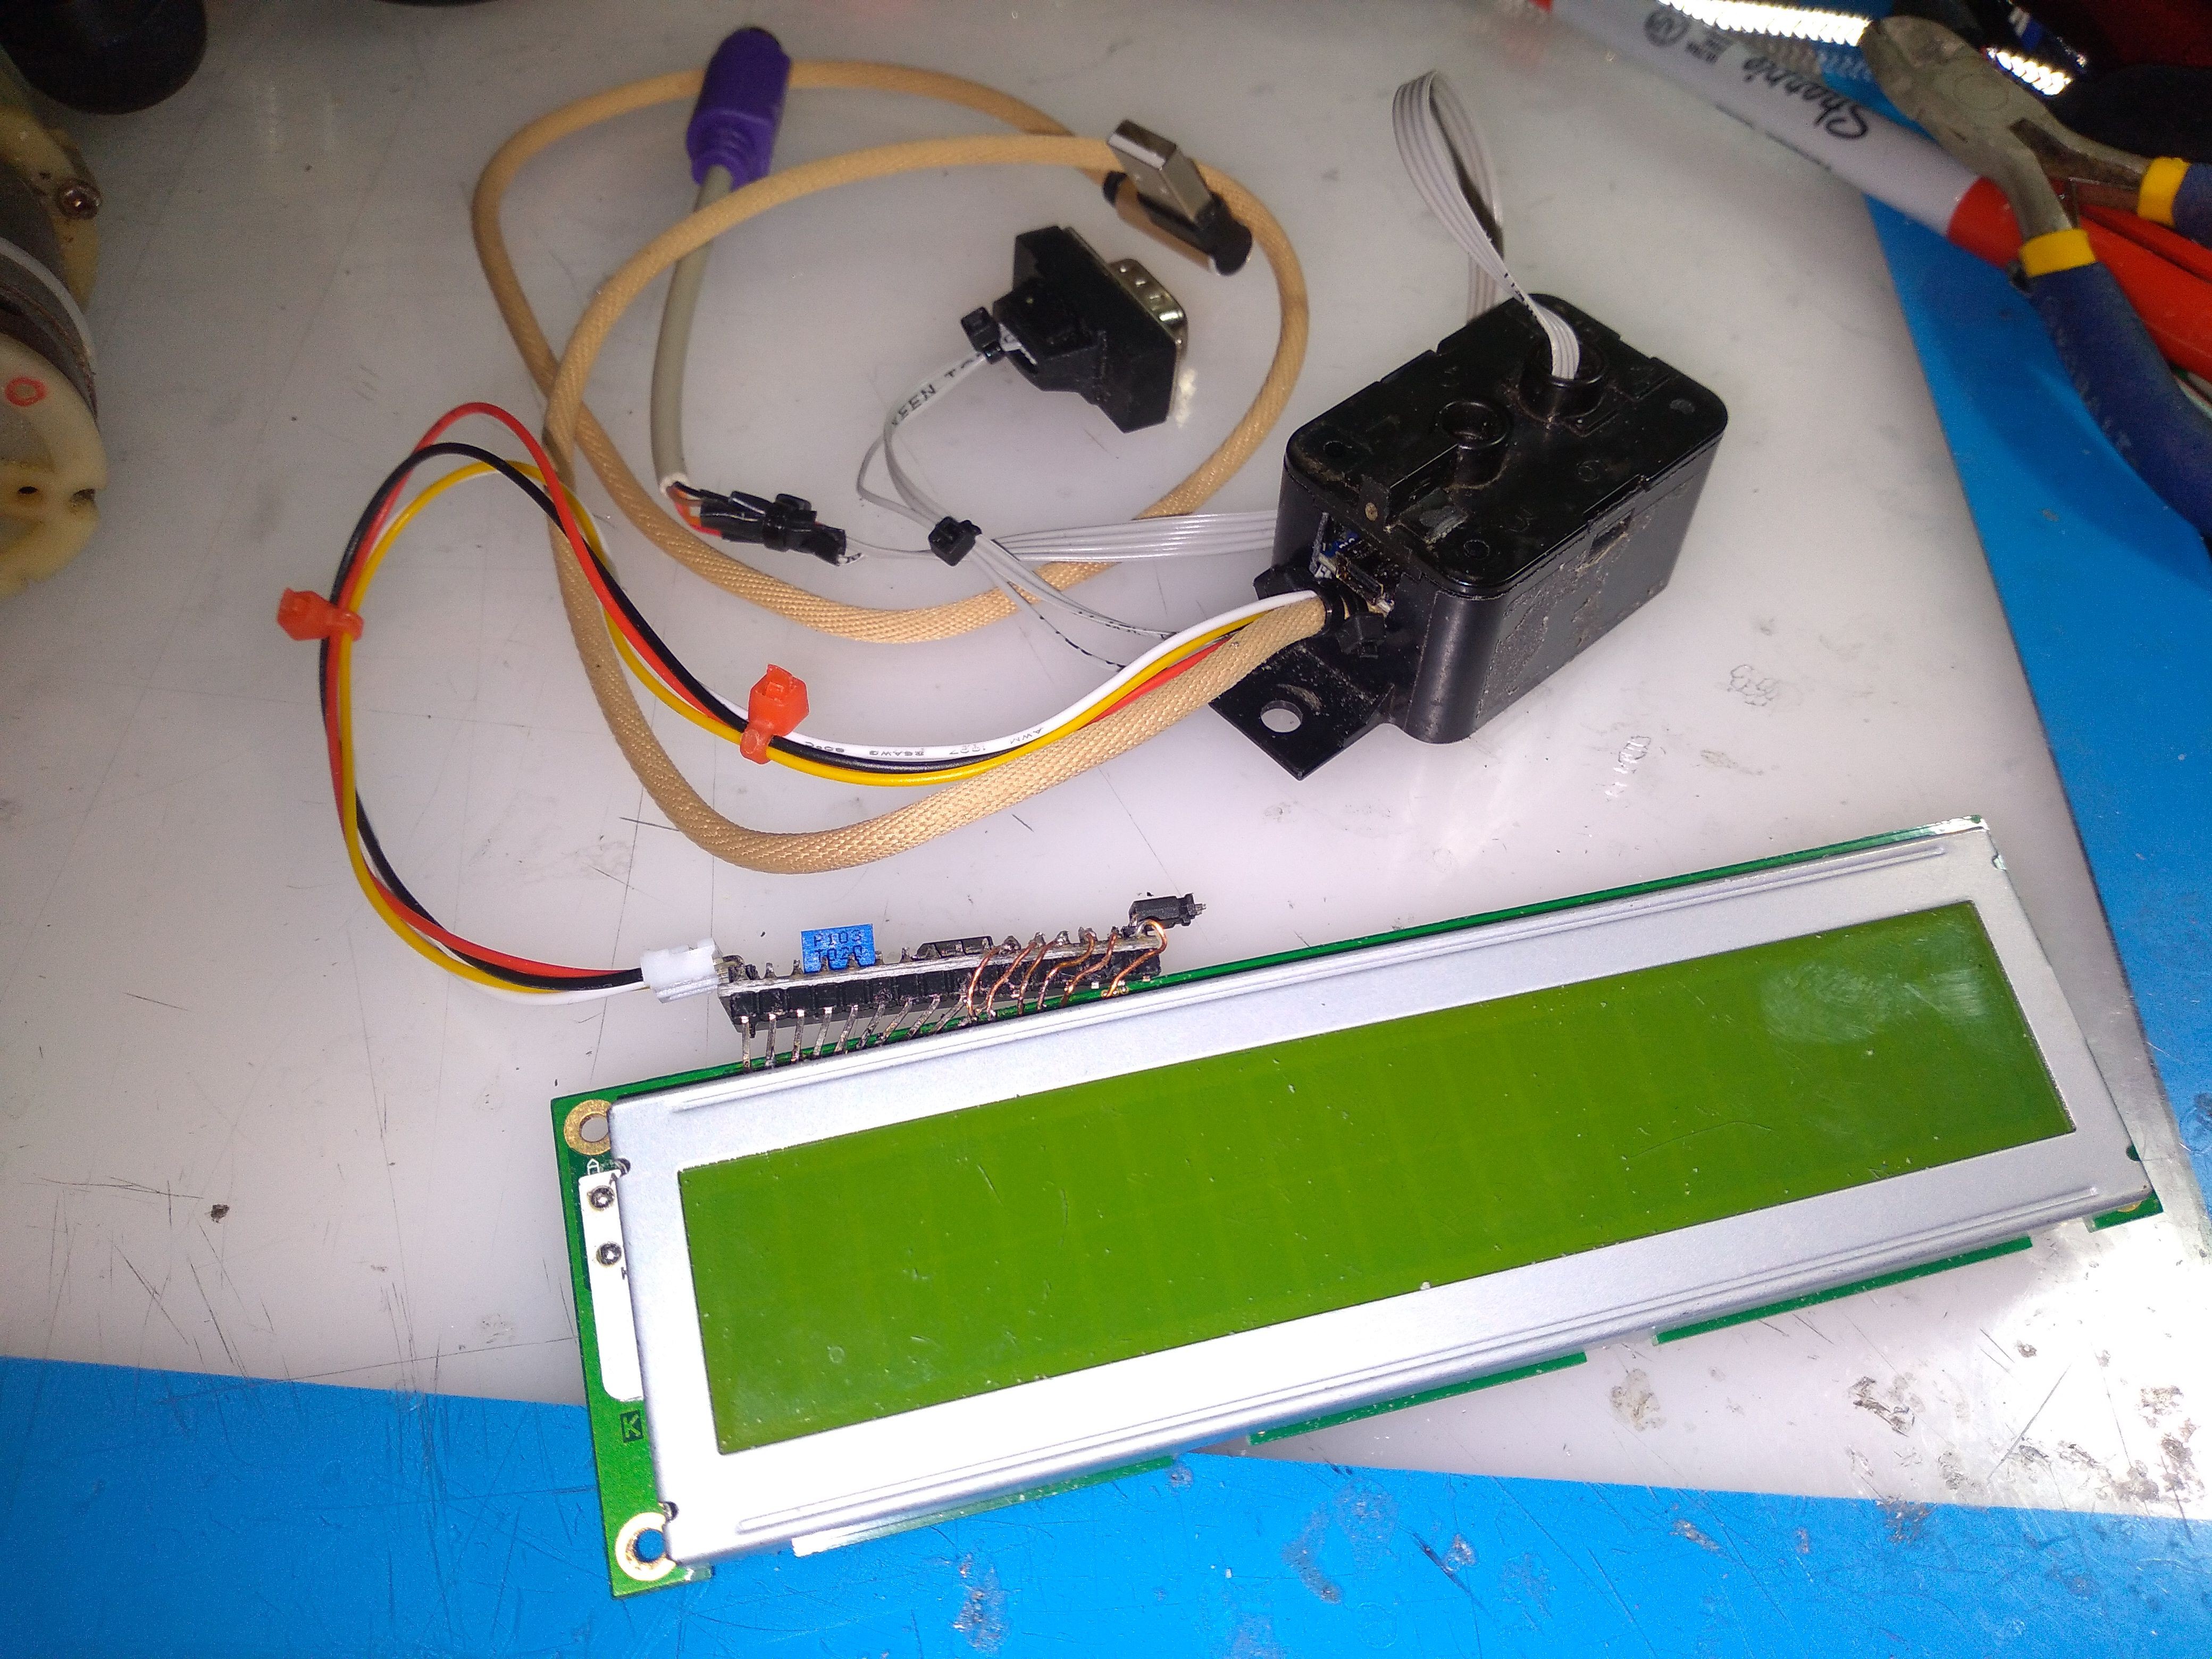
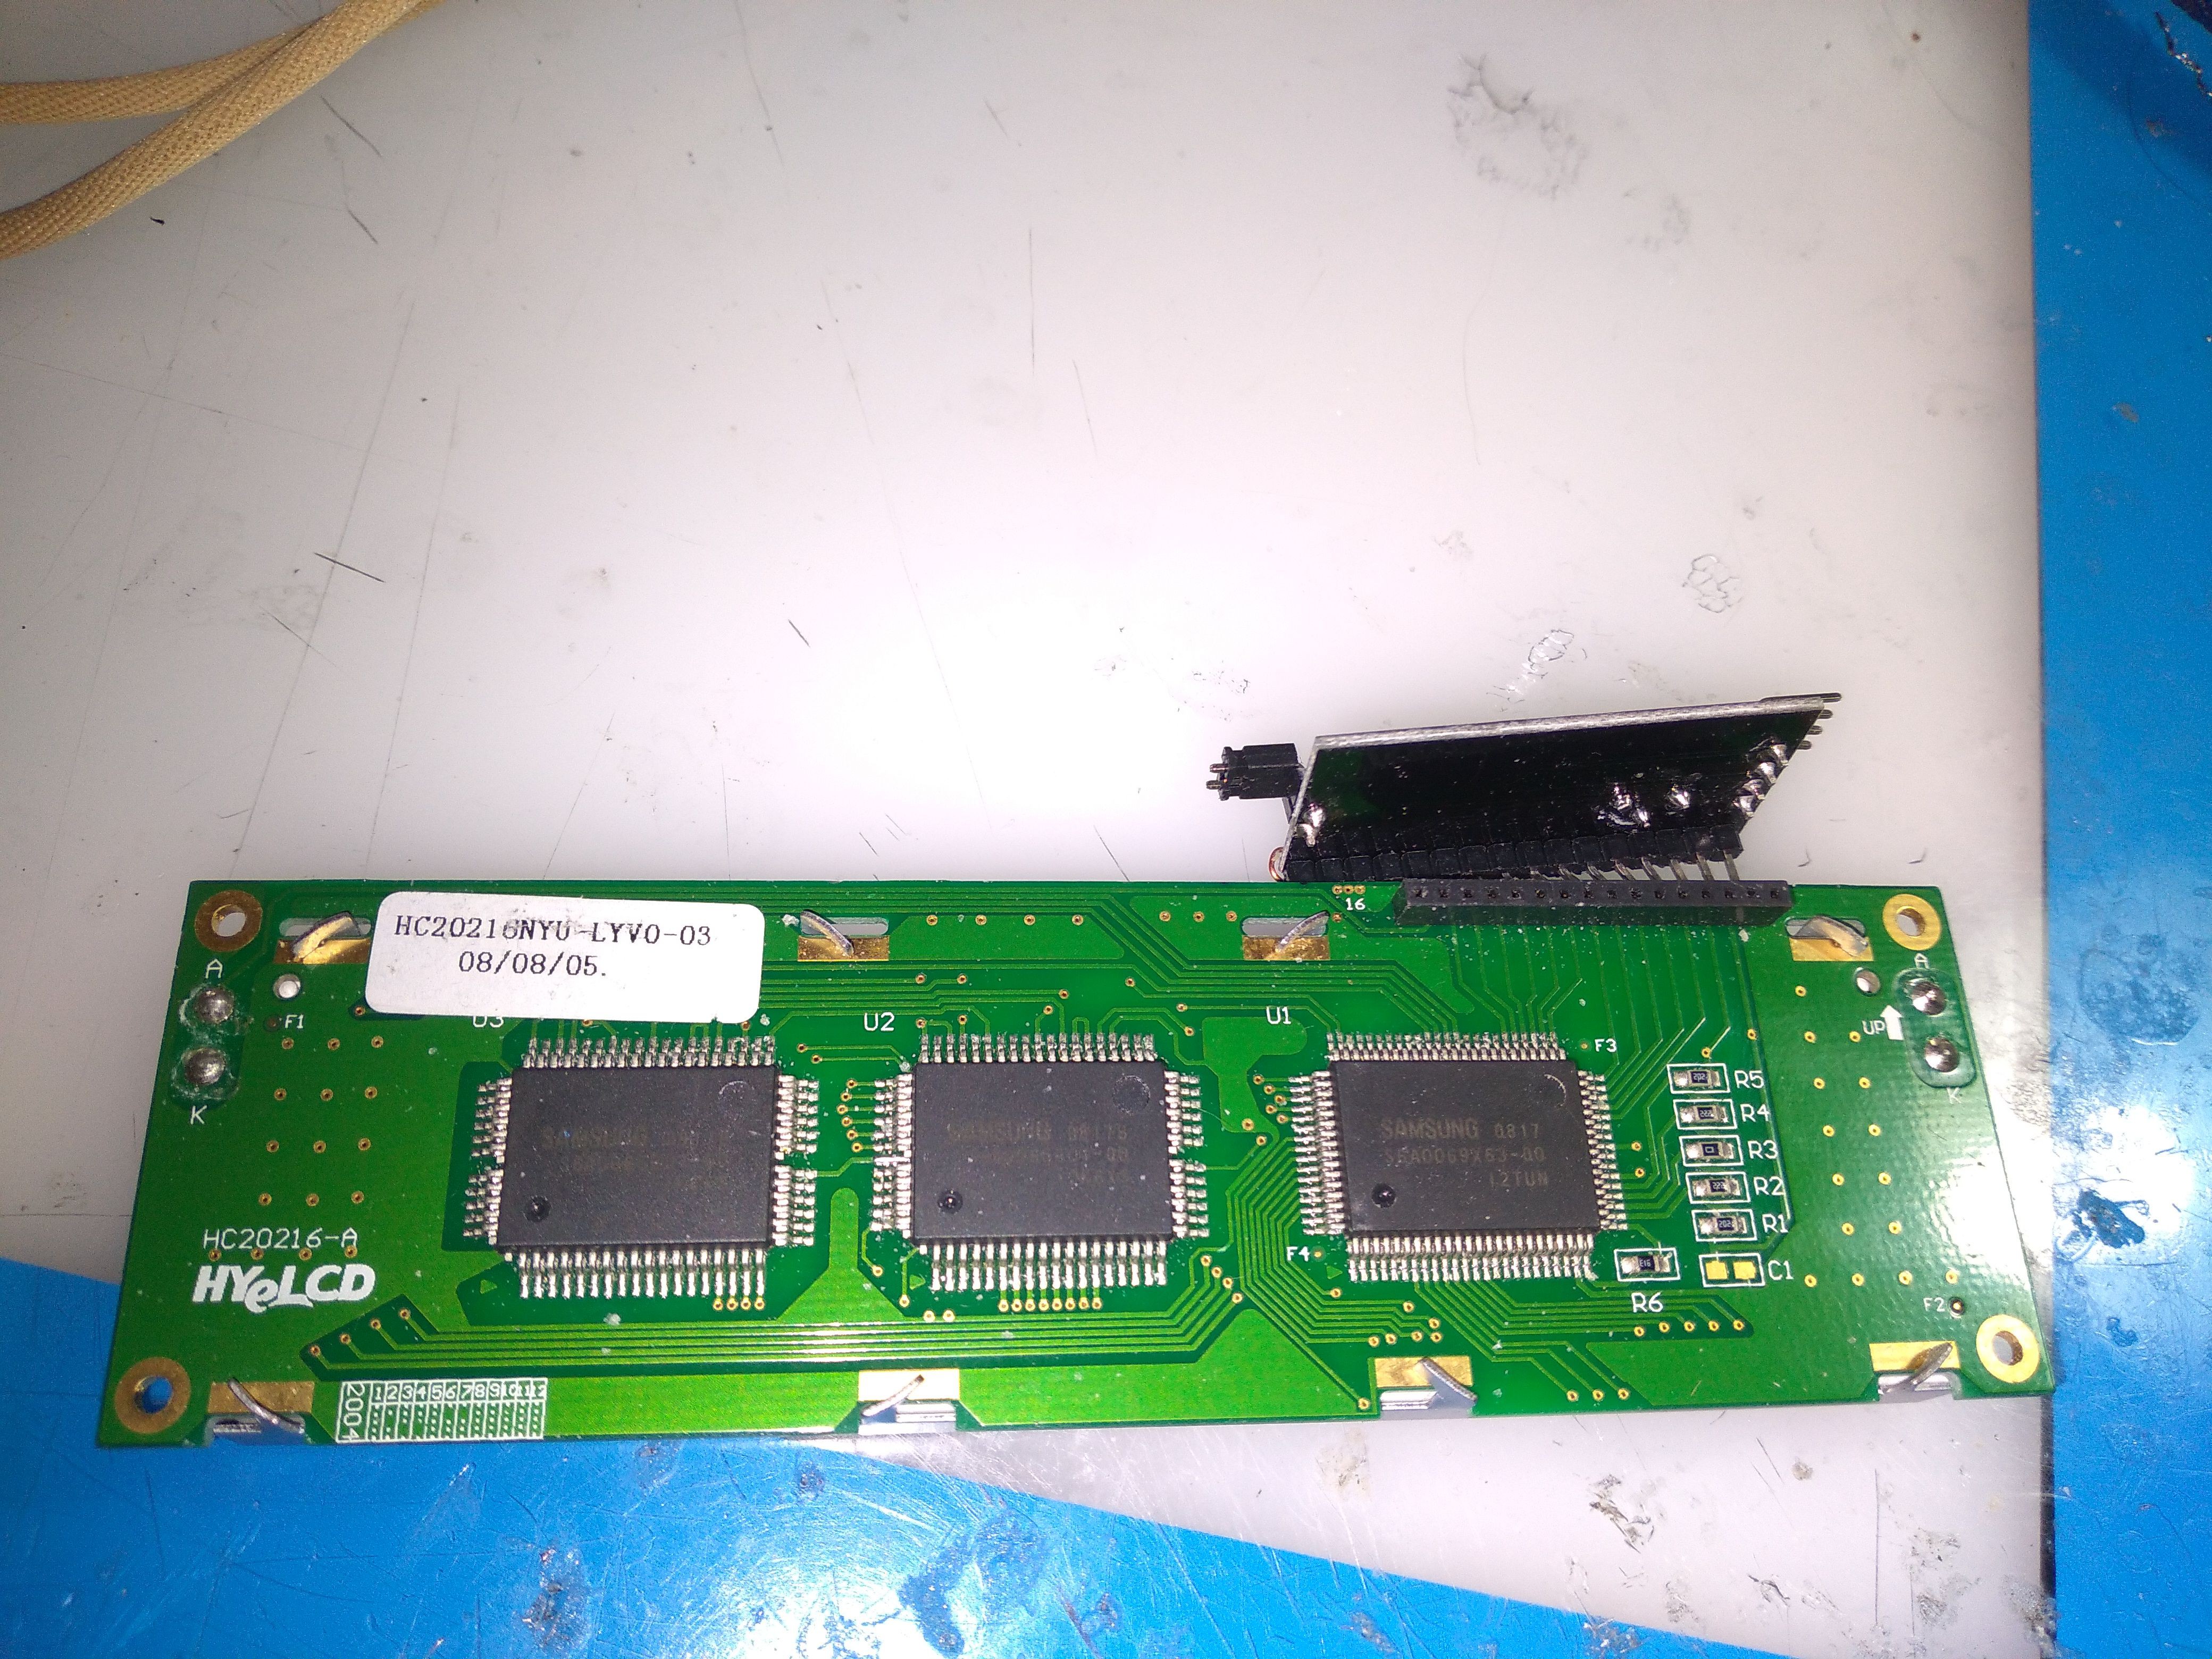
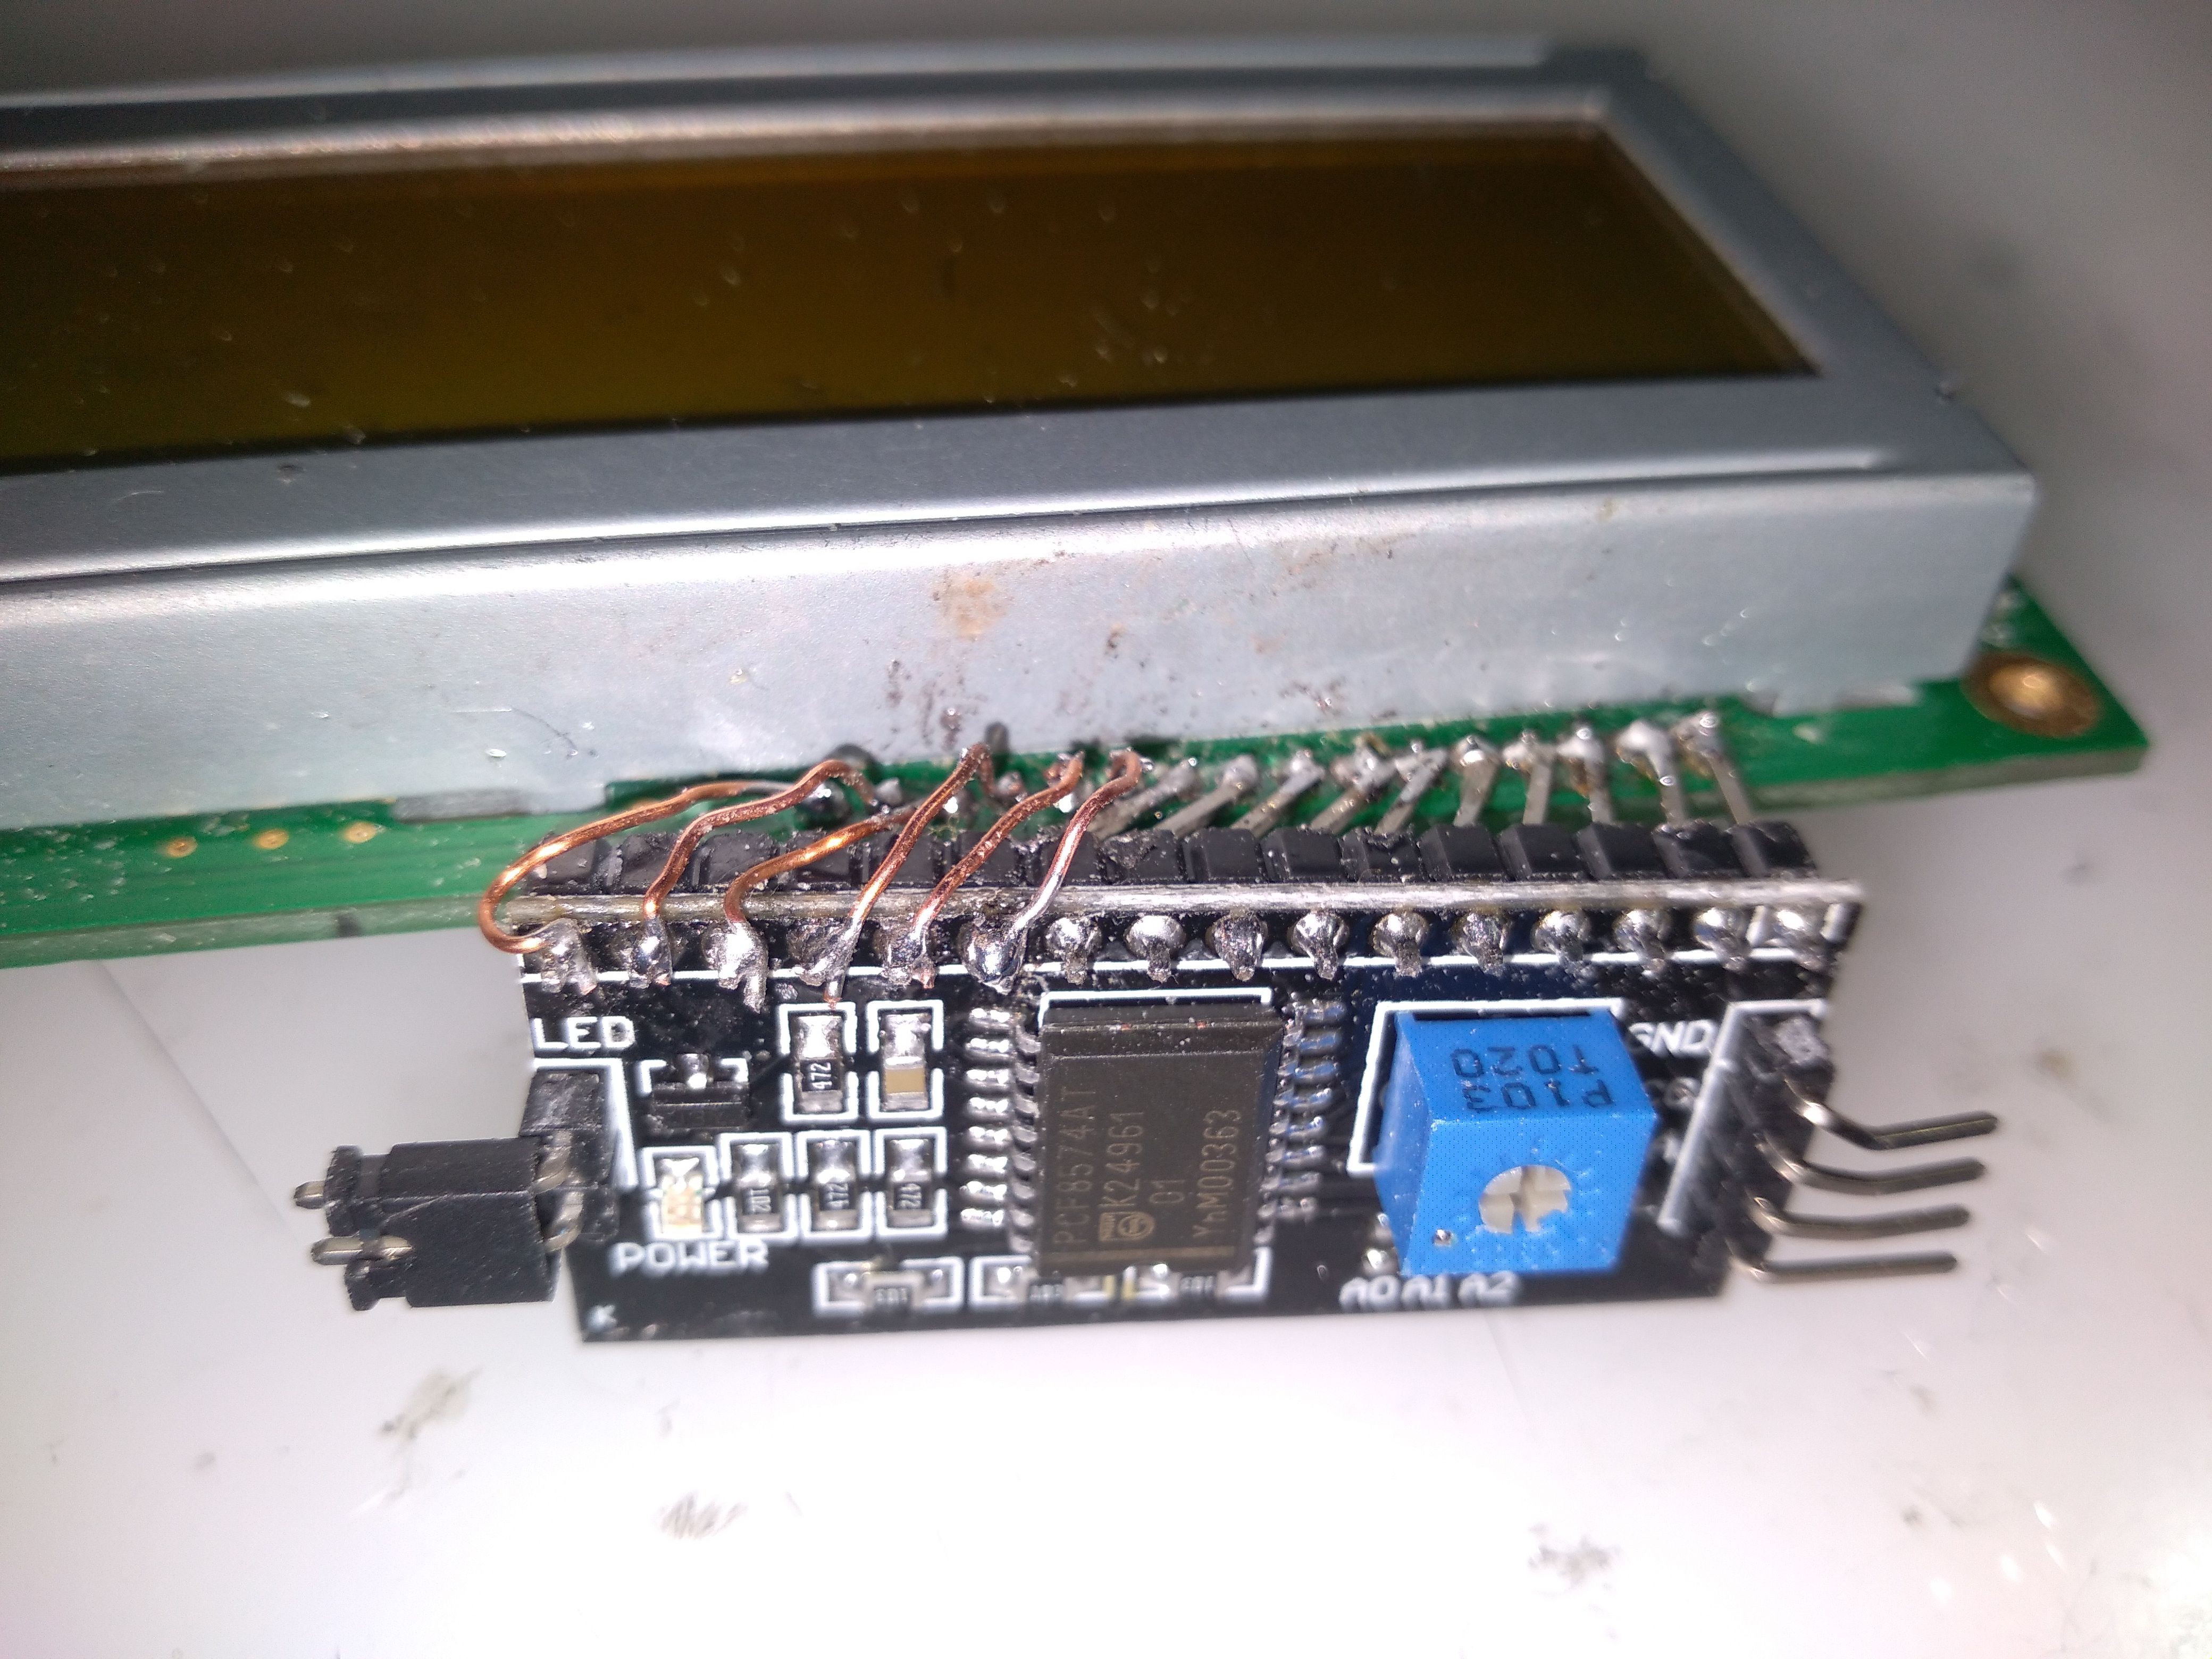
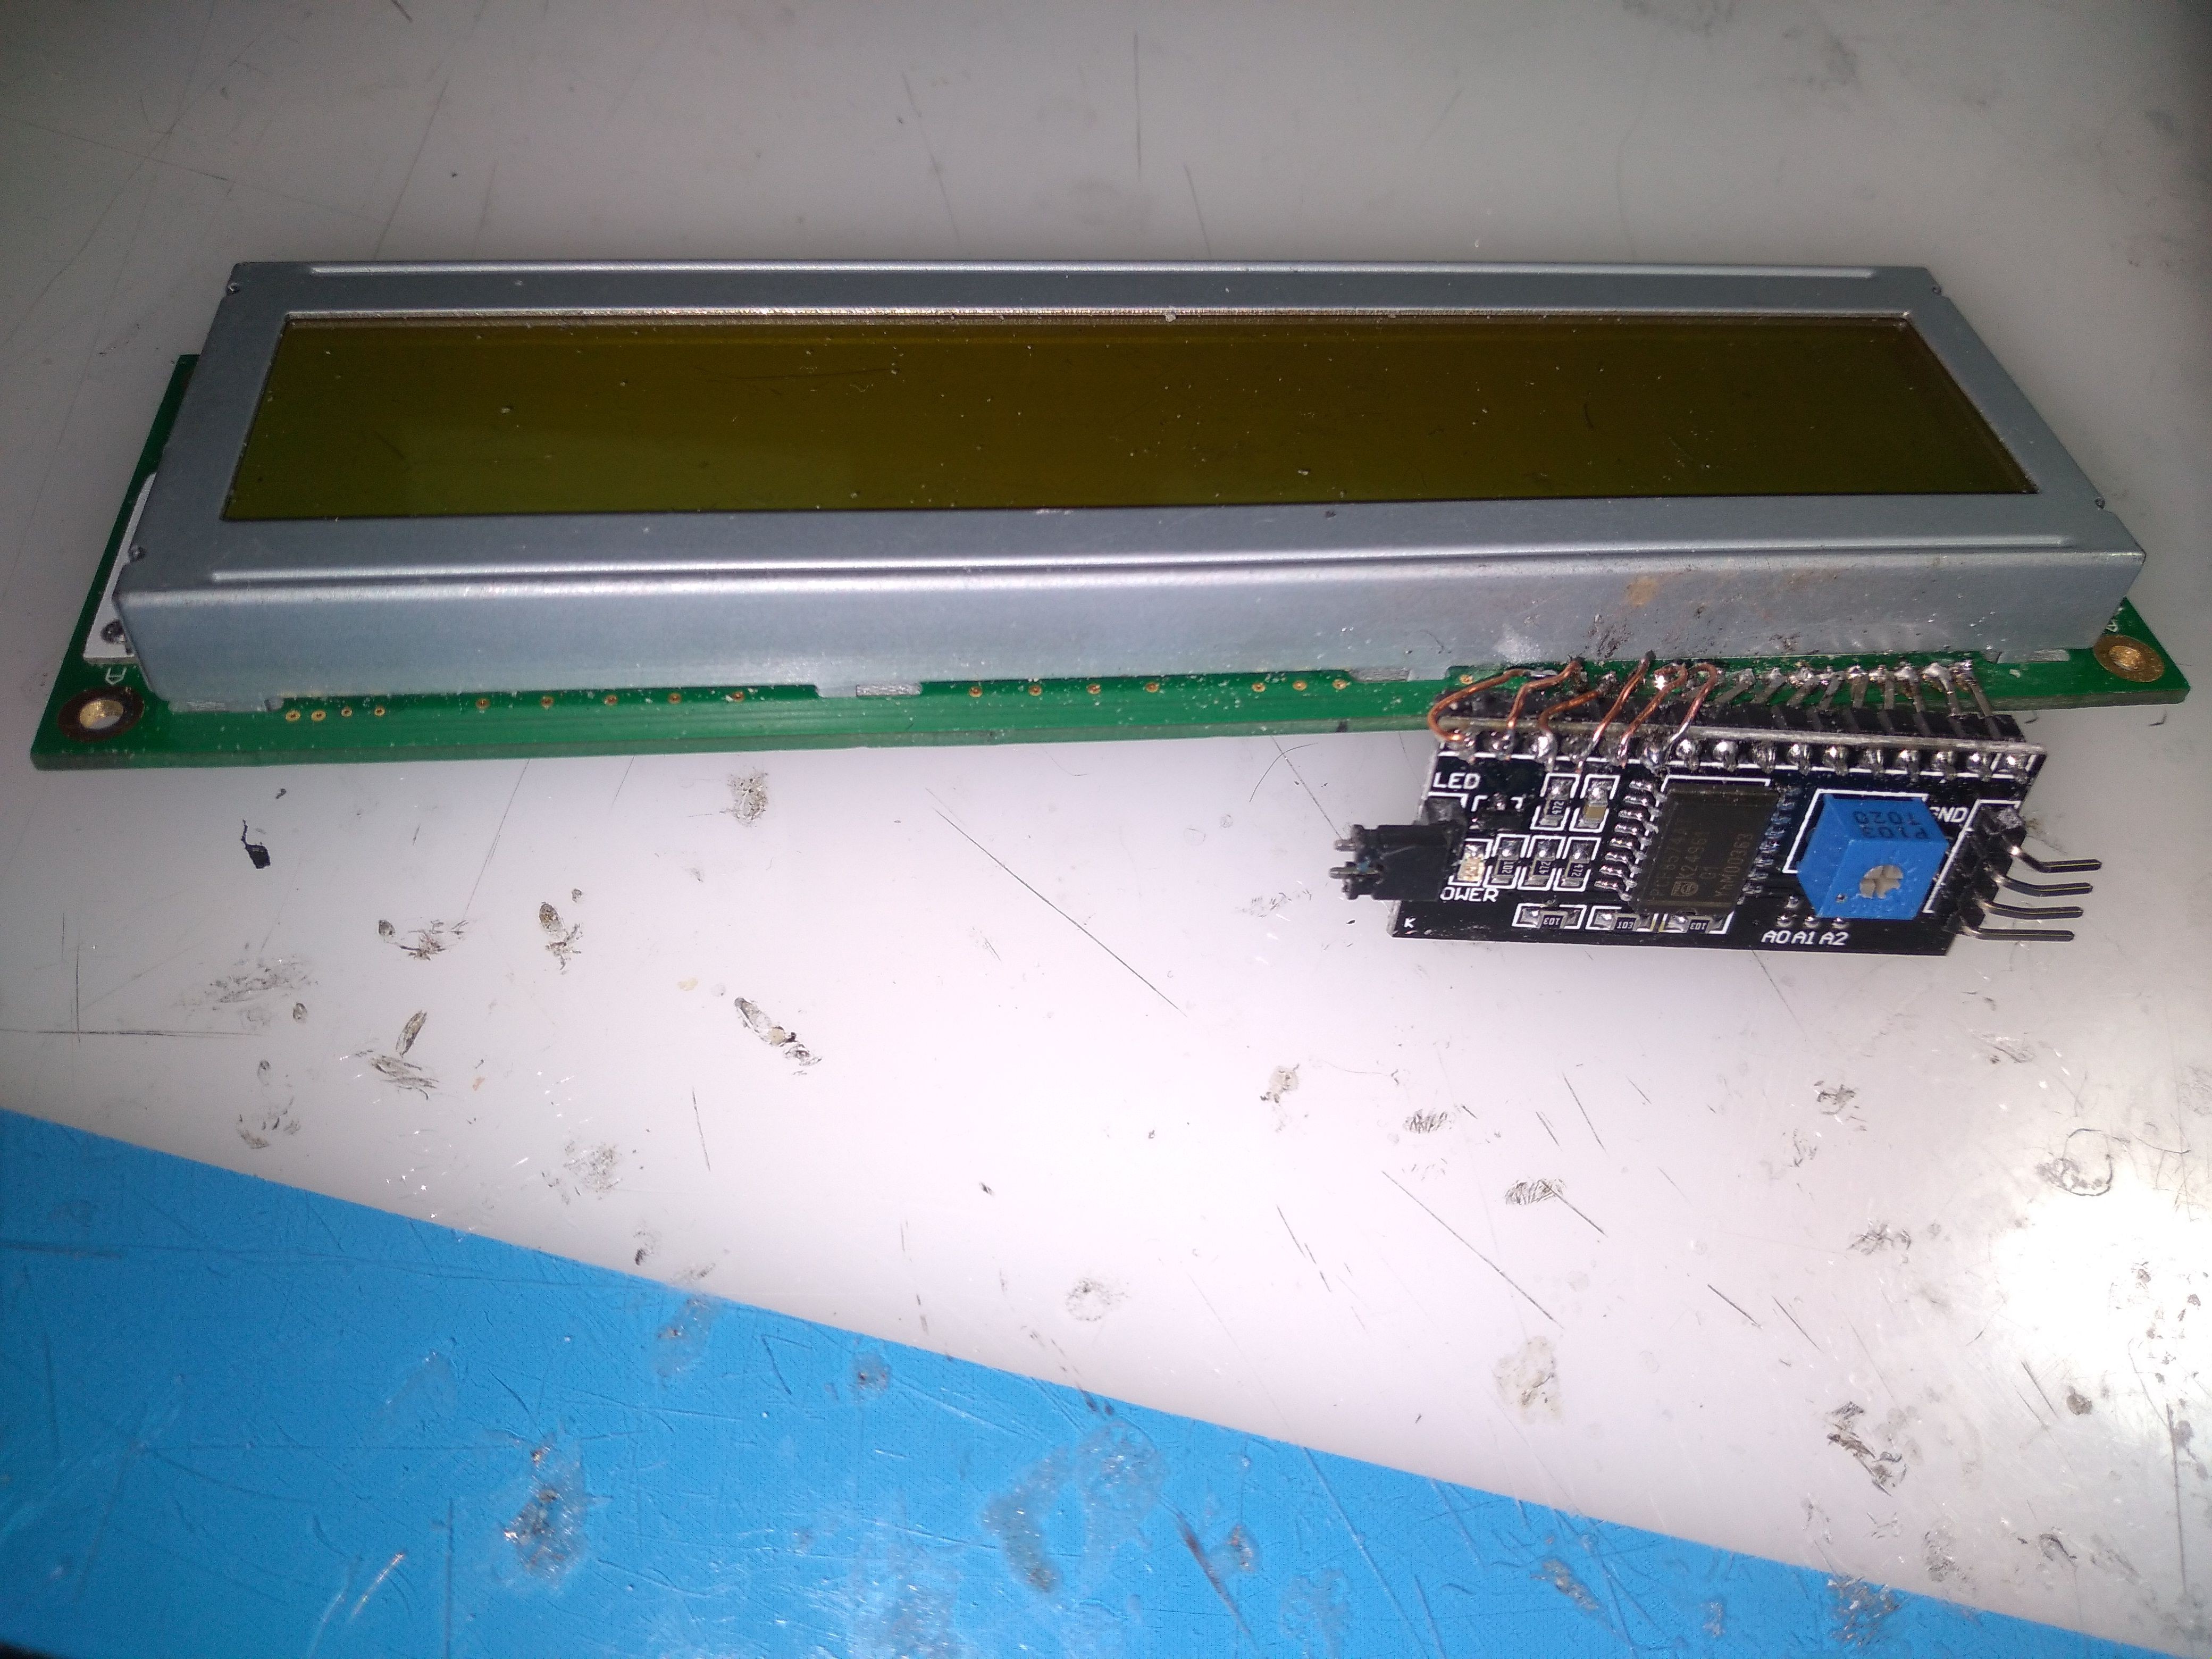
The design, as shown, includes a 20-character-per-line, two-line backlit character LCD that at the moment is not supported in software. Unfortunately, as far as programming languages go, anything newer than 1980s BASIC as found on eg Commodore 64 systems or an aging MS-DOS 6.22 boot floppy is largely beyond me. While I was able to argue together enough coherent Arduino code to make this particular version work, coaxing the LCD into action proved beyond me. (Also, I need to buy ibuprofen again, now... LOL...)

Thus, the original design has been divided into "Stage One" and "Stage Two". This project covers "Stage One" -- i.e., just get the d--- thing working (ha!). This is now complete. The included code compiles and runs, and allows a standard or compact-style ( "mini" ) PS/2-protocol keyboard to output characters to the printer.

There are, however, a few severe limitations. One, USB keyboard support is absolutely impossible at this time. Two, you cannot see what you are typing until you have typed a full line, which is quite rigidly fixed. There is, unfortunately, no way around this, the way the printer operates -- one would be required to literally rewire the inside of the printer, or at least write a new ROM for it, both of which are well and truly far beyond any abilities I possess at this time. Three, while you *can* change the number of characters you get per line, the options are... extraordinarily limited. This will be discussed in a project log.

For build instructions -- follow the logs, avoiding my moments of stupidity.

TinyTyperBlind.ino

Arduino Sketch, as required.

ino - 6.08 kB - 06/29/2021 at 06:43

Download

  • 1 × IBM 4610-Series Receipt Printer Must have RS232C interface
  • 1 × Arduino Nano or other ATMega328-based Arduino
  • 1 × MAX232CP Interface and IO ICs / RS-232 -- or second-source clone
  • 5 × 1uF (One MicroFarad) Electrolytic Capacitor Unless you're using the newer MAX232s that only need 100nF caps -- I wasn't!
  • 1 × USB cable, power wires only, just the 'A' connector side and cable For powering the TinyTyper

View all 11 components

  • The Shoveler's Lesson

    Starhawk06/30/2021 at 02:15 0 comments

    Forgive me getting philosophical for a moment.

    One of my favorite movies is "Mystery Men", which came out in 1999 alongside a massive number of other really great movies -- most notably, "The Matrix", the James Bond film "The World is Not Enough", "Notting Hill" (hi, Dad... /groan ), the second installment in the "Toy Story" franchise if you were a kid at the time and cared (full disclosure: I was a kid but didn't care), and "The Mummy" and "The Sixth Sense" for horror genre lovers... and "Austin Powers: The Spy Who Shagged Me" if you're into fart jokes and double entendres maybe a little *too* much.

    "Mystery Men" didn't really get the attention (or budget) it deserved, but that's not the point. It's a tired, old storyline -- a ragtag group of not-very-super-"superheros" saving the day after the really famous one goes missing, but it takes a somewhat different tack from the typical approach to the genre, and although it gives in to cliché and cheesiness at the end (you could tell they were running short on budget) -- you should really watch it. While the effects suffer tremendously, the story really doesn't... and the cast throughout is a remarkable highlight reel of A-List names -- Ben Stiller, Hank Azaria, Geoffrey Rush, Greg Kinnear, Paul Reubens, Tom Waits, Eddie Izzard... I'm pretty sure it was one of Janeane Garofalo's earlier roles, even -- she was "The Bowler" ;)

    However, there's a particularly notable scene with "The Shoveler" (William H. Macy!), who is in a biracial marriage (!!) with a woman named Lucille (Jenifer Lewis) and they have two kids. He's portrayed as an otherwise pretty normal suburban Dad... but after the first fight with the villain of the movie (played by Geoffrey Rush, who looks WORLDS apart from Capt. Hector Barbossa, ha!) he comes home with a limp and a pained attitude, and has a minor argument with Lucille. It's obvious that their relationship is heavily strained by the 'superhero antics' (as she sees it) that he goes on, which she quite clearly does not approve of.

    There's an interesting line in that exchange, though, where The Shoveler says, "God gave me a gift, Lucille. I can shovel. I can shovel real well." -- to which Lucille counters that he's "just a father" and that he should strive to be a better one, in her opinion, and quit cavorting about with the whole shoveling business.

    There's a lesson in William H. Macy's line. He's "The Shoveler". He shovels, and he shovels well. He doesn't need to do other things. That's his gimmick, that's his trick, that's his trade. He's good with a shovel, to the point that it's part of his identity.

    It's an embodiment of a major part of what once was called "The Unix Philosophy" -- "Do one thing, and do it well."

    I have learned, throughout my life, that I'm good at certain things and bad at others.

    • I'm good at writing, when I can focus, and I know how to get myself in a place where I can focus.
    • I'm good at creating artwork under similar conditions, which I likewise know how to create.
    • I'm good at creating cyberdecks out of junk.
    • I'm borderline decent at non-cyberdeck computer builds, as long as I don't trip myself into a rabbit hole by doing something monumentally boneheaded at the outset, or set myself up for a stupid-difficult build.
    • I'm borderline decent at retrocomputing as long as I'm not given a task that's stupid difficult or that involves Lewis Carrol-grade rabbit holes.
    • I'm fantastically awful, simply in terms of rates of success vs failure at being an electronics hobbyist, although I have aspirations there.

    I also know that I have a history of trying to expand myself into areas where I'm fantastically awful at something -- eg handling rabbit-hole or stupid-difficult tasks, or trying to be an electronics hobbyist where I simply don't have the gift -- and failing spectacularly in each and every attempt to do so. In each case, I'm simply trying to be better at it than I have been -- but what...

    Read more »

  • Never trust USB cable wire colors!

    Starhawk06/29/2021 at 10:53 0 comments

    Well, I figured I'd rest for a while, since it didn't matter any more ( /sigh ) and write a long email I needed to get out, schedule-send it, and then test the TinyTyper out...

    Lo and behold it wouldn't power from the USB cable. Worked fine from Mini-B, but then only the Arduino was gonna get power. Go figure.

    Finally took a continuity tester to the USB plug I'd wired up for power... I do believe the guy who did up this cable used to work for Ma Bell back in the day, he wired it up just the way the phone company would have!

    See, all the way back to when Western Union wasn't about sending money but sending messages that said "STOP" in between a lot of other, more important stuff ;) and when the guy that gave baud rates their name was still alive (he was a French fellow, by the name of Émile Baudot, by the way...) -- telephony and telegraphy have used a color-coding system exactly *opposite* that of more conventionally-encountered electronics.

    In the electronics that most folks are used to, the convention is -- generally -- the lighter the color of the wire, the more positive the signal (or power voltage) going through it. Obviously, this is a rule of thumb ;) and not to be taken too literally. But that's why 0v Ground is black, and everything else is lighter... and why in computers, if you have a front-panel LED, the LED's color when lit is generally the negative and white is the positive lead ;)

    However, in telephony and telegraphy, the exact *reverse* is true -- POSITIVE is black, and the lighter the color, the more negative you're getting, with respect to voltage. I've never heard the explanation for that, but I suppose it made sense at the time...

    Of course, in China these days, it almost seems that "anything goes" is the scheme of the day, but when you're pinching pennies in the name of corporate profits so hard you can hear Lincoln jump andyelp all the way over in rush-hour downtown Beijing, I suppose something's got to give somewhere. Must be good for the shareholders... :-/ ugh.

    But, sure enough -- whoever wired this cable put red to negative and black to the +5v supply. No wonder it didn't power up when I tried! and a dang good thing I've got a few more Harris chips in that yellowed old tube... oy. (Hopefully I won't need 'em here, but you just never know.)

    Almost 7am here, and I've not yet been to bed yet. I guess I'll fire up the Hakko one more time, and grab a bit of caffeine while it warms up... shouldn't take too terribly long to fix *this* oopsie, at least...

    EDIT roughly an hour later: yeah that was a pain in the butt... oh, and the TX/RX lines to the Harris chip are somehow shorted. I must've done that when I pulled the RX line out to fix things so the Arduino would program. It peeled the dang insulation back on that wire like it was a banana at lunchtime.

    Screw this, I'm going to get some sleep while I still have a brain and some vague semblance of sanity. I'll finish fixing this dang thing tonight.

  • Le Sigh

    Starhawk06/29/2021 at 07:12 0 comments

    I've been running so hard that, as I've been typing this up, I've been trying to get the sketch to upload to the Arduino Nano for final assembly.

    Looks like the cable I'e been using isn't good enough for Arduinos... works fine on my MiniDisc player! (It's an old USB Mini-B cable.) Either that or I've got gremlins... knowing me, it's gremlins :(

    It's now 12:11 AM on the West Coast as I type this. I'm late...

    /sigh

    I'm trying not to cry. Judges, please have mercy on me, I promise I'm doing my best...

    -------------------------

    EDIT 03:18 AM Eastern / 12:18 AM Pacific --

    It's gremlins :( heaven only knows what freaking bootloader this dang board has, but it's not the standard Nano bootloader. So I'm having to guess... literally I get to brute-force guess through the list of possibilites.

    So far I've worked out that it's not an Uno bootloader, a Nano bootloader, a Duemilanove/Diecimila bootloader... next is the Arduino Mini (the old one), then the Arduino Pro / Pro Mini (which is, oddly, stuck into the "Arduino AVR Boards" section, now, and not "Sparkfun AVR Boards", even though it's a Sparkfun part...), *then* the Sparkfun Redboard, their "Qduino Mini", and finally the RedBot mainboard entry.

    If *none* of those work, it's off to eBay to see what currently ships, although this was a secondhand board that someone gave me, and it's been literally aging in the back of a drawer somewhere in their basement fiddle-spot for even they don't know how long, so... :-/ yikes.

    -------------------------

    EDIT #2 - 03:54 AM Eastern / 12:54 AM Pacific --

    You have GOT to be freaking kidding me. Apparently ANY wire connected to D0 (Digital Pin 0 aka RX) will screw up the upload process. That pin, although it's strictly speaking not used in the sketch as written, *does* have a lead going to the HIN232CP chip to enable return communication from the printer. I fired up the old Hakko 926 and pulled the wire loose... no difference at first. Then I tried setting it to "Old Bootloader" -- and it uploaded.

    /sigh

    This is a *direct* clone of the original. No crazy Chinese cost engineering here... not yet, that didn't really happen till the Pro Mini / Pro Micro clones came out. You'd think s--- like this would be designed better than that...

    You'd think...

    /sigh

  • Final Assembly, and Coding Sucks!

    Starhawk06/29/2021 at 06:39 0 comments

    Yeah that took some *serious* finagling, cajoling, arguing, and similar forms of persuasion to get it all together and in there... miniature prybar work was indeed involved! (Yay for miniature slot-head screwdrivers...)

    Also I FREAKING HATE CODING ARDUINO CRAP.

    Remember what I said in an earlier log (or was it Project Details? I don't remember, I'm jamming this out as fast as I can and it's almost 11:30 Pacific Time, eff me lol) about how anything fancier / newer code-wise, than 80s BASIC loses me quickly? Yeah, that.

    There's something interacting behind the scenes with the PS2KeyAdvanced library and the LiquidCrystal library, and the LiquidCrystal_I2C library variant doesn't do the same dance the same way, so the code won't compile. Alas, the one time I conversed (via email, FWIW) with the author of PS2KeyAdvanced, he displayed an attitude towards hopeless n00bs such as me that is best described as having the approachability of a cactus wrapped in razor wire and electric cattle fencing, so I'll not be doing *that* again -- which, sadly, makes the use of his work all the more difficult.

    In the meantime, the code that *is* provided, gives basic functionality. You get 26 characters per line. You get CAPS and lowercase, numb3rs, $pec!@l c#@r@c+er$ -- everything you need to bang out a password you'll have forgotten in the time it takes a computer to crack it (BTW, that's a soapbox issue of mine -- good password guidelines for people who are in charge of such things -- https://xkcd.com/936/ -- thank you in advance ;) ). The F# keys and others have been disabled.

    If you want to change the number of characters per line, change the value of the third hexadecimal value in the line

    byte initprnt[3] = {0x27, 0x33, 0x32}

    0x32 = 26 characters per line
    0x31 = 22 characters per line
    0x30 = 19 characters per line

    Those are, unfortunately, the only options you get, as far as I can tell. (Sorry!) It works by varying the 'font' selection inside the printer. The first is "Font B", the second is "Font A" at a small size; the third, "Font A" at a larger size. That's all you get. There's supposedly a "Font C" ( 0x33 ) but I've not been that daring yet.

  • Empty Boxes and Vacant LCDs

    Starhawk06/29/2021 at 06:24 0 comments

    The housing I chose was a genuine oddball one -- it came, believe it or not, from a rusted-out contactor that died inside my mother's air conditioner! I junked the parts, cleaned out the rust, and had me a nice solid (ish), flanged black little box for something with an odd lid to it.

    OK, *most* of the rust! But there you go ;) I used a nibbler tool, the kind PC modders know about, to cut a notch in the body for the USB port of the Arduino Nano, and for the other cables. (That notch got deeper later on.)

    The housing ended up working, but BOY was it tight getting everything to fit! I wish I'd had something just a bit bigger that wasn't cut half to shreds... oh well :-/

    The LCD didn't work out, either... sure, I hooked it up fine... ish...

    "Ish" ;)

    But the code won't get up and go :( so that's moved to "Stage Two" -- i.e., "I'll argue with it when I'm not tired and there isn't a highly-important deadline looming dangerously close -- one that I can't move!"

    Ugh.

    Yes, that is a lot of pin-bending ;) the LCD is 2mm pitch, as is the LCD-signal cable... the backpack is *entirely* 2.54mm / 0.1in pitch everywhere... a needlenose pliers and a bit of spare wire were quite handy in dealing with the discrepancies. No shorts!

  • The Build

    Starhawk06/29/2021 at 06:13 0 comments

    OK, McGuyver -- you have to build something retro-ish, and while *you* can define that term (within a reasonable extent, of course!), you're going to be slow and you SUCK at coding. You also don't have time for anything to come from eBay, which is bad because you rely on that, usually, to patch the potholes in your creativity -- which you always fall into. Somehow they're always big enough that your grandmother would say, "Why, you could lose a small dog in that!" Better think fast.

    This was my predicament, come Wednesday evening -- and yes, my grandmother *did* describe potholes that way! (She used to raise Cairn Terriers, as well, so an average-ish adult of the breed is going to be your standard reference size for 'small dog' there ;) )

    I knew I had an Arduino Nano on the desk, cast aside as unsuitable from another project where the pinout didn't line up. I knew I had a couple keyboards in the closet... mostly USB, but I had one or two that were PS/2. I had character LCDs. I had a tube of NOS *very* old, but trustworthy (!!) second-source MAX232 clones, purchased on eBay specifically *because* I knew I could trust them not to be counterfeit. I was pretty sure I had enough 1uF electrolytic capacitors to make at least one MAX232 chip work, thanks to a bag of old, scavenged caps of that sort (one of two) that @Dr. Cockroach had given me some time ago when we met in person, that I'm pretty sure *he* got off another pal (although I'm not quite sure whom any more -- he told me at the time, but I've forgotten since).

    See what I meant in that other log about what I'd do with that $200 and why it's important to me?
    (Context -- https://hackaday.io/project/180346-the-mighty-quill/log/194543-aaargh )

    Ultimately what I threw together looked like this...

    I'd pulled a spare USB cable stub from a drawer of them in the closet (I keep cut-up USB leads for EXACTLY this sort of thing), as well as a spare COMport motherboard header-dongle from a different drawer, a random 2mm-pitch 4pin cable that could (hopefully) drive an I2C serial backpack I'd found in a box, so I could (I hoped) easily run a 20-character / 2-line HD44780 character LCD I'd dug out of a *different* box (LOL).

    The circuit for the Harris Semi HIN232CP -- a MAX232CP second-source, so identical to the original, just a slightly different part number because of the different manufacturer, is the reference schematic in the datasheet. This is the *ancient* version of the chip that still needs huge electrolytic can caps ;) so that's what I used. (Thx Doc!) All five caps are 1uF 50v... and all five are absolutely absurdly antique, ha!

    You can't really see it, but the USB lead *only* supplies power; the white and green leads are cut so that they cannot conduct through, and they're bent over into the white electrical tape. BTW, that trick of using a zip-tie around the tape is a clever thing I came up with -- I've never seen anyone else do it -- it keeps the tape from unraveling as the adhesive dies. Nowhere near as nice as heatshrink, of course, but when you need to do things on the quick-n-dirty ;) and you're not so hot with the heatgun... it's not half bad. For the record, that white zip-tie became a much smaller black one at some point. Cable routing in this thing wound up being a serious devil's b----.

    A closer look at the electronics. Trust me when I tell you, be glad you don't get to see my soldering!

  • Hitting the Ground Running

    Starhawk06/29/2021 at 05:51 0 comments

    Obviously there is some unfinished business here -- I have roughly 90 minutes to bang this all out, so for now, I'll simply note that I got my phone back on Wednesday, but I have a LOT of questions for the relevant shop.

    I haven't time right now to discuss that matter further... many, many apologies! I know I'm shorting you folks a well-earned explanation. "Life, uhm, finds a way"... all too often of getting in my way! You may have noticed...

    *ahem*

    So, here's what we have. This is a simple device, based on an ATMega328-driven Arduino, *any* such Arduino, that takes input from a PS/2 keyboard, and outputs to an IBM 4610-series thermal receipt printer. I used an Arduino Nano and a crap keyboard I had in the closet. You need a level translator to make the RS-232C signalling work that the older IBM 4610 printers require -- newer ones support USB, but that is well and truly beyond the scope of this project. This works with the older RS-232C/RS-485 models. These were *phenomenally* common throughout the USA for decades, and still are in many places... Wikipedia lists the following retailers, just as a sample top-hits list...

    • Best Buy
    • Costco
    • Kroger (and affiliates such as King Sooper's)
    • Office Depot (now Office Depot OfficeMax)
    • Walmart

    They are also popular internationally -- Wikipedia also retailers such as Tesco, a UK discount giant, and Carrefour, which is reportedly a large presence throughout France and countries nearby.

    IBM no longer supports or manufactures the 4610 series of printers, which acquired the "SureMark" moniker somewhere along the way, but Toshiba has taken them on since, and still supports them -- and reportedly still produces and sells them!

    Mine is a well-used example with Big Blue's logo in stripey stalwart gray on the back and a logo copyright date of 2000 on the bottom, which likely is accurate to its age -- in which case, congrats, printer, this is the first year you can legally drink alcohol in my state... not that you'd ever want to! :P While my writer side wants to get creative and imagine all sorts of adventurous (mis)use and abuse to it, the truth is, it's in pretty decent shape for being 21 years old. Aside from the lid being only the slightest bit sunburnt in the usual "someday this will warrant a 'retro-brite' if one wants that" (not for me!), it's honestly in pristine condition.

    As an aside, it's worth noting -- I don't go for retrobriting. You do you, and I'll do me -- but with age comes wisdom, and that sort of sunburnt tan look that comes of sun, time, and plastic that once was beige is, to me, the equivalent of well-earned facial wrinkles. It's a sign of wisdom, earned with age and a hard life, that is to be respected as one does.

View all 7 project logs

Enjoy this project?

Share

Discussions

Dr. Cockroach wrote 06/29/2021 at 10:20 point

Cool build my friend. I might even give this a try :-)

  Are you sure? yes | no

Starhawk wrote 06/30/2021 at 01:15 point

It's yours.

  Are you sure? yes | no

Similar Projects

Does this project spark your interest?

Become a member to follow this project and never miss any updates