 Garrett Brainard
This project will be broken up in stages:
- Planning/Design
- 3D Modeling and Printing
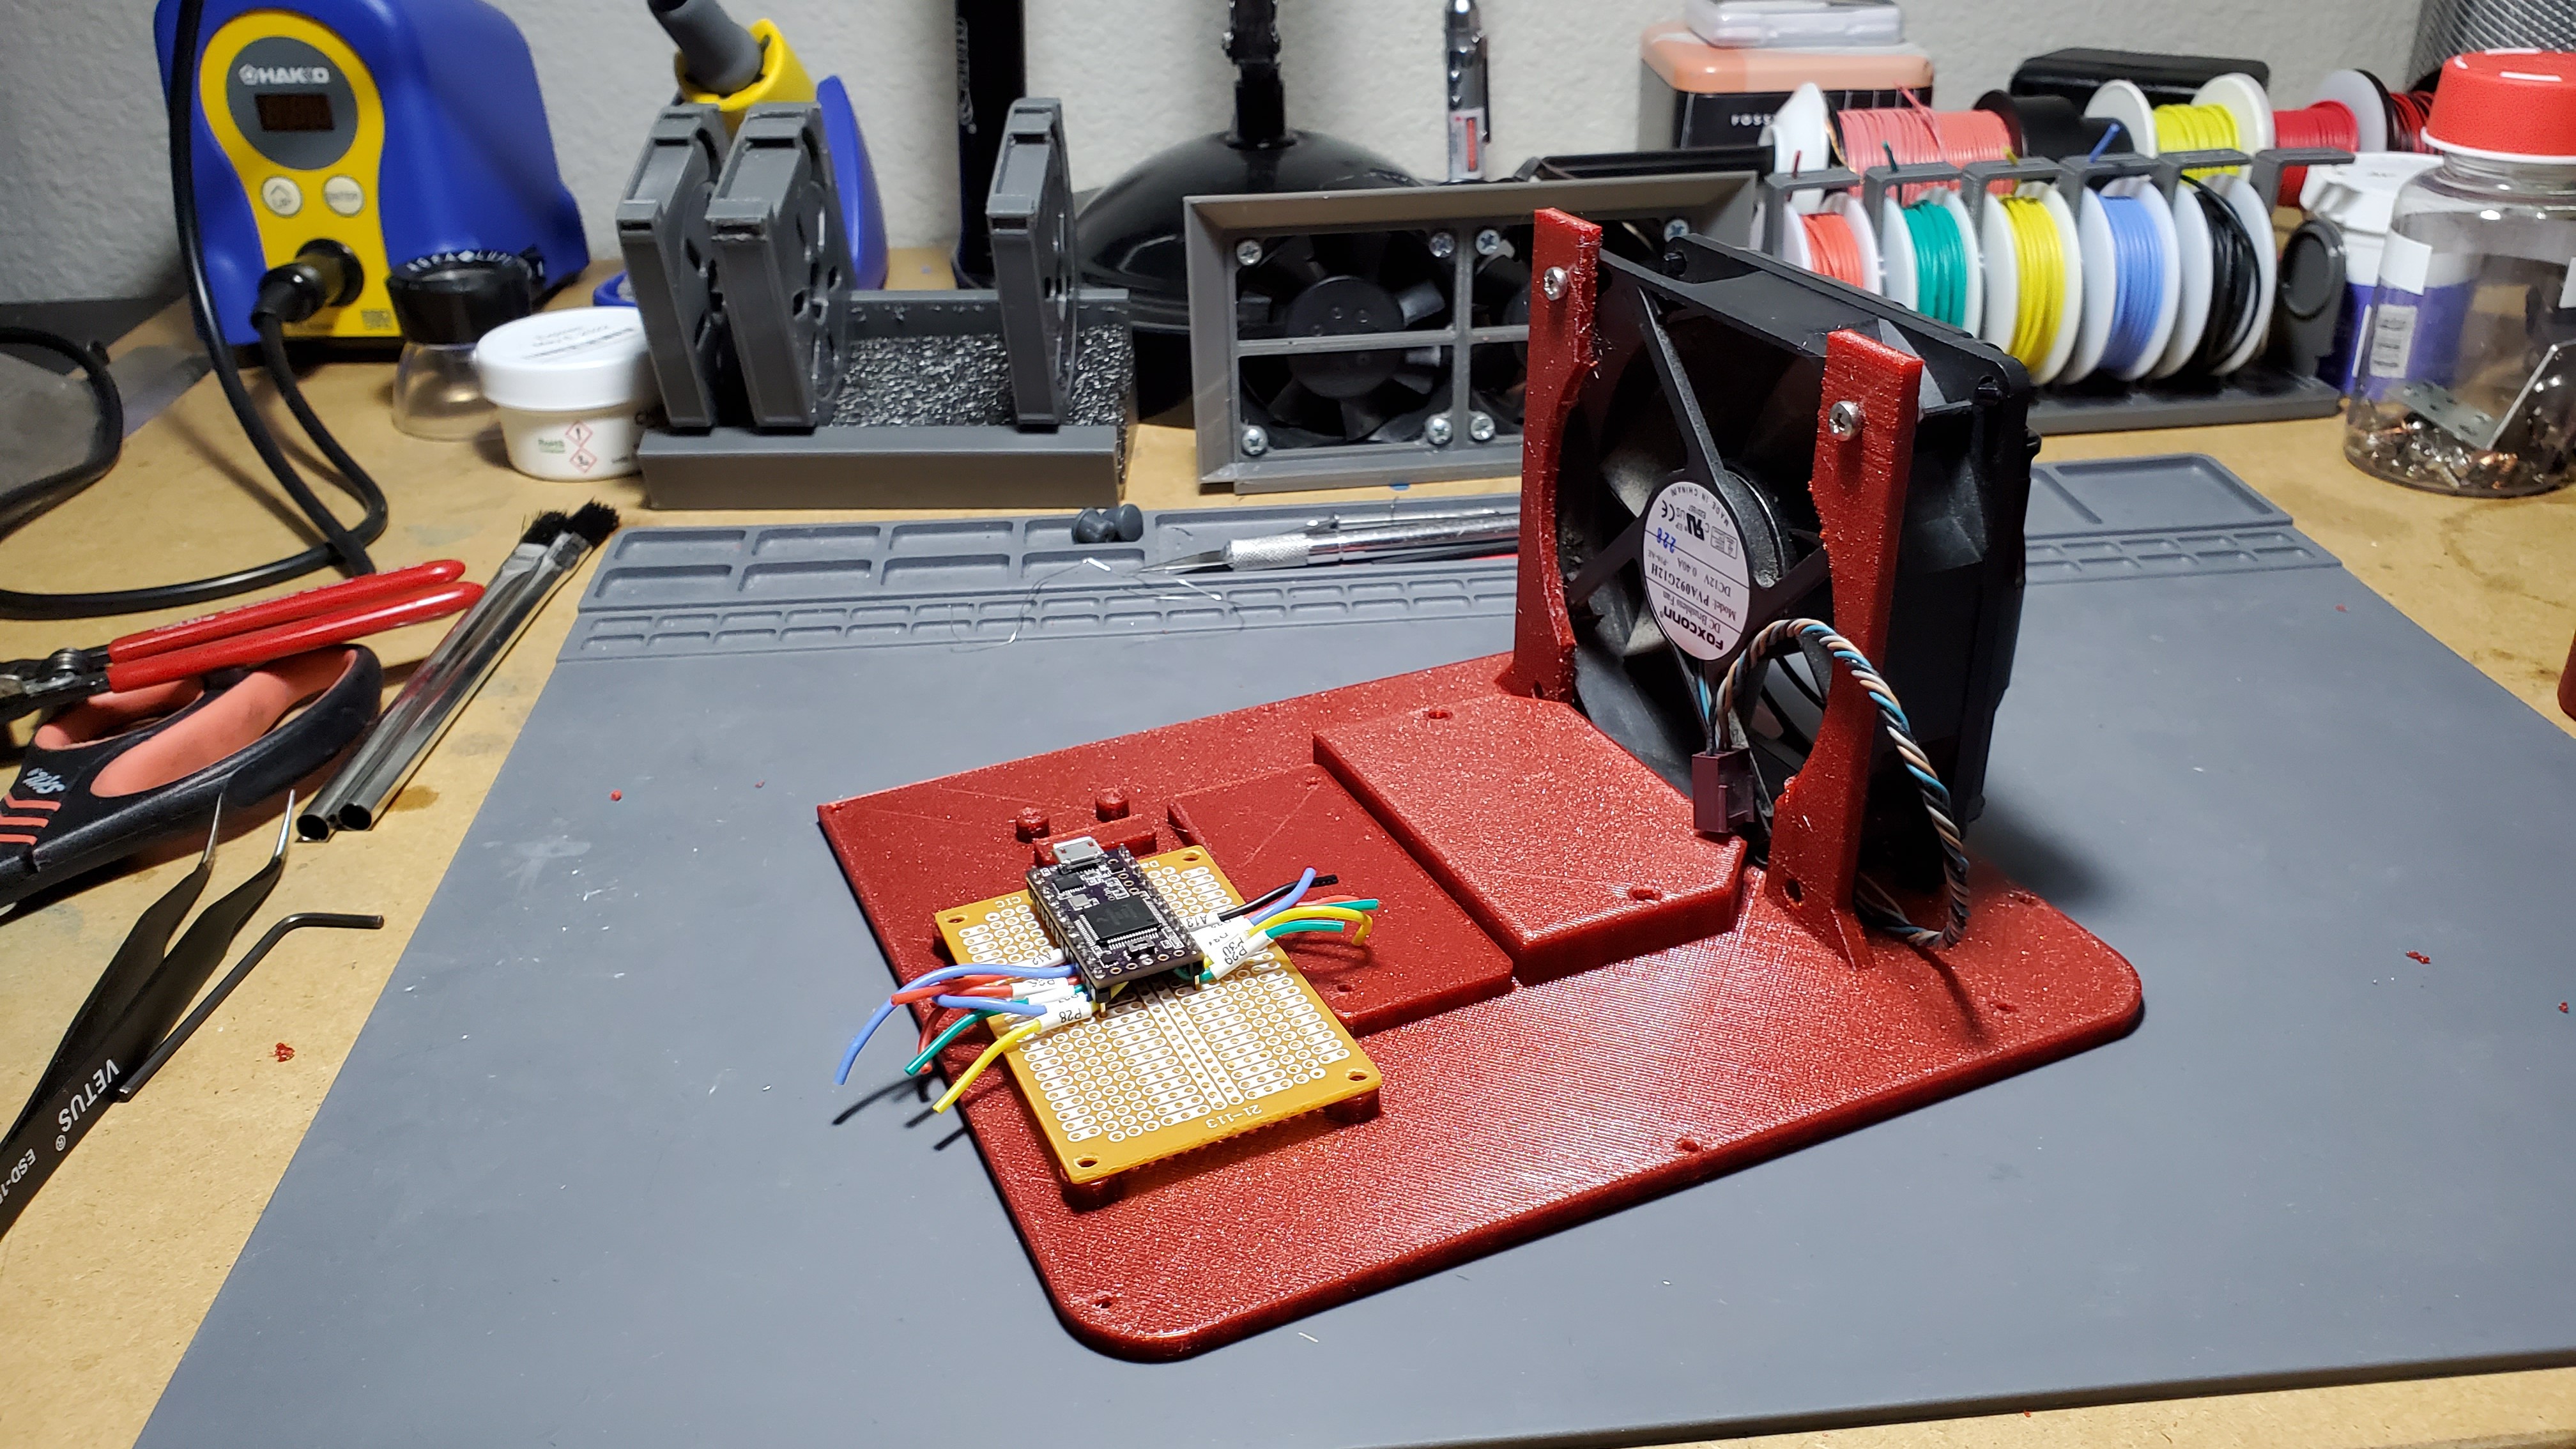
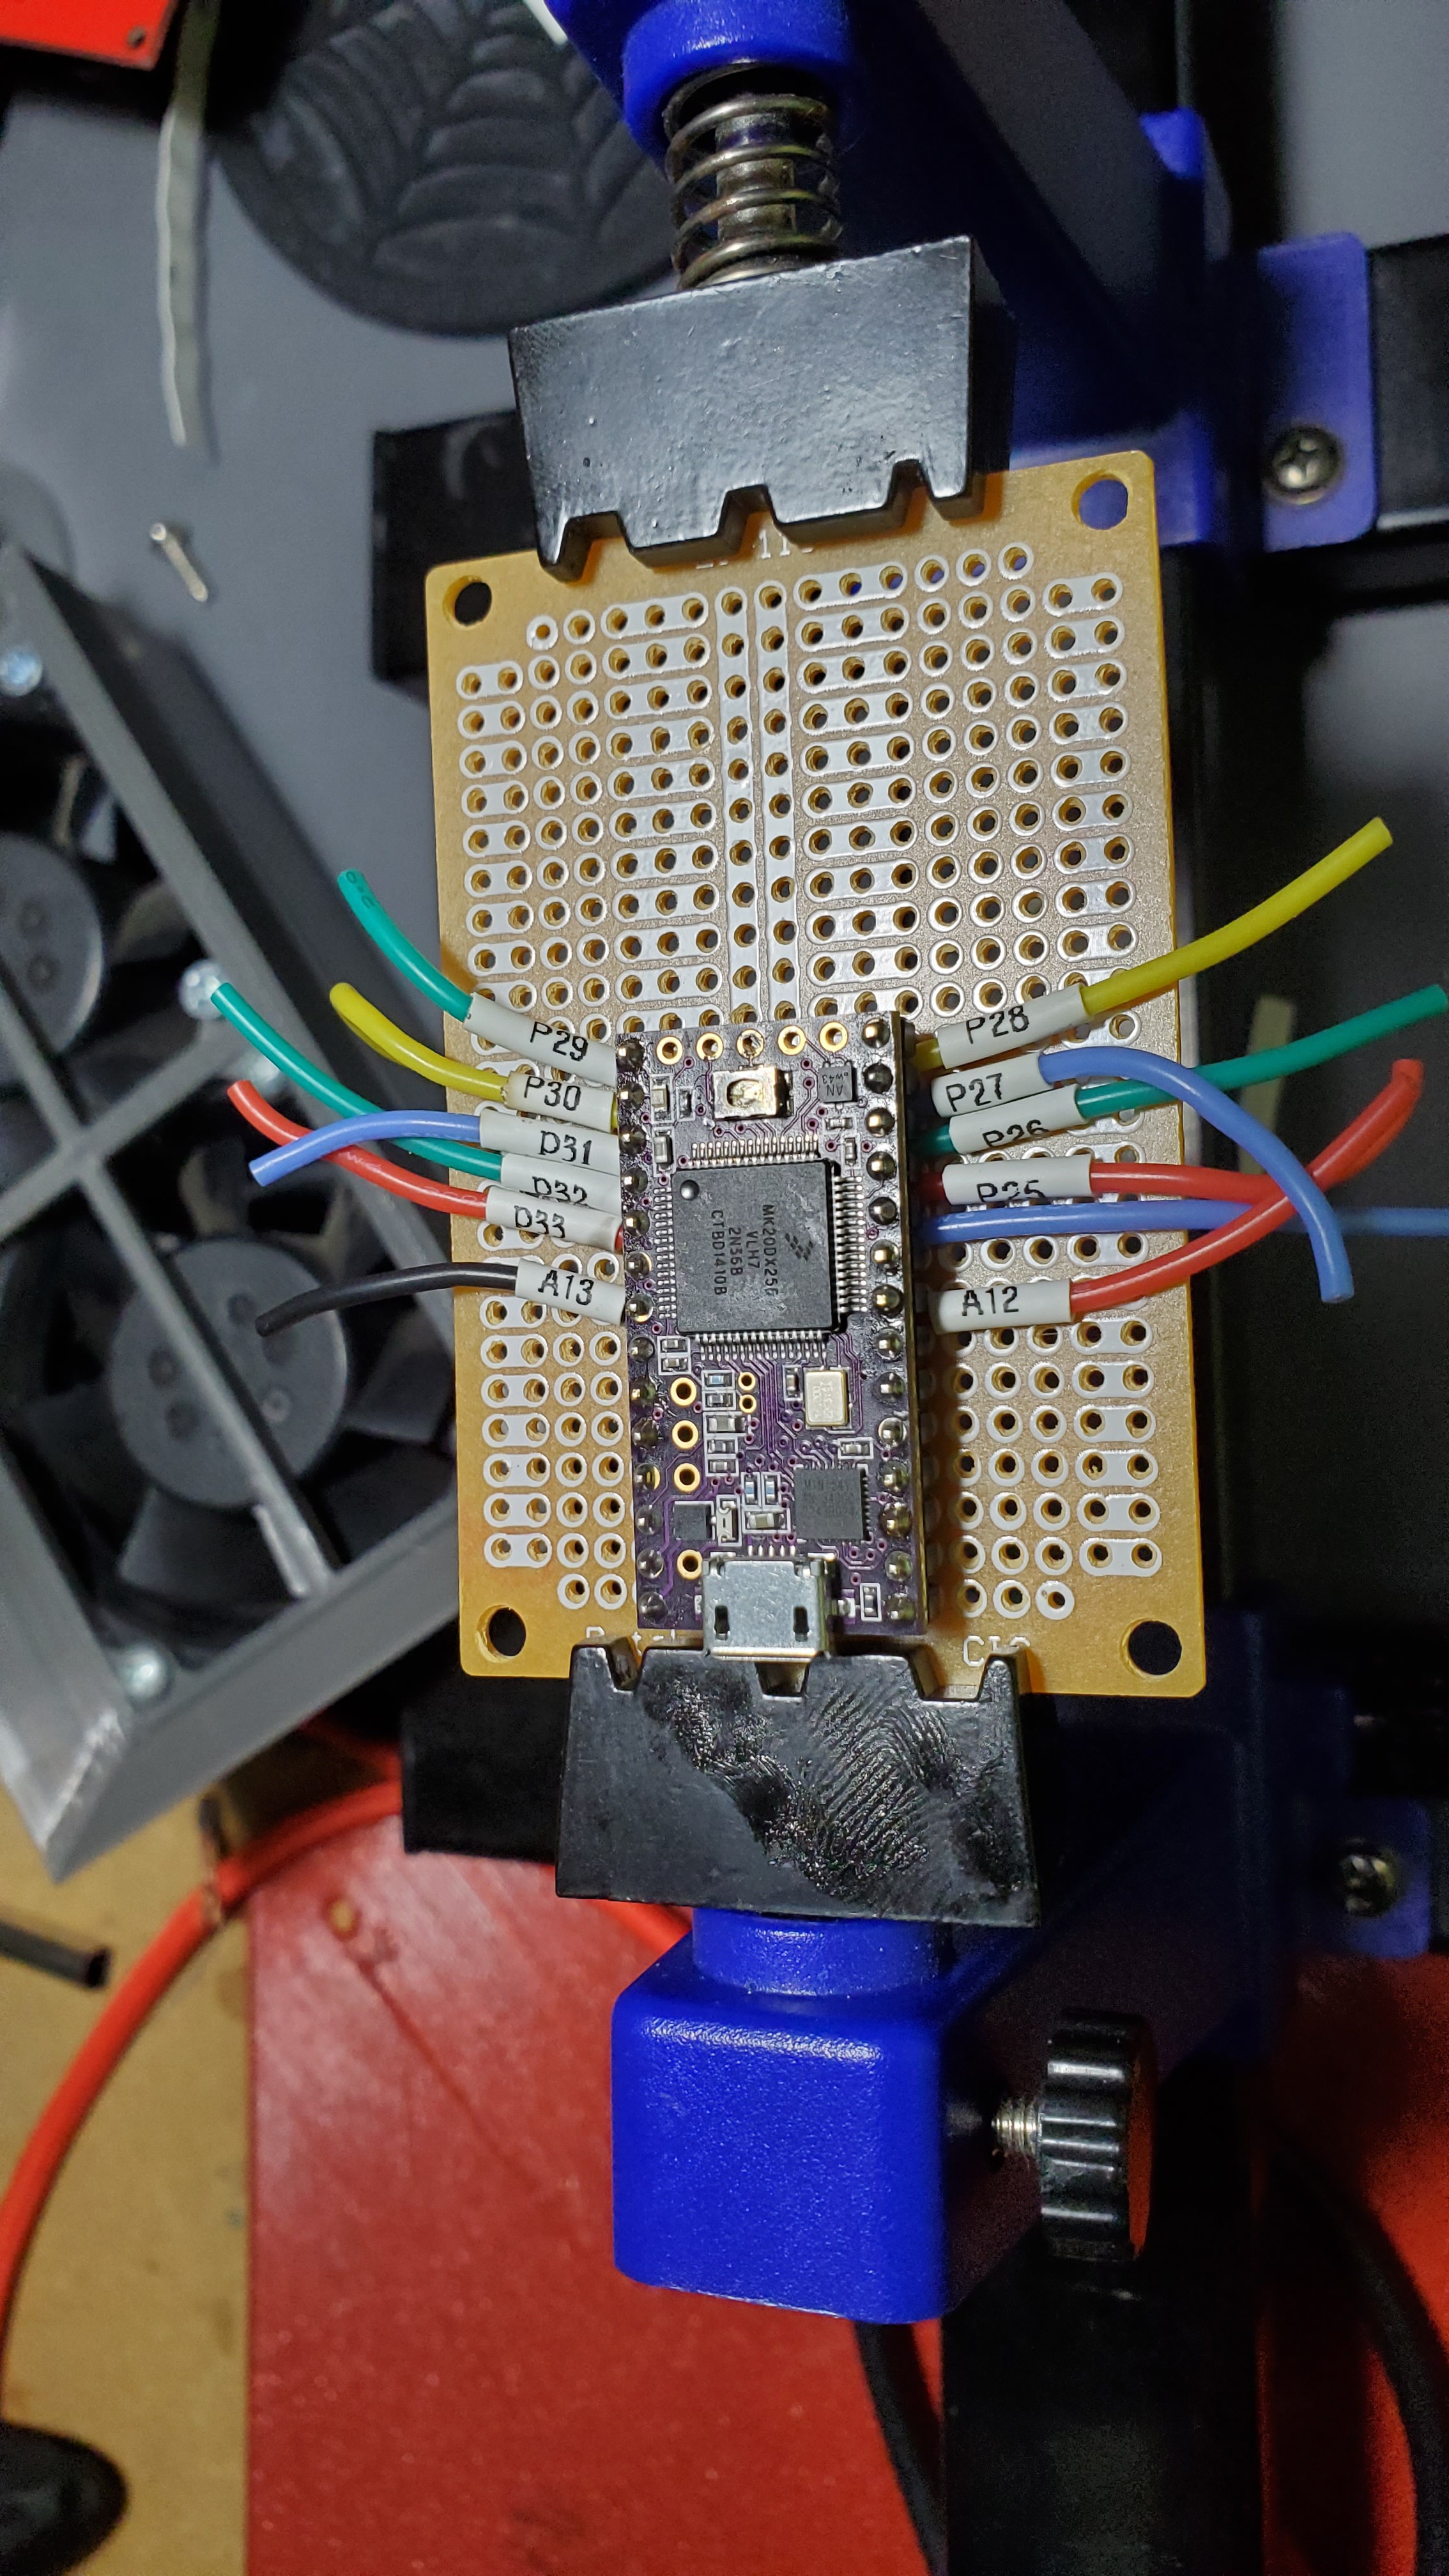
- Electronics Assembly
- Programming
- Testing
Design:
At it's core the base design is:
- Heating Element
- Thermocouple and amplifier
- Controller
- SSR
This project uses a SSR to connect mains voltage to the heating element. If you are planning on replicating this in any way please proceed at your own risk and observe proper safety procedures for high voltage.
Parts:
I will be using some parts that I have laying around in addition to purchasing parts that I do not have. I will list all the parts in the components tab as well as estimated costs per item.
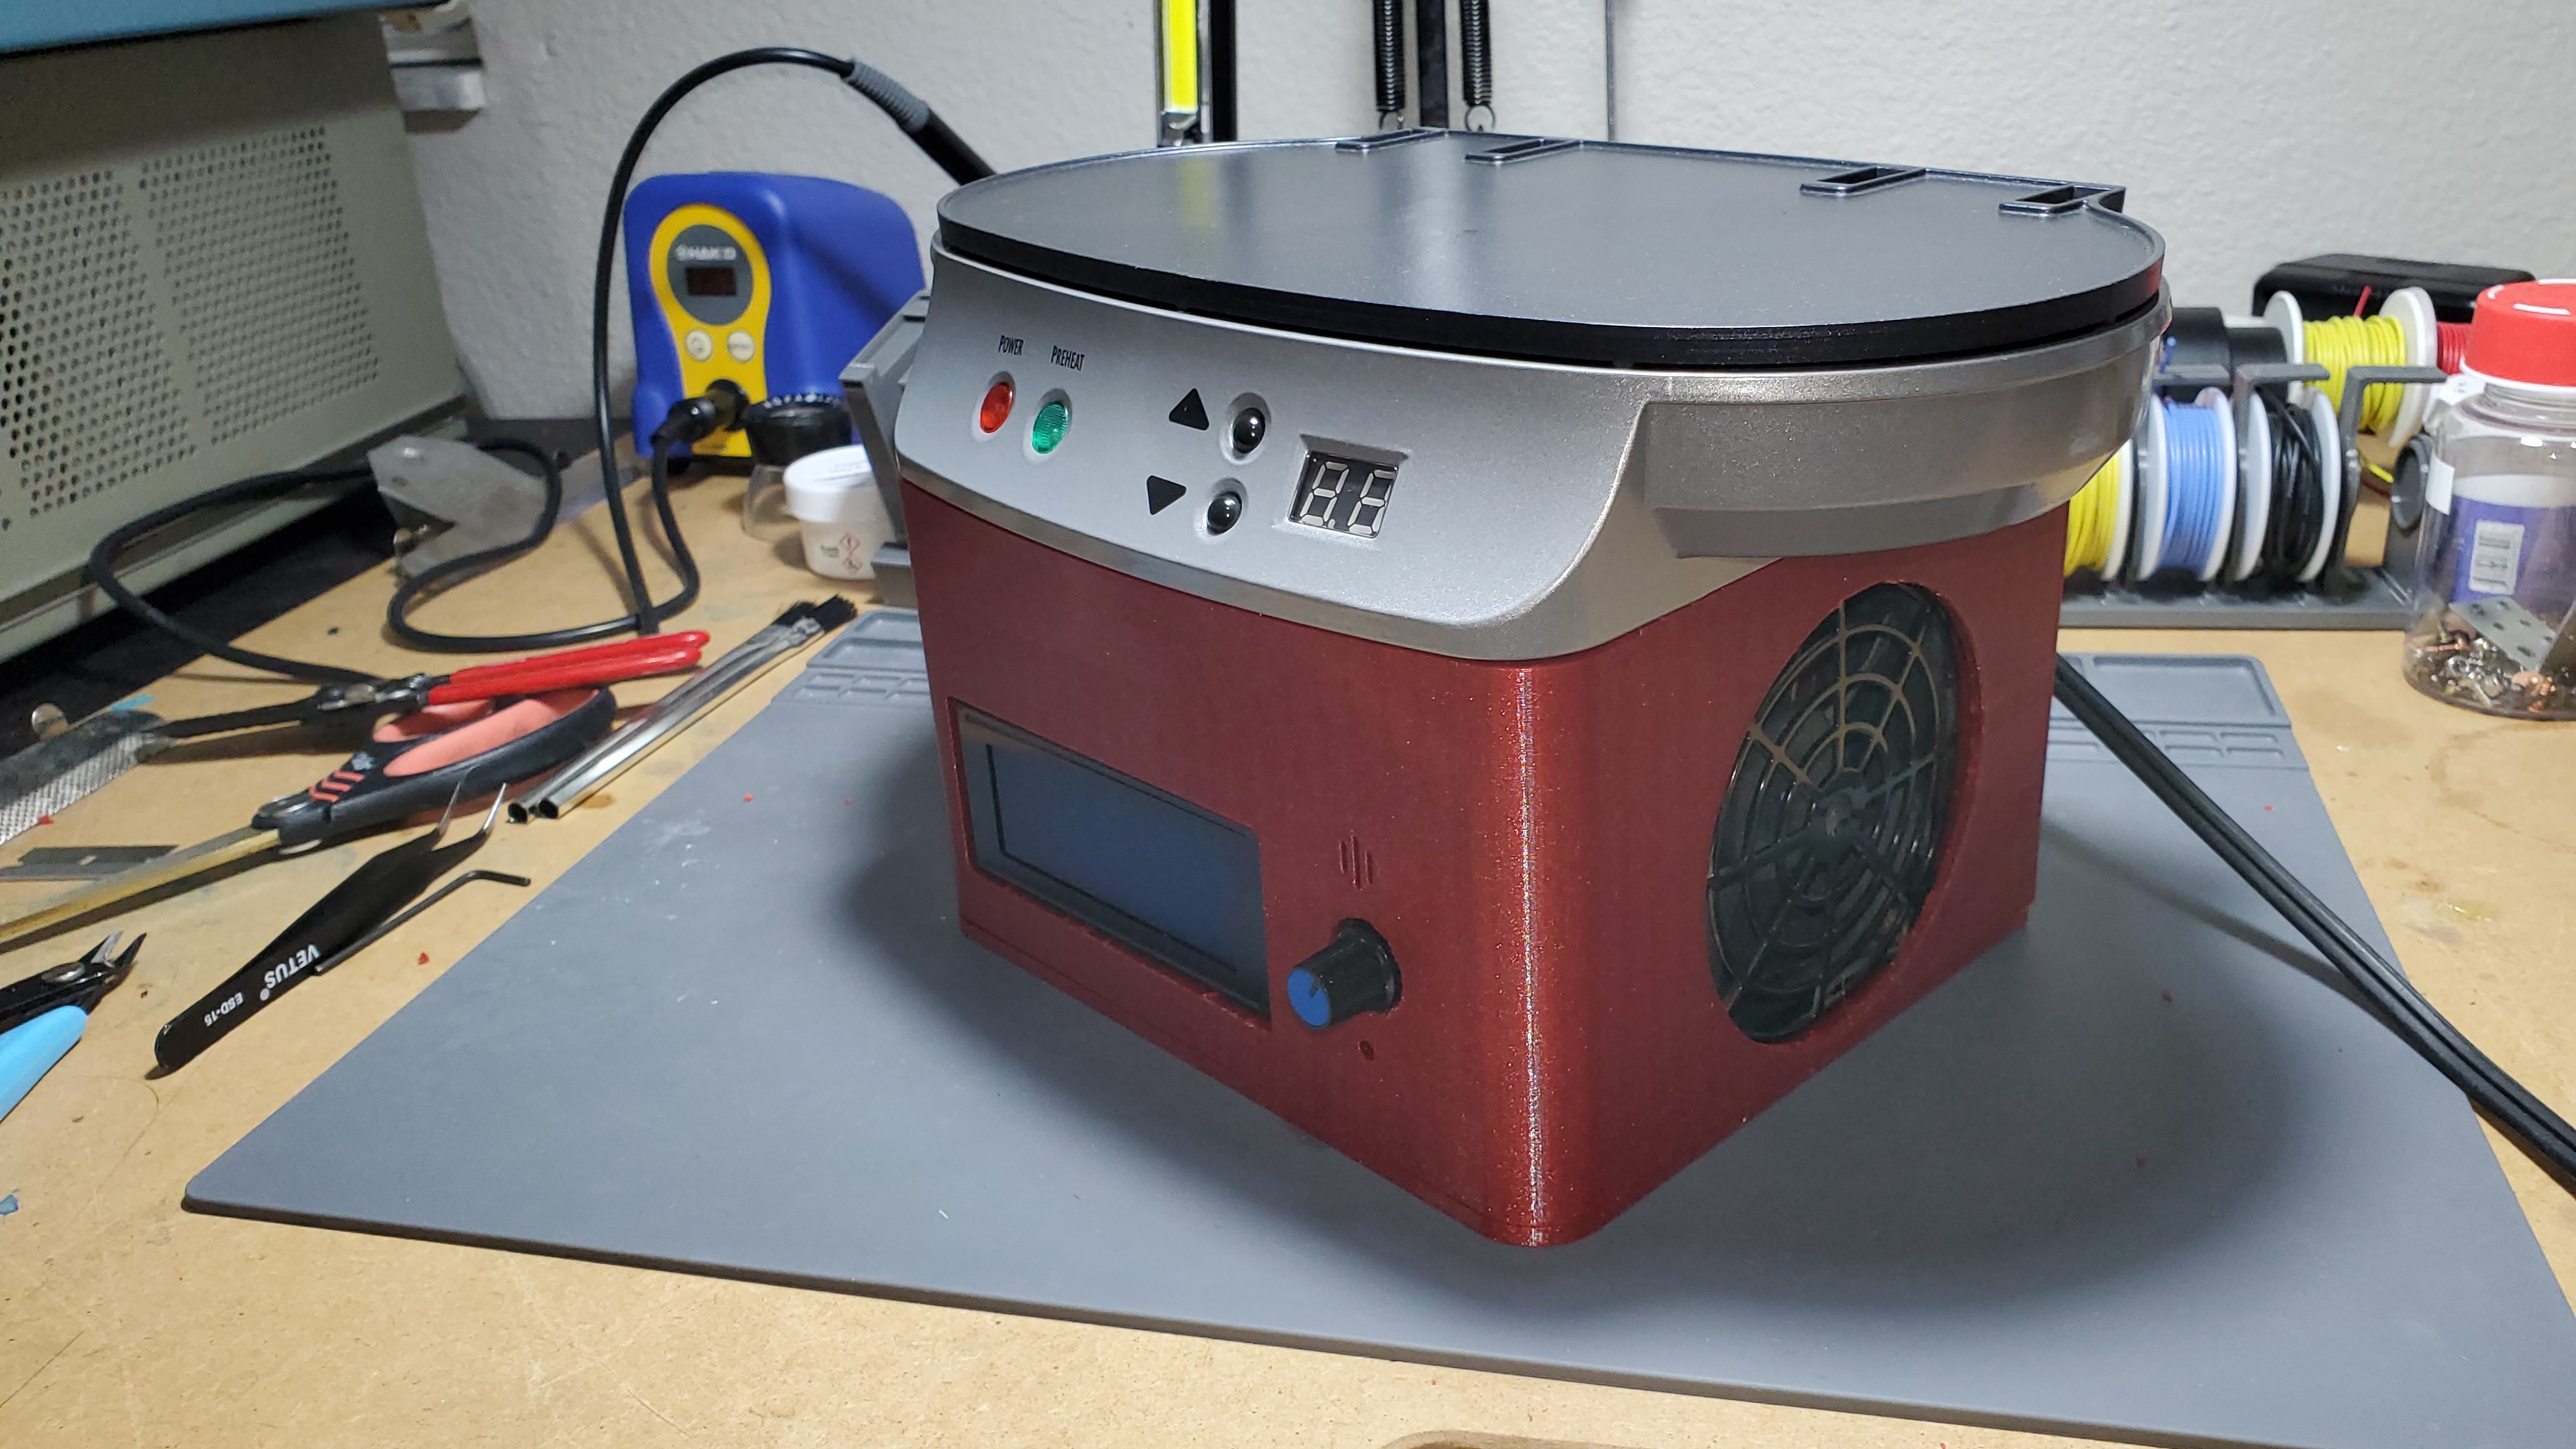
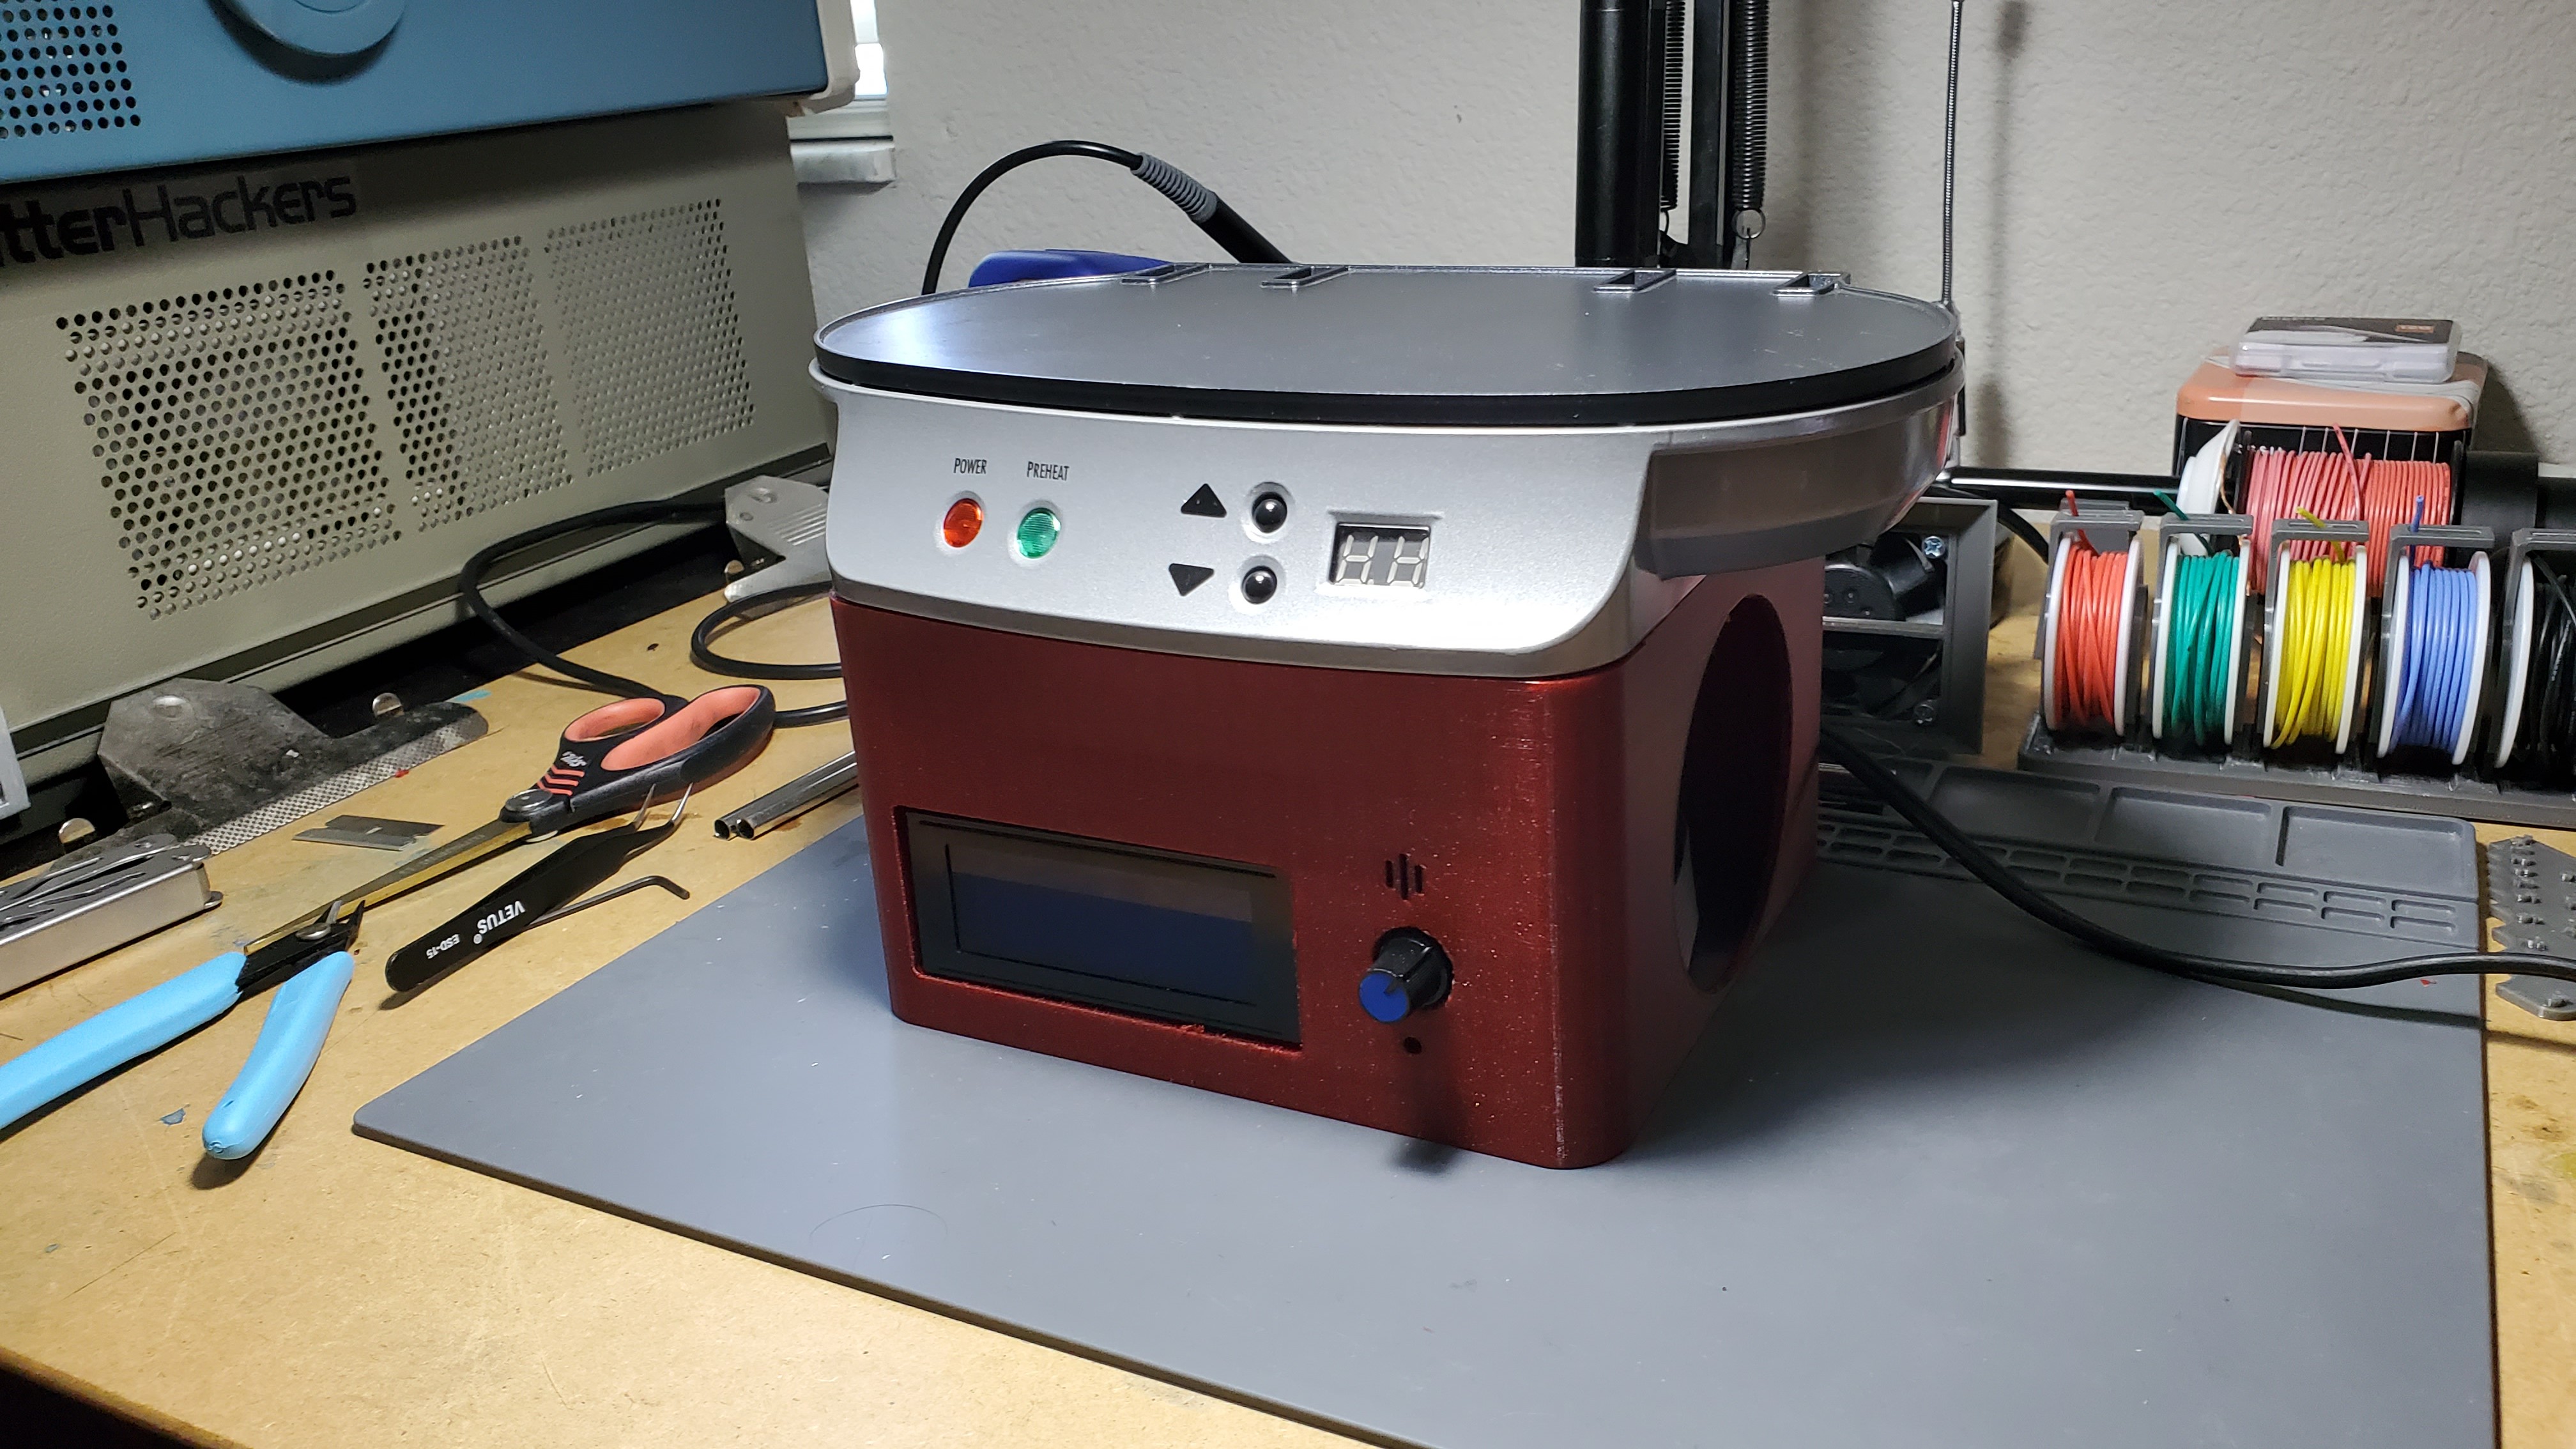
3D Modeling:
I have been using fusion 360 and will post these files after the project is complete. I will note however this enclosure will only work with the specific hotplate as it was purpose built for this hotplate.
You can view the current model here: https://a360.co/3qSl1Pi
3D Printing:
All the parts will be printed in PETG on my CR-10S Pro.
Programming:
I will be leaning on the Arduino IDE for the Teensy, as I plan on levying a specific PID library to control the heating elements. Also to minimize my development time.
Github repository: https://github.com/NegativeEnergy/Upcycled-Reflow-Plate

 Cordova Labs
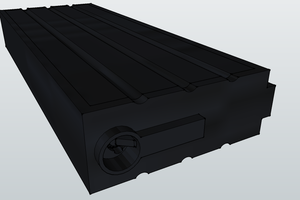
 TAIBHSE DESIGNS
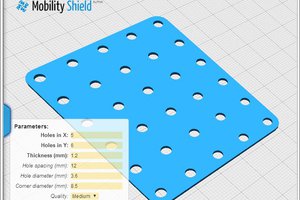
 JRodrigo
I've got a hotplate here that I plan to make into a reflow, so this will be great for future reference. Thanks!