0%
0%
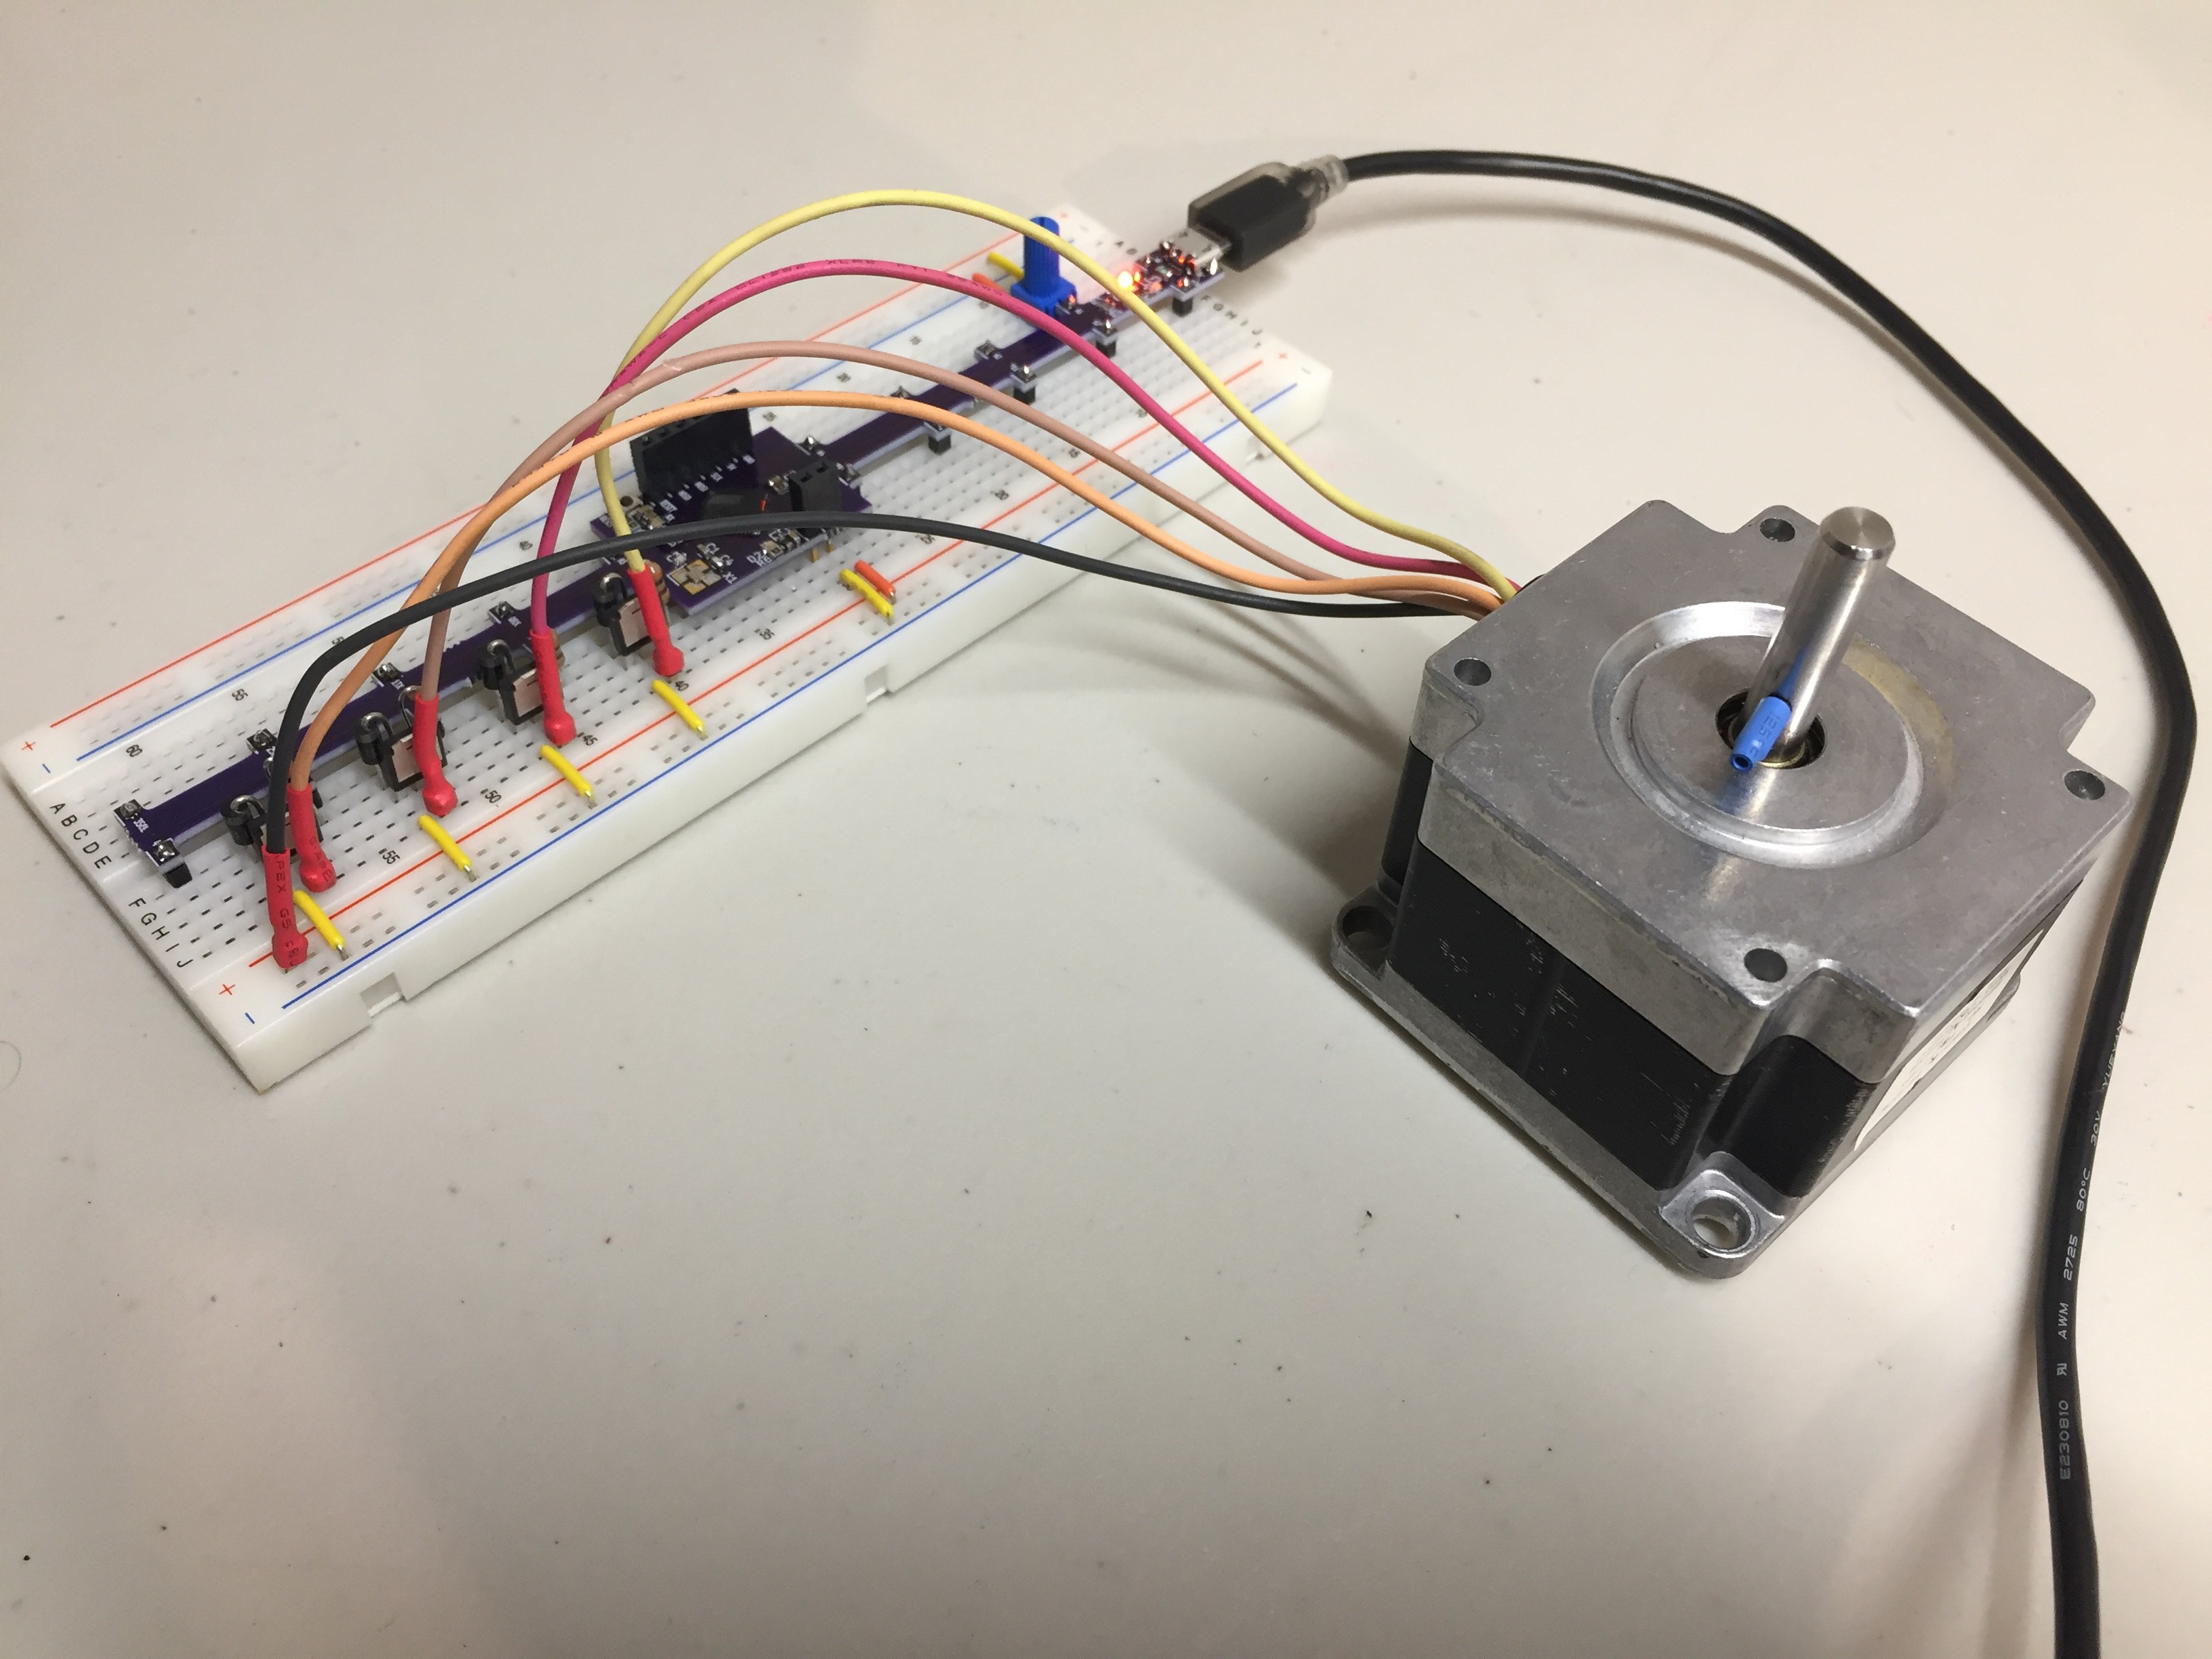
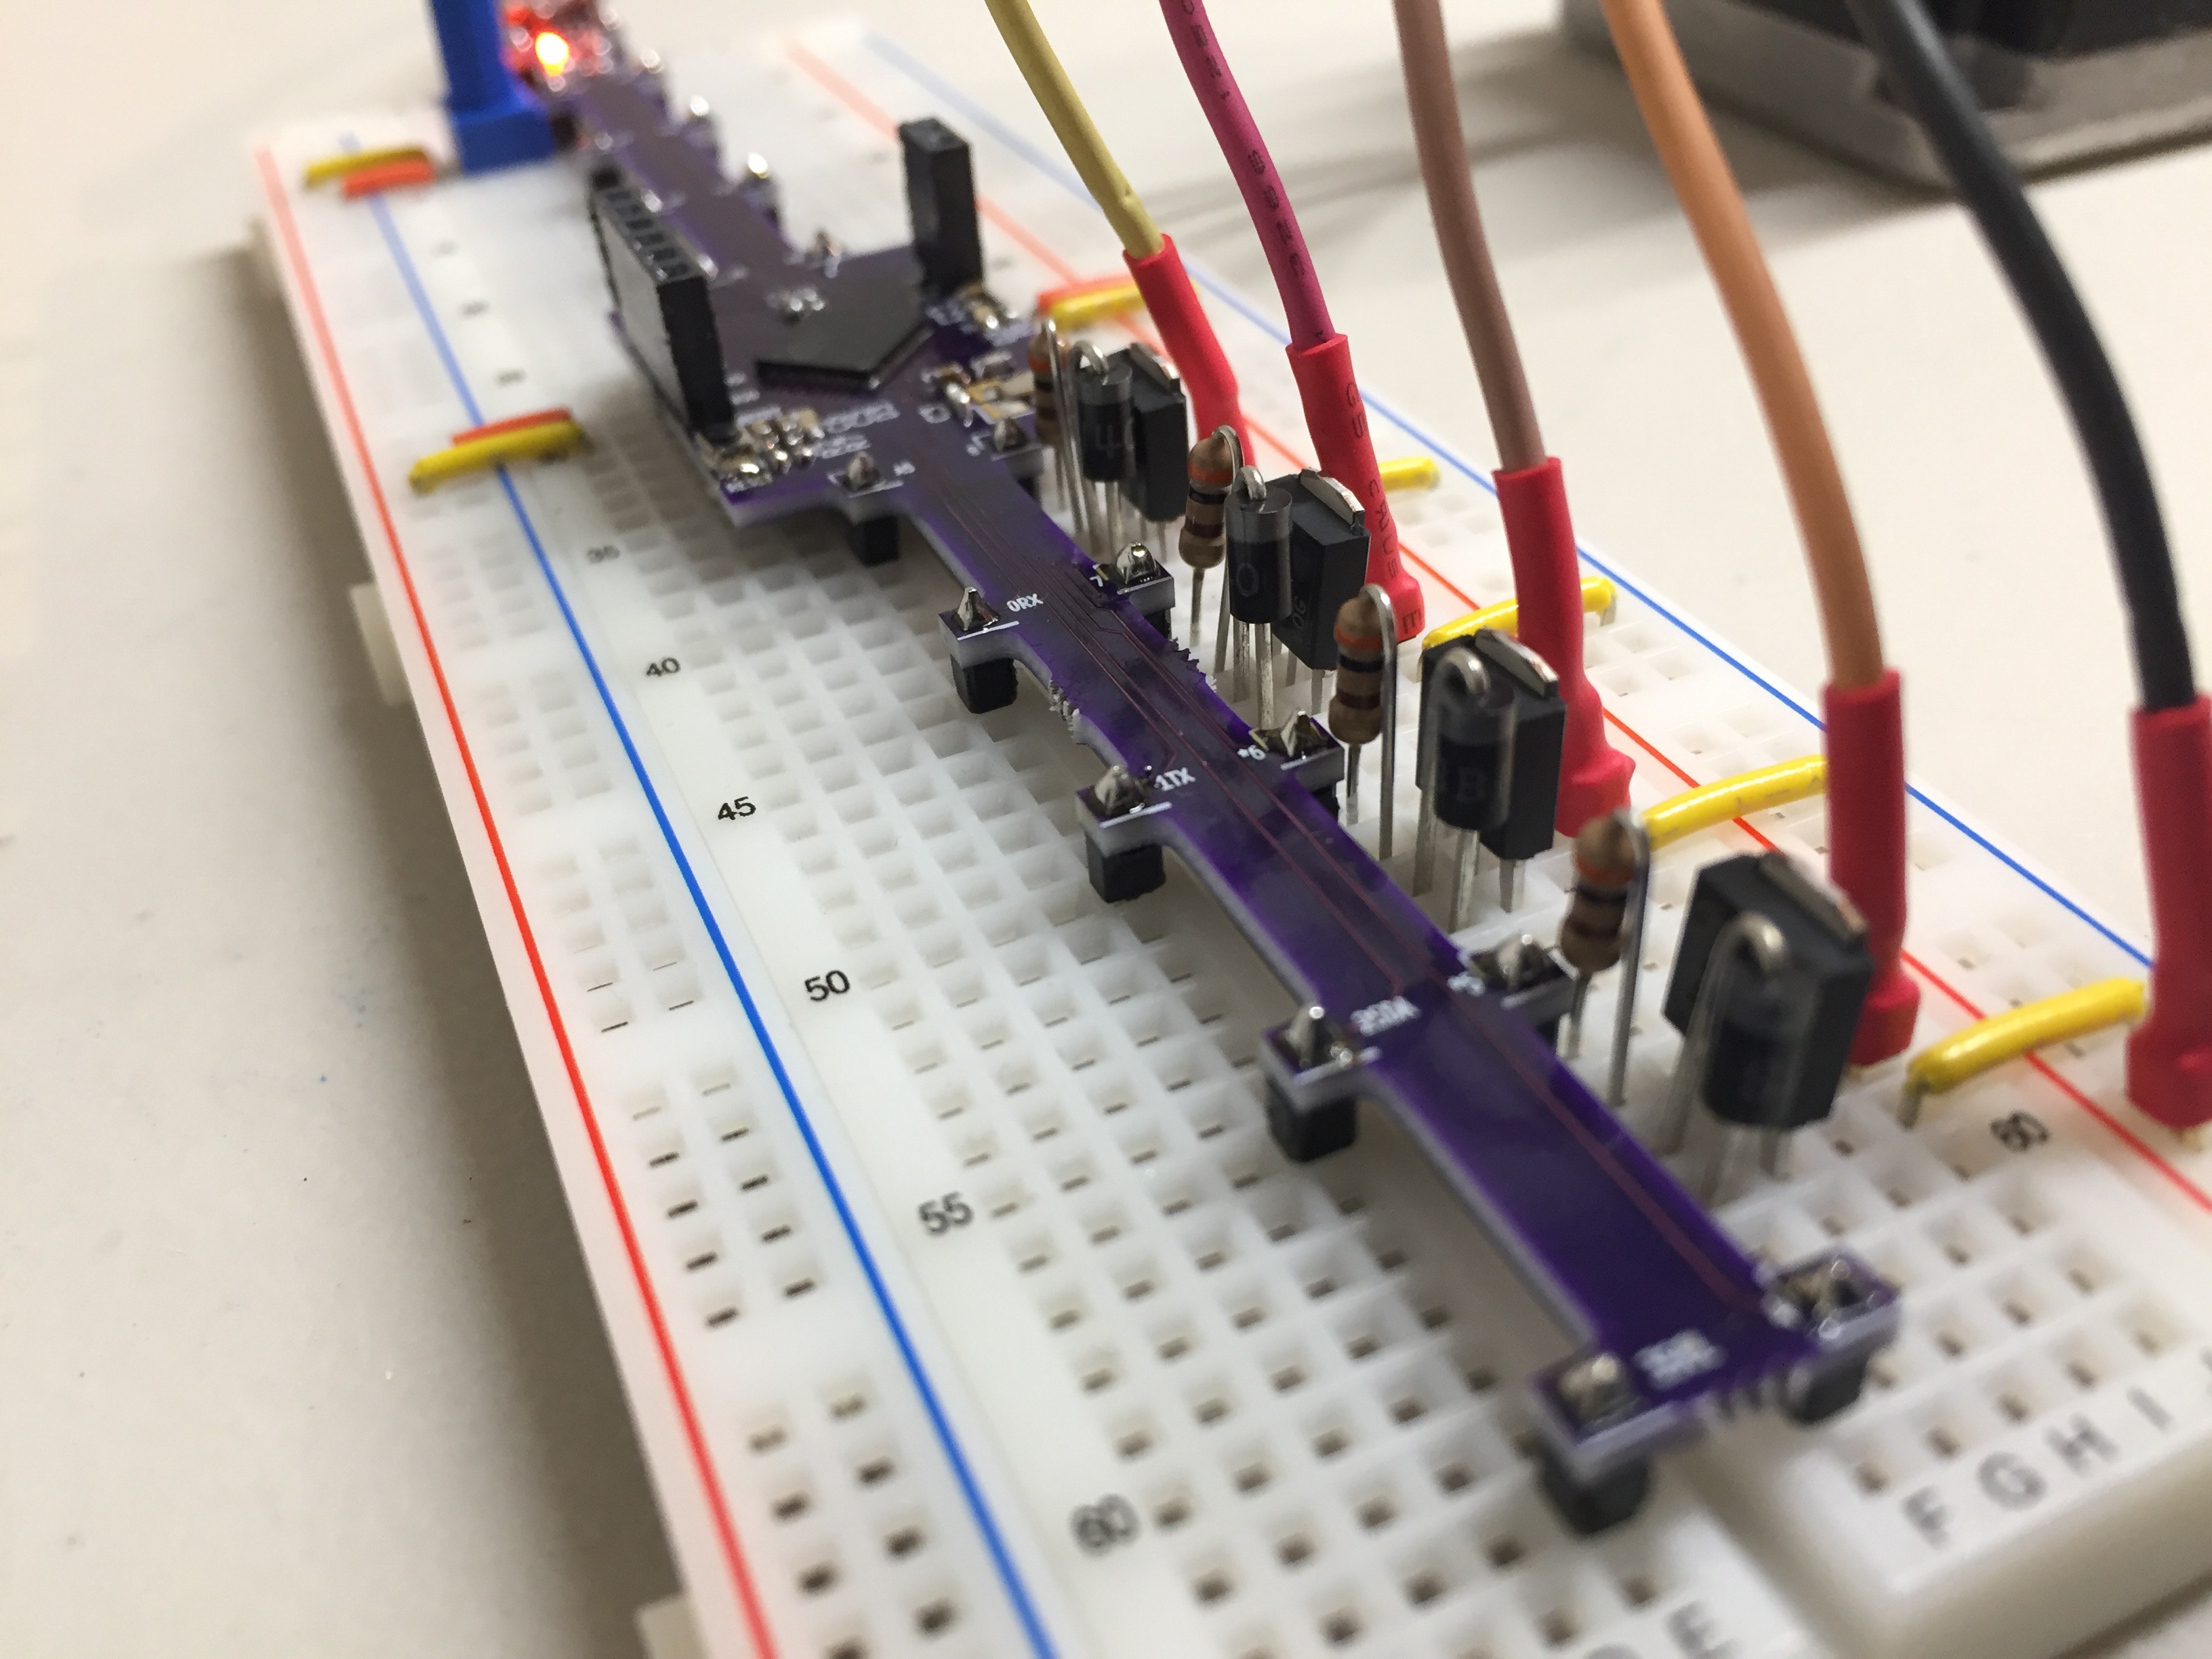
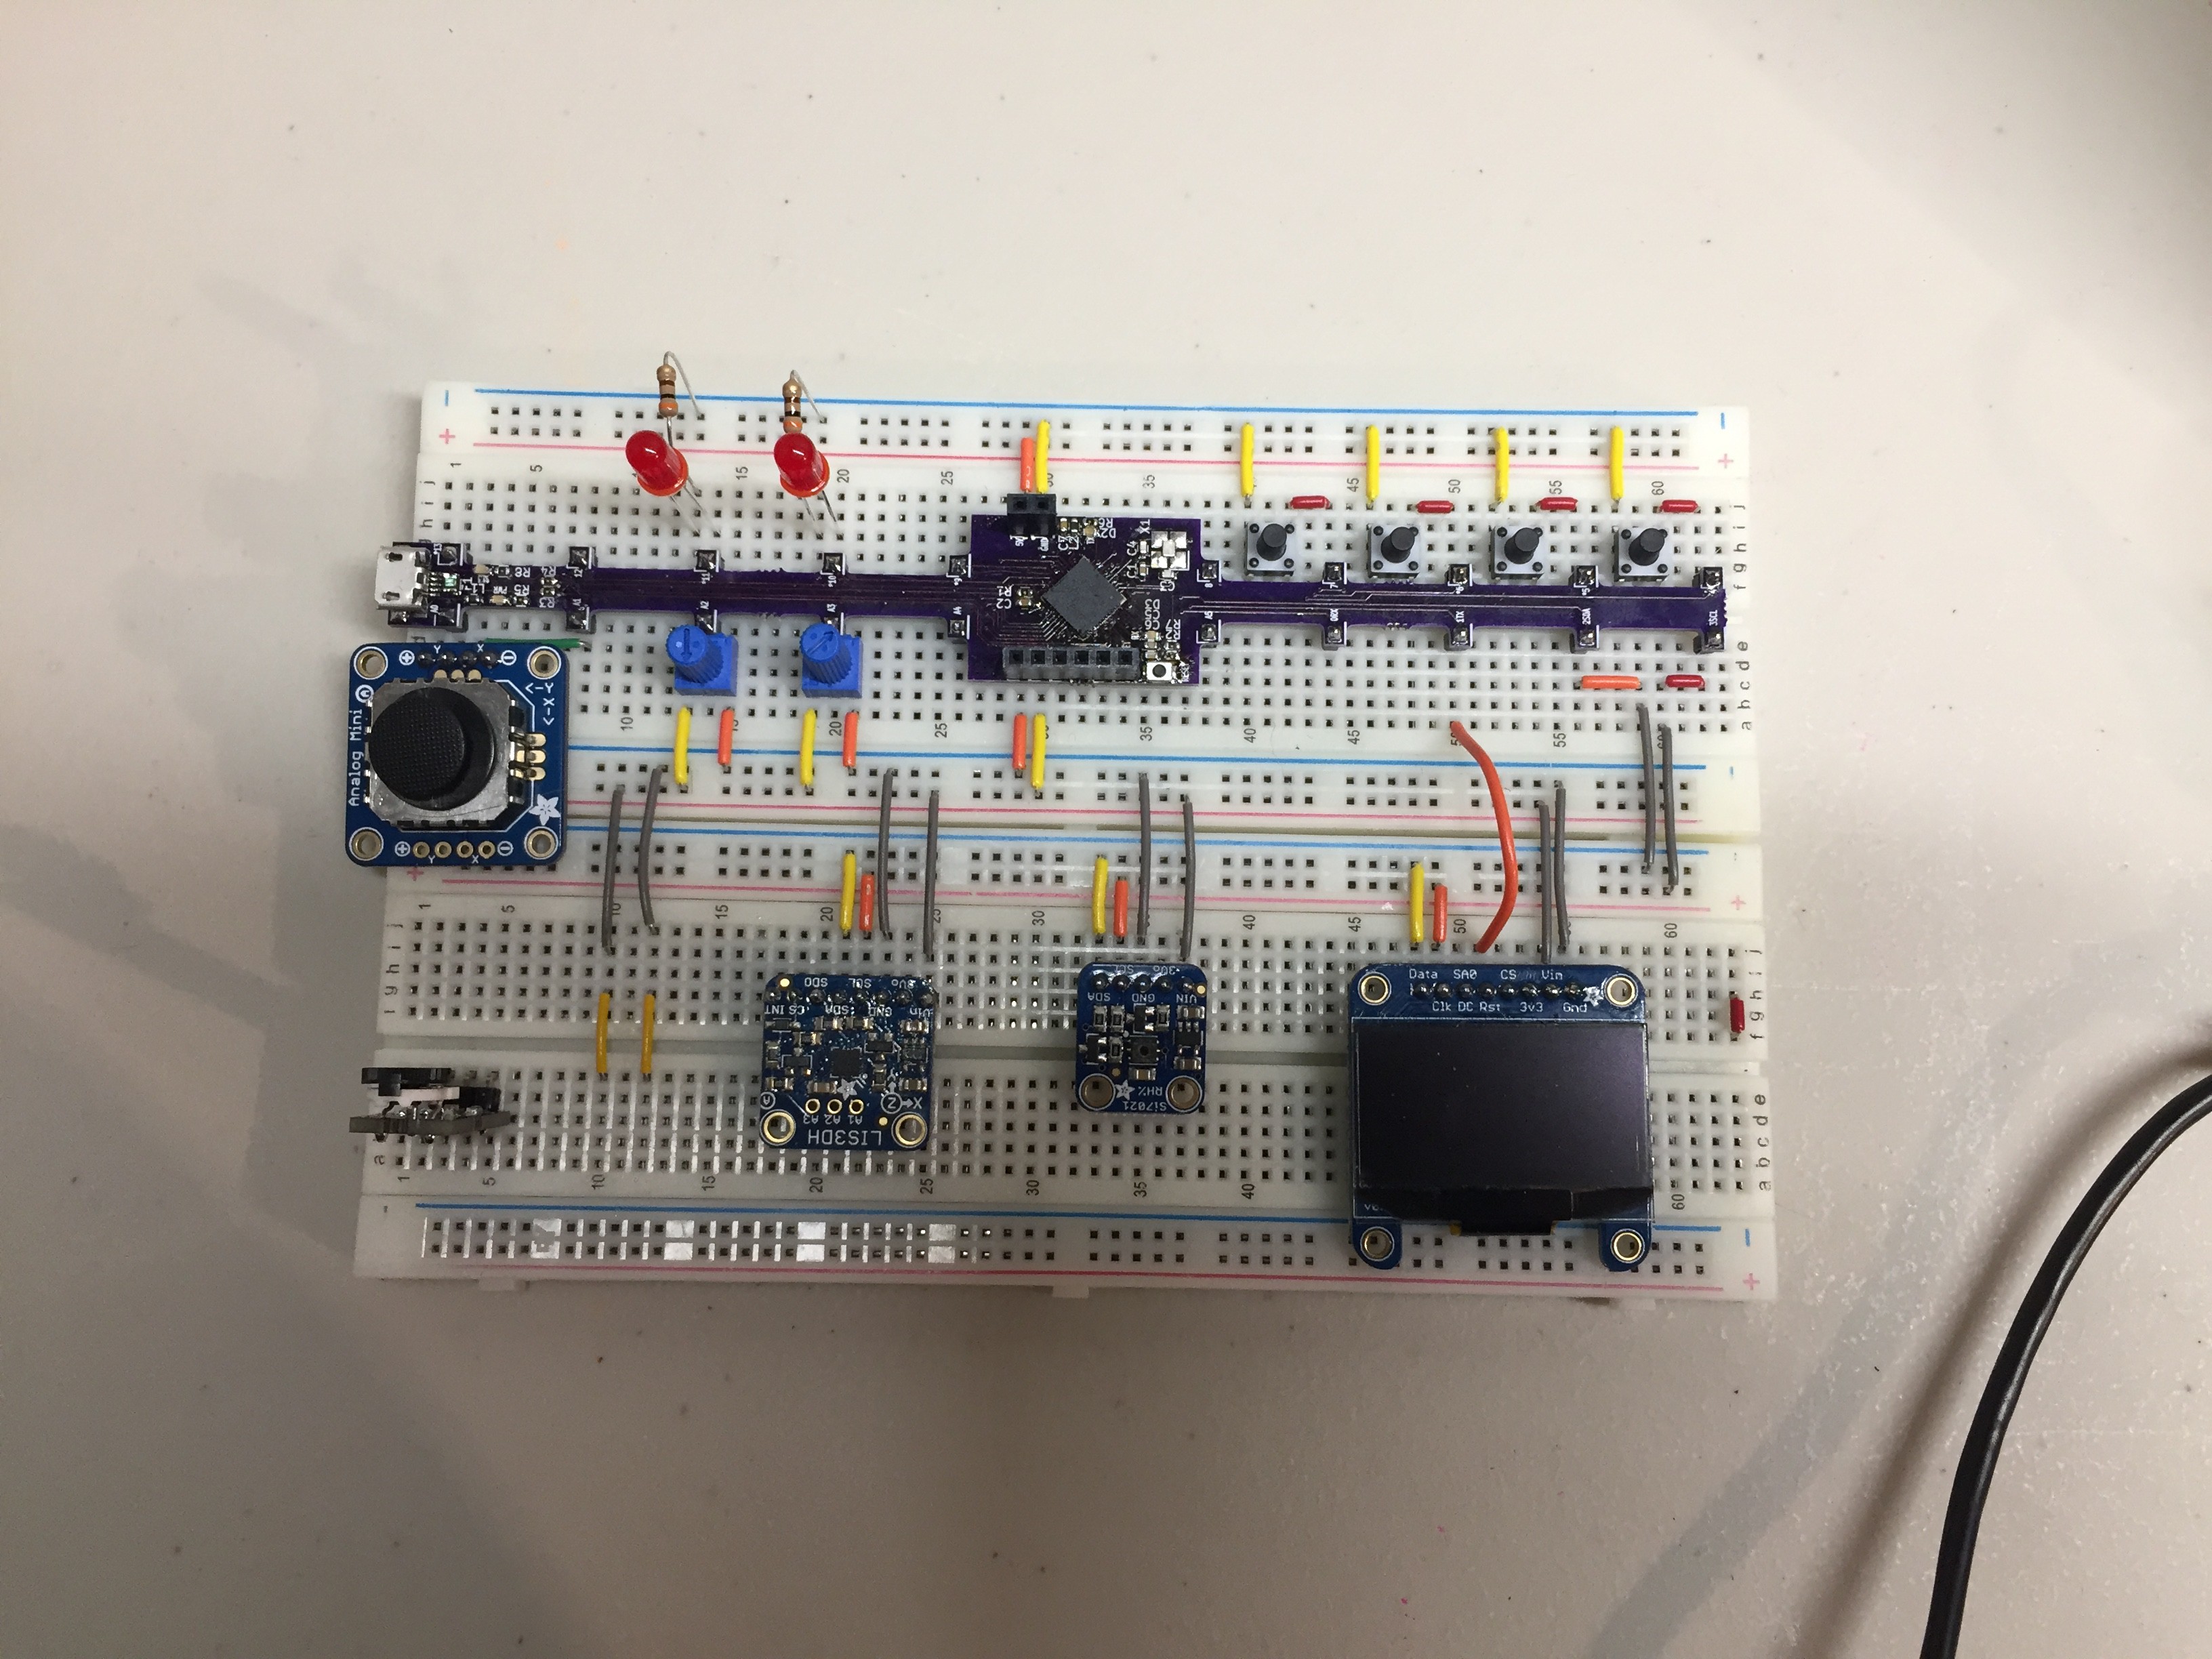
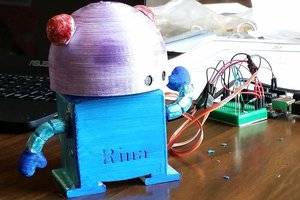
M4-Breadstick (Retired) → Raspberry Breadstick
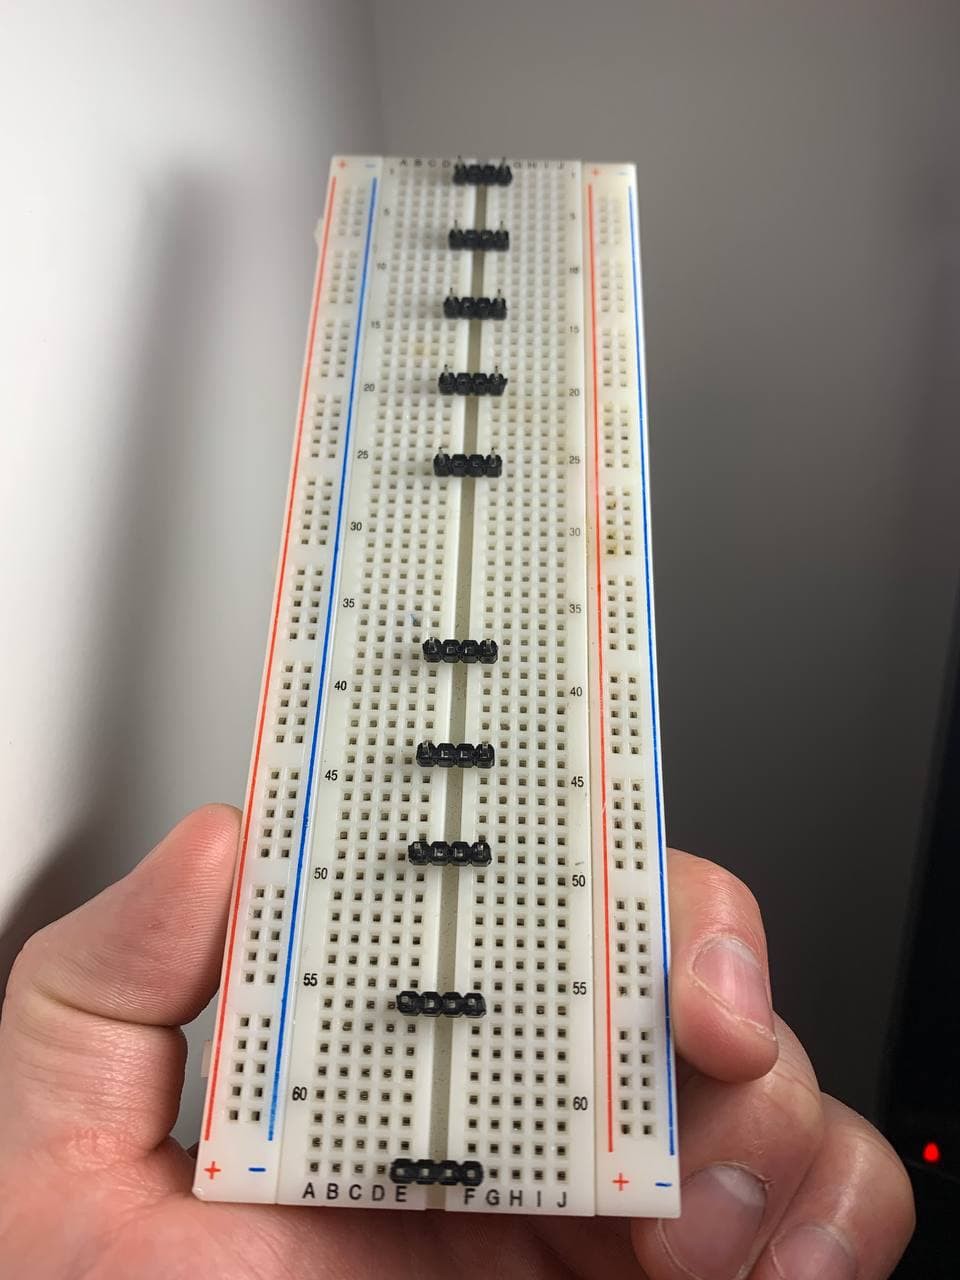
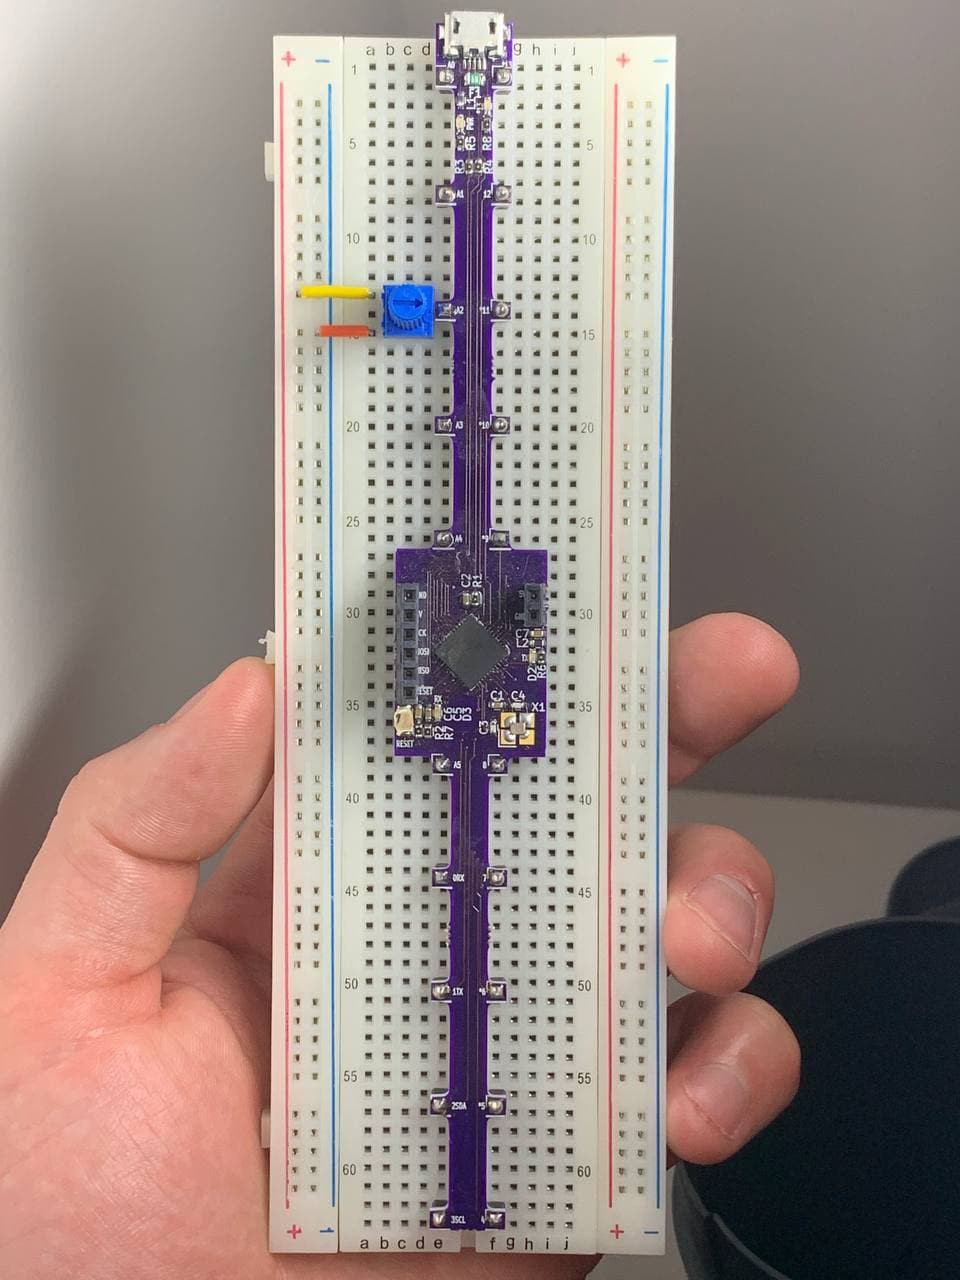
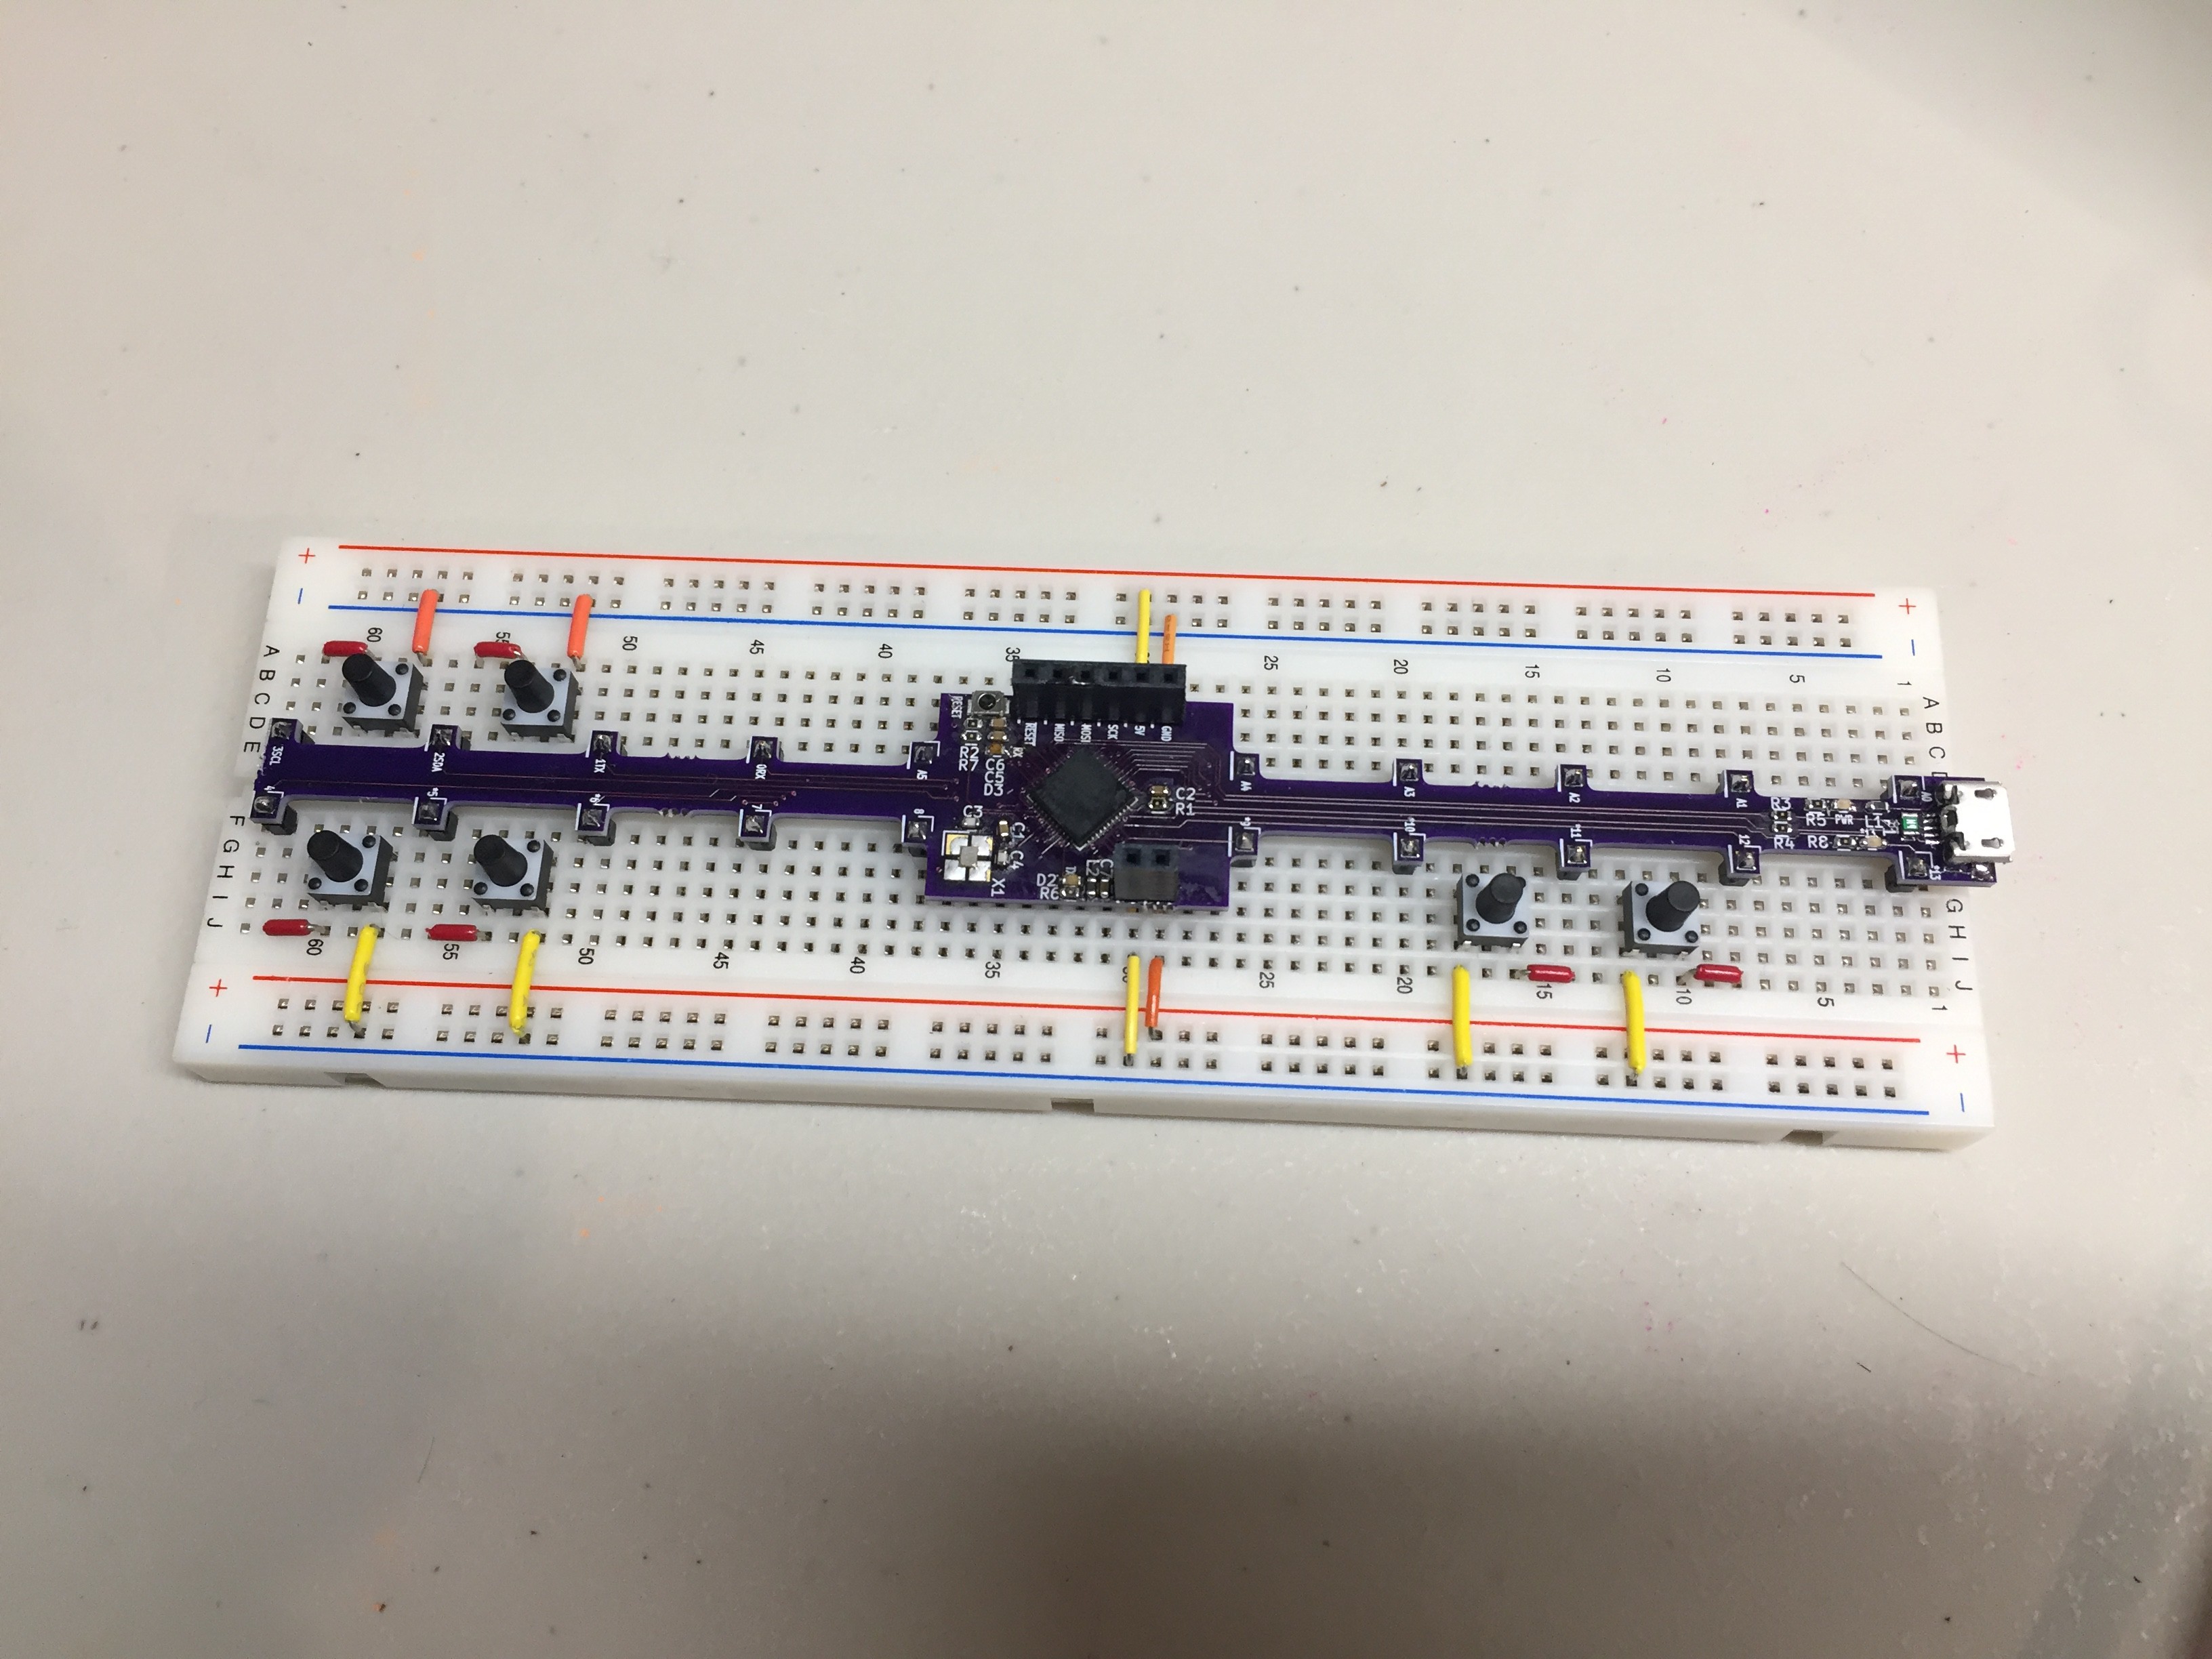
A long and thin development board, with spaced out I/O pins to minimize the length and number of jumper wires required.
 Michael Rangen
Become a Hackaday.io member
Already have an account? Log in.
Just one more thing
To make the experience fit your profile, pick a username and tell us what interests you.
Pick an awesome username
hackaday.io/
Your profile's URL: hackaday.io/username. Max 25 alphanumeric characters.
Pick a few interests
Projects that share your interests
People that share your interests


 Edward Li
 SUF
SUF
 Dylan Brophy
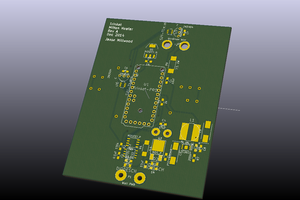
 Jesse Millwood
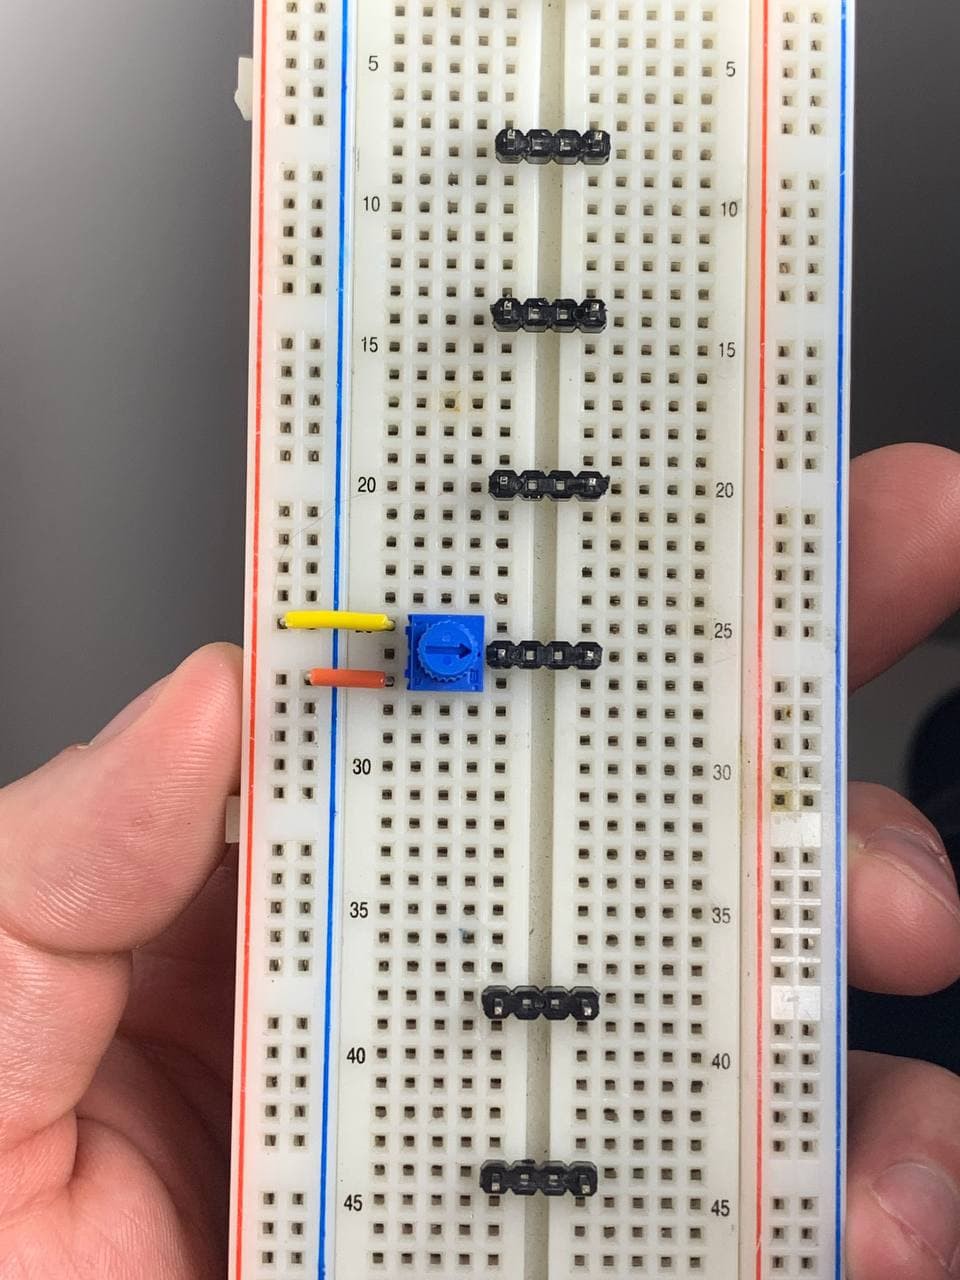
That's a perspicacious observation, that usually there aren't enough free rows on the breadboard for other components. Go for it. 👍