By having some relatively static boxes to build on, the lid became the best means to differentiate the puzzle pieces. I found that this idea offered just enough flexibility to accommodate my goals. I can provide illustrations on the lids as well as outside access to the internals of the boxes. It's a very simple concept that has worked out wonderfully.
My ideal lid design would be completely pictographic so that people who are too young to read can still figure out how to use the pieces, would allow the internal components to contact the outside world when necessary, and would properly prevent access to parts that might break when coming into contact with little hands (true forces of nature which like to shove things into mouths). I have attempted to adhere to these ideas in most of my lids, but a few of them have been given temporary designs to help me get things out the door while I ponder the best way to design a lid that sticks to these rules. My lid for potentiometers is the first clear exception to my goals. It's all text and is only useful for people who already have a hint as to what is going on. It's going to have to change in the future, but I haven't yet drawn all my lines between schematic symbols and intuitive pictograms. I currently consider that a cosmetic issue since I'm still working on functional design, but at some point in the future, I plan on standardizing the rules of lid design. Until that happens, here are some lids (both good and bad) out of the 22 that I have designed so far:
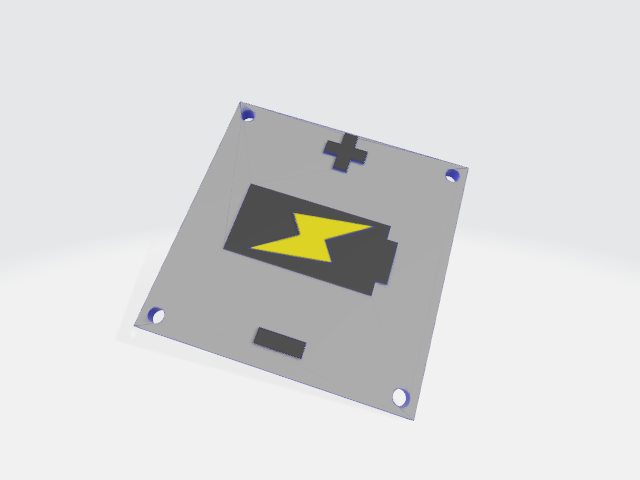
Battery lid
LED lid
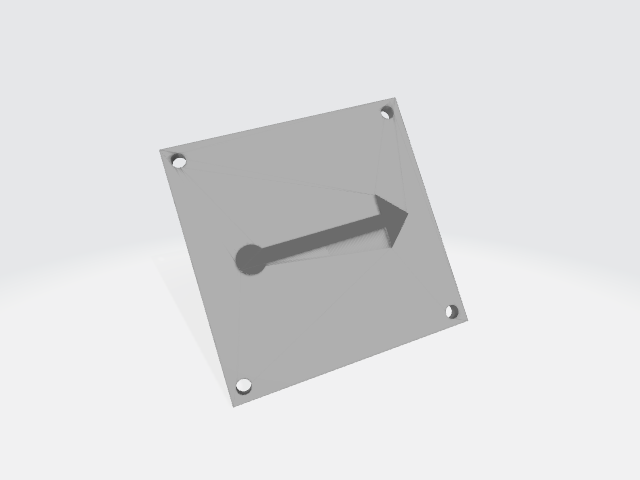
Passthrough lid (a straight trace)
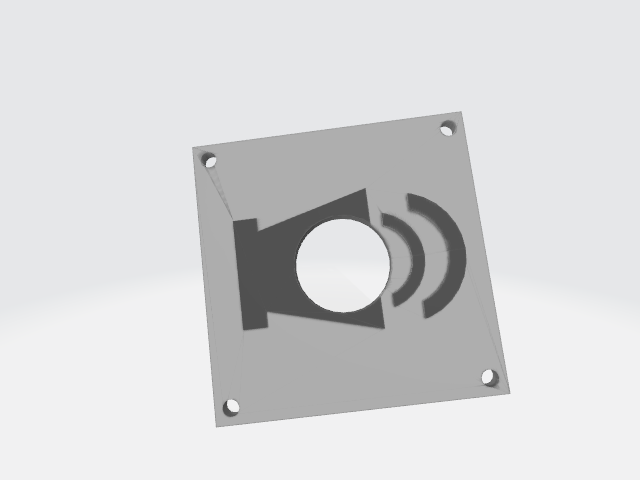
Piezo buzzer lid
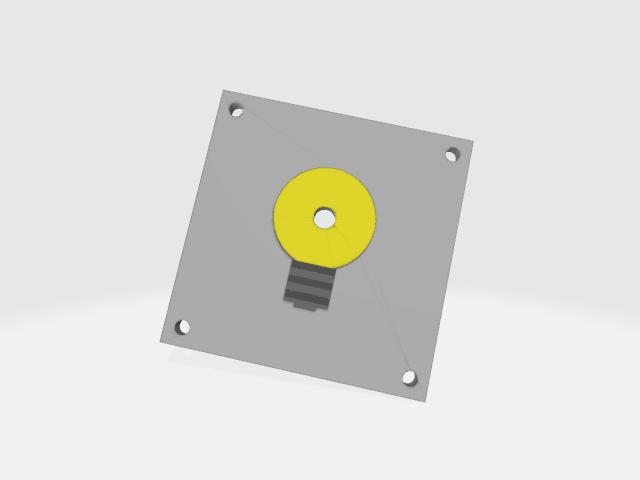
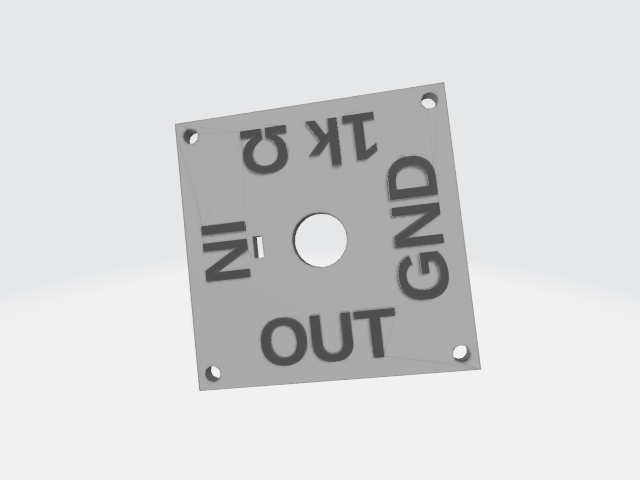
1k ohm potentiometer lid
I will continue to add news lids as I go. My soft end goal is currently to build a simple AM radio. I'll design at least enough lids to accomplish that or some similar circuit.
(I colorized these STLs in MS 3D paint. It was the easiest way to make the details visible. They normally look like standard OpenSCAD STL files.)
Next I'll discuss hardware (nuts and bolts) and that will catch us up to where I am now.
Discussions
Become a Hackaday.io Member
Create an account to leave a comment. Already have an account? Log In.