When I first started prototyping these boxes, I used what I had on hand to put the first one together. This includes screws of non-ideal lengths and shapes. Ideally I'd have some smooth shafted, non-tapered (as in counter sunk) flat headed, tiny bolts, maybe even hex bolts. However, I didn't start with that on the prototype. I started with pan headed M3 screws. I then bought more because I wanted to limit the number of variables I was changing. In the past I've changed a lot of things at once and the results were not always positive. In an effort to grow as a designer, I've run into new problems. Oh well, that's the learning process, and that's why I love making things.
So I have been using pan head screws, and the connection is somewhat shaky. I believe it may be because of poor connections as the rounded heads of the screws only touch each other in small little points. Maybe it's not as bad as I expect due to the driver slots. However the connection is shaky, and it's something I'd prefer to fix.
So my thought was to get some flat head screws. I also noticed that I could probably safely change the length of the screws a bit to save some space inside the boxes. Why didn't I stick to changing one variable at a time? I don't know. So now I may have a bunch of screws to use on other projects. Time to buy more screws? Maybe. Except, the flat head screws actually seem to be worse than the pan head screws. Is that because I bought screws that were too short for a good connection? Or is it because the tapered head causes a wider gap? Perhaps the the slight tilt to the head due to the internal wiring is the problem. That would reduce my flat contact surface to a tiny spot on the rim of the head. The result is the same anyway: a worse connection than pan head screws. So I'm going to have to continue to experiment with screw sizes and shapes.
For now I'm going to stick with the pan head screws I bought first. Most of my boxes use them, and they work well enough until I find something perfect.
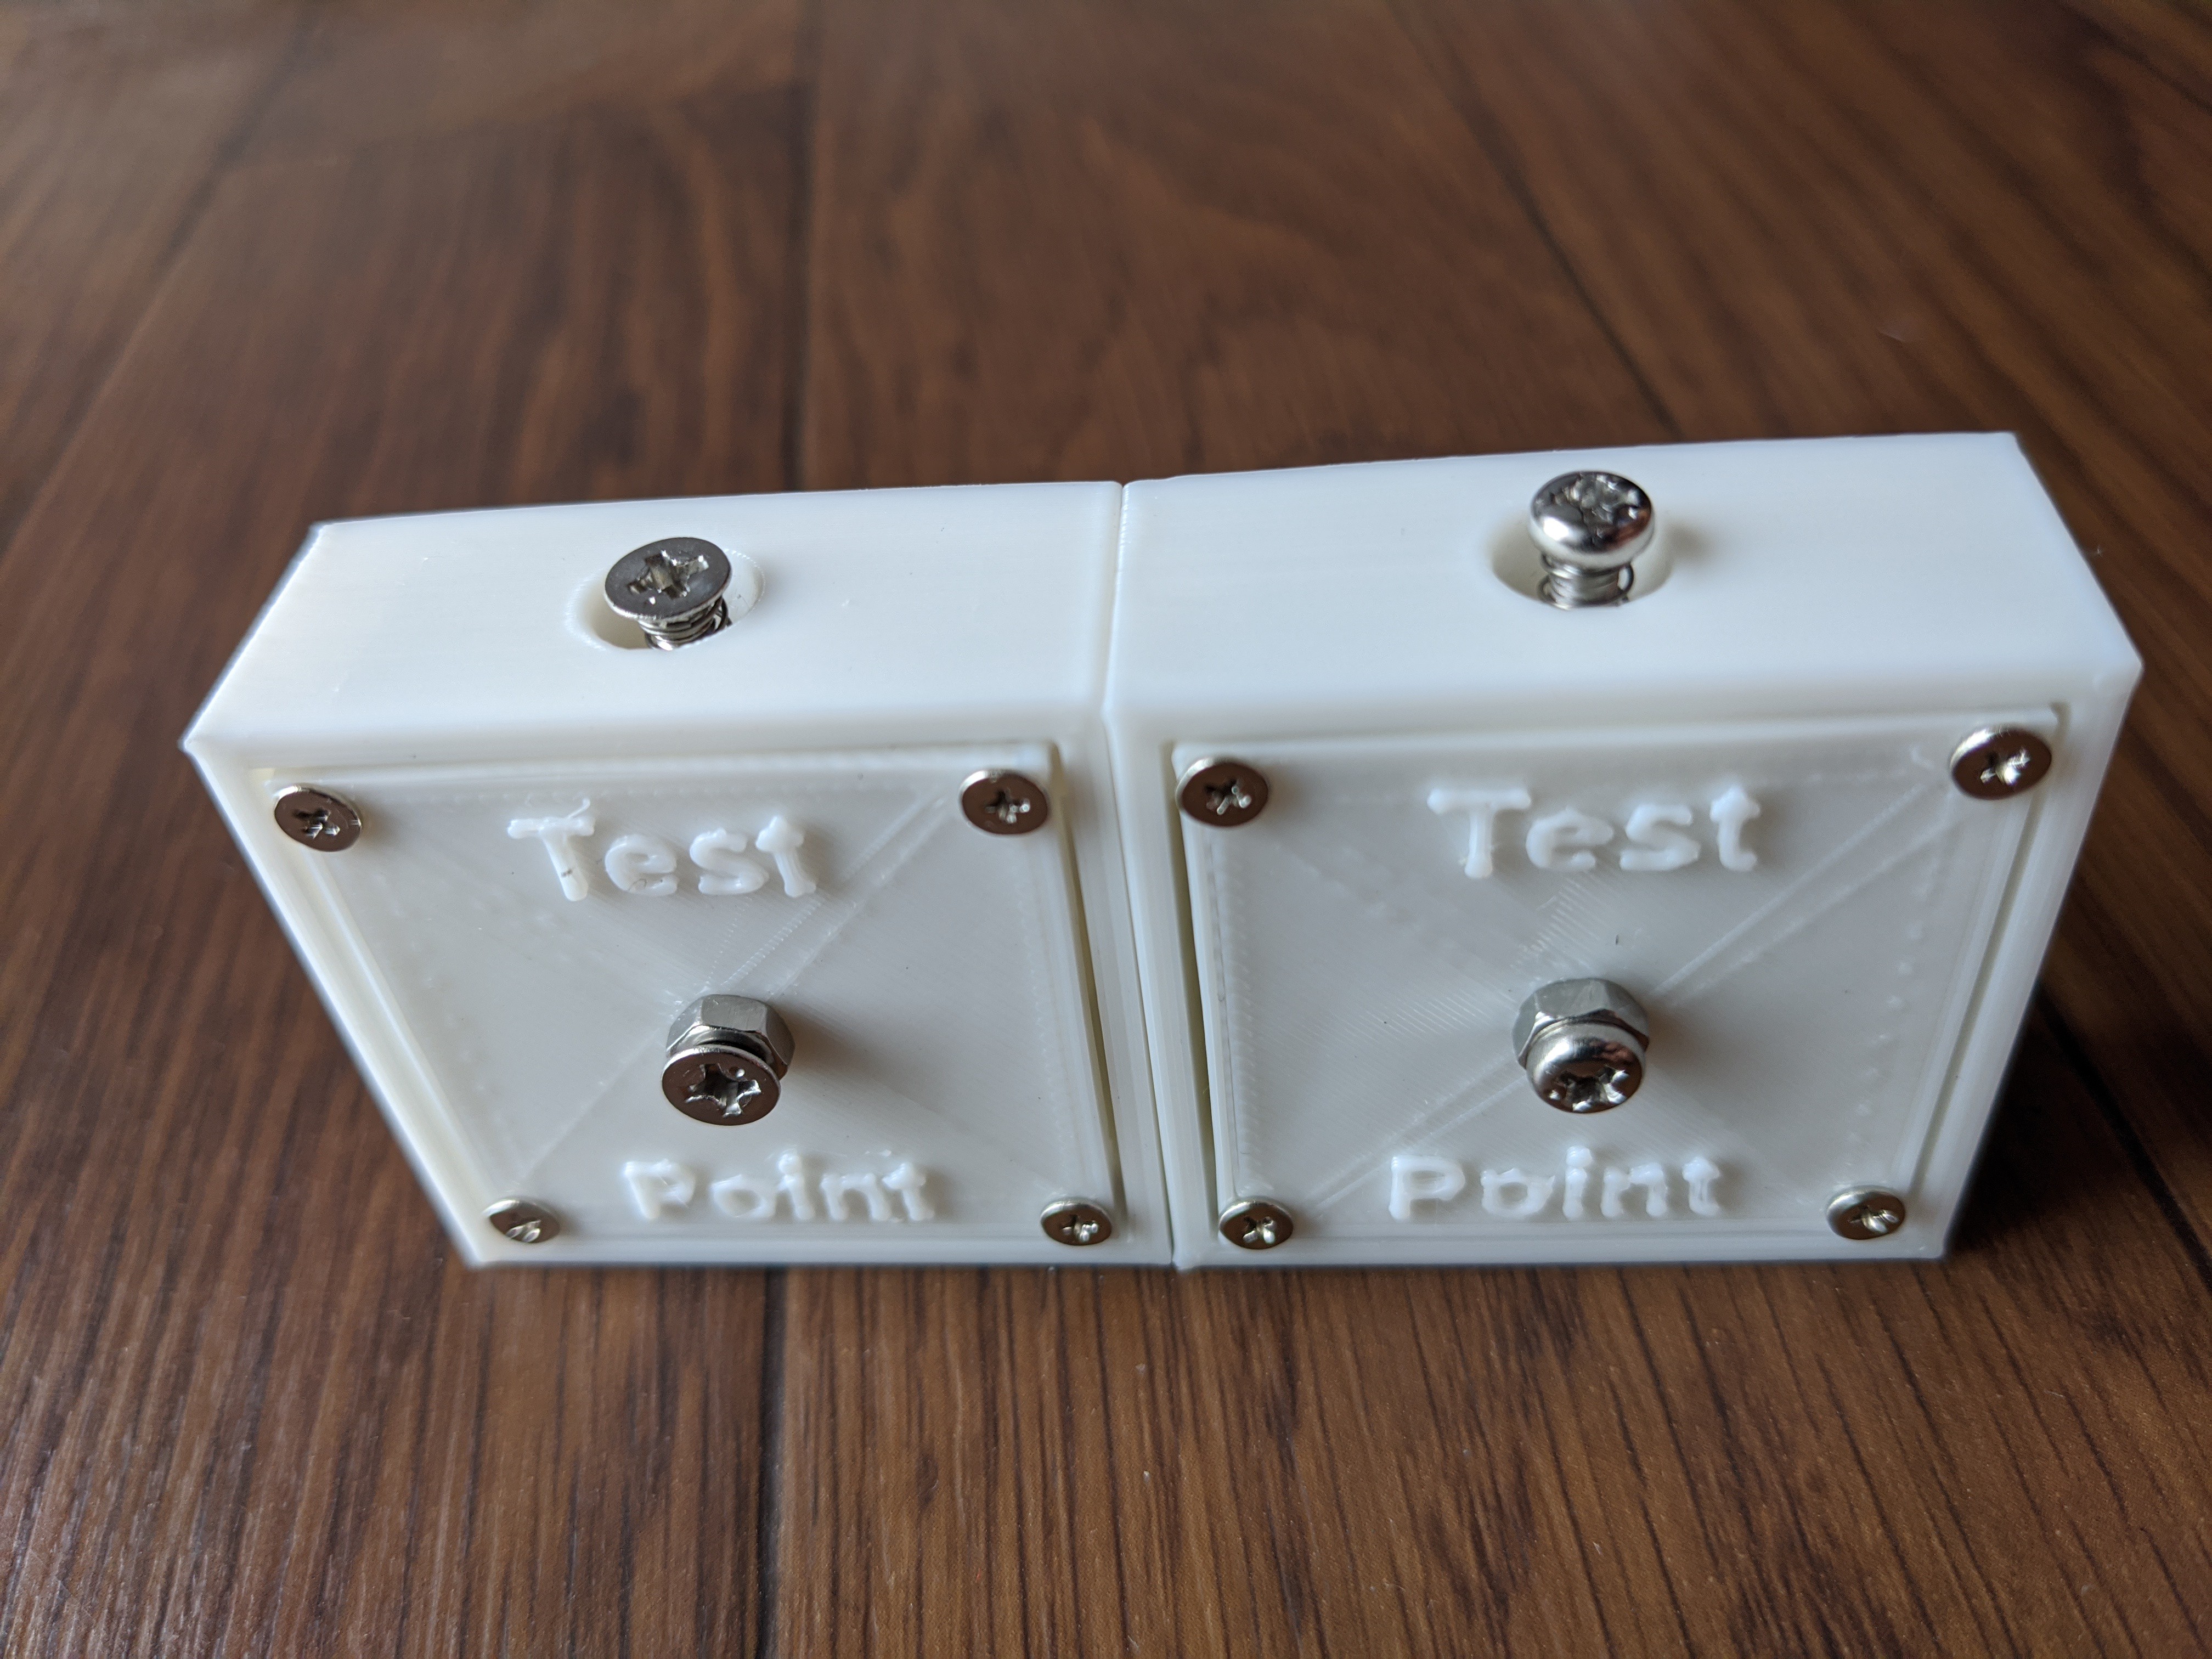
Flat and tapered on the left. Pan head on the right. The pan head clearly sticks out more and that seems to reduce the amount of travel the screw has to undergo when depressed. That travel distance is dependant on the receiving end as well, so it may not seem obvious, but it's happening. I do prefer the tapered head on the test point connection that we see on the lid. It gives multimeter and oscilloscope clips something more to hold on to.
Reviewing this picture I posted before, we can see the internal connections. I'm experimenting with different orders of different nuts to save space and reduce the likelihood of something coming loose. The nylon lock nuts do their job, but they take space. Especially next to the spring loaded portion (hidden by the pladtic case and between the magnets) the nut should not move or the ability to make a connection could be affected to the point of failure. A bit of cyanoacrylate could lock the non-lock nut, but could also inadvertently cause insulation on a necessarily conducting part. Bigger boxes would make everything easier, but bulkier and less toy-like. Not really something I want to do. Failing educational toy, this could be a great coffee table puzzle for guests to fiddle with. If it's huge, you won't want to keep it on your table, I bet. I wouldn't. You might notice some solder on the lower wire. I forgot to crimp that one and couldn't be bothered to redo the whole thing. Oops.

Discussions
Become a Hackaday.io Member
Create an account to leave a comment. Already have an account? Log In.