 Norbert Heinz
With my machines I aim to give students a better understanding of how technology works and of course I'd like to drive innovation as well. "Keep things simple" is the mantra that I follow. Simple to build, out of parts that are simple to source and bring it to live with simply some lines of software code.
I am fighting common thoughts that complex machines like 3D printers must be composed of complex parts manufactured with complex machinery. I am replacing expensive tool chains with my brain ;-) That often means breaking with conventional ideas.
Done:
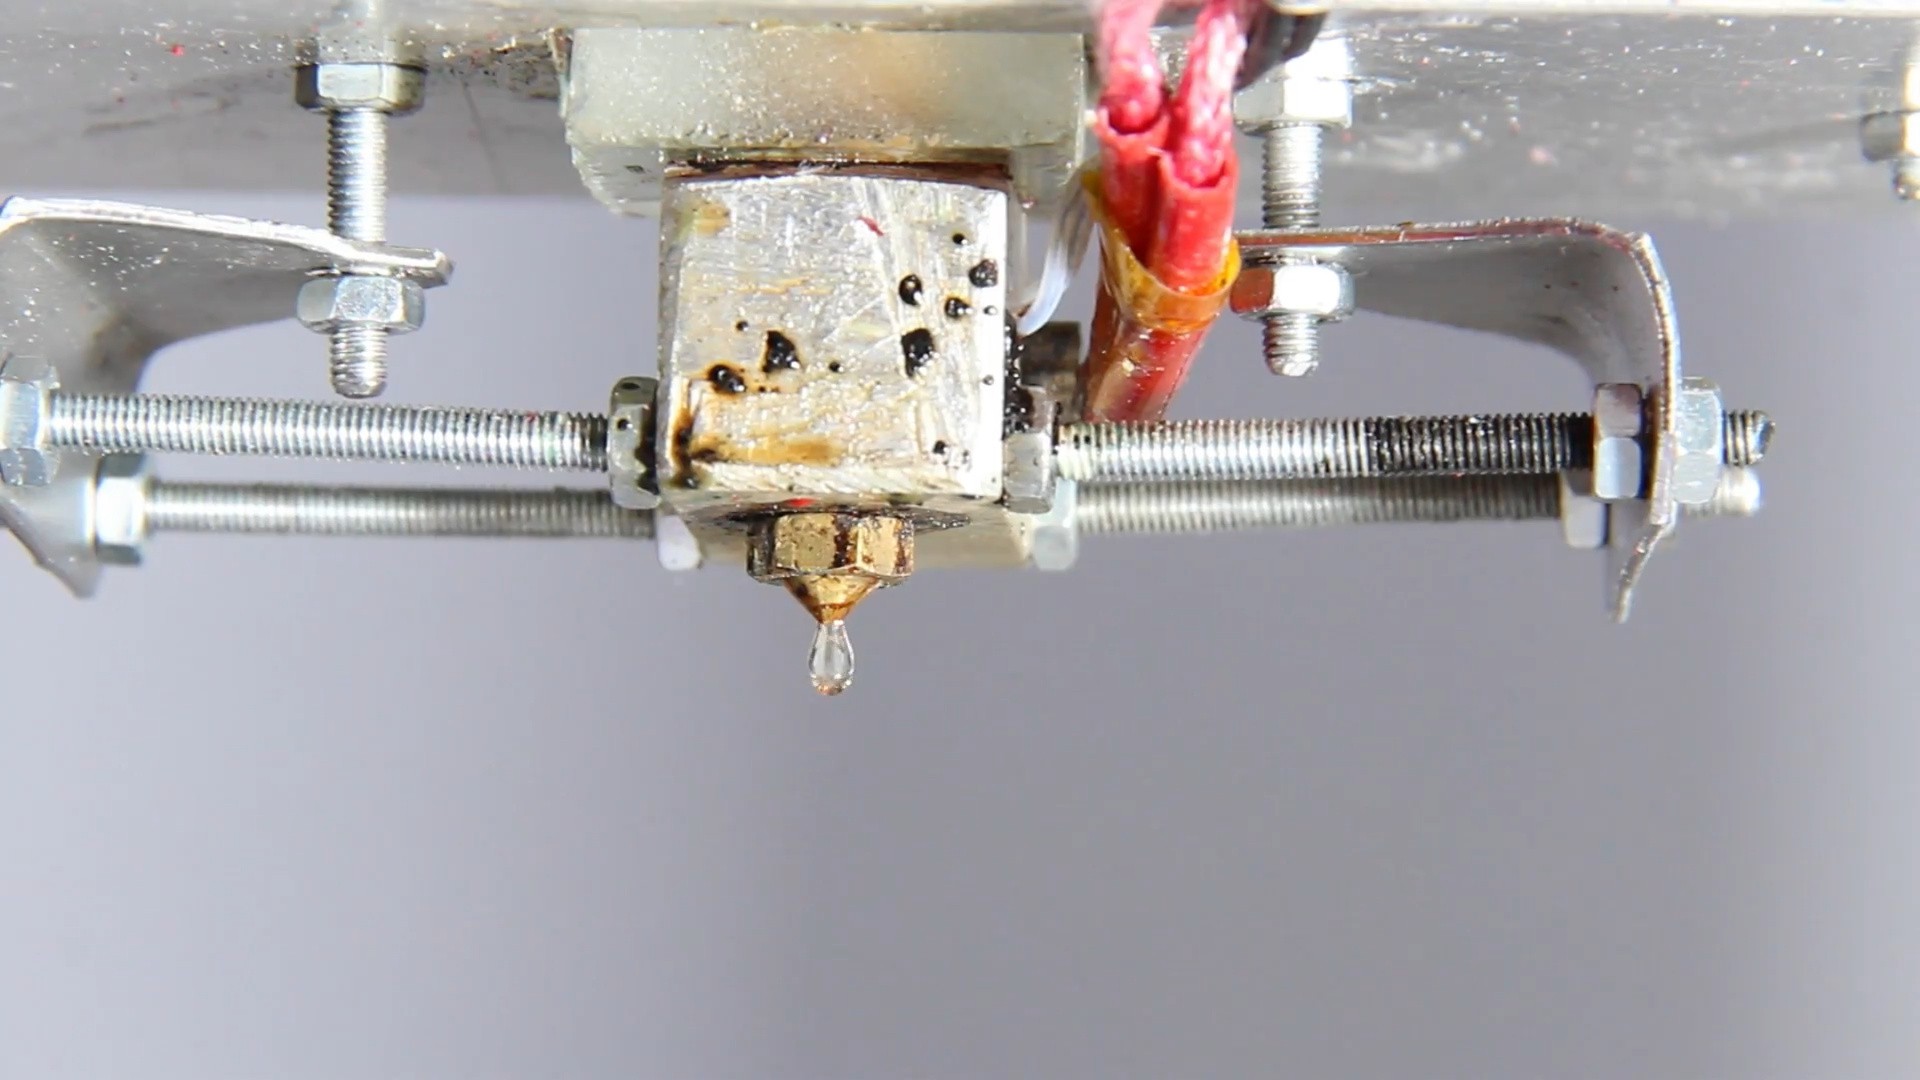
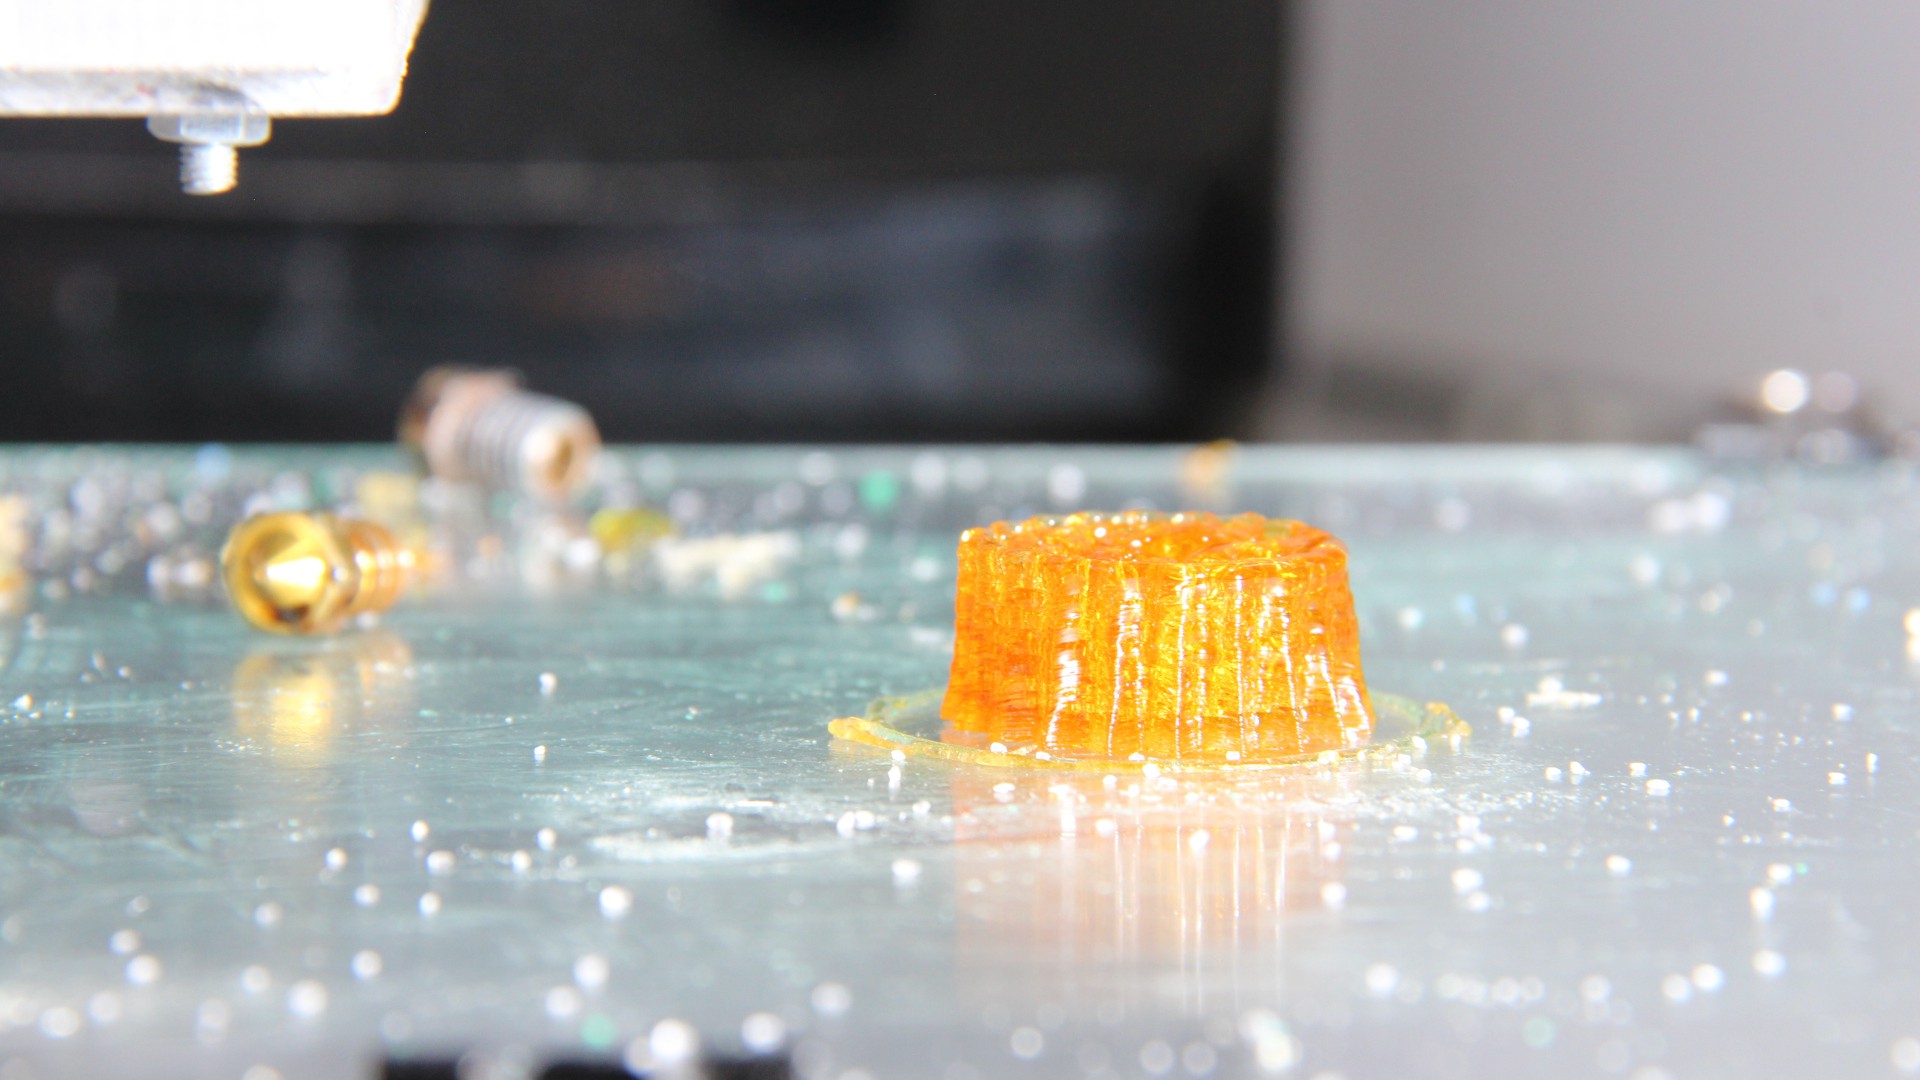
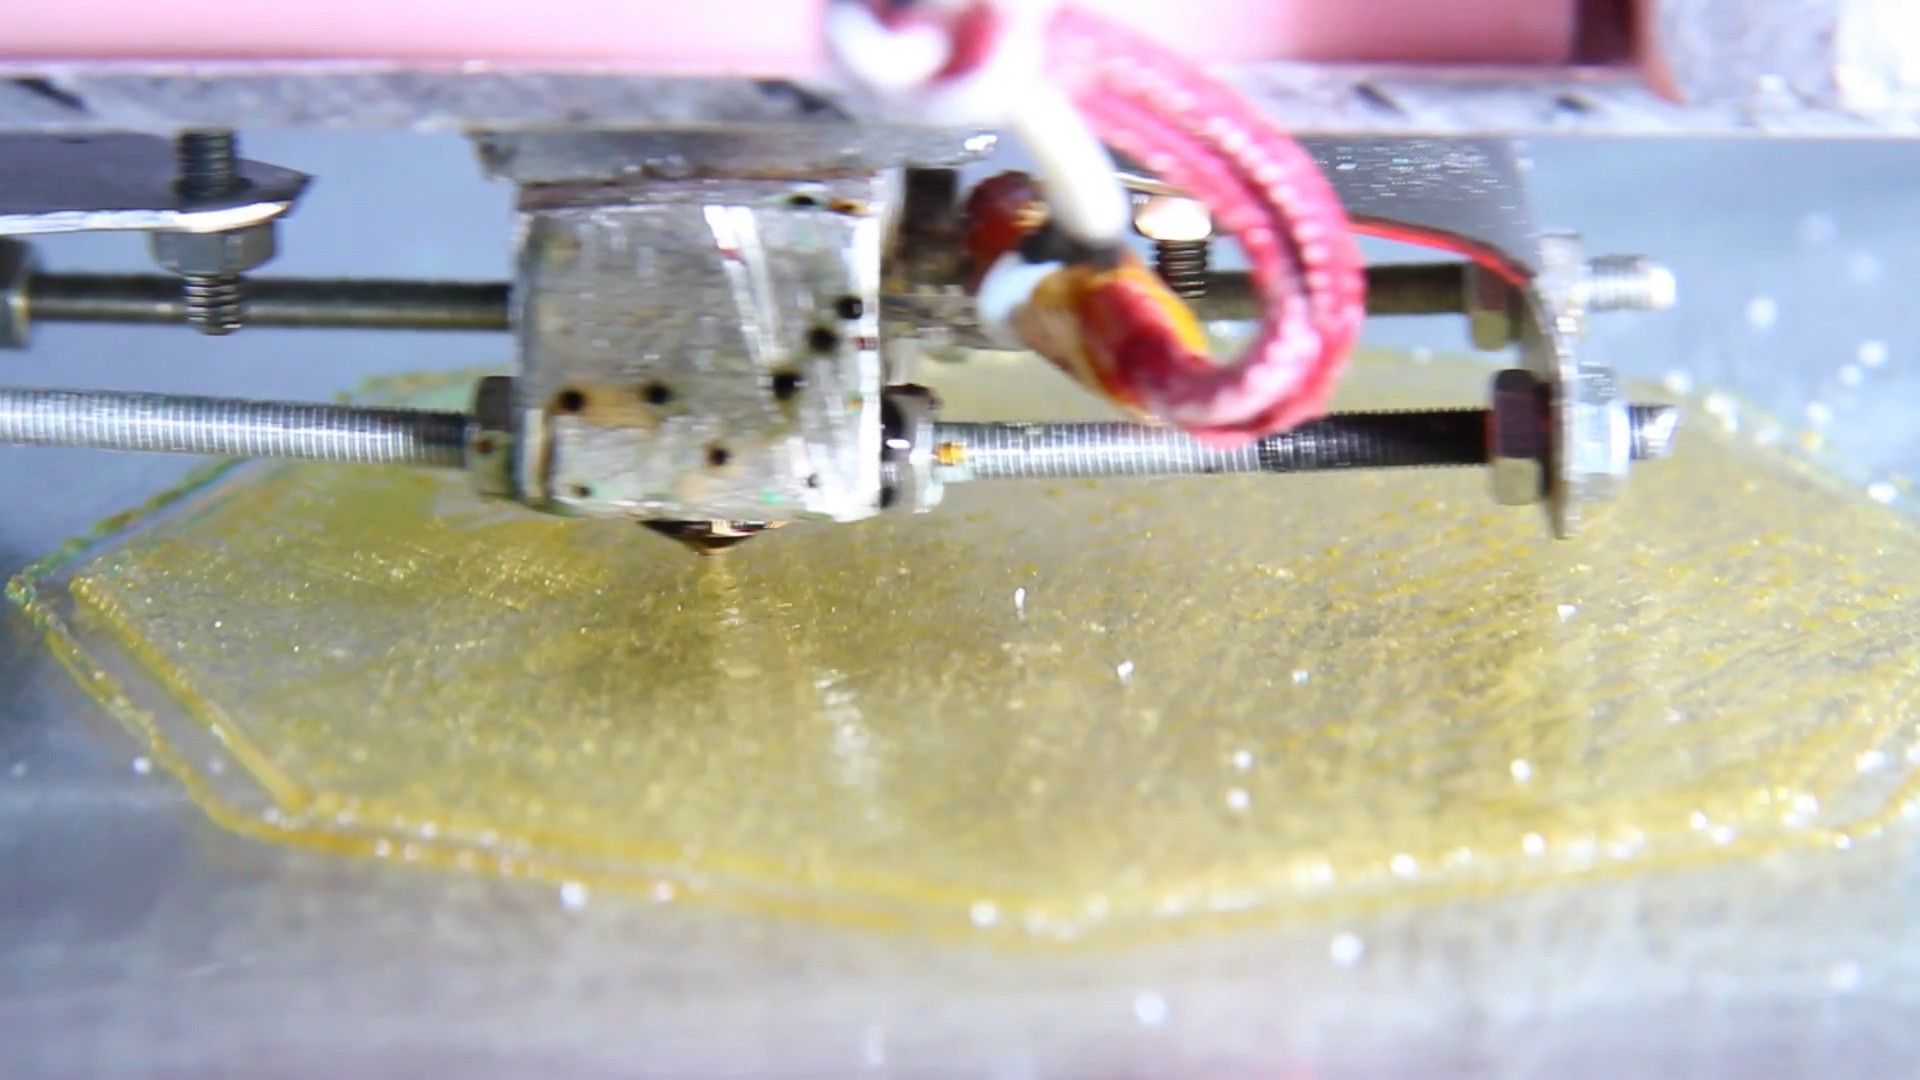
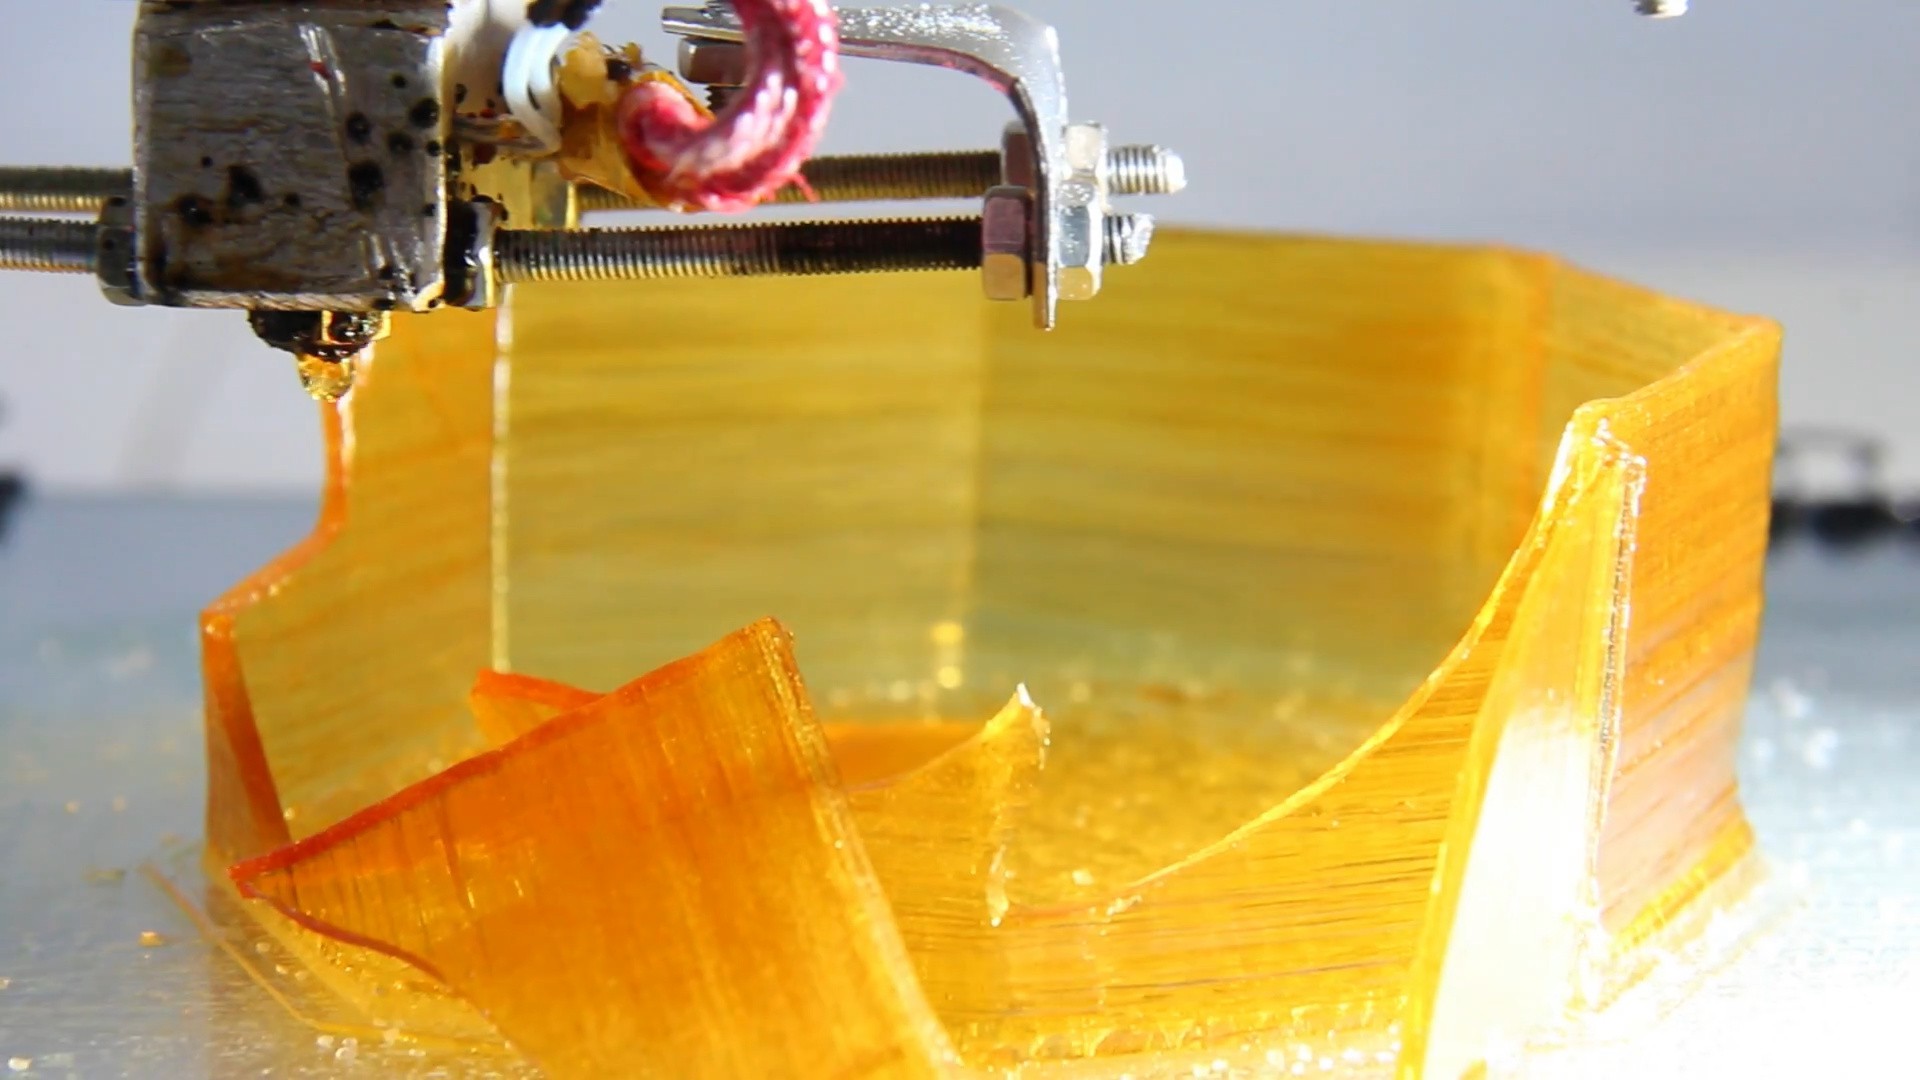
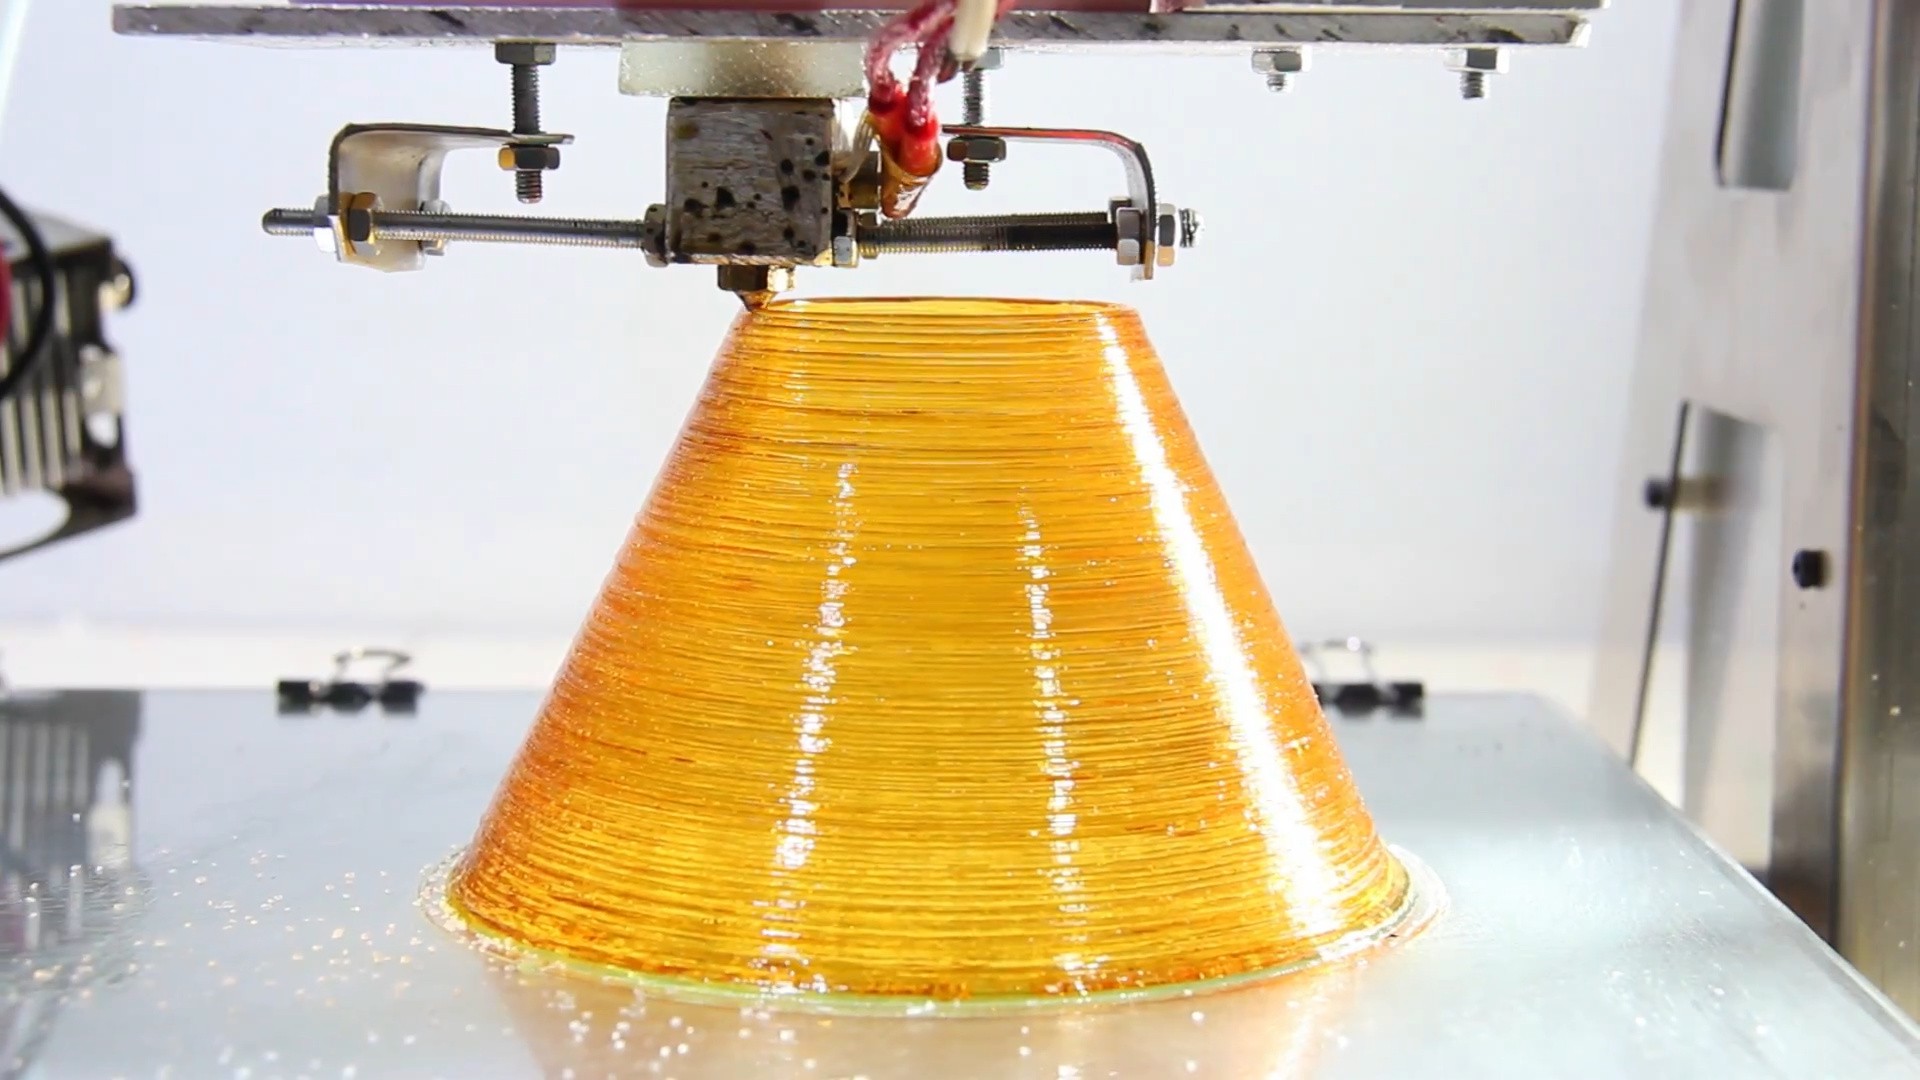
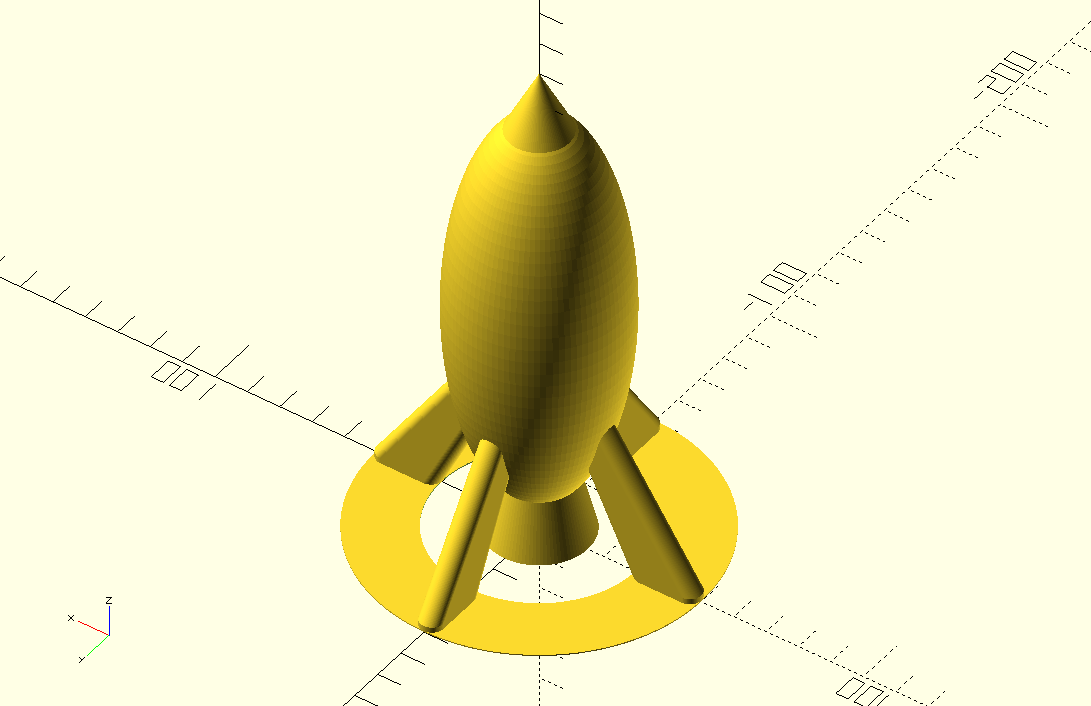
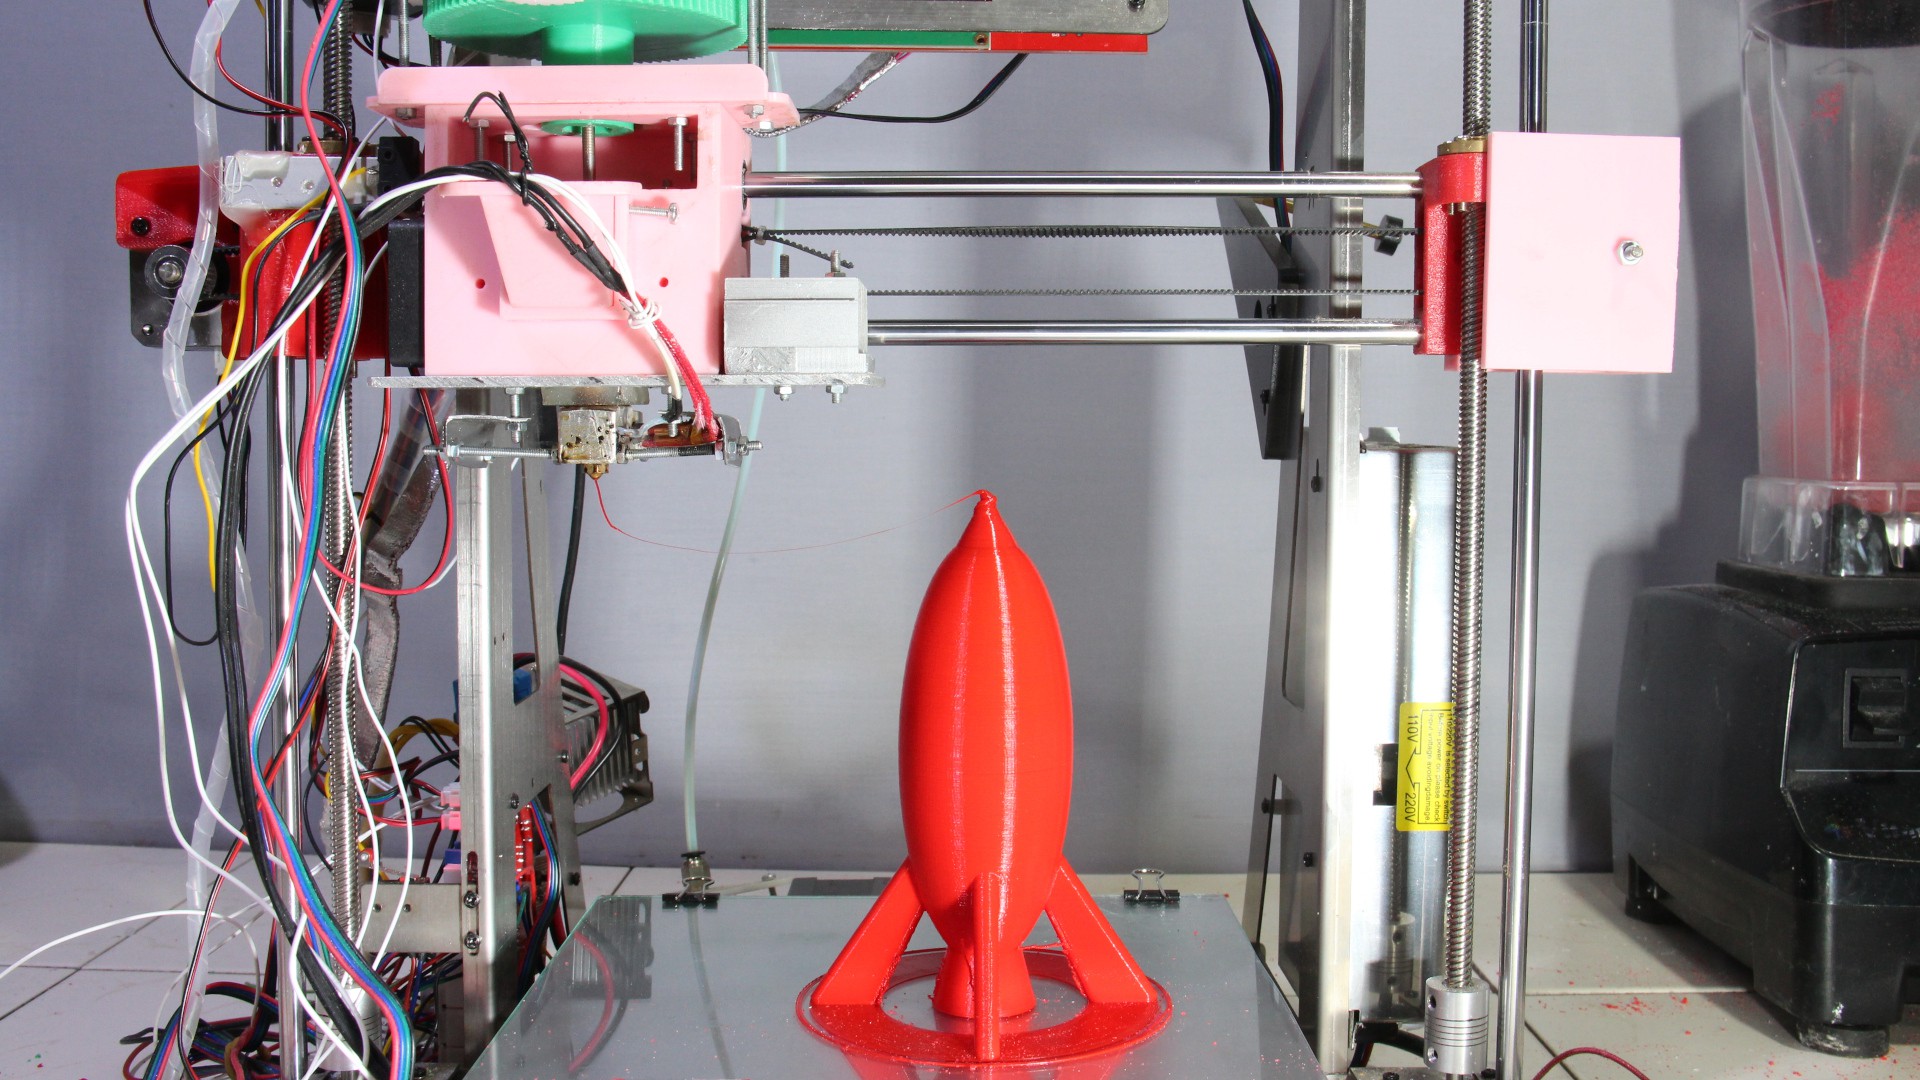
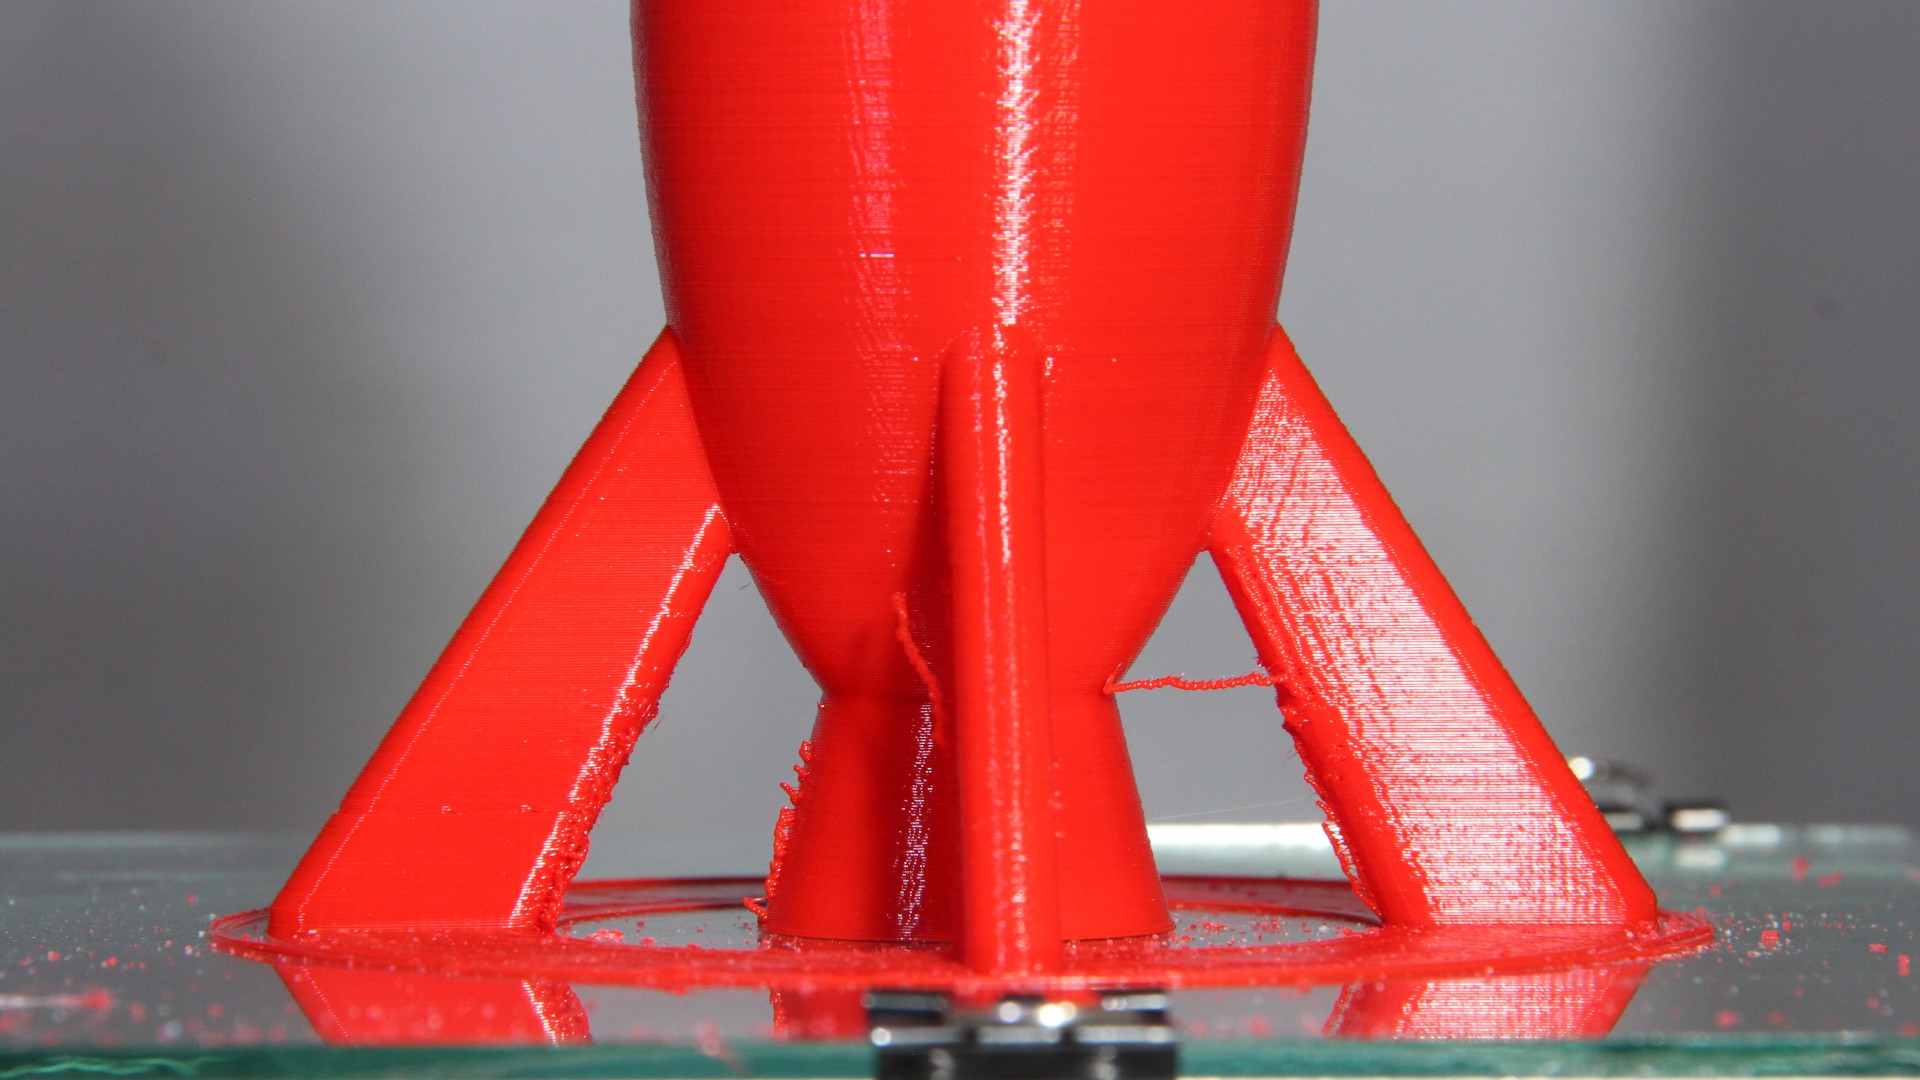
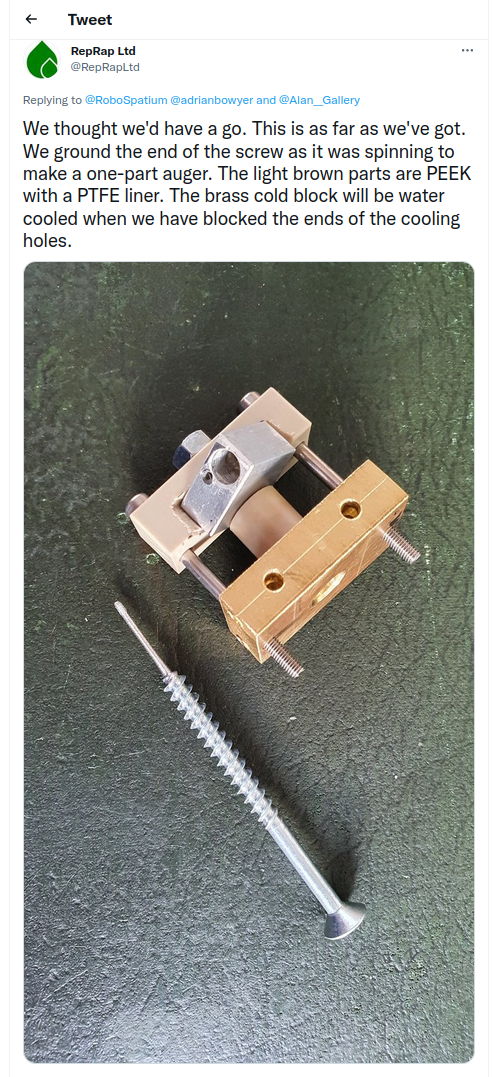
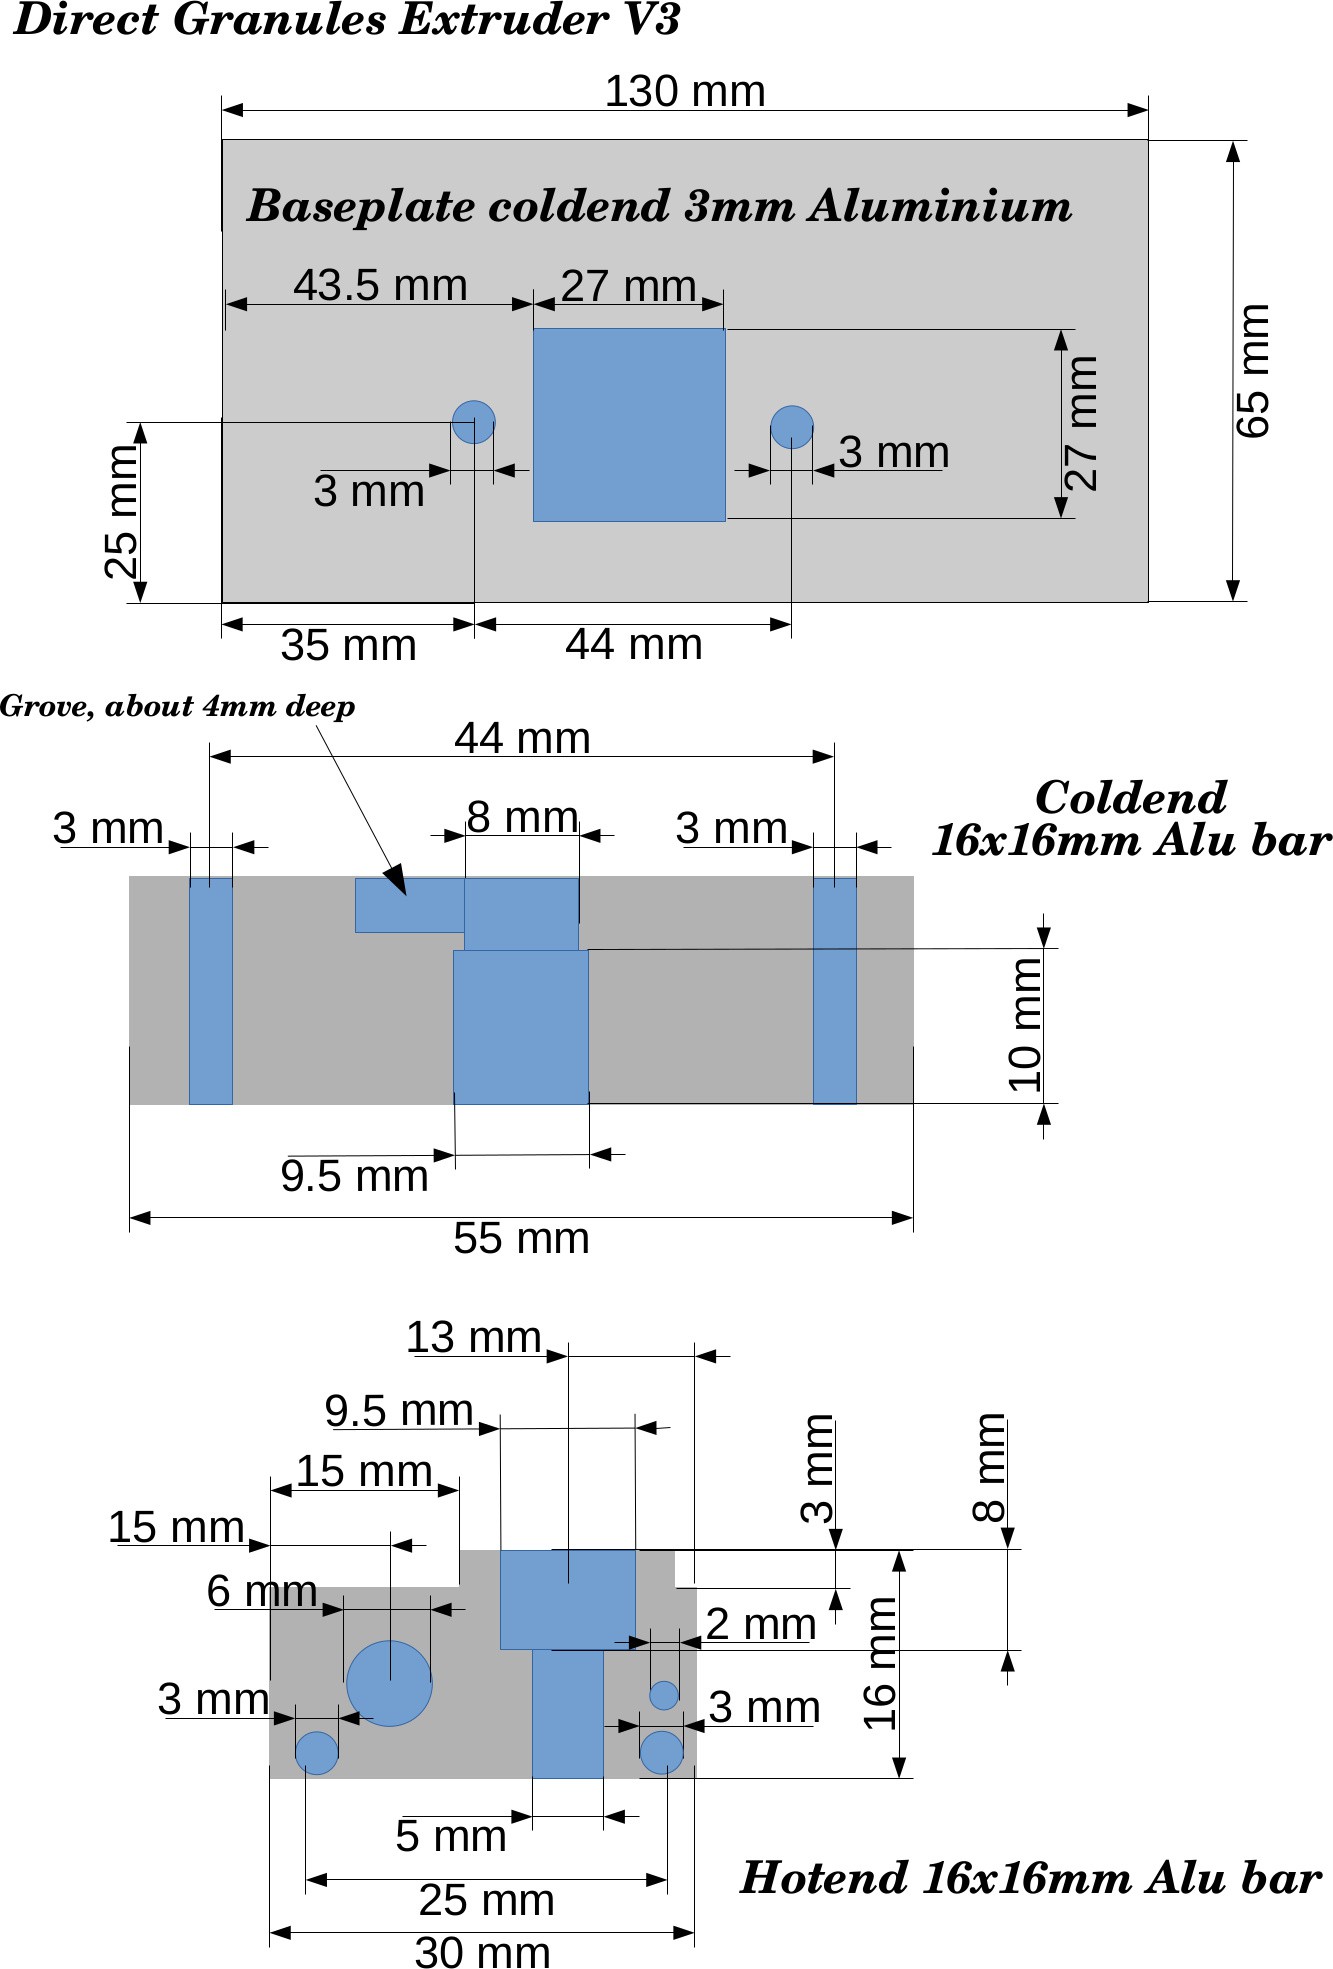
- Build a reliably working extruder prototype (V3).
- Create build instructions (including video), even so it is a prototype made following my intuition.
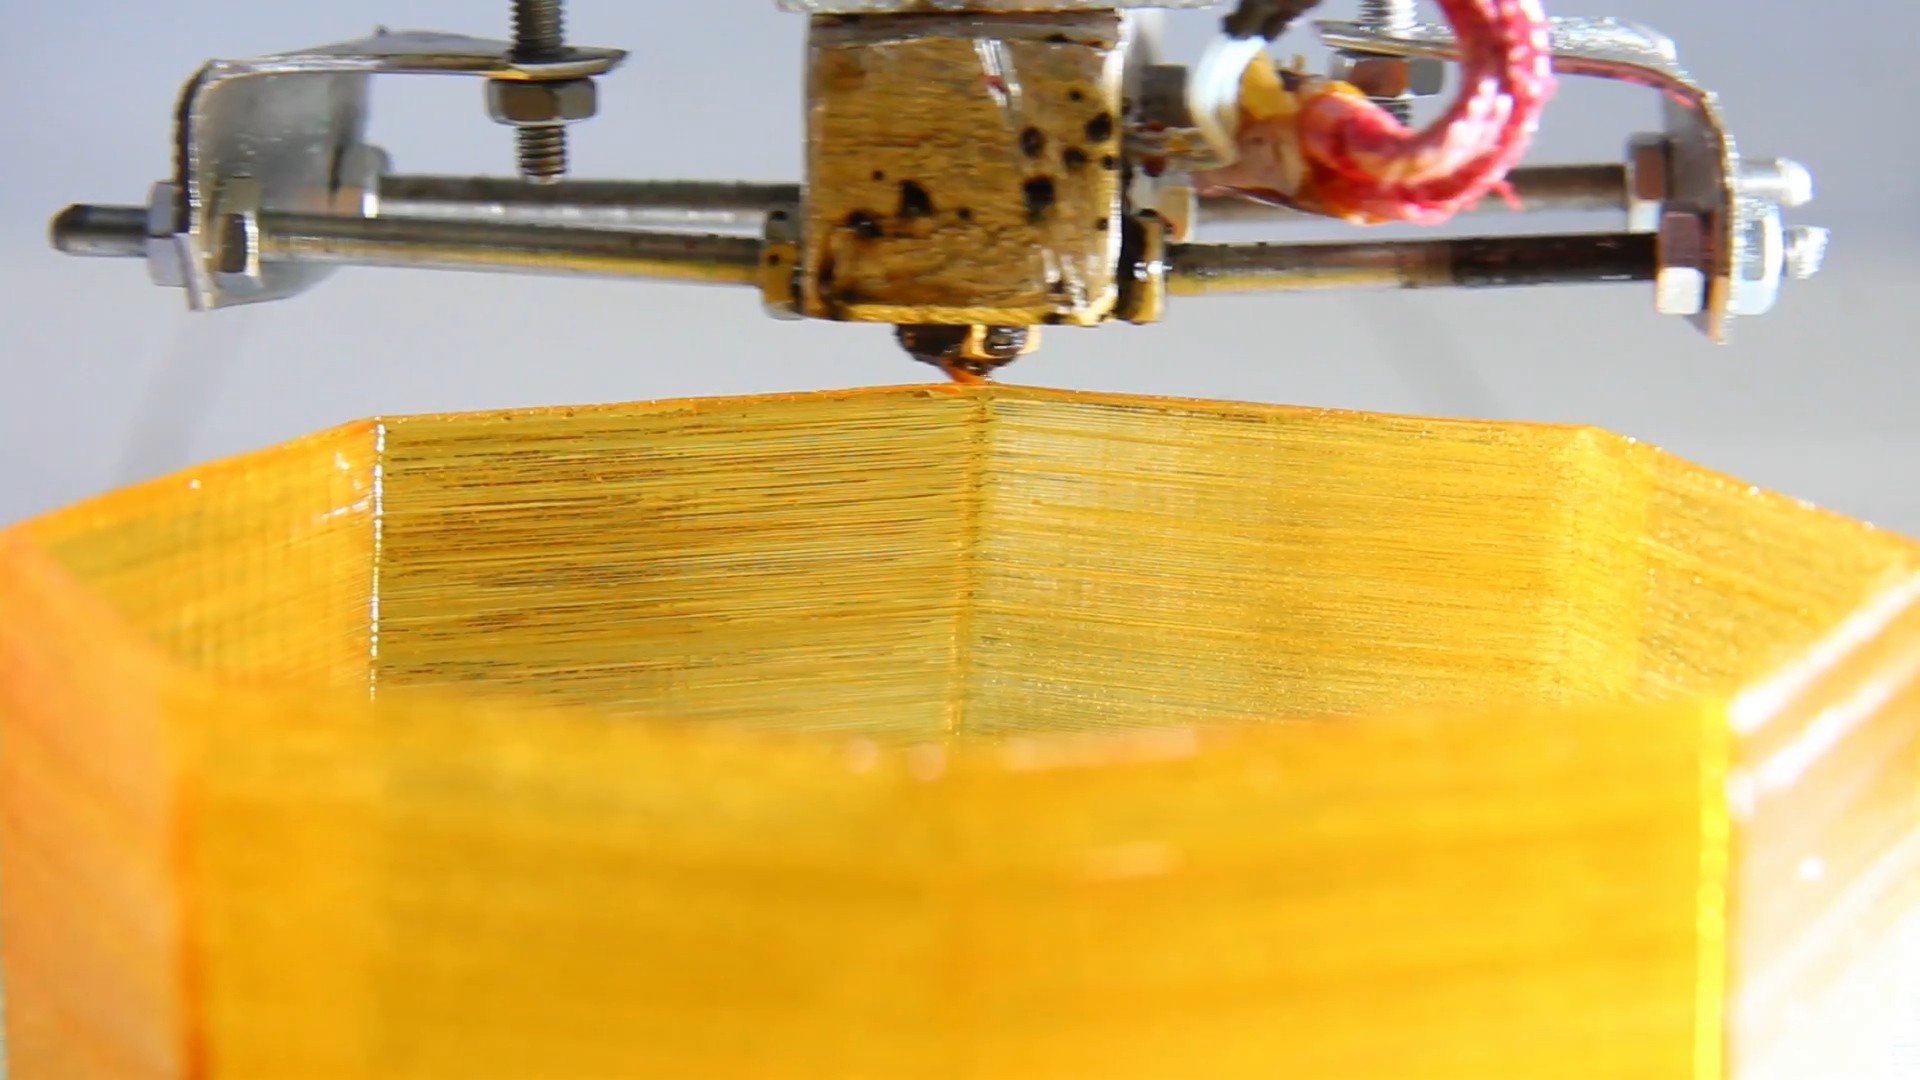
- Explain in detail how the extruder works and so why normal wood screws are better than anything else: In contrast to conventional extruders, the forwarding happens in the cold zone only.
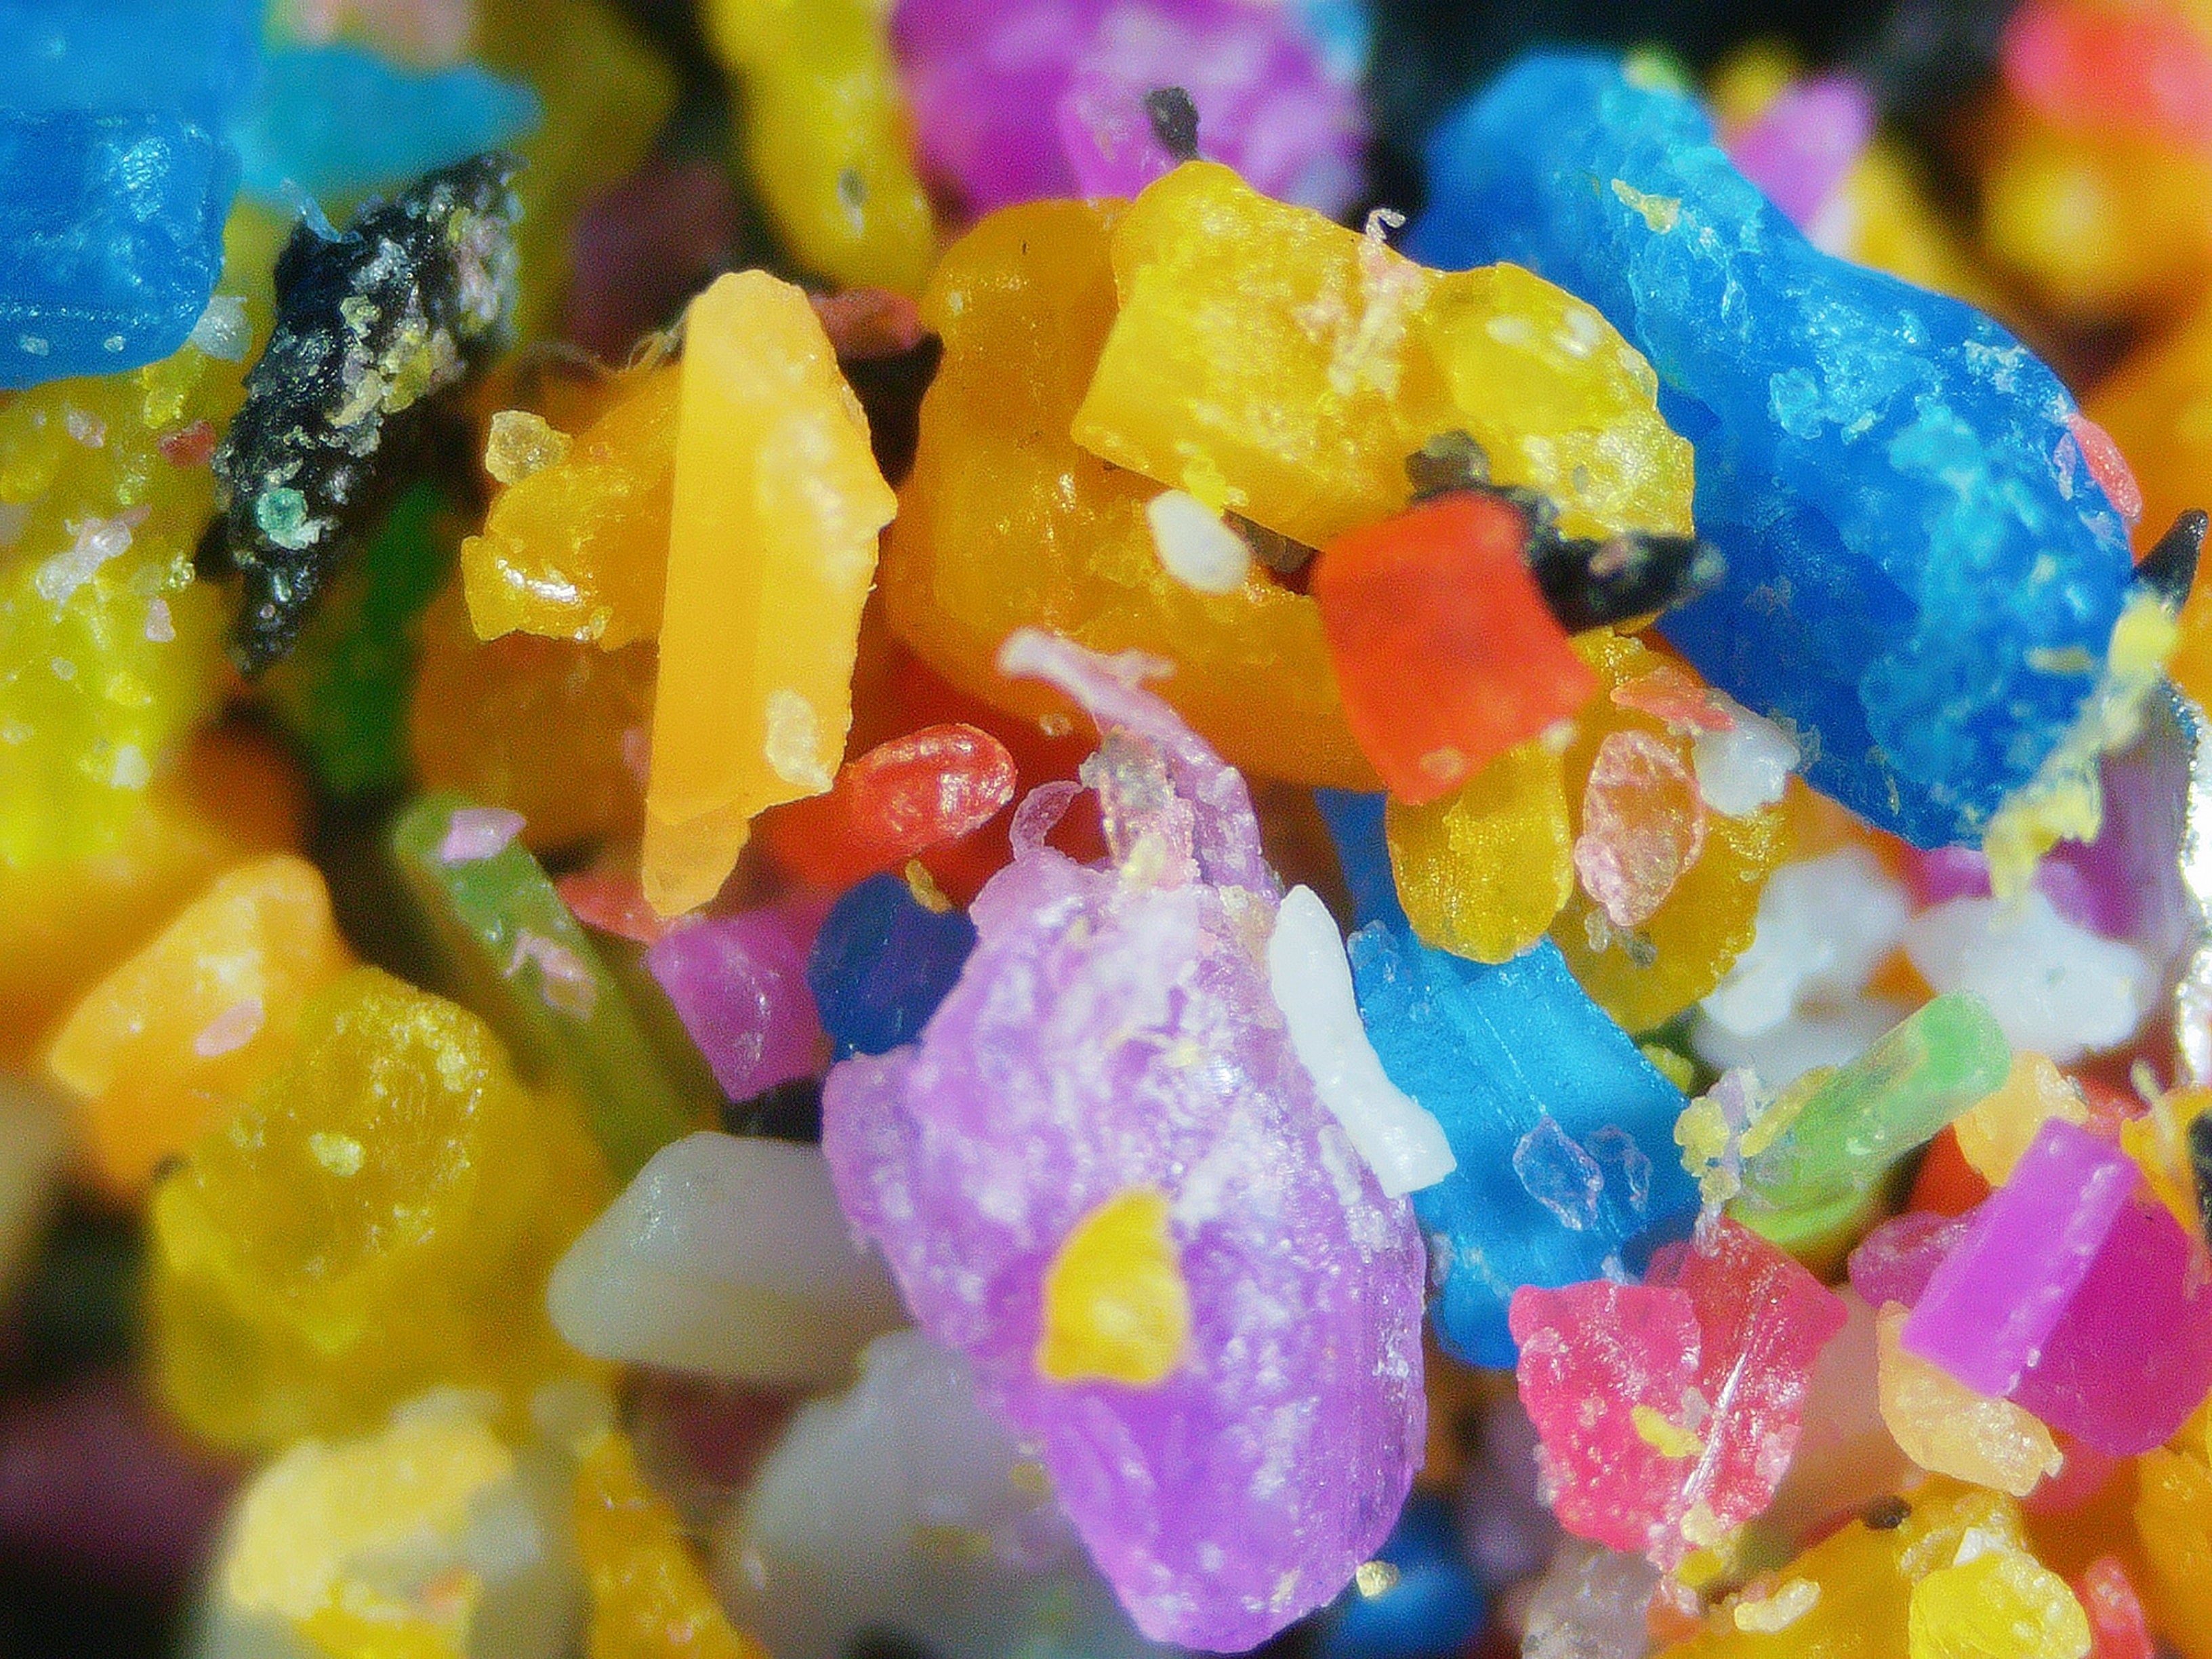
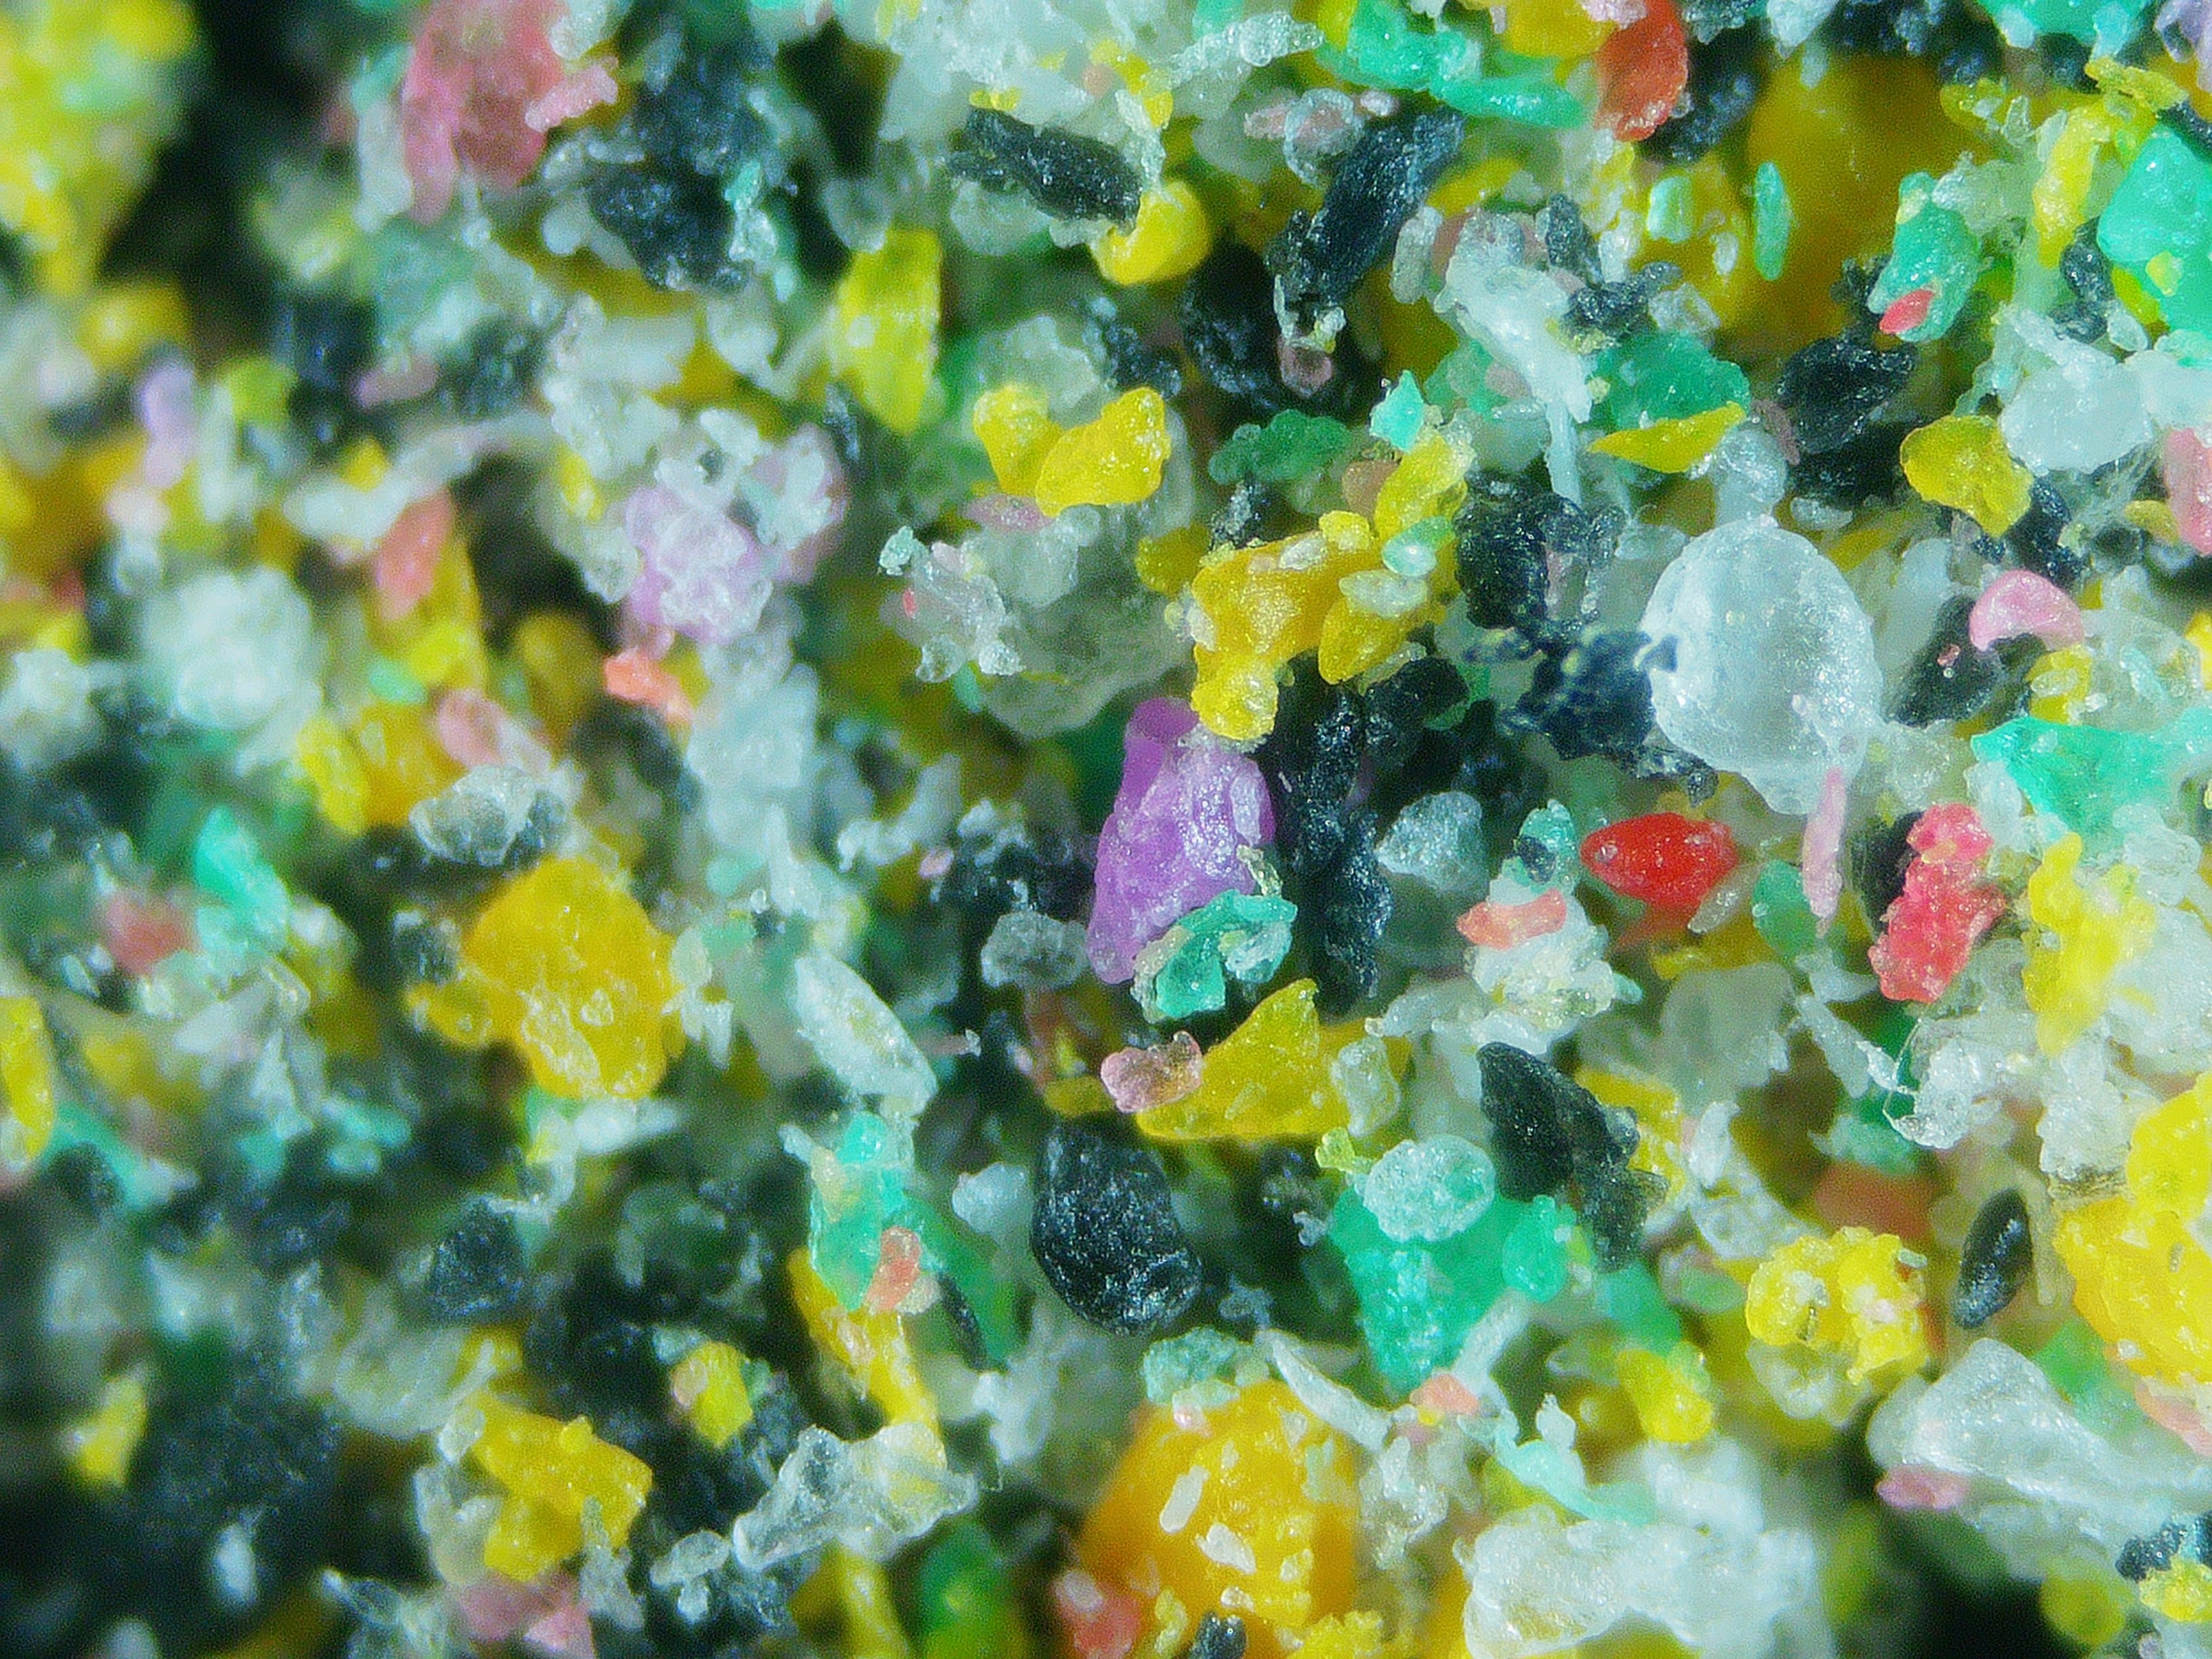
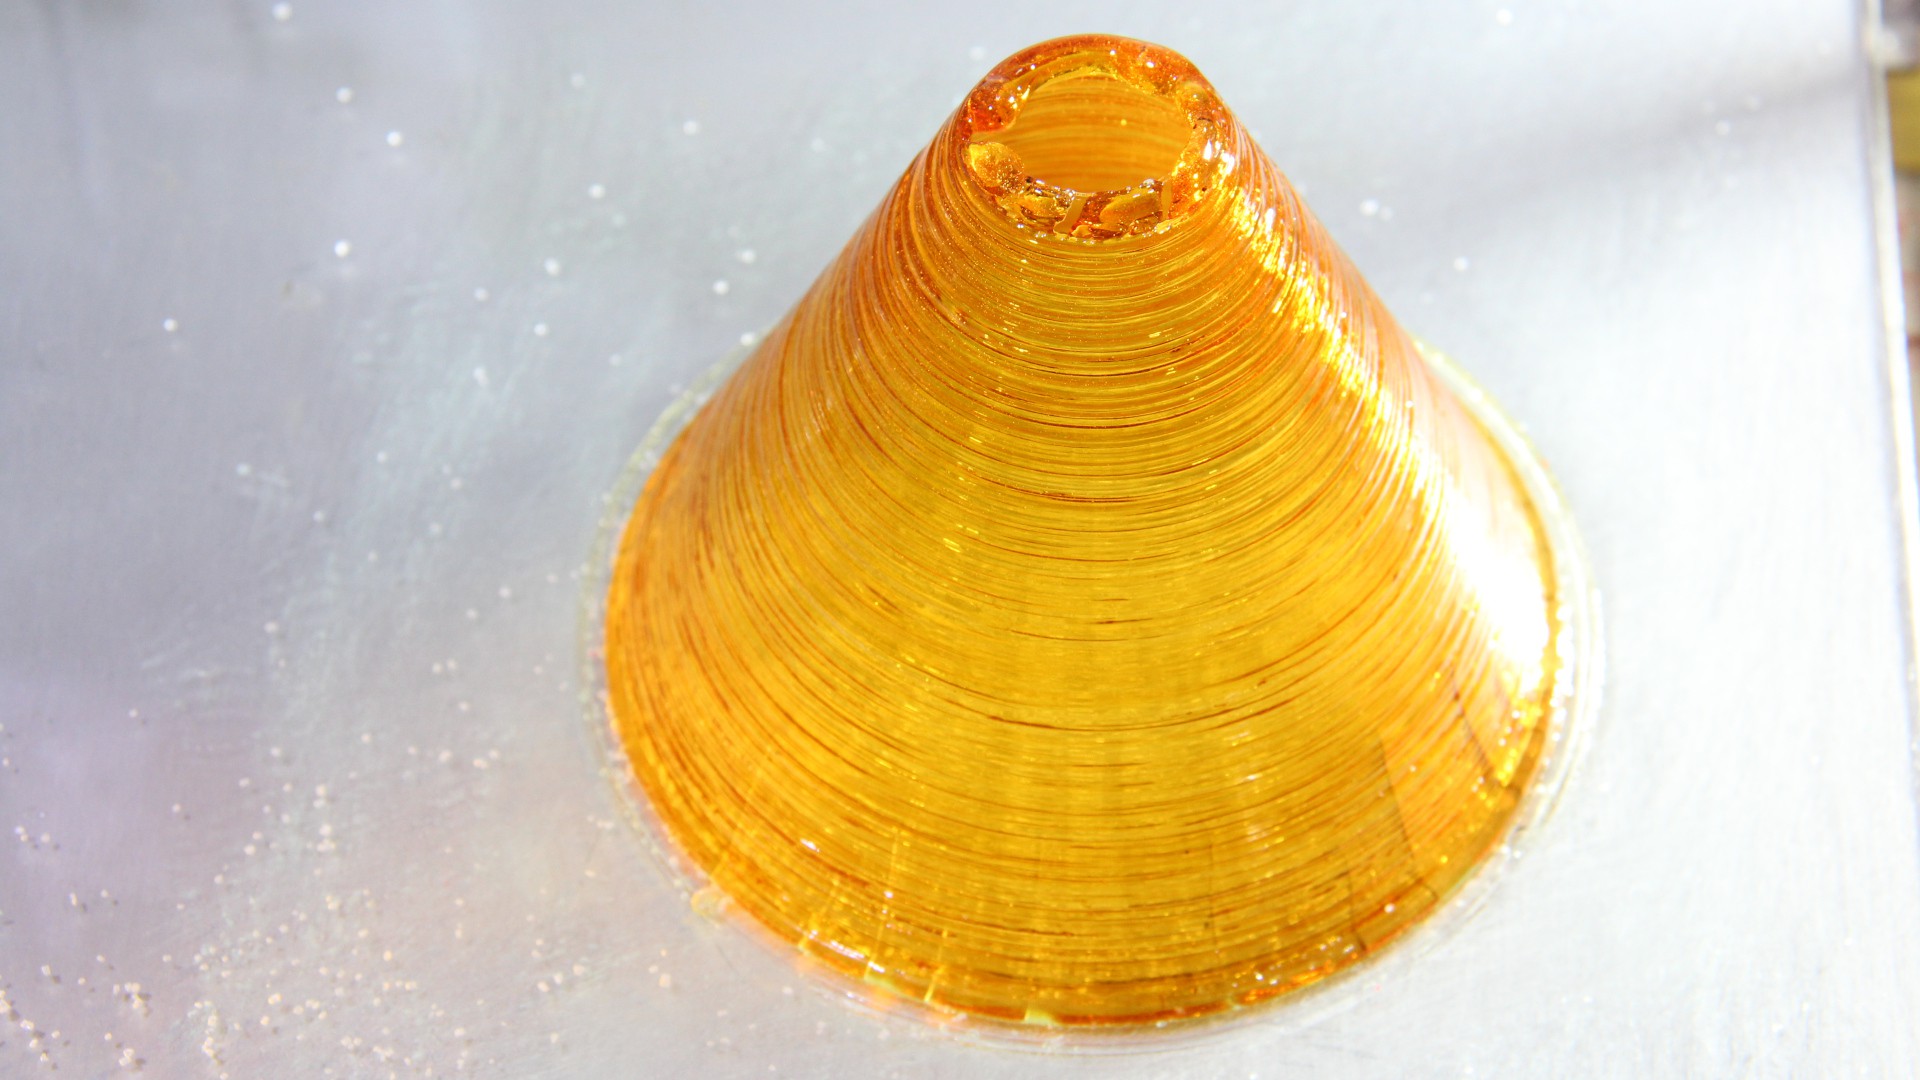
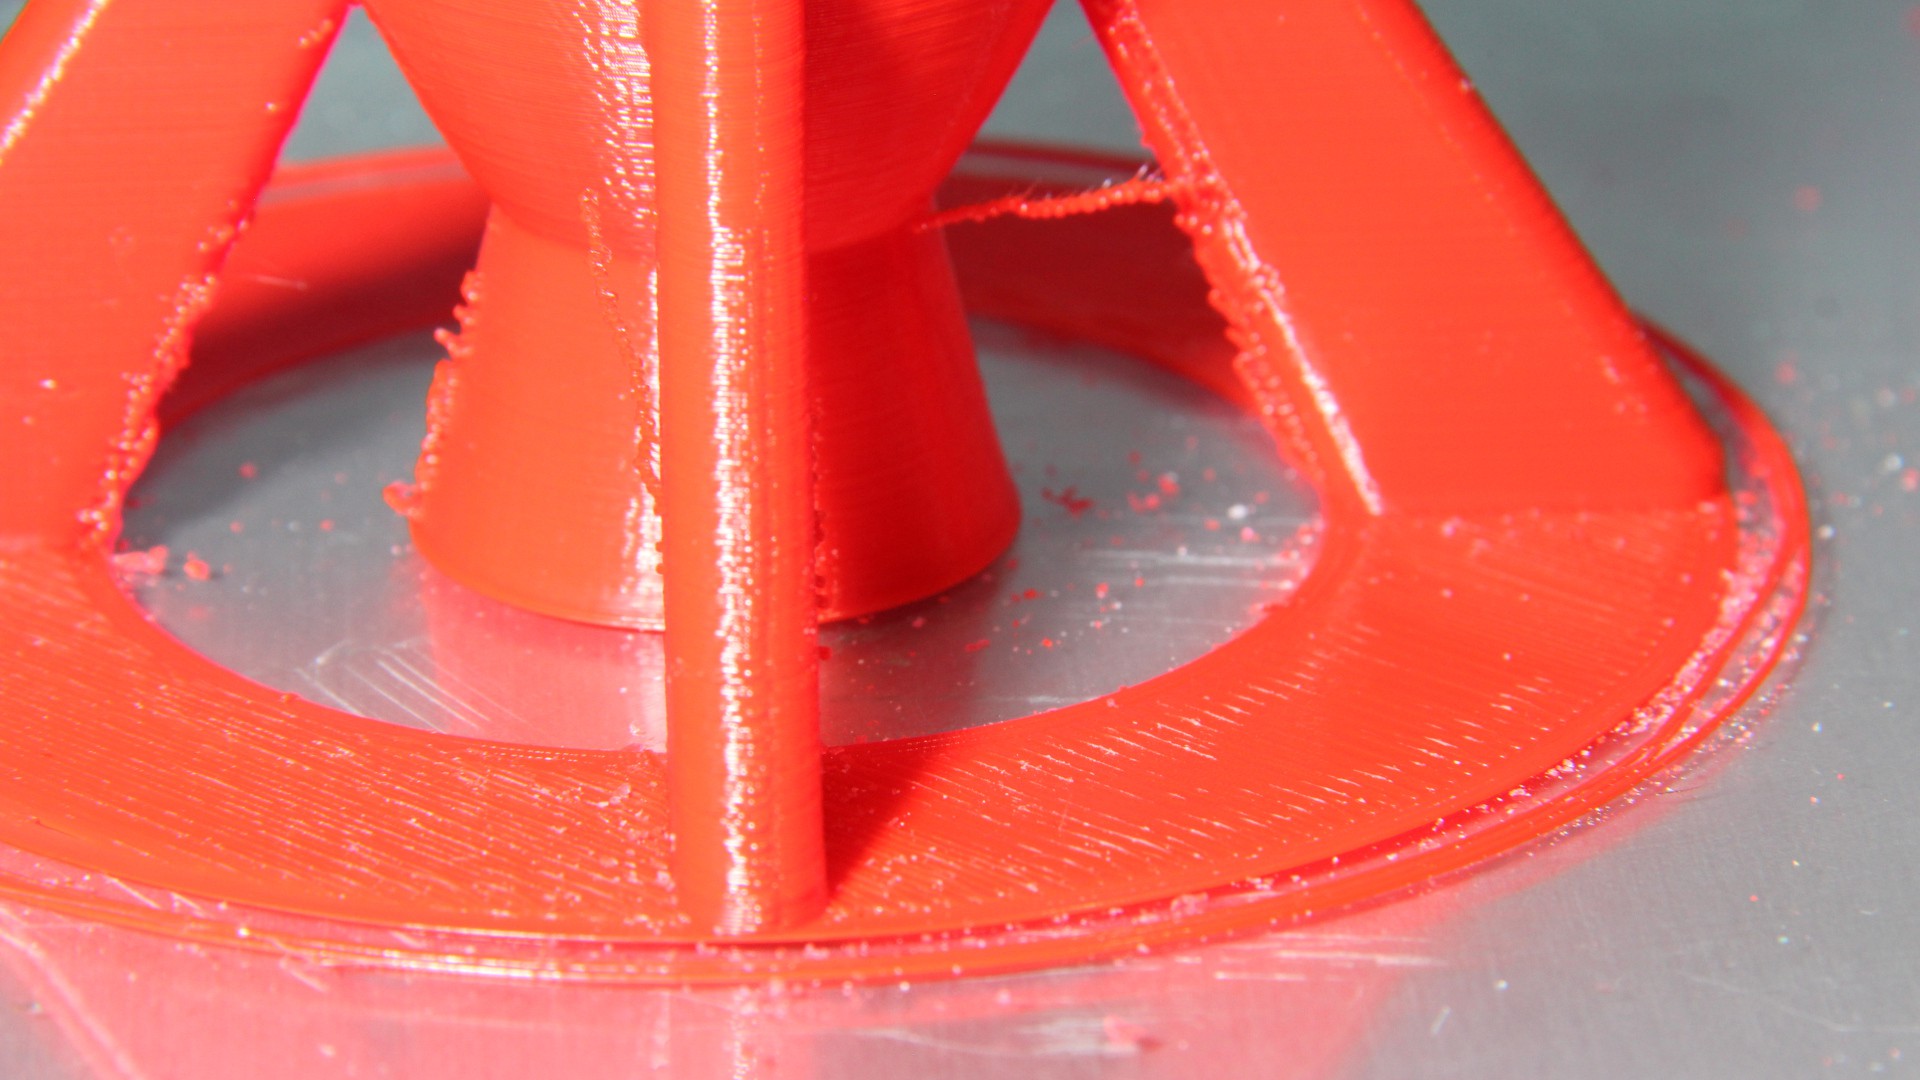
- More details about how to print with household sugar and so using materials with essentially different properties than common FDM materials.
Done, but not explained in detail, yet:
- What to consider when preparing raw material
- How to feed the extruder with conventional, industrial pellets
- Find ways to convert waste prints into new raw material for the extruder
To do:
- More print tests with a larger variety of raw materials
- Build version 4 with series production in mind instead of the handmade version 3

 Can't wait to see it working!
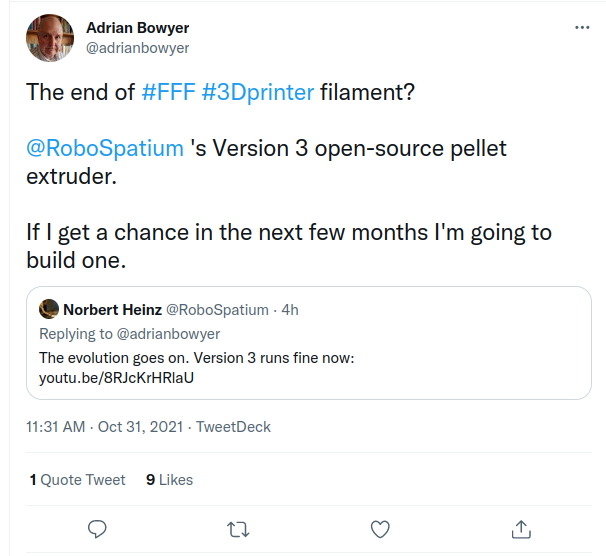 To make my extruder replace filament printing, there is still a lot more to tell about what I have figured out. Previous attempts, using "classic" extruders have failed. I must explain in more detail, what my extruder is different in and why I used the design I am using. The knowledge about the working principles must become more mainstream. Open source doesn't end in publishing CAD files or drawings...
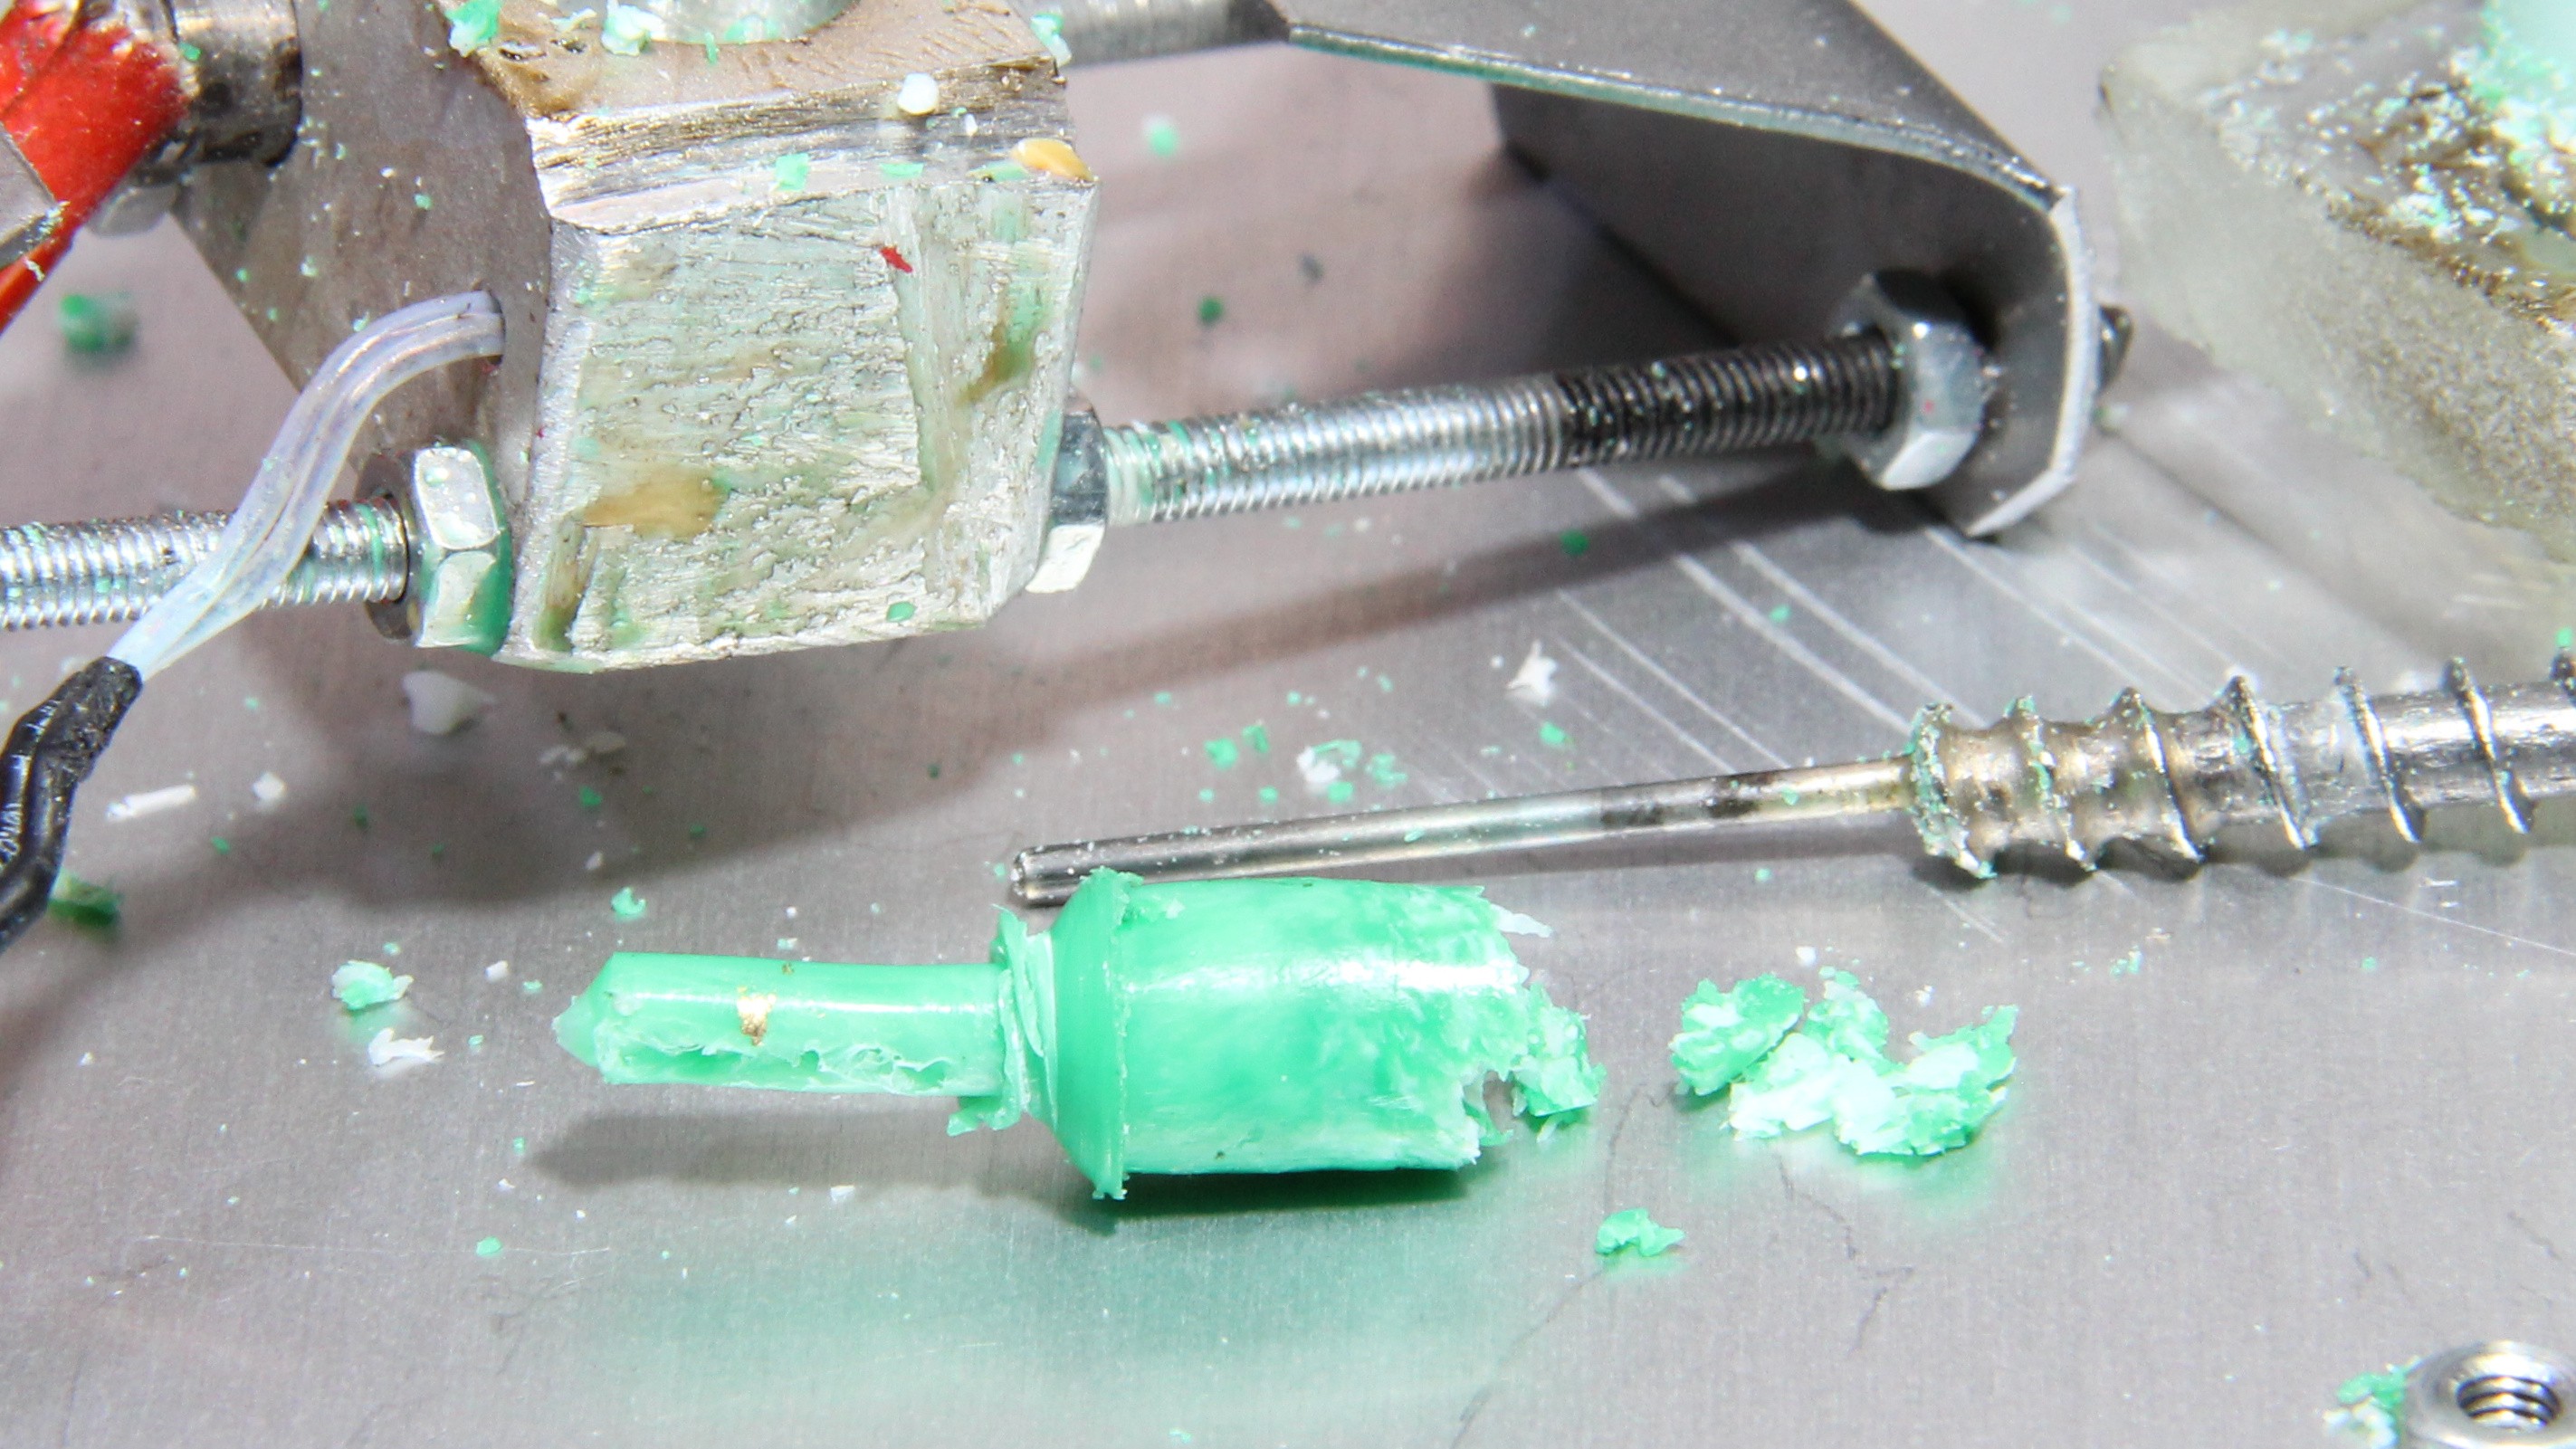


 Michal Wojciechowski
 Swaleh Owais
 Atte Linna
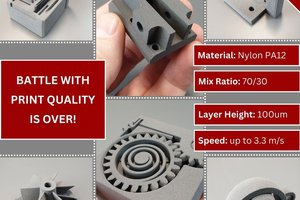
 Tomas Starek
1 can we vote for you?
2 one problem with design is ptfe tube for use with recycled ABS, or Nylon or anything above 260 degrees celcius , other than that this brilliant
3 could you please explain warping python script ?