0%
0%
Health monitor - Waylay IO
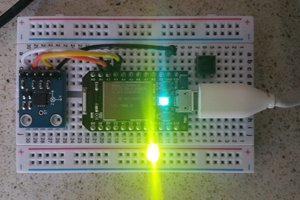
Health monitoring using the M5Stack Mini Heart Rate Unit and Non-Contact Infrared Thermometer Unit and the Waylay IO IoT platform.
 Zalmotek
Become a Hackaday.io member
Already have an account? Log in.
Just one more thing
To make the experience fit your profile, pick a username and tell us what interests you.
Pick an awesome username
hackaday.io/
Your profile's URL: hackaday.io/username. Max 25 alphanumeric characters.
Pick a few interests
Projects that share your interests
People that share your interests


 _henry
 ssla-couk
Certain injections, such as corticosteroid injections, can help reduce inflammation in specific areas of the body https://www.nortexspineandjoint.com/caudal-epidural-steroid-injection/. This can be beneficial for conditions like tendonitis, bursitis, or inflammatory joint conditions.