Close
0%
0%

Cluster Pi - Yet Another Pi Cluster Project

A four Pi cluster built into a 1U server chassis

Similar projects worth following

Recently, the place where I work announced that they are moving to a Kubernetes environment for development and deployment of their internal applications.  I thought, since this impacted my work as an application developer, that I should learn more about the subject.  And then I saw other people build small Raspberry Pi clusters with Kubernetes and decided that I would give it  a try.  I had several Pi's left over from other development projects that I could use.  It was just a matter of figuring out how I wanted to assemble the cluster.

As I mentioned, I already had a couple of Pi 4Bs, a 3B, and a 3B+ I could use.  I also had some left over custom designed HATs that back power the Pi's from an ATX PSU using a DC - DC converter that I developed.  These HATs also provide safe power down and cooling fans.  I would just need to buy the SSDs and a way to mount everything into an existing rack that I have for my home internet.

I tried using an off the shelf four position 1u bracket that I bought off Amazon but I was never happy with it and besides I still had the issue of how to mount an ATX PSU in rack.  Then, I came across this article about using a 1u server chassis: Paul Brown's 1u Raspberry Pi Server.  It had everything I wanted: a built in ATX PSU and room for several Pi's.  This is what I ended up with:

Pi Board Drill Template.pdf

Actual size drill and spacing template for the Raspberry Pi

Adobe Portable Document Format - 13.91 kB - 09/02/2021 at 23:36

Preview
Download

SSD Drive Bracket Drill Template.pdf

SSD Drive Bracket Drill Template

Adobe Portable Document Format - 1.89 kB - 09/02/2021 at 23:36

Preview
Download

4 Port Ethernet Cutout Template.pdf

4 Port Ethernet Cutout Template

Adobe Portable Document Format - 1.45 kB - 09/02/2021 at 23:36

Preview
Download

View project log

  • 1
    Collect Your Parts

    Parts:

    QuantityDescriptionLinkExt Price
    1SUPERMICRO CSE-502L-200B Black 1U Rackmount Mini Server Chassis 200WSuperMicro Server Chassis79.99
    4Raspberry Pi 3B or greater140.00
    1Mini ATX PSU II - Cool - Desktop ATX Power Supply ATX 20/24 Pin configuration 8.5mm mounting kit with 12 VDC fan kitMini ATX PSU II - Cool - Desktop ATX Power Supply32.45
    3Mini ATX PSU II - Cool - Desktop ATX Power Supply FDD/SATA configuration 8.5mm  mounting kit with 12 VDC fan kitMini ATX PSU II - Cool - Desktop ATX Power Supply97.35
    4250GB SSD driveKingston or Crucial140.00
    4Startech.com SSD - USB adapterStartech.com SSD - USB Adapter67.96
    4CAT 5 or 6 ethernet couplersRJ45 Keystone Jack Cat6 Coupler Female to Female16.99 for 20 pcs
    4CAT 5 or 6 1 foot ethernet patch cable1' Cat5e Network Ethernet Patch Cable7.99 for 10 pcs
    16plastic standoffs for the Pi'suxcell M2.5x6mm+6mm Male-Female Hex Nylon Standoffs$9.49 for 150 pcs
    12.5" drive bracket (aluminium) Super Micro: MCP-220-00051-0N2.5" drive bracket (aluminium) Super Micro: MCP-220-00051-0N7.25
    18-Inch 4 Pin Floppy Drive to 15 Pin SATA Male Power Cable(2-Pack)8-Inch 4 Pin Floppy Drive to 15 Pin SATA Male Power Cable(2-Pack)6.99
    1One 5.25 Inch to Two 3.5 Inch Internal Power Y-CableOne 5.25 Inch to Two 3.5 Inch Internal Power Y-Cable7.11
    Total Cost613.57
  • 2
    Recommended Tools

    Tools: 

    • Various sizes of phillips head screw drivers. 
    • Drill with the following drill bits:
      • 1/2" for drilling pilot holes for the ethernet couplers
      • 1/8” for the 3.25mm holes for mounting the SSD drive bracket
      • 7/64” for the 2.75mm holes for mounting the Pis
    • Thin point nail set for marking drill holes
    • 3/16" hex socket driver for tightening standoffs and M2.5 nuts
    • Hot melt glue gun for gluing the couplers to the chassis
    • 2 3" or 4" C-clamps
    • Straight tin snips
    • Metal file
    • Solder iron and solder
    • Wire clippers and strippers
    • Small diameter heat shrink
    • Misc small zip ties as needed
  • 3
    Building the SSD Bracket for Four SSDs

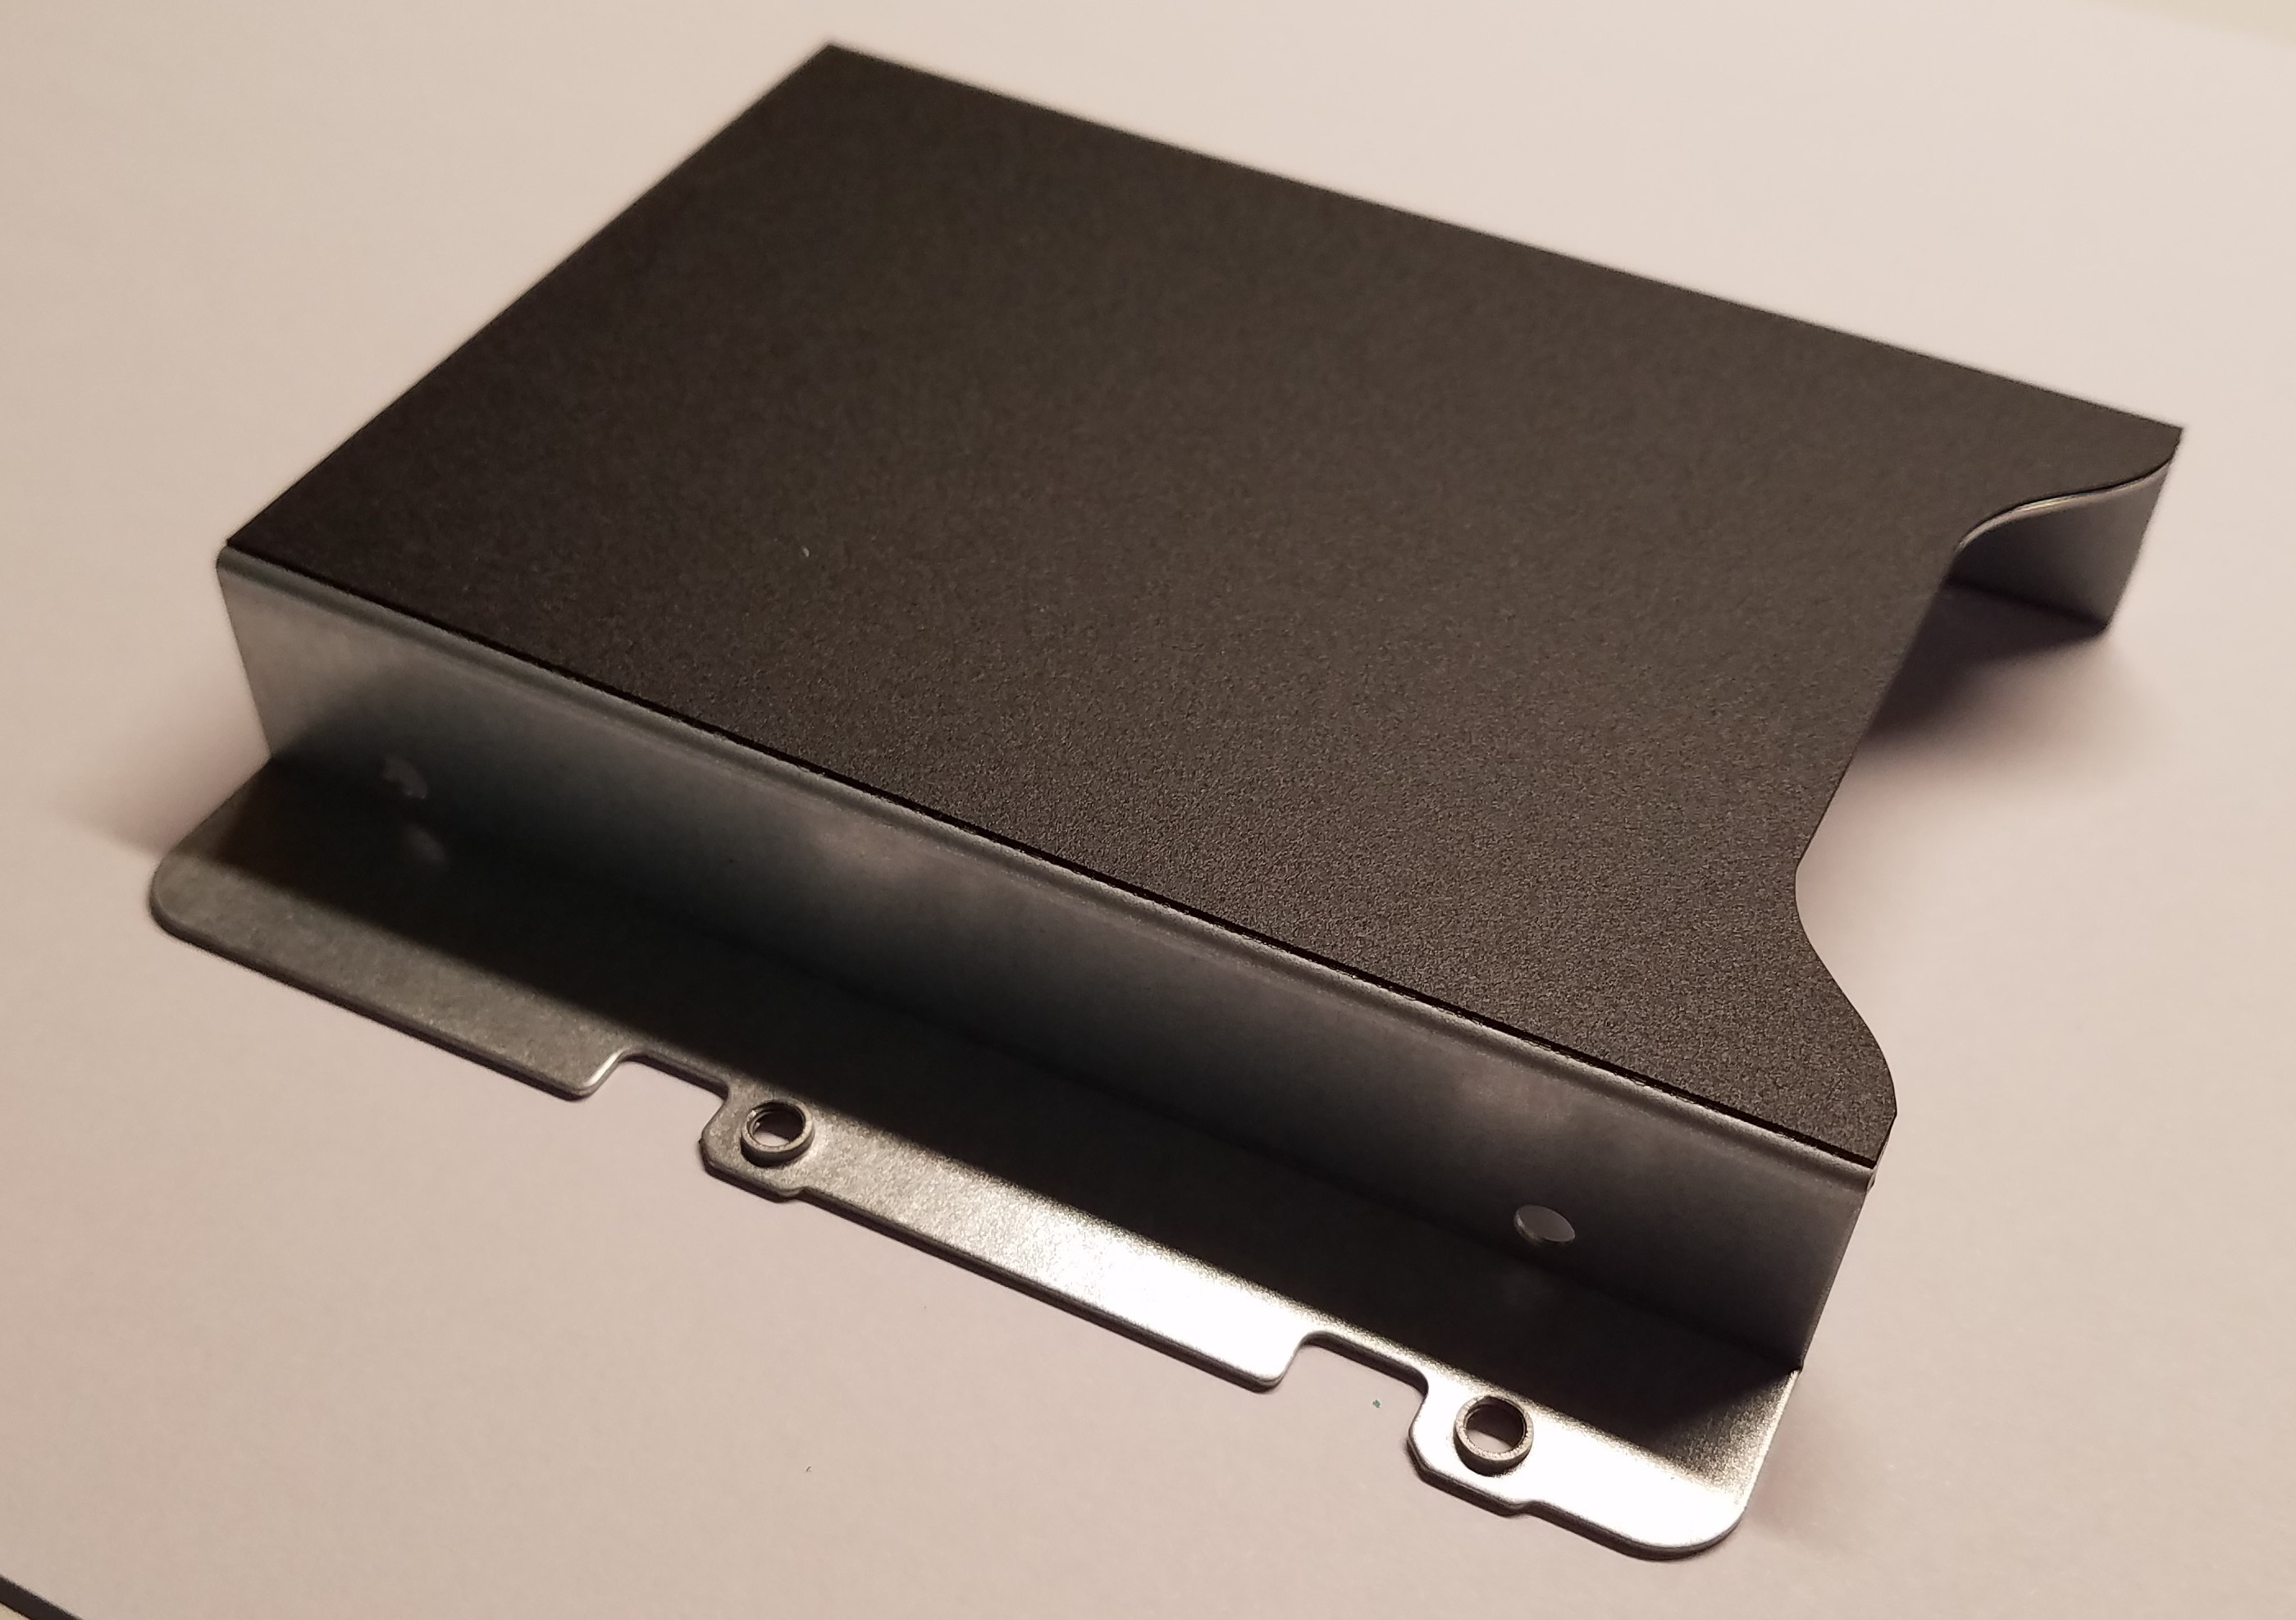
    The small footprint and low height of the server chassis forced me to find a creative solution for vertically stacking 4 x 2 1/2 inch SSDs while having some sort of air flow between them.  I search all over to find off the shelf brackets that would be under 4.4cm to no avail.  So, I had to make my own. I would have preferred 3d printing a bracket but I didn't have access to a 3d printer, so I took a super micro single height bracket and modified it.  It already had some the mounting holes I needed and it was relatively easy to work with.  It's made of thick aluminum so it will act as a heat sink (something a plastic bracket would not do).

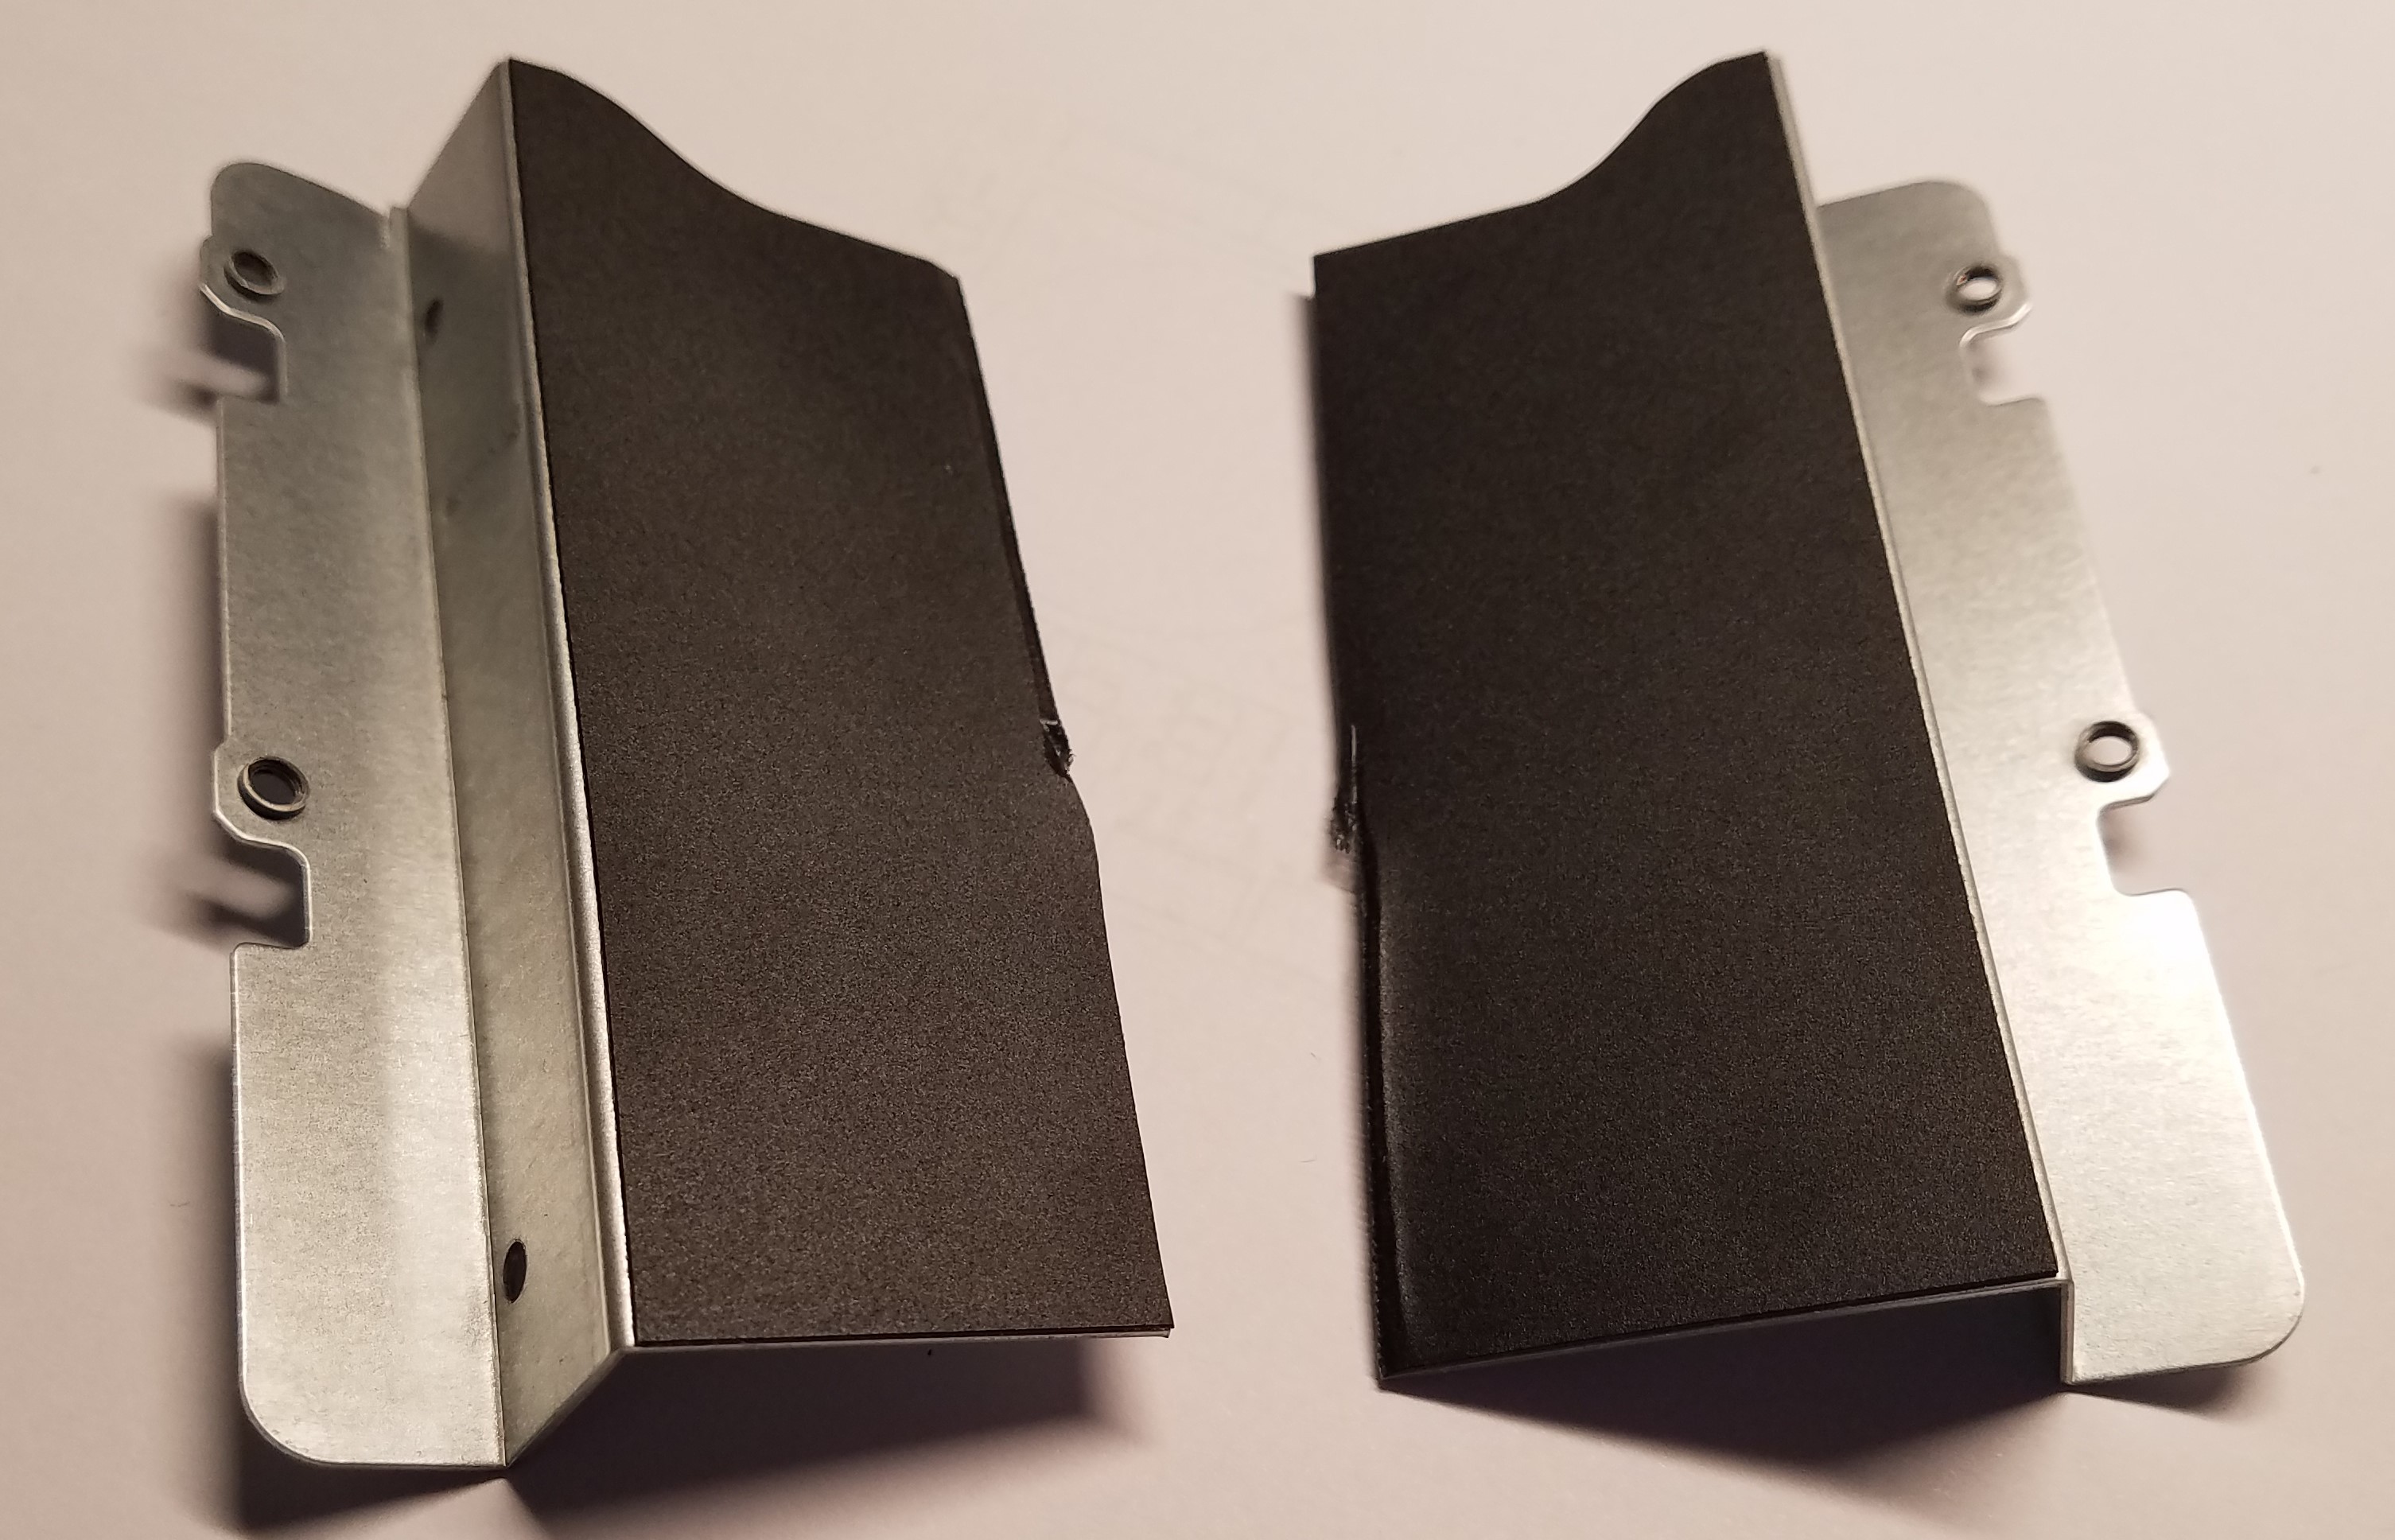
    Using straight tin snips (don't use the ones that curve right or left) cut the bracket down the middle as below:

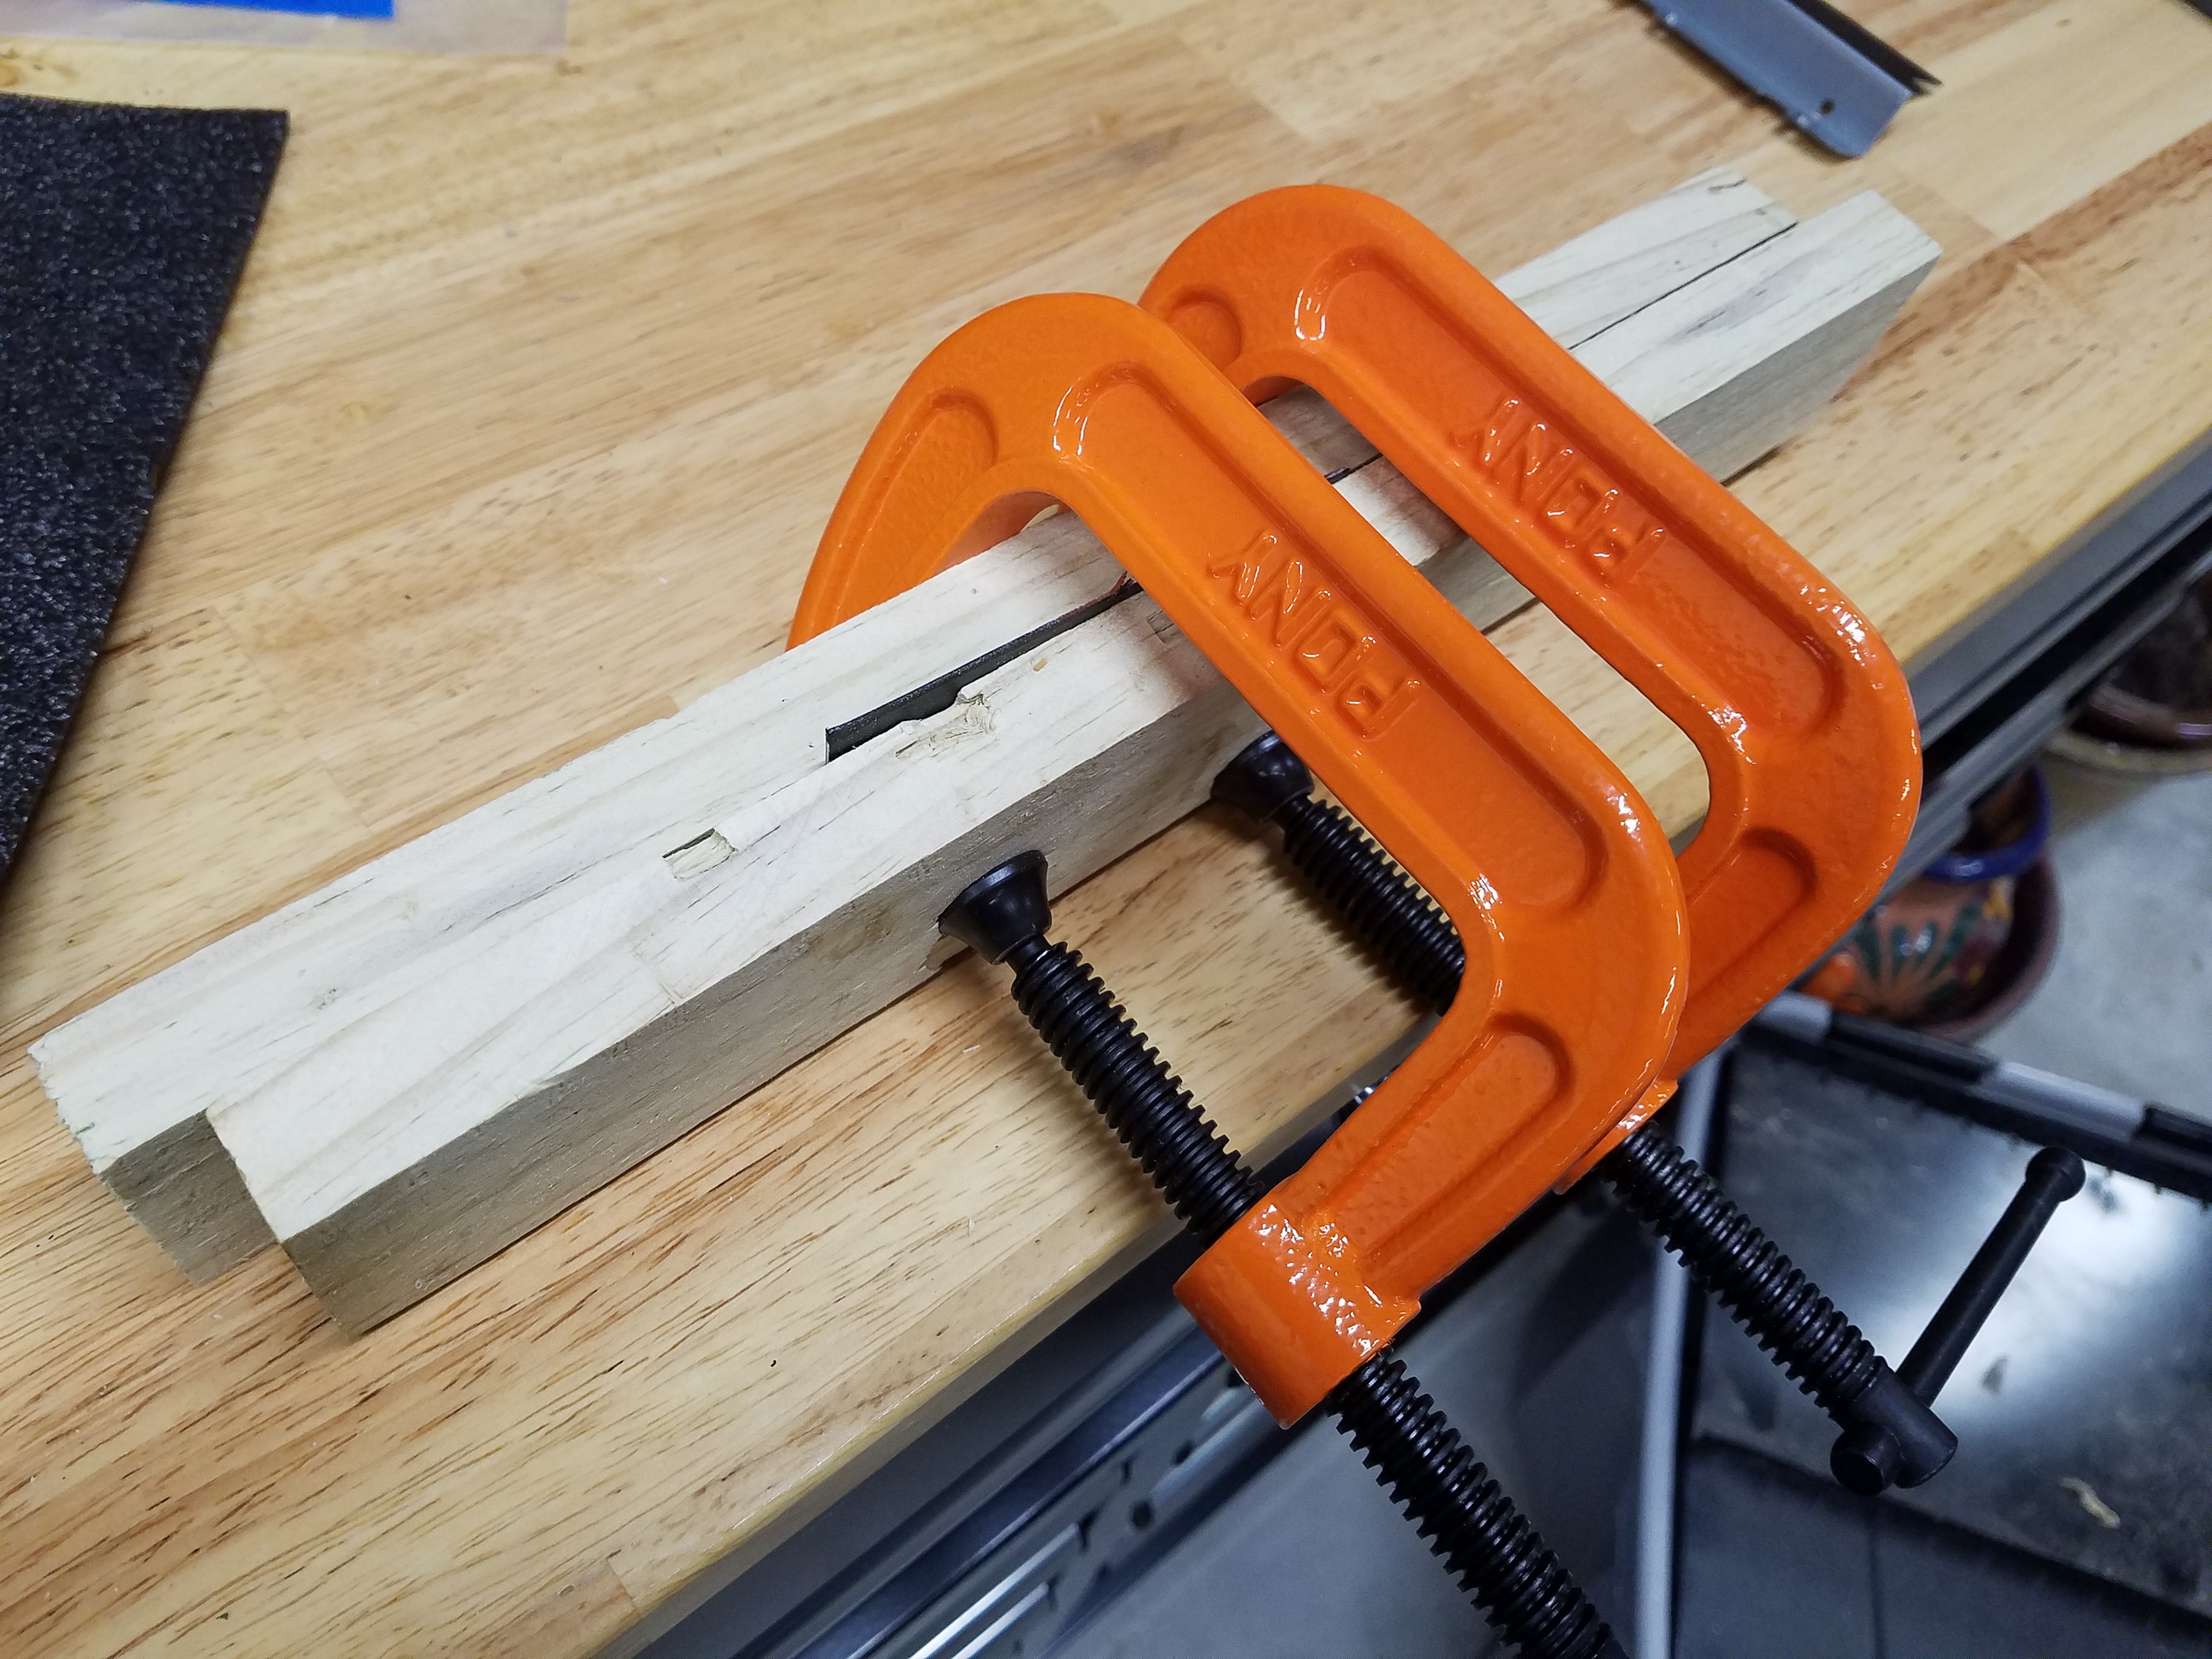
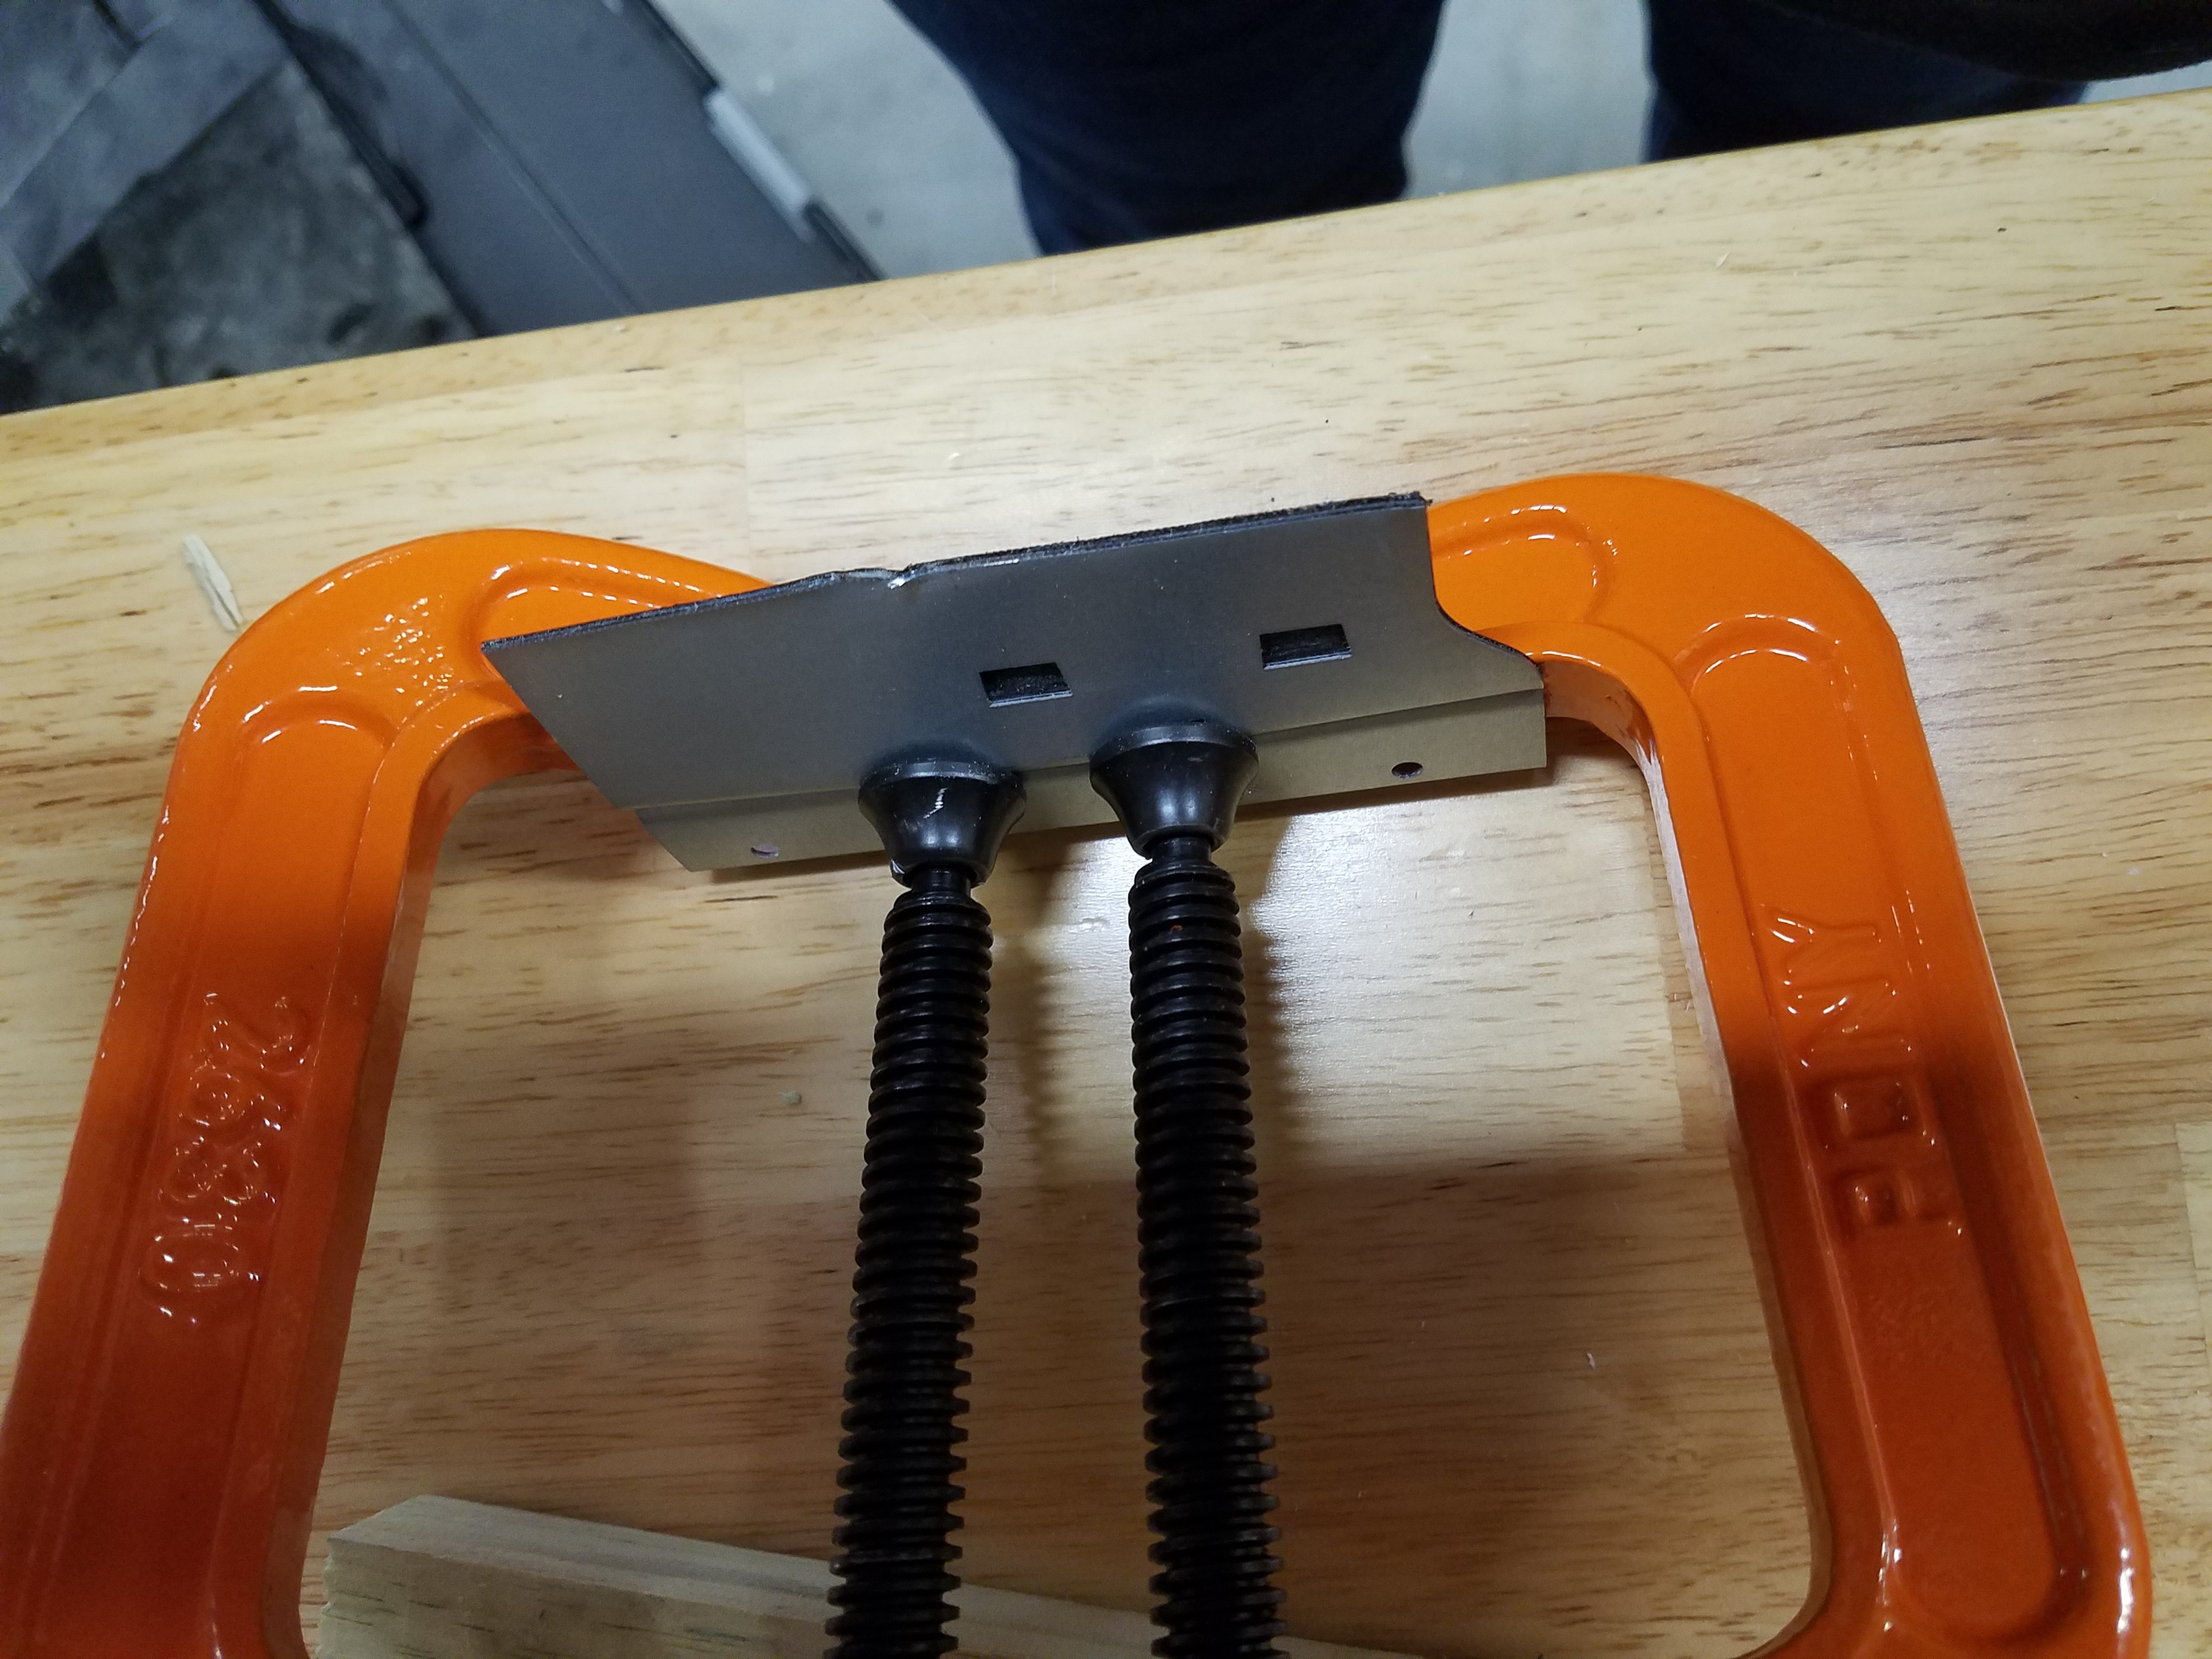
    You can use a bench vise, or if you don't have one, use a couple of scrap pieces of wood and c-clamps to bend the bracket from a 'Z' shape to an 'L' shape.  You'll have to flatten the bend creases as much as possible.

    Here is what it should look like at this stage.  Since the bracket already has a row of mounting holes for an SSD, it's now time to drill the remaining three rows of mounting holes for the other SSDs.

    Download and print the SSD Drive Bracket Drill template.  When you print, print at actual size.  You'll see the four rows of mounting holes above the horizontal fold lines of the bracket.  Align the bottom row of the template with the existing holes on the bracket and use your nail set to mark the remaining three rows of holes.  These holes need to be sized to accept M3 screws, so you'll use your 1/8" drill bit.

    When you've completed drilling the holes, you can deburr them by lightly hand twisting a 1/2" drill bit in each of the holes.  Now, trim the height of each bracket half such that it will fit in the server chassis  as below.  Use a file to gently smooth the cut edges of the bracket.  I used very short M3 screws to mount the drives.

View all 7 instructions

Enjoy this project?

Share

Discussions

Similar Projects

Does this project spark your interest?

Become a member to follow this project and never miss any updates