 W. Jason Altice
There are a lot of really cool clock on HackADay. I don't think this can compare to some of them but it is an easy build for someone, like myself, who isn't at the level as some of these other people. Plus, you can customize this clock to do whatever you want. This is just an example of a welders theme I chose for my friend.
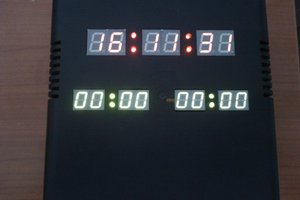
I used a DF Player Mini for the audio, a ESP8266 to connect to the Google API and the time server, a 8 digit 7 segment display to show the sub count, and an RGB Jewel LED to simulate a welding arch. I used the FastLED library to make the LED flash by varying the brightness levels.
Every hour, the clock will arch the welding stick and play welding sounds for 30 seconds. If the subscriber count changes, the welding stick flash will arch and play a special celebration sound.
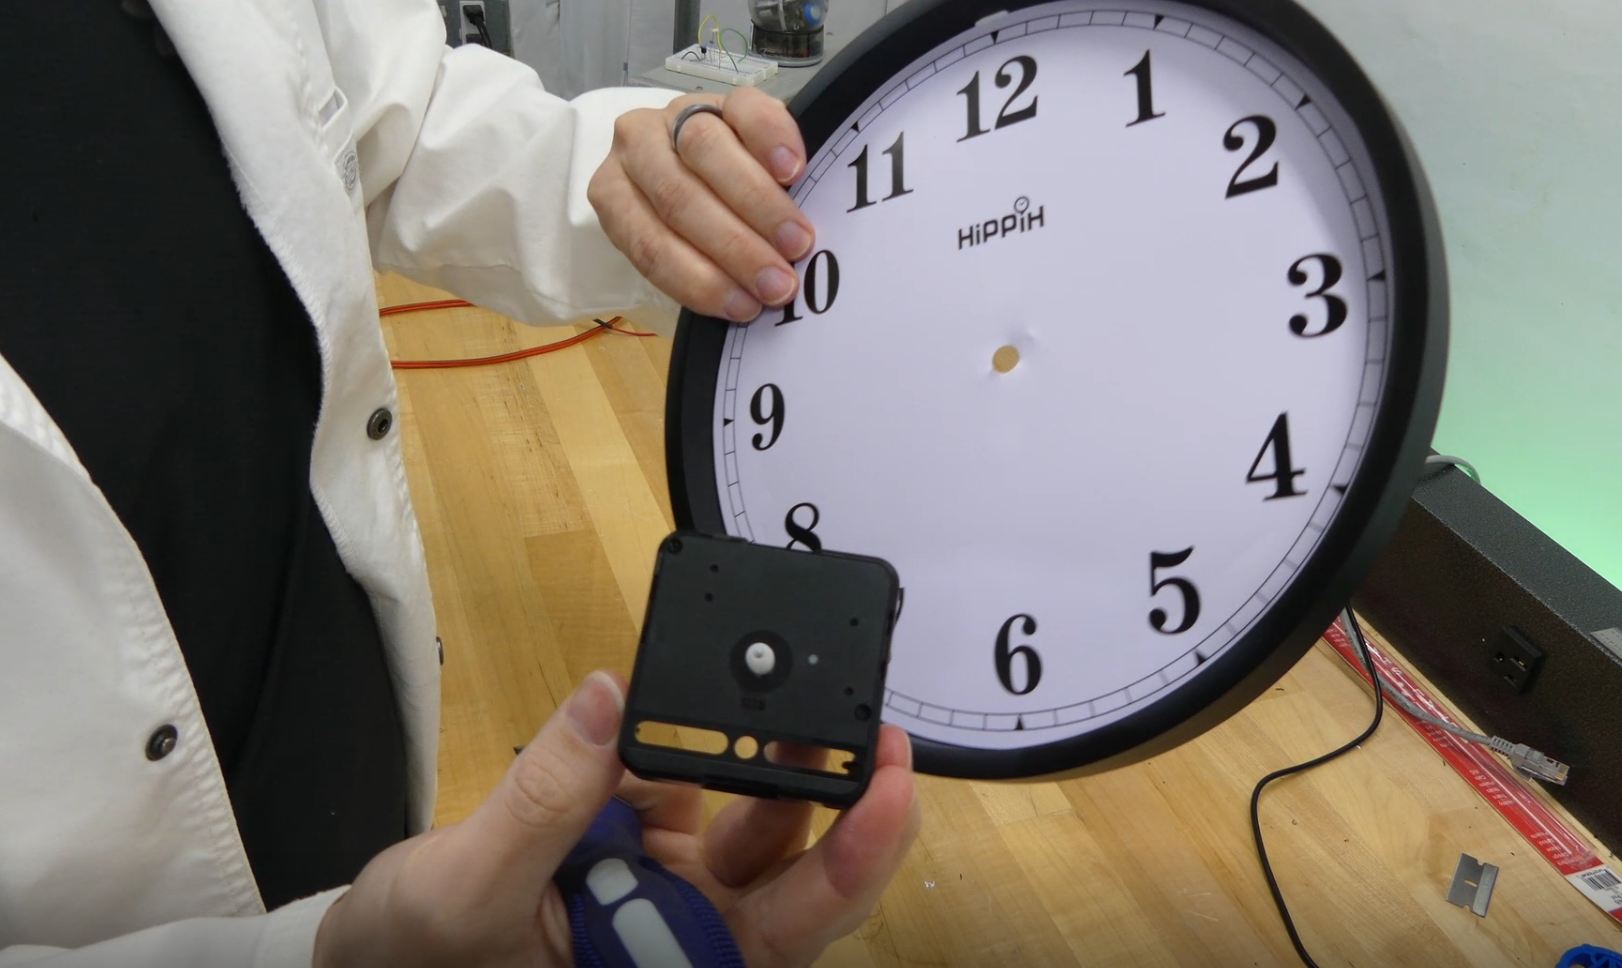
Unfortunately, I could not keep the second hand with this build, the offset was a bit too high and the second hand would hit the cover. But I think it works fine with out it.
Because the Google API only returns the first 3 most significant digits of the subscriber count, I made some fun of YouTube's decision in the video.
The build is here:
And the video of Haslip Cycle Works receiving it is here:
All files for this build will be on GitHub:

 DL101
DL101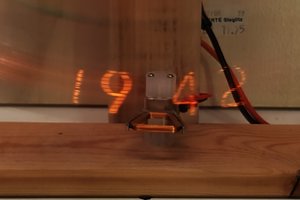
 j
j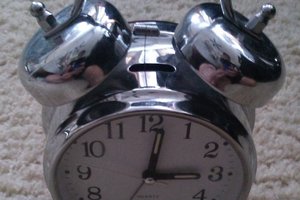
 Andrew Cooney
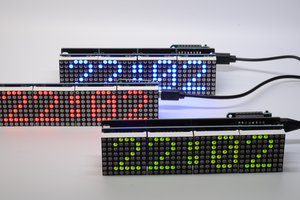
 andriy.malyshenko