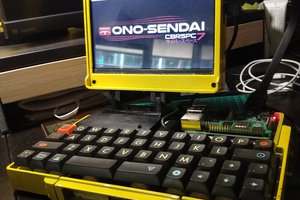
Kal
KalOUTLINE:
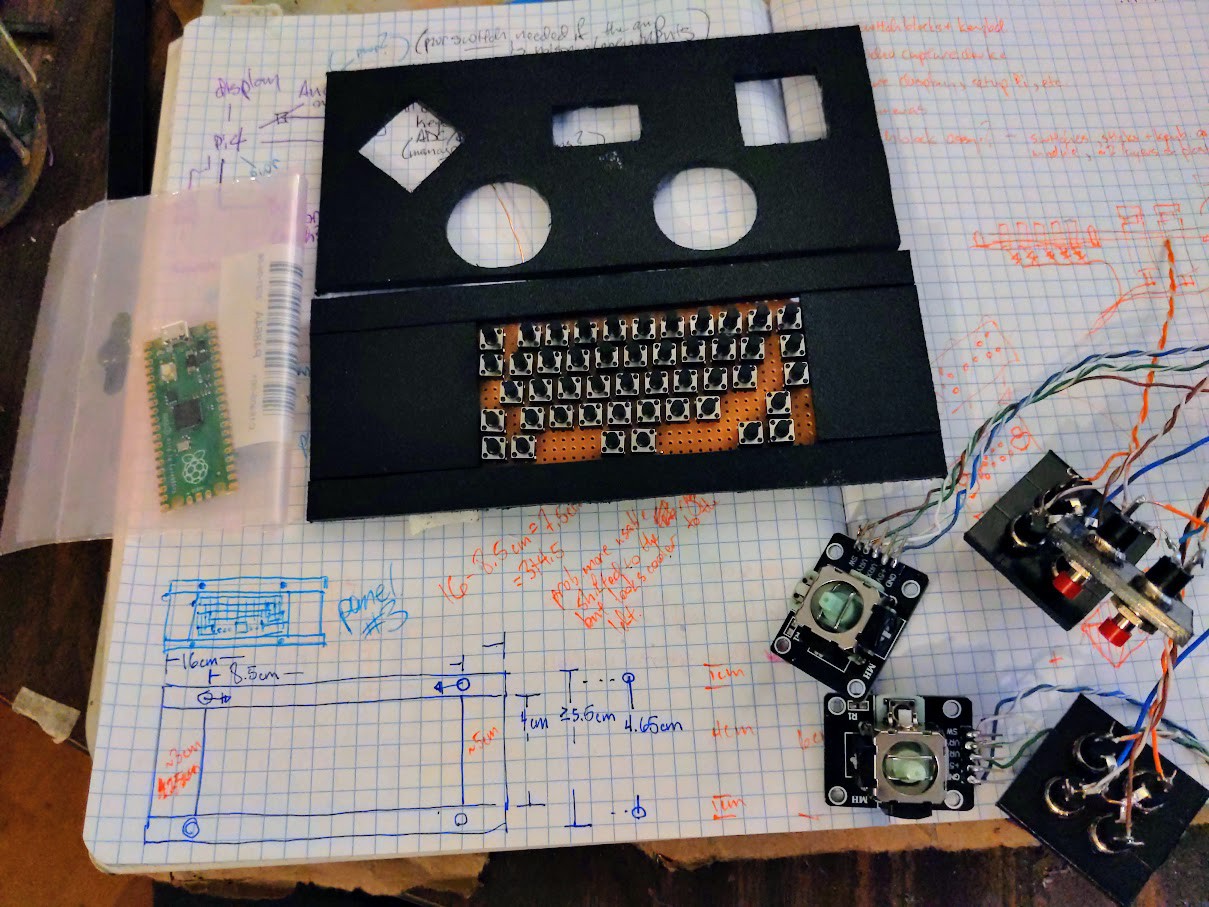
Raspberry Pi 4 or Zero (prob. 4) will connect to screen and battery. 2ndary board will be a USB device for the mother, it'll host controls and additional functions. I know that's silly, the Pi has enough IO to host all the bits and bobs but i want to do as little messing around in linux as possible. I really want an integrated camera it can capture video from.
The not-a-southbridge will probably be a Pi Pico (overkill, i know), maybe an Arduino as a USB HID (gamepad at least, prob. keyboard) and maybe additional USB devices. It may also control external audio, haptics and other gimcracks. 2 thumbsticks means the Pico needs external ADC or similar workaround.
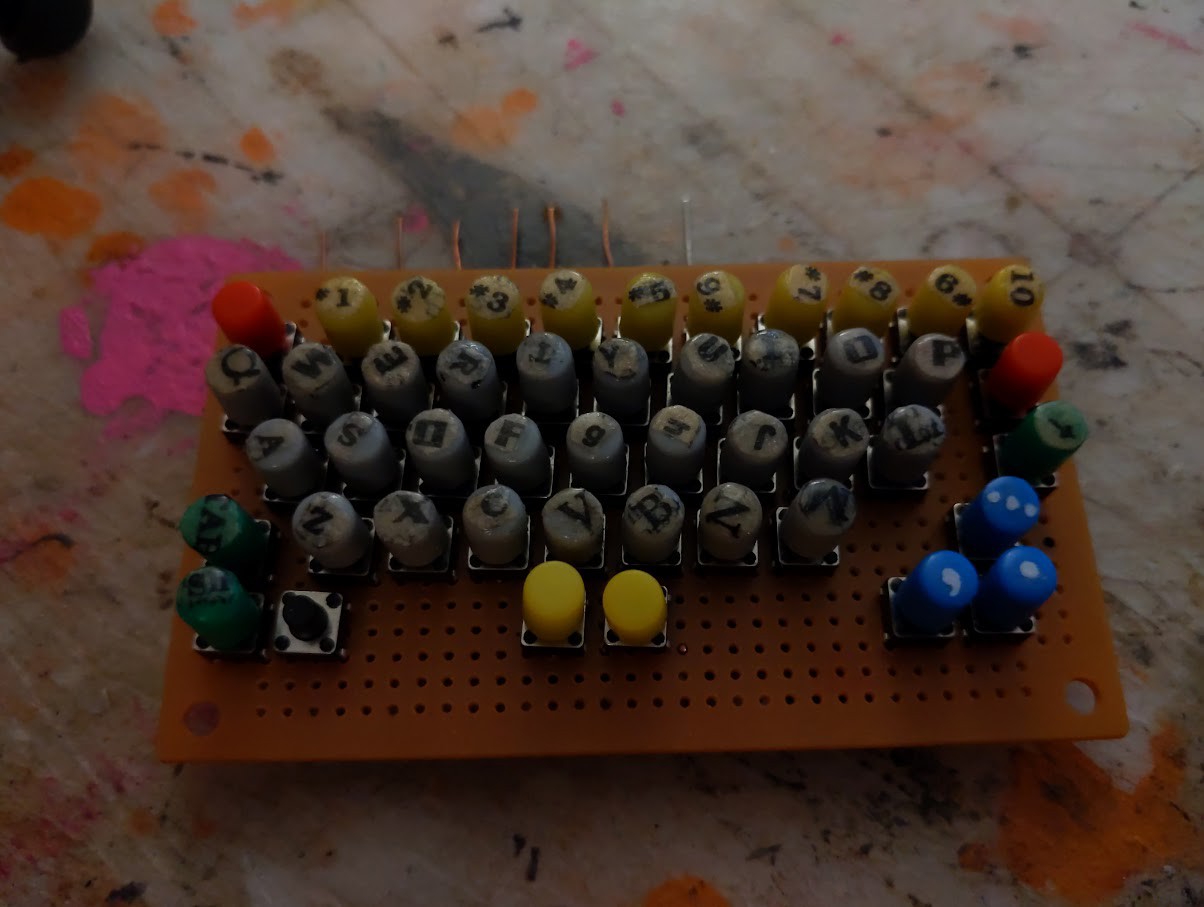
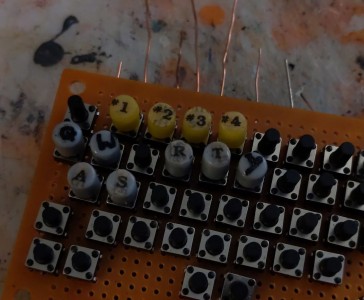
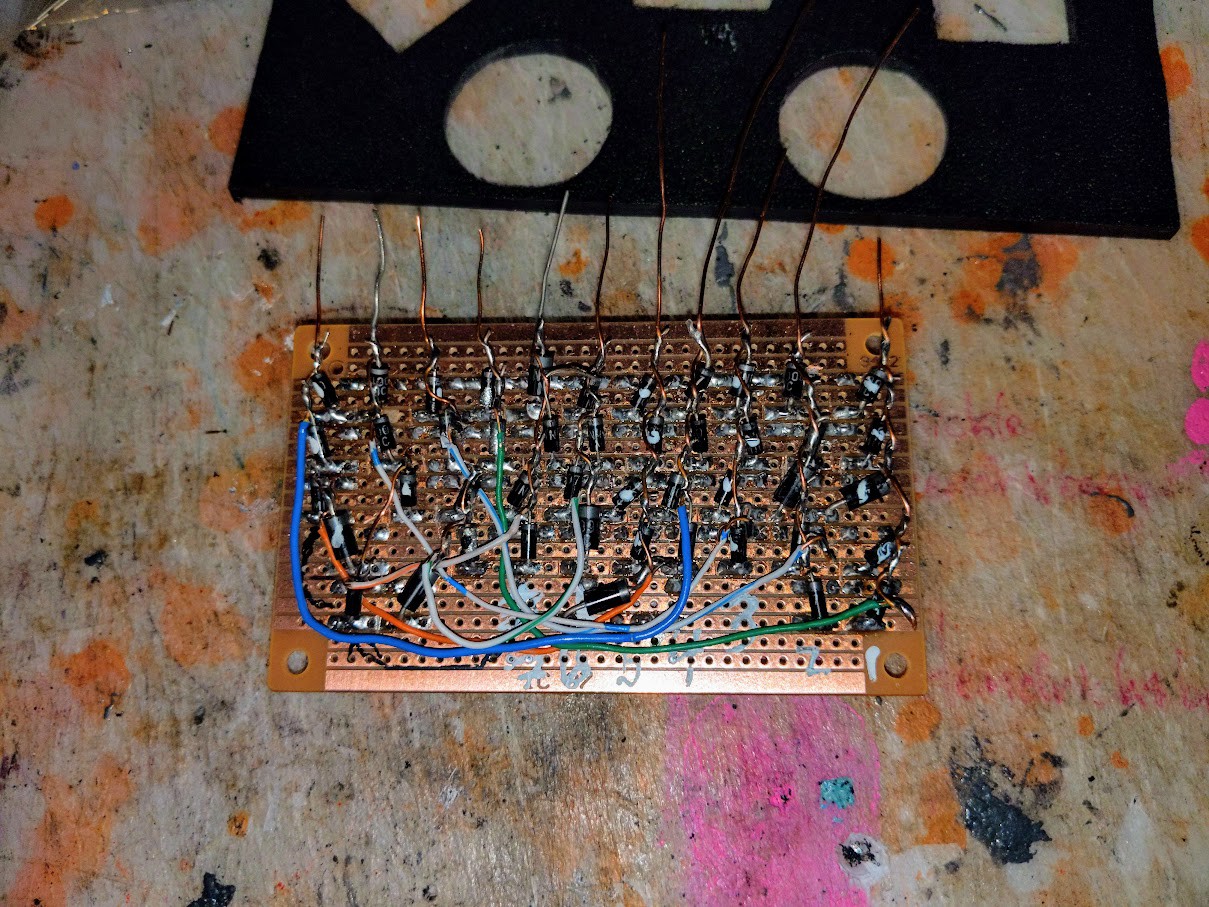
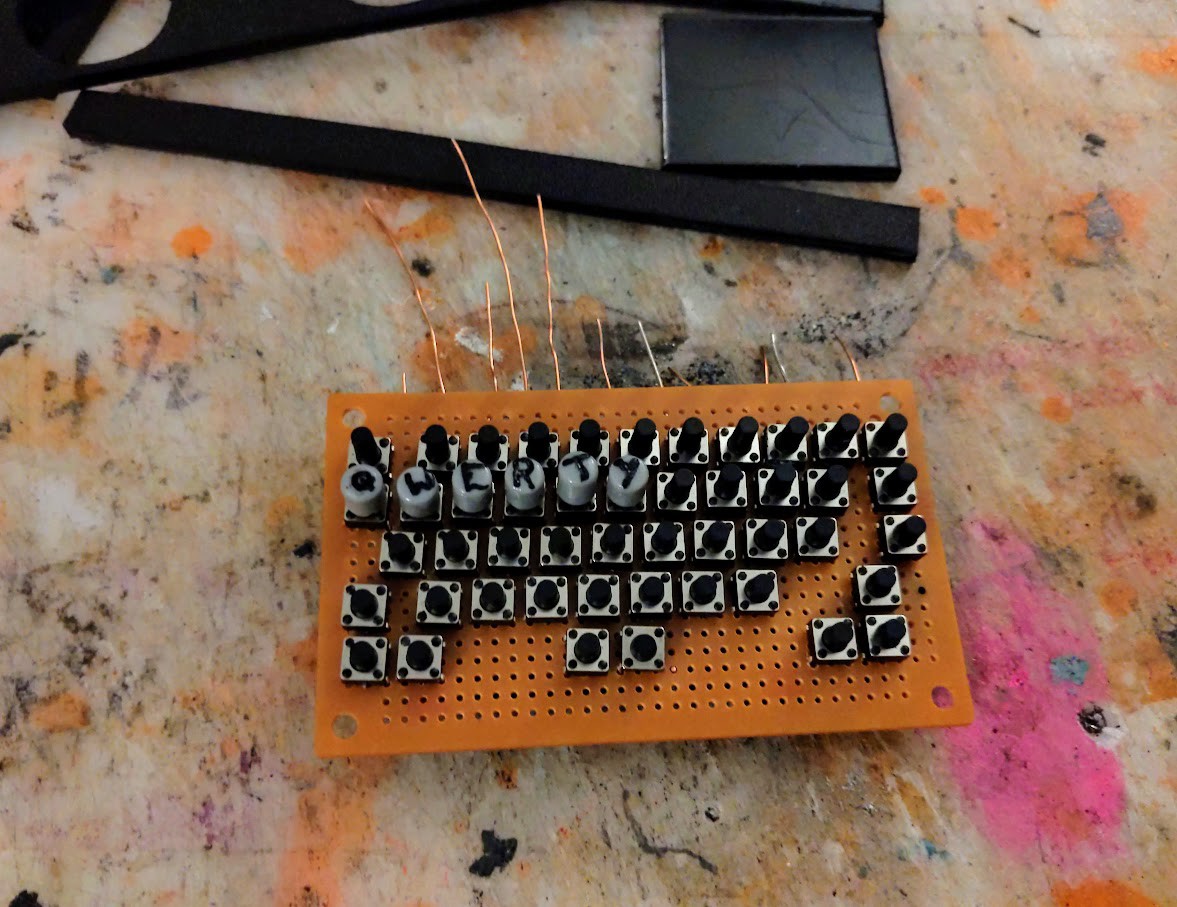
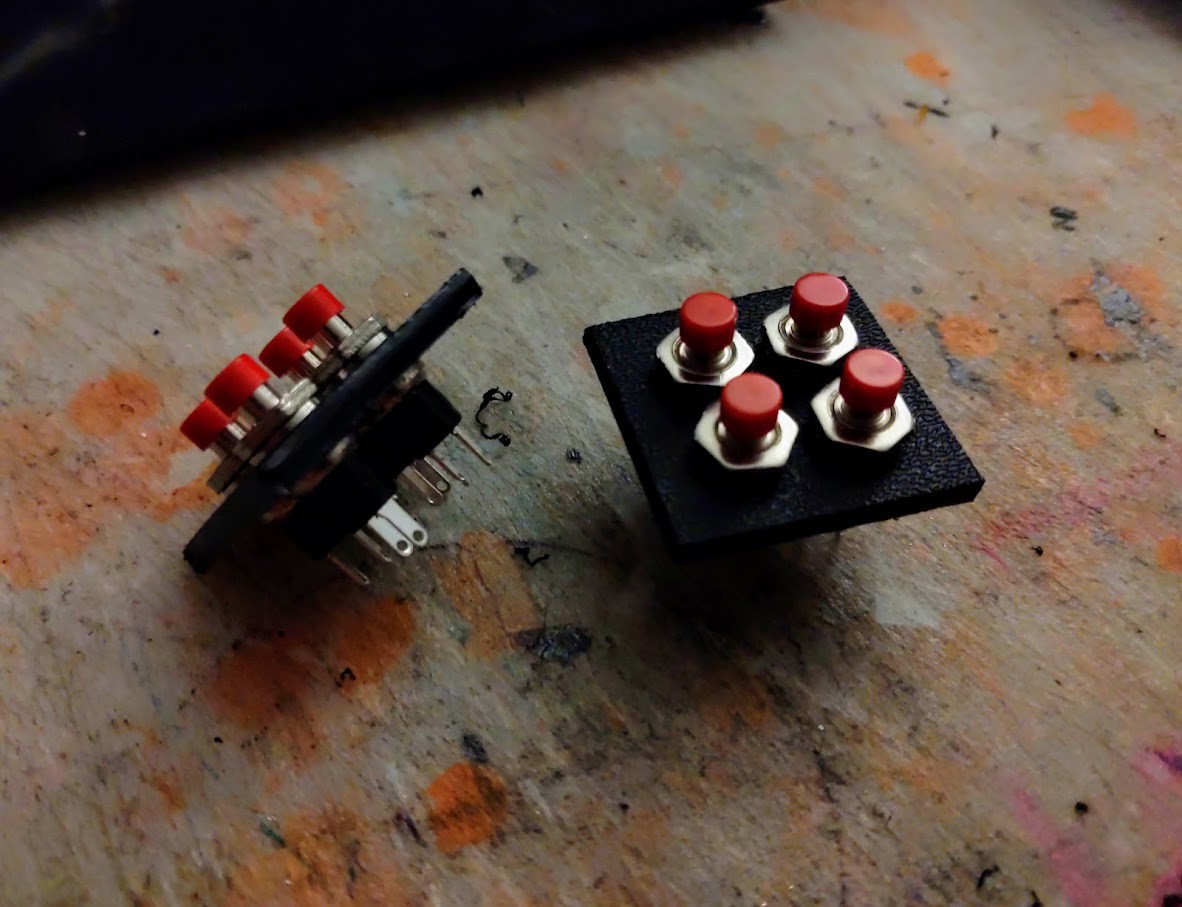
I've already made a little stripboard keyboard for the thing (https://docs.google.com/spreadsheets/d/1FNxd9K-0rfuQpVR2kCZELqOv30yrCHsgCB-dj66GwOs/edit?usp=sharing), it shouldn't be too hard to get that working.
For power i've got options. Mostly kludgey but depends on how things work out. Requirements for the Pi could vary widely but i should assume 4~8W and sundries should be minimal. The security cams need 2W but at 12V, there are battery supplies made for LED lighting with the right specs at acceptable prices. USB video capture card power requirements could be considerable.
ADDTL. FEATURES AS POSSIBLE:
* Fan and vents would be sweet, will probably be necessary
* Image capture device. Let the thing be a jankity cyberpunk camcorder. I recently lucked into some discarded security cameras, it'd be badass to use one of them. I've also got some ancient digital cameras, webcams, something like that. I'm assuming video capture software for the Pi OS will be trivial (but...).
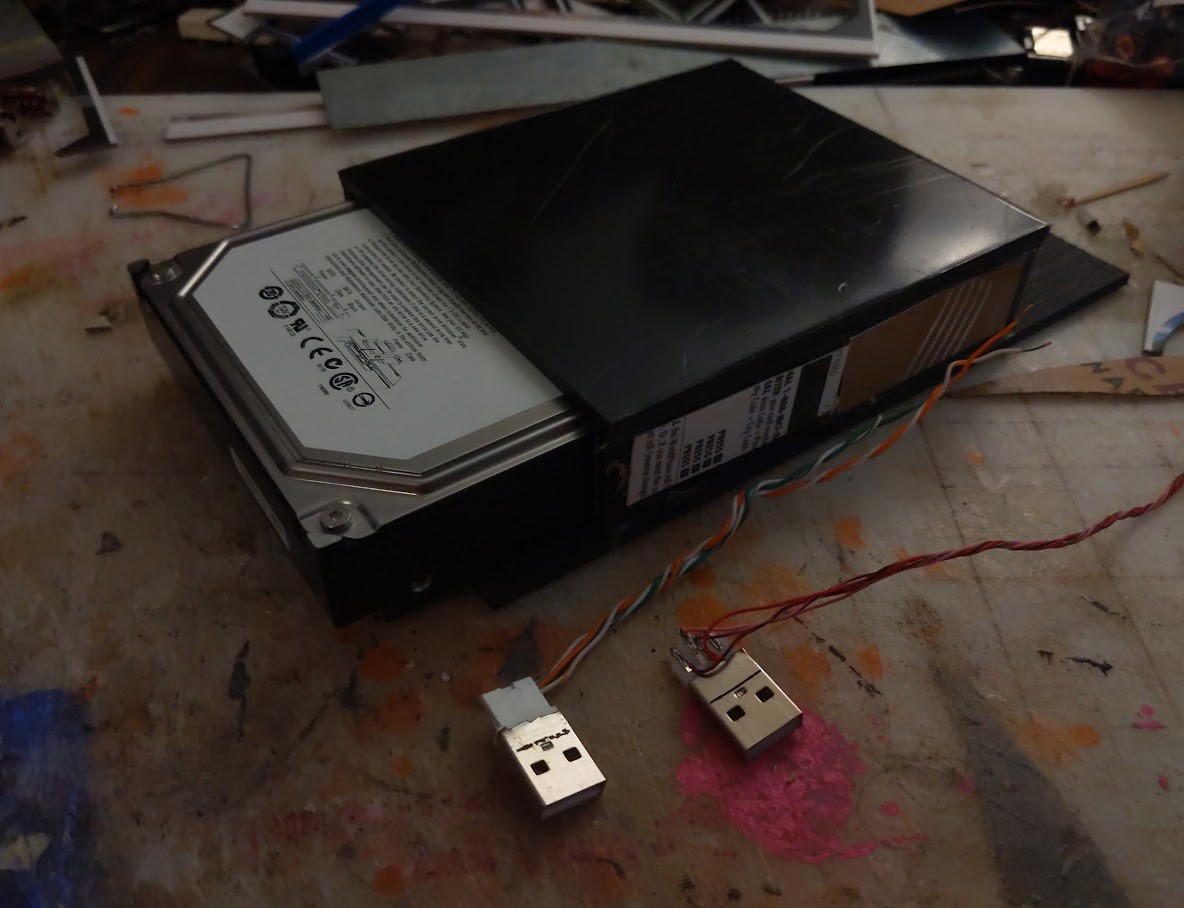
* Novelty mass storage: 2.5" HDD on a USB adapter? Compactflash or other deprecated flash card? Standard SD broken out into a chunky mockup cartridge?
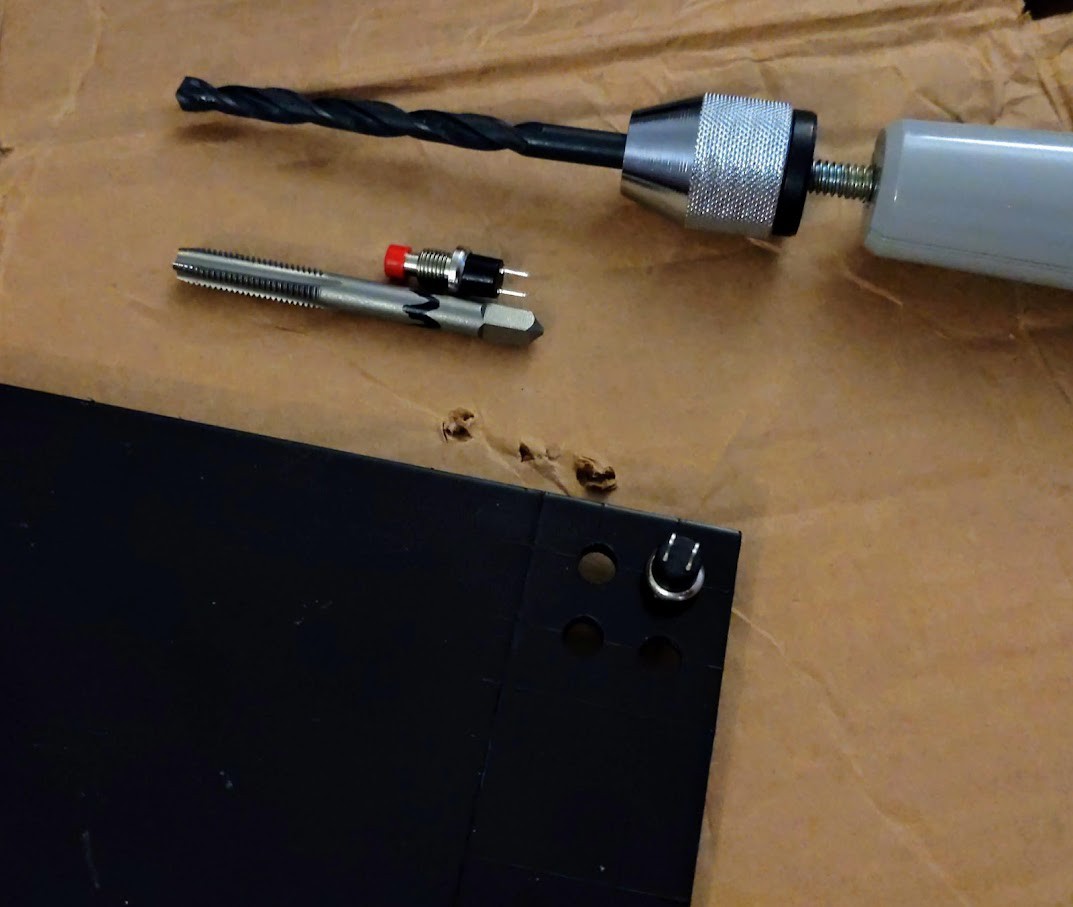
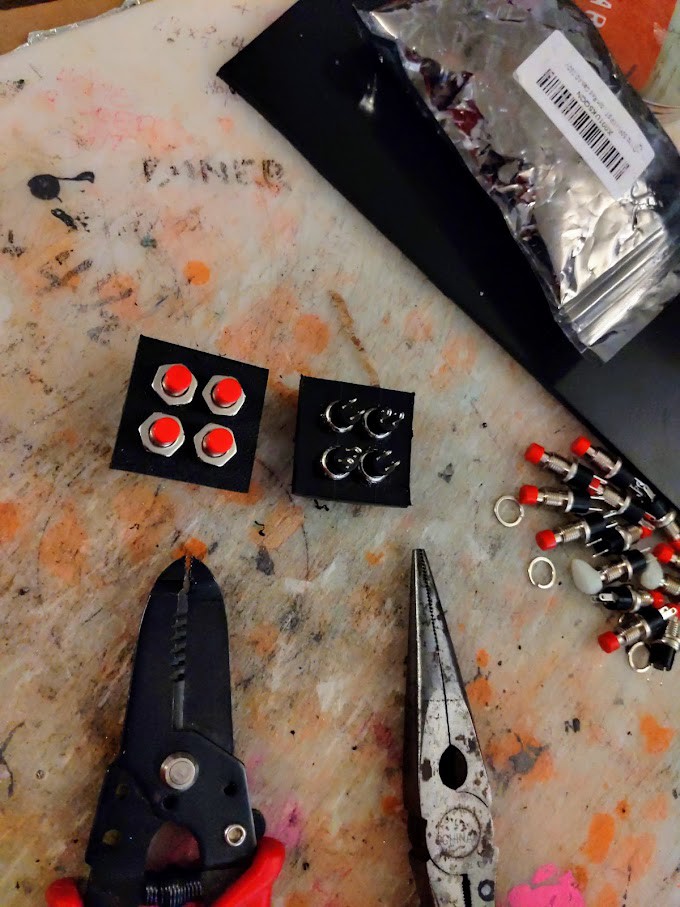
* Blinkenlights, red/amber glow (like everywhere? like everywhere.), 7-segment LED counter/character LCD(?), integrated speakers, physical switches for as many functions as possible
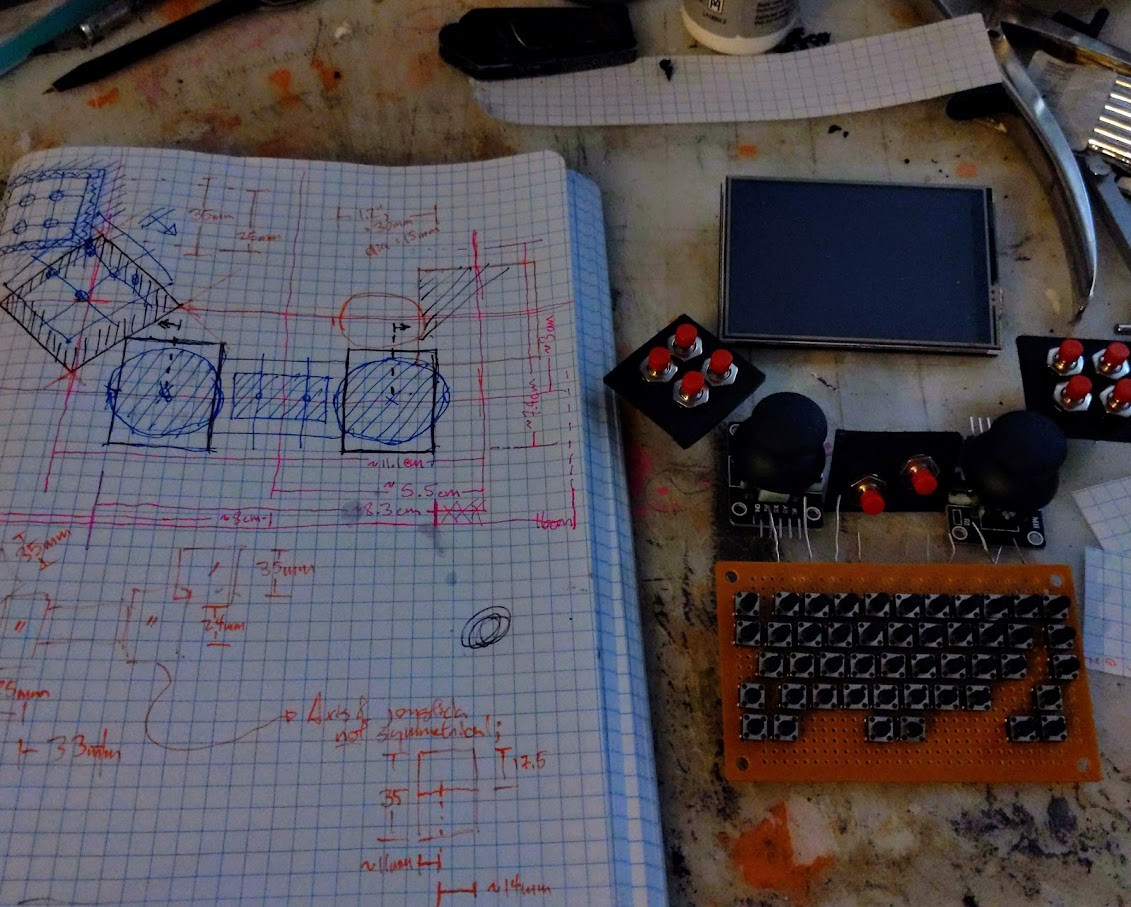
LAYOUT, ERGONOMICS, AESTHETICS:
A security camera et al. could fit in ~15cm * ~20cm * ~6cm; The size a chonky gameboy or outsized non-folding tricorder. With other image capturers it'll be thinner and maybe shorter. Choice of batt. will be a main factor.
Front/top face will be display at top (prob. tilted up 45deg, hinged if that's easy) then gaming controls then keyboard. Connections/ports and power controls on the butt of the thing. Maybe additional controls on the bottom but it should sit comfortably on that face.
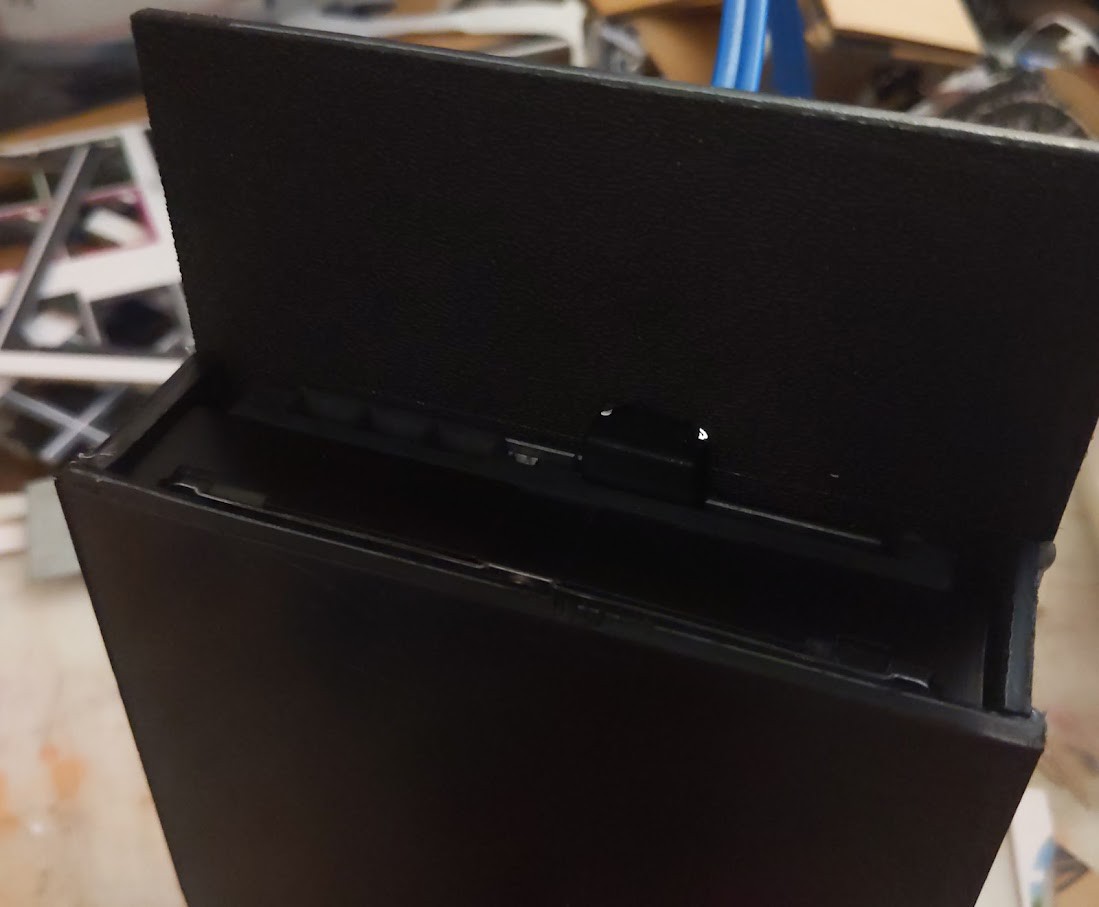
Most everything critical will be sandwiched in plastic sheeting or in little boxes made from same. Maybe borrow casing from other CCTV's. They've got that lovely institutional beige stippled enamel, i should be able to recreate that look in places. It should look like a hack, JB weld and sawn edges are no problem.

 Tom Nardi
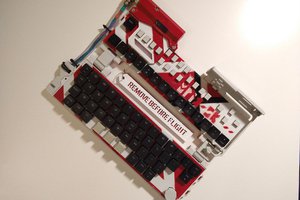
 mkdxdx
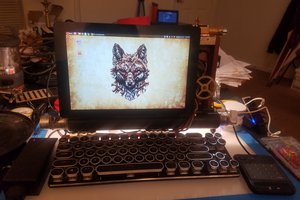
 Starhawk