Close
0%
0%

Angry Storm Cloud Soldering Kit

A fun learn-to-solder kit, with a storm cloud design using OSH Park After Dark

Similar projects worth following
This is Robyn's 2nd board design. This is The Happy Rain Cloud's Alter Ego!

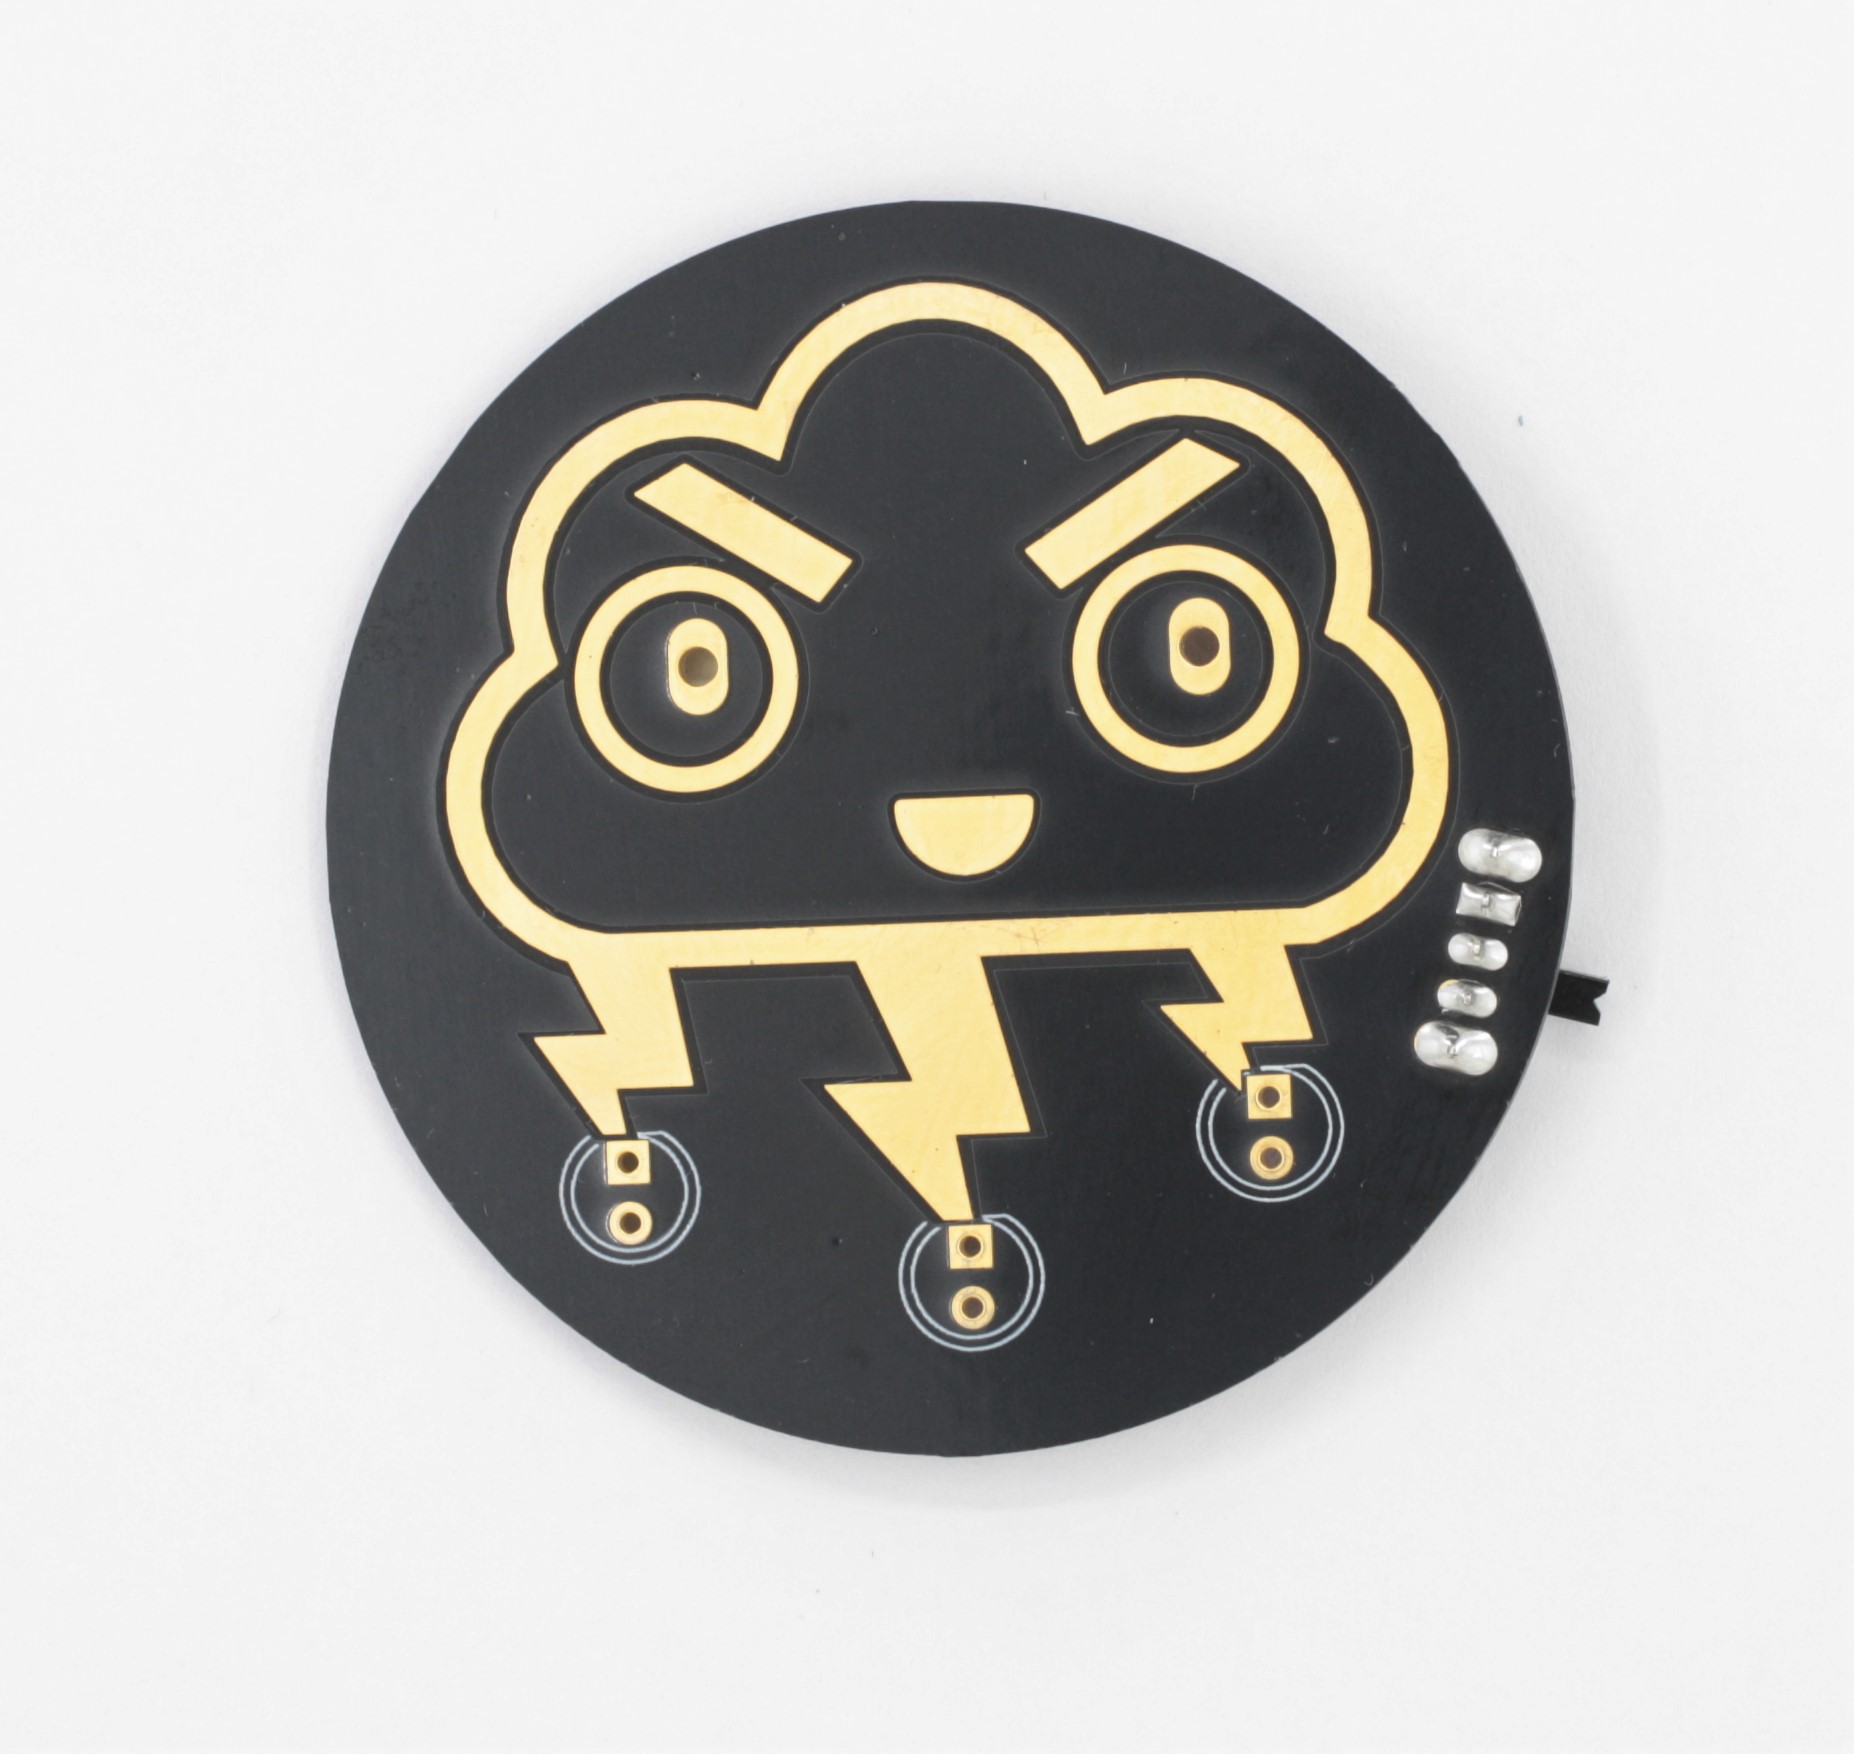
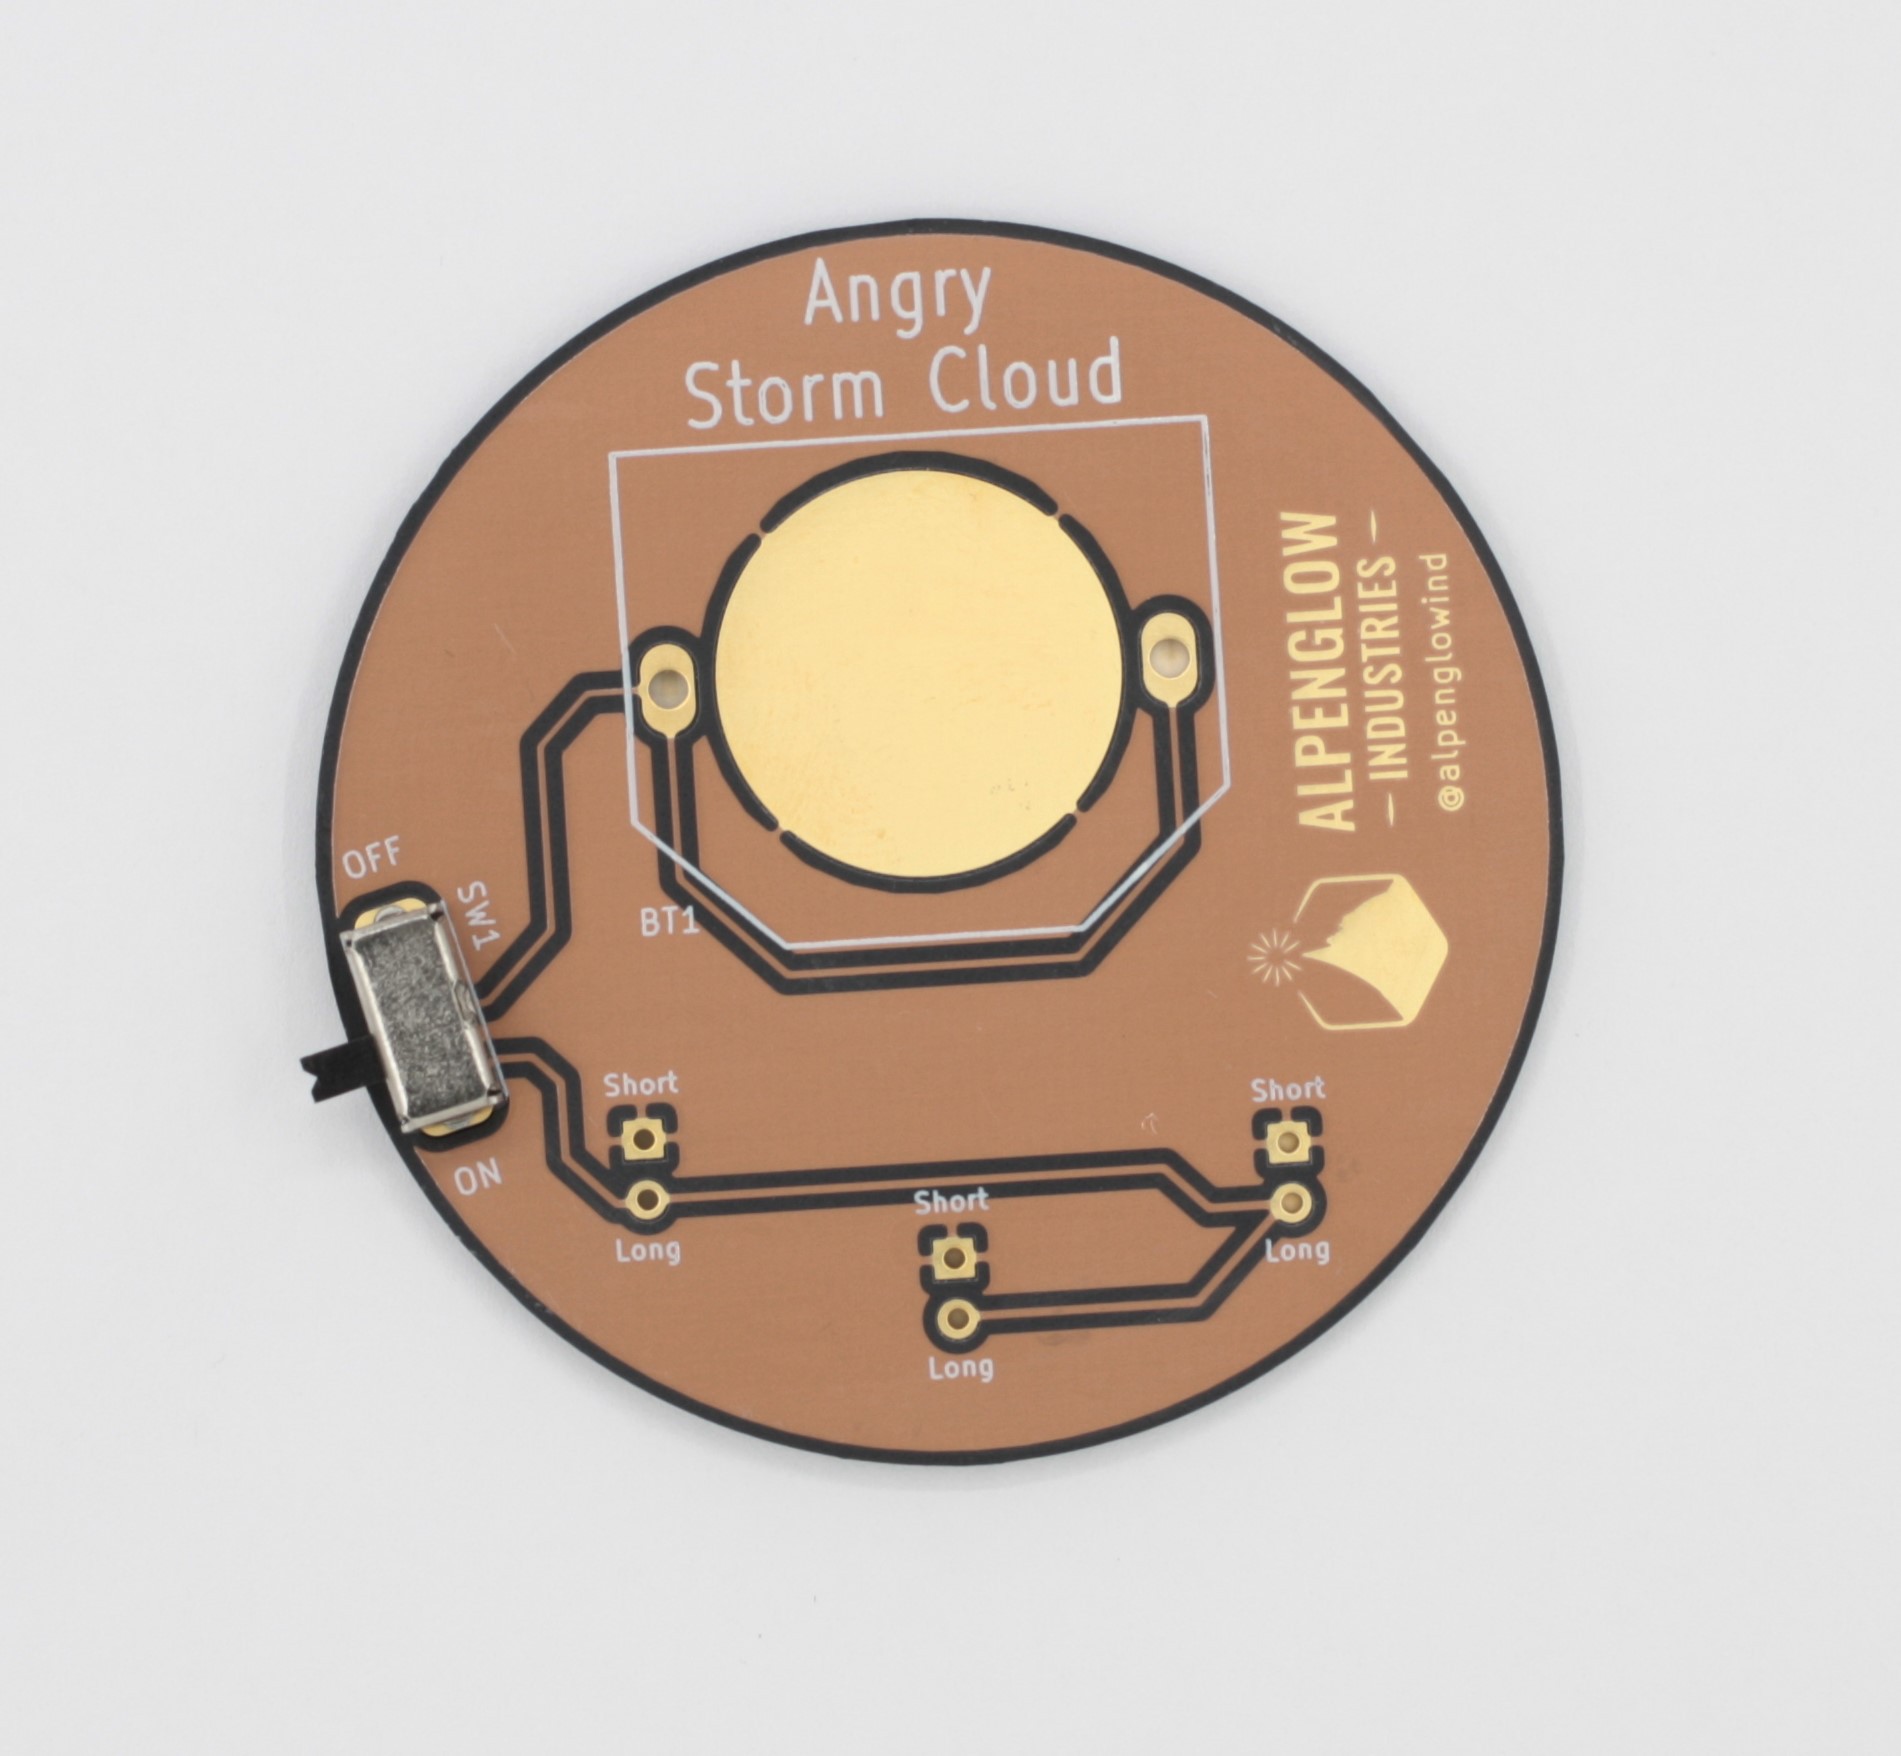
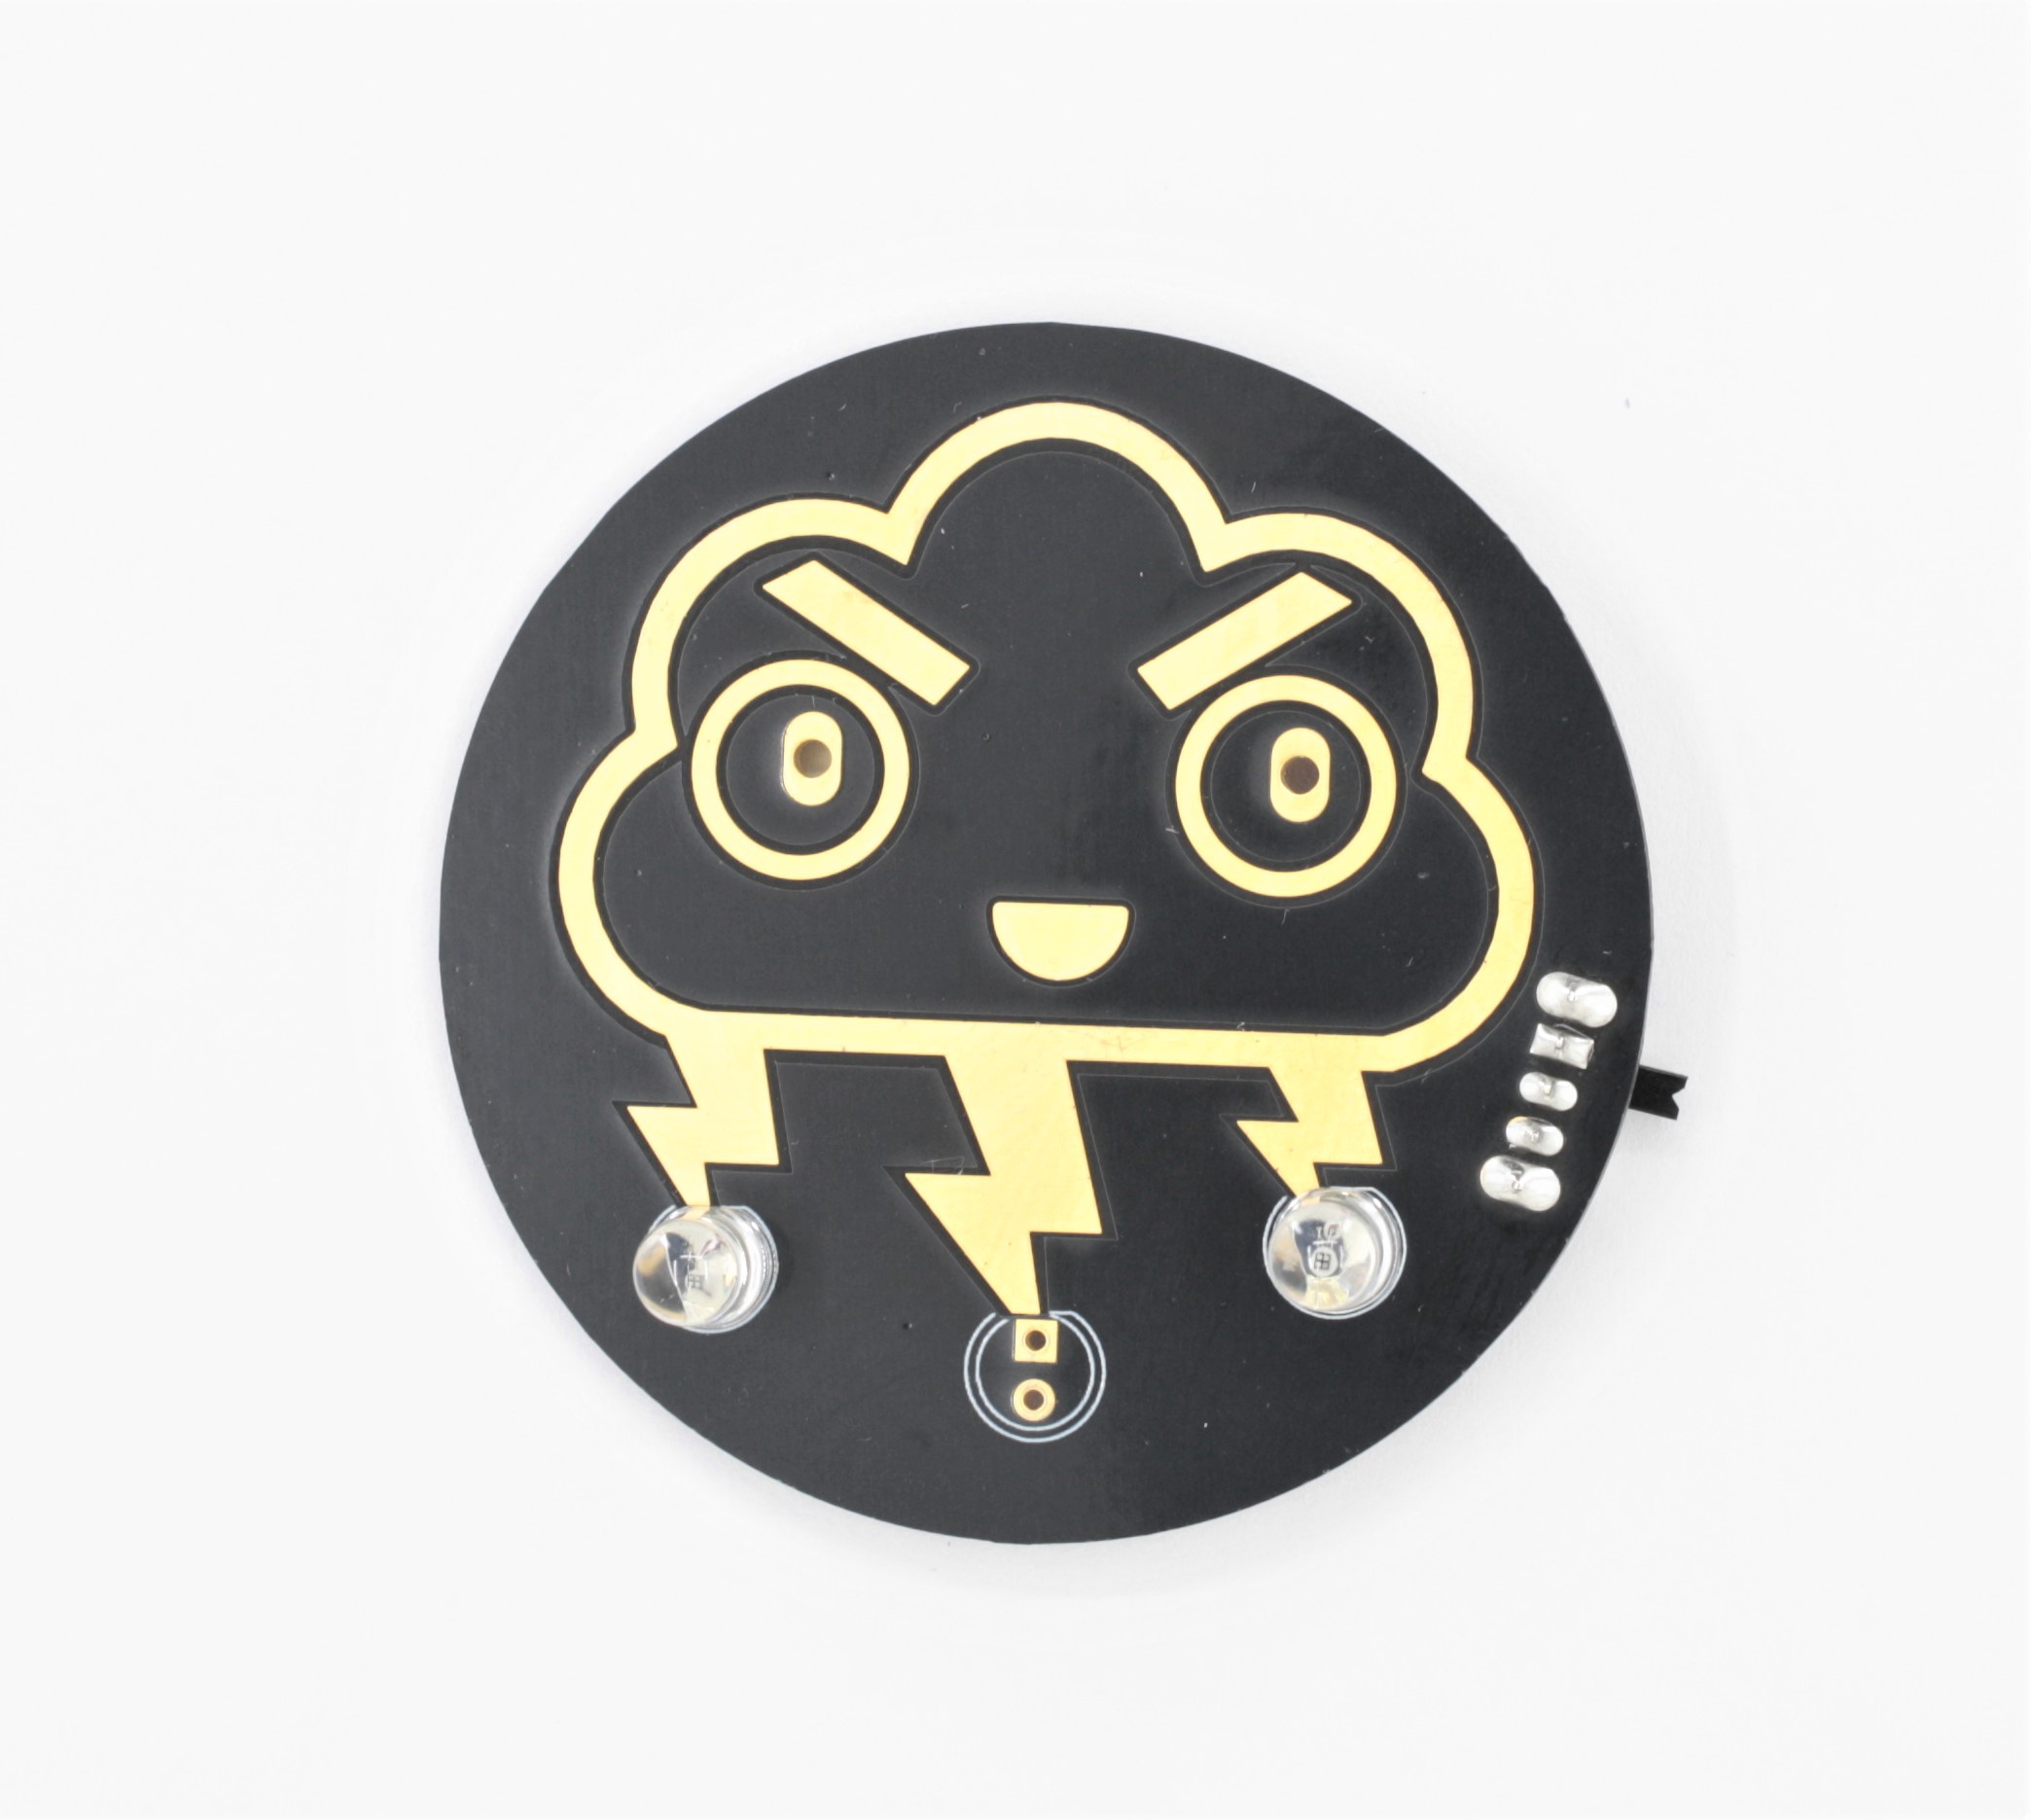
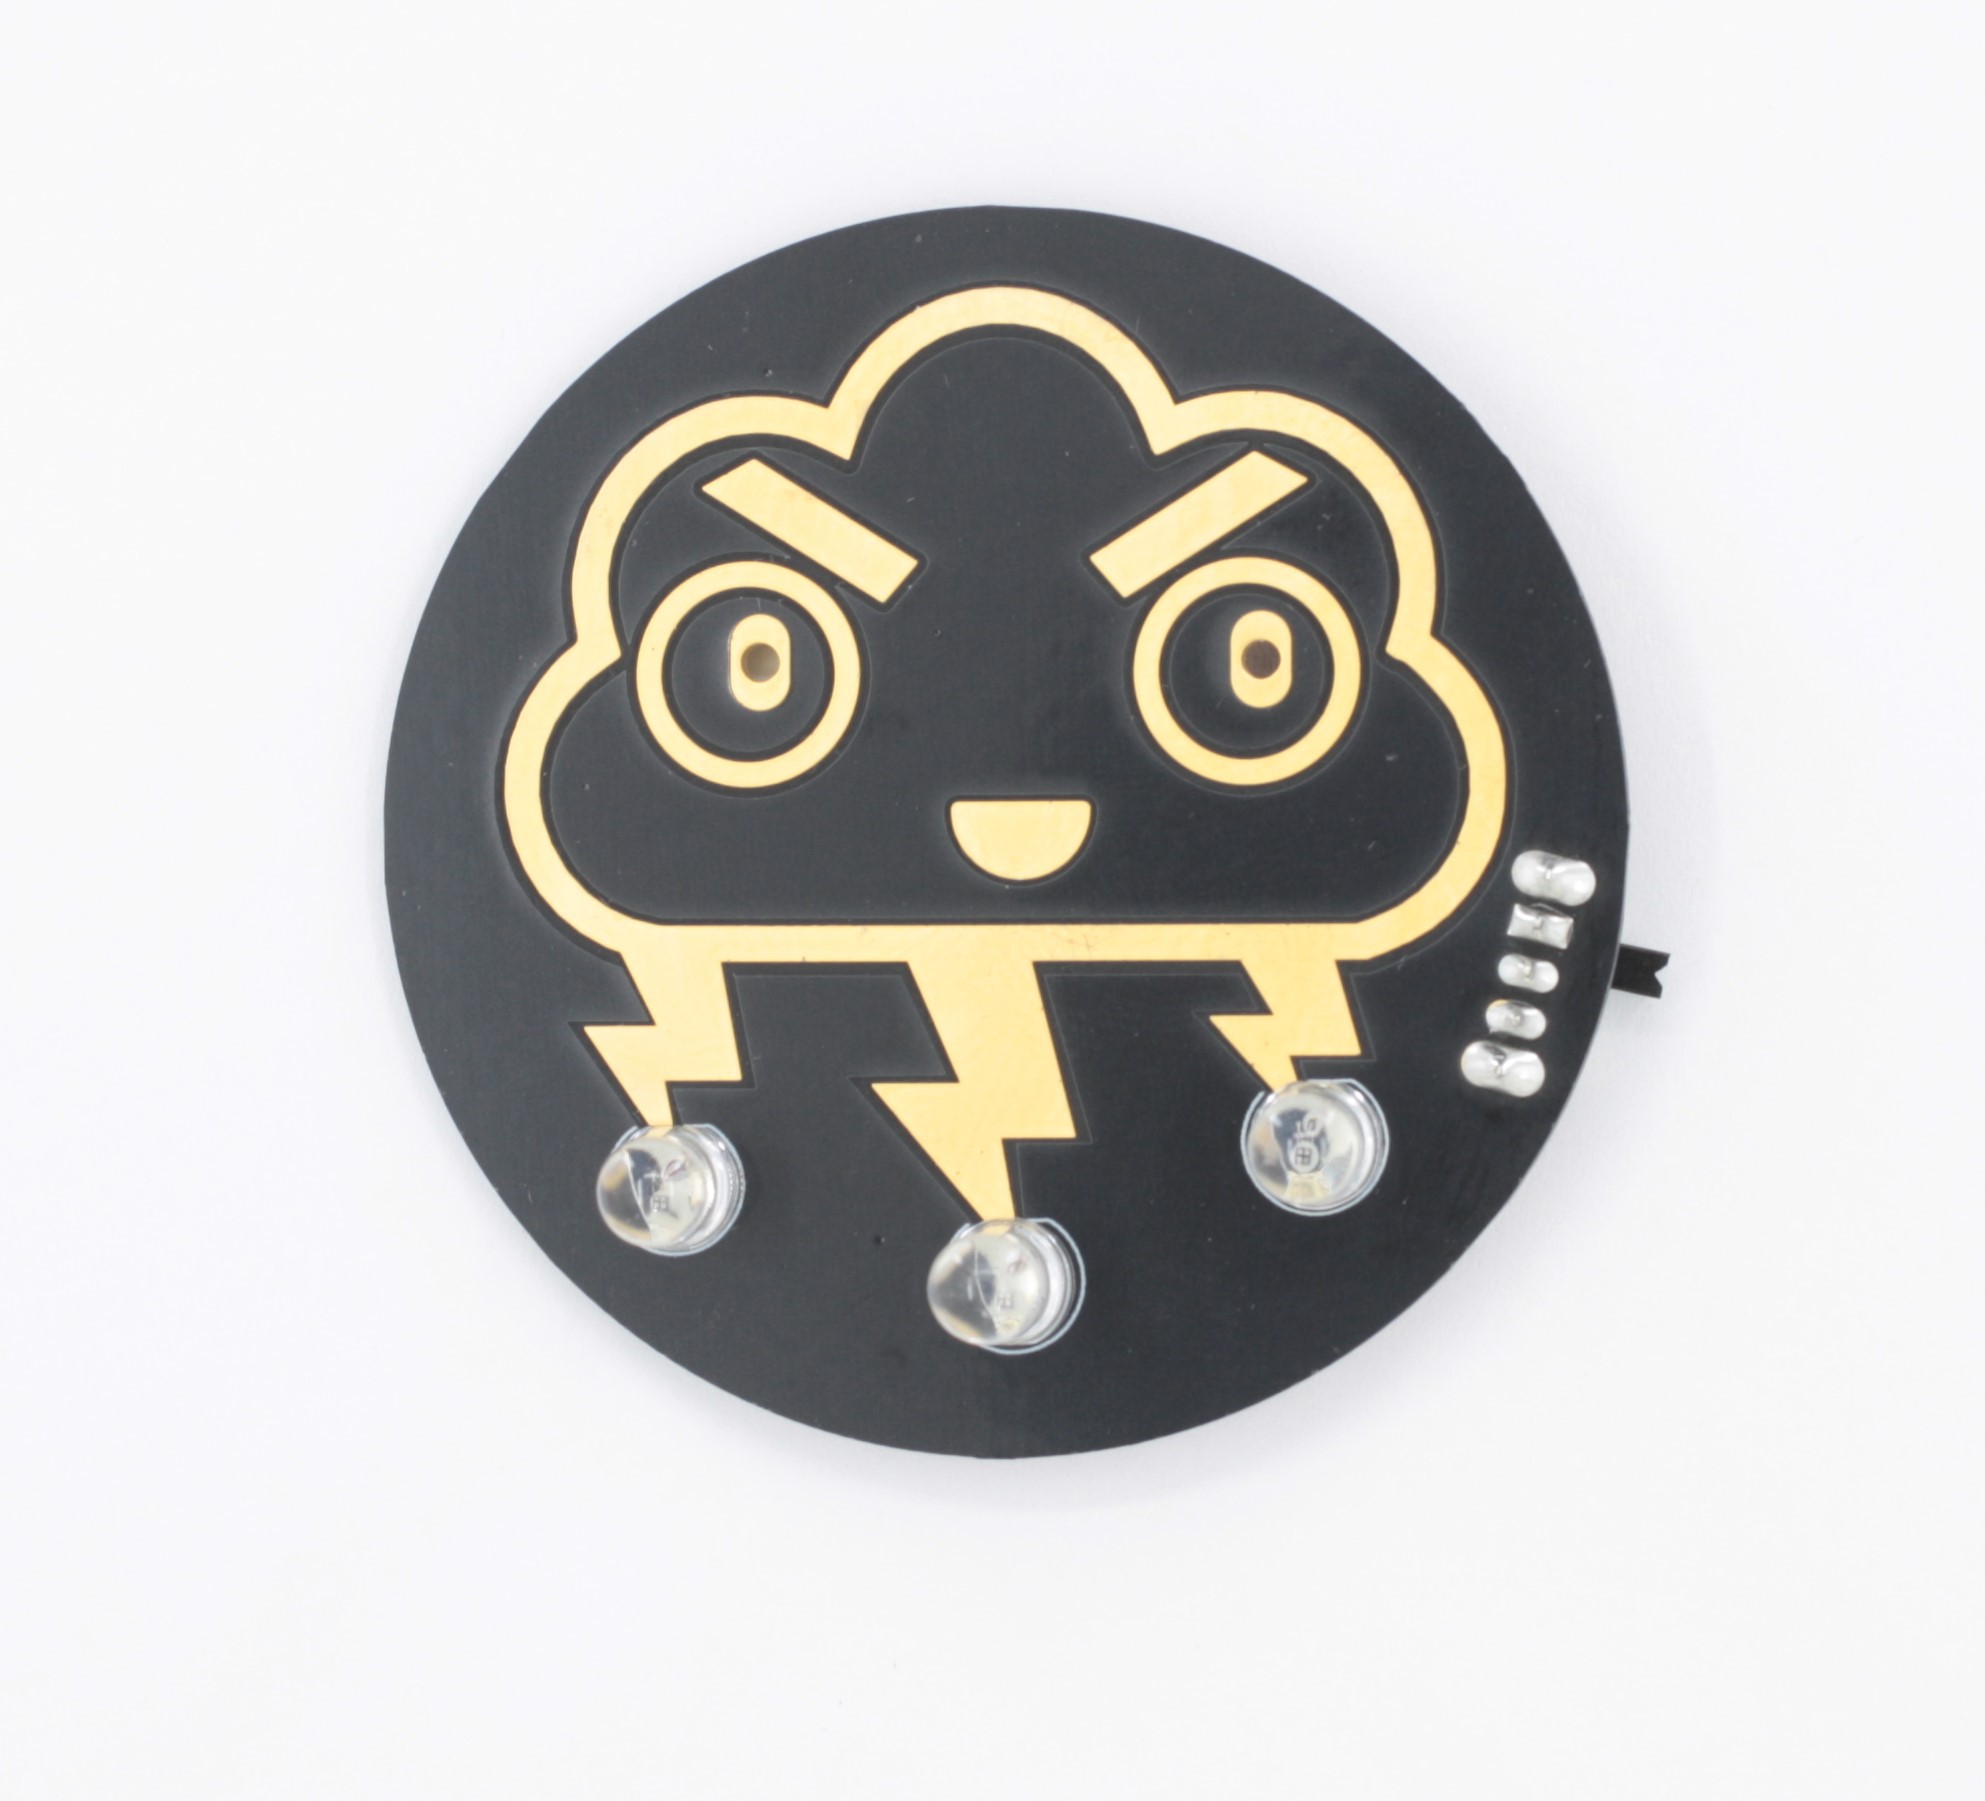
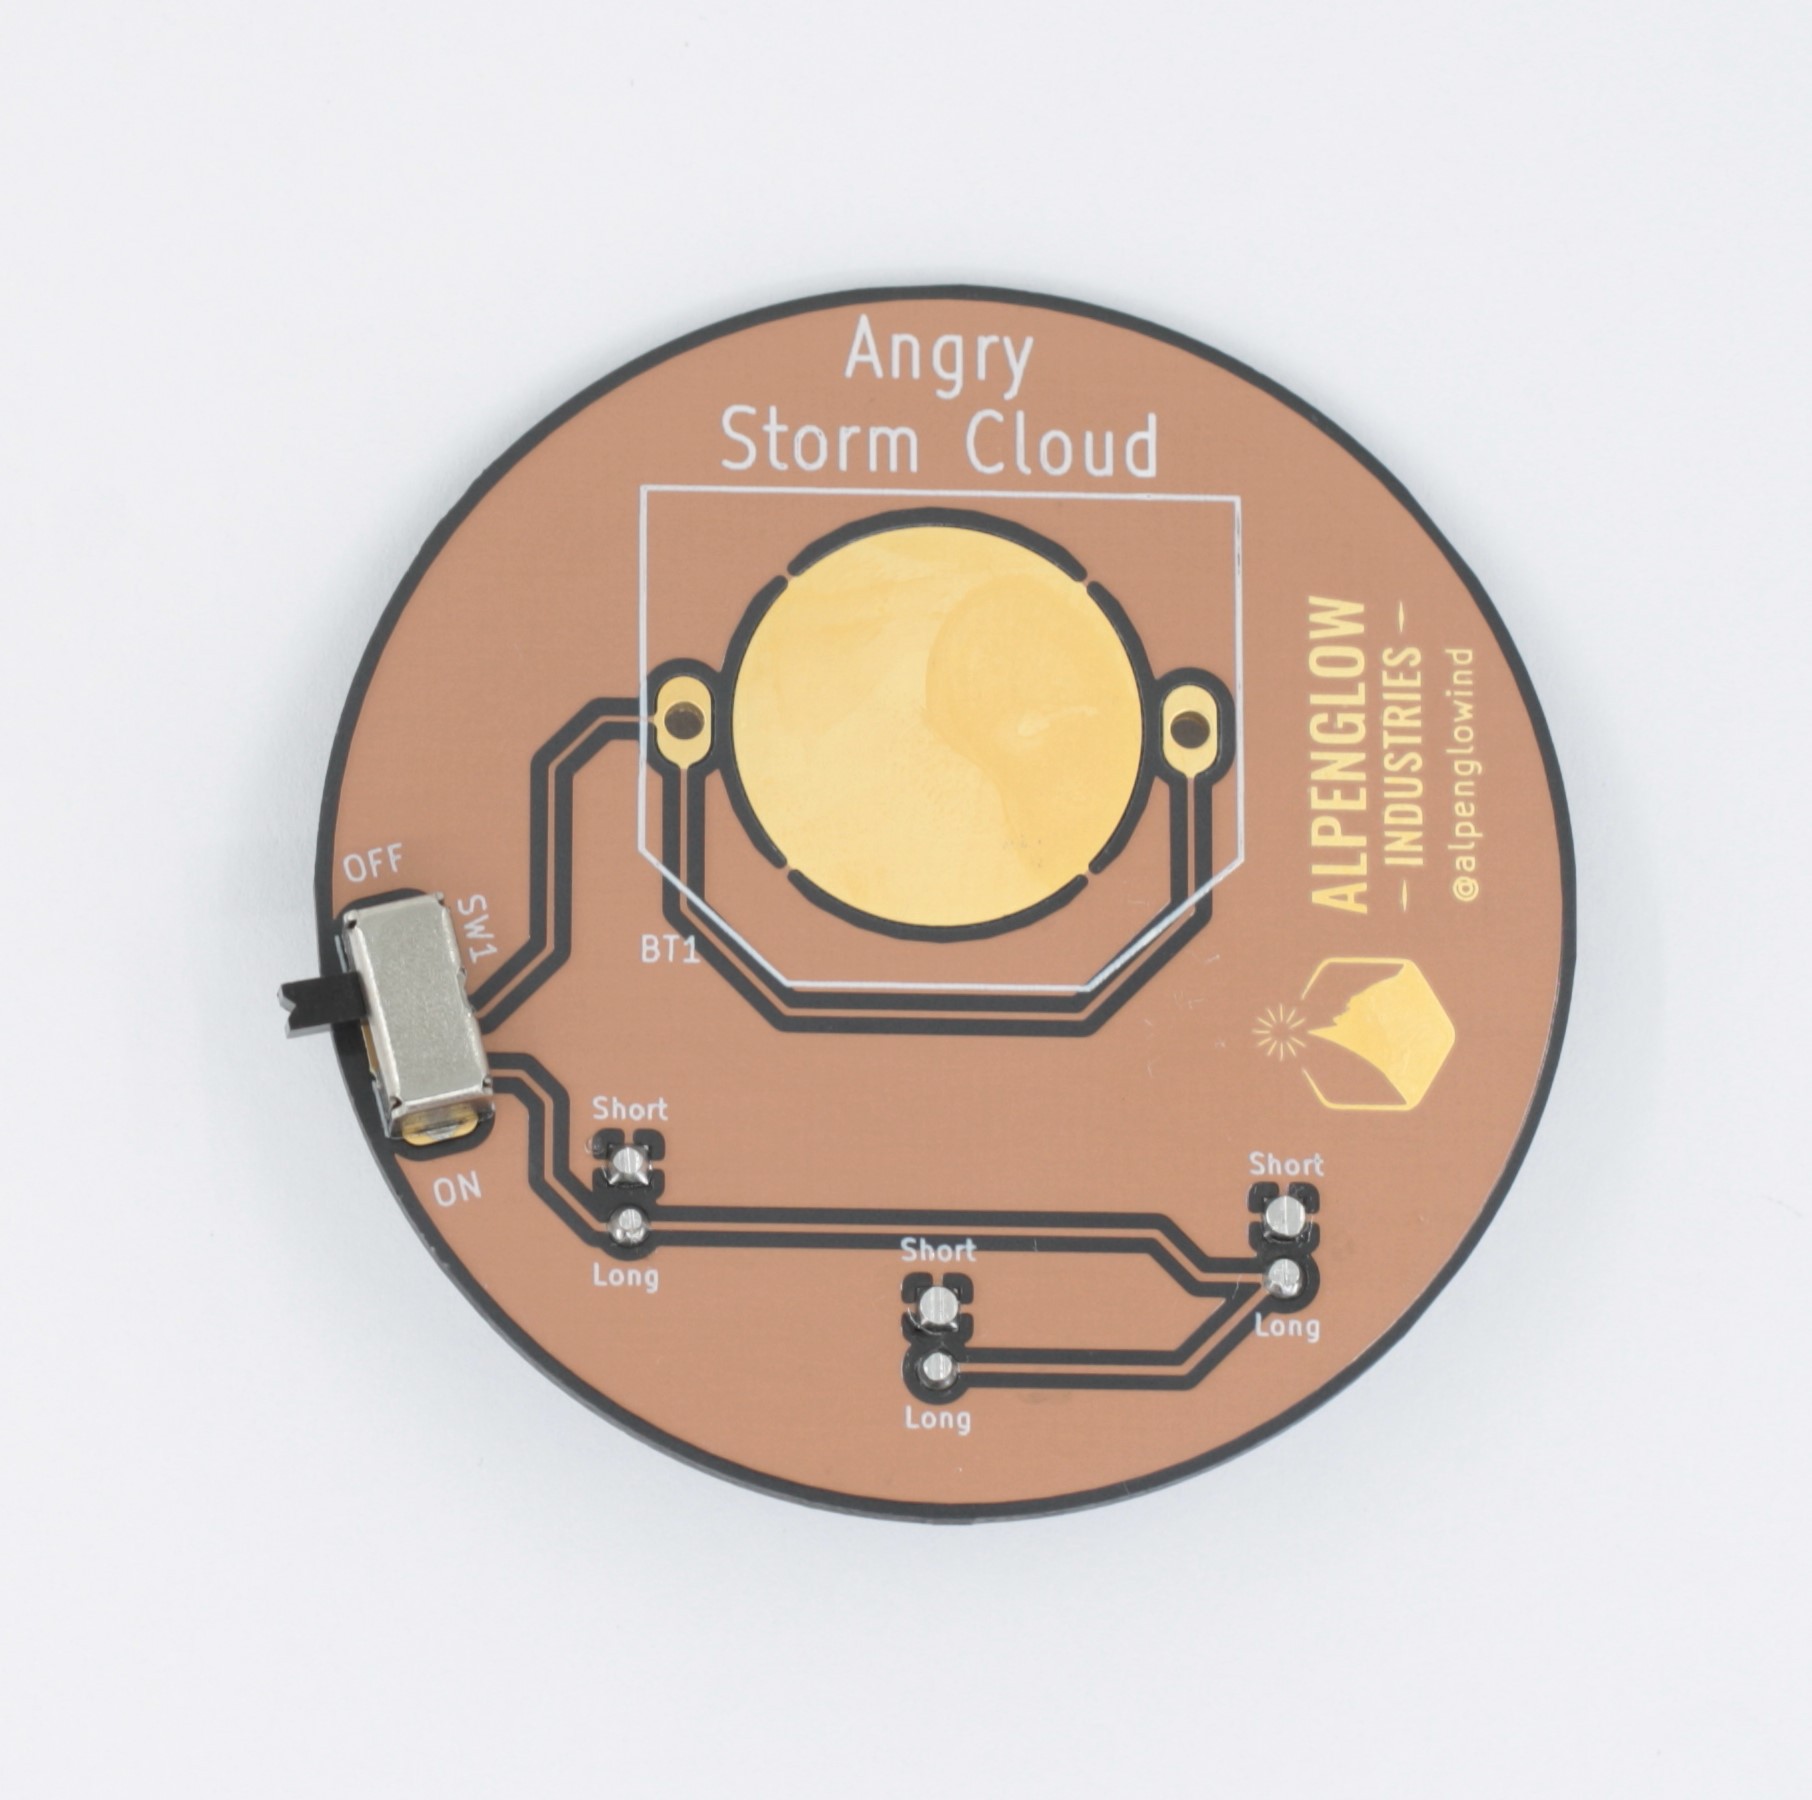
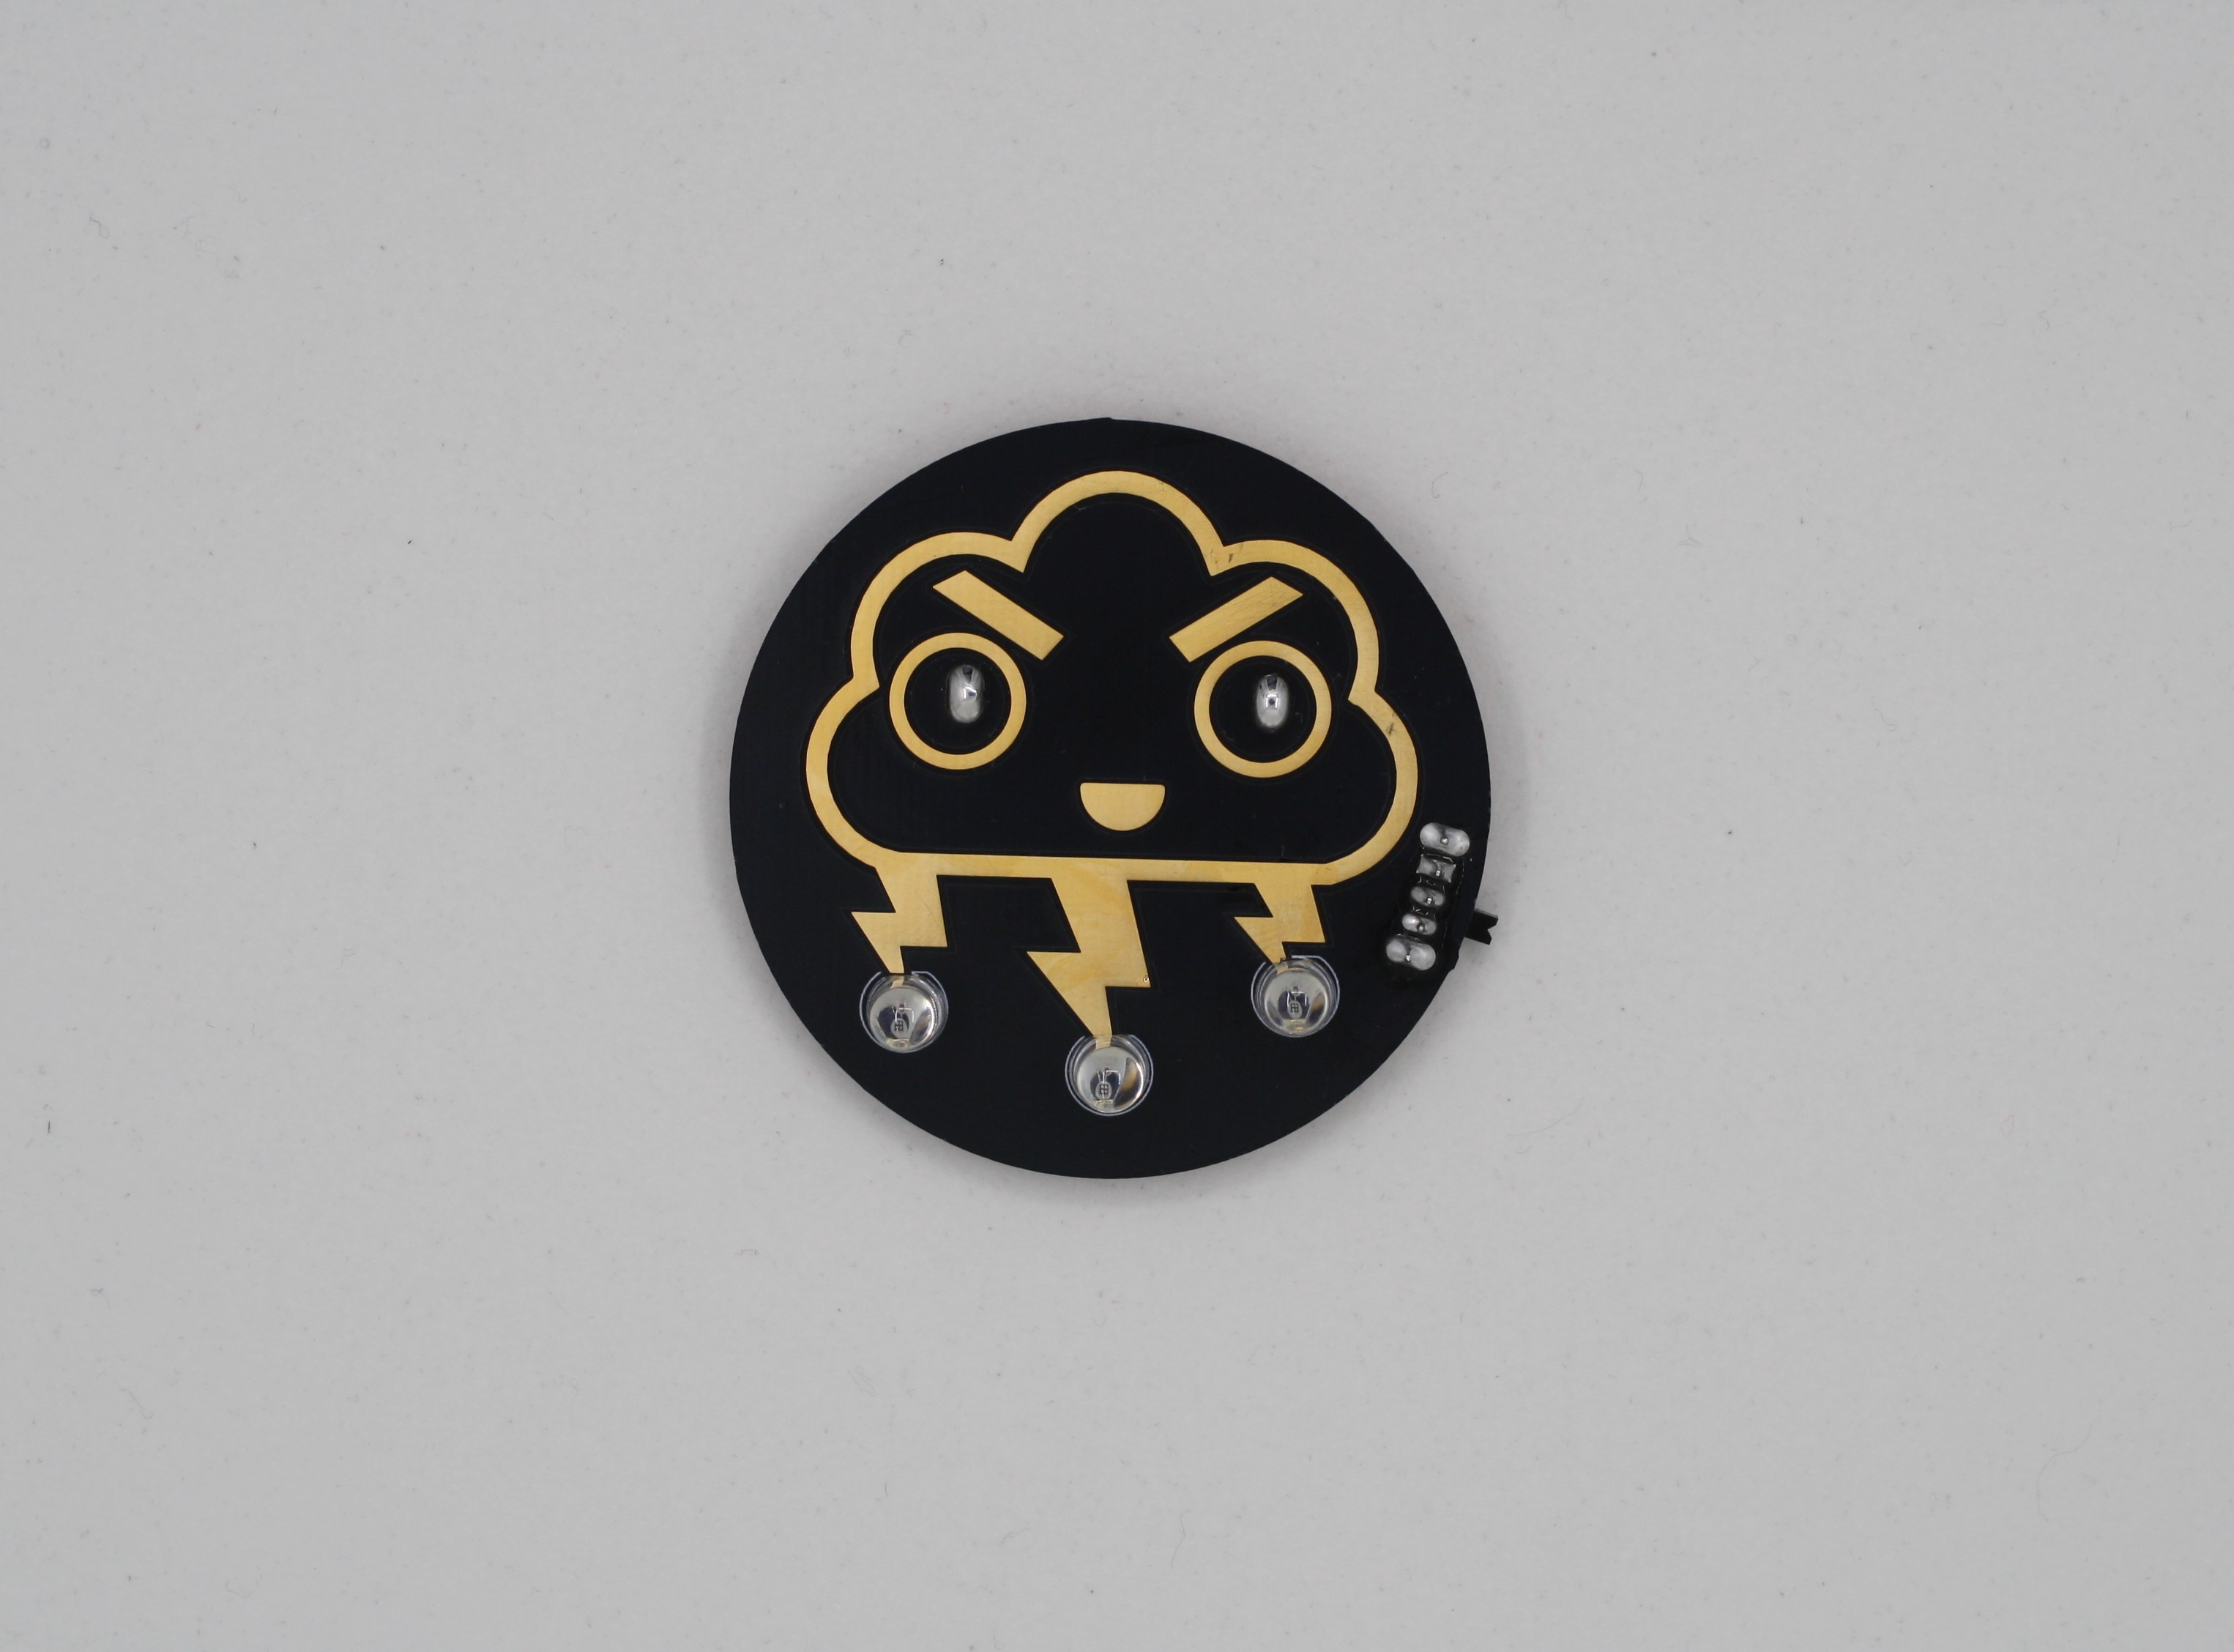
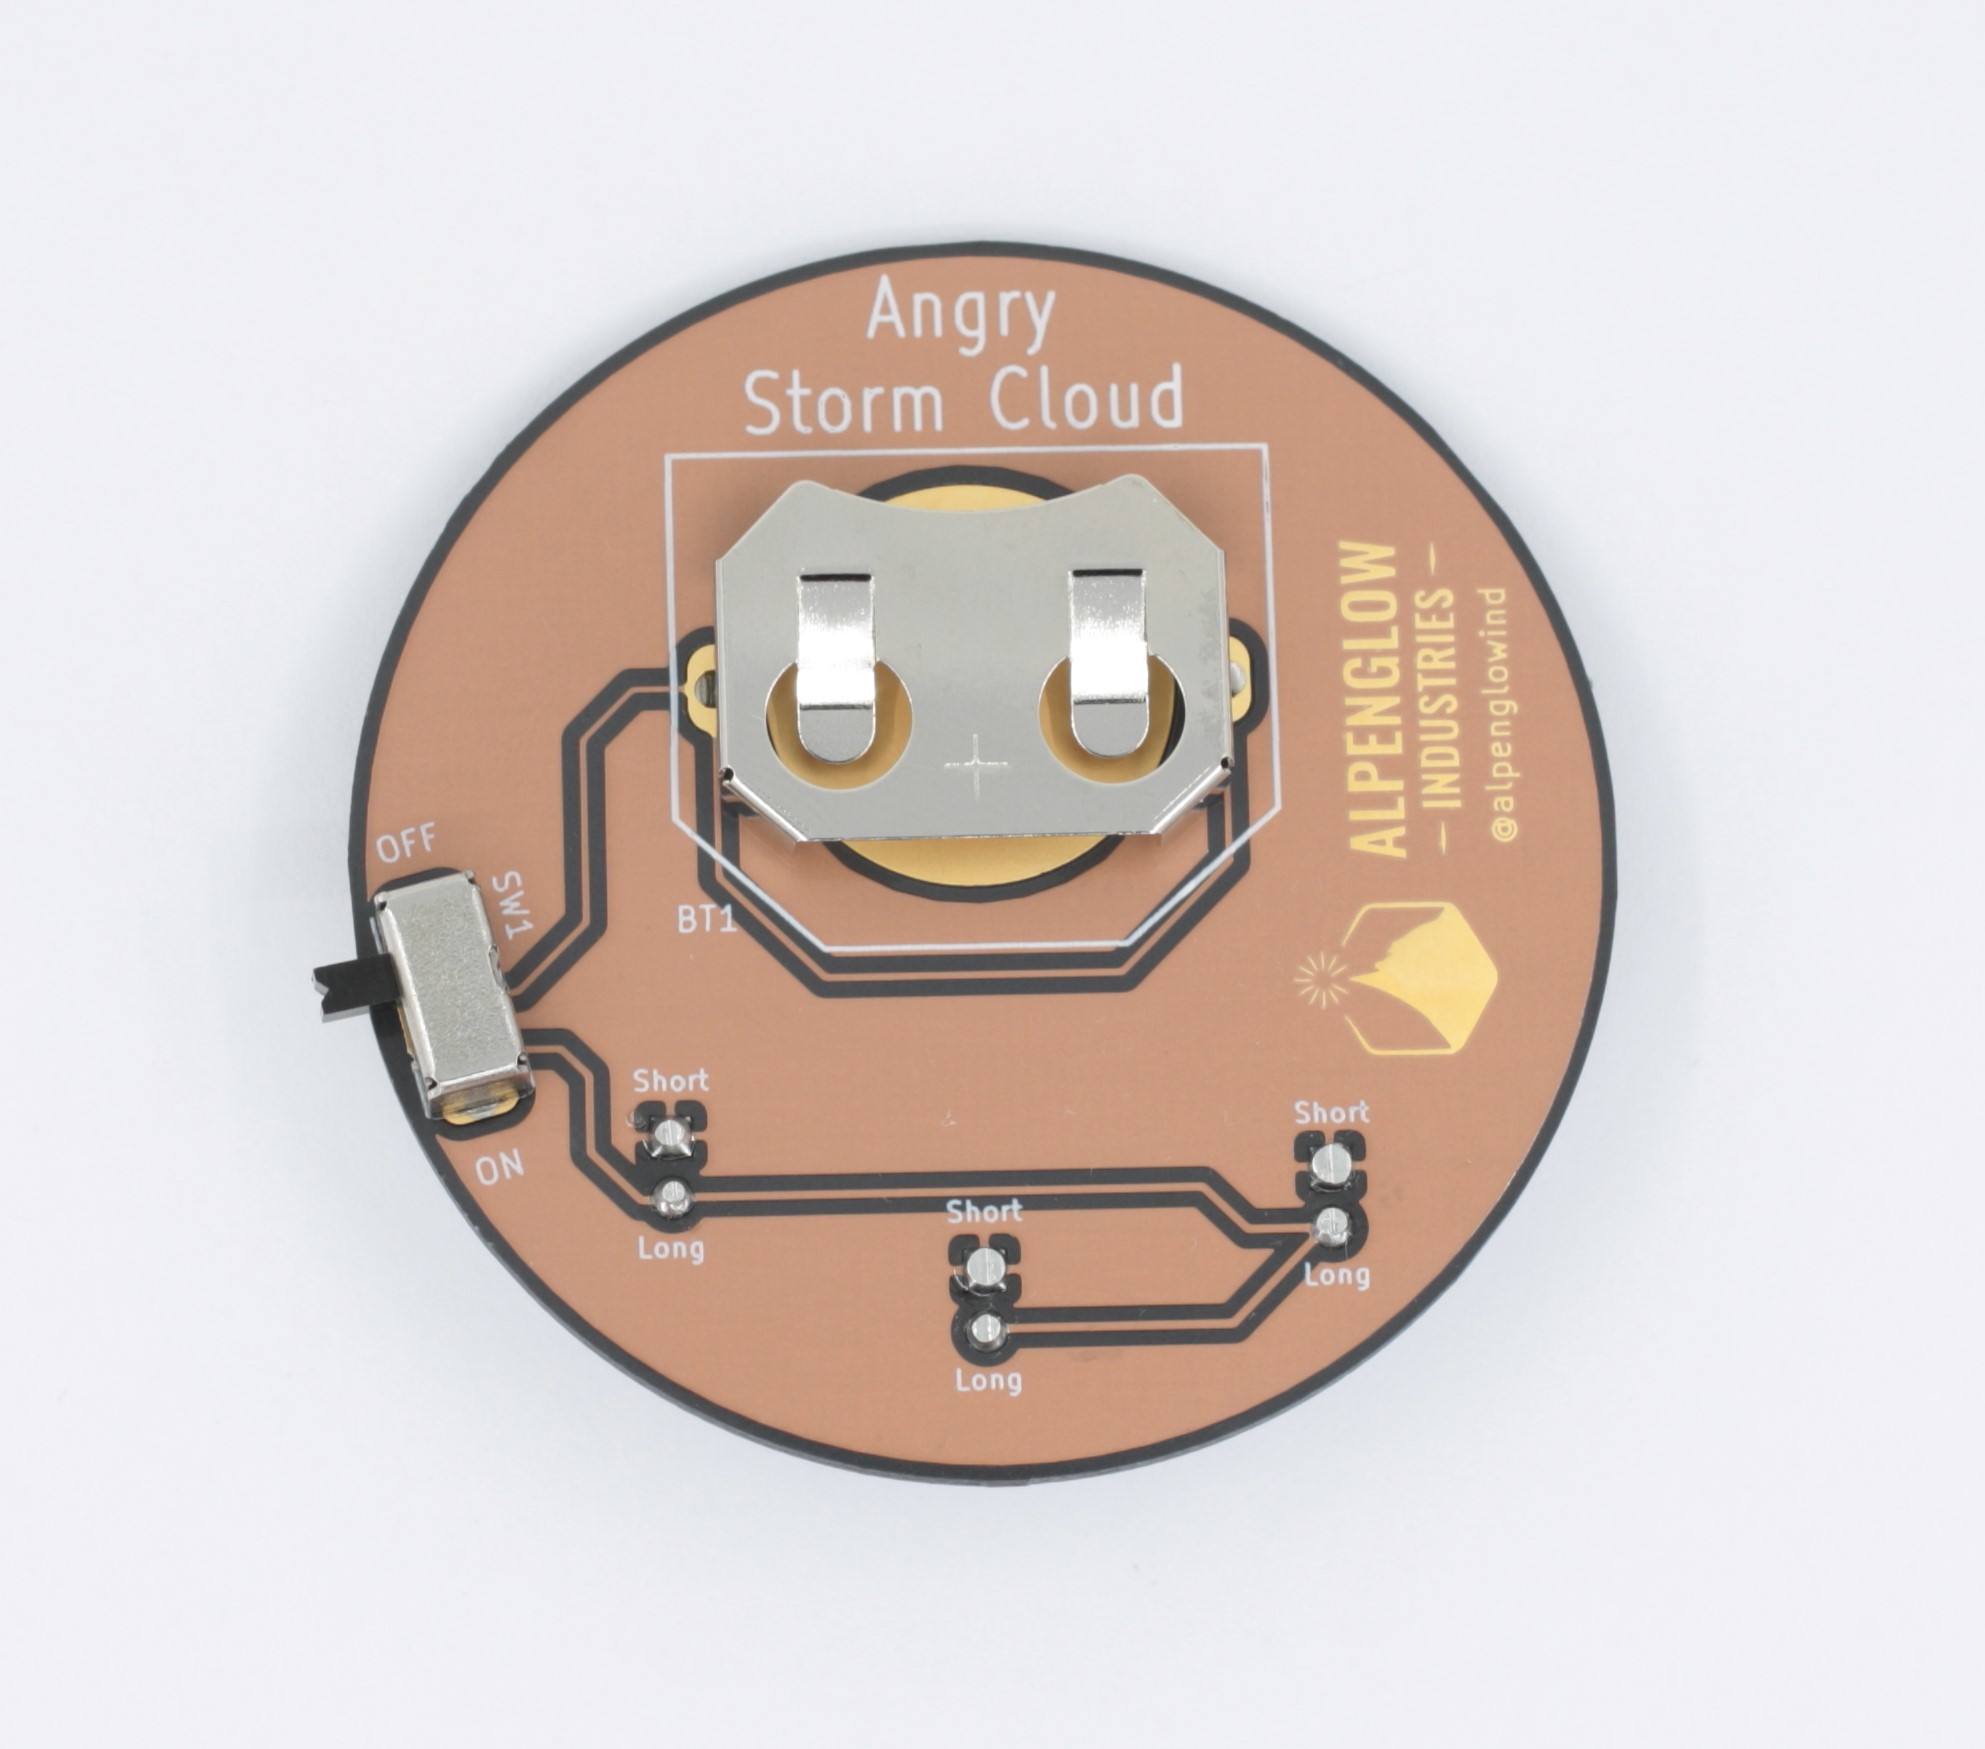
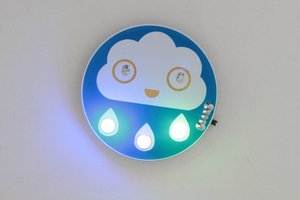
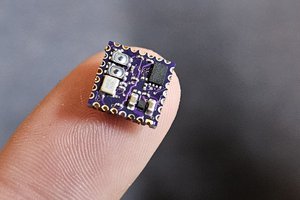
We thought it would be fun to take The Happy Rain Cloud and make and evil alter ego for it! The board is black, white, and gold. This is accomplished by using OSH Park's After Dark service. The Gold on the board is where there is no solder mask, the solder mask is clear making the places it cover exposed copper appear to be slightly matte. The substrate is black and the silk screen is white.

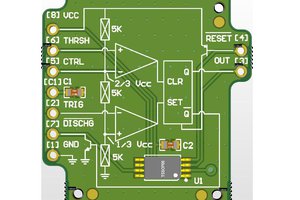
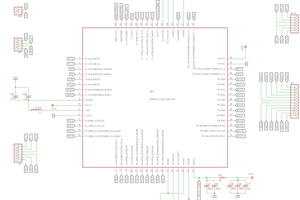
I had a great time changing this board around and creating each lighting bolt. I hope you enjoy it too!!

StormCloudSchematic.pdf

Angry Storm Cloud Schematic

Adobe Portable Document Format - 49.39 kB - 08/31/2021 at 22:42

Preview
Download

StormCloud.zip

Full Kicad Files

x-zip-compressed - 294.28 kB - 08/31/2021 at 22:37

Download

  • 1
    Start with the switch!

    The design on this board is super simple so you can solder the components on in any order. Personally, I like to start with the switch.

    If you're having trouble keeping the board from moving when soldering you can use a piece of tape to hold the board down. Just be sure not to have the tape too close to where you are soldering your joint!

    *Note: The switch is made of metal so it gets hot when soldering. Be careful touching it during and directly after soldering!

  • 2
    Next, solder on the LEDs

    I find it helpful to solder the 2 outer LEDs first and the middle on last. I usually use a spool of solder wick to support the other side of the board while soldering. (you can use anything that's a similar height to the board.)

    The long and short is referring to the lengths of the LED legs. The long leg should go through the hole labeled long and the short leg through the hole labeled short.

  • 3
    Last, is the battery holder

    I made the holes for the battery holder snug so with a little pressure it should snap into place for easy soldering!

    *Note: The battery holder is made of metal so it gets hot when soldering. Be careful touching it during and directly after soldering!

    *I like to add a bit of extra solder so the clouds eyes look nice and smooth.

View all 3 instructions

Enjoy this project?

Share

Discussions

Similar Projects

Does this project spark your interest?

Become a member to follow this project and never miss any updates