Daphne
Ameba RTL8722DM is a low-power dual-band WLAN and Bluetooth Low Energy SoC by Realtek. The RTL8722DM also include memory for Wi-Fi protocol functions and application making it simple for anyone to develop various kind of IoT applications. At the same time it has a wide range of peripheral interfaces. With all these interfaces, it can connect to most of the electronics components like LEDs, temperature and humidity sensors, and so on.
More Resources:
If you need additional technical documents or the source code for this project. Please visit the official websites and join the Facebook group and forum.
- Ameba Official Website: https://www.amebaiot.com/en/
- Ameba Facebook Group: https://www.facebook.com/groups/amebaioten
- Ameba Forum: https://forum.amebaiot.com/
 After Ameba is connected to MQTT server, it sends the message “hello world” to “outTopic”. To see the message, we need another MQTT client. Here we use a chrome plugin “MQTTLens” to be the MQTT client. You can find it in google webstore.
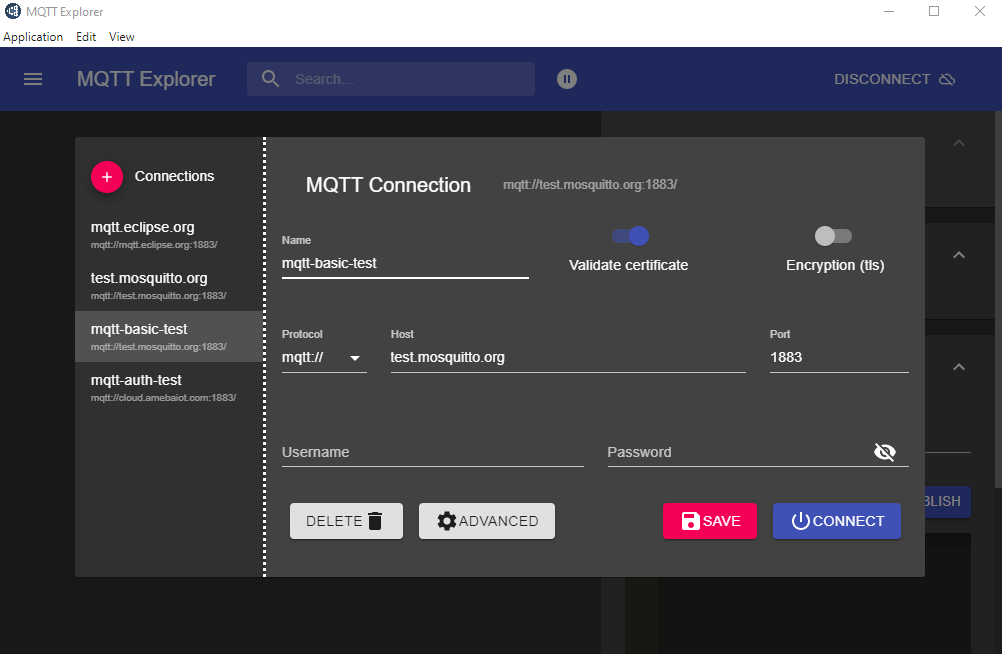
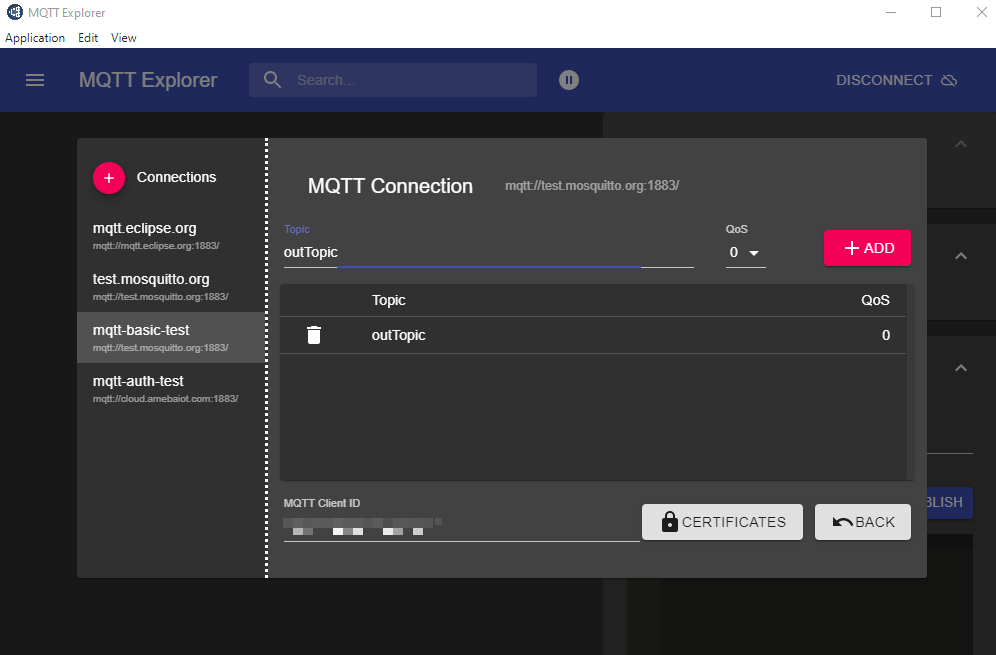 Install and open the MQTTLens, click “+” next to “Connection” on the left, and fill in the required information
 Since we have not registered the topic we want to listen to, we would not receive any messages now. Fill in “outTopic” in the “Topic” field and click “Subscribe”. Wait for Ameba to send next message (or you can press the reset button). Then you can see the “hello world” message show up.
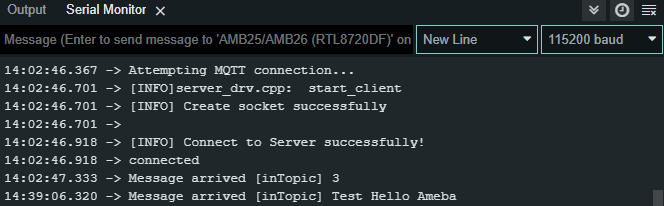
 tom Meyers
 Ivo Slanina
 Alexander