 Daniel Resio
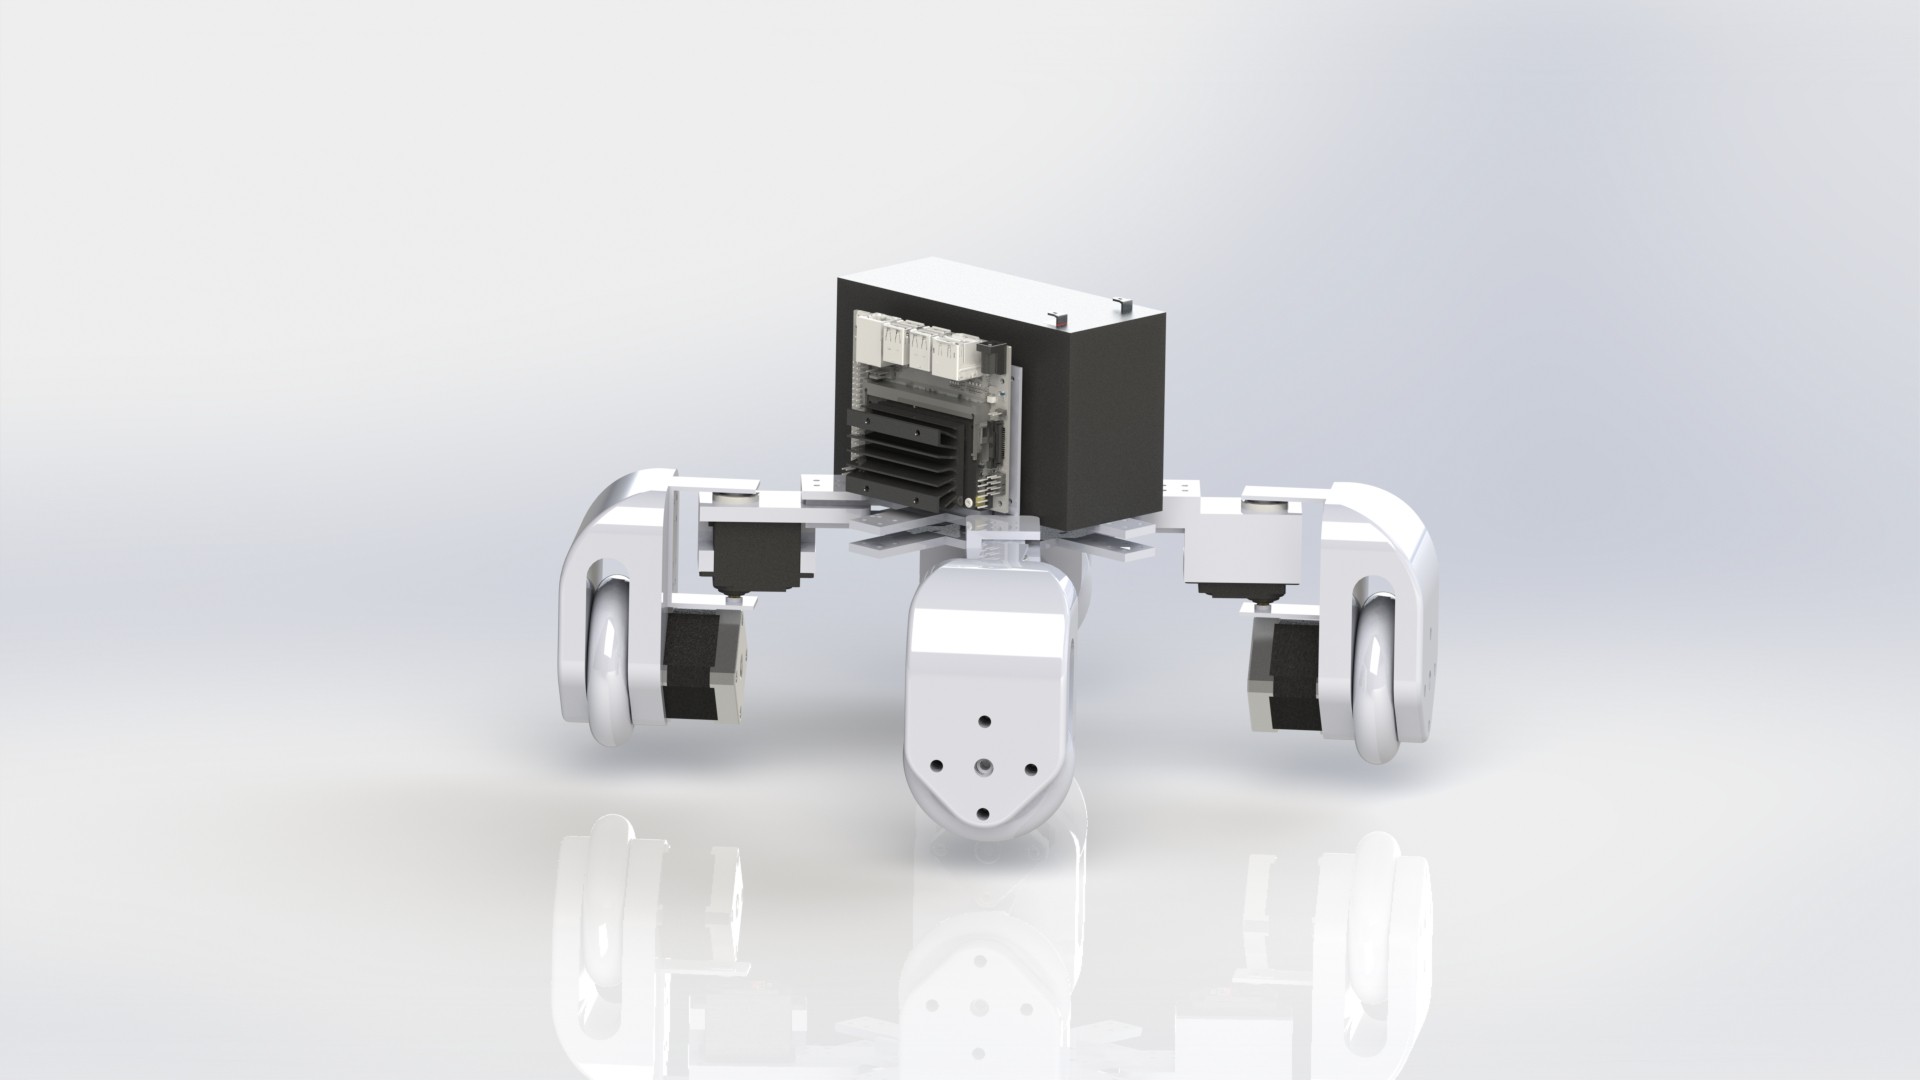
This is a basic platform for robot companions or indoor robotics using commonly found or easily obtainable parts. It is designed to work in modules that can be switched in and out depending on avaialble parts and project requirements. All mechanical parts are prioritized to be 3D printable and assembled with M3 bolts and nuts. Source files are developed in Solidworks and KiCad.
Currently Under Development
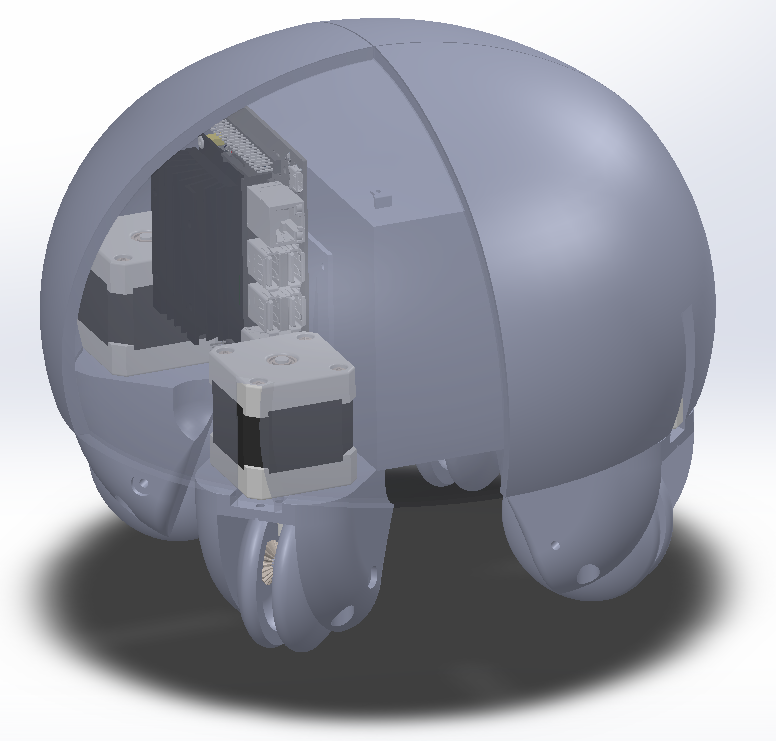
- Scrappy Core and Main Mechanical Components (Printible on Prusa Mini)
- Jetson Nano Codebase
- SLA (Sealed Lead Acid) Battery Support
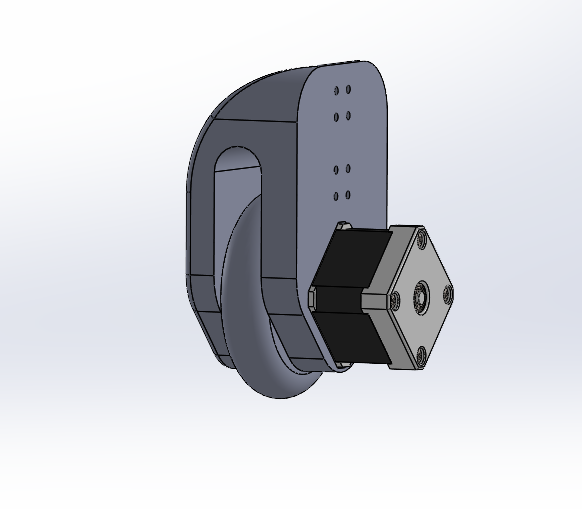
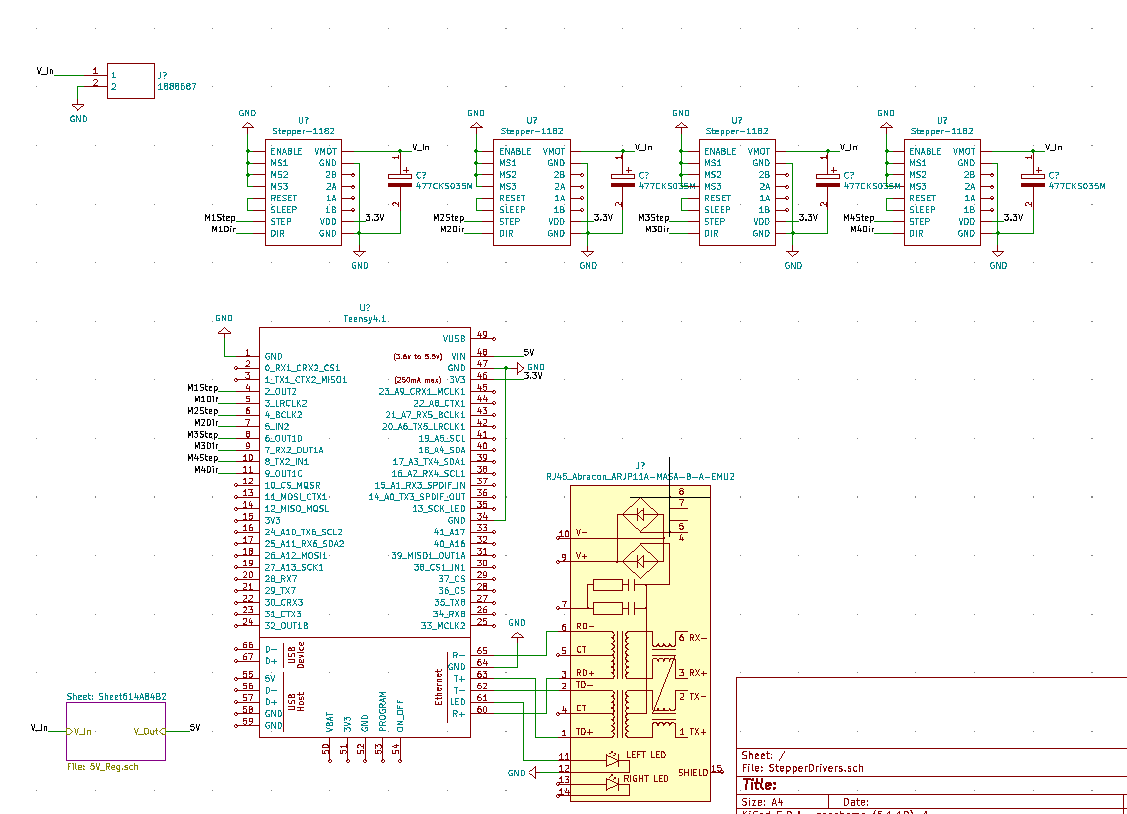
- Stepper Motor Support
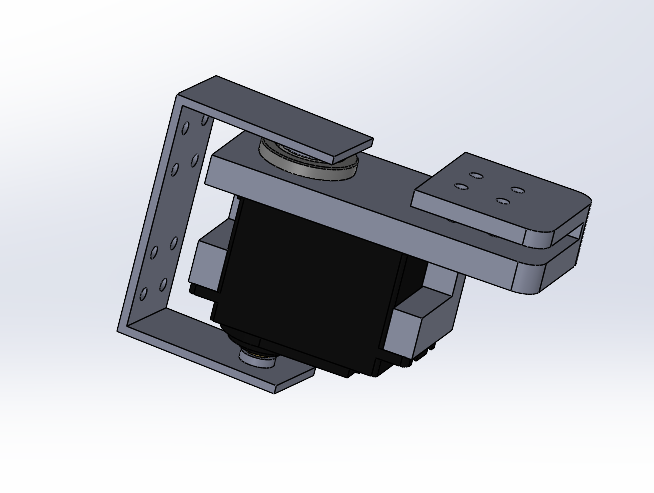
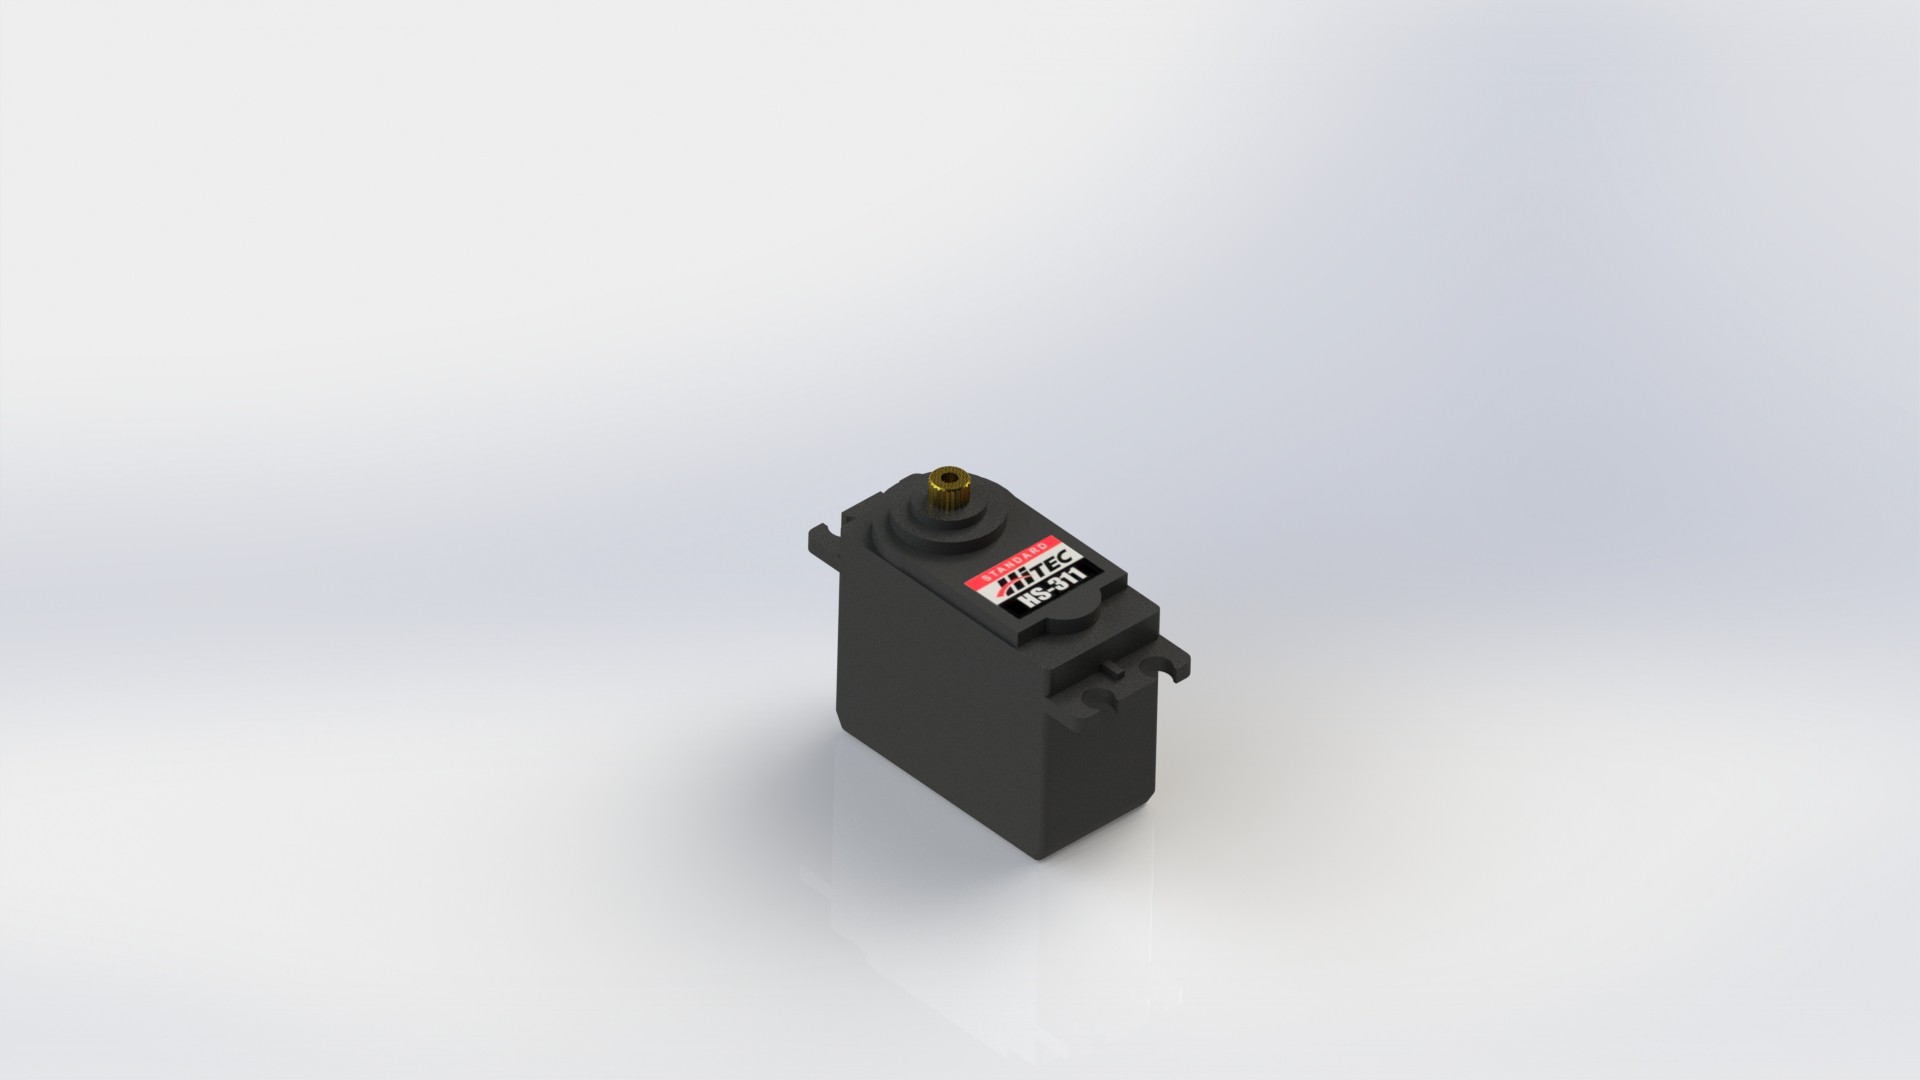
- Hobby Servo Support
- ROS Support
System Support Goals:
Batteries
- SLA or LiFePo Batteries(12V or 24V)
- LiPo Batteries (2-6s)
- Lion Batteries (3-8s)
Controllers
- Arduino Supported Microcontrollers (Focusing on Teensy Series)
- Raspberry Pi
- Jetson Nano Jetson Nano and Raspberry Pi may need PWM expansion board or Arduino microcontroller for lots of PWM interfaces
Acuators
- Hobby Servos
- DC Motors
- Brushless Motors
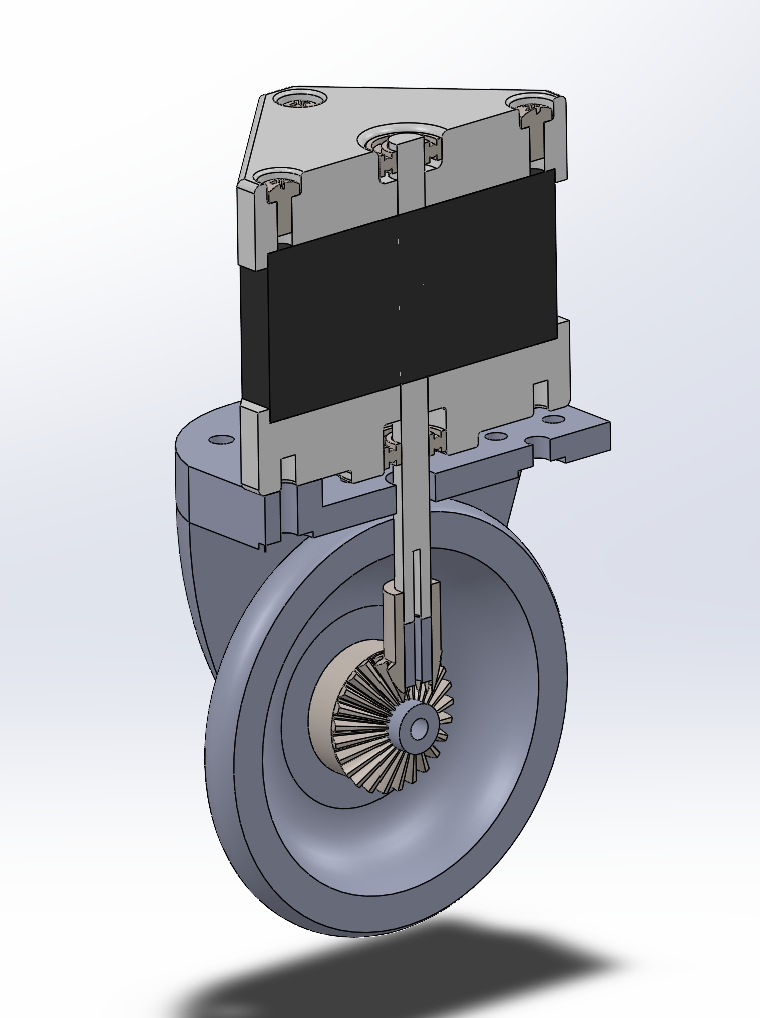
- Stepper Motors
Sensors
- Camera for Raspberry Pi and Jetson Nano
- Raspberry Pi Lidar
Software
- ROS (Melodic or Eloquent) implementation
- Will be updated to Noetic or Foxy when Jetpack gets updated
- CANbus network for modules
Mechanical
- Core Versions
- Different Core Modules for Different Battery Types
- Multiple Core Sizes
- Mobility Attachments
- Mount to Bottom of Core for Motors or Servos
- Sensor Attachments
- Mount to sides and top of Core
- Display Attachments
- Mounts to sides and top of Core
- Core Shell
- Mounts Over Core and can simplify Sensor and Display Attachemnts
Electrical
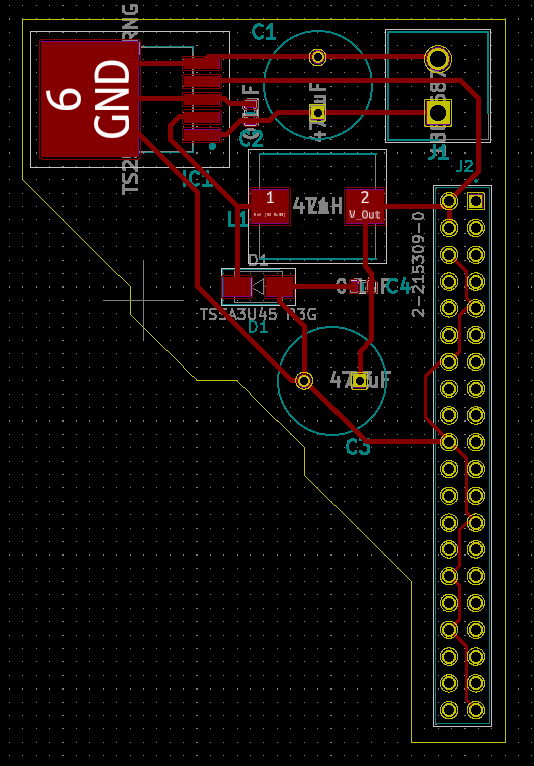
- Power Distribution System (Scaled with CANbus Network)
- DC Motor Controller Using H-Bridge
- Raspberry Pi and Jetson Nano Breakout (Hat)
- Arduino Teensy Breakout
 Anthrobotics
 Hacker House
 Matt
Matt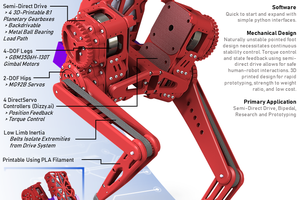
 Darren V Levine