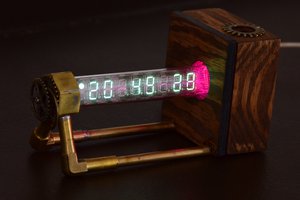
 LED Lightwell
Features include:
- Always precise time because of synchronization with NTP time servers
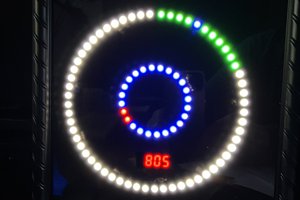
- High display brightness
- Indoor temperature, humidity and barometric pressure measurement
- Sending temperature, humidity and barometric pressure data to MQTT and Thingspeak.com server
- Getting a weather information and forecast for your city (temperature, barometric pressure, humidity, cloud and wind structure)
- Output of any predetermined information in the form of a creeping line
- Remote transmission of any text messages via MQTT server and it’s output on the clock
- No buttons – control the clock via WEB-interface from PC, tablet or smartphone
- Brightness and output speed of adjustment
- Two alarm clocks
- Firmware update via Wi-Fi
- Information display on 3 languages: English, Russian, Bulgarian
- Three types of case material: PETG plastic, acryl and wood
- Powered via USB
- Normal USB port or phone charger
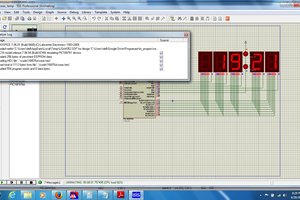
- An option to install different alternative Open Source firmware, designed to MAX7912 matrix control
- Hackable: Open source hardware and firmware, Displays information read via UART
PCB files, firmware and case sources can be found on Git
 Ricardo Sappia
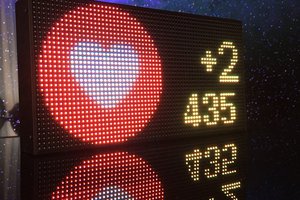
 tnt.vlad