0%
0%
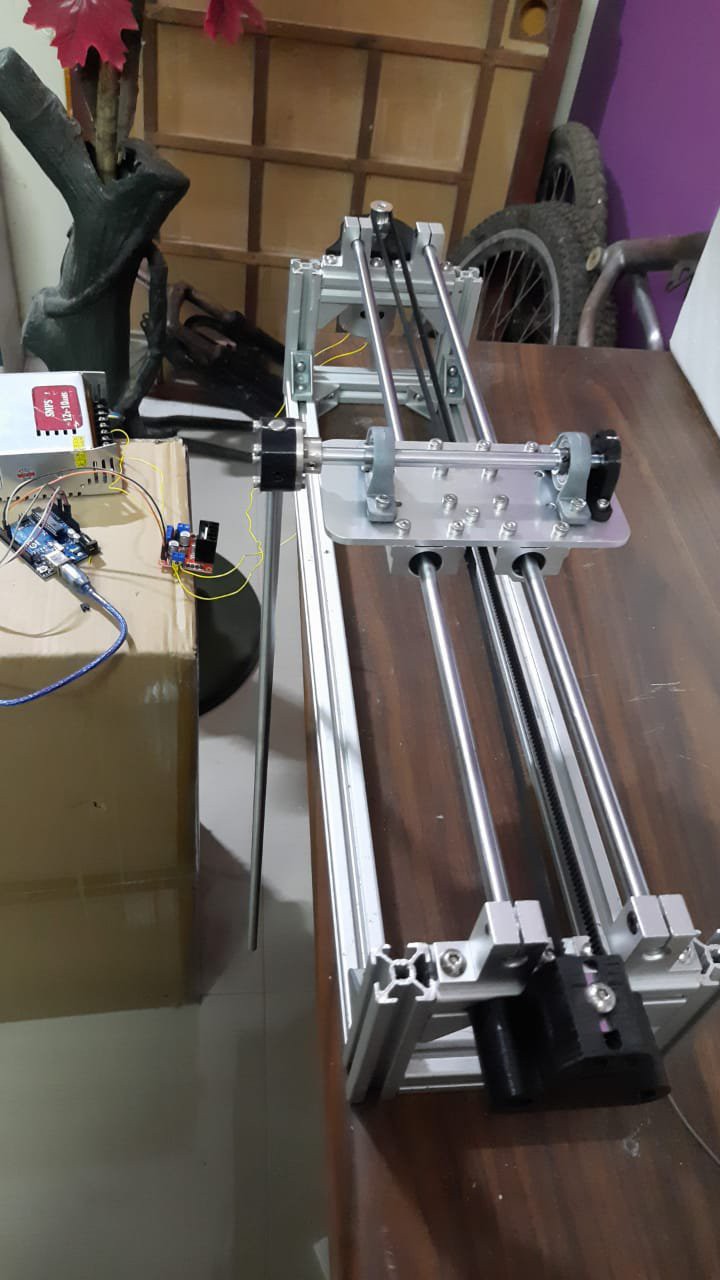
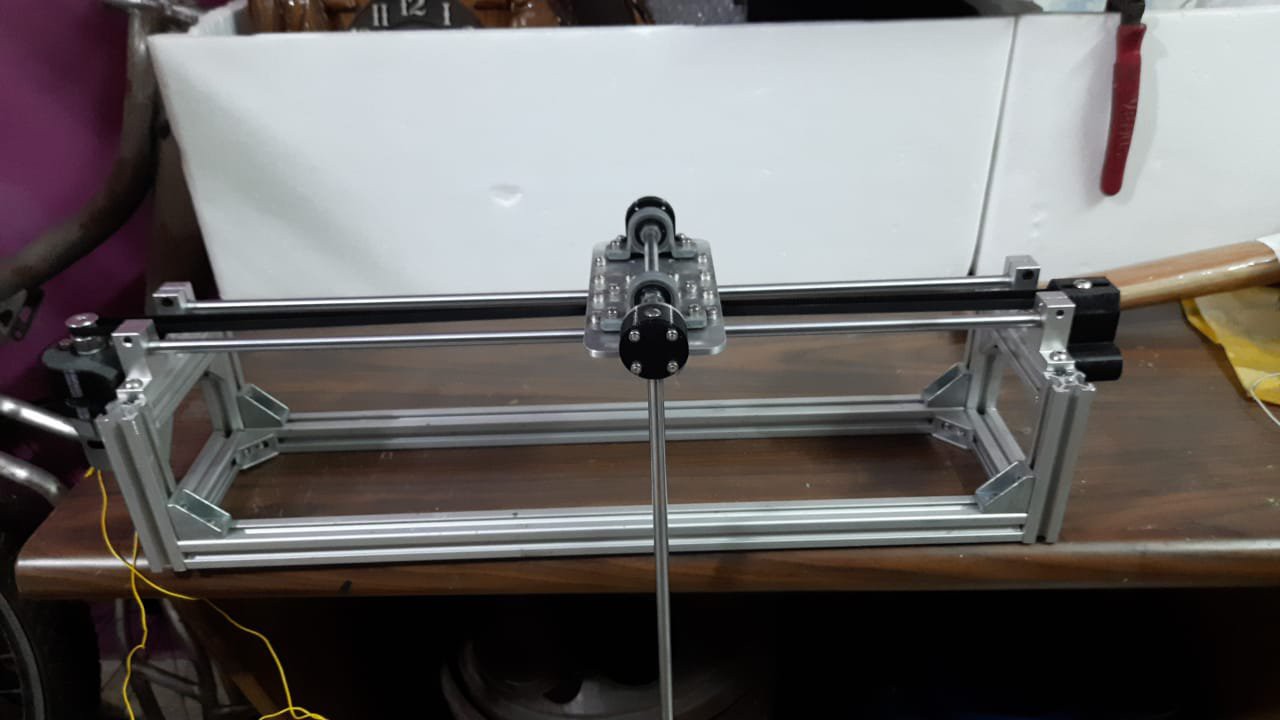
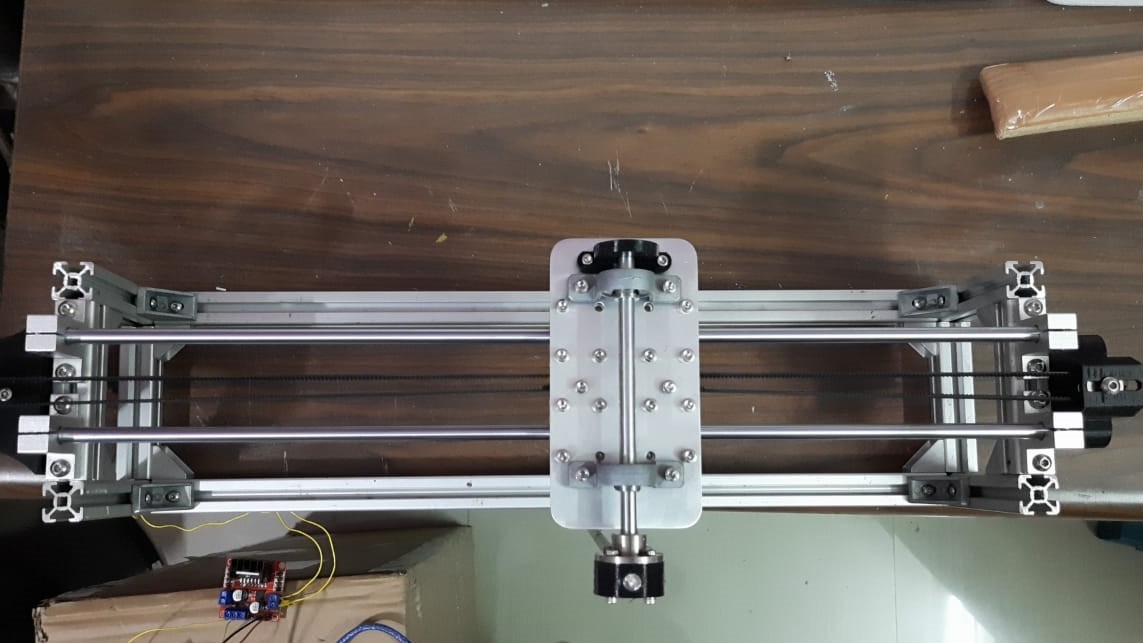
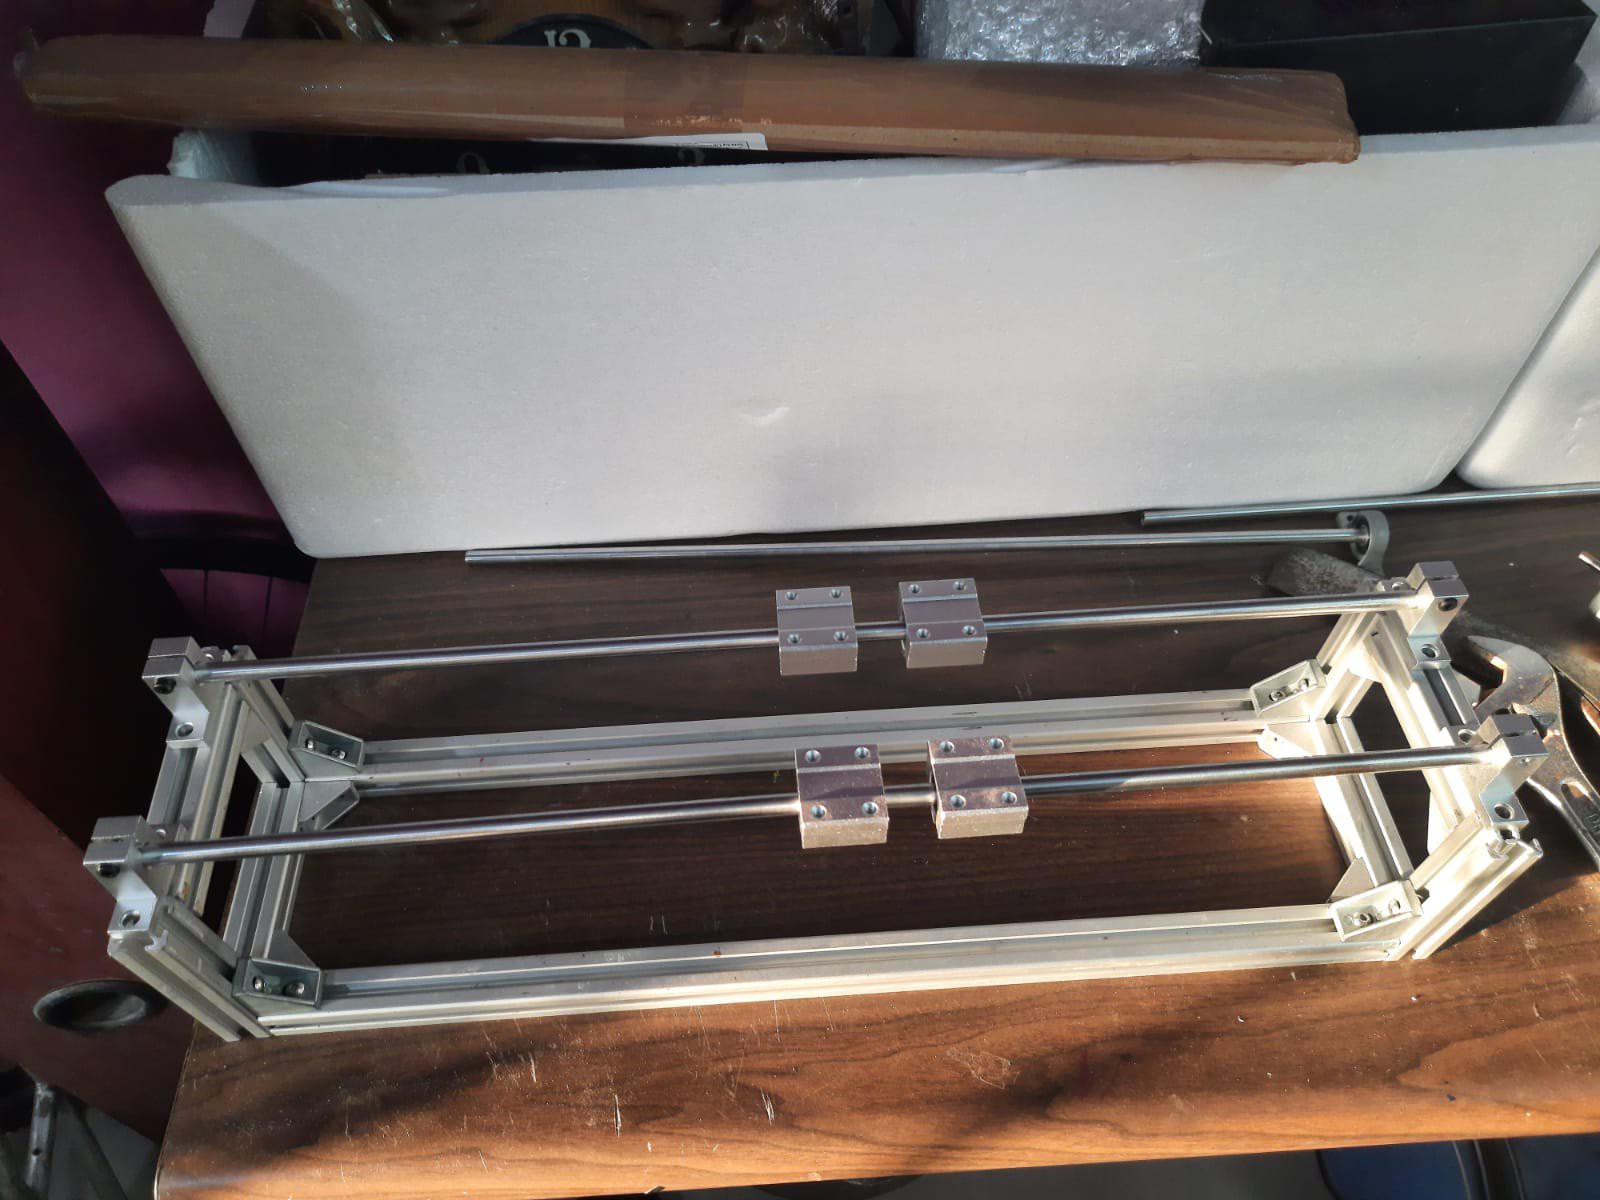
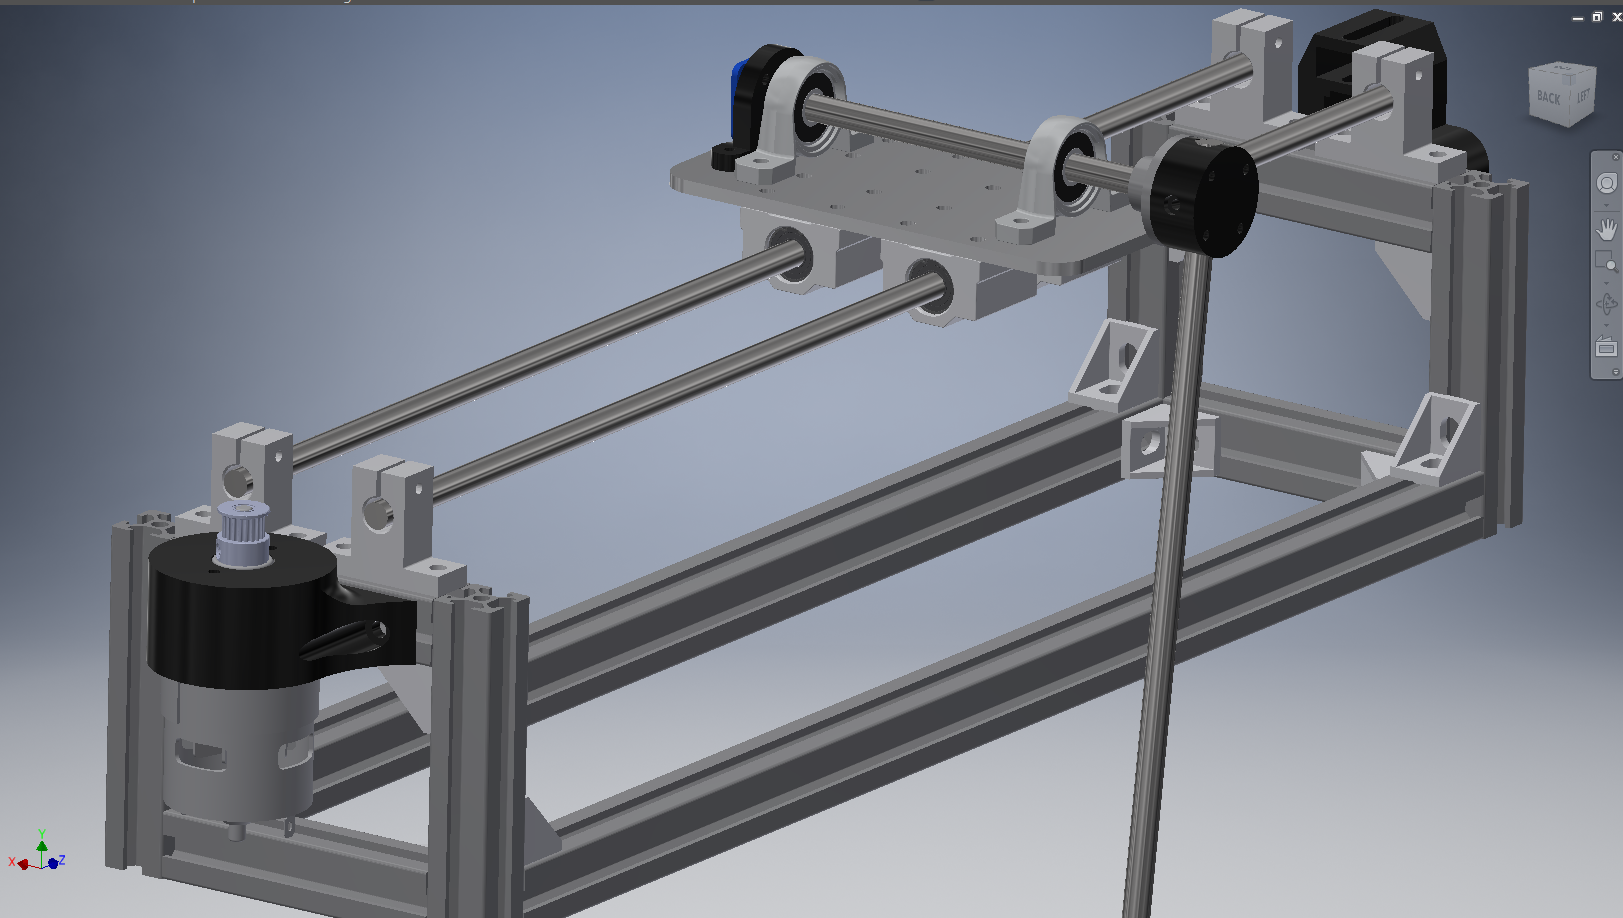
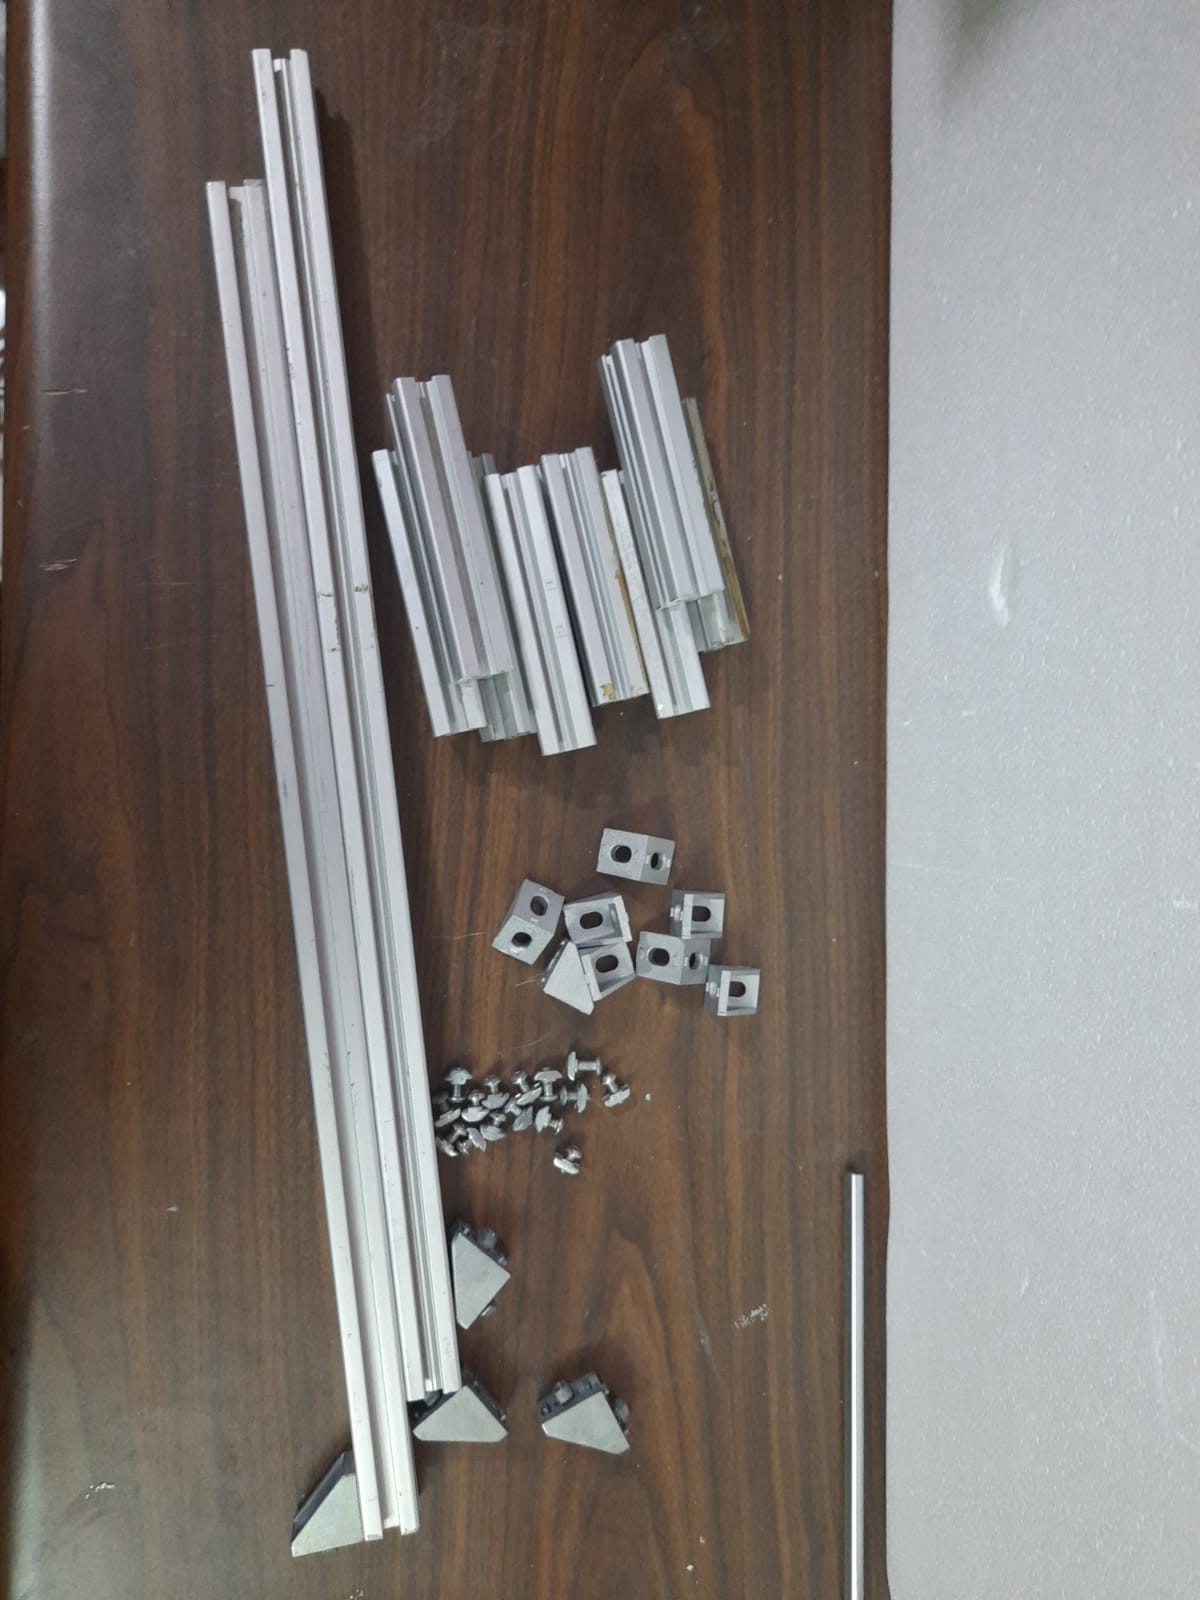
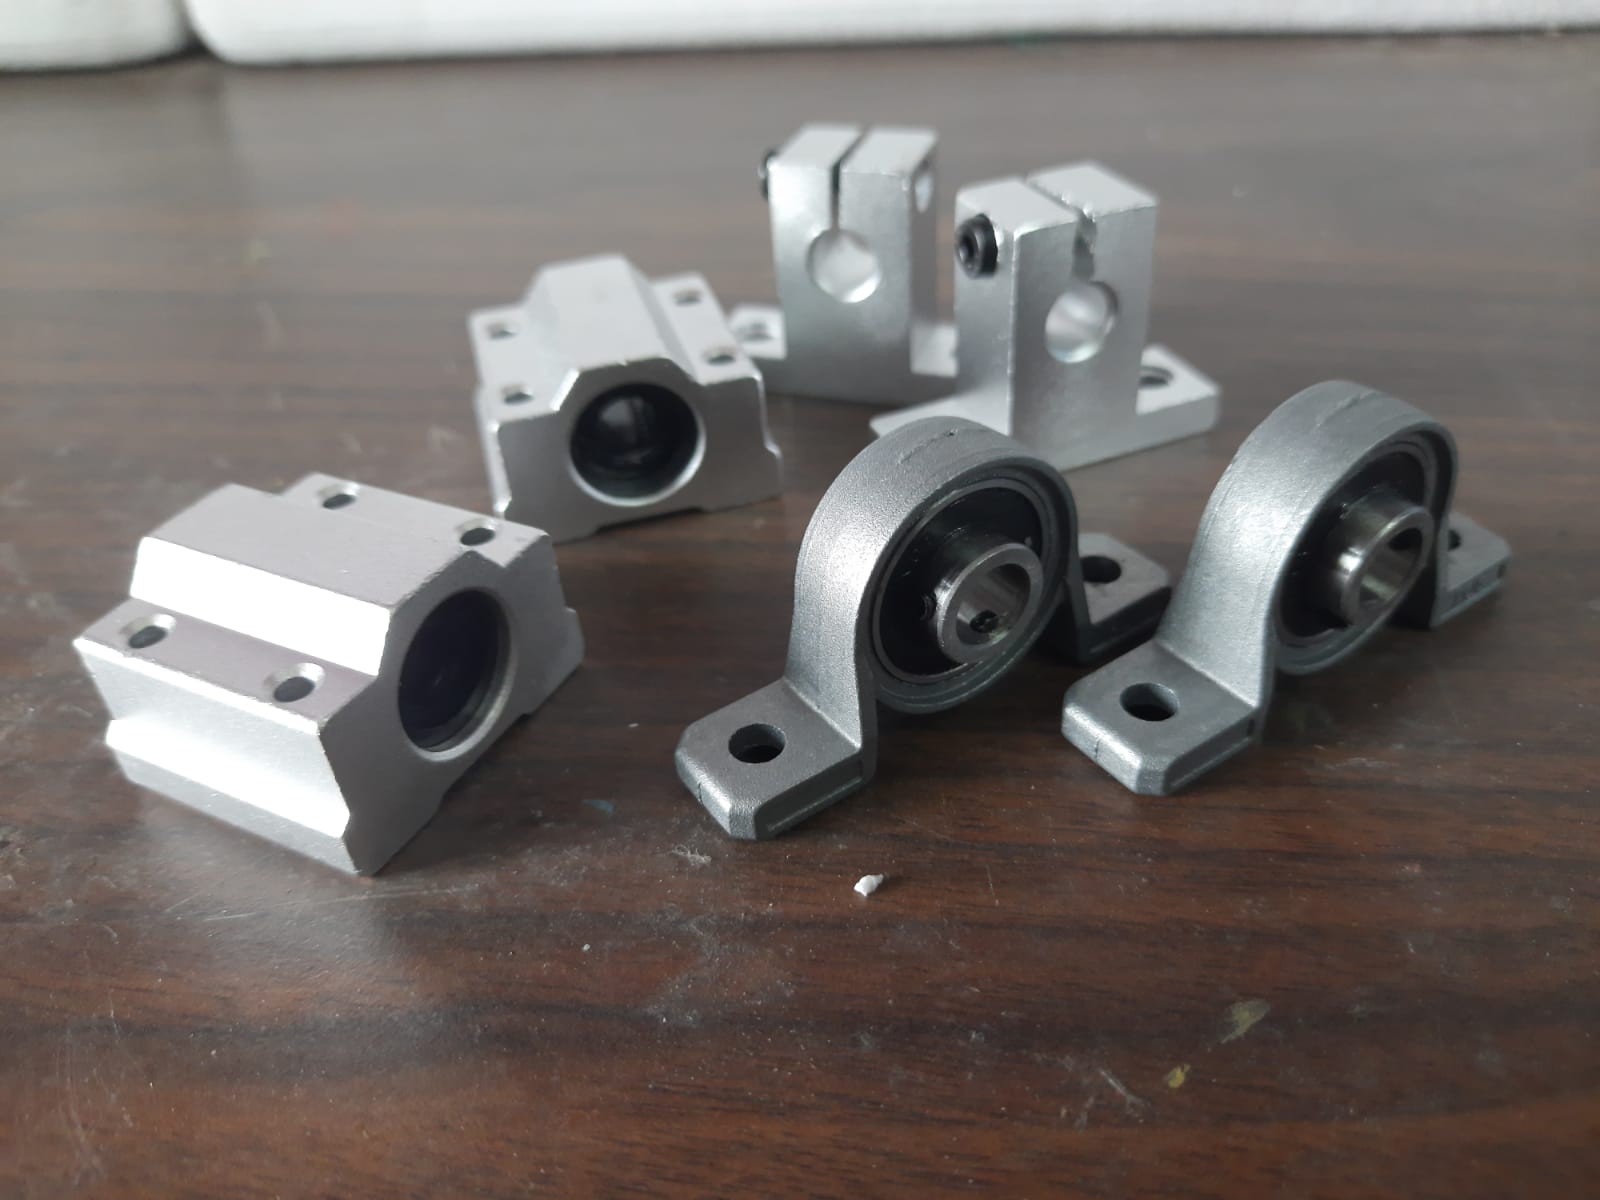
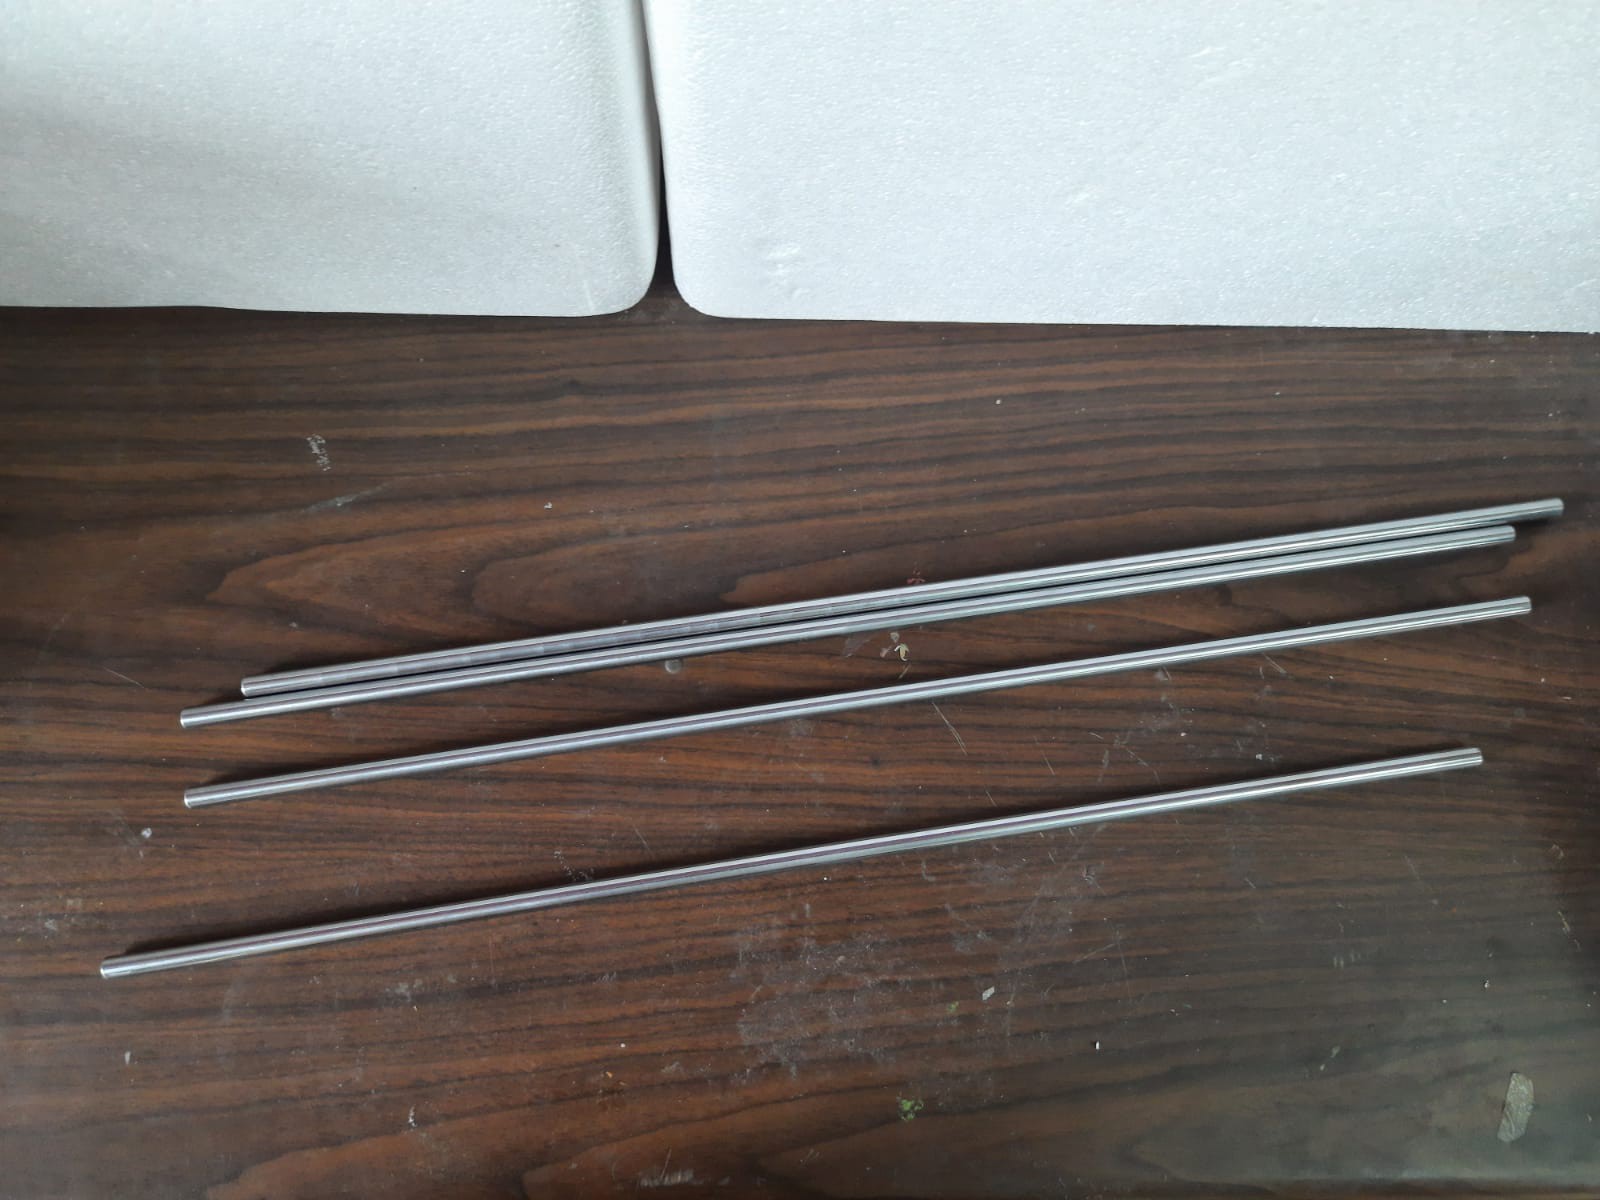
Inverted pendulum on a cart
Building an inverted pendulum system with PID control. Trying to achieve swing-up.
 Dharshan
Become a Hackaday.io member
Already have an account? Log in.
Just one more thing
To make the experience fit your profile, pick a username and tell us what interests you.
Pick an awesome username
hackaday.io/
Your profile's URL: hackaday.io/username. Max 25 alphanumeric characters.
Pick a few interests
Projects that share your interests
People that share your interests


 Misty Lackie
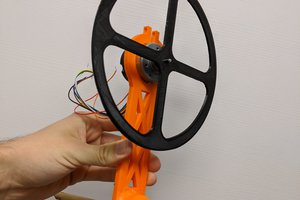
 A.M. Smith
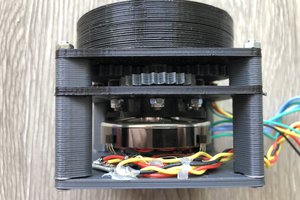
 Pavel G.
I saw that you used a cube magnet with the Seeed magnetic encoder, but my understanding is that the AS5600 chip requires a diametrically polarized magnet which I am having trouble finding. Did you find that it worked well with the cube magnet? Is there anything special about the magnet in terms of polarization?