 Jesús Tamez-Duque
When trying to find the balance between low-cost and strong materials we did some research about how we could make our 3D printed parts just resistant enough. We had heard about Carbon Fiber and thought about giving it a go. We studied the process and quickly realized it was a bit complex for us. We wanted to skip the molds and find an easier way. Maybe covering 3D printing parts?* After several attempts, we finally found the best way to do it. Now we’d like to share it with you.
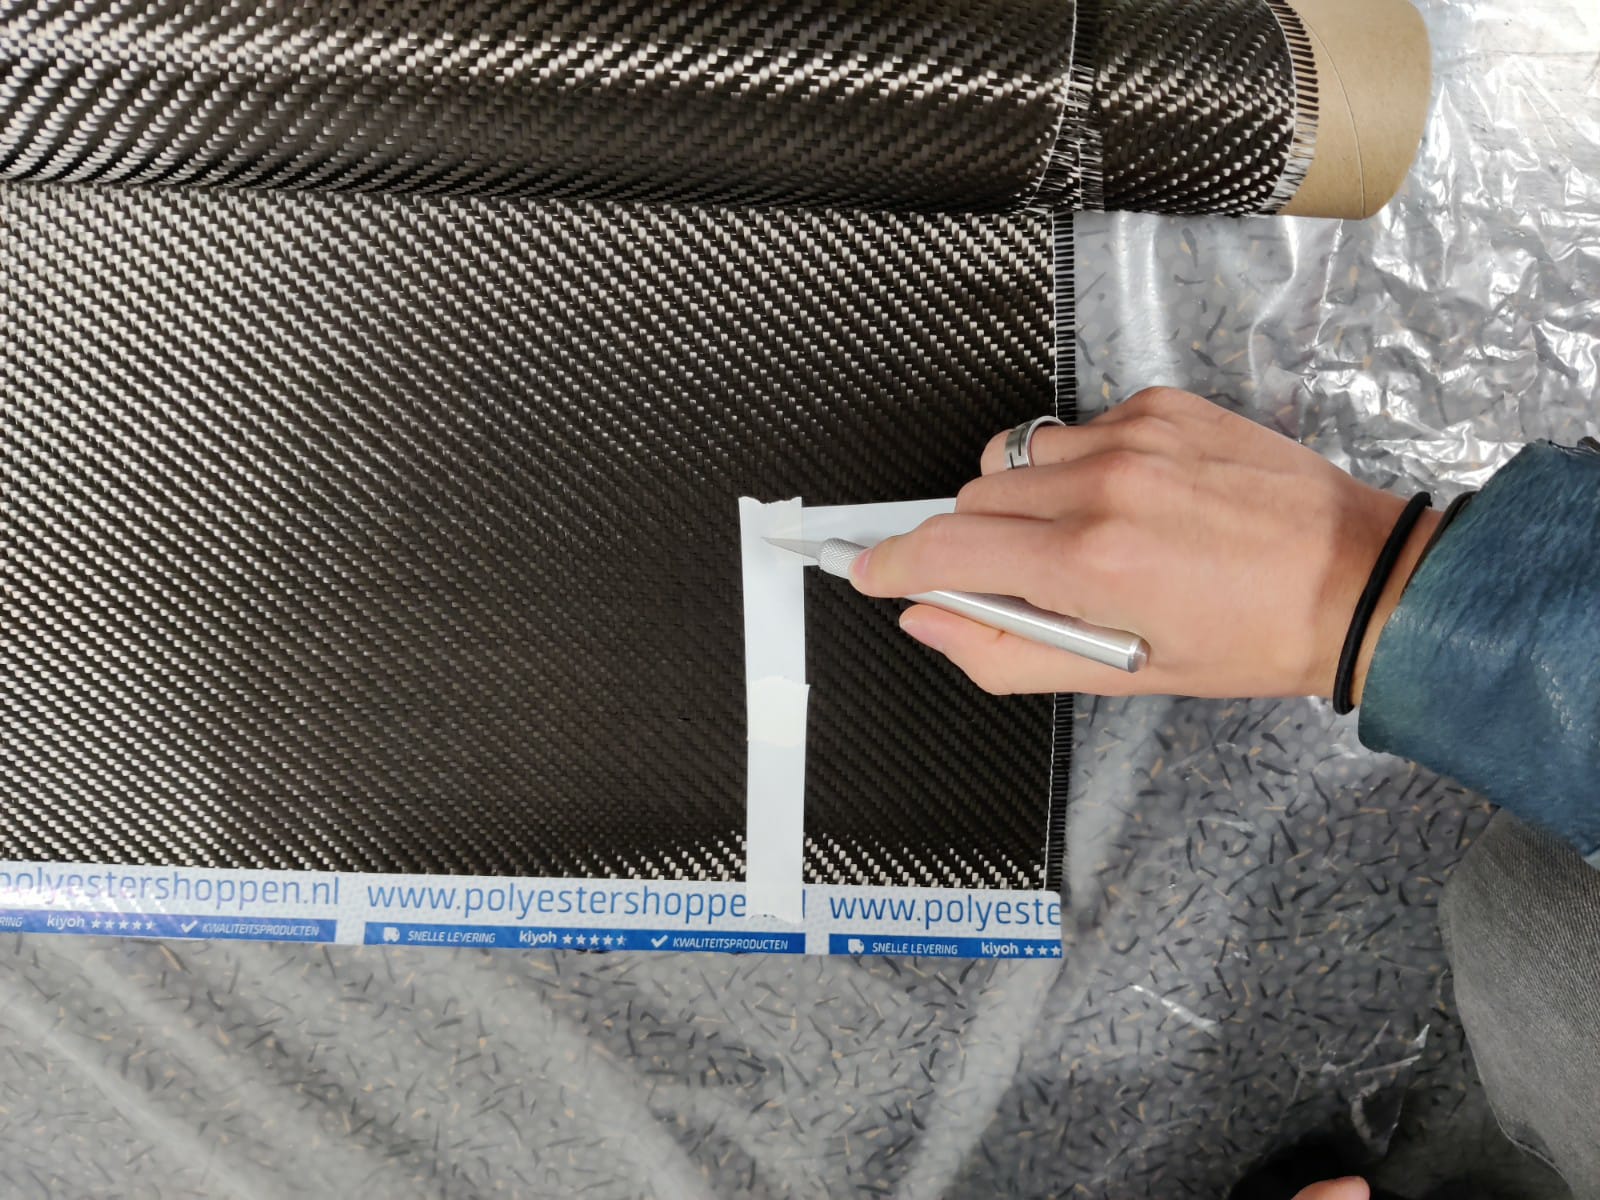
- Keep in mind that Carbon Fiber sheets can be harmful to the skin, so it’s important to dress properly. You will need to cover every visible part of your skin so we recommend you wear gloves, a face mask (covering nose and mouth), glasses, and a coat.
- After you dress up and get your Carbon Fiber ready, we recommend you measure the pieces you want to cover and draw the area you need on the fiber marking it with tape. Use a penknife to cut the area, the tape will help to get the little fibers that form the sheet to stay together when you cut it.
- Prepare the epoxy resin following the indications of the specific brand you bought (the one we use requires 2 parts of resin and 1 part hardener solution). Take into account that the mixture starts getting hot minutes after combining (20 min for ours), so you need to make sure to work fast and to mix only the amount you will really use. We recommend buying from polyestershoppen.nl or getting West 105 + 205 epoxy resin and hardener.
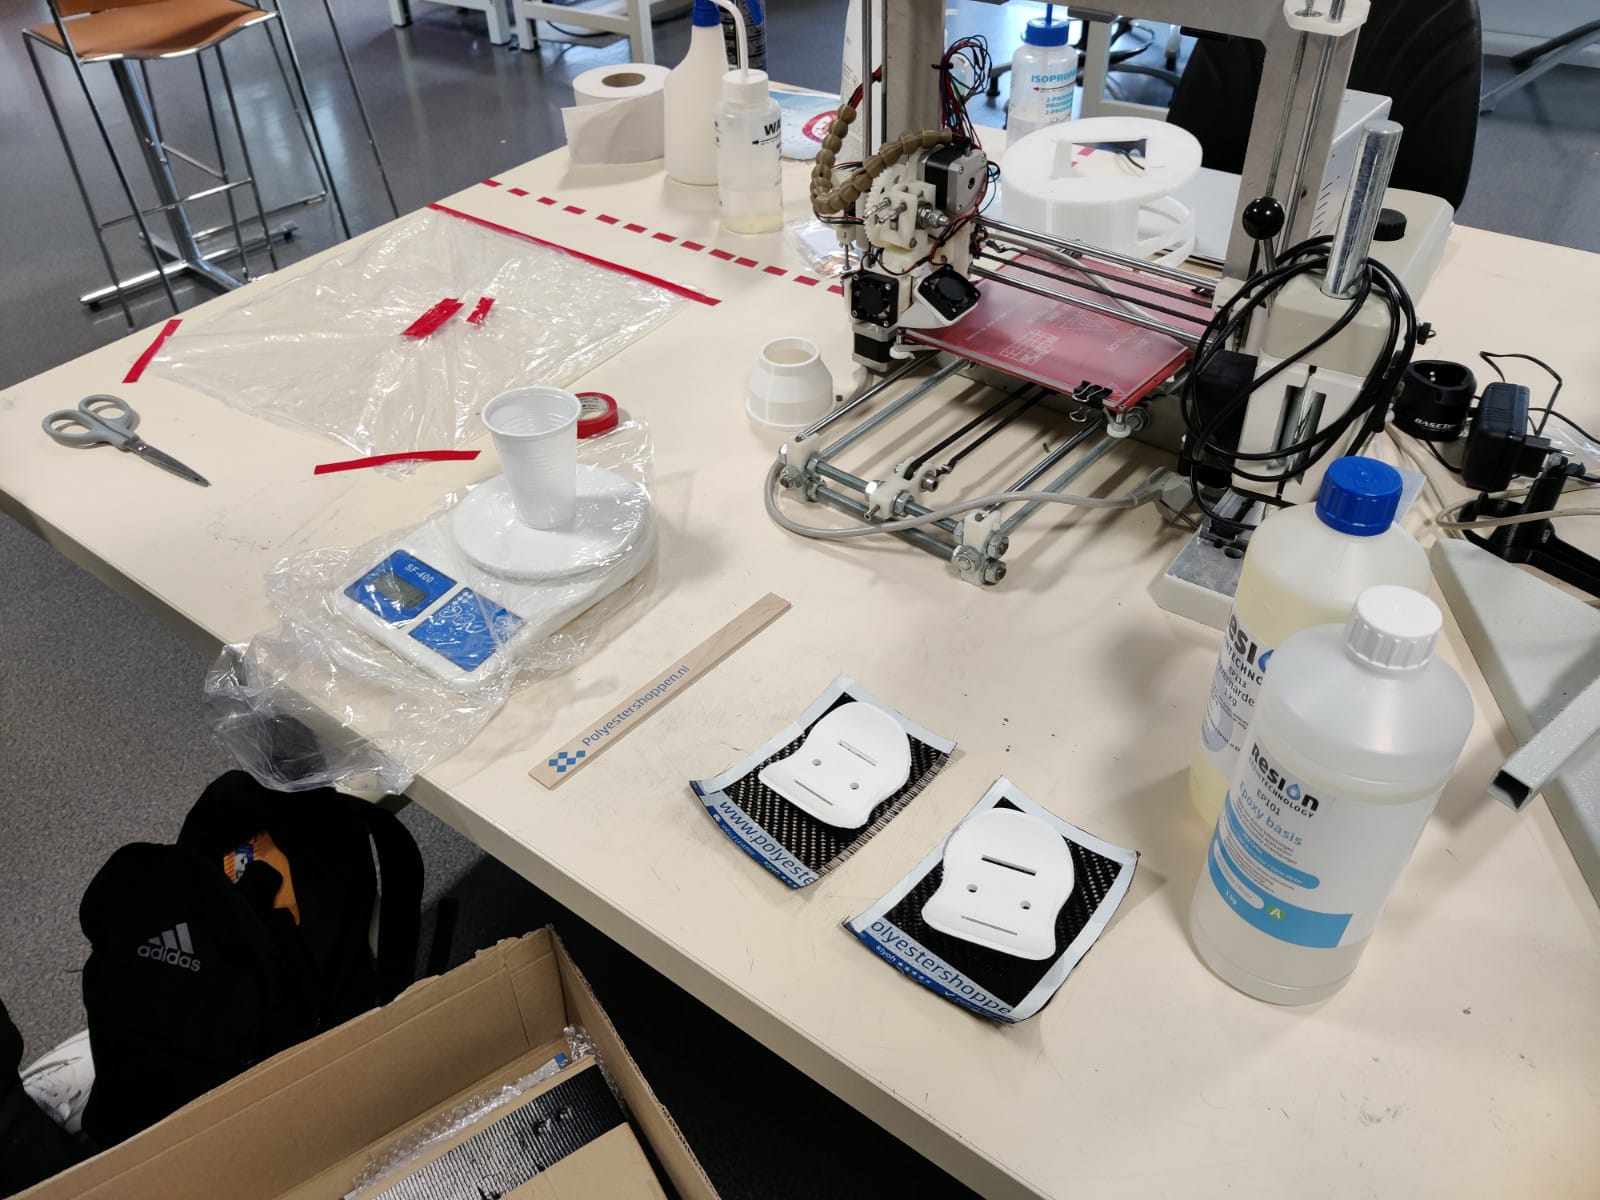
- When you have your epoxy ready and the Carbon Fiber cut to size, we recommend you cover both sides of the Carbon Fiber sheet with epoxy. Afterwards, place it on top of the PLA part you want to reinforce. Add a bit more epoxy on it and make sure it touches the whole surface so that no bubbles are formed. We recommend reinforcing one side at a time.
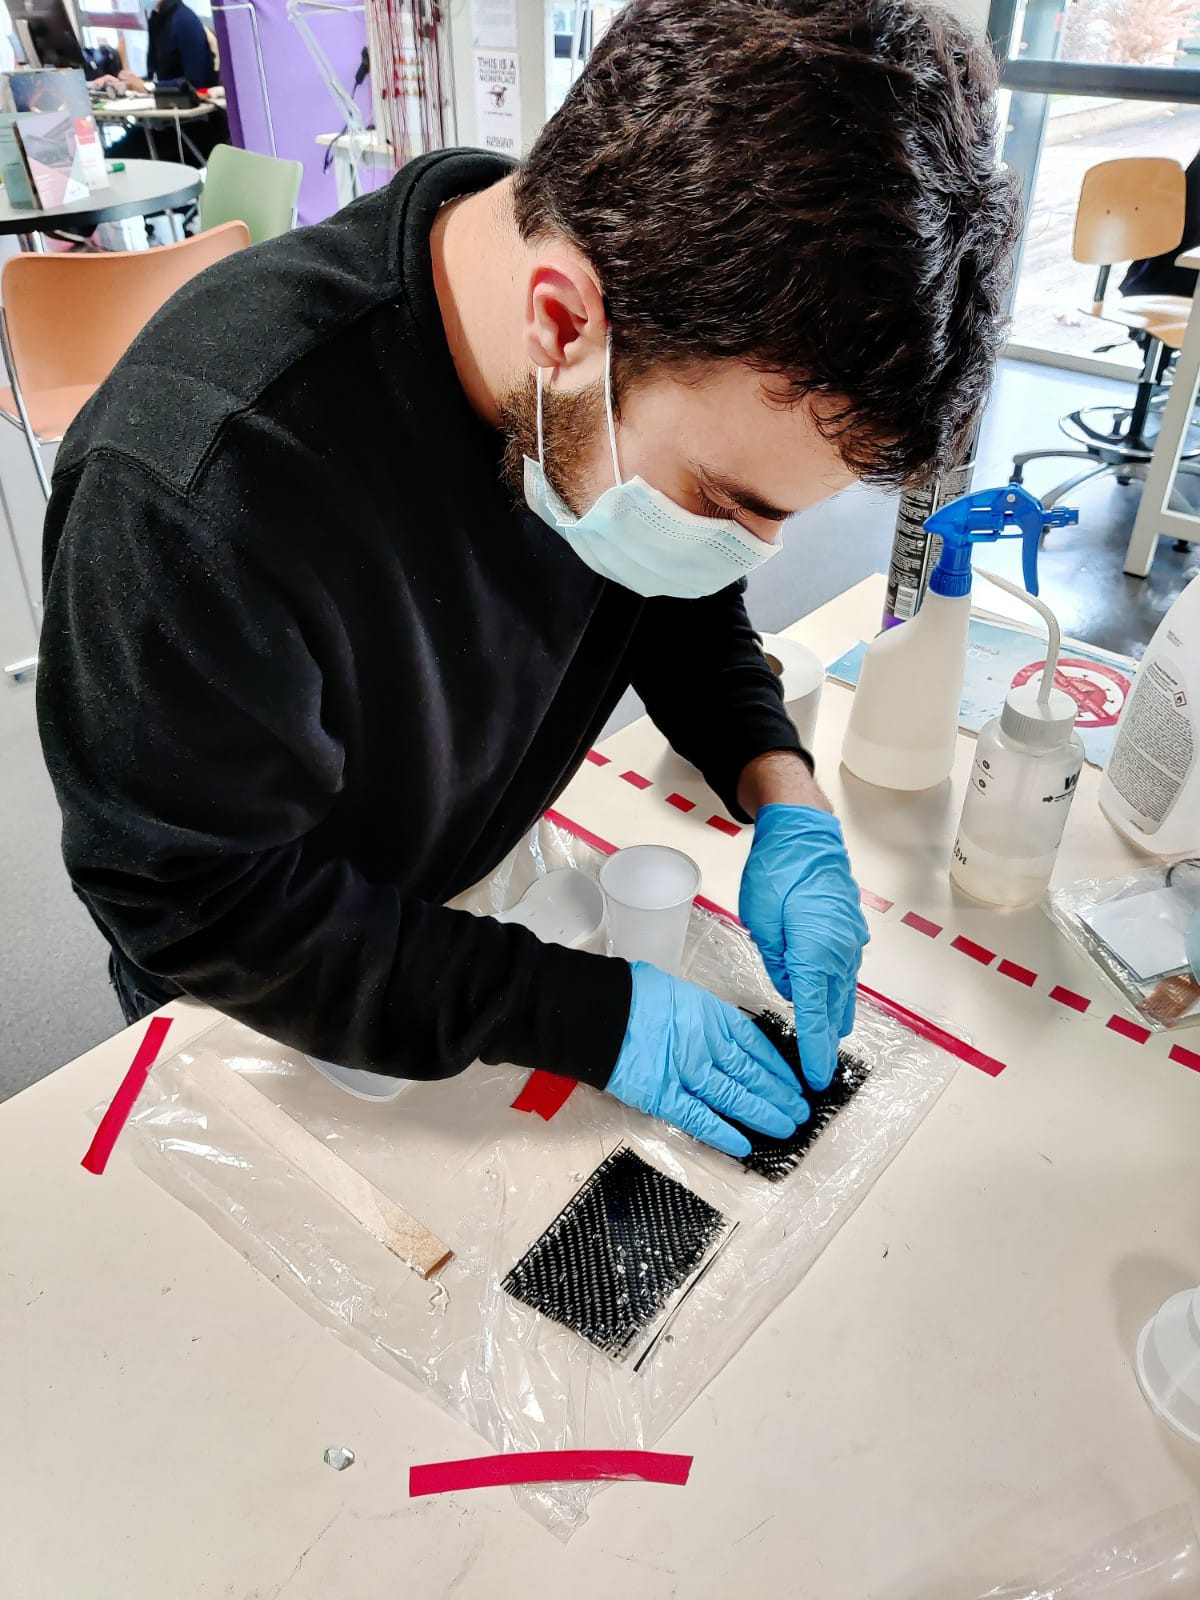
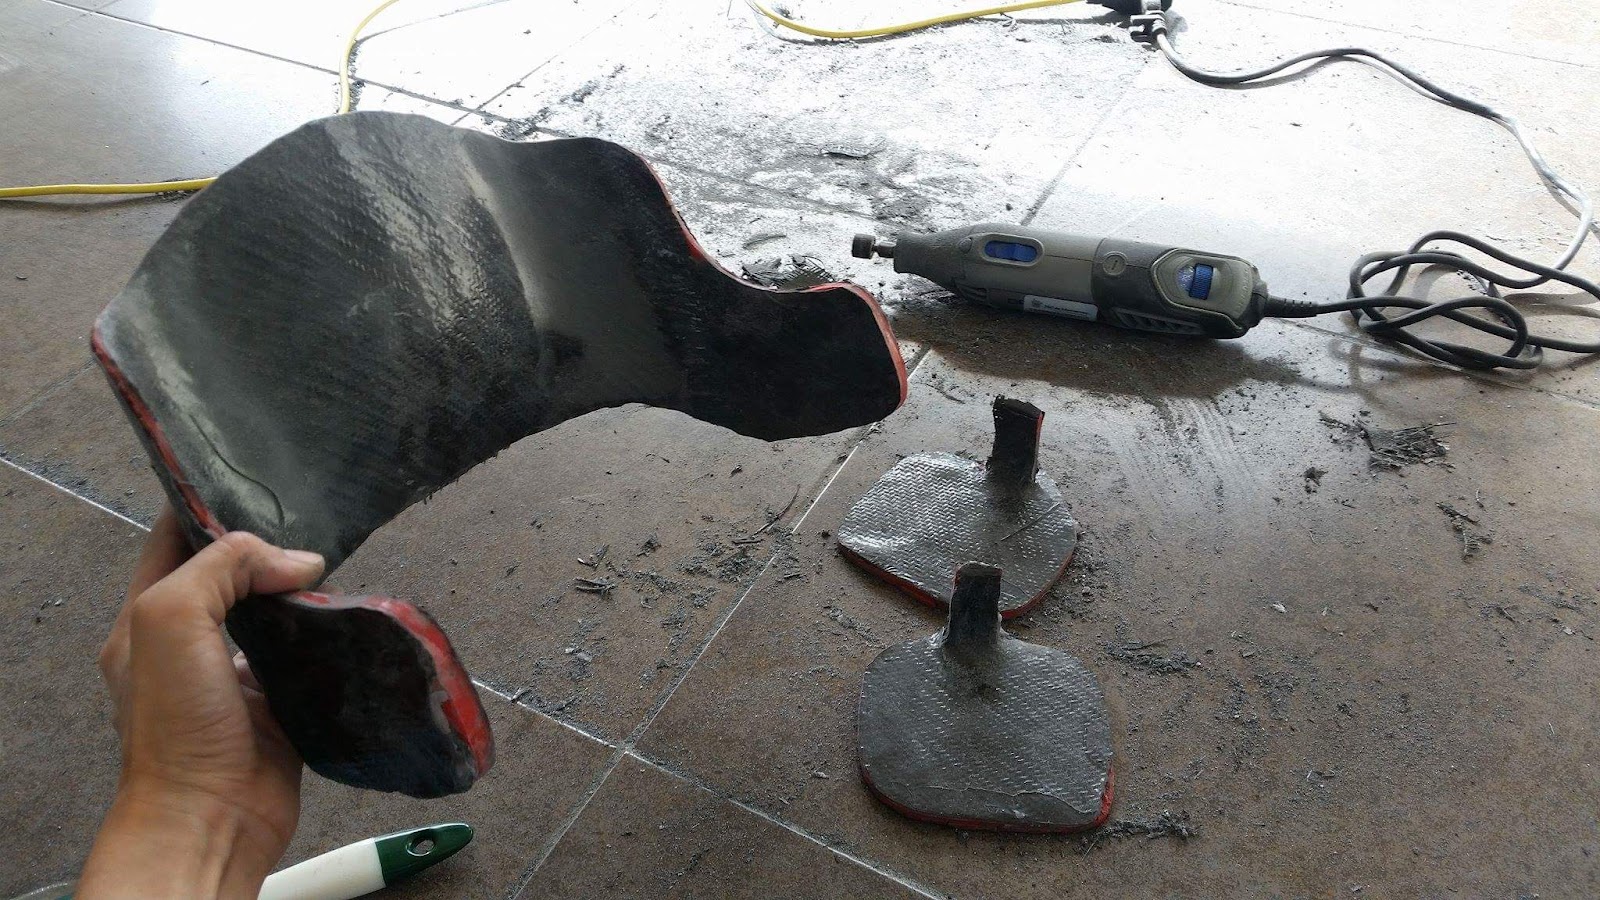
- Let it rest for a whole day and after 24 hours you may cover the other side if needed. Make sure you don’t move or touch it while it’s drying to avoid leaving unwanted marks. After every side has been covered and the part has completely dried, you can now cut the excess and give it its final shape. We recommend using a Dremel or a similar rotative tool. Make sure you protect your skin, eyes, and mouth especially for this part. Carbon Fiber particles can be really sneaky and they itch a lot, potentially causing important problems in your lungs if you let them in, so make sure you take this warning seriously ! If you can work outside that would probably be better; try using a box or a bag as well to collect all of the dust.
Hope you liked our mini tutorial, If you have any suggestions or additional questions do let us know ! We are sure there’s room for improvement.
Remember you can build your own exoskeleton with us. Follow the link for more information in our website: http://www.indi.global/alice
* This idea came originally from Jeff Gorges at the University of Houston.
Discussions
Become a Hackaday.io Member
Create an account to leave a comment. Already have an account? Log In.