 tomcircuit
I received my PCB from OSHpark earlier in the week, and finally had a chance to populate them. I already had parts on hand from my prior calculator battery pack exploits, so I didn't have to worry about component shortages. No issues with the build, and it mated perfectly with one of the two 3D printed PCB holders I had made for the occasion.

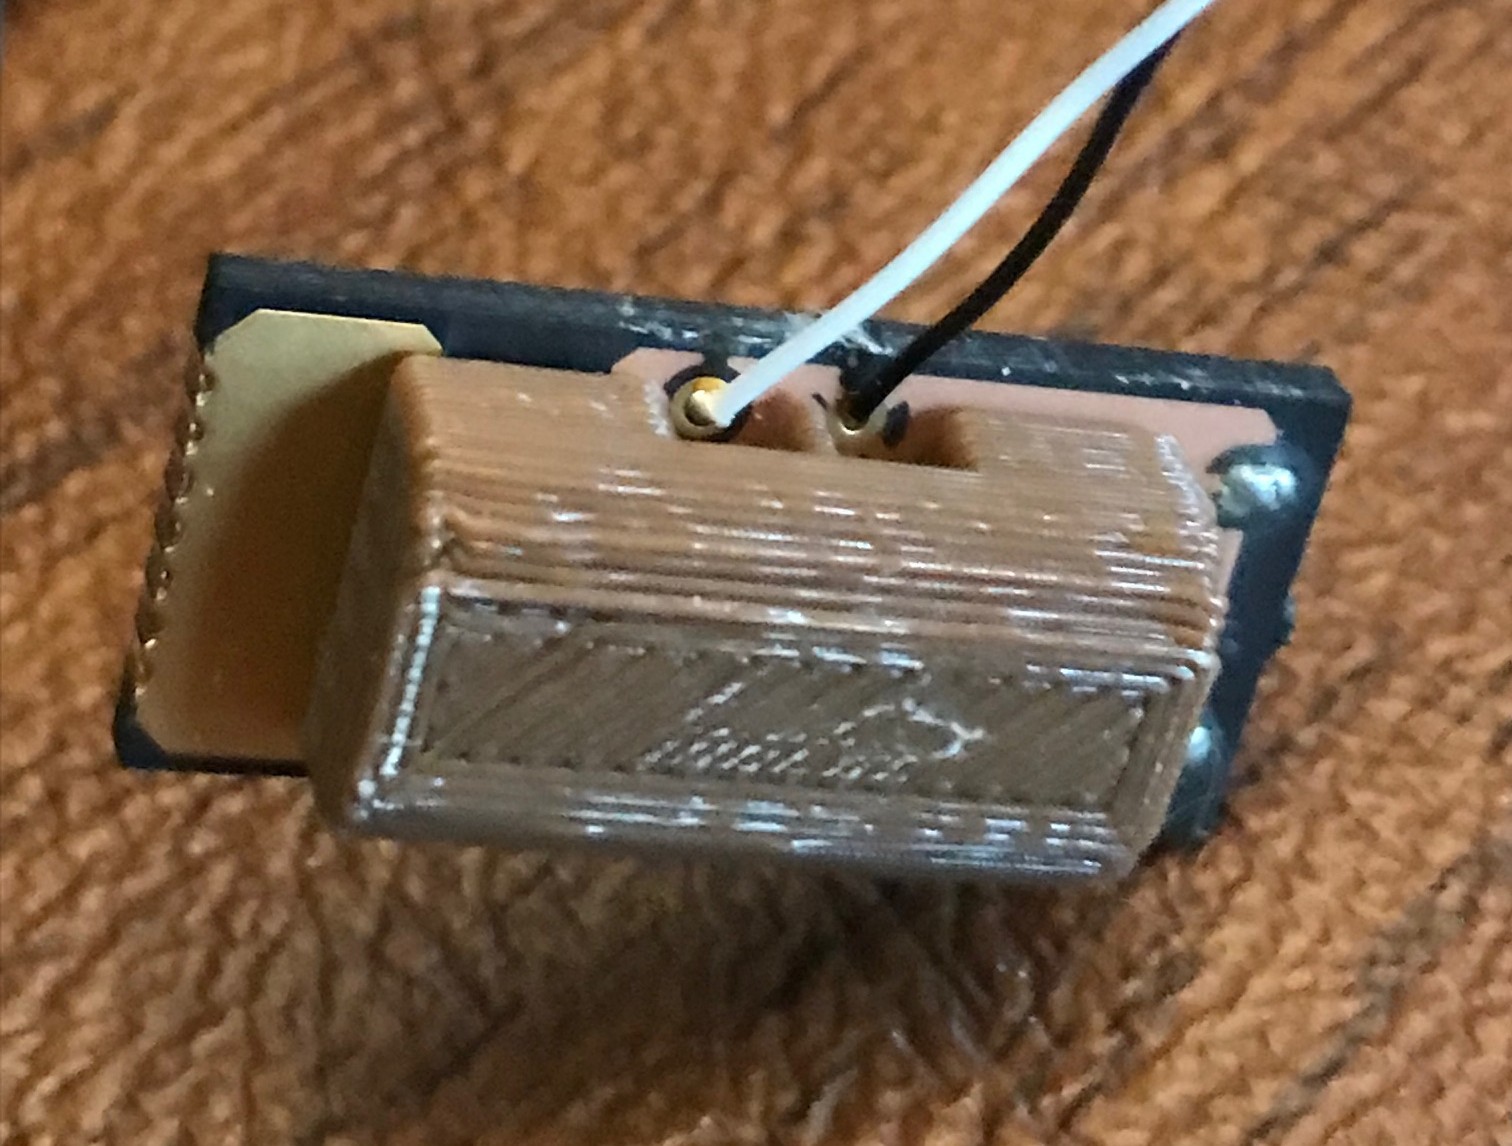
A better view showing off the PCB holder and the clearance for the USB solder blobs and end terminal
To prep the HP28S for battery upgrade, I first had to prep the LiPo battery for its new home. I did this by removing the positive wire, and soldering on a much longer wire (too long, in fact - it really only needs to be about 8cm long) and then placing some "EMC tape" over the positive end of the battery. This makes that entire end of the cylindrical battery positive, so as to make contact with the HP28S positive spring terminal. Similarly, I tacked on a longer negative battery lead, which really only needed to be about 5cm long in hindsight. I'll take a photo of the next battery that I prep and post it in a subsequent log.
The HP28S battery cavities have some foam tape stuck in there, presumably to keep the N cells from rattling around. The 13450 LiPo battery is a very tight fit so this foam has to go. After removing the foam, I used a 1/2 inch drill bit to very carefully enlarge (more like: 'scraped') the cavity. Even still, for this particular calculator, the 13450 LiPo cell is in there so snugly it's probably a "one-way trip".
Something to consider for anyone thinking about doing this mod to their own HP28S: you may not be able to get the LiPo battery out!
I had already charged the LiPo cell for a few hours, until the charge LED extinguished, so I knew the PCB was working well. I then stuffed the LiPo cell into the upper cavity and placed the PCB and holder into the lower cavity. The PCB and holder seemed to "grab" something in there and stayed put pretty well.
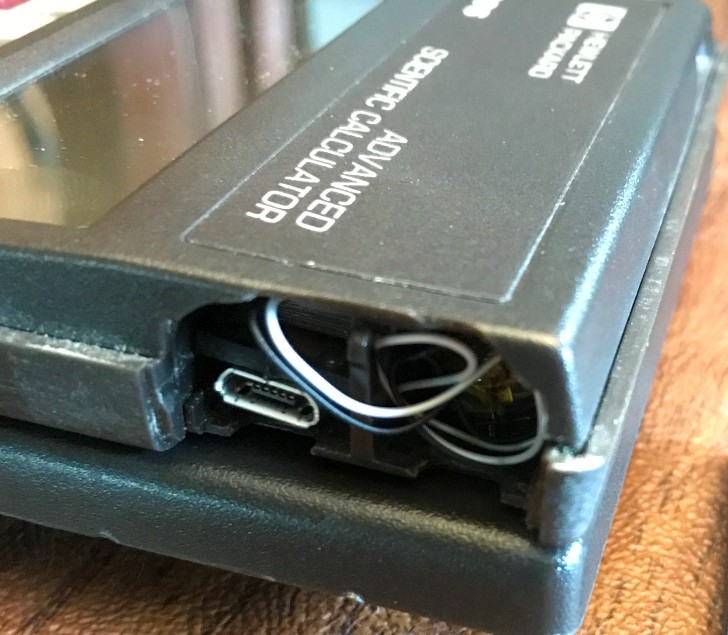
(You can see the too-long wires here, which I will correct) After inserting the LiPo and the PCB+holder, I was rewarded with a working calculator. This at least gives me some hope that using a castellated edge along the PCB serves as a nice means to provide negative contact to the calculator. The large buffer capacitor inside the HP28S will certainly go a long ways towards mitigating supply dropouts due to contact bounce.
Errata
I updated the KiCAD PCB and KiCAD and PDF schematic files to reflect that R1 should be changed from 4.7K to 10K to set the LiPo charging current at 100mA.
I cleaned up some copy-paste error on the PCB title block text, and bumped the date and version on both the PCB and Schematic design files.
Discussions
Become a Hackaday.io Member
Create an account to leave a comment. Already have an account? Log In.