Close
0%
0%

Mac-O'-Lantern for Halloween

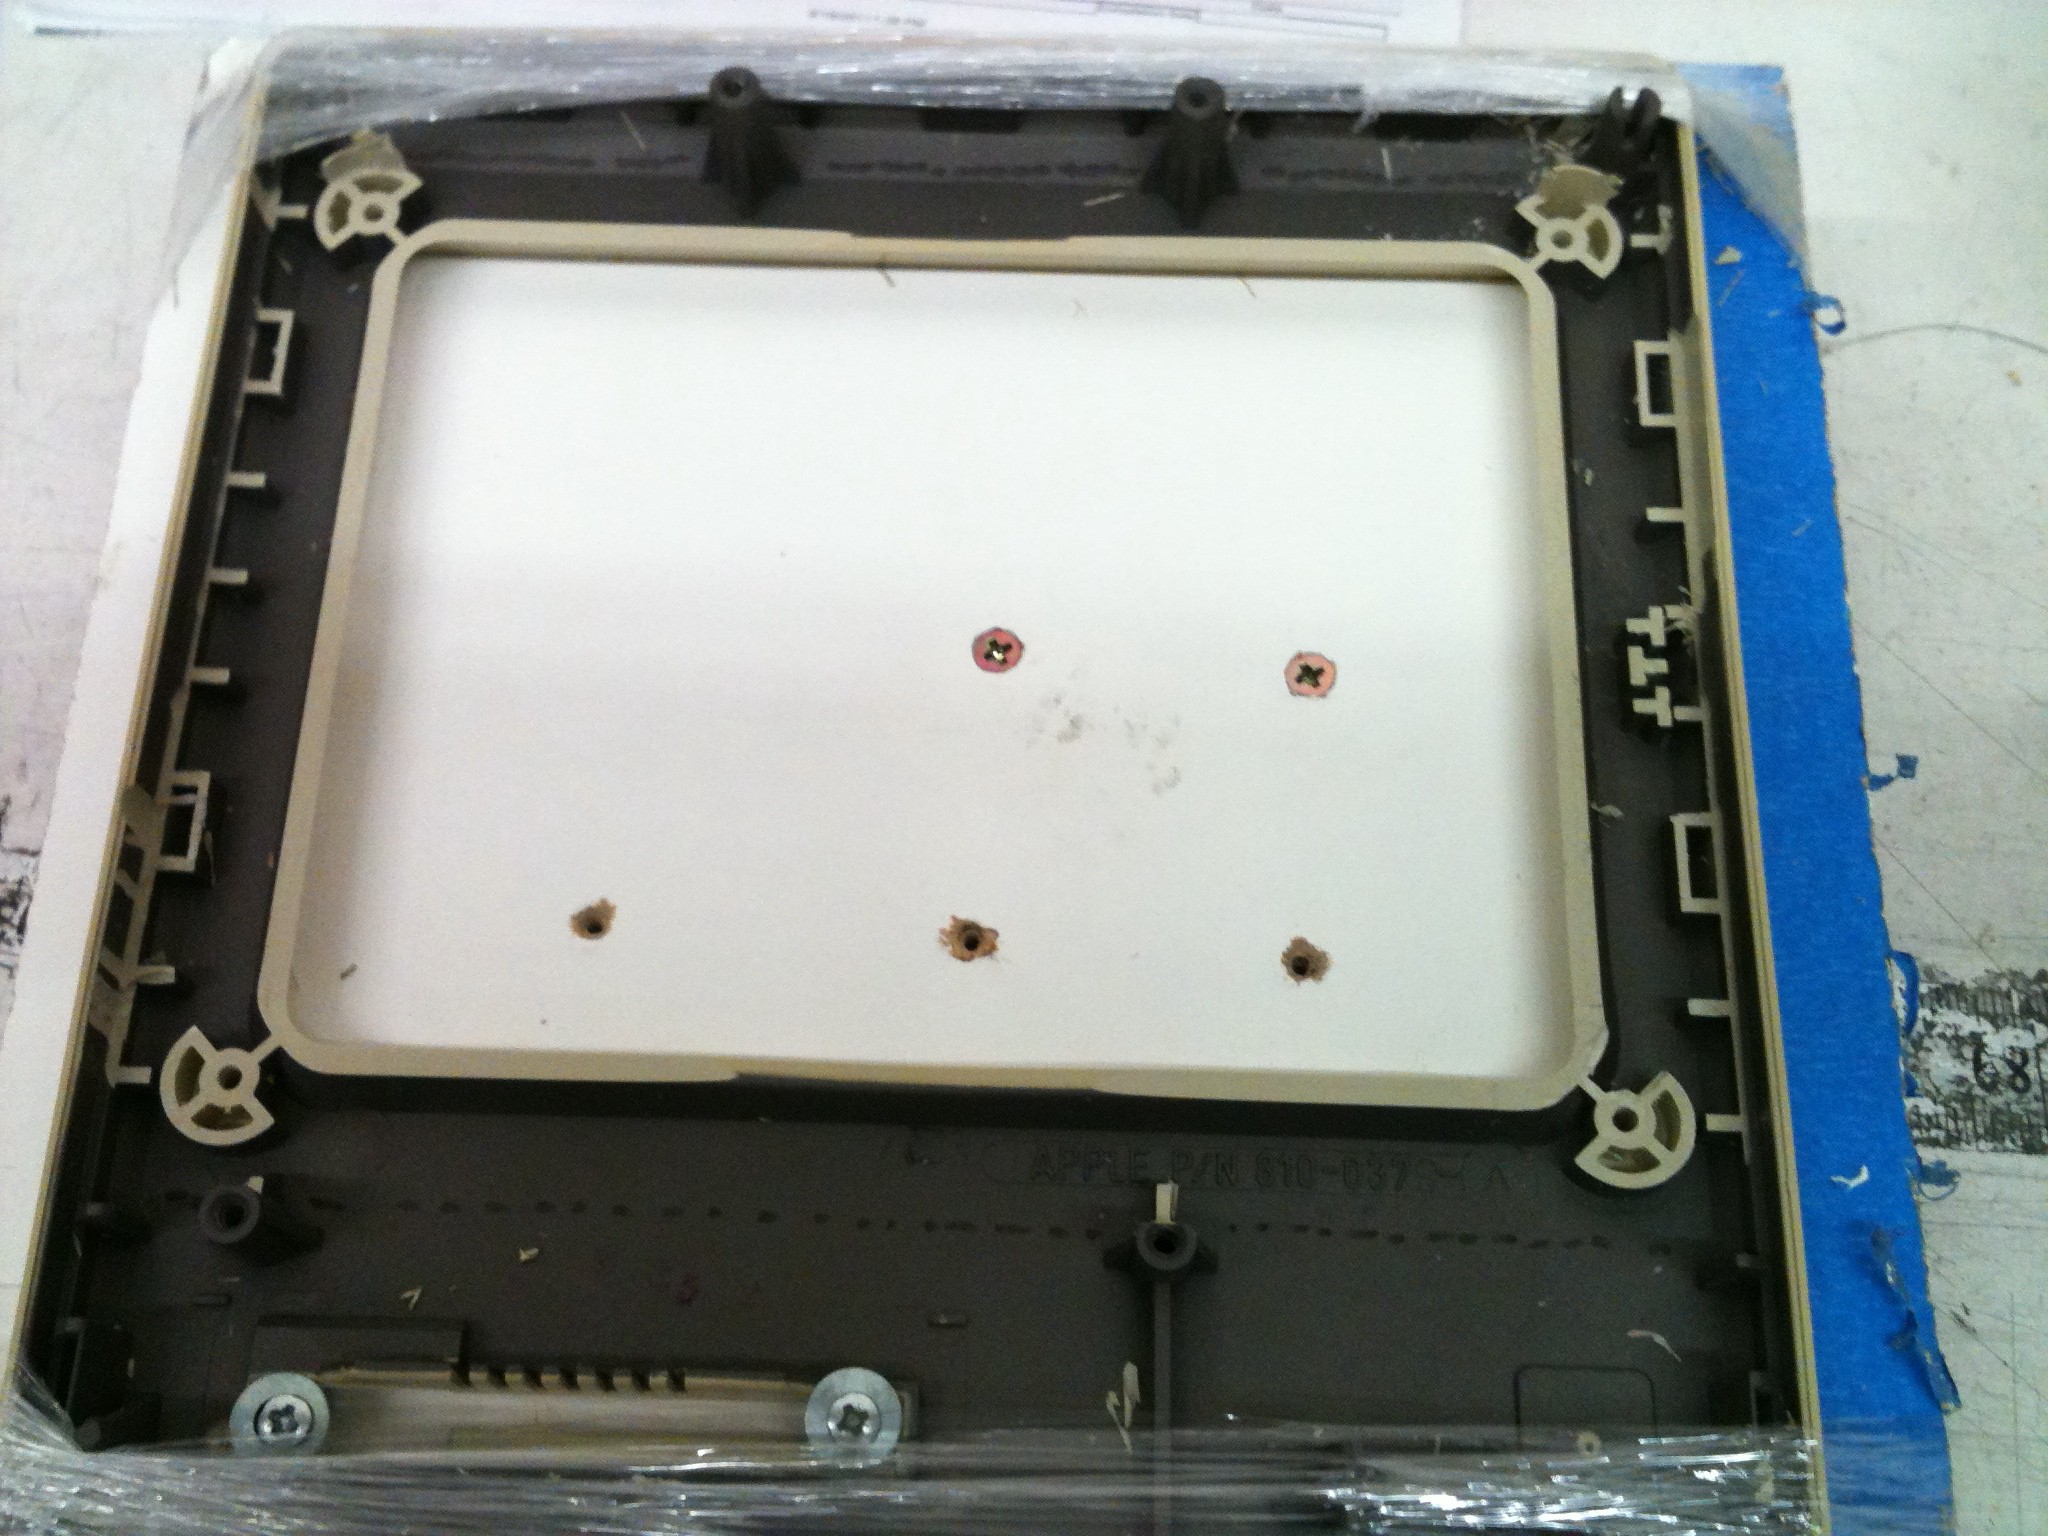
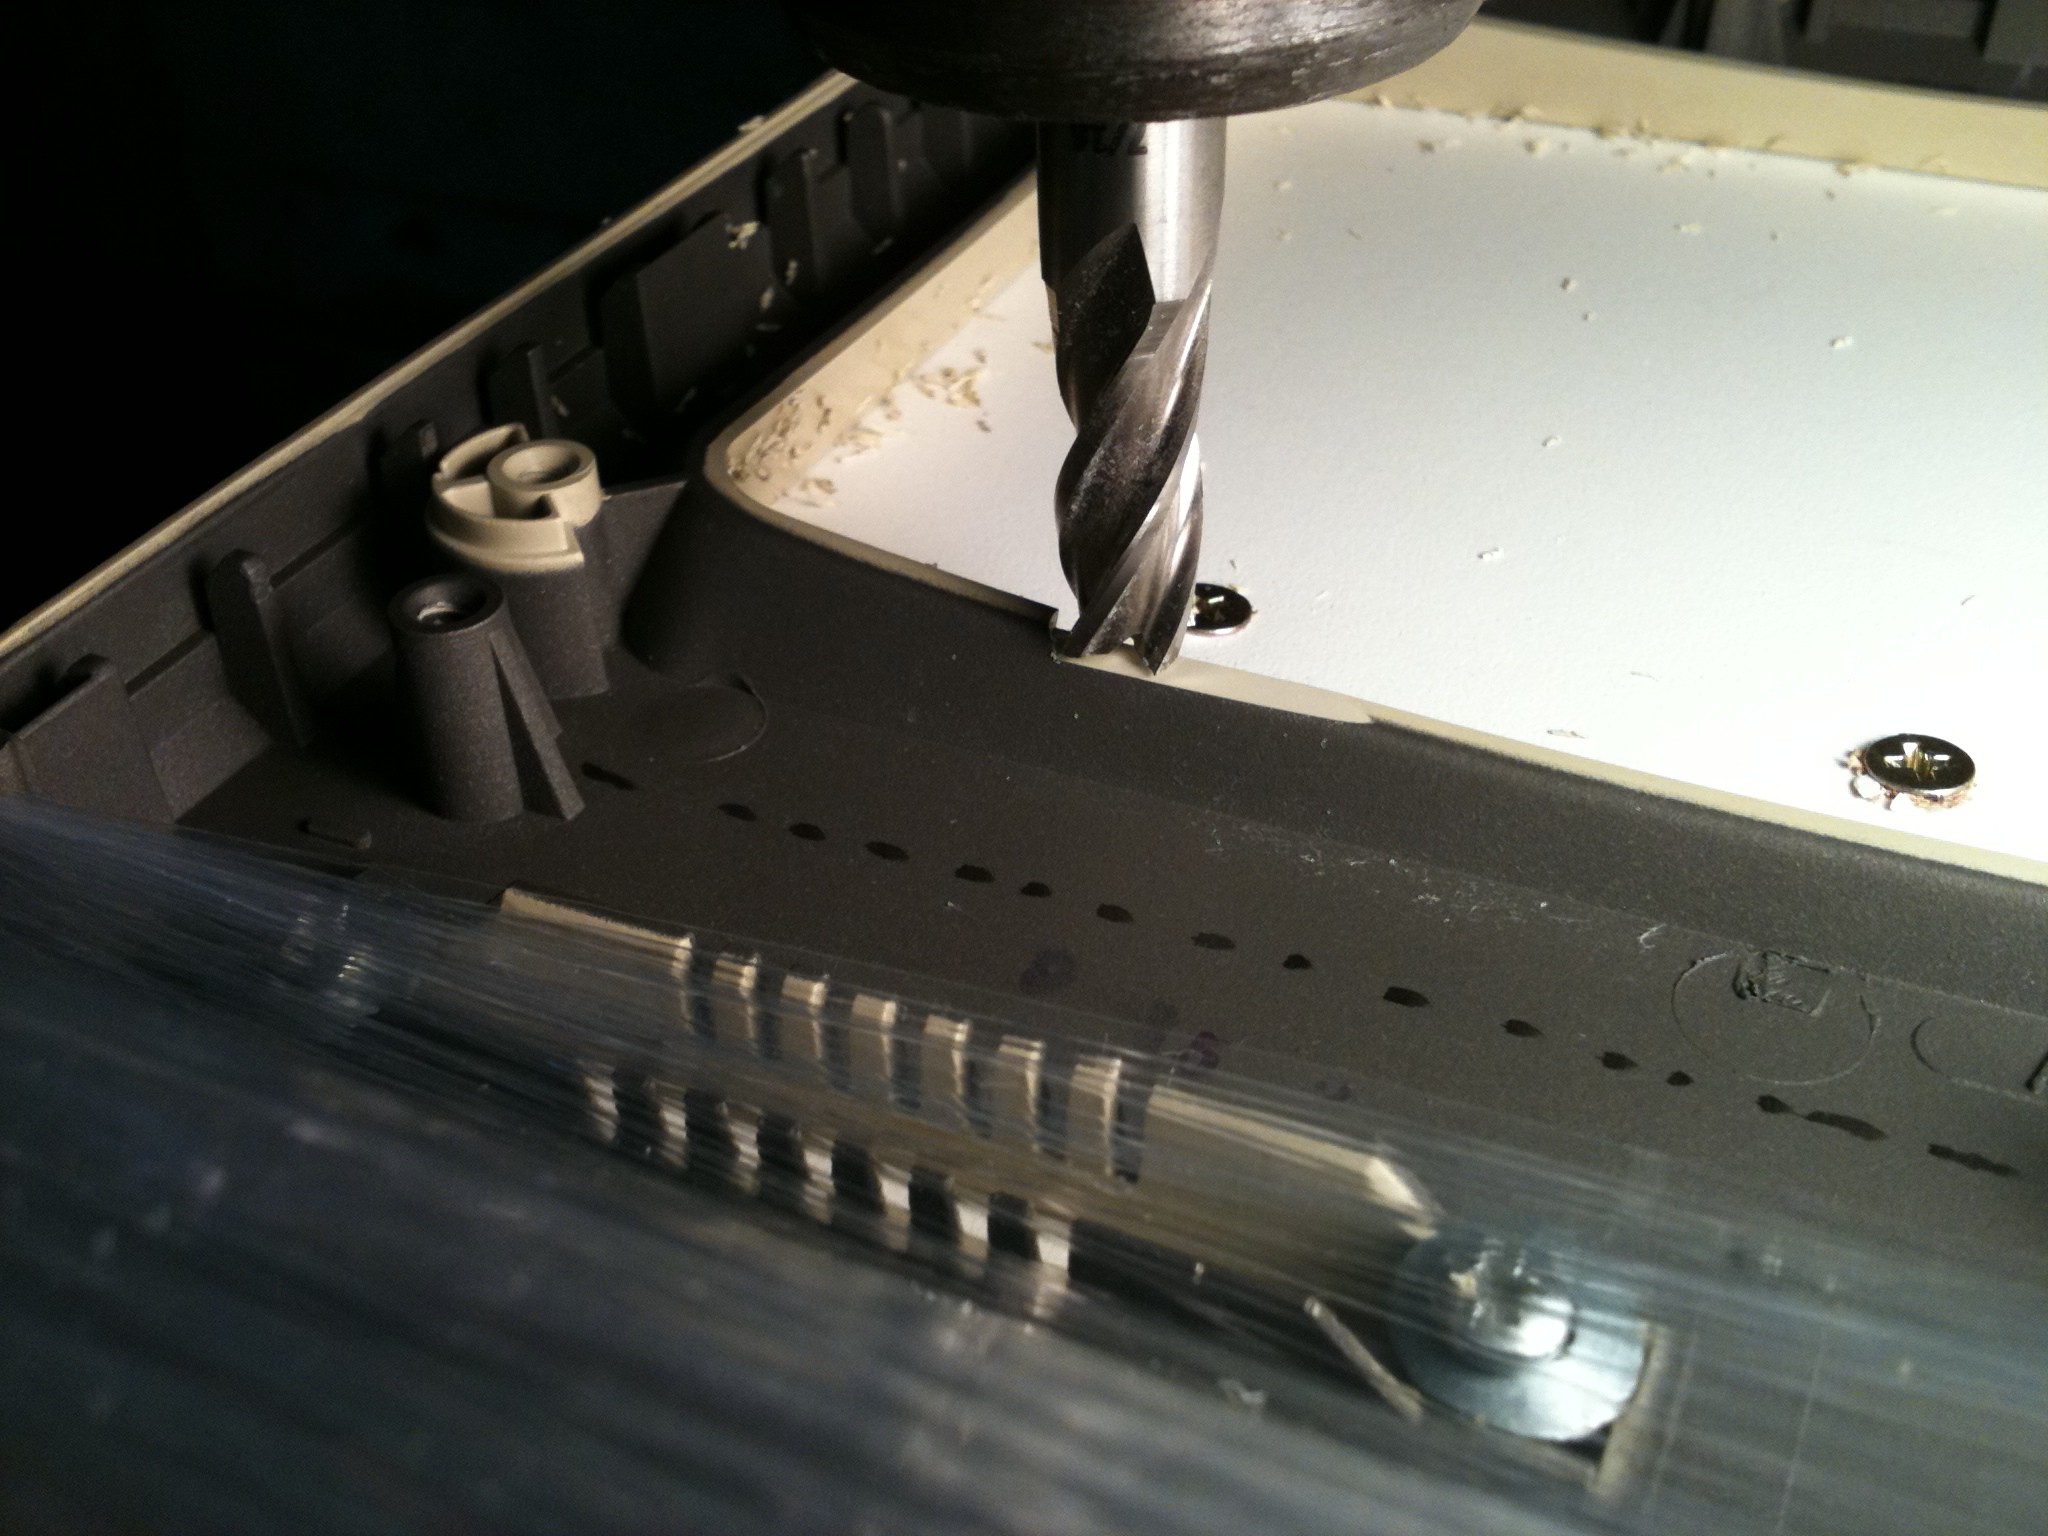
I converted an old Macintosh to allow a tablet to charge wirelessly inside. Making a Mac-O'-Lantern for Halloween made perfect sense.

Similar projects worth following
I converted an old Macintosh to allow a tablet to charge wirelessly inside, at first as a Home Automation interface on my man cave desk I called it my Mac-N-Touch since it was touchscreen. Making a Mac-O'-Lantern for Halloween made perfect sense, all I had to create was a slideshow of various Jack-O'-Lantern faces for it to cycle through, and have it play a spooky soundtrack.

I will update the project soon with more details on the machining of the Macintosh case. I am considering using maybe Orange Vinyl Wrap to cover it as I can't bring myself to paint it permanently orange yet.

PSA: Don't just butcher old PCs without first determining if they are of value or can be repaired by those enthusiasts. I saved this one from the landfill and was able to give the guts to a friend for parts. There are people making new molds for the original case like this one:
https://maceffects.com/collections/all

I am open for any suggestions or ideas on making the Mac look more like a pumpkin, but not so much that it isn't obviously a Mac.  Maybe an orange pumpkin vinyl wrap?

  • 1 × Old Macintosh Case or there is a link in the description above for a clear acrylic new mold of the original!
  • 1 × 10" Tablet (I used one of my many HP Touchpads, the GOATablets) or iPad
  • 1 × Bridgeport Mill, or similar, or a friend with a mill, or a friend with an uncle with a mill.
  • 1 × Images of Jack-O'-Lantern faces, or create your own!
  • 1 × Spooky Soundtrack - I am partial to the classic Disney, or create your own!

  • 1
    Disassemble the Macintosh

    First step would be to carefully take the Macintosh apart.  There are some delicate components and high voltage could remain in the CRT screen, so take extra precaution with isolating gloves to be extra safe.  If you are careful and take it out as a unit, not touching connections,  most of it is just disassembly.  Be sure to look for the famous signatures in the back half of the case.  Or by one of the new clear acrylic cases here:  https://maceffects.com/collections/all

  • 2
    Mounting the Mac to the Mill

    So I struggled with a safe way to hold the front panel of the Mac steady while I milled the plastic away.  I took a scrap piece of shelving wood and under it I screwed it to a 2x4 scrap which will go into the vice.  Then I used the disk slot with a couple of rubber-backed washers to hold the front panel to the board with screws.  Finally I used several wraps of 'shrink wrap', which I felt was cleaner and stronger than tape to really steady it to the board and keep it from moving under the mill.

  • 3
    Determining Depth of Cut

    As with most of my projects I think I got lucky, but I also believe in allowing your brain to do its job (like allowing your brain to calculate the prefect trajectory to toss a piece of trash into the bin).  A good rule of thumb is to cut a little and then test fit, then cut a little more, as we all know you can't add material as easy as you cut it away.  Since all tablets are flat, we really just need to start by taking the CRT curve out of the Mac opening.  So I started from the low center and worked my way out to the sides.

View all 9 instructions

Enjoy this project?

Share

Discussions

Mike Szczys wrote 10/11/2021 at 18:40 point

Brilliantly geeky! Make sure to get some details up and enter it into the Halloween Hackfest contest ( https://hackaday.io/contest/180664-halloween-hackfest ) -- it's a clever idea and one begging for Macs to be hauled out of closets and showed off!

  Are you sure? yes | no

Similar Projects

Does this project spark your interest?

Become a member to follow this project and never miss any updates