Close
0%
0%

wifi Controlled Robot

Here in this article, I am going to explain how to make wifi controlled robot car using nodemcu. also have used mechanum wheels.

Public Chat
Similar projects worth following
In This instructable, I have provided every single thing with a proper explanation so that beginners can try also. This is the easiest IoT Project. This Project is suitable as School and college-level Science or Electronics or Mechanical Project. If you are going to make an IOT based robot with a very low budget, you can go for it.

Supplies

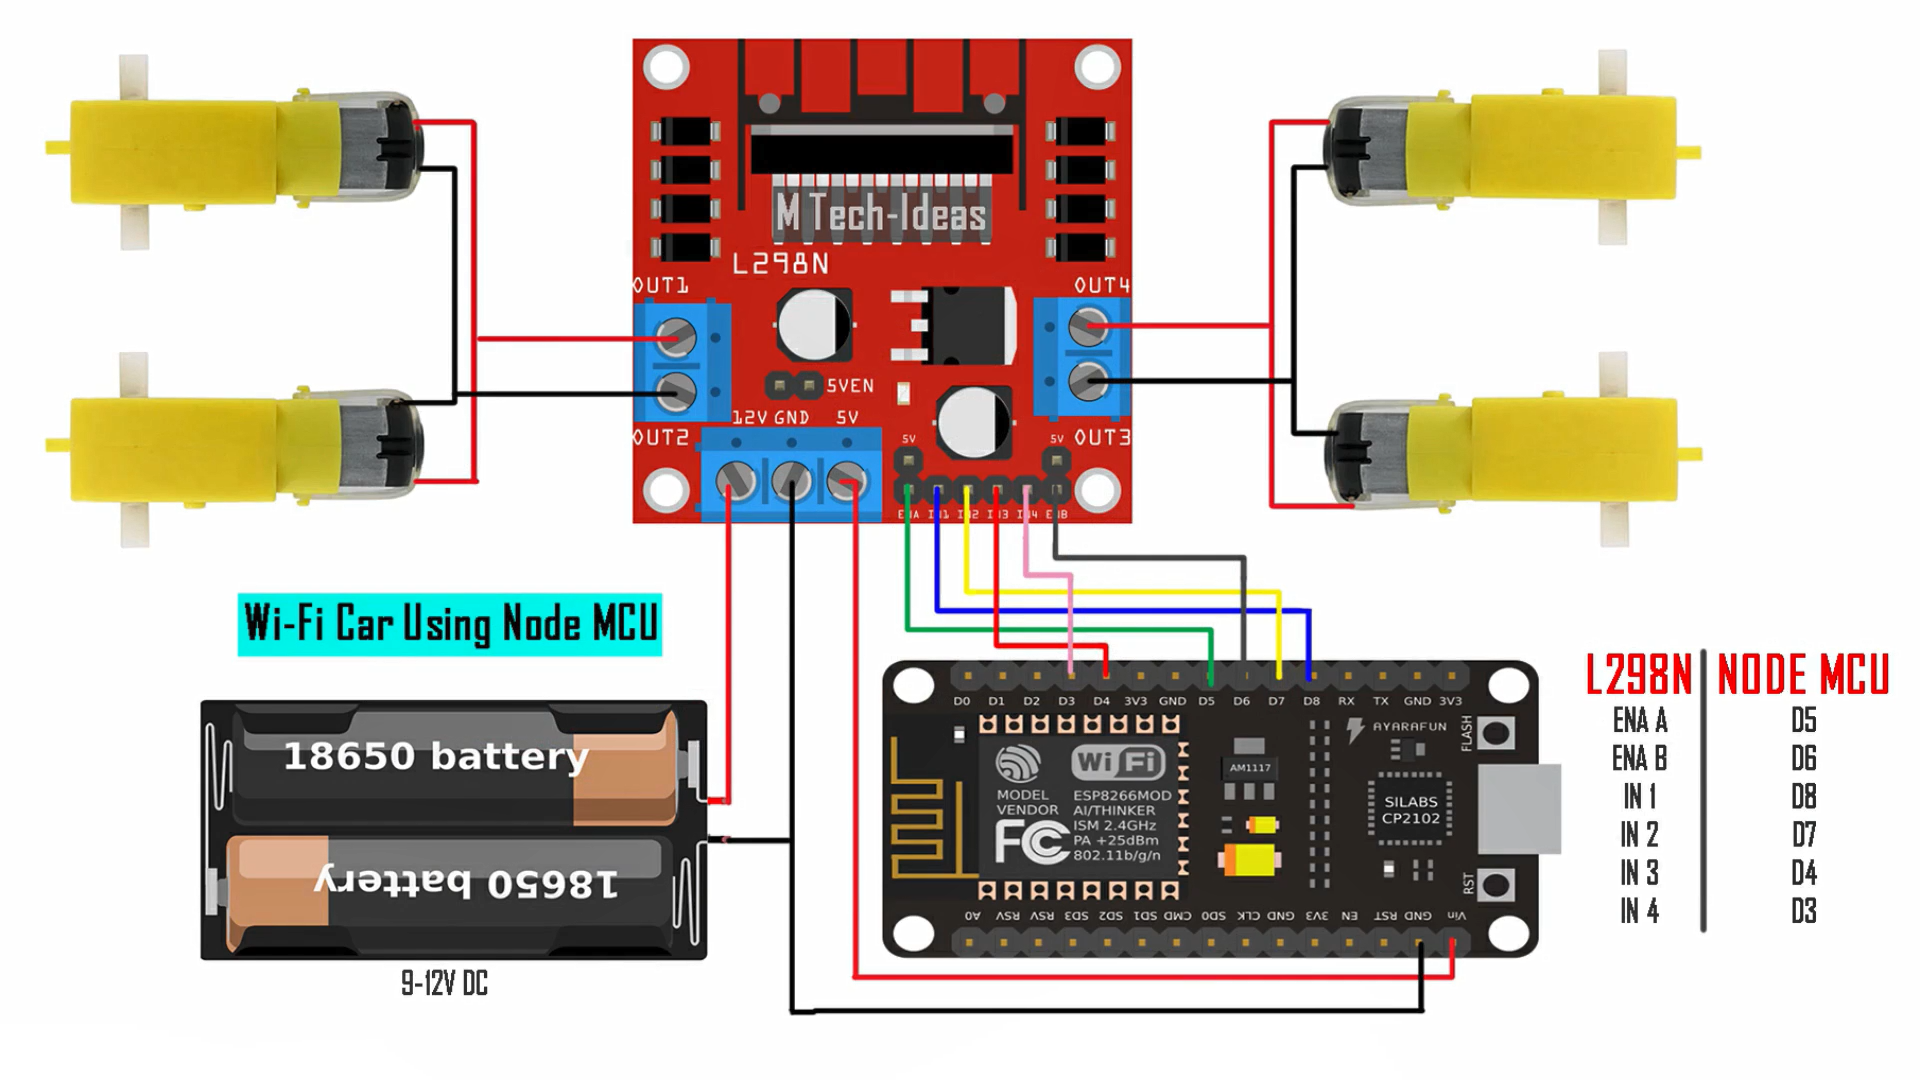
  • L298N motor Driver:- To control the speed of the motors, here I have used the L298N motor driver. L298N is a very Low-Cost Motor Driver and you can also use it in various projects in the future. You can also found the library file for this motor driver easily.
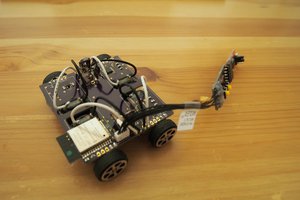
  • Chassis
  • TT Gear Motor
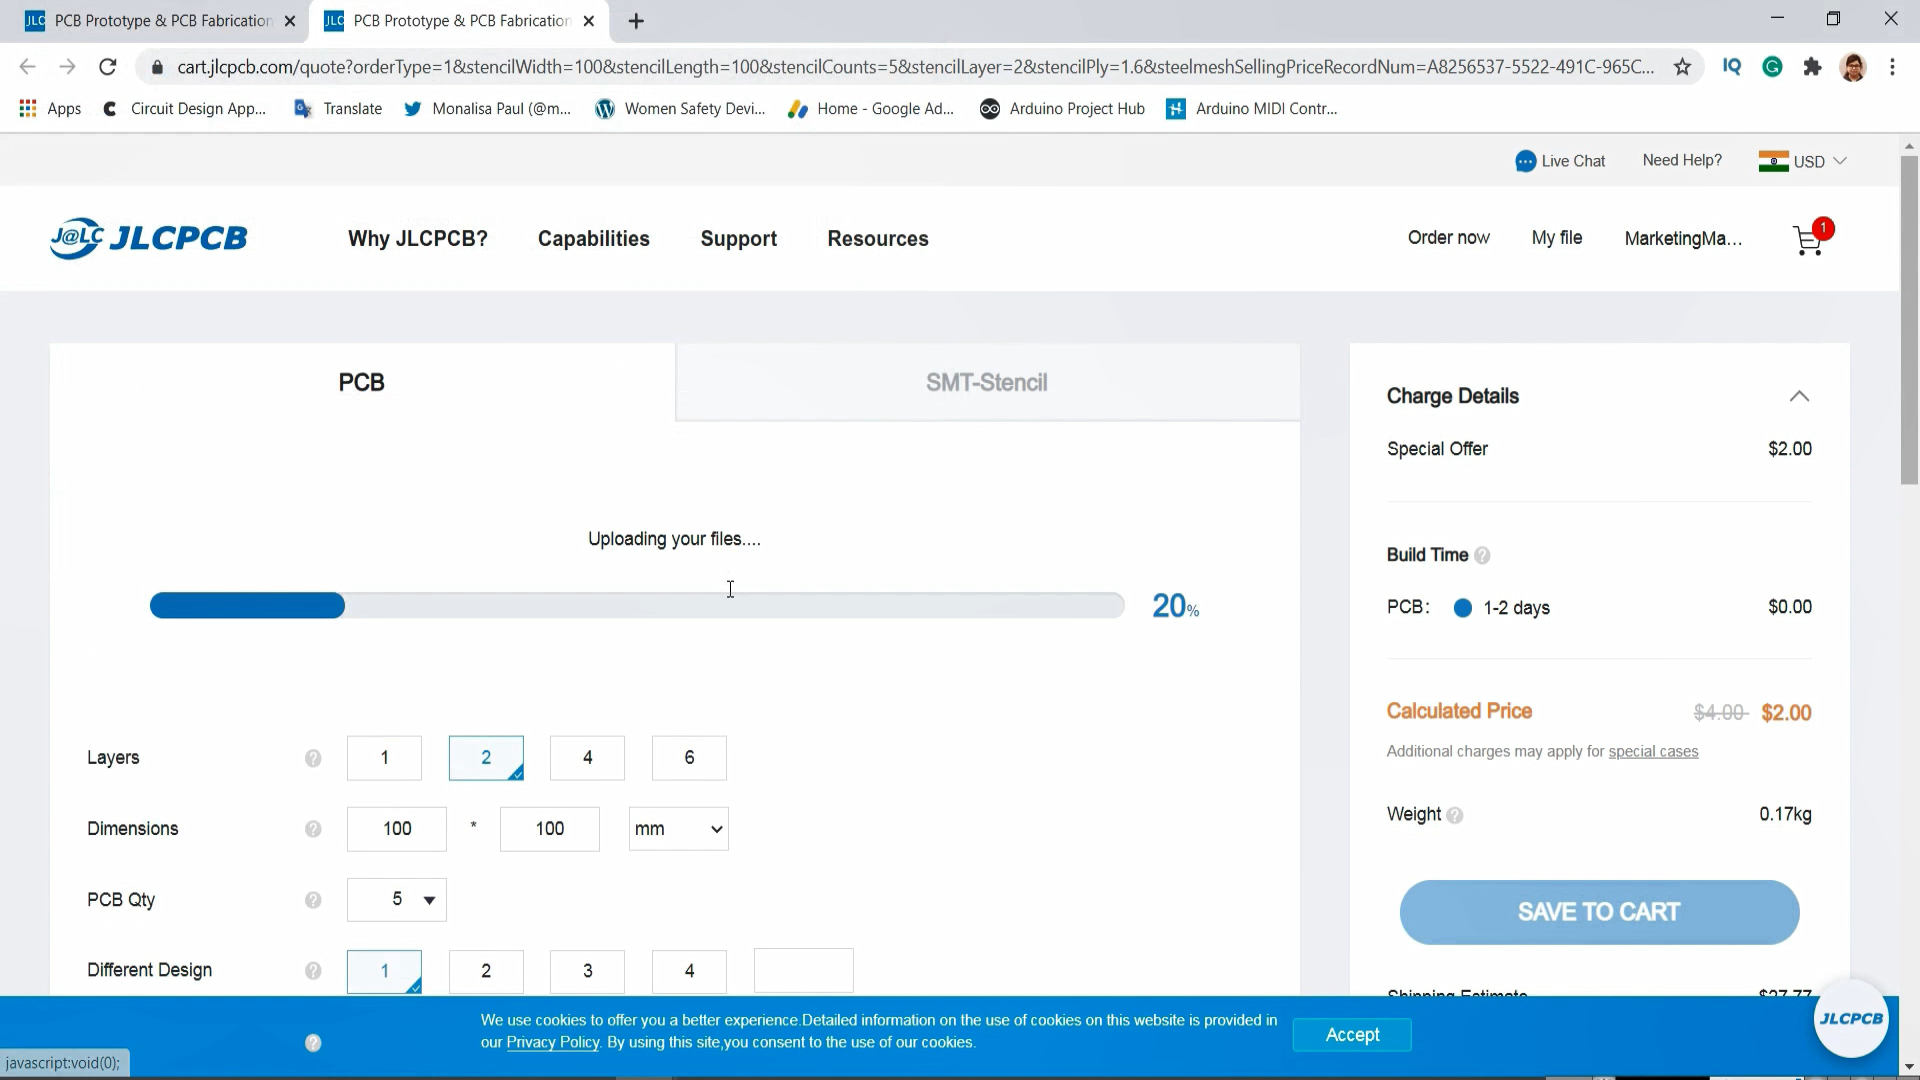
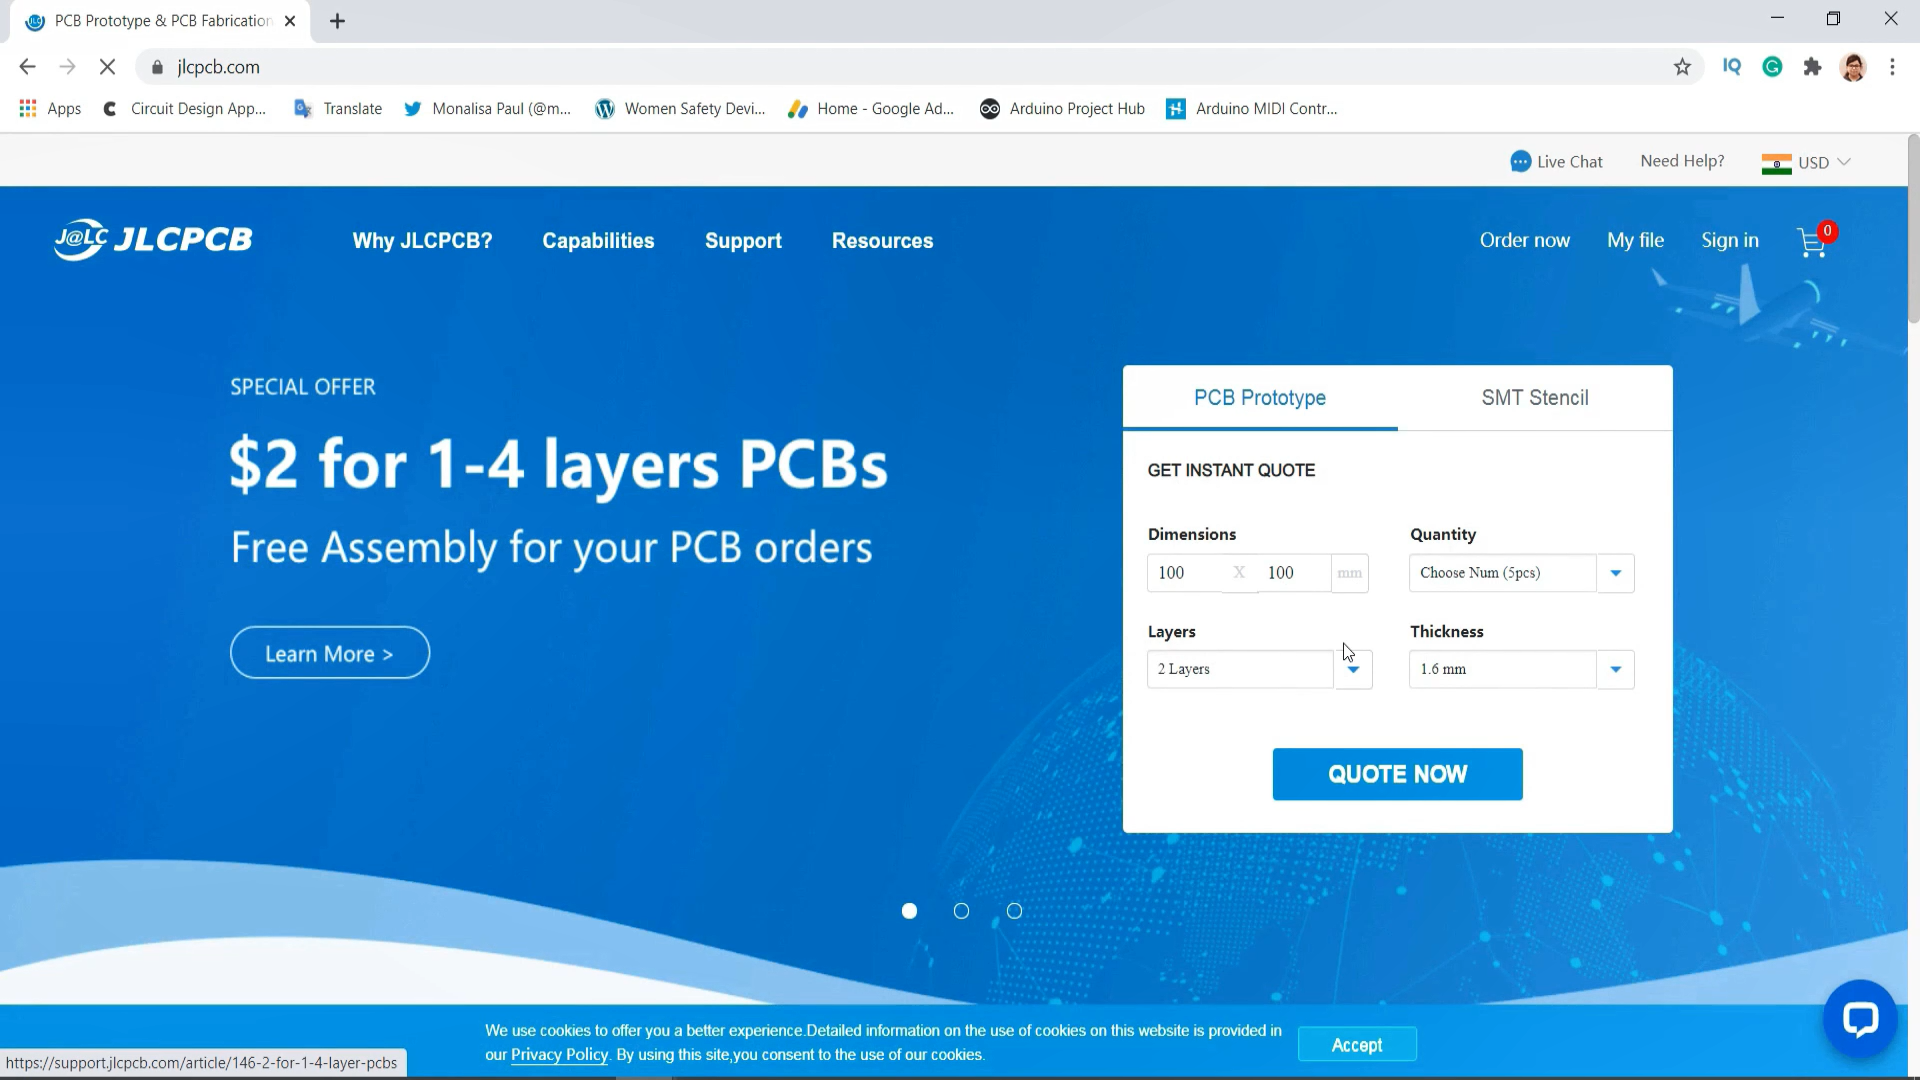
  • PCB Boards By JLCPCB:- Then I have designed a PCB for NodeMCU. It will be easier to connect all the parts together with a PCB board.
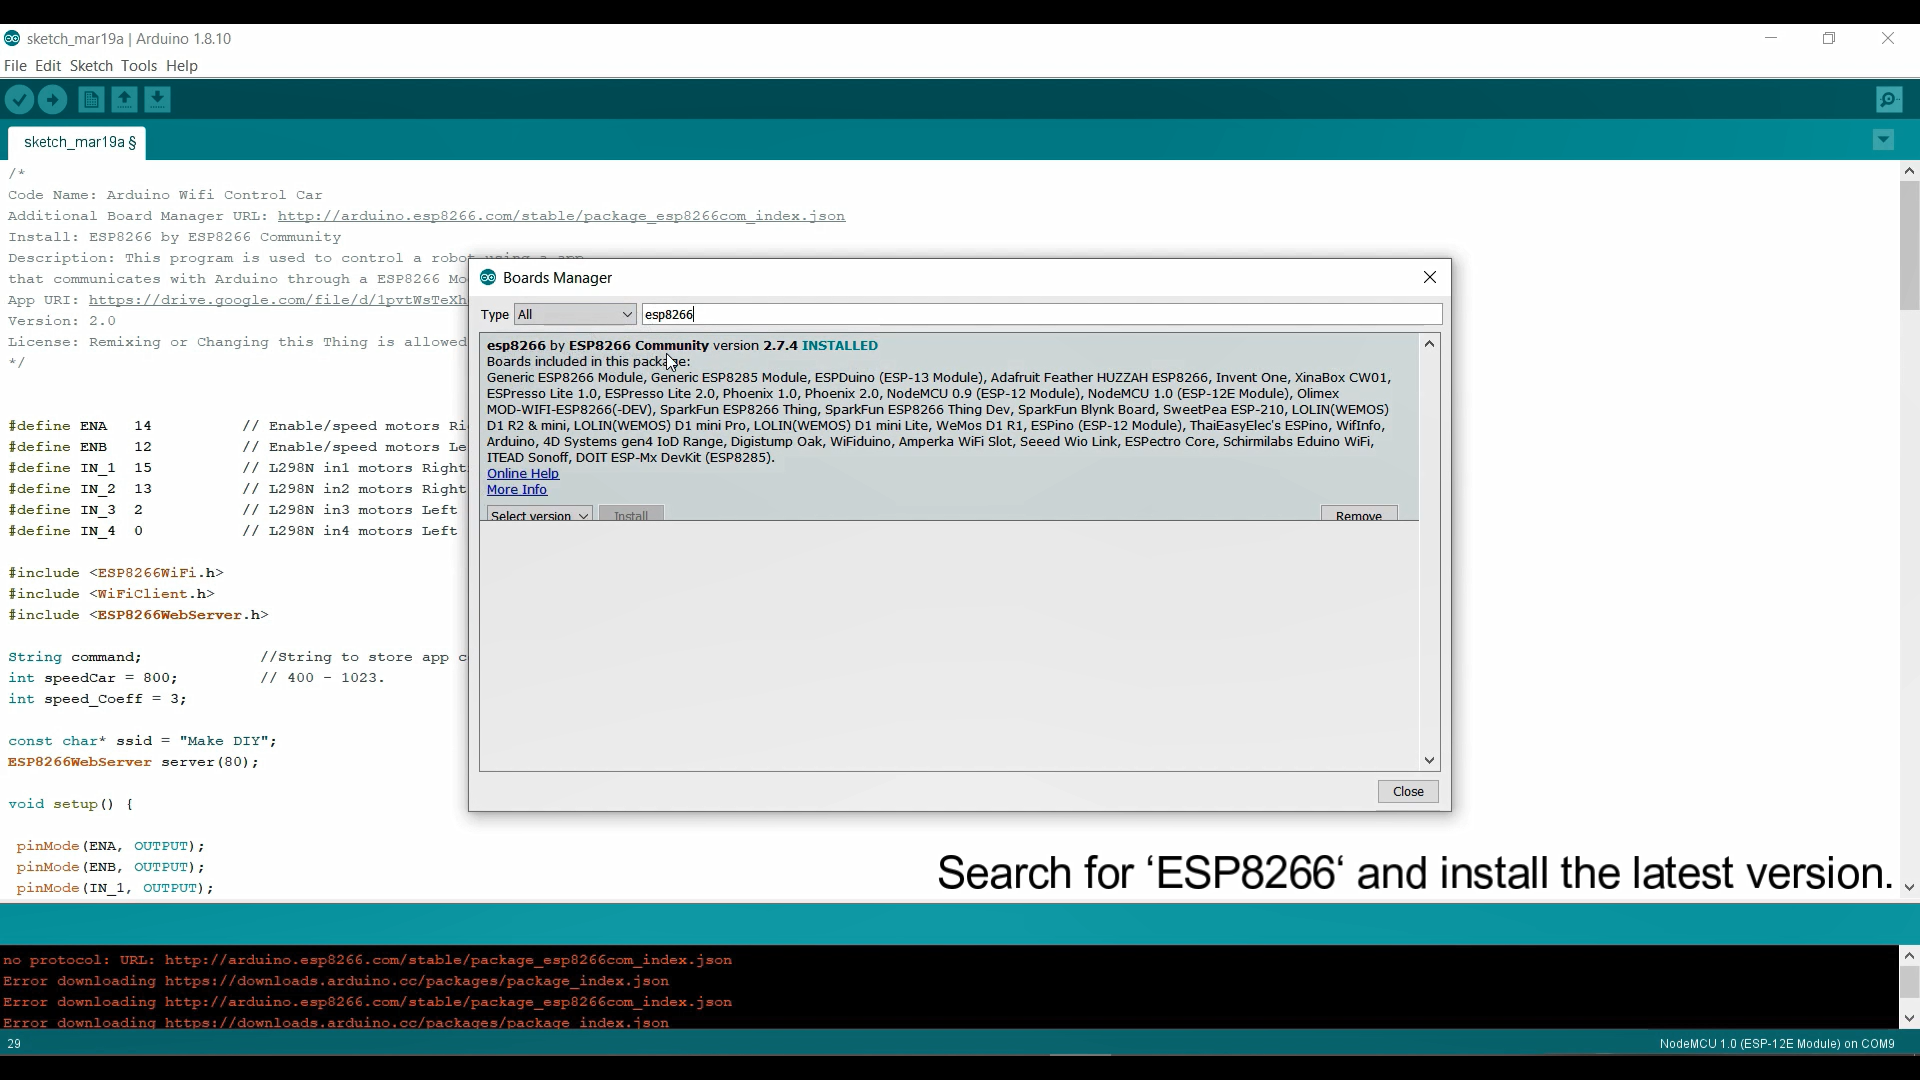
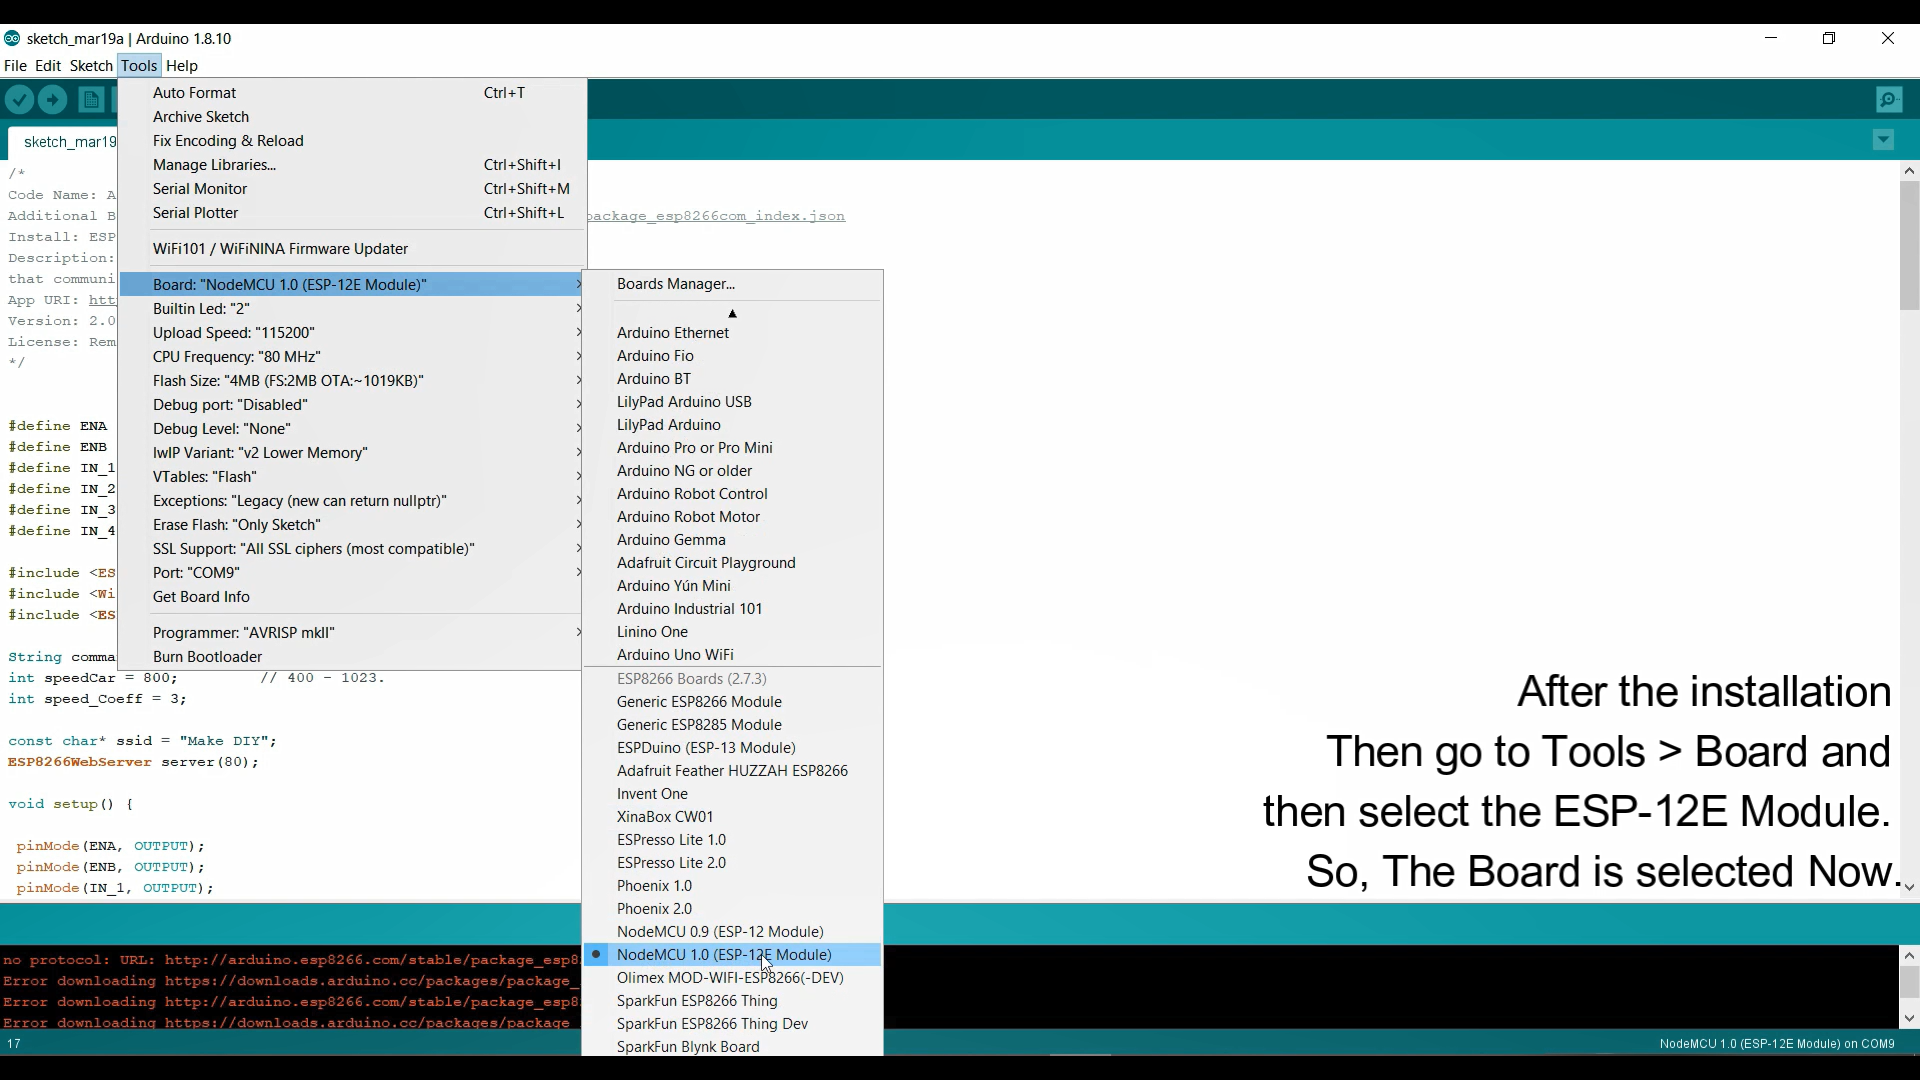
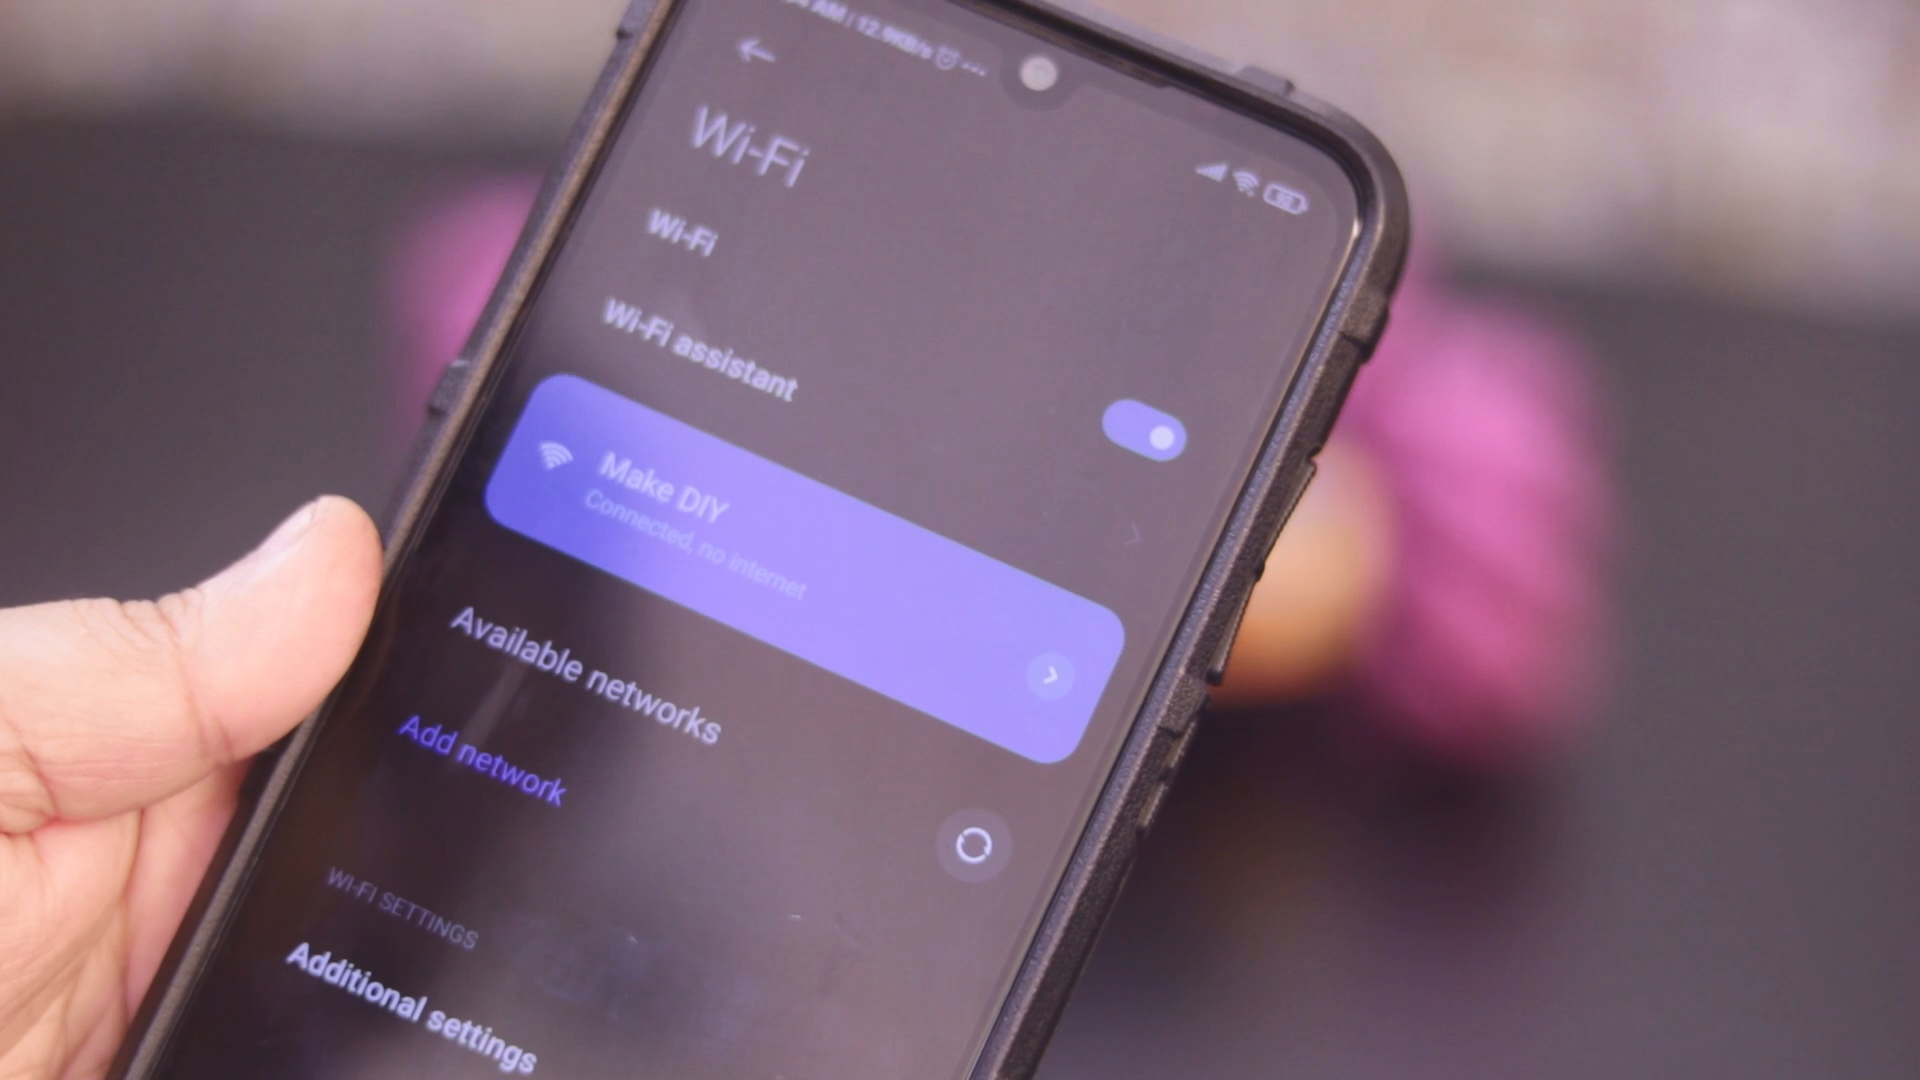
  • NodeMCU:- Next, I am going to use NodeMCU to control the robot via WiFi. NodeMCU is a low-cost open-source IoT platform. It initially included firmware that runs on the ESP8266 Wi-Fi SoC from Espressif Systems and hardware that was based on the ESP-12 module. Later, support for the ESP32 32-bit MCU was added.

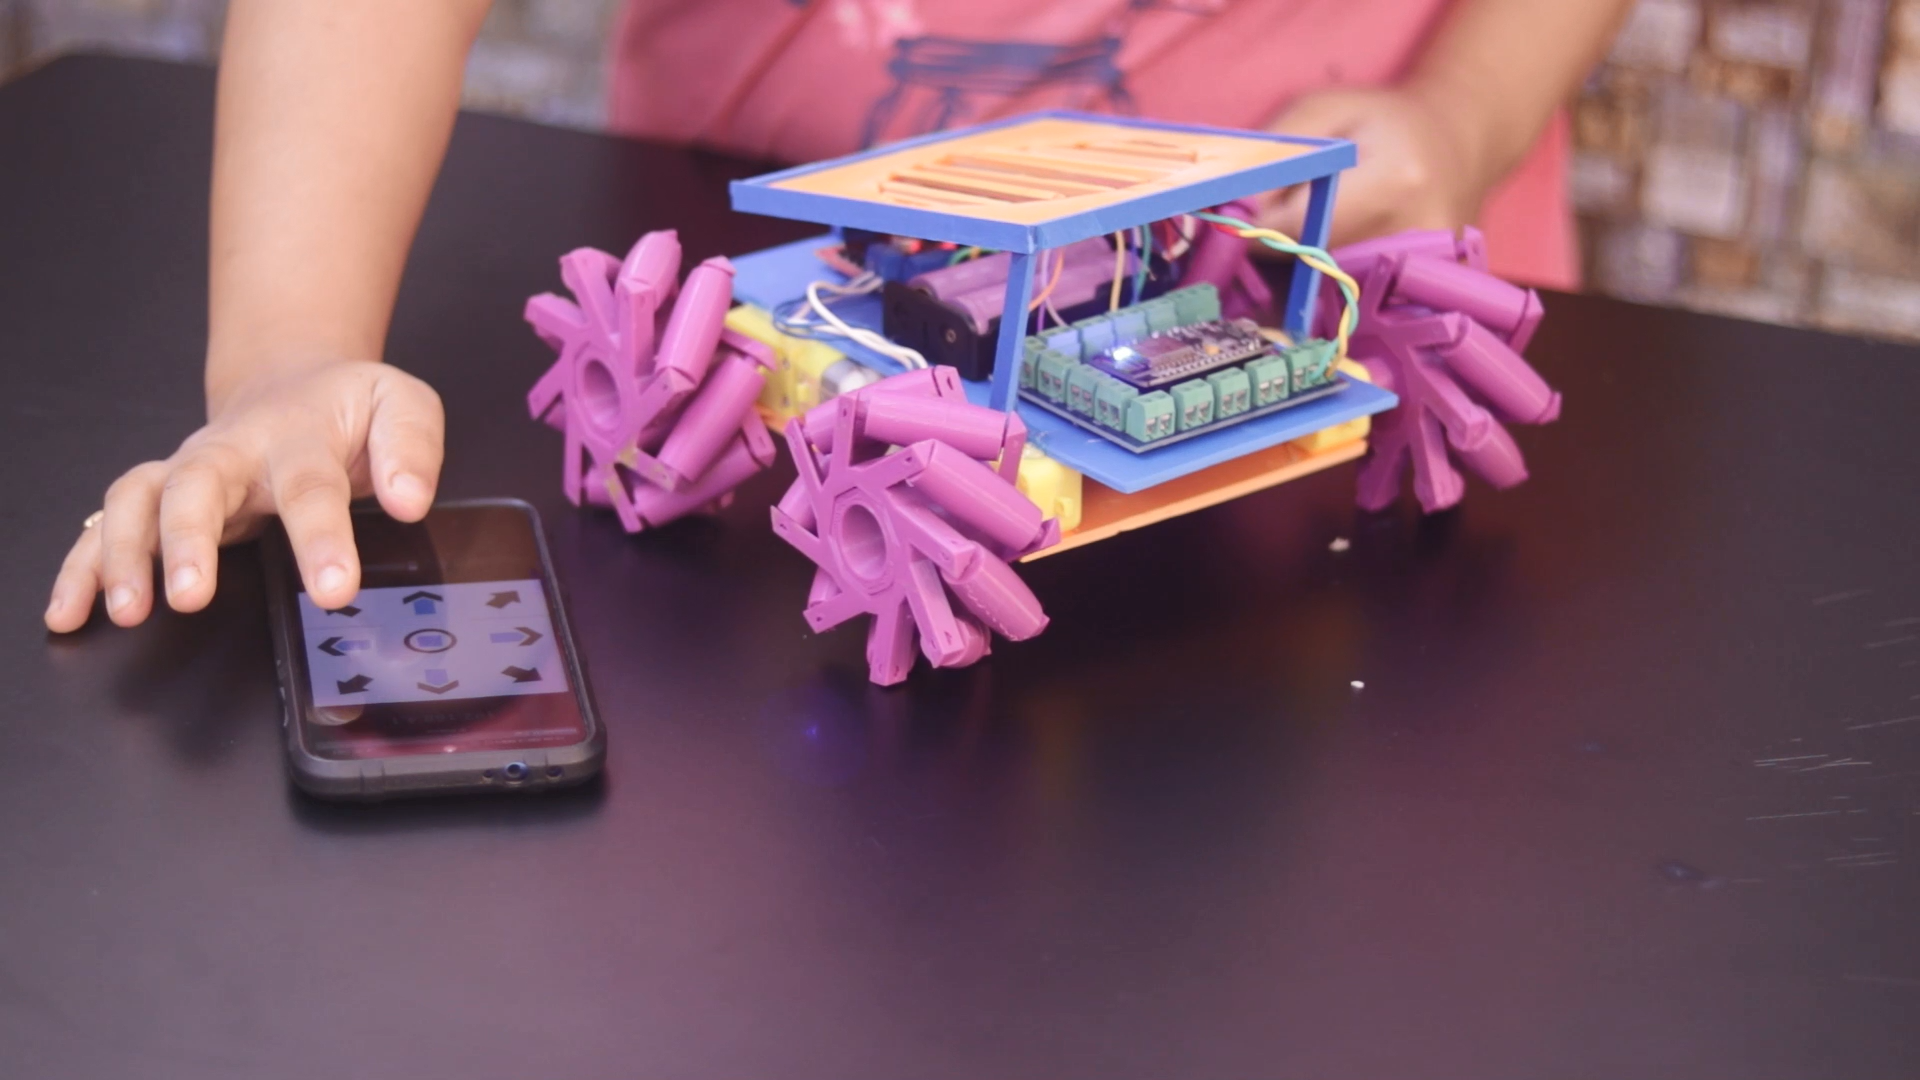
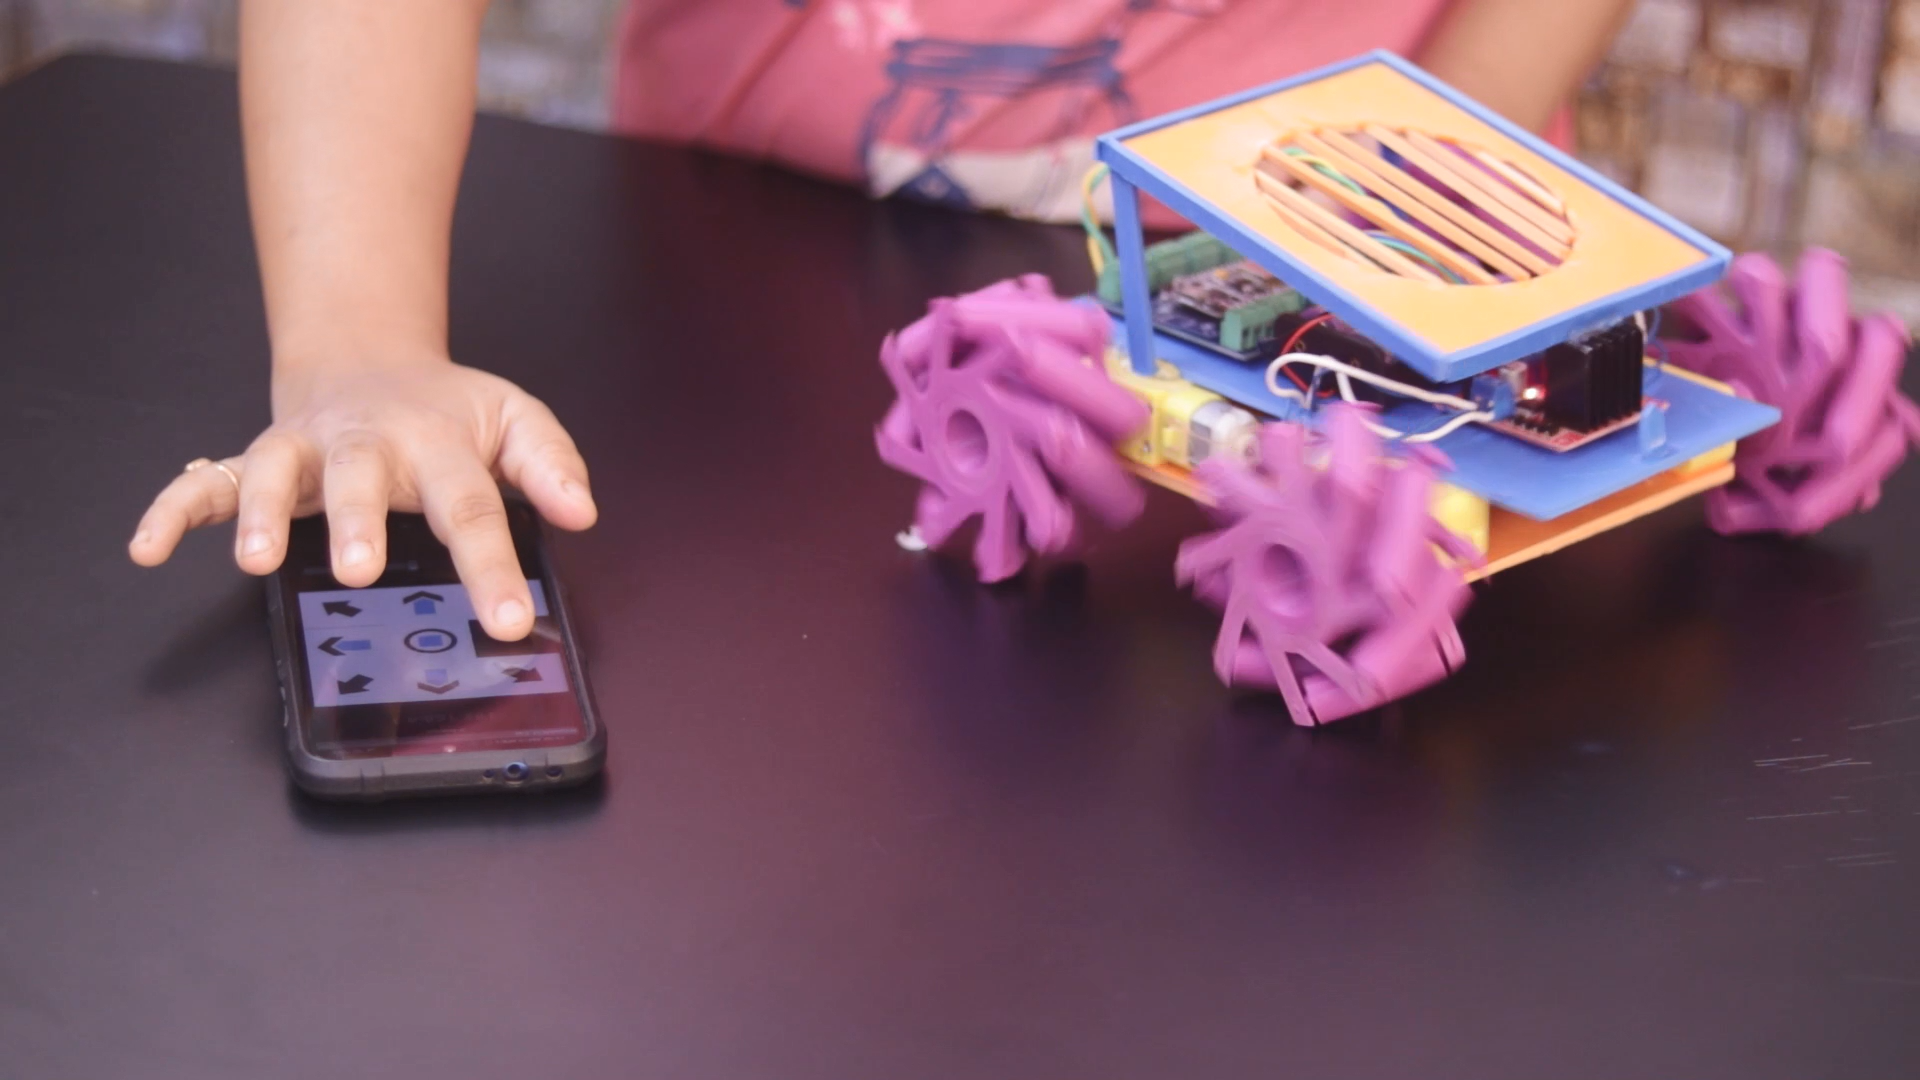
Here I have used PVC SHEET to make the chassis. To give it a proper shape, you can use a hot airgun to apply heat. Then you can use a Drill machine and Cutting tools to makeover it. Here I have chosen a simple design but you may choose anything else according to your need. Once your Chassis is ready, attach the TT gear motor with it using Hot Glue and anything else you want. Here I have used 60 rpm TT Gear Motor.

Connection\

plain - 5.05 kB - 10/06/2021 at 21:51

Download

  • 1
    how to upload the code

    Please follow the steps below, If you are new and not well familiar with this ESP8266 module, or facing a problem while uploading the code

    1.First Download the code from the link below. Now open Arduino and Go to File~New.

    2.Now a new window will appear. Next, Delete all the existing code and Paste the given code.

    3.In the code, you will find Additional Board Manager URL now copy the URL and do the next step. For Different OS you have a different option. MAC: Go to Arduino ~ Preferences Windows: Fille ~ Preferences

    4.Now Paste it in the Additional Board Manager URL section and press Ok. Now go to Tools ~ Board ~ Boards Manager Search for ‘ESP8266‘ and install the latest version.

    5.After the installation Then go to Tools ~ Board and then select the ESP-12E Module. So, The Board is selected Now.

    6.Next, Select the Right COM Port.

    7.Then compile the Programme First and then Upload it to NodeMCU.

    After a few seconds, the code will be compiled and then Uploaded to NodeMCU Car.

    The link you have to paste on Arduino IDE Additional Board Manager URL: http://arduino.esp8266.com/stable/package_esp8266...

  • 2
    how to order pcb

    jlcpcb

    JLCPCB has been at the forefront of the PCB industry. With over 14-year continuous innovation and improvement based on customers' needs, we have been growing fast and becoming a leading global PCB manufacturer, who provides the rapid production of high-reliability and cost-effective PCBs and creates the best customer experience in the industry.

    Our mission Make hardware development easier Whether you’re creating your first PCB, or developing an electronic hardware product, we’re here to help you build hardware easier and faster by providing rapid PCB prototype and SMT assembly service. We're constantly looking for new ways to improve and shorten the PCB prototyping process — from pioneering online quoting/ordering system, automatic production to fast delivery.

    Higher Quality Ensuring quality and its consistent improvement are the two main guidelines of our company. Our advanced PCB technology allows us to provide high precision boards suitable for industrial, military, aerospace, and medical applications. We are continuously investing top-level base materials and advanced types of equipment for fully automated production lines, which enables us to offer our customers high throughput with consistently high quality.

    Lower Cost Since 2006, JLCPCB drove to become more efficient and reduce costs. We promise to offer customers the most economic PCBs forever. JLCPCB makes the cheapest but top-quality PCBs possibly because of scale effect, extremely high production efficiency, and less manpower cost. Faster Delivery Our easy-to-use online ordering system, professional and efficient customer service, digital manufacturing technology, full-automatic production lines, and stable logistics partners make every step to deliver your PCBs faster.

  • 3
    how to connect with android mobile

    Here you will need an android app compatible with node MCU. I have simply downloaded this one from the google play store. you may use another one.

View all 3 instructions

Enjoy this project?

Share

Discussions

Similar Projects

Does this project spark your interest?

Become a member to follow this project and never miss any updates