 Lewis (DIY Machines)
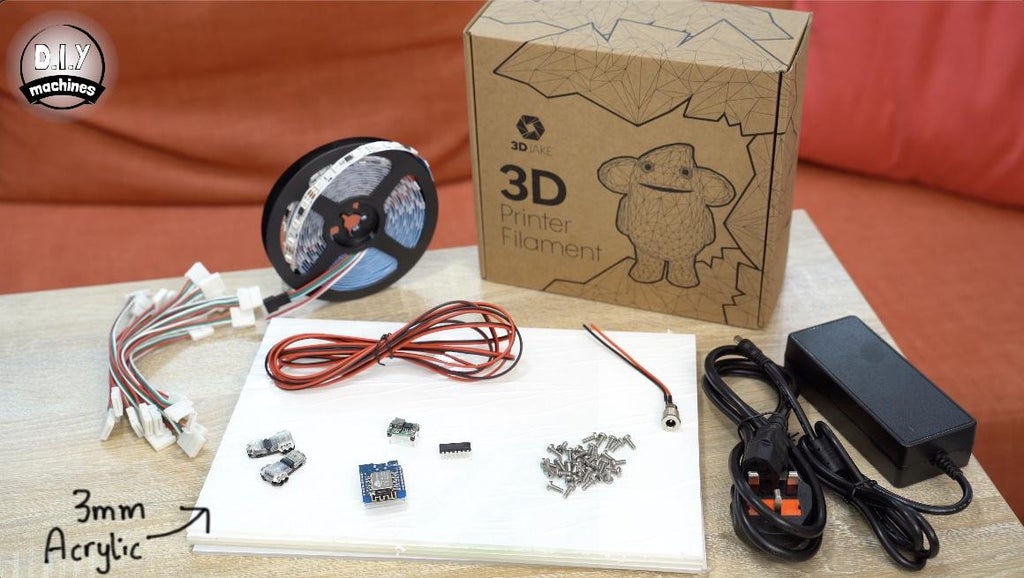
I have wanted some Nanoleaf lights for a long time but the price has always been too high for me. So I thought I would set about creating my own version using a 3D printer. Each lit panel works out at about £3.40 in materials to make and I’m very happy with the end result.
You can assemble them in any order to suit your wall space and other shapes can be included such as the optional square panels. I have offset them from the surface to allow a stylish glow out across the wall in the evenings and the panels themselves are bright enough to be seen in the daytime.
I’m using an ESP8266 to control them using the brilliant WLED firmware and its built in webserver. The smarts for the project are all housed in the discreet rectangular panel at the bottom. They can also be programmed to automatically mimic a Phillips Hue bulb or respond to Alexa commands.

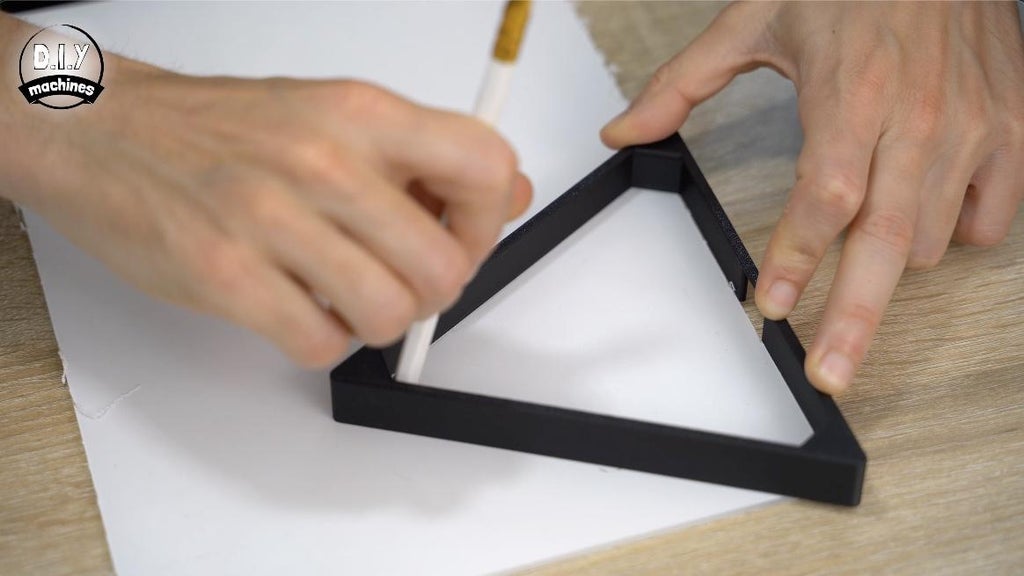
 The first thing we need to print are the sides of our triangles. The file for this is attached 'Triangle-Walls.stl'.


 Jonathas Barbosa
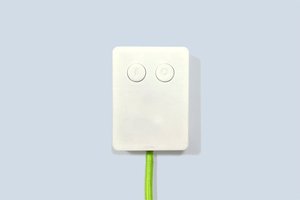

 igorfonseca83