Fabian
The idea for the pxlDigit_PCB came to me while building the first version of the pxlDigit (article here: https://nerdiy.de/en/howto-elektronik-sieben-segment-ziffer-pxldigit-aus-ws2812-leds-bauen/).
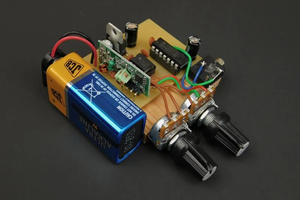
The pxlDigit is built up from individual WS2812 LED segments. To do this, the LEDs must first be glued into the 3D printed housing and then soldered together in there. This step in particular is not that easy due to the lack of space. :/
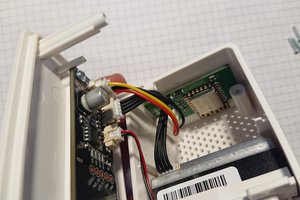
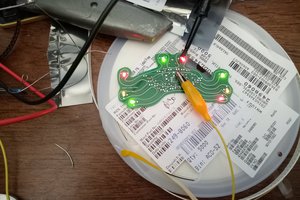
That’s why I designed the pxlDigit_PCB. The LEDs, the ESP8285 and the rest of the electronics can be installed on it. So you can first assemble, test and program the entire circuit board and then insert it into the 3D printed housing of the pxlDigit.
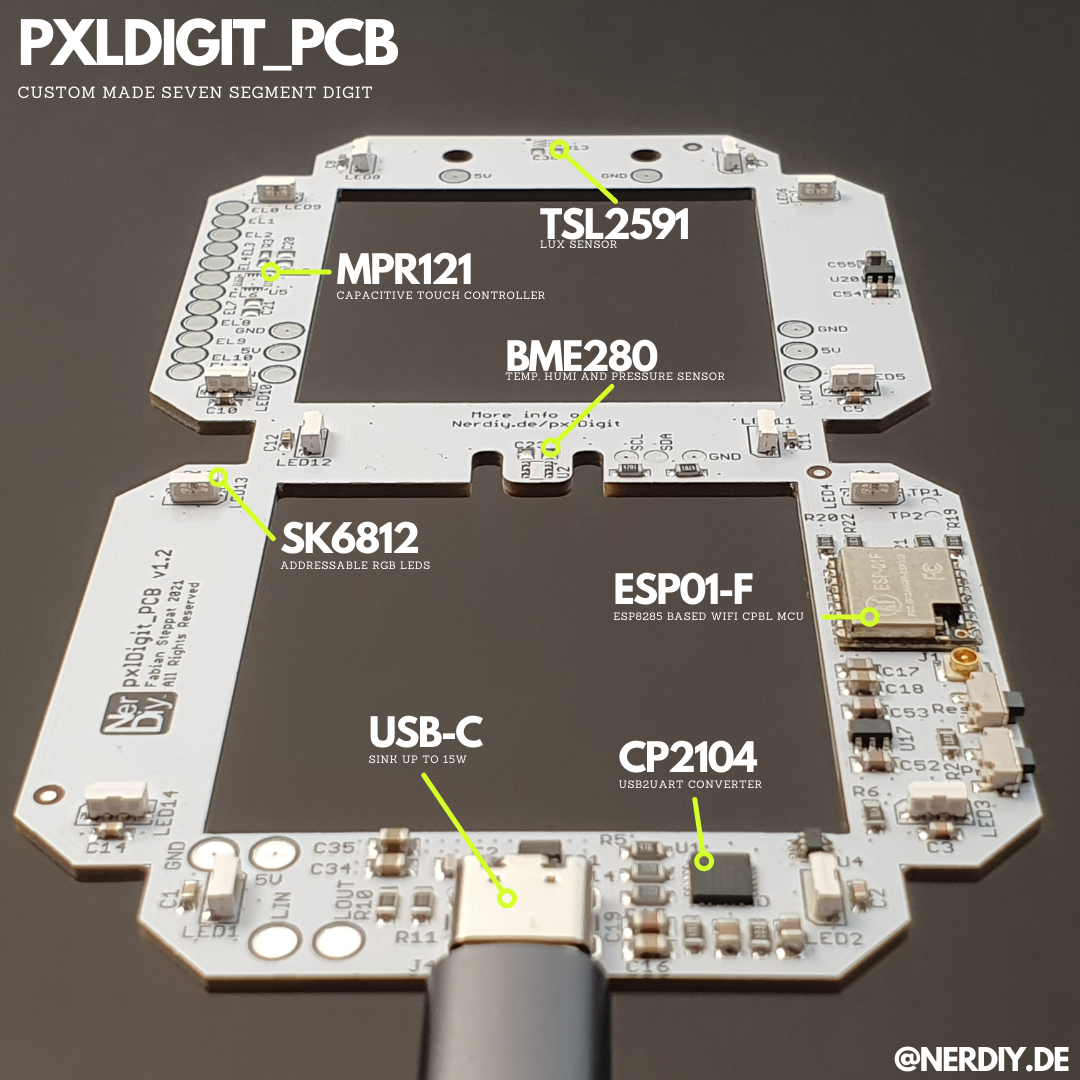
Thanks to the integrated USB-C connection, the Digit can also be supplied directly with power and, if necessary, the firmware can be programmed.
In addition, the following (optional) components can be installed on the PCB:
- BME280 Climate sensor
- TSL2591 Brightness sensor
- MPR121 Touch sensor for up to 12 touch electrodes
Support:
If you want to support me, you can do so by like on this project page, on Instagram or by donating a coffee. :)
Licenses: Content that is not based on software/code: Unless otherwise stated, all works presented here that are not based on software/code are subject to the CC BY-NC-SA 4.0 license (attribution – non-commercial – dissemination under the same conditions 4.0 international). You can find a summary here: https://creativecommons.org/licenses/by-nc-sa/4.0/deed.de You can find the complete legal text here: https://creativecommons.org/licenses/by-nc-sa/4.0/legalcode.de Software/code-based works Unless otherwise stated, all software/code-based works presented here are subject to the GNU Affero General Public License v3.0 You can find a summary here: https://tldrlegal.com/license/gnu-affero-general-public-license-v3-(agpl-3.0)#summary The complete legal text can be found here: https://www.gnu.org/licenses/agpl-3.0.de.html
 Mrinnovative
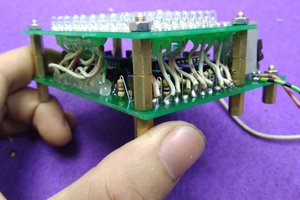
 youkito1991