 Inne
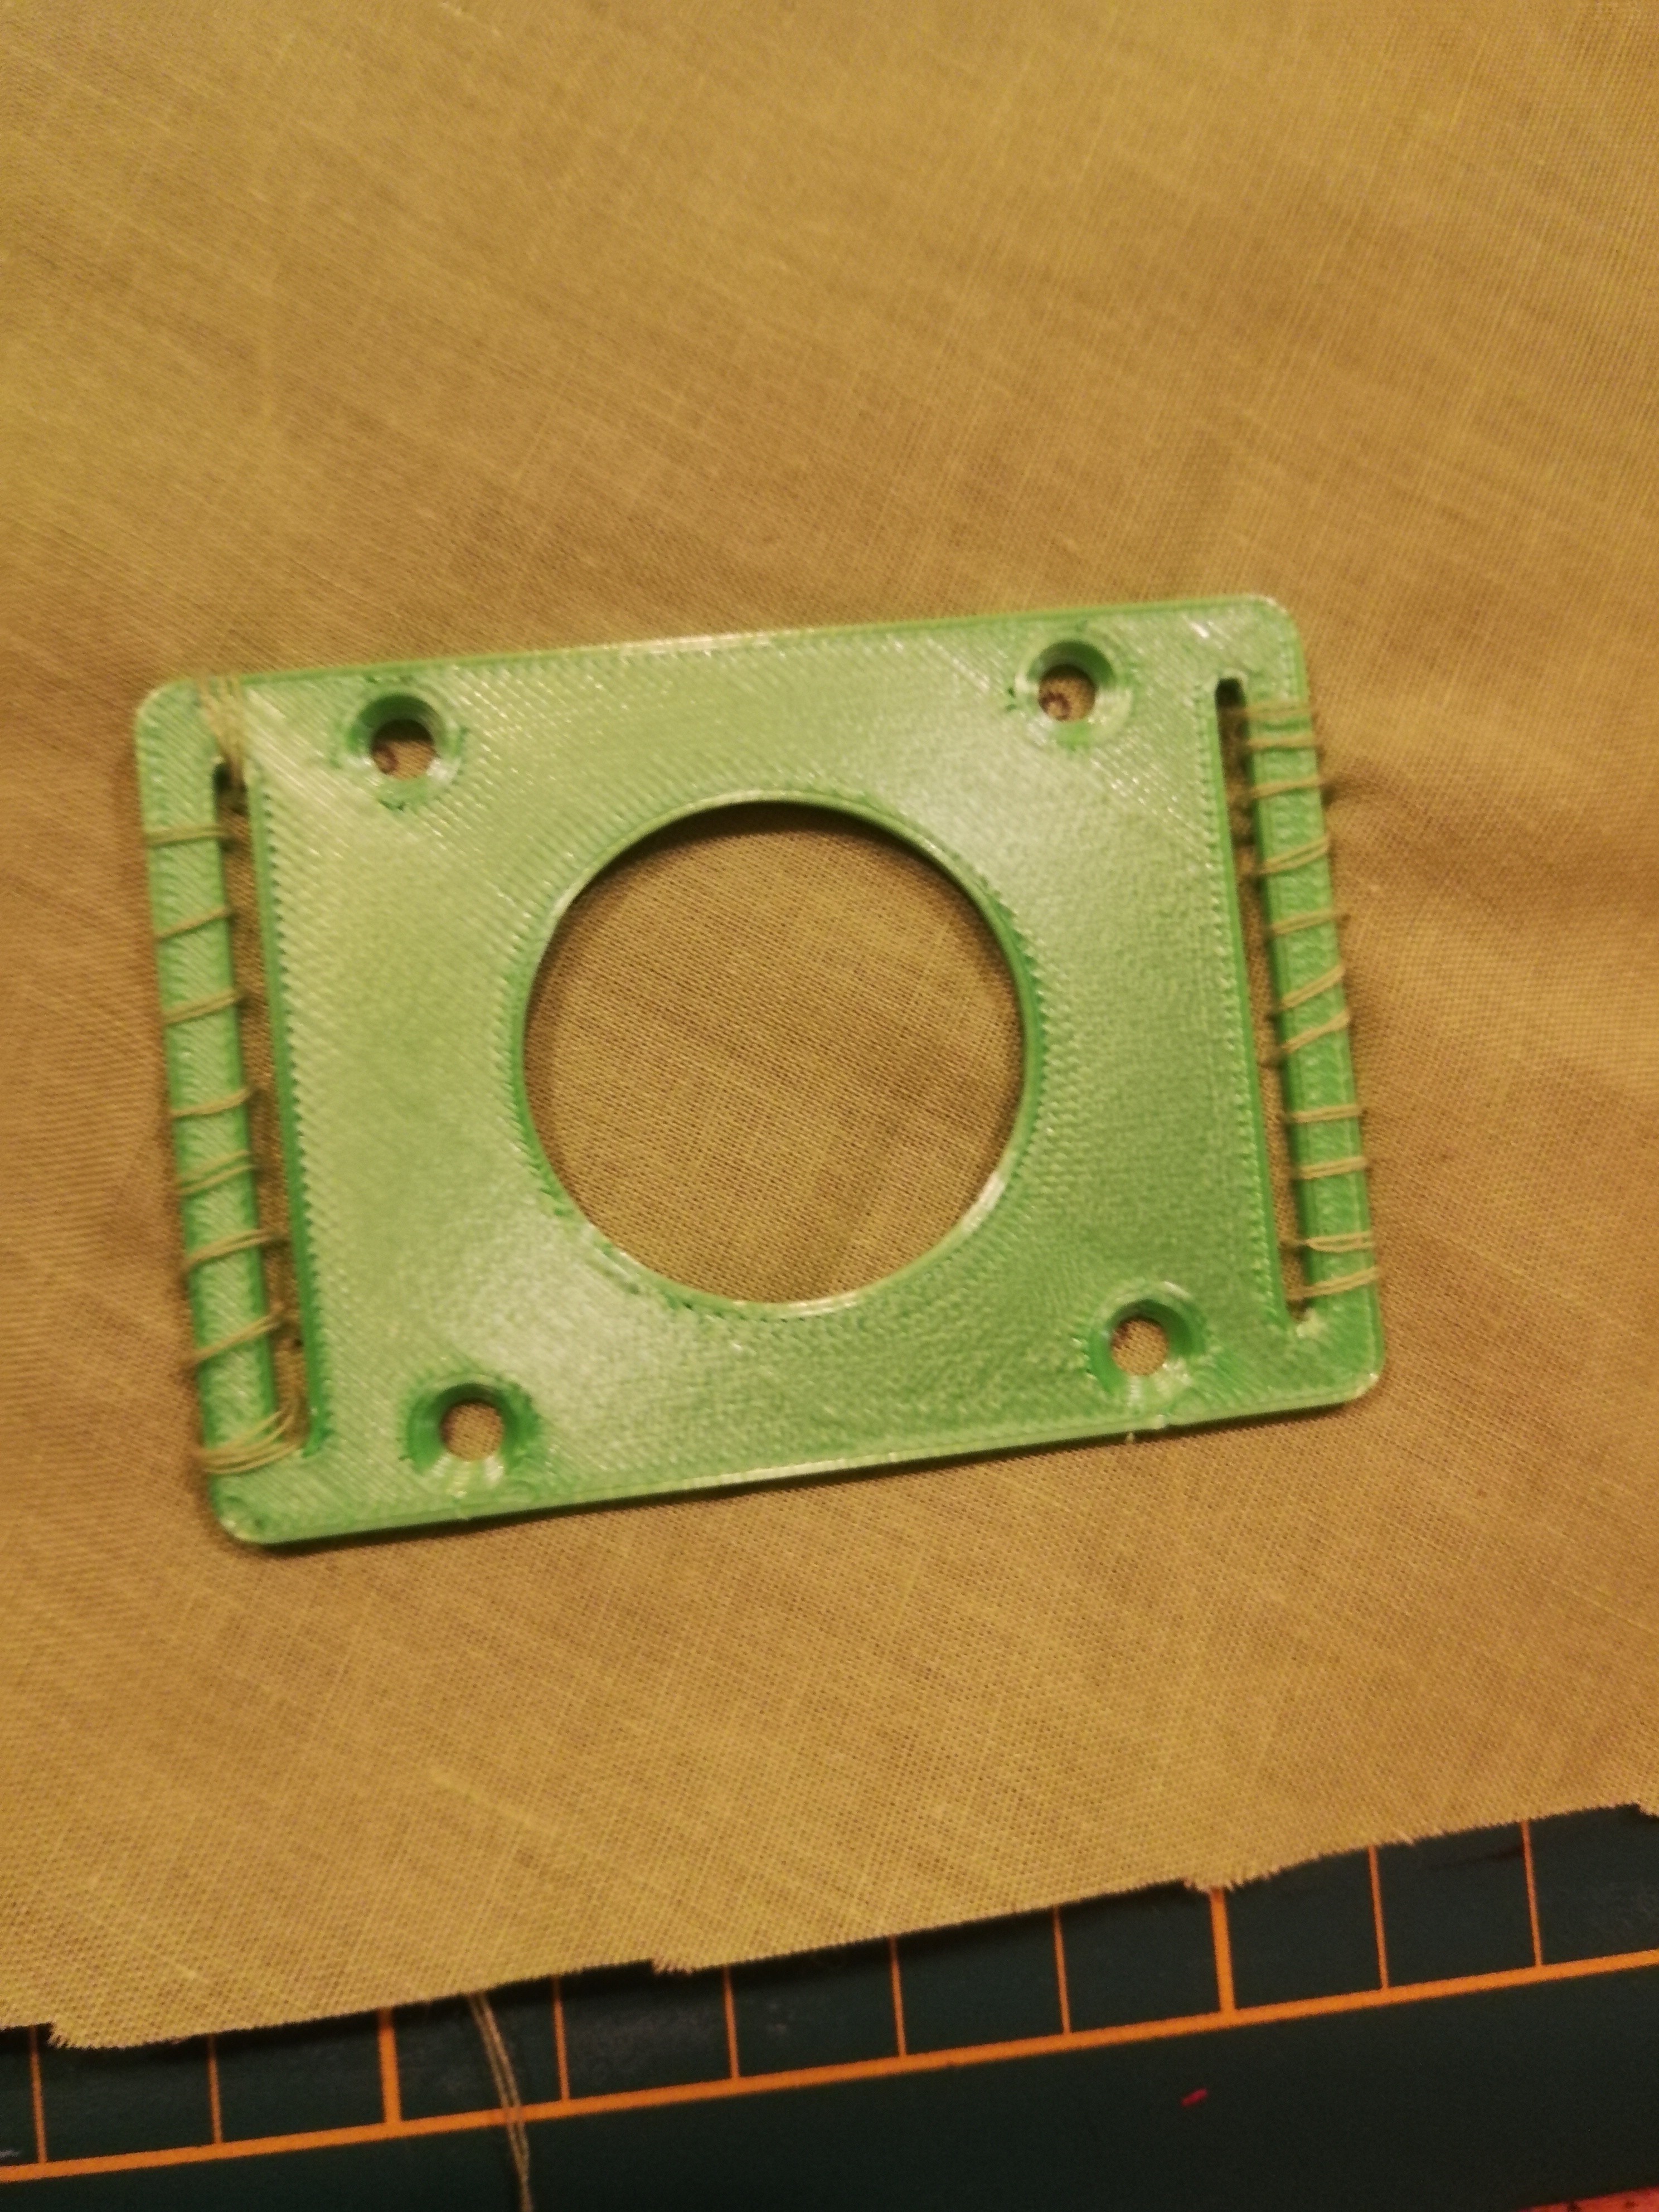
InneThis project uses the bubble badge as the control board for the cheeks and NeoPixels. Check the link for the BOM and assembly instructions.
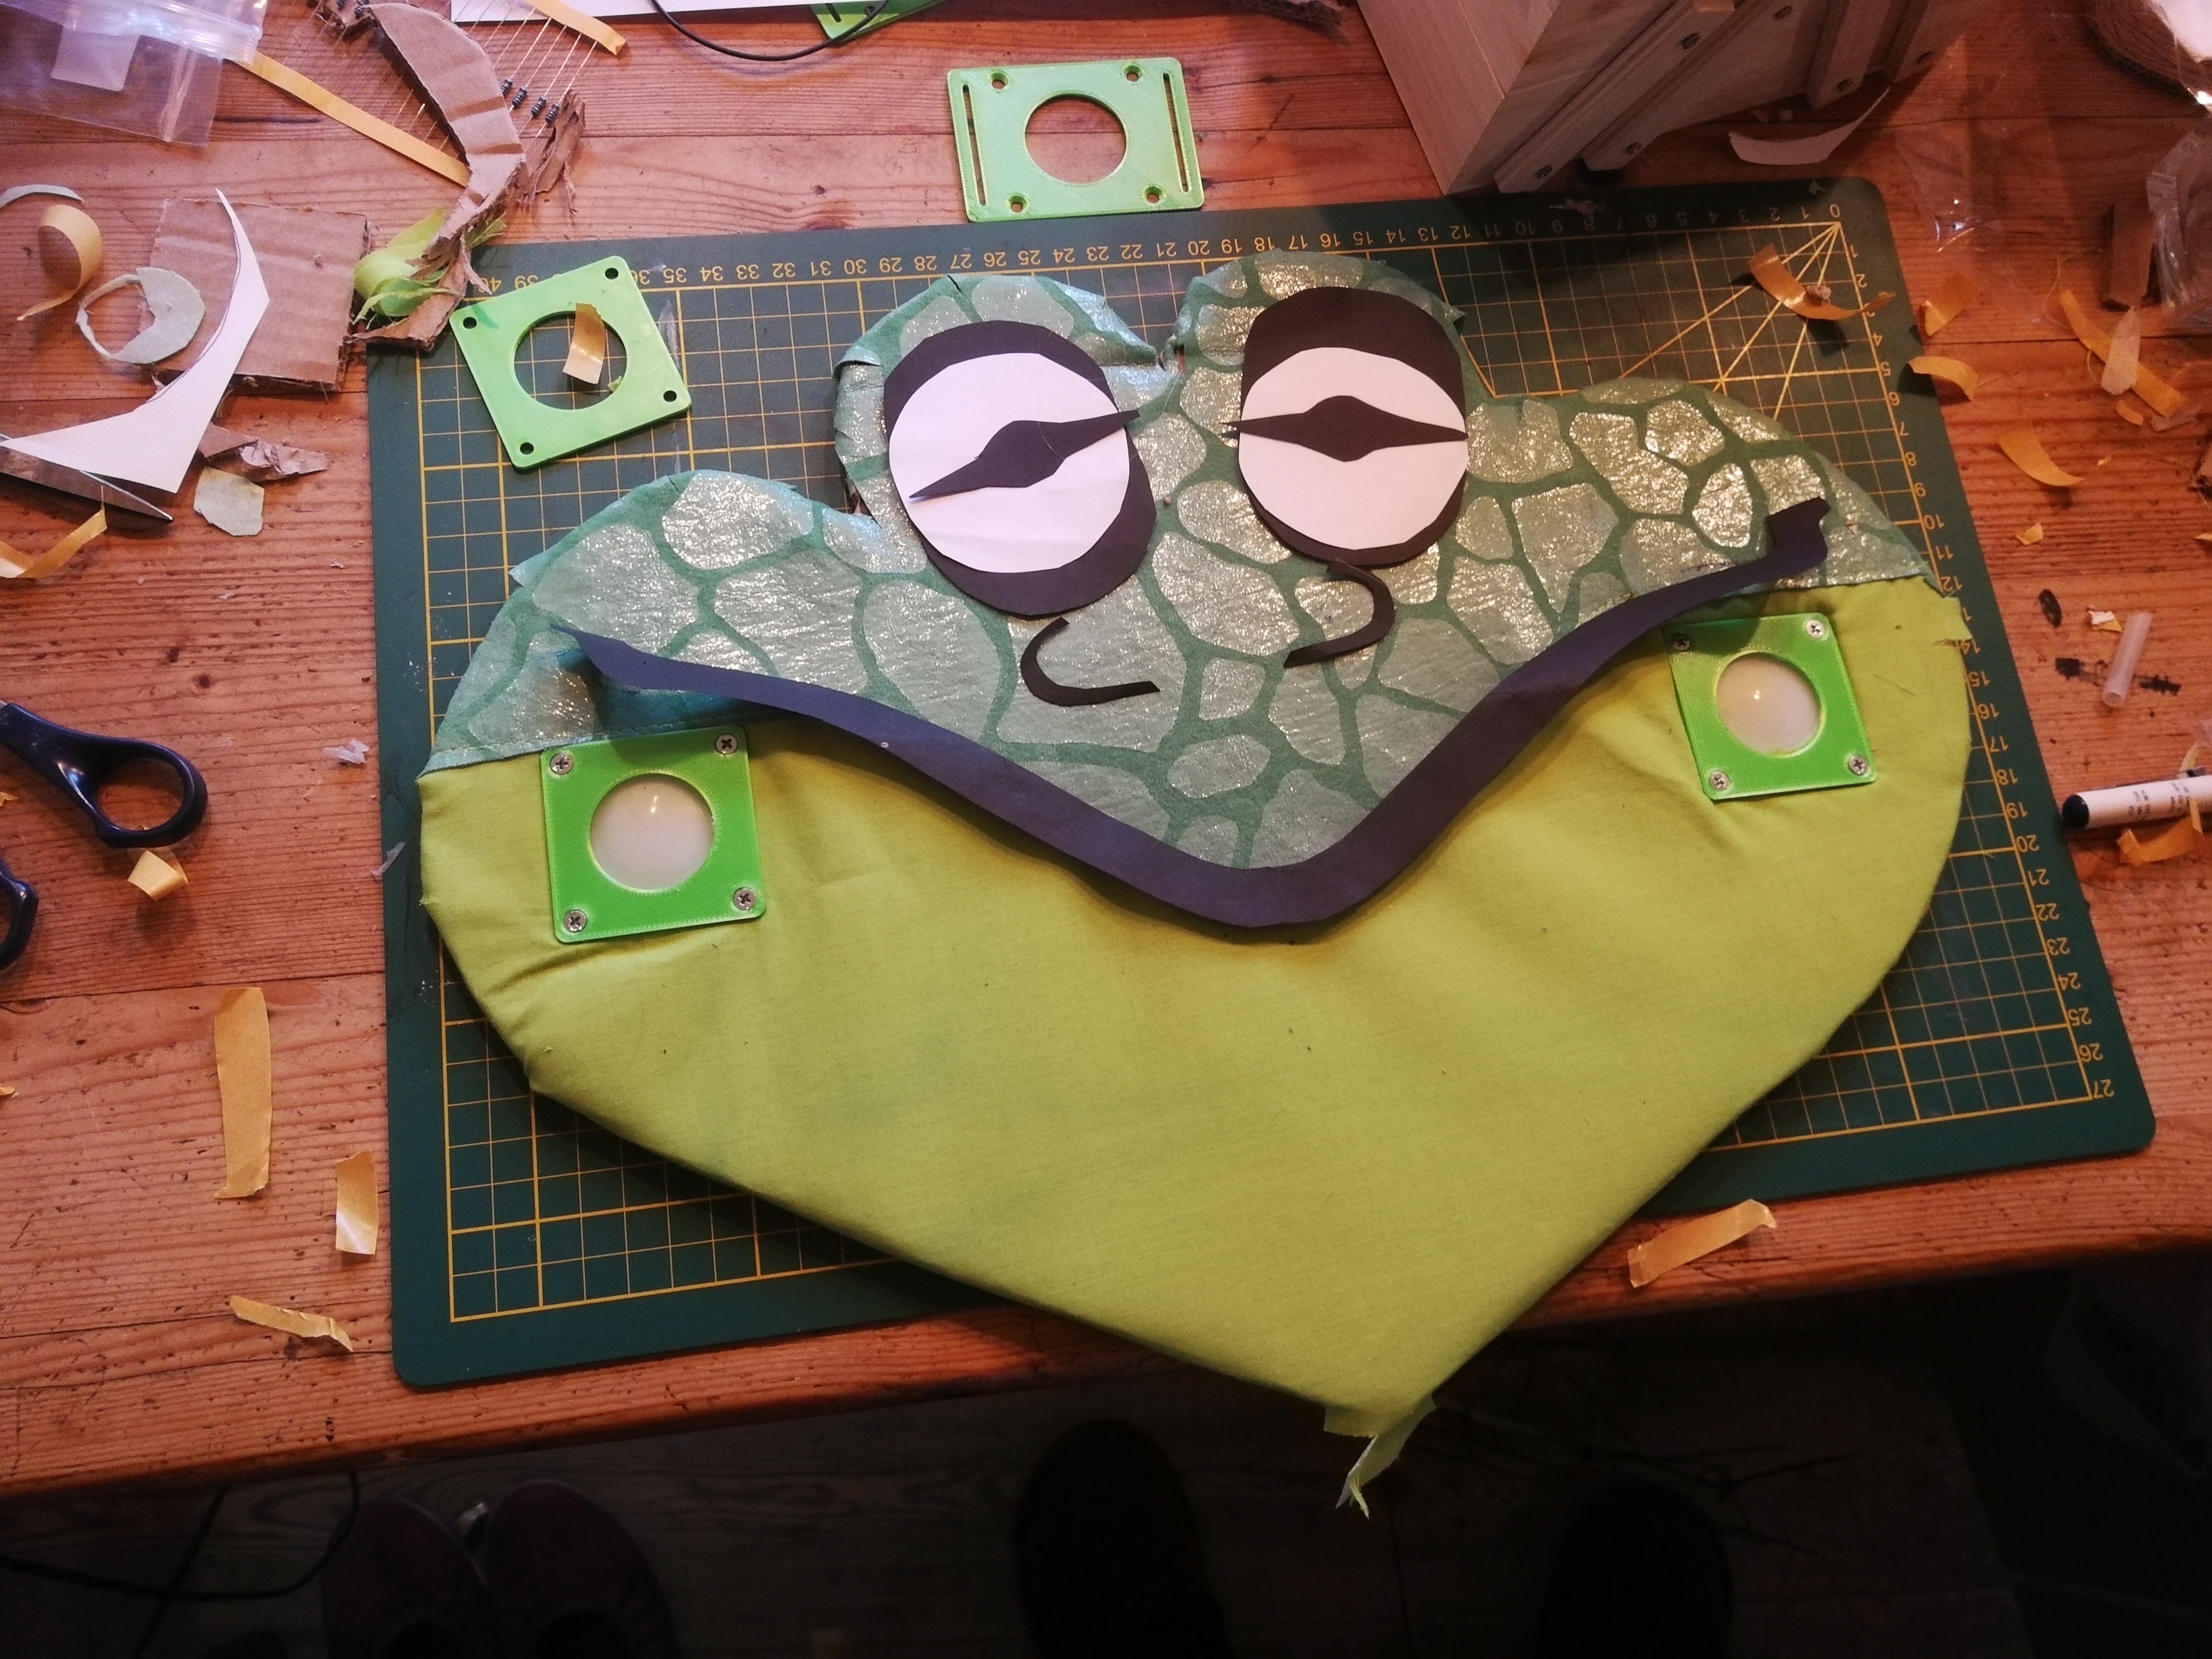
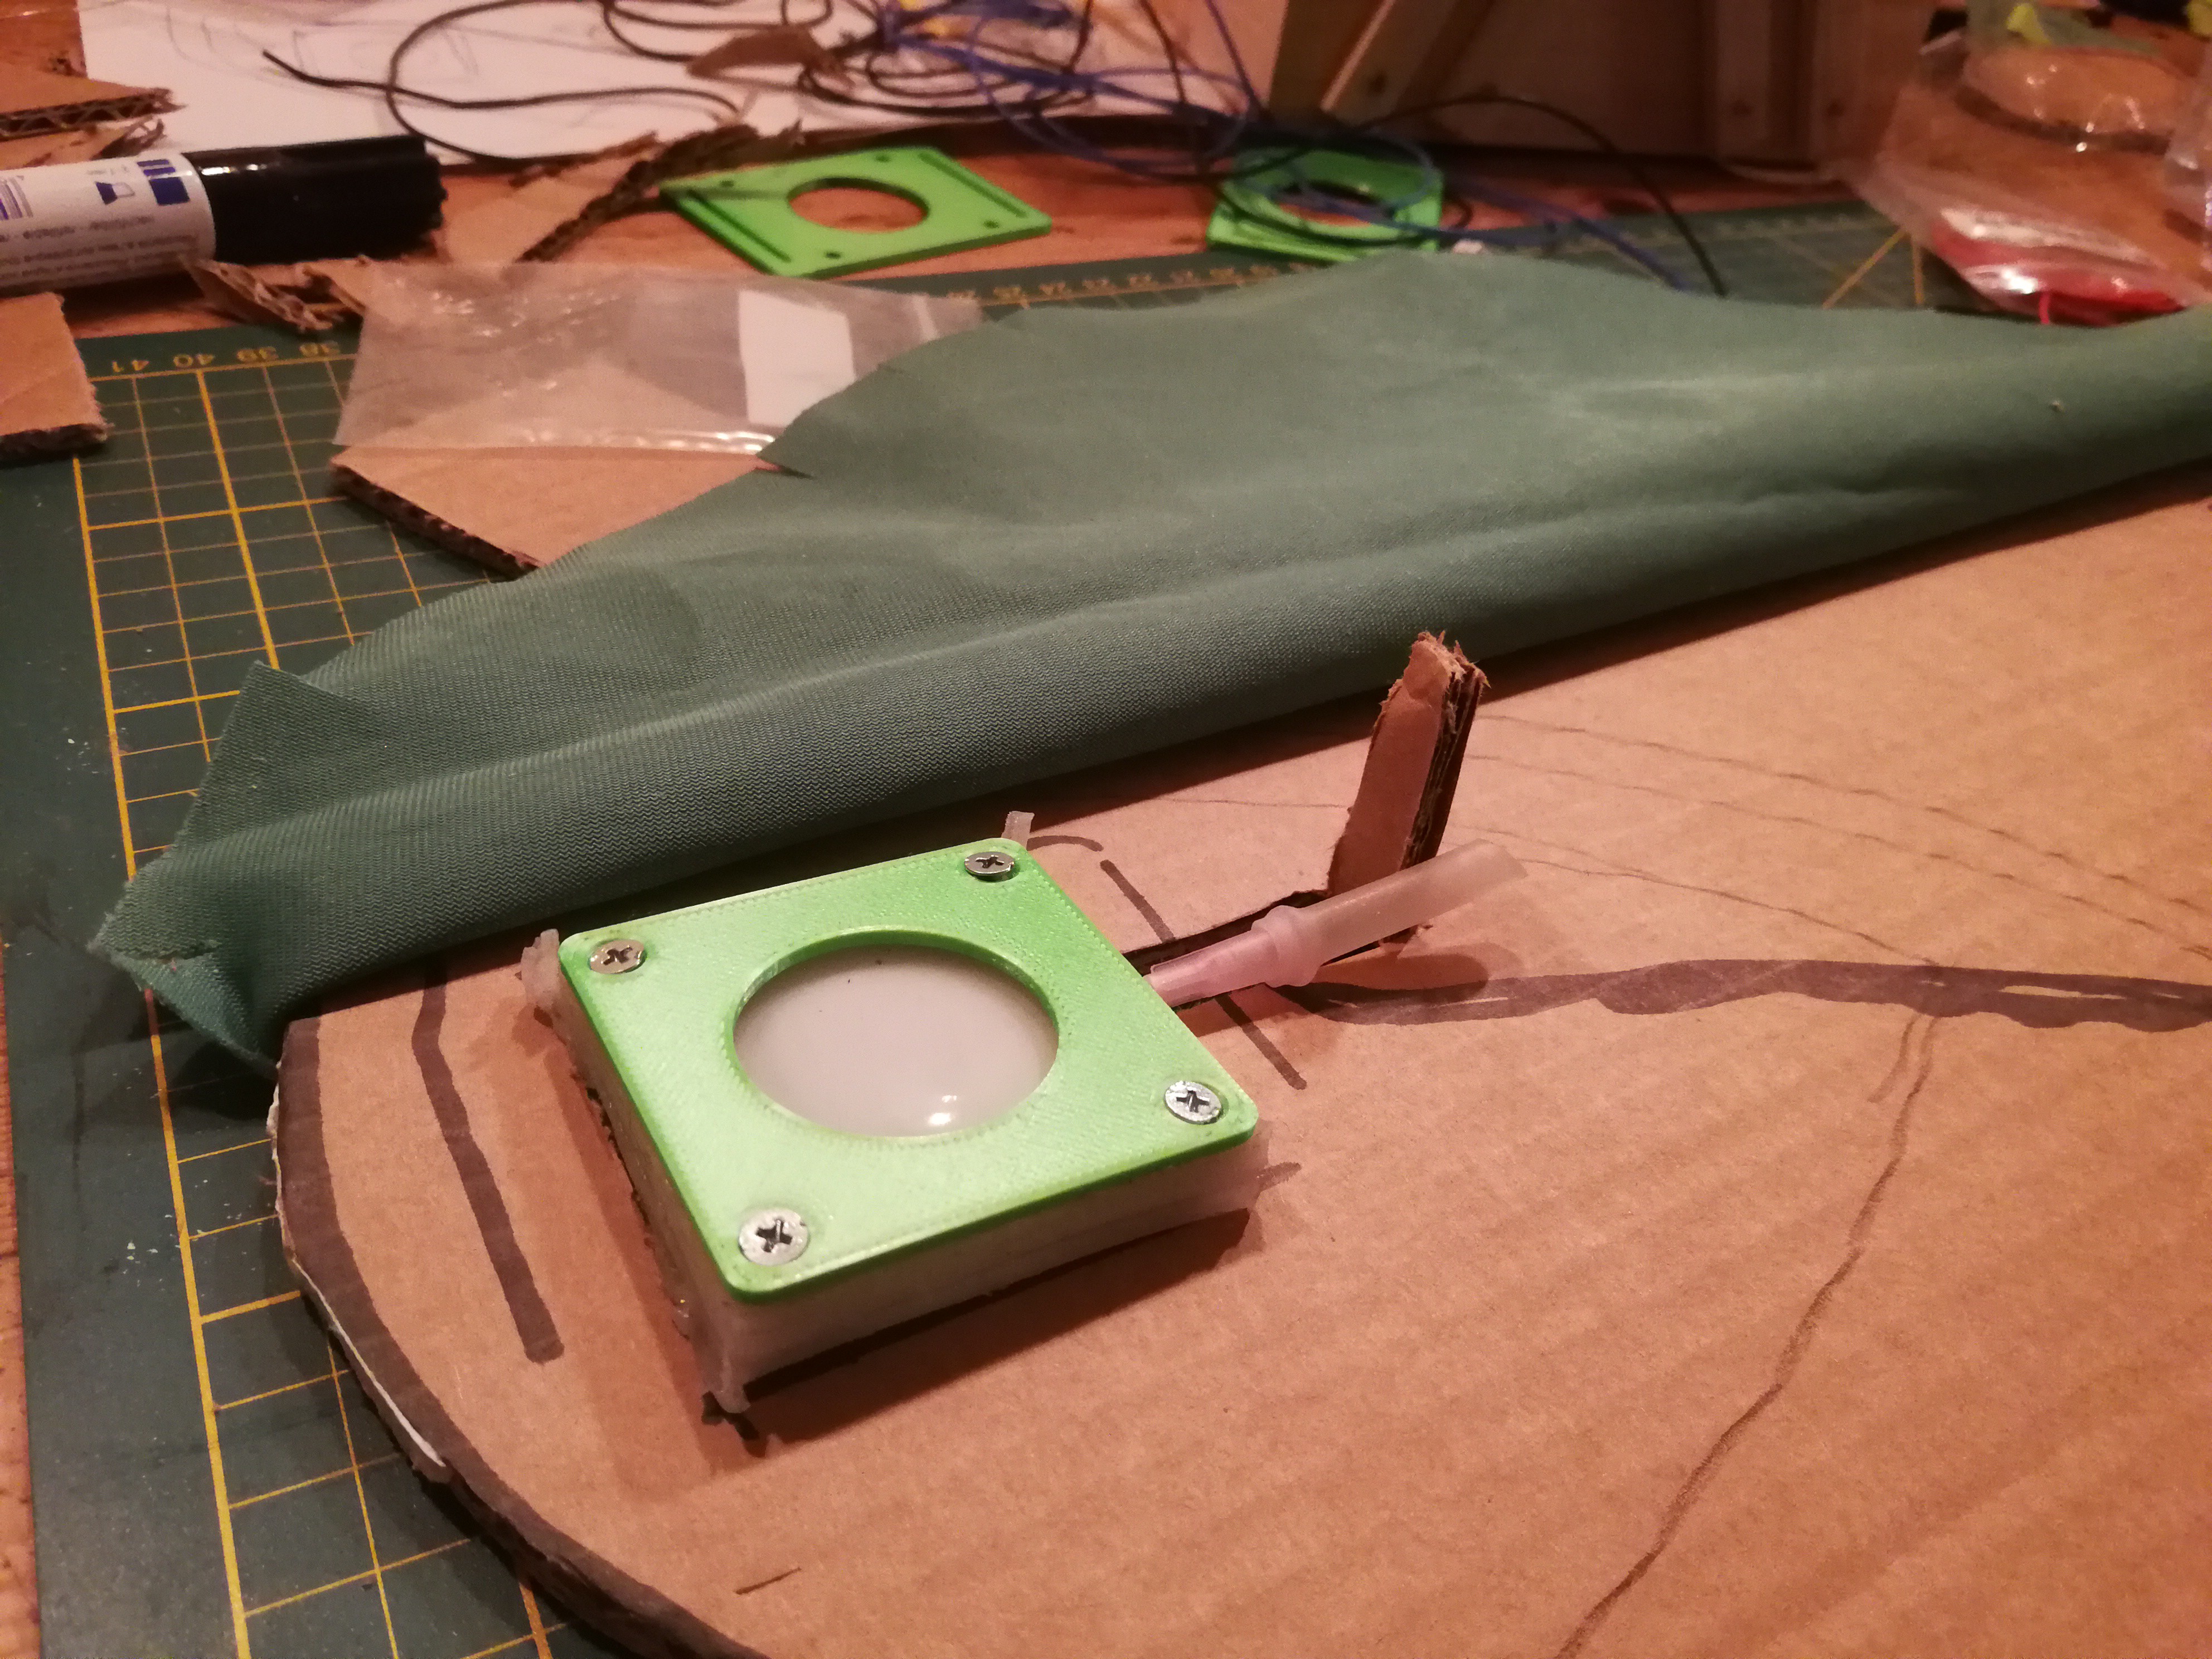
A working proof of concept:
A frog mask that has inflatable cheeks made from soft robotic bubbles.
Already have an account? Log in.
To make the experience fit your profile, pick a username and tell us what interests you.
This project uses the bubble badge as the control board for the cheeks and NeoPixels. Check the link for the BOM and assembly instructions.
A working proof of concept:
Silicone is a wonderful material, it is flexible sticks to almost nothing but itself and has high temperature resistance. Especially the being flexible part plays a big role in soft robotics. Flexibility is denoted by something called Shore Durometer (usually shore for short) and it is absolutely key in this project. Furthermore I would recommend choosing platinum cured silicone, see last paragraph.
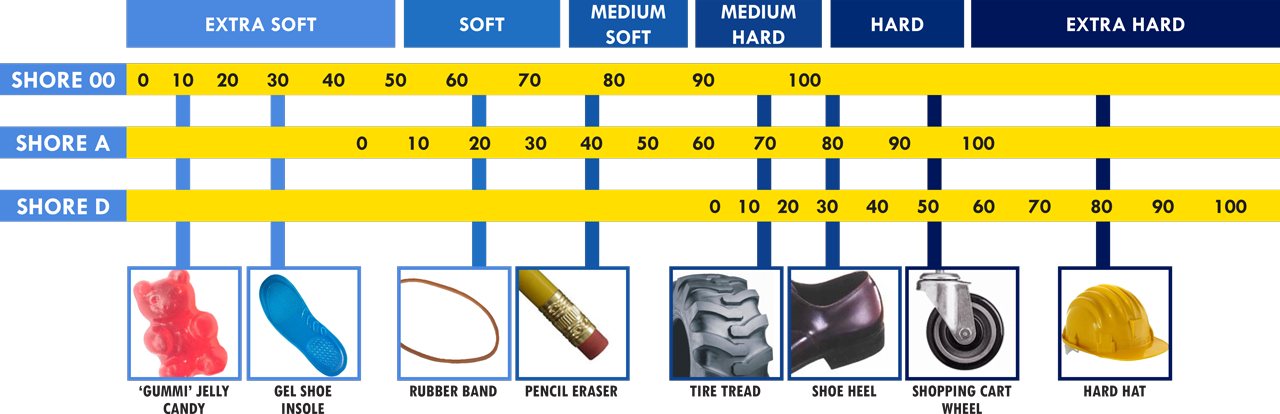
Shore Durometer.
As stated the shore rating of silicone determines its stretchyness. When looking at the figure below we can see that there are 3 major scales namely D, A and 00. Take into account which scale you are looking at when shopping for your silicone since shore D-10 is orders of magnitude harder than 00-10. In general the D scale is unsuitable for flexible robots, since the flexibility starts at tire level, so we disregard them for this project.
What silicone to use when
We need silicone for 2 purposes, to cast the halves of the bubbles and to glue them too eachother. When using the softest of silicones like 00-10 (ecoflex) you need a harder silicone as the glue. When using a harder silicone like A-15 you need to add silicone oil (up to 15% of weight) to make it flexible enough but can use the same stuff to glue the parts. Since the bottom part of the mold doesn't flex you could also cast that part from harder silicone.
Recommendations
Ecoflex 00-10 (from Smooth-on) will give a nice squishy organic feel to the frog cheeks. It is harder to work with since it pours more viscous and catches air bubbles more easily (which is bad), it is also harder to source outside the US. In my opinion this silicone is a more advanced option. I got recommended to use Ecoflex 00-35 FAST for glue but haven't tested it (A-15 works fine for glue as well).
Silicone shore A-8 has a great flexibility that can be inflated well with 6V (at 5V) airpumps, it also pours well and can be its own glue. It is very unfortunate that my supplier offers it only predyed with blue pigment which makes it unsuitable.
Silicone shore A-15 is actually a bit to stiff for inflating but when adding 15% silicone oil it is just flexible enough to be inflated with the 6v (at 5v) airpump. A 12v airpump would be better but requires more power circuitry. It can be its own glue, with or without adding oil.
The path to go is yours to choose, but sincerely look which of these options are easily available for a good price in your region. Since a lot of this is experimentation having the option to order more is worth a lot.
Pigments:
You can use pigments that are specially designed for silicone to dye your bubbles really easily. Dying the top part white diffuses the light from the LED really well and makes for a nice effect. You only need a little bit to color decent amounts of silicone so use a toothpick and add it bit by bit (pigments are also reasonably expensive).
Protective equipment
With our current knowledge silicone is not very toxic so don't be afraid of it. Do use nitrile gloves when handling, pouring and working with it. In uncured form the silicone is a bit more harmful don't get it on your skin or ingest it and all that jazz. It is still not super toxic and does not burn when making contact with skin it just sticks to everything. Make sure you wash your hands when done handling it especially before eating things. Read the safety sheet and do your own research. Don't use latex gloves since the latex can/will inhibit the curing of your platinum silicone.
Cure inhibition
This is when your silicone doesn't harden completely and is still sticky or tacky to the touch. It can happen to the complete part or to only a section of it. Usually when it comes in contact certain compounds (usually containing sulfurs) latex is one of those. You also should not keep tin cured and platinum cured silicone in close proximity since they don't play nice. Or use both (sequentially) in the same mold. Lastly a bad cure could also be the result of bad ratios part A and B or insufficient mixing of them....
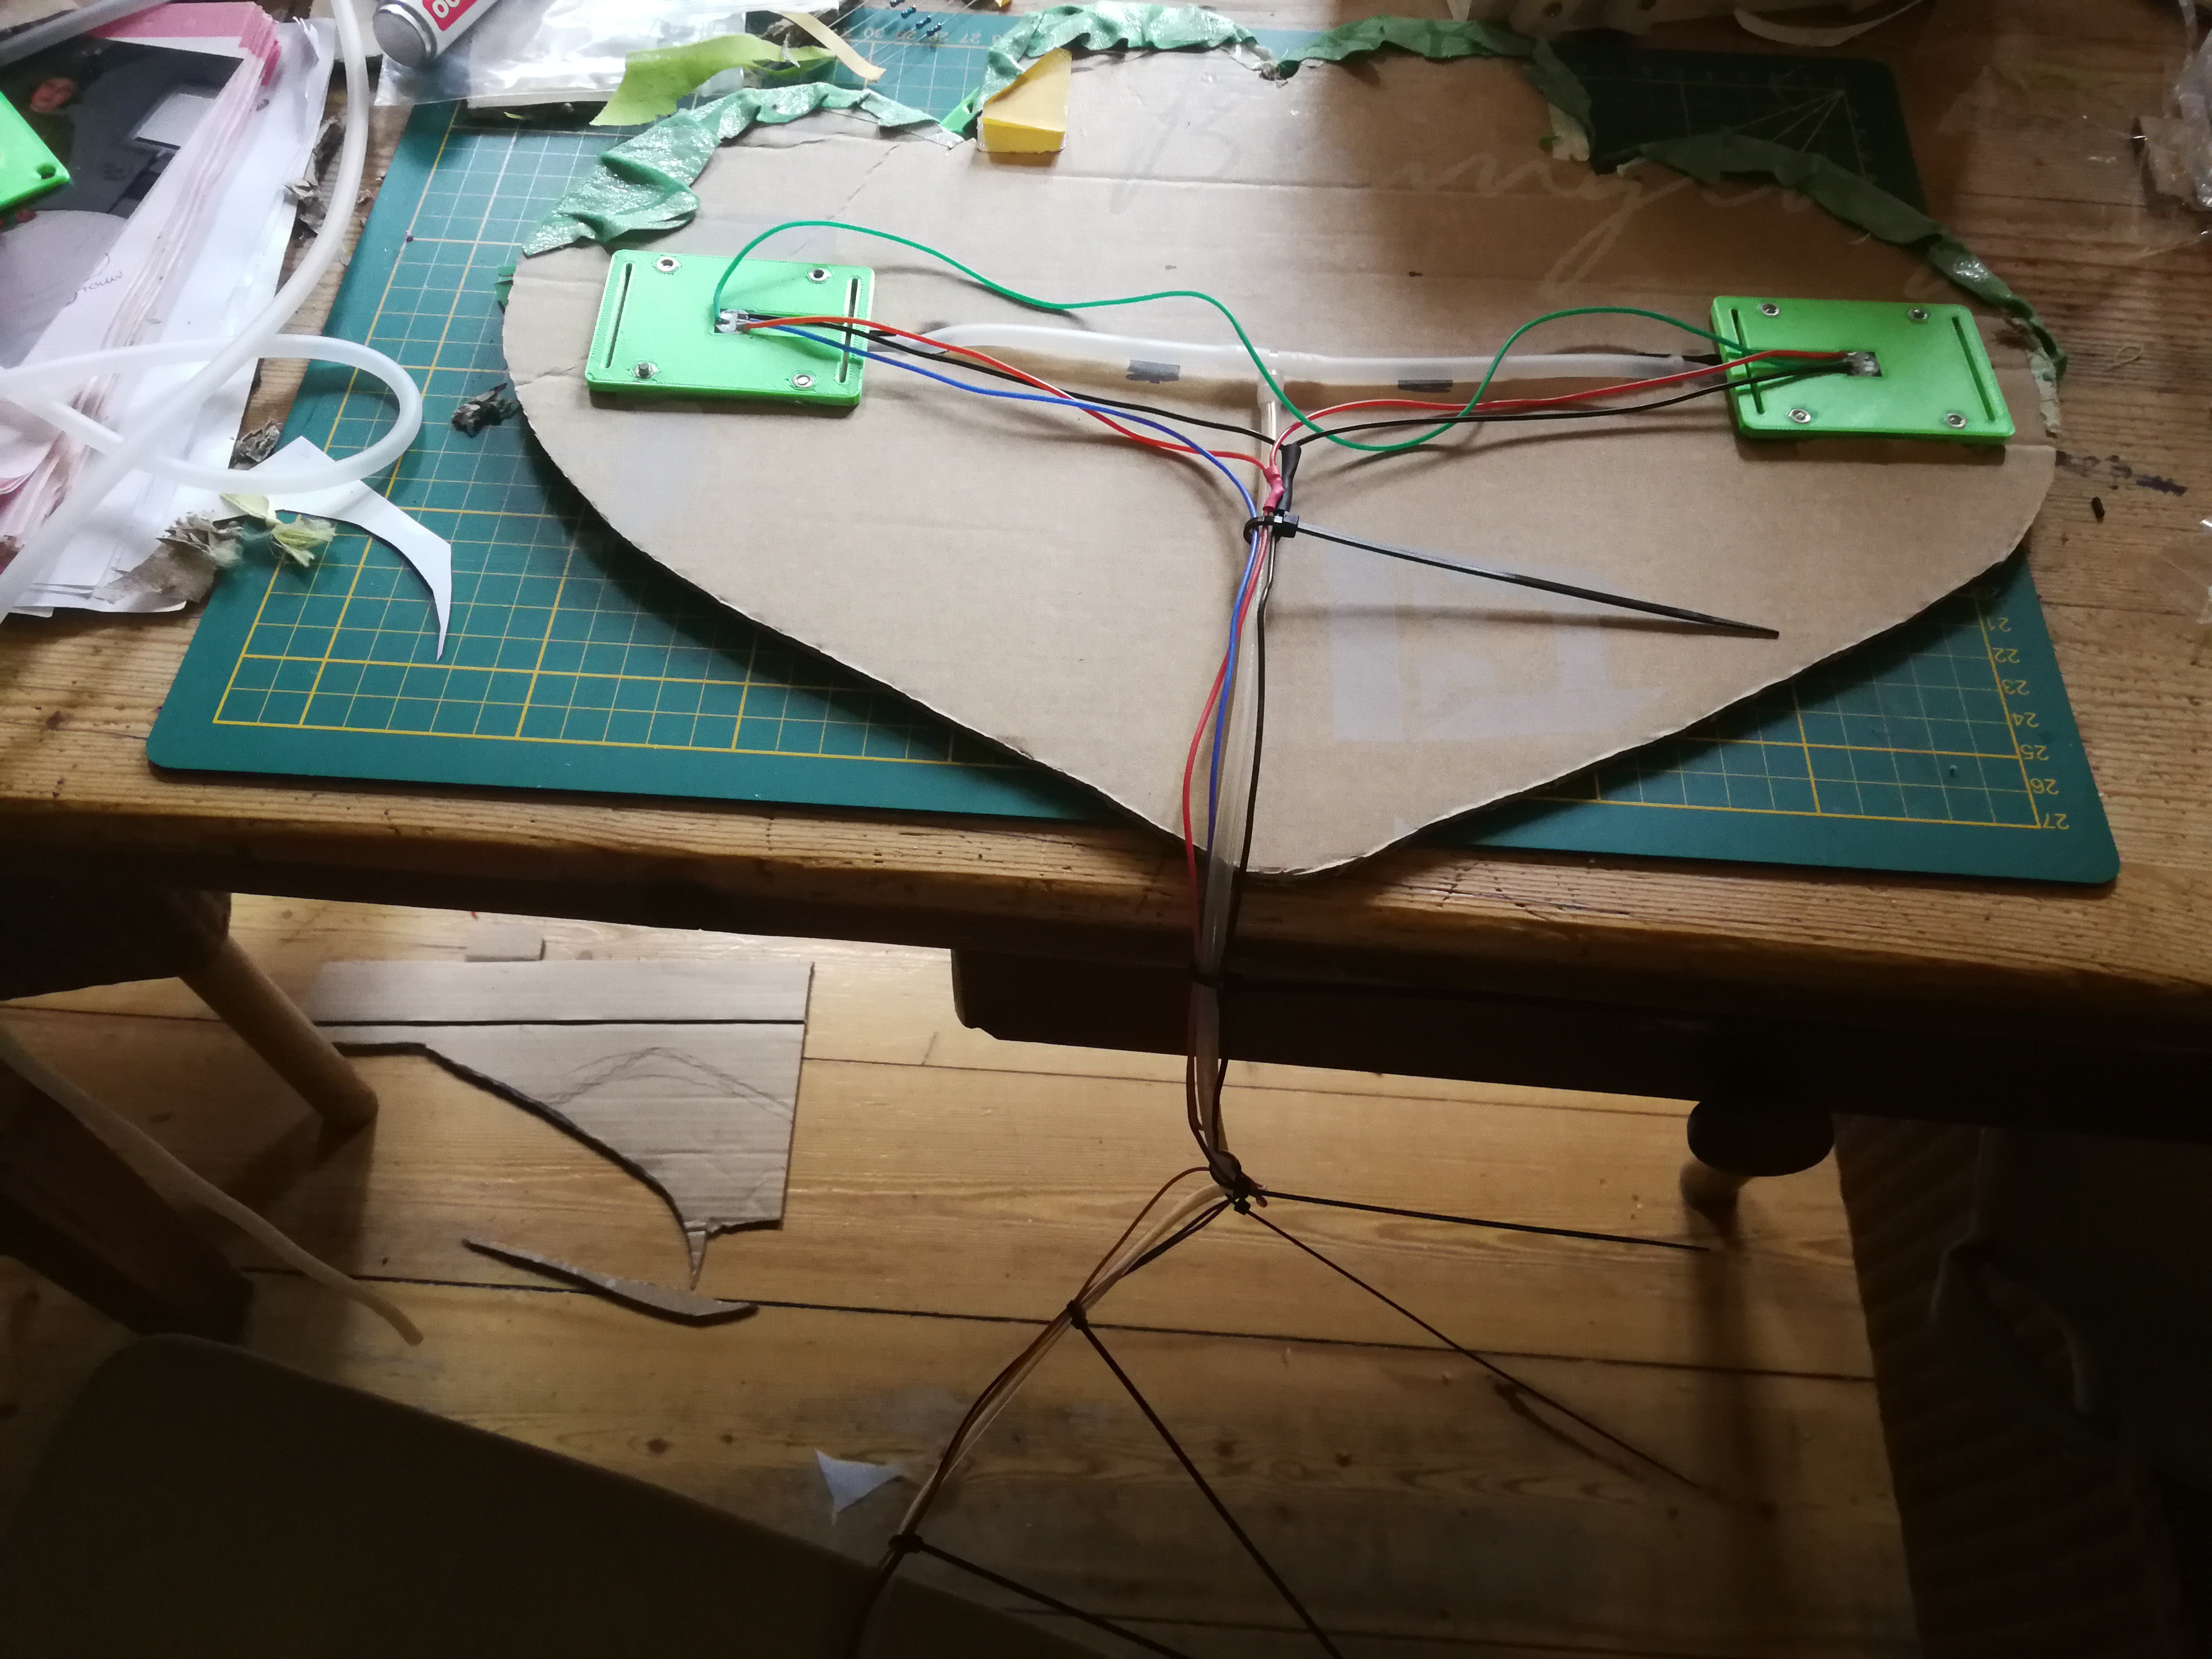
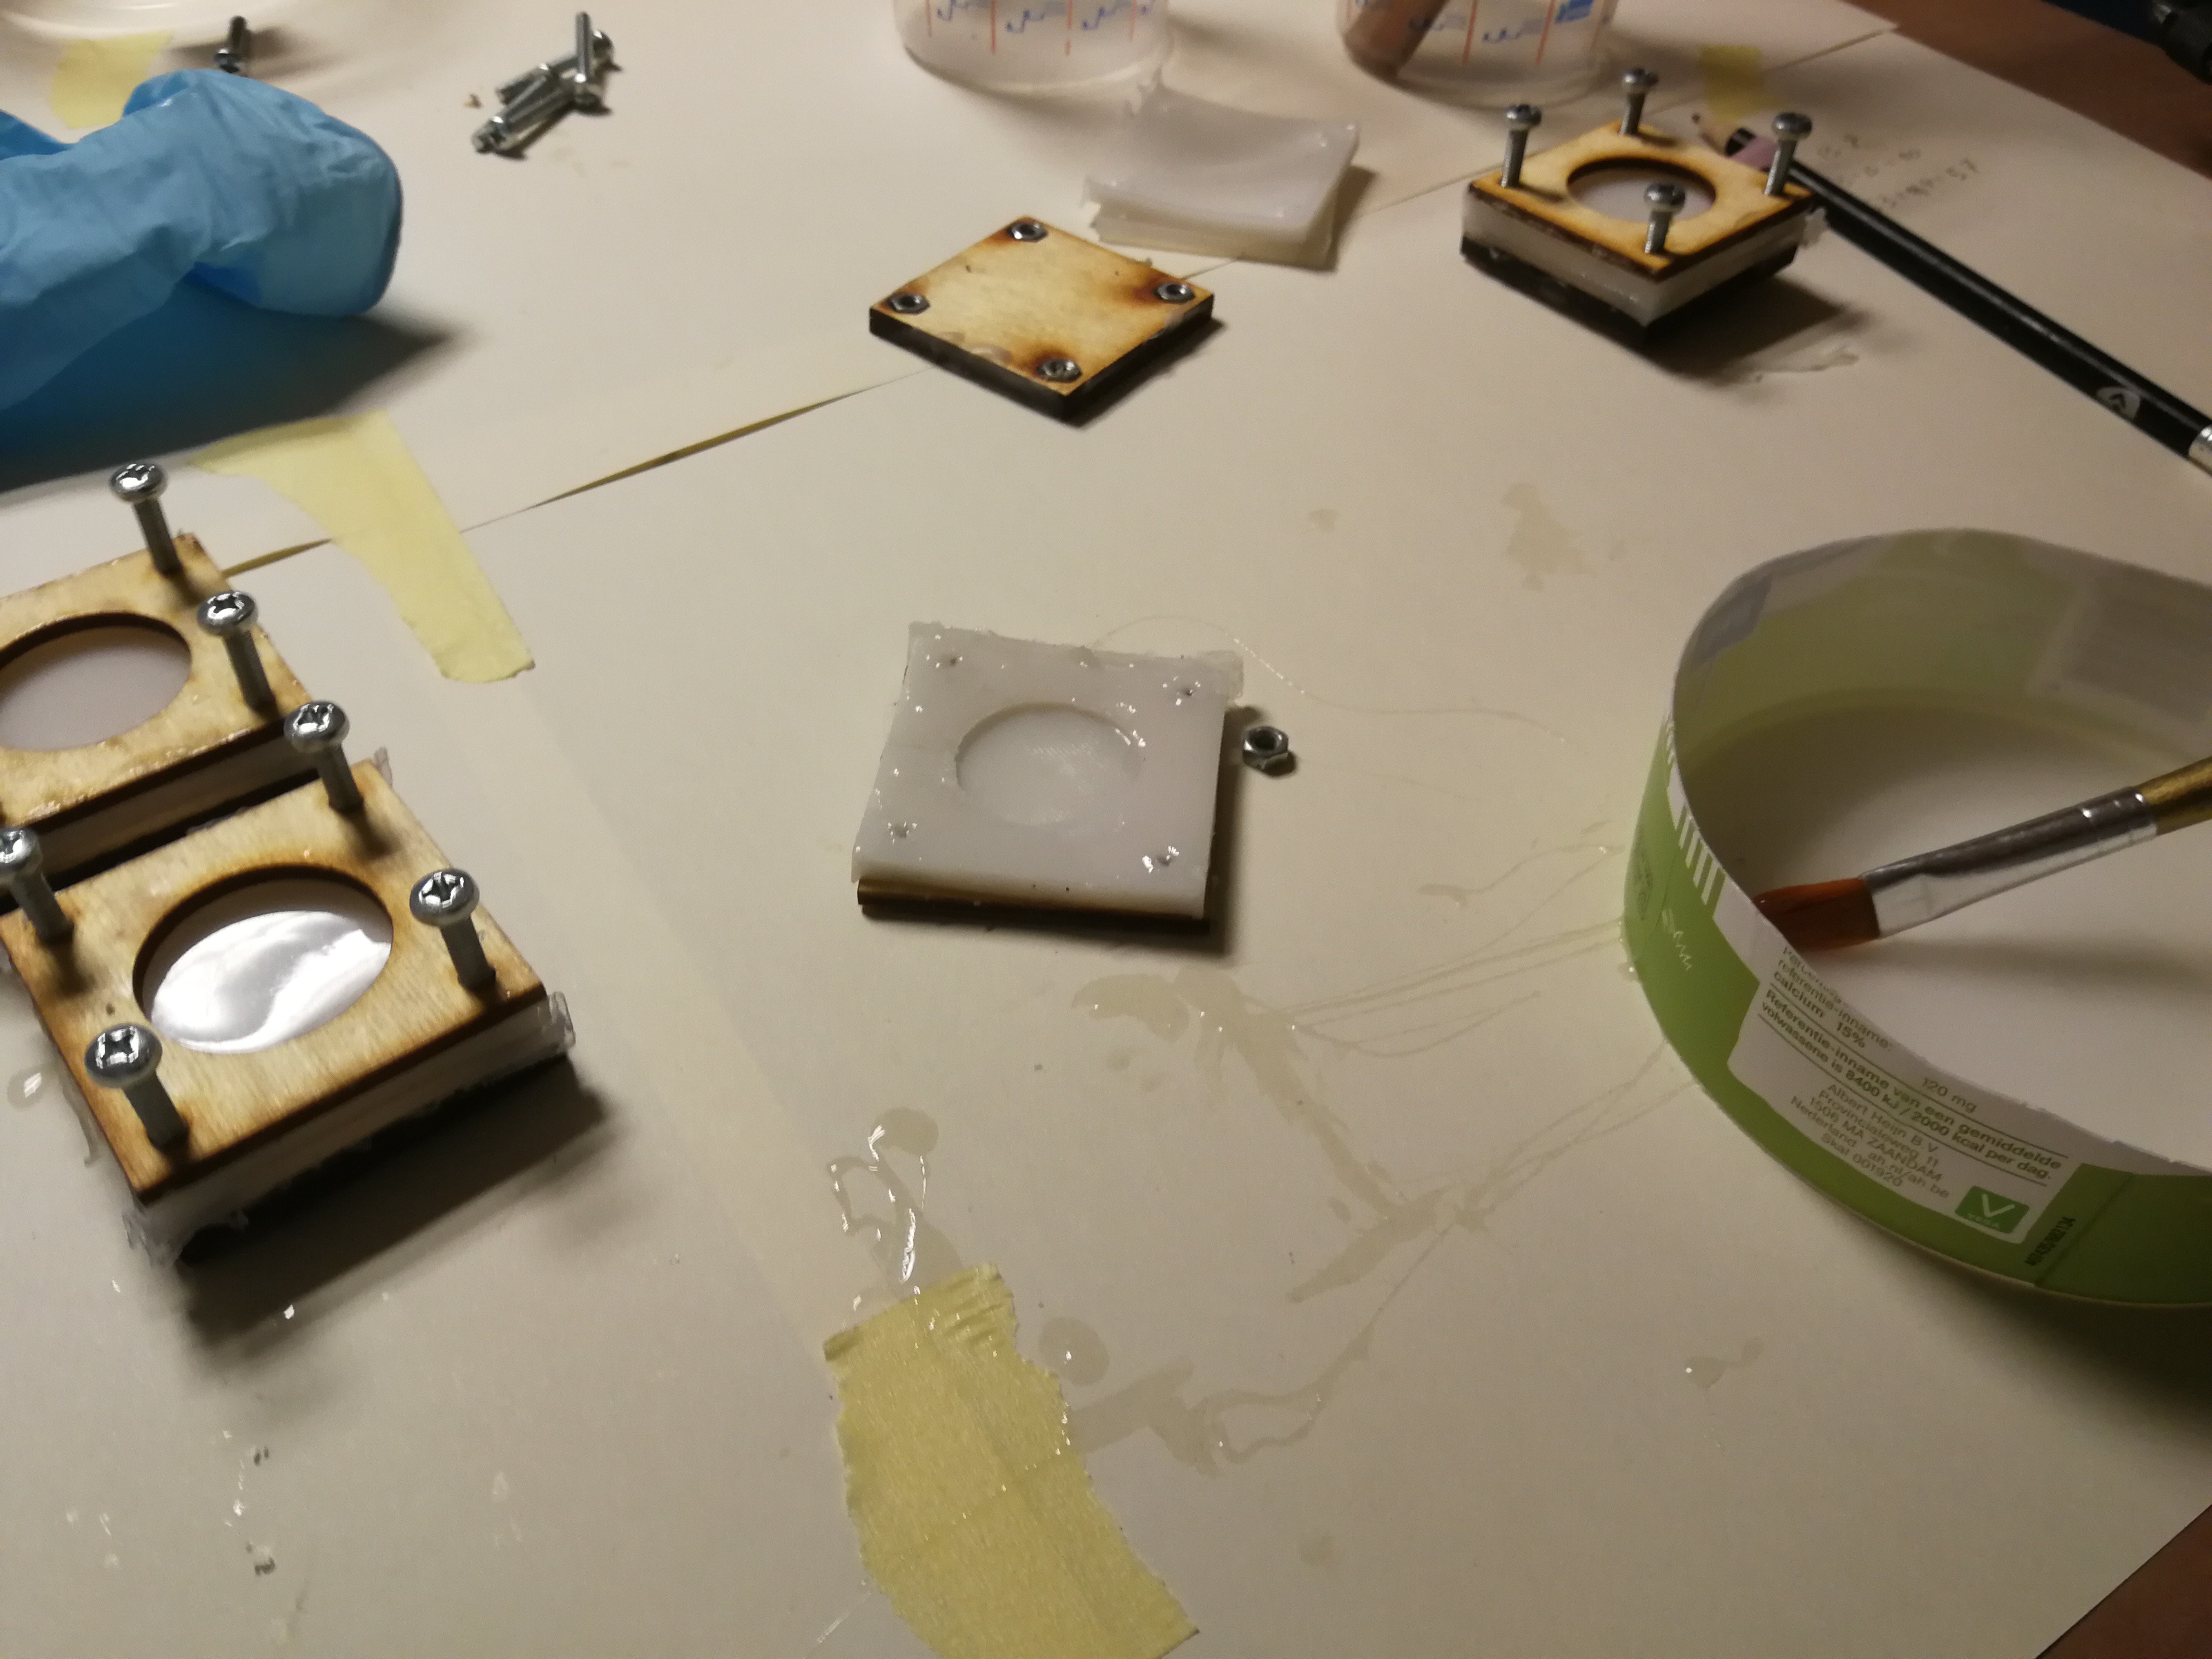
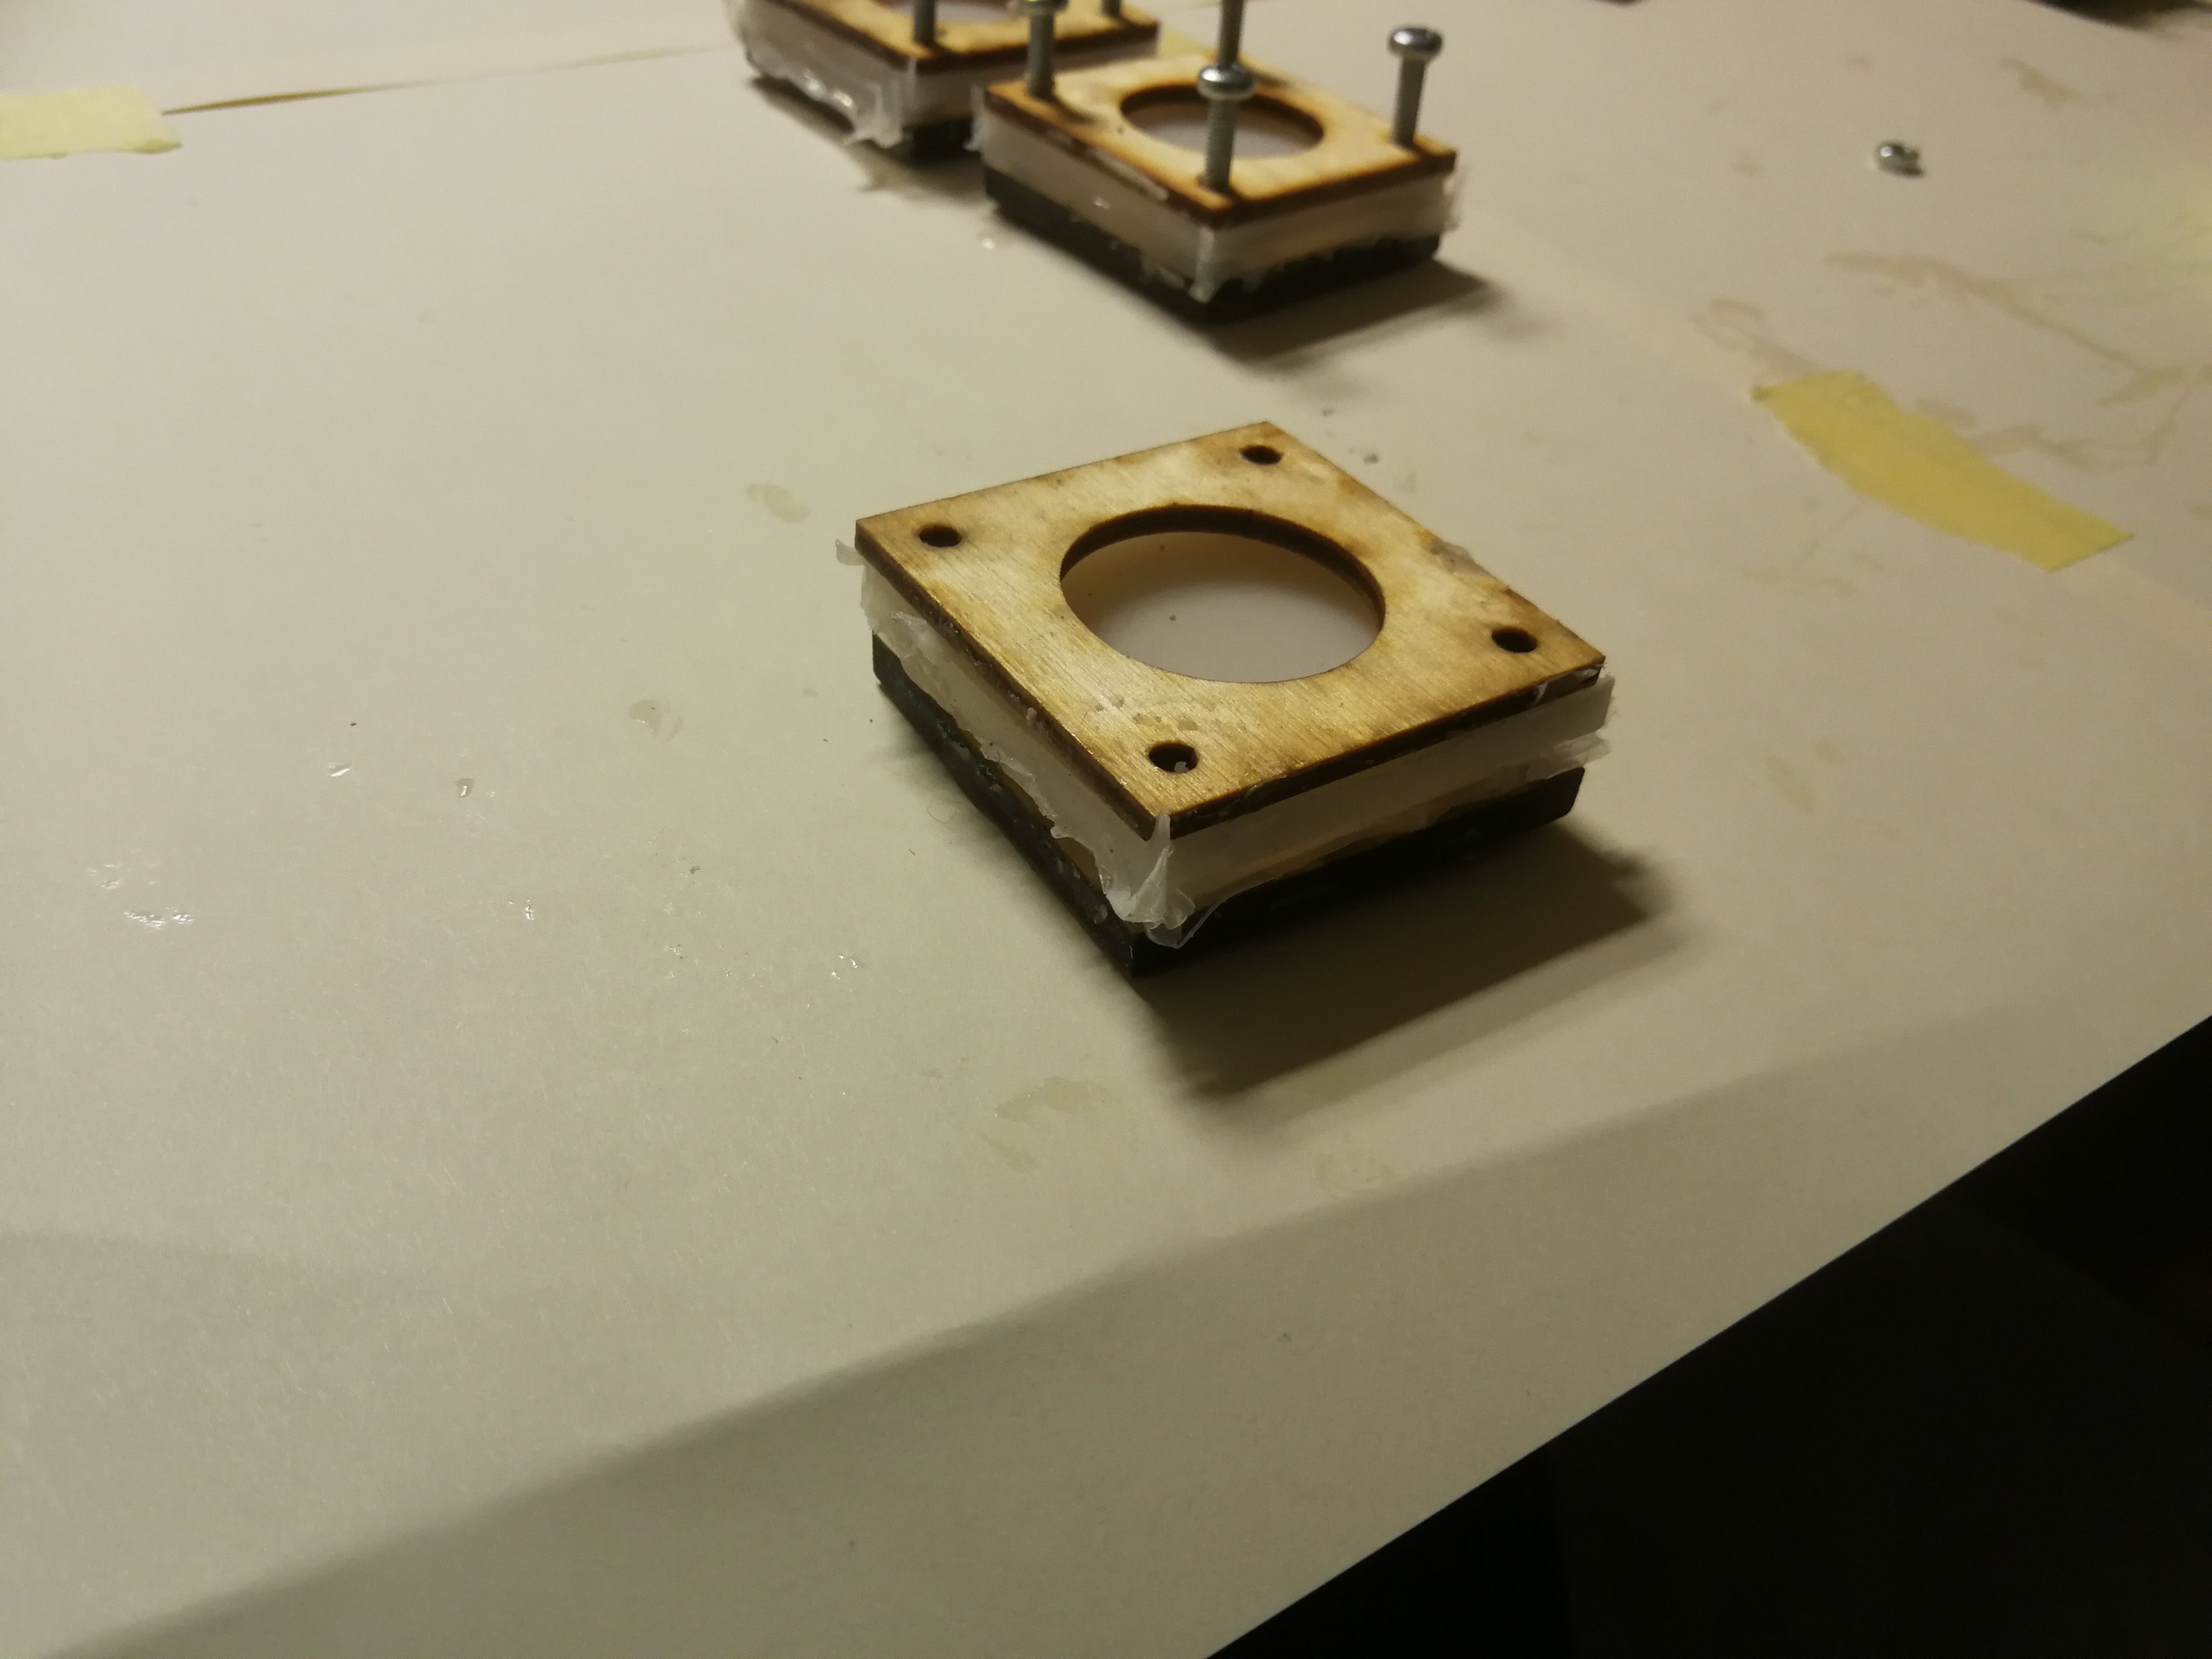
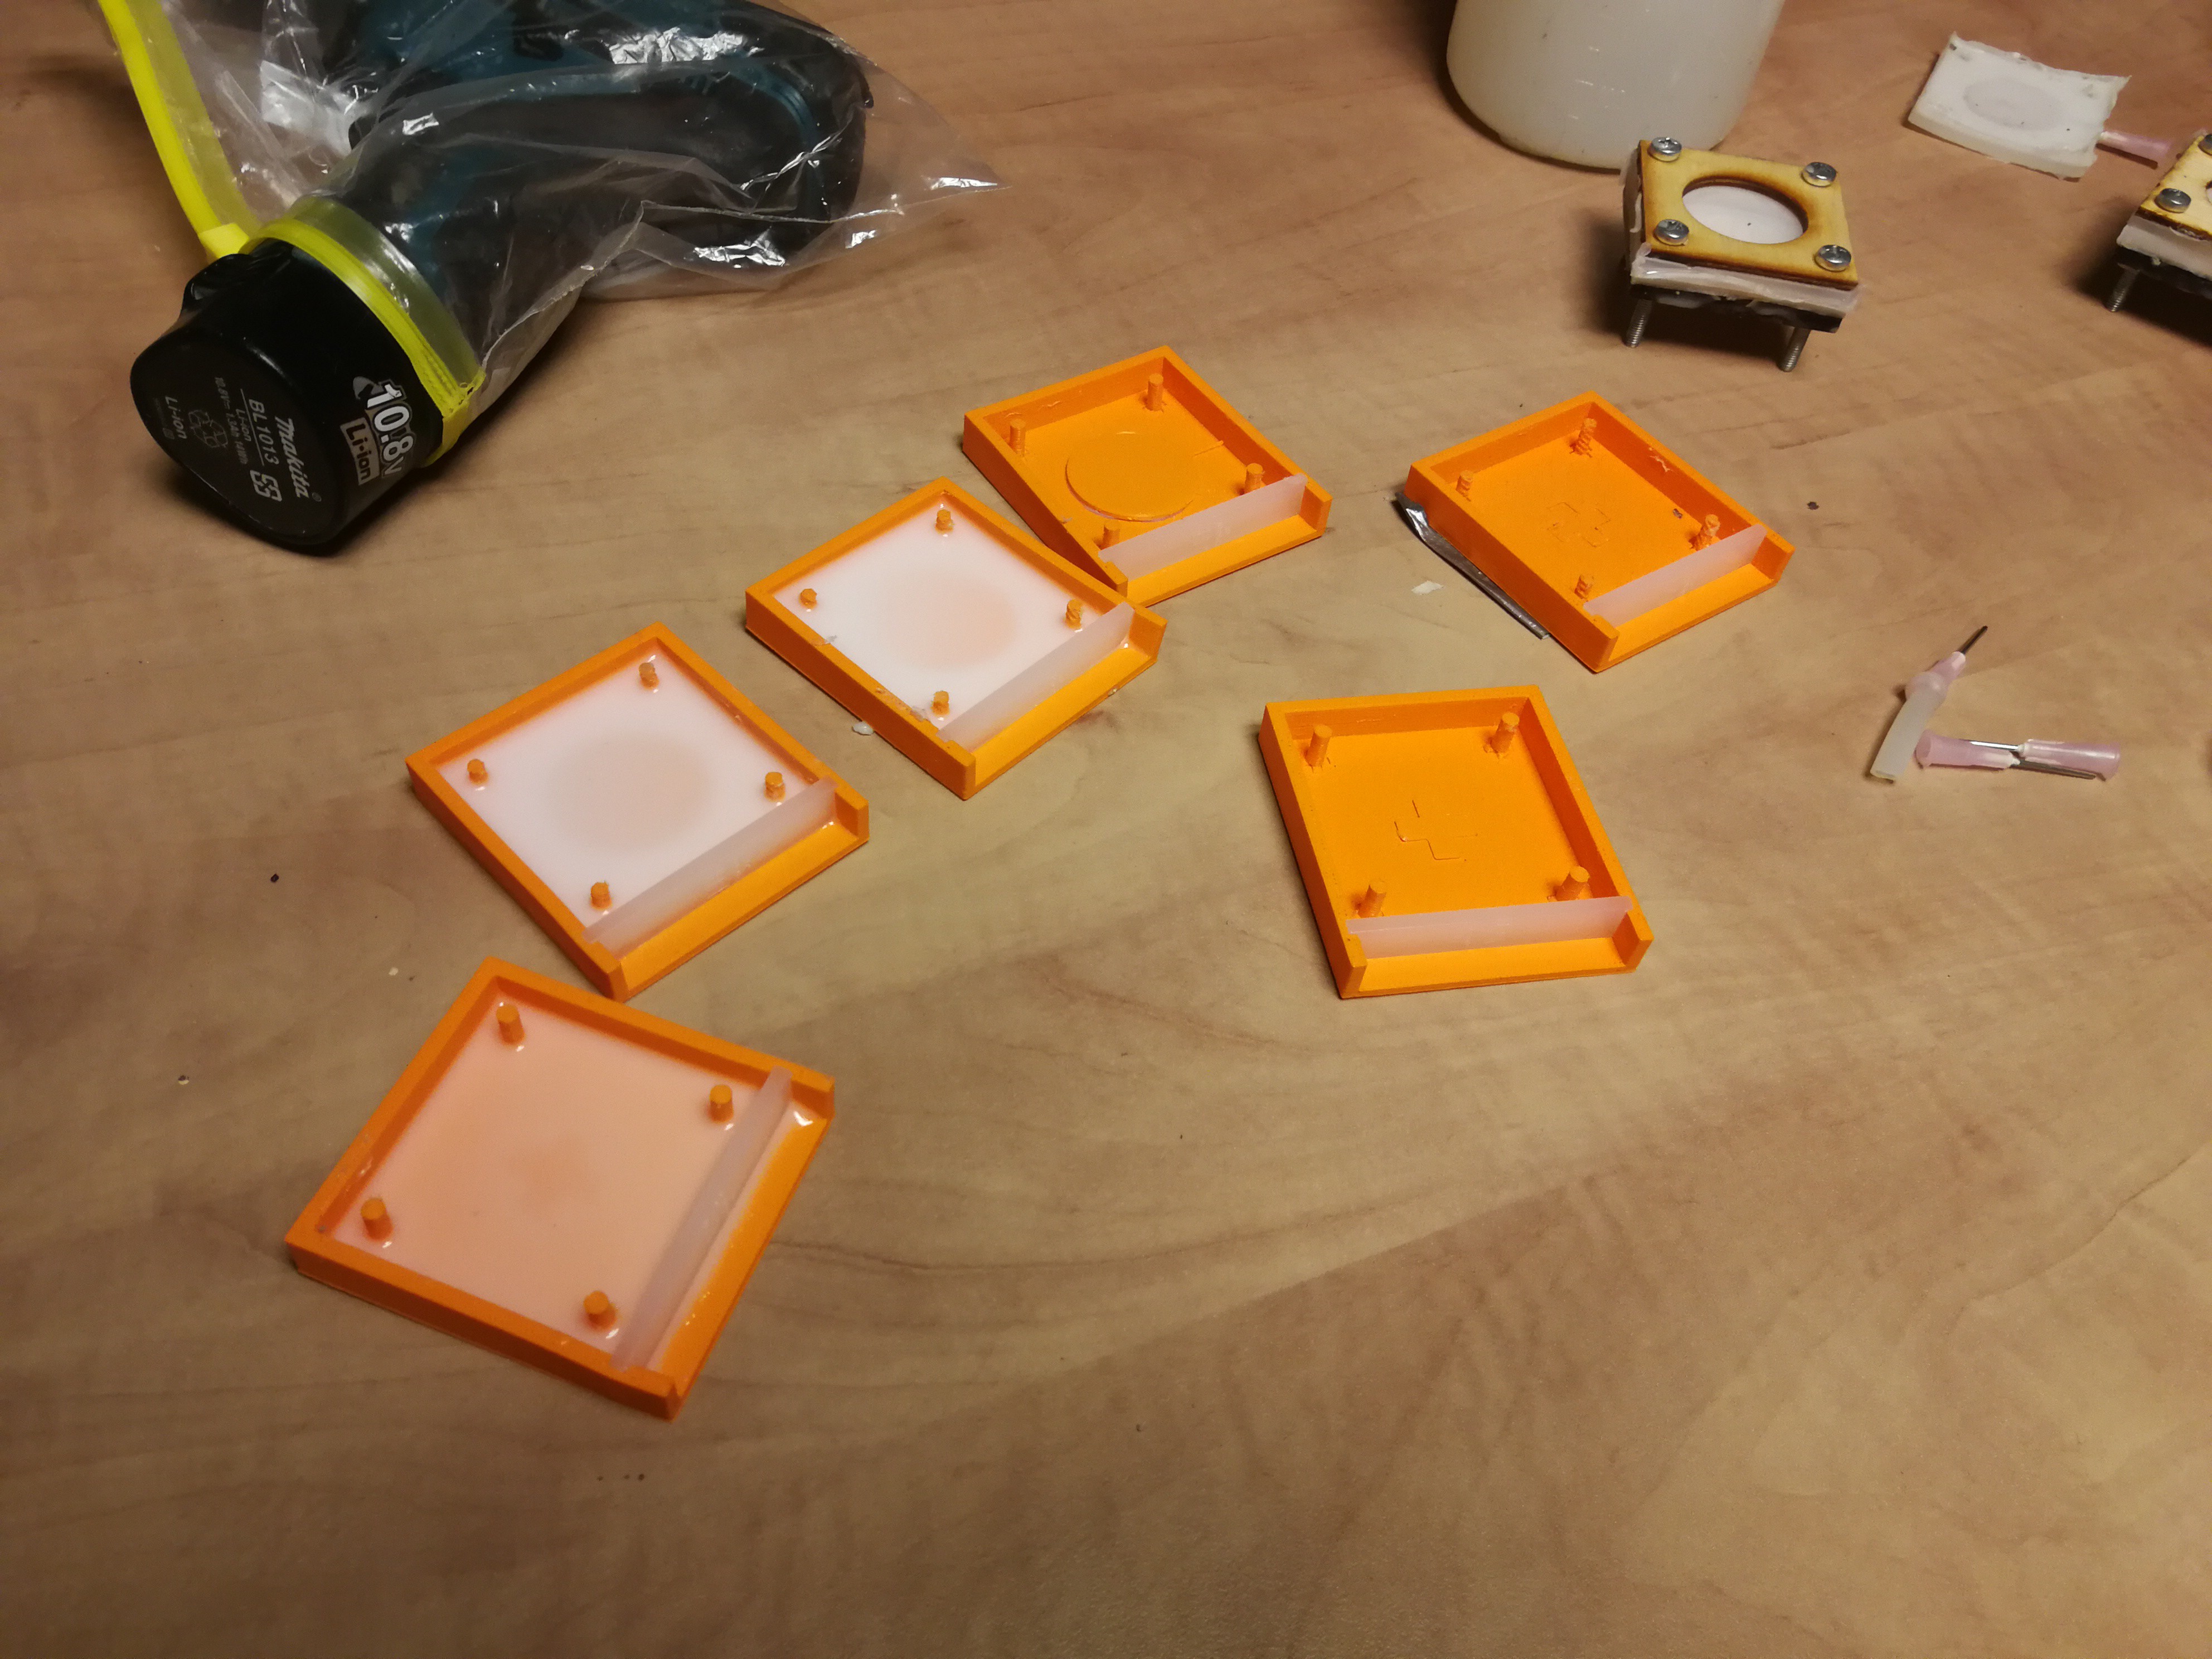
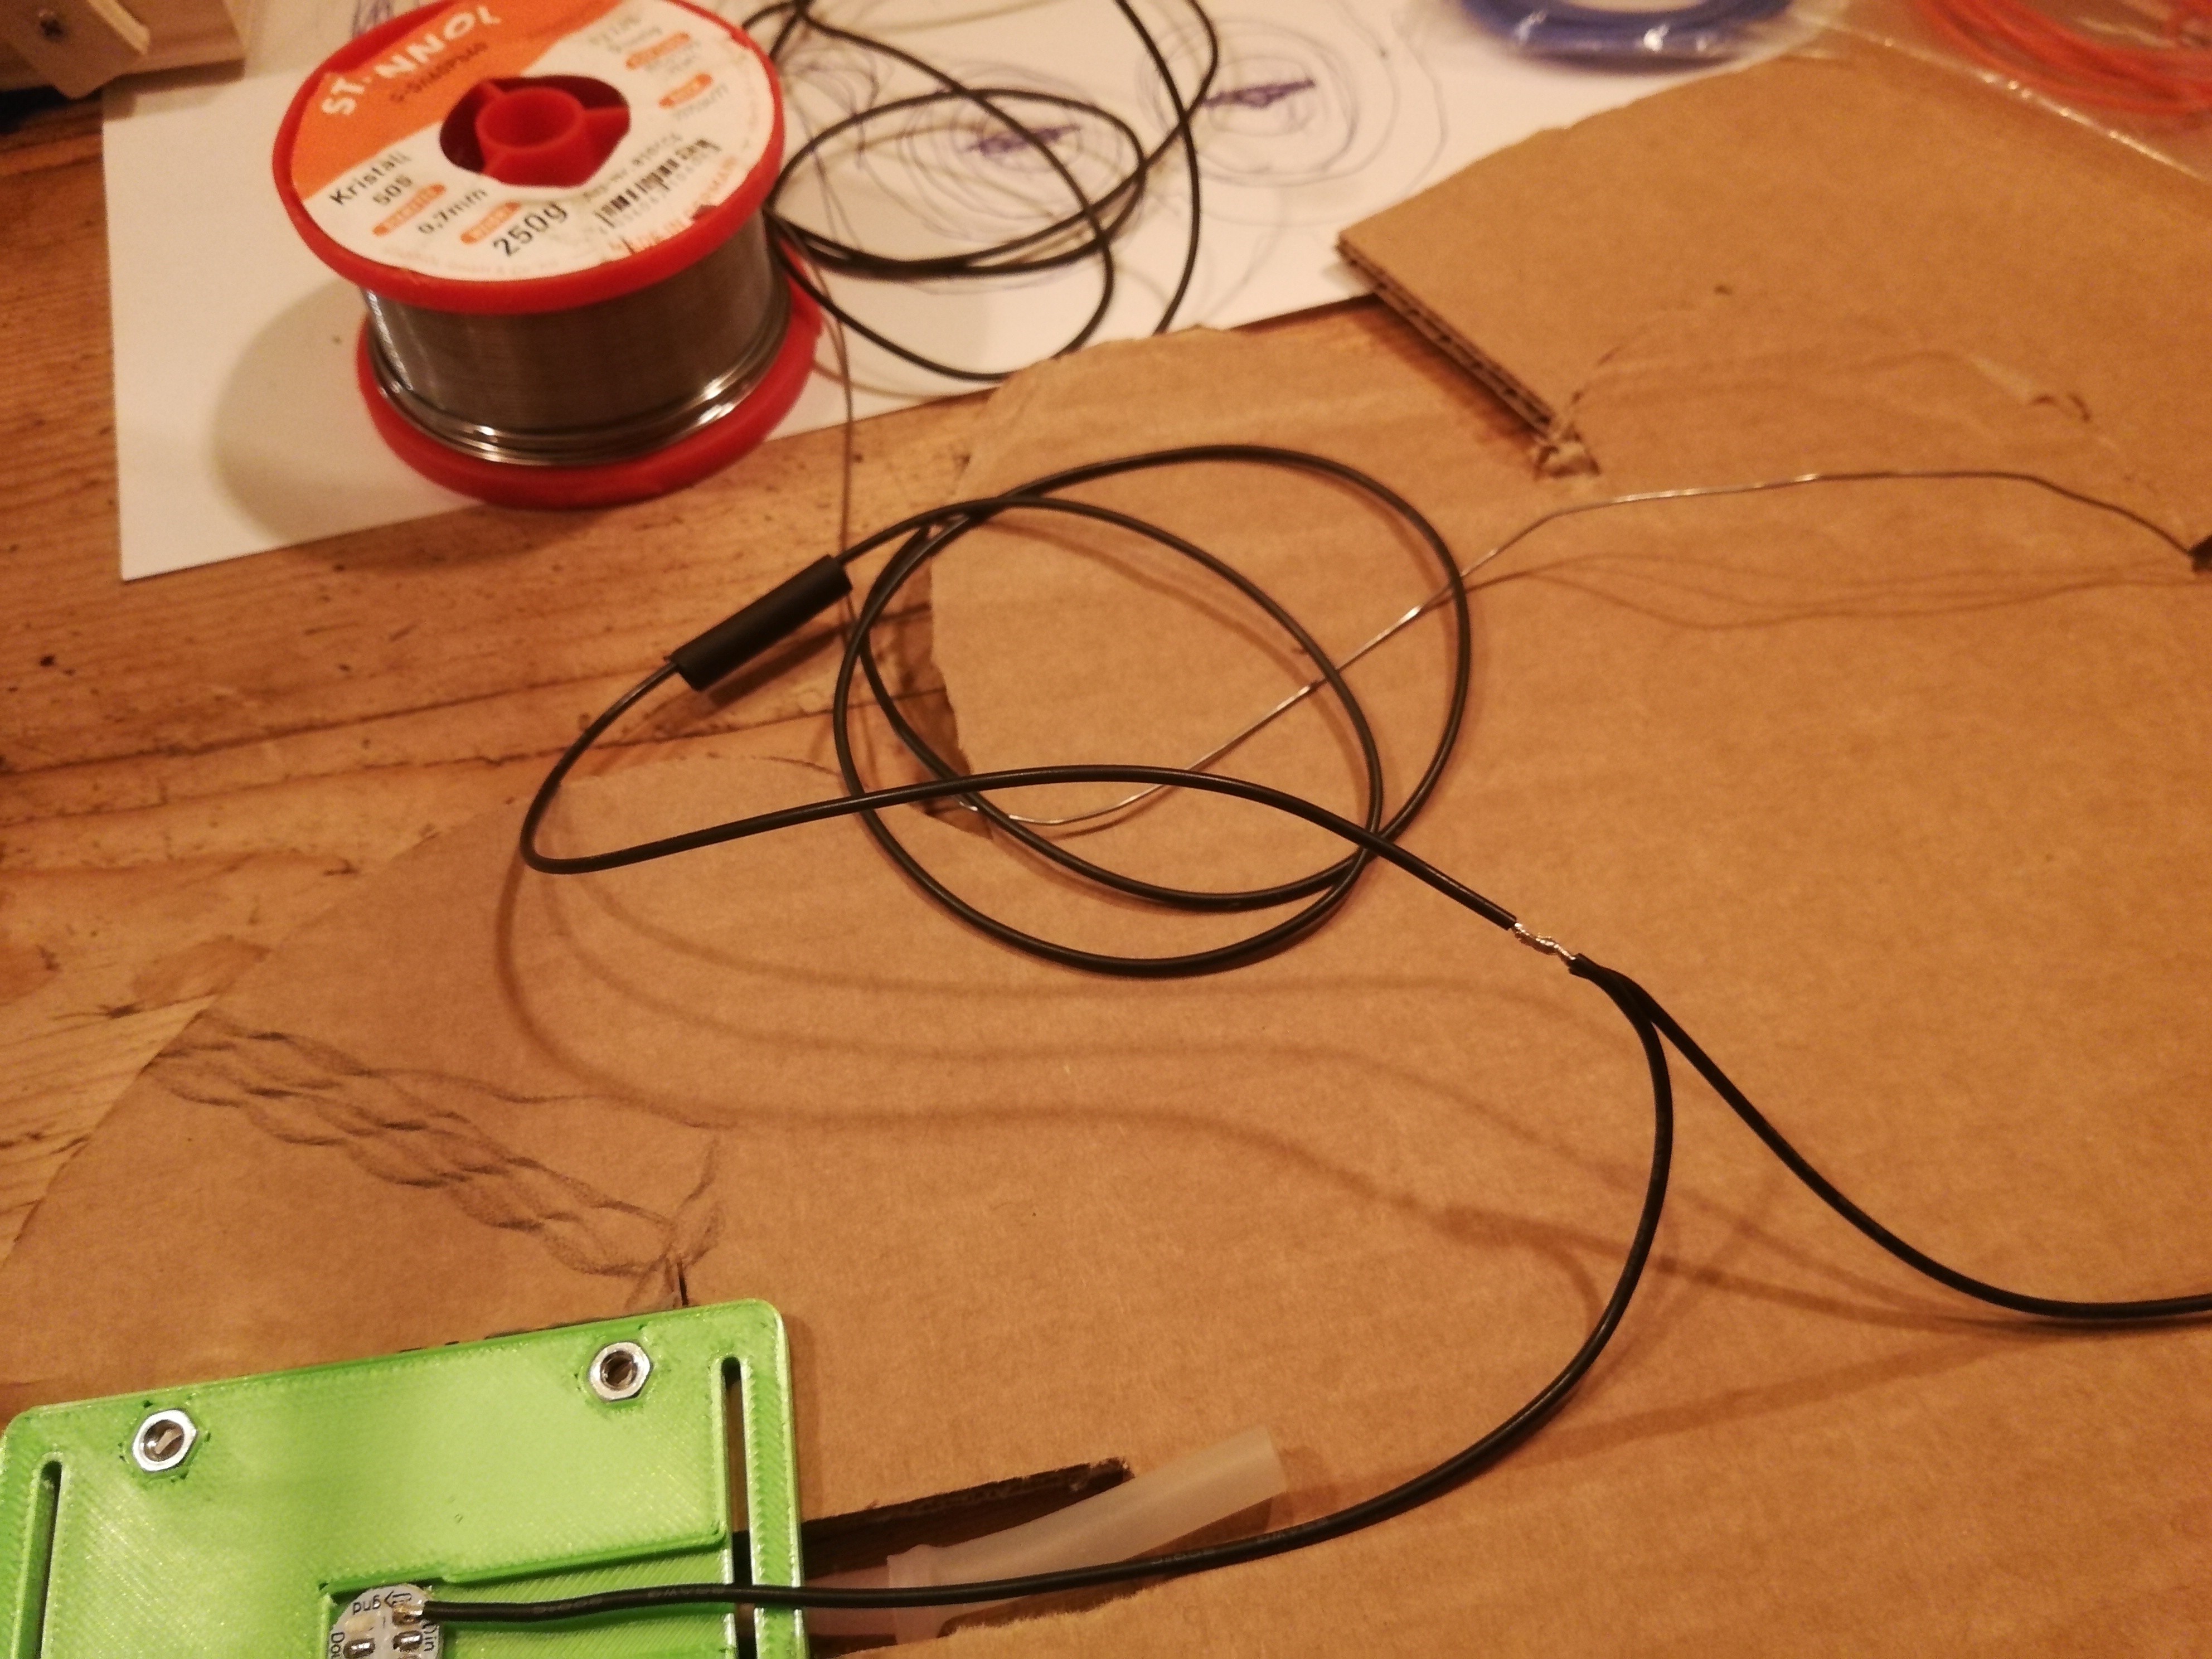
Read more »I seem to find it very difficult to start writhing coherent instructions about how to make these bubbles and this project in general. However I did make some photos during the project so why not dump them all here and then make sense of them later so without further ado.
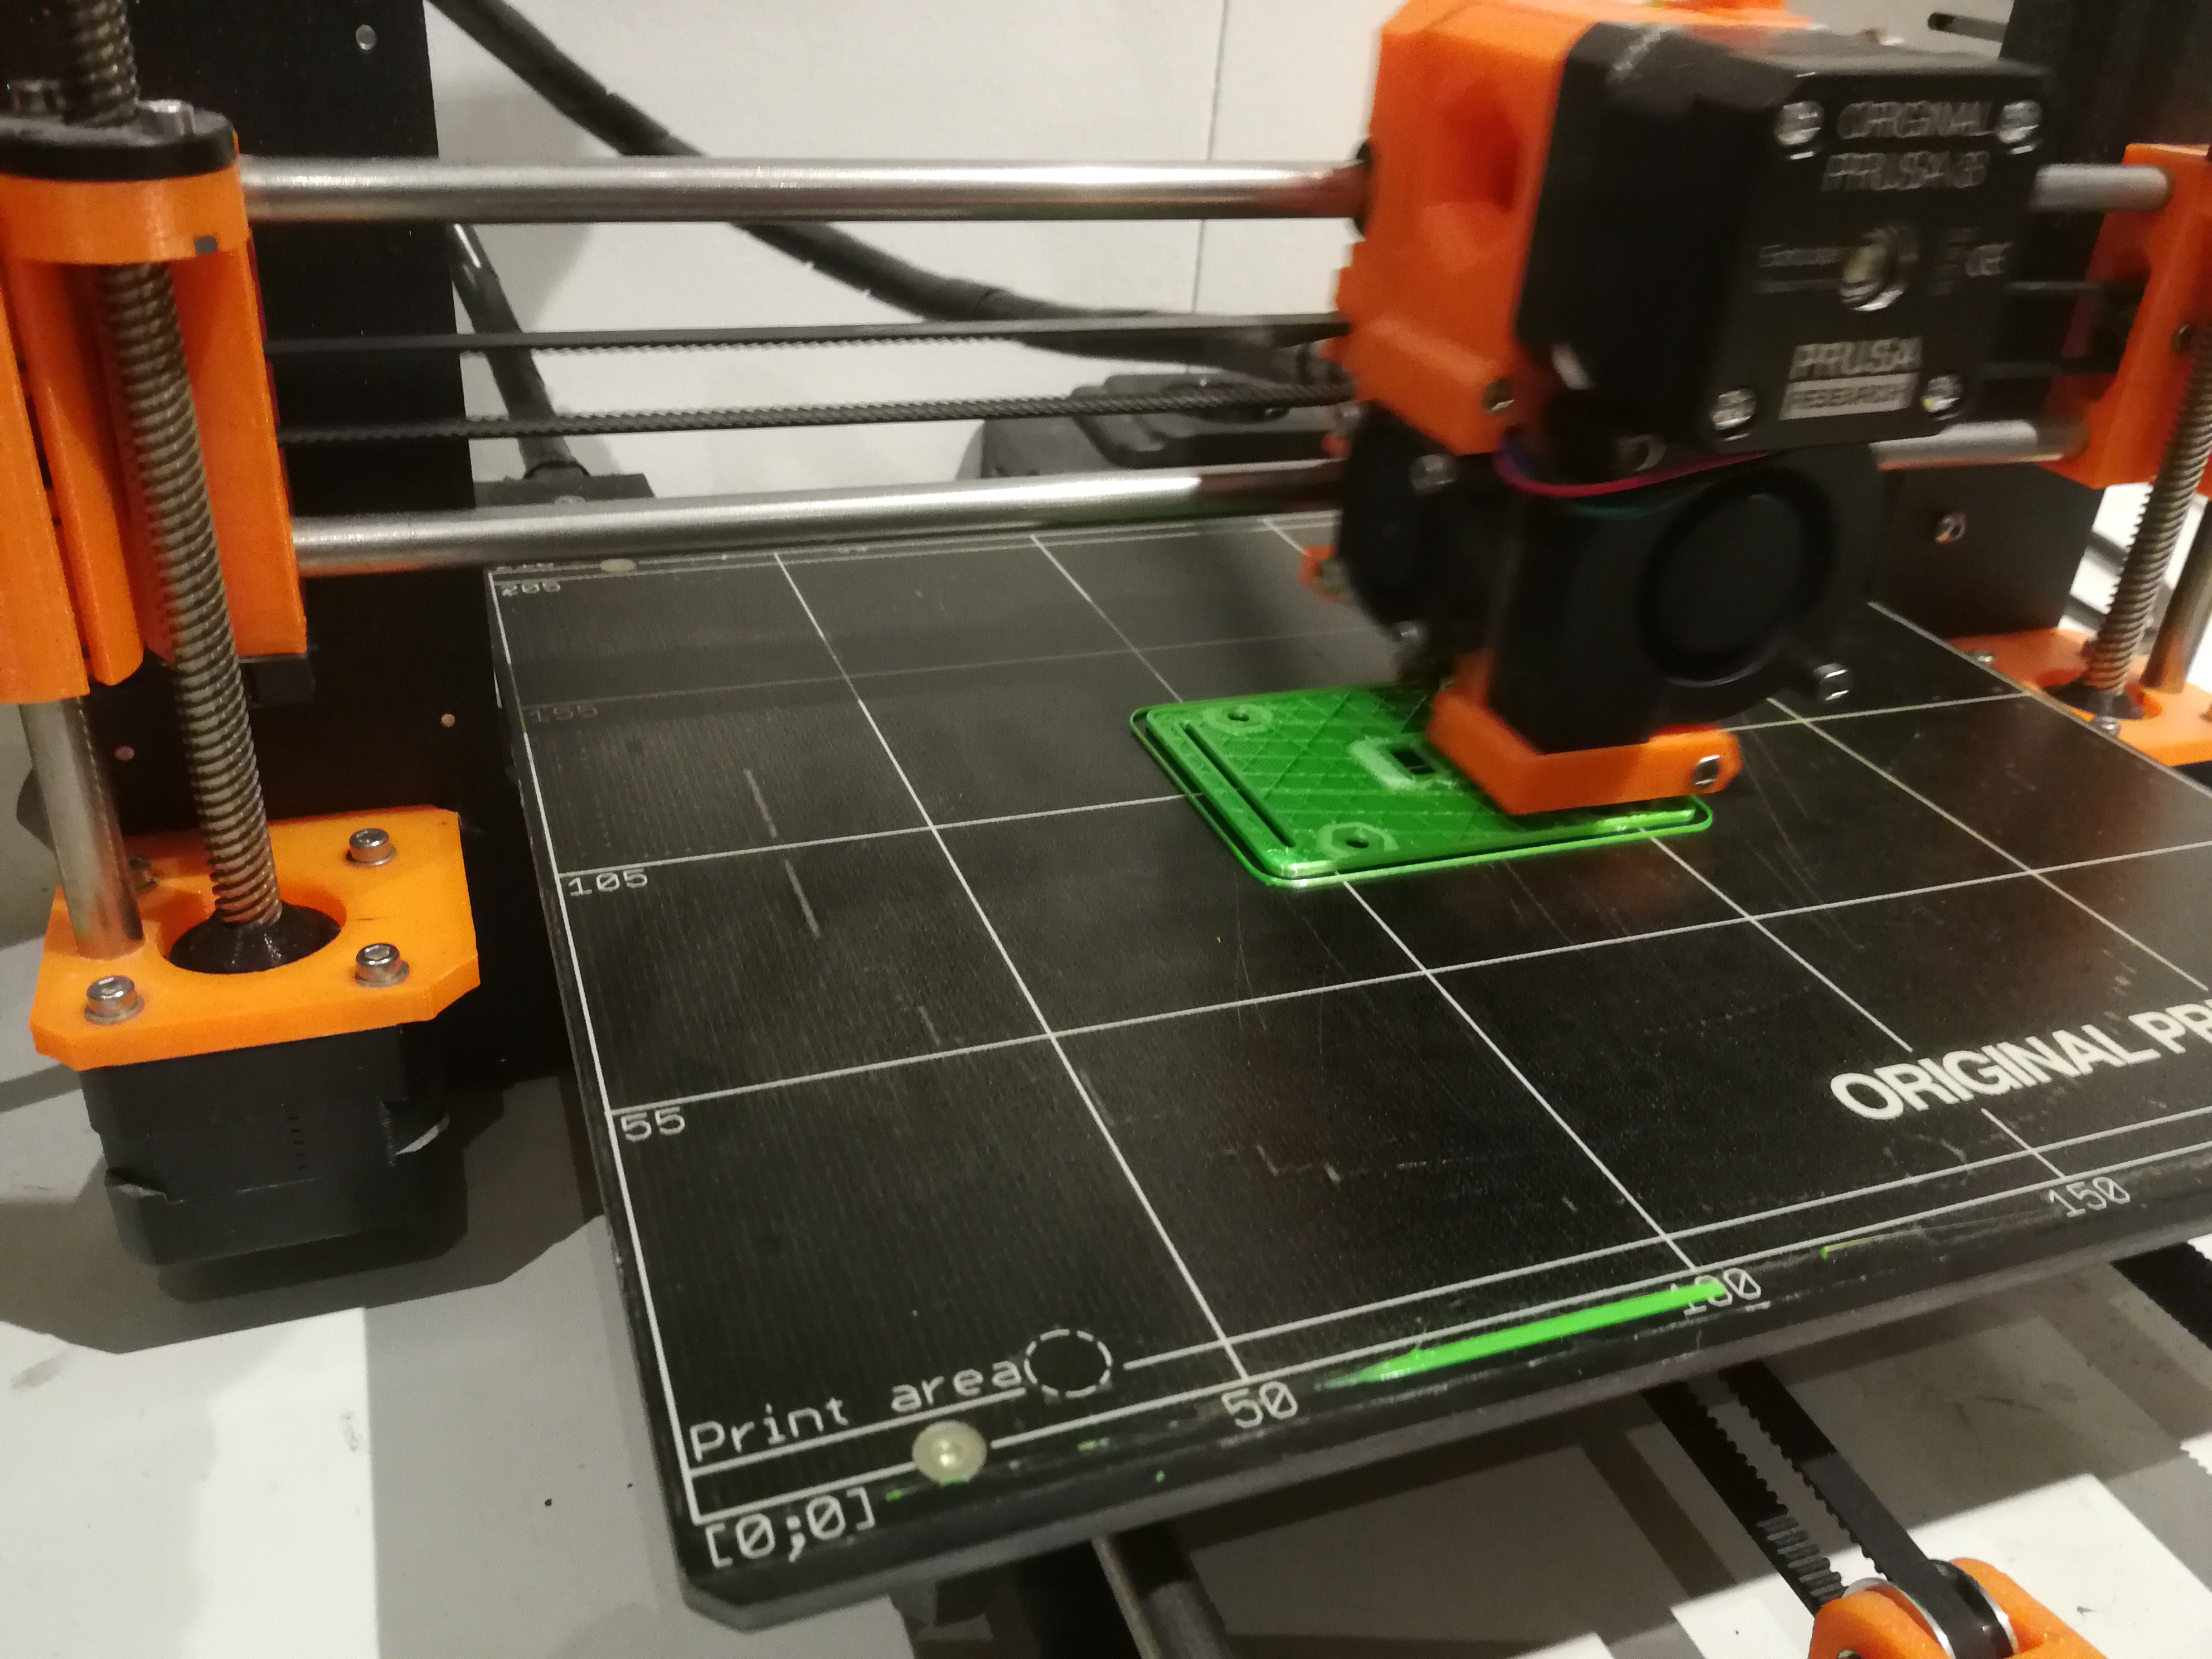
Use the mold_all_compents 3mf file to print everything for a single mold. Printing without a brim works fine, 50% infill works for me.
The pillars might cause some stringing, but this can be removed quite easily. To assemble push the pillars into the plus shaped holes on the edge from the underside of the mold box. Push them in place by pressing the mold onto a sturdy flat surface like a table top. The pillars have a slight taper which makes them snap into the holes more easily. Earlier versions had the taper at the bottom so they could be push in from the top but this was both harder to print (without them falling over) and breaking the pillars when to much force was applied.
For the top mold fit the little air inlet stick into the hole in the cylinder (with the cross on the bottom) and put both in the hole in the center of the mold. Carefully pushing down on the air inlet to make it lie as flat on the bottom of the box as possible. When inserting the inlet it works best to keep the side that was flat on the printbed pointing down.
For casting the bottom mold just add the flat cross in the middle removing the cylinder if necessary
Curing time 7 hours. However when cured at a 60C temperature it takes 20 minutes.
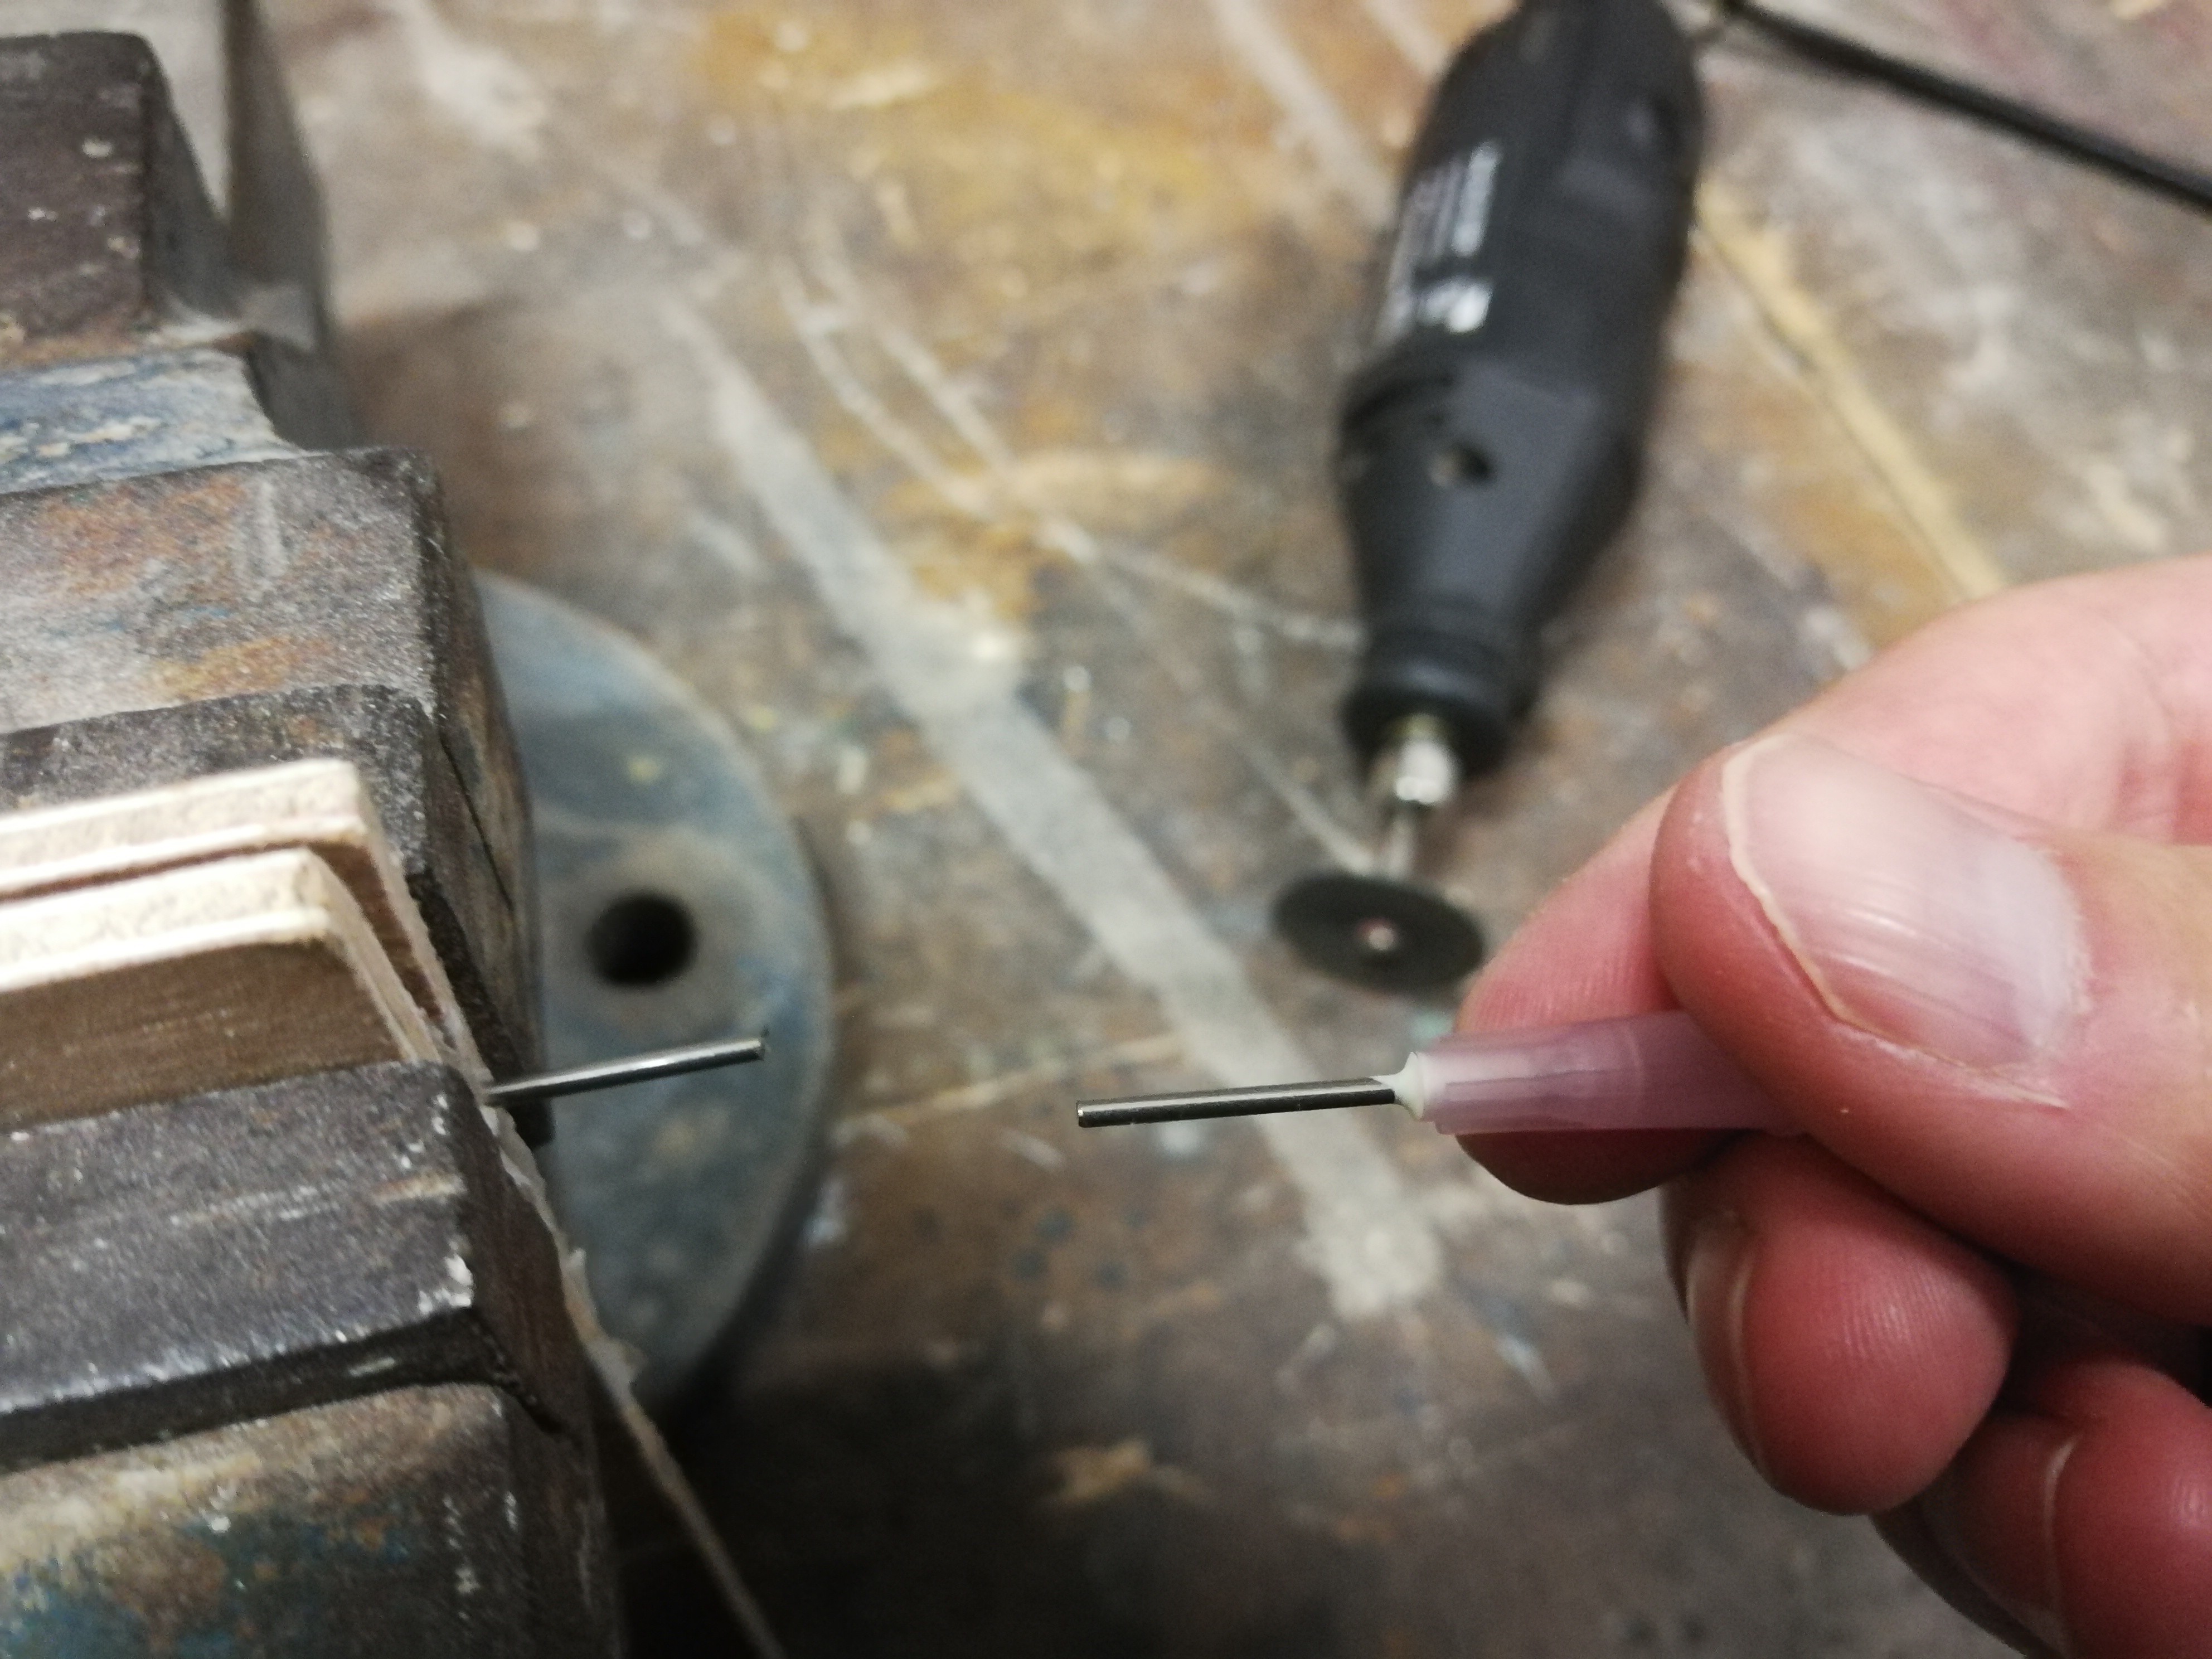
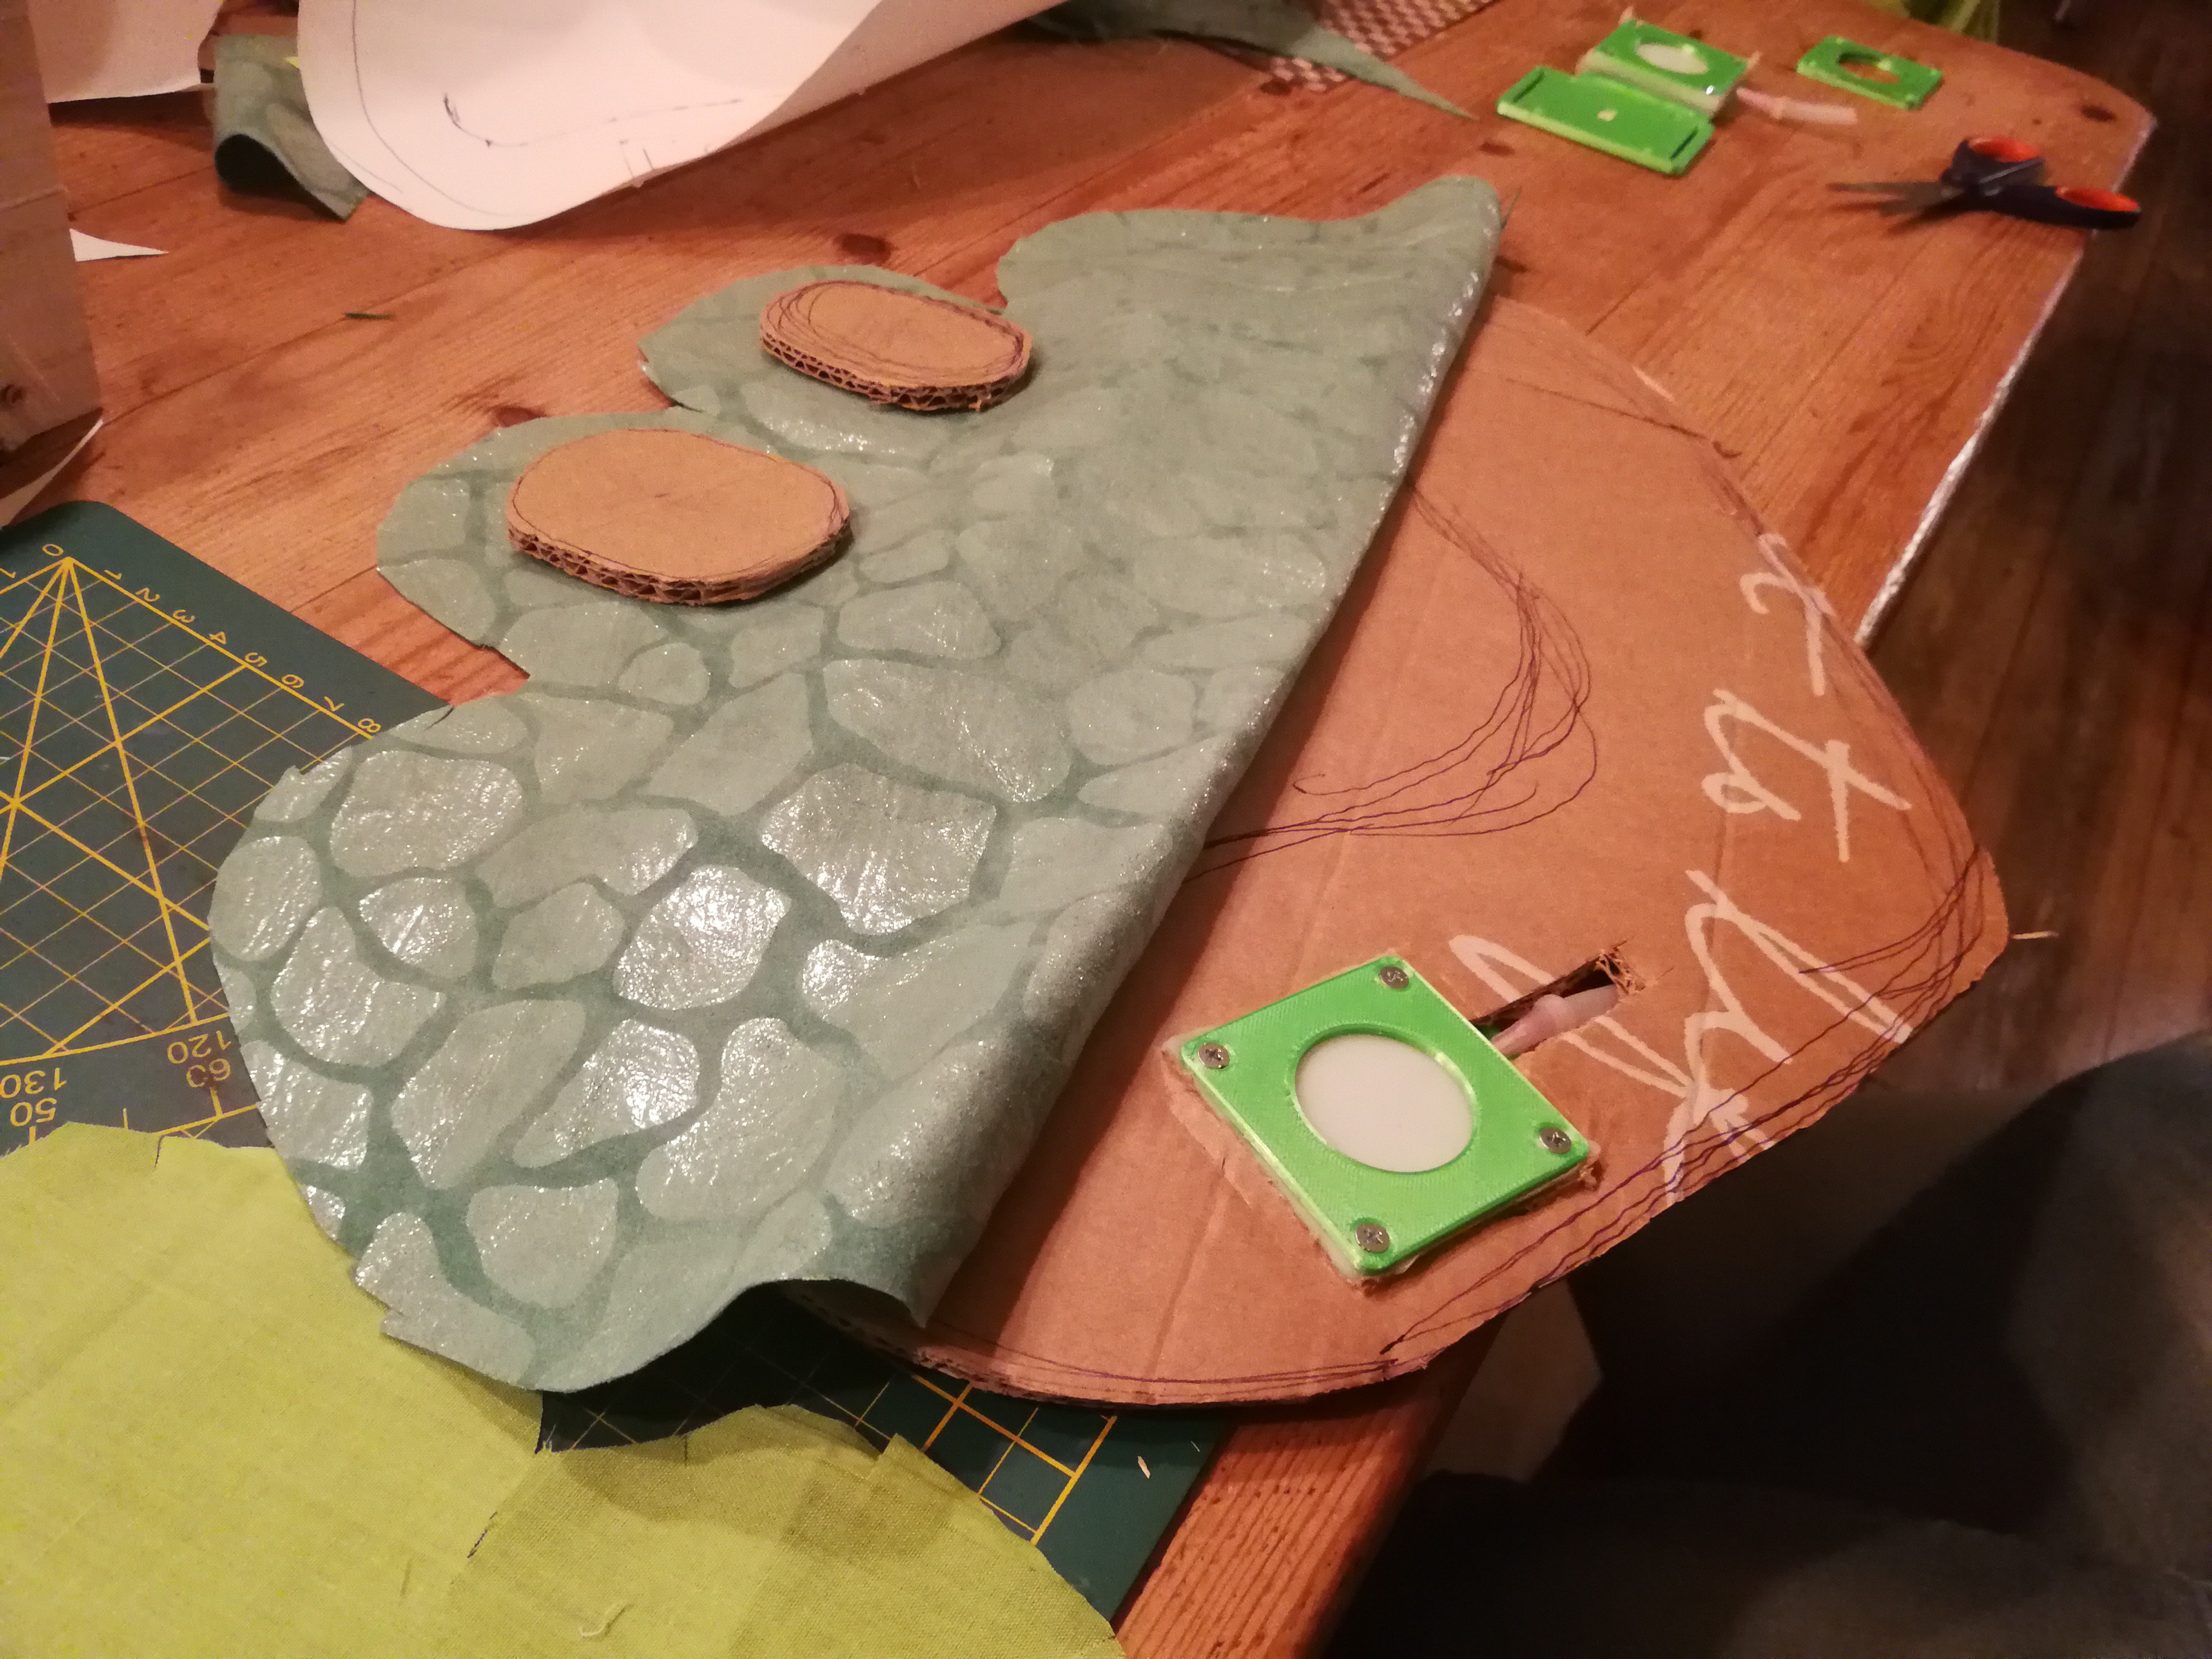
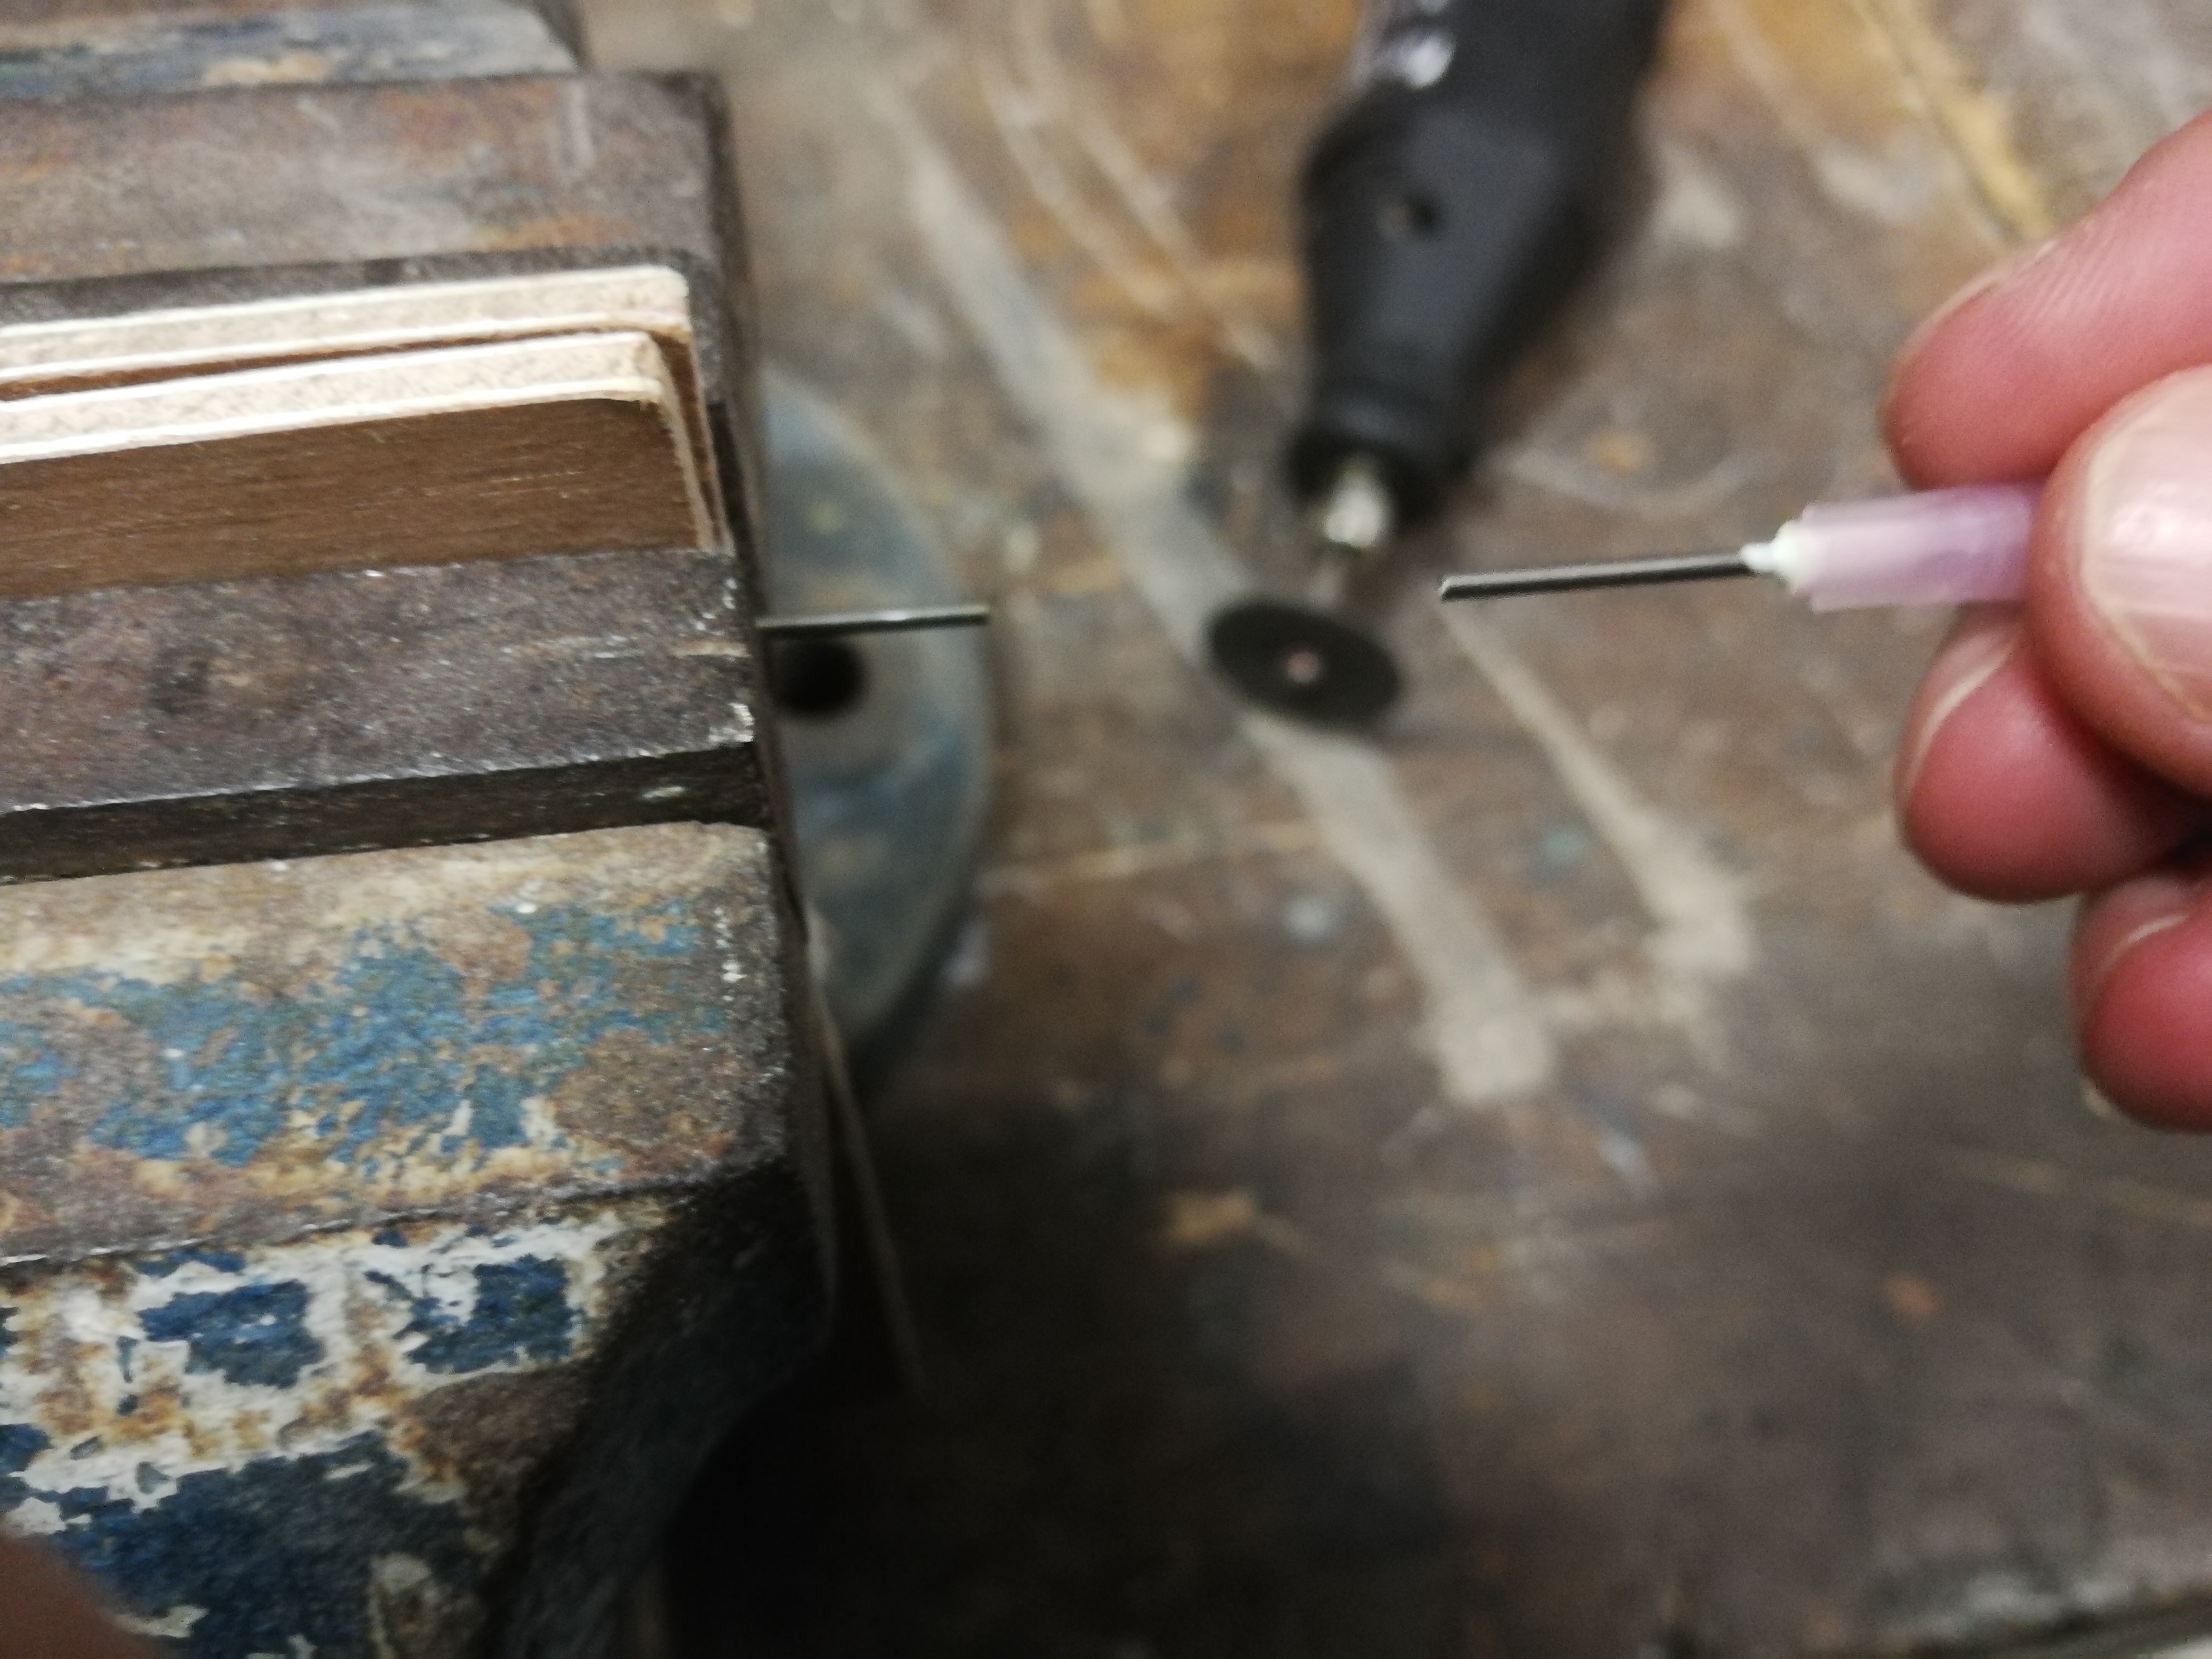
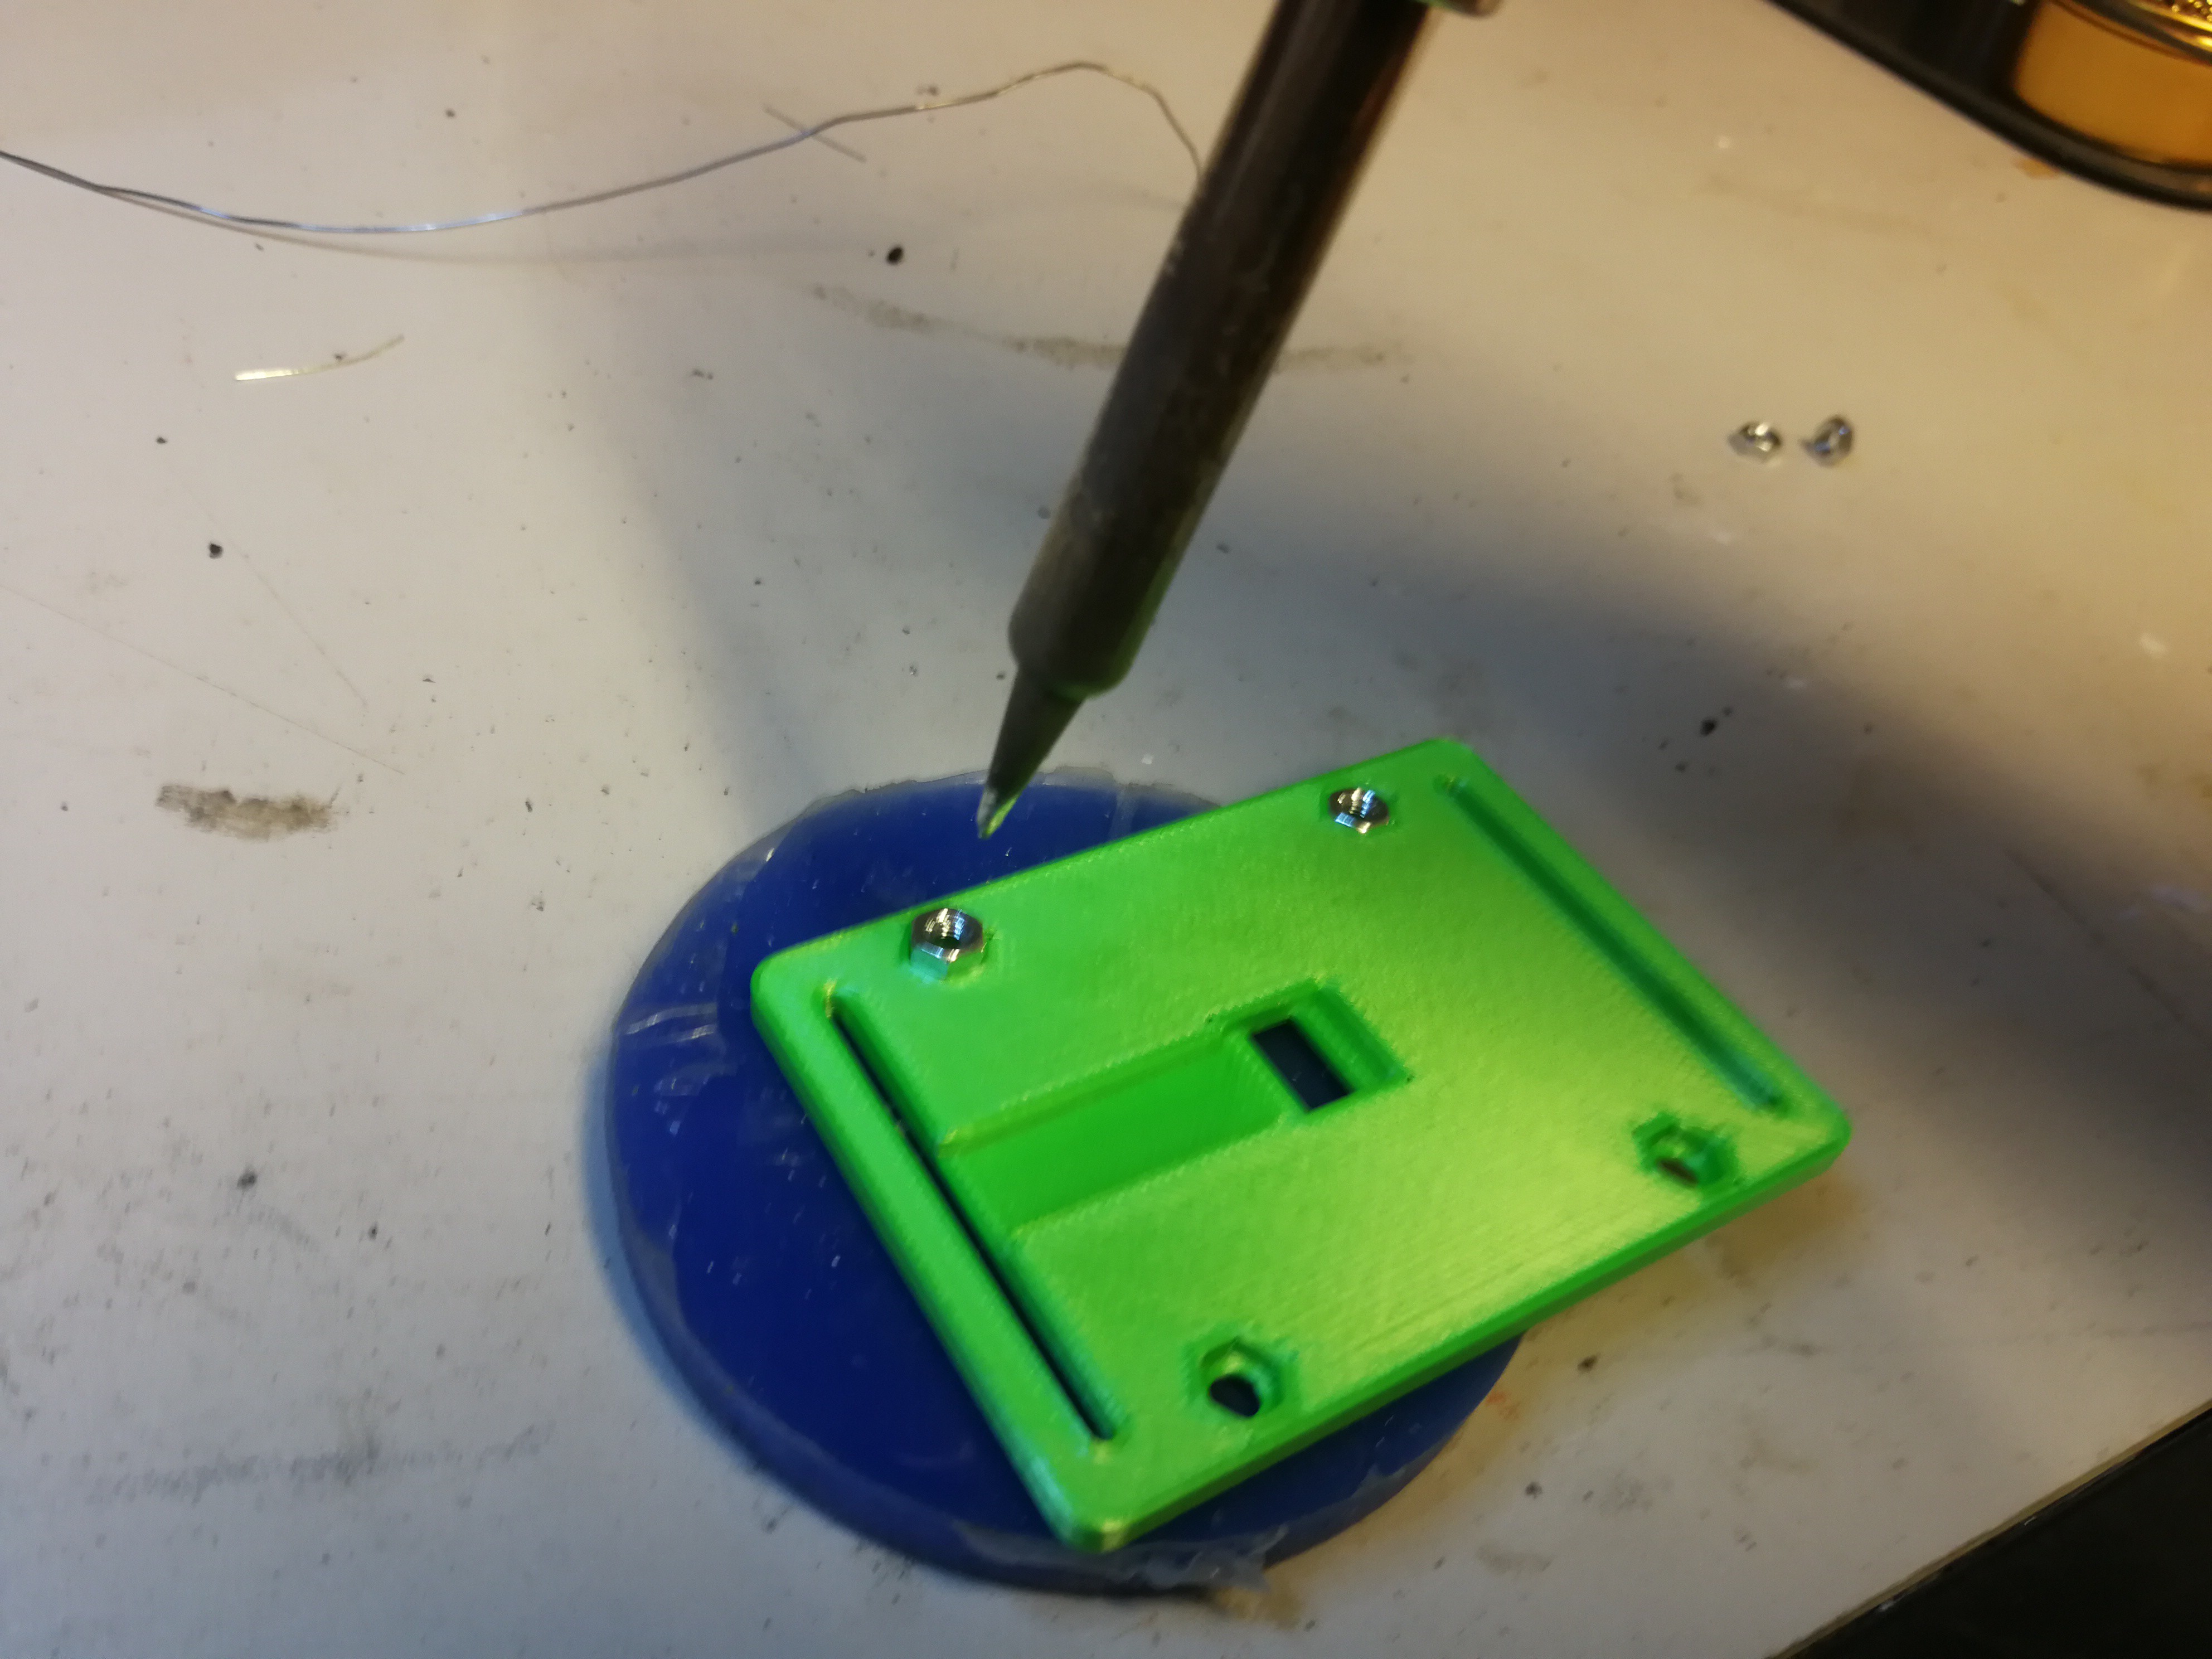
Soft flexible silicone and very long and pointy hypodermic needles aren't the best match. Therefore use a Dremel (or rotary tool) with a cutting disk to shorten them. Before you start lay them on top of the top bubble to see what length you should keep, they should reach across the wall but don't need to be in the center. After the cut use the disk to sand the edges of the tip slightly so there is less risk of it puncturing things.
Wonderful comment because it was actually a debate with almost everyone I pitched this to if a single throat sac versus paired lateral sacks was better. The 2 inflating cheeks spoke the most to me.
I had to google if those frogs actually exist in the Netherlands or if I was making an traditionally American frog. But the poolfrog fitted the bill and I even happened to encounter one on a nightly walk, which was an ineffable experience.
As for the vocal sac and the ribbit sound I now realize that I can do you one better; since we are using air to inflate the bubble it should be possible to have a physical ribbit sound device. Similar to how a throat works. A lot of work for sure but now I have this one out of my system I am very temped to give it a shot (eventually).
Oh I see. You wanted to accurately represent the local fauna. I can respect that :-)
I think I heard somewhere that only one species of frog actually says "ribbit". It lives in California so that was what Hollywood foley artists had easy access to when they needed to record a frog. I'm not sure, but it was something along those lines.
Or you could go with the squeeky-toy frog sound:
https://youtu.be/cBkWhkAZ9ds
Make everyone super-confused.


 Tobias
 Thomas Thiel
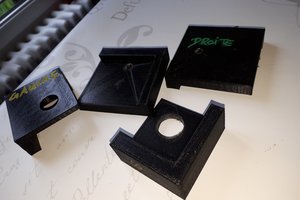
 chaosbc
 T. B. Trzepacz
Great halloween mask! Cheeky indeed. And very scary if you went trick-or-treating to a cricket's house.
Maybe you could make one with an inflatable vocal sac for next year? And sync it with a "ribbit" sample playback. But I guess that would be much more difficult to achieve technically.