Close
0%
0%

Running Light Box

Simple electronic toy for hardware near programming.

Similar projects worth following
I want to practice hardware near programming in Python, but I do not want to work through tutorials where the result cannot be used later.
Inspired by the Adafruit "NeoPixel Run LED Arcade Game" I built this Running Light Box.
The hardware part of this project is finished and is documented below. The software part will be continued on GitHub.

Hardware requirements were:
* Some LEDs for the running lights
* Some buttons to interact
* A simple computer -> Raspberry Pi Zero W
* A simple power supply -> everything is supplied via the Raspi.

For the LEDs I used bi-color LEDs (red and green). This gives more possibilities for interaction with the toy. 

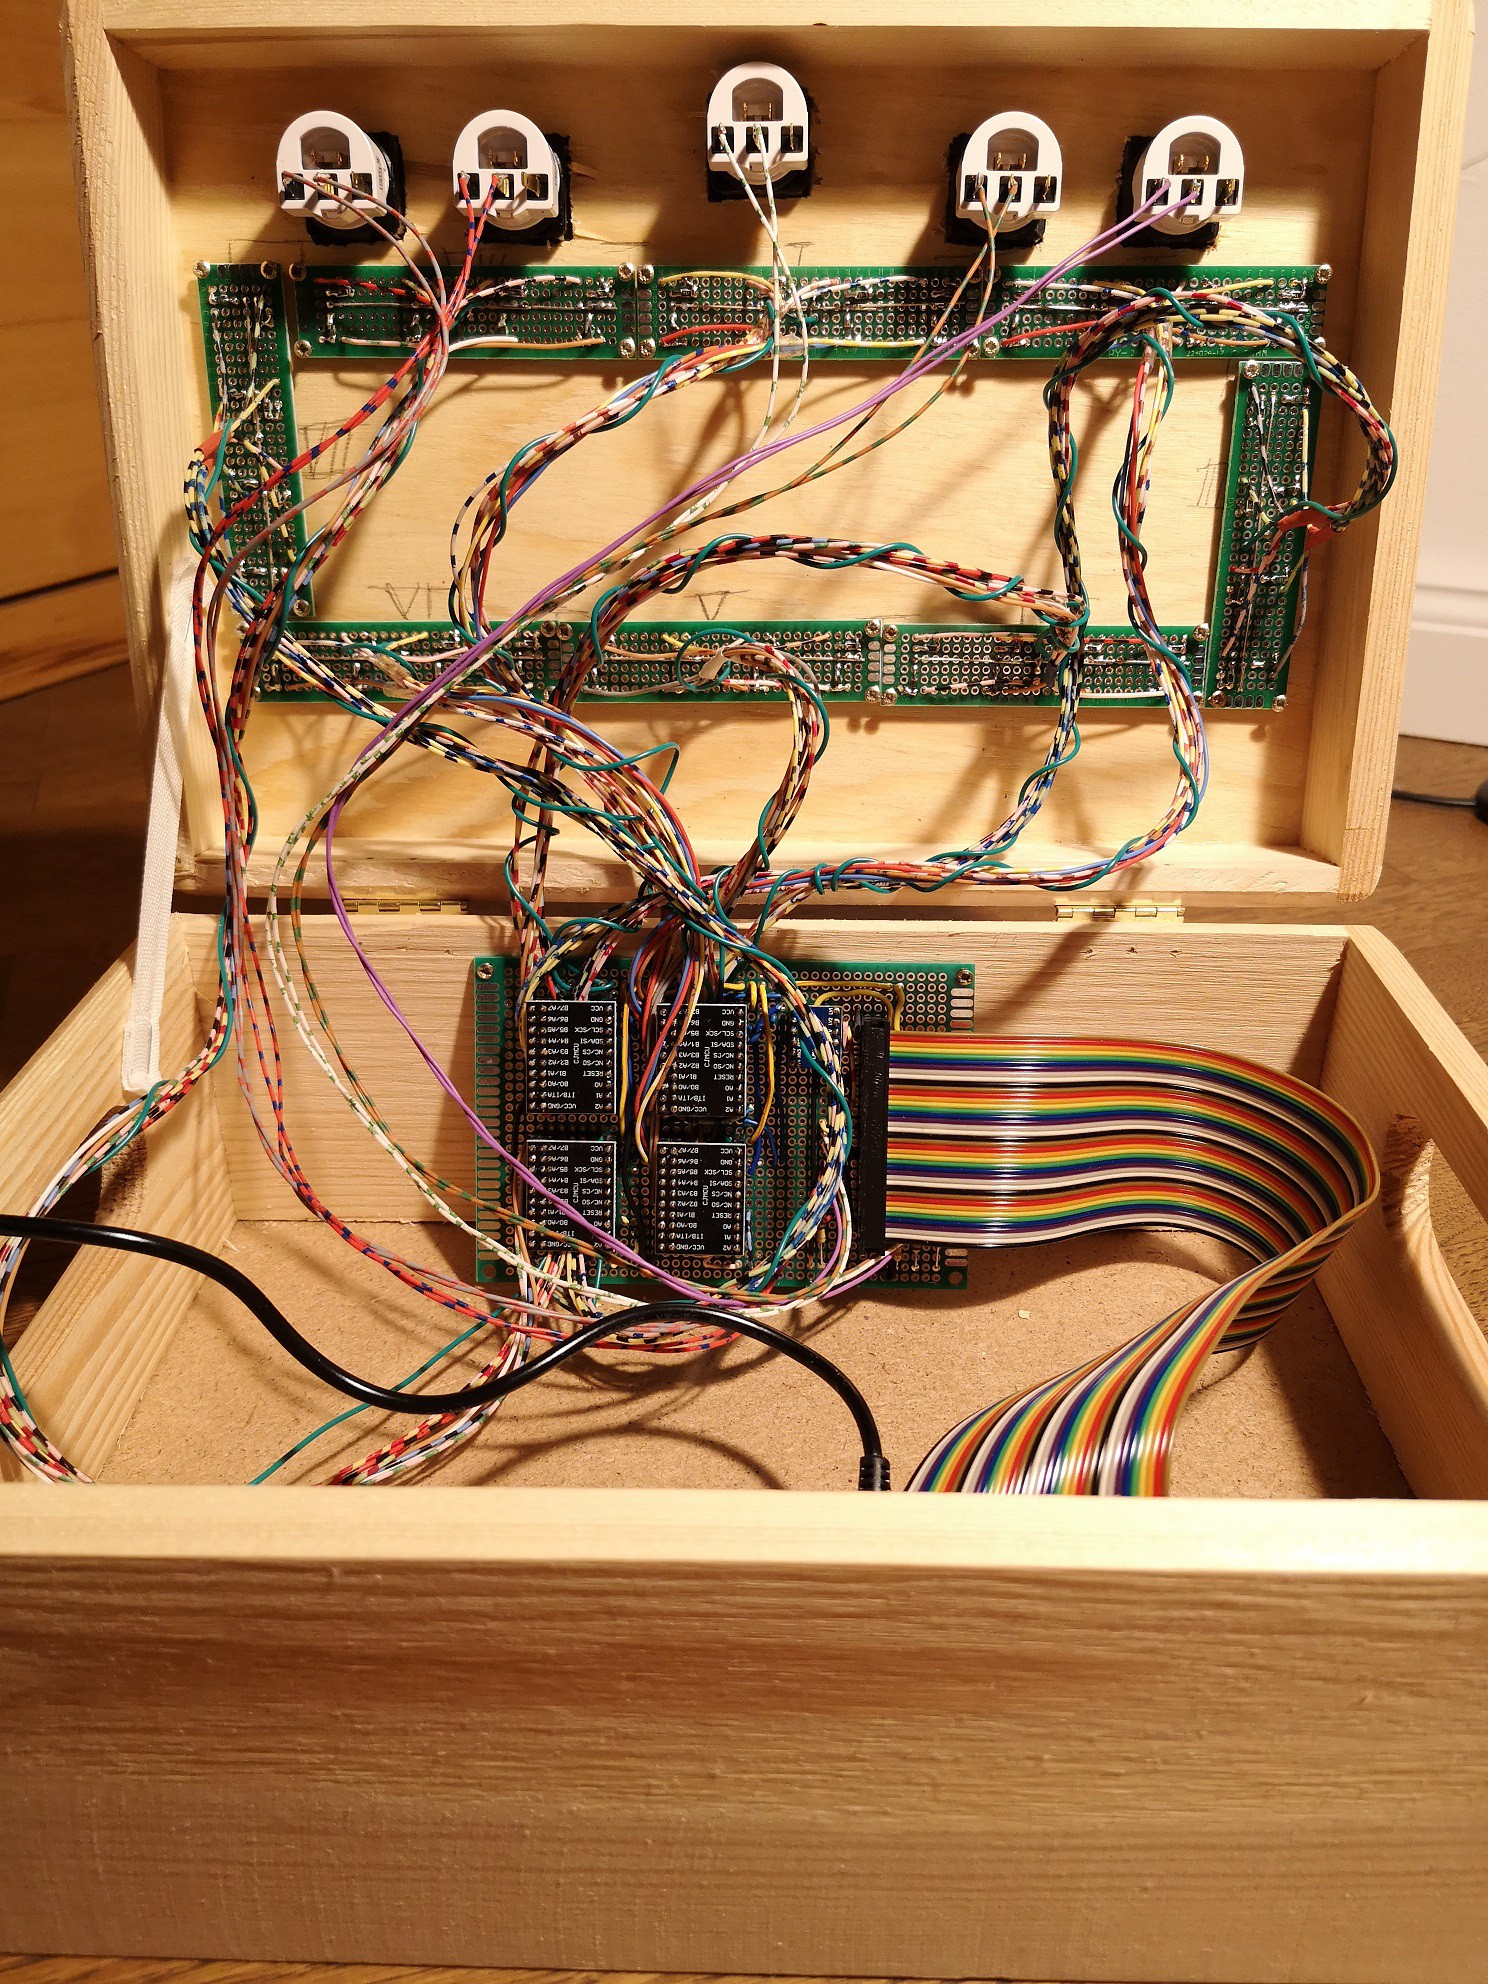
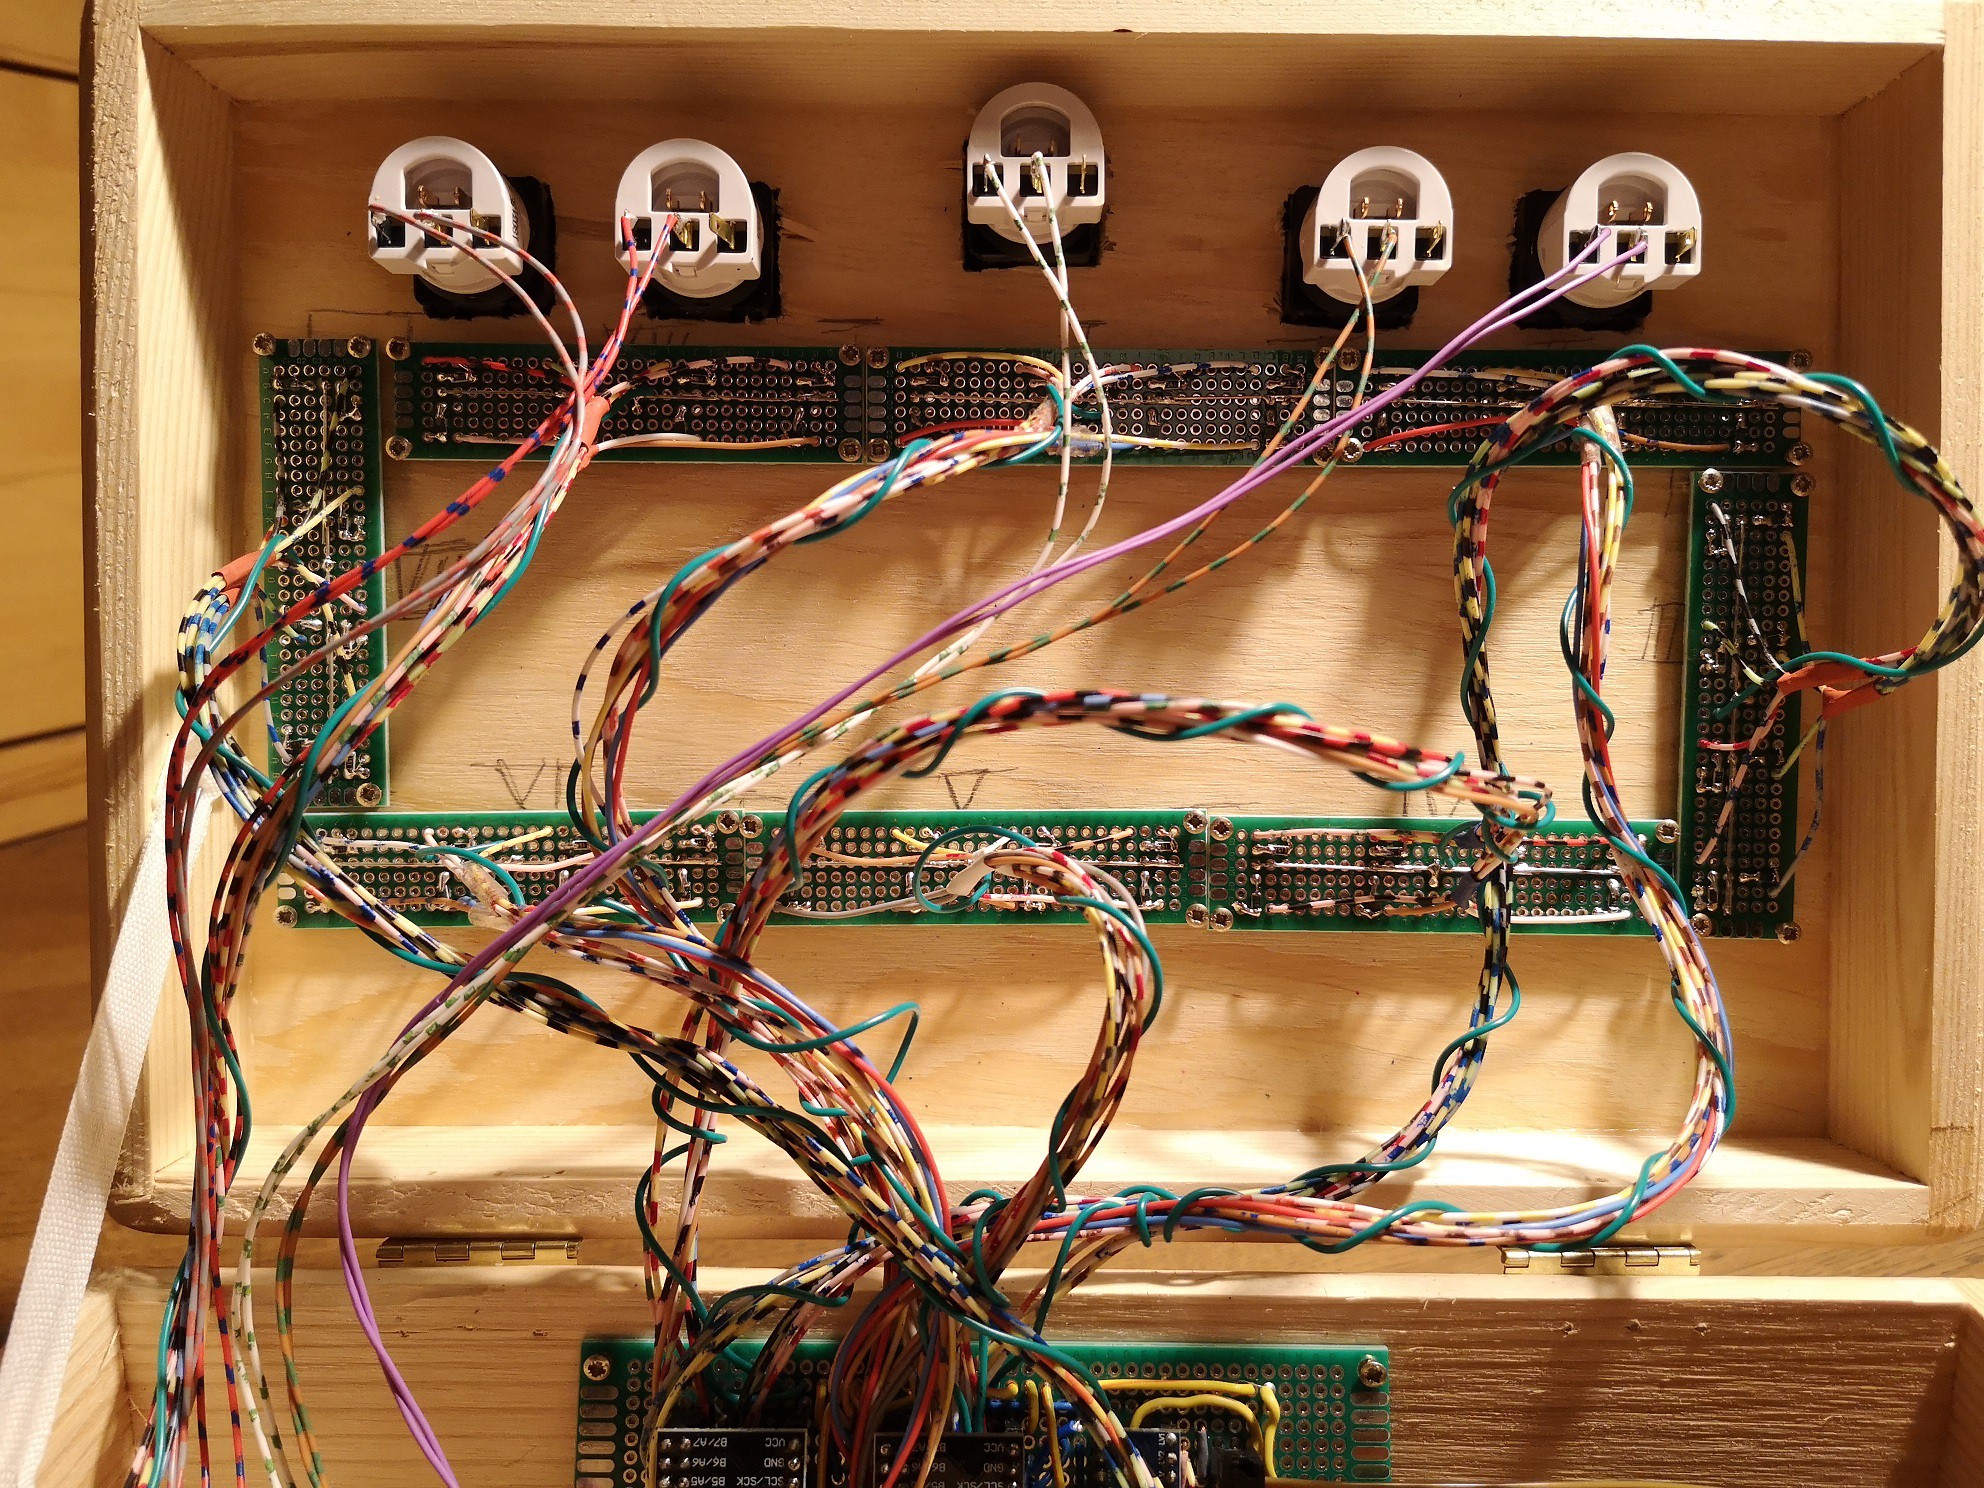
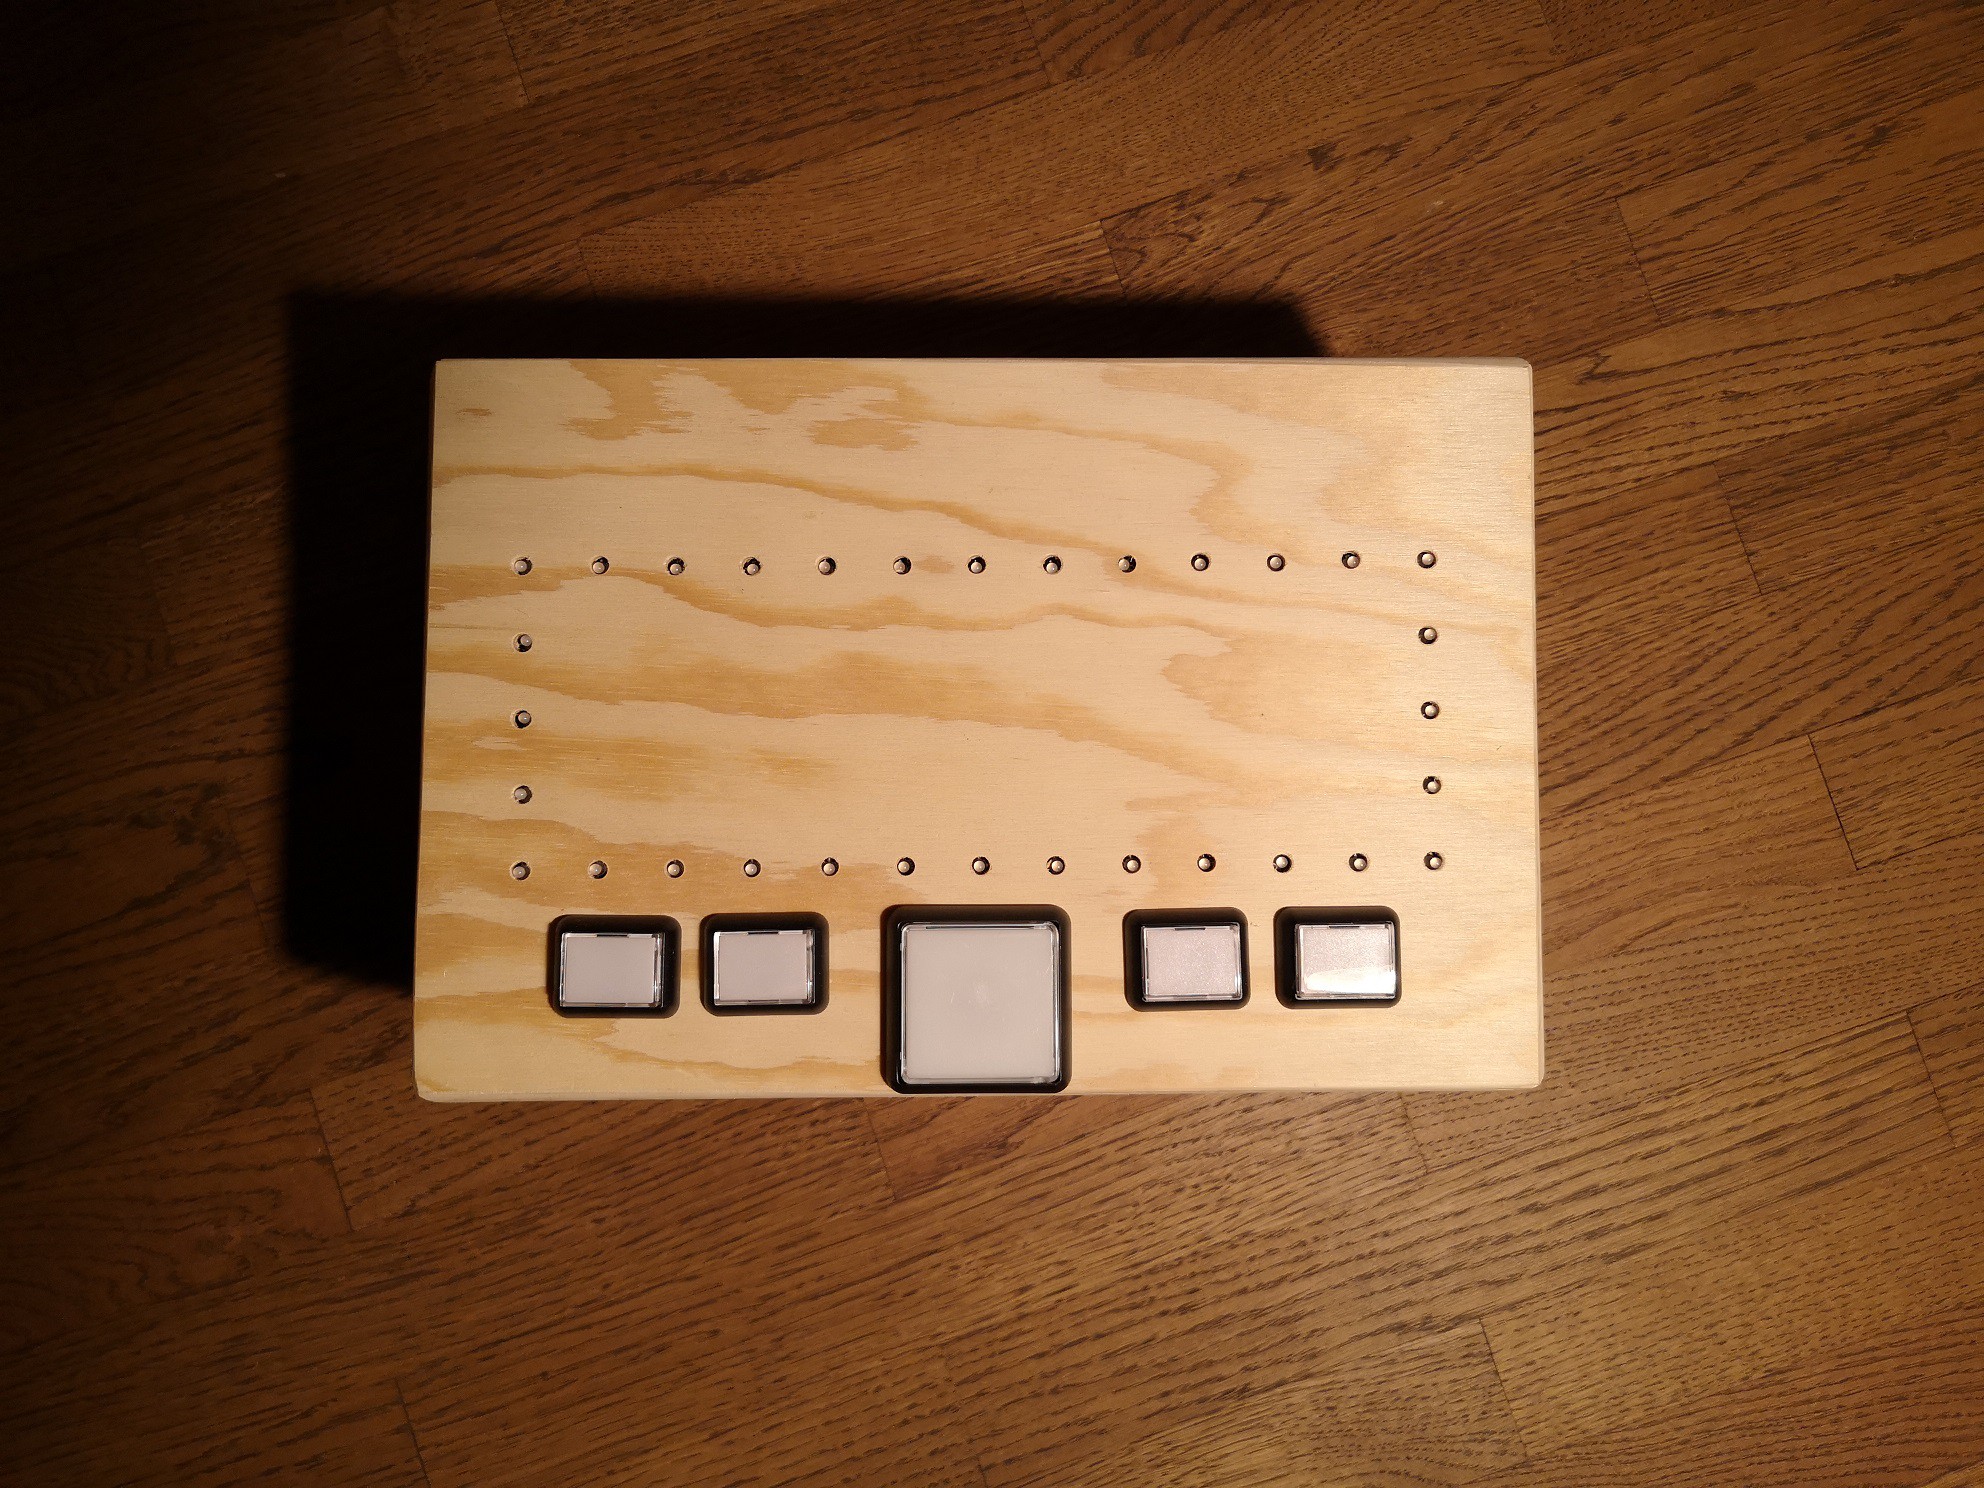
The buttons I used are repurposed from old arcade and gambling machines. They are mechanically robust and should last long. I took a big one as the main button and four small ones. I don’t have an idea what I will do with the four small ones yet, but I wanted to do the hardware part of this project only once. Maybe I will later program “Simon-Says” for them.

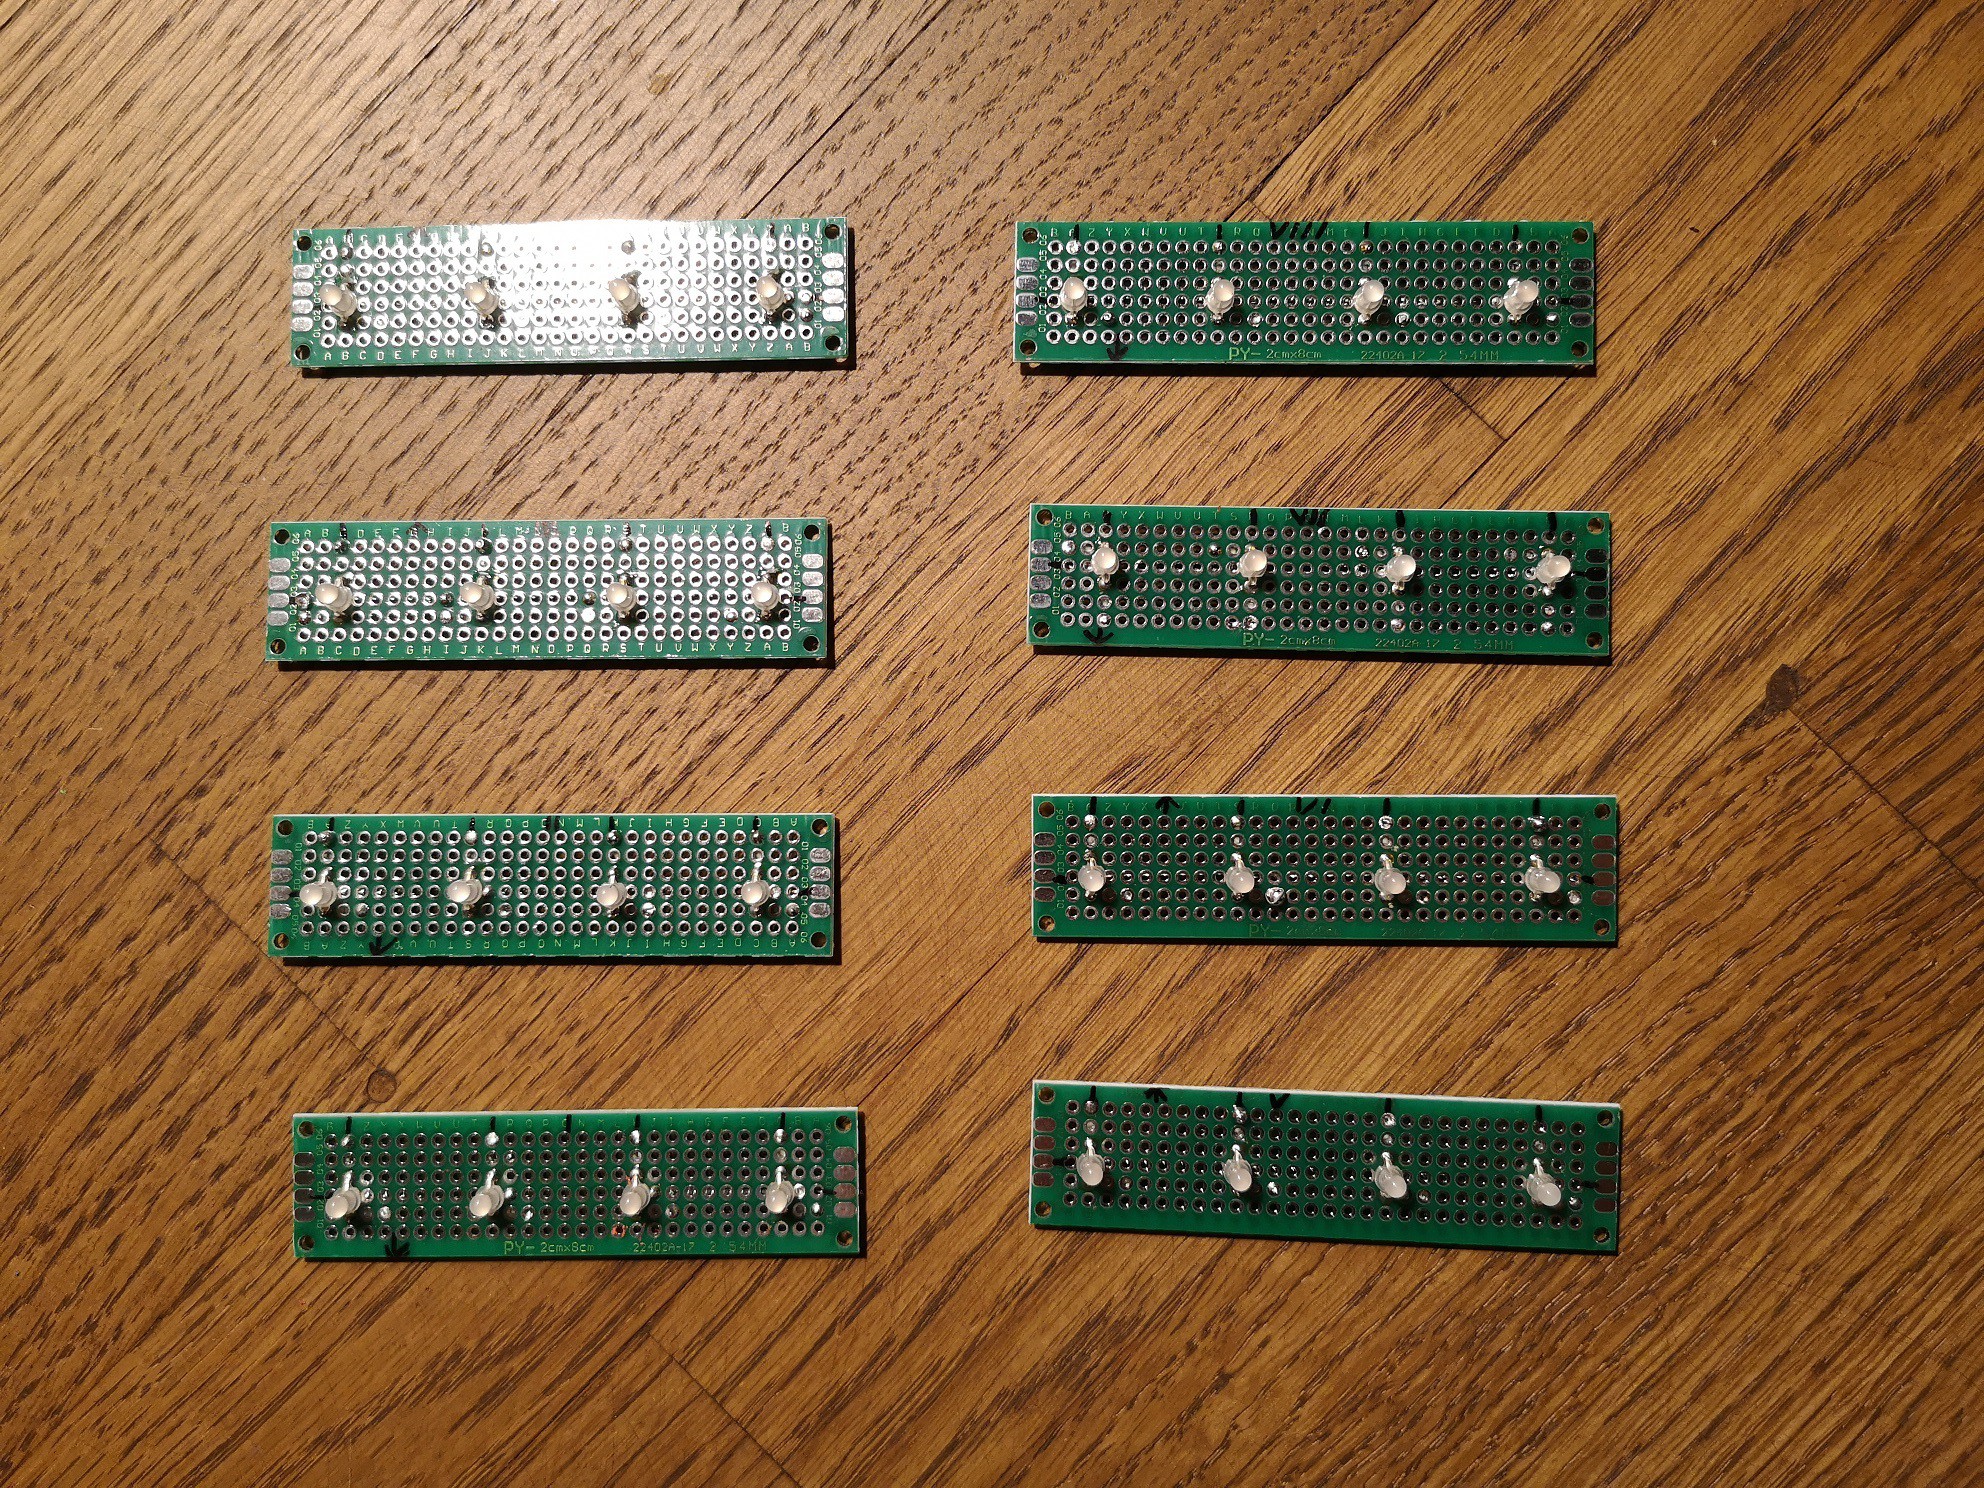
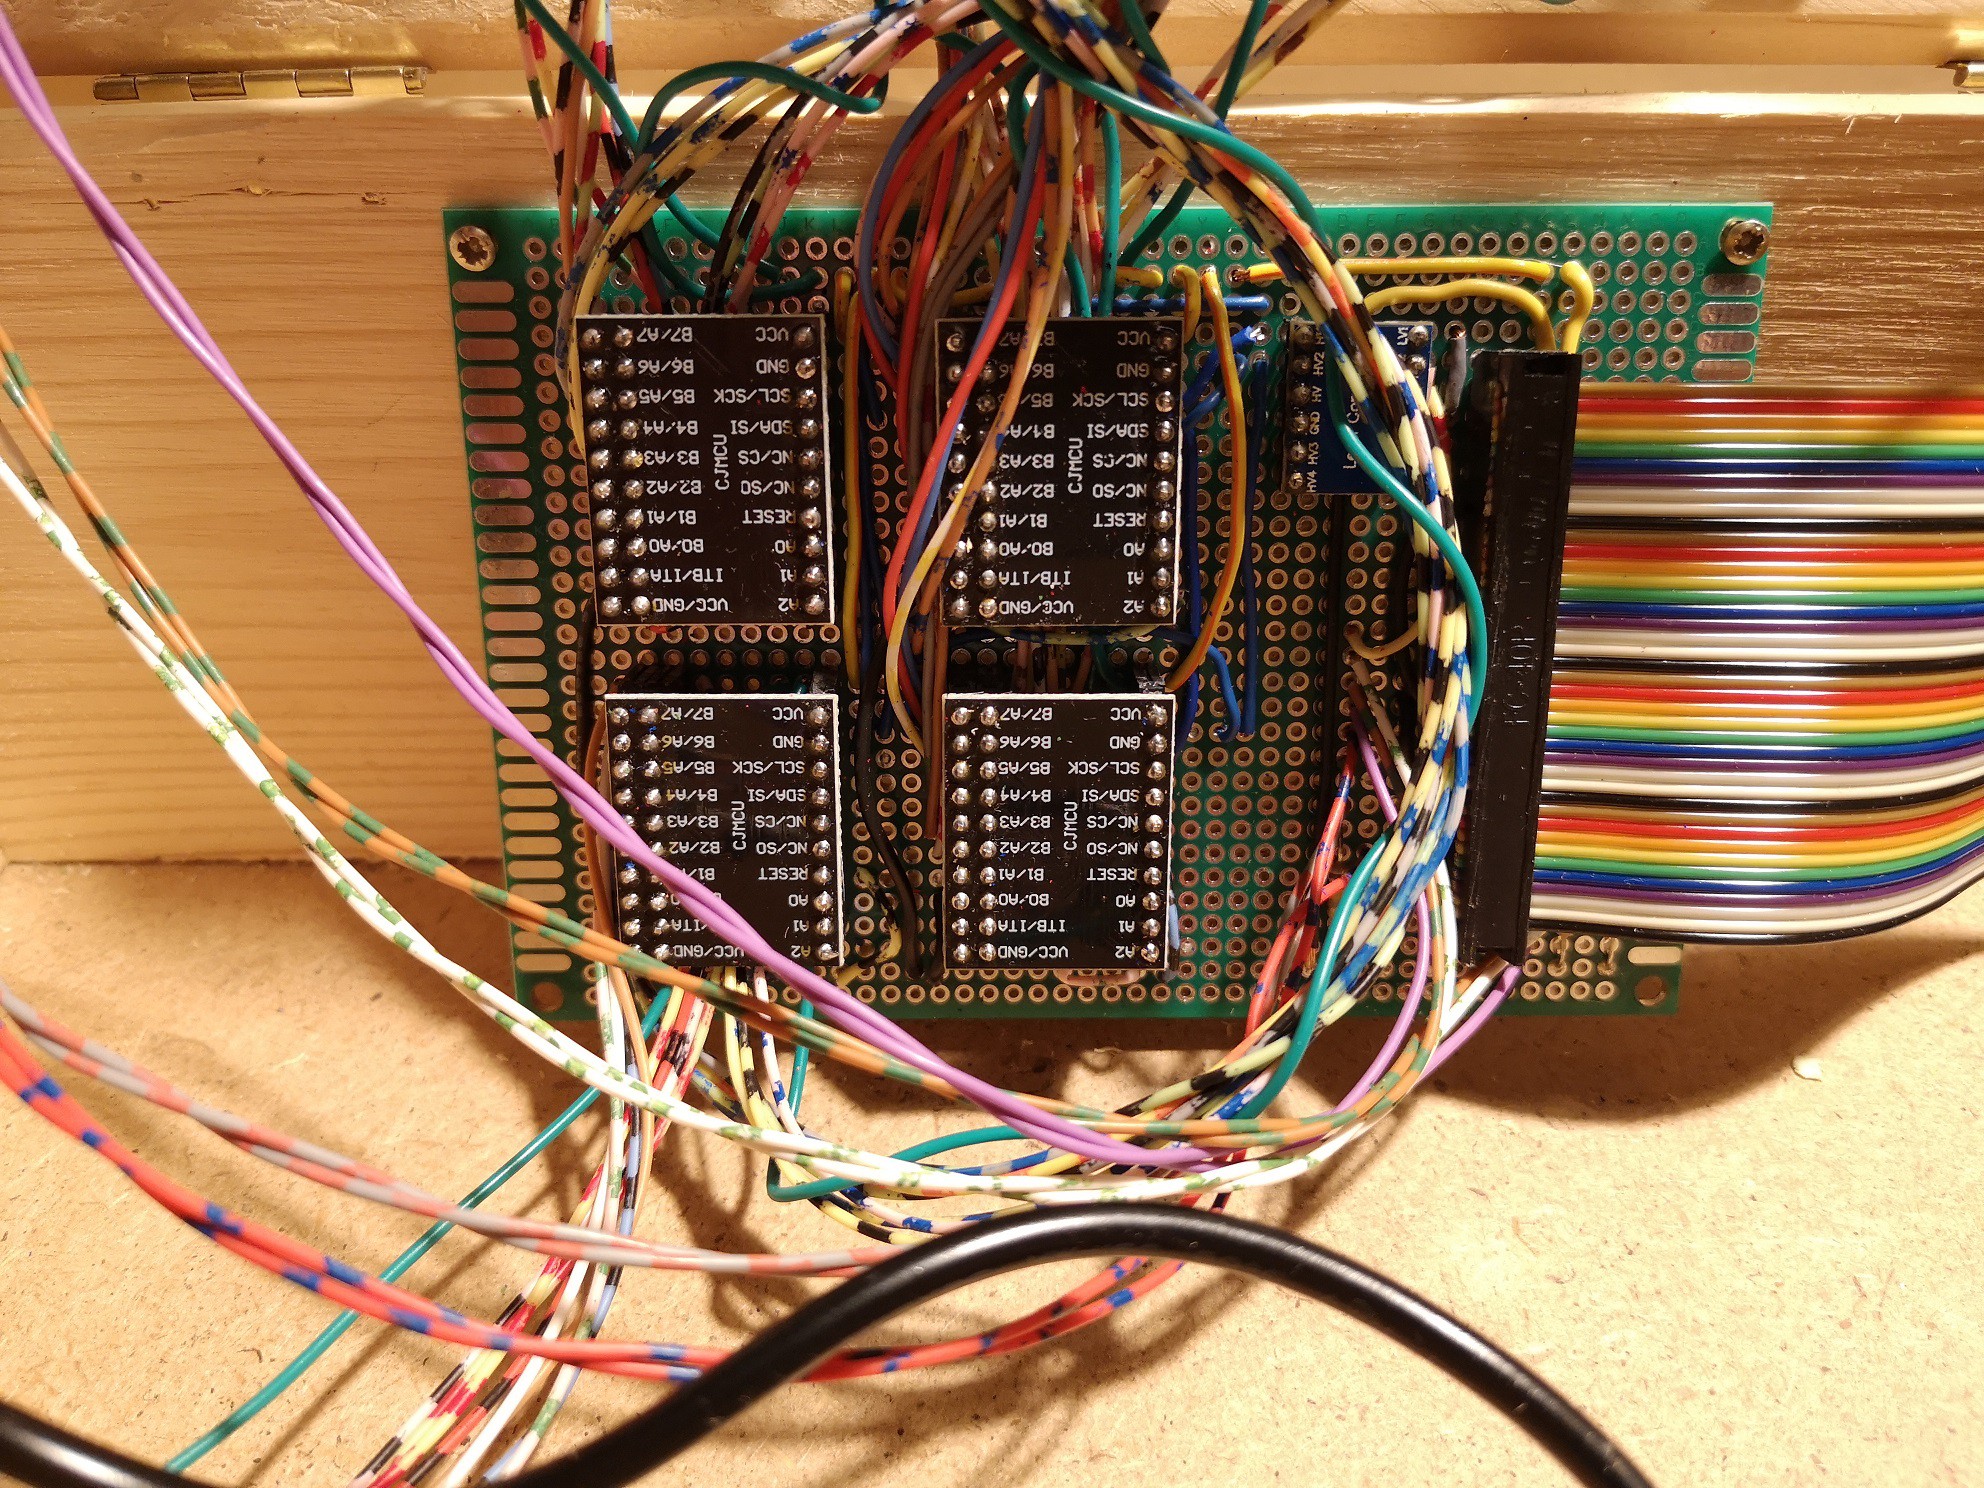
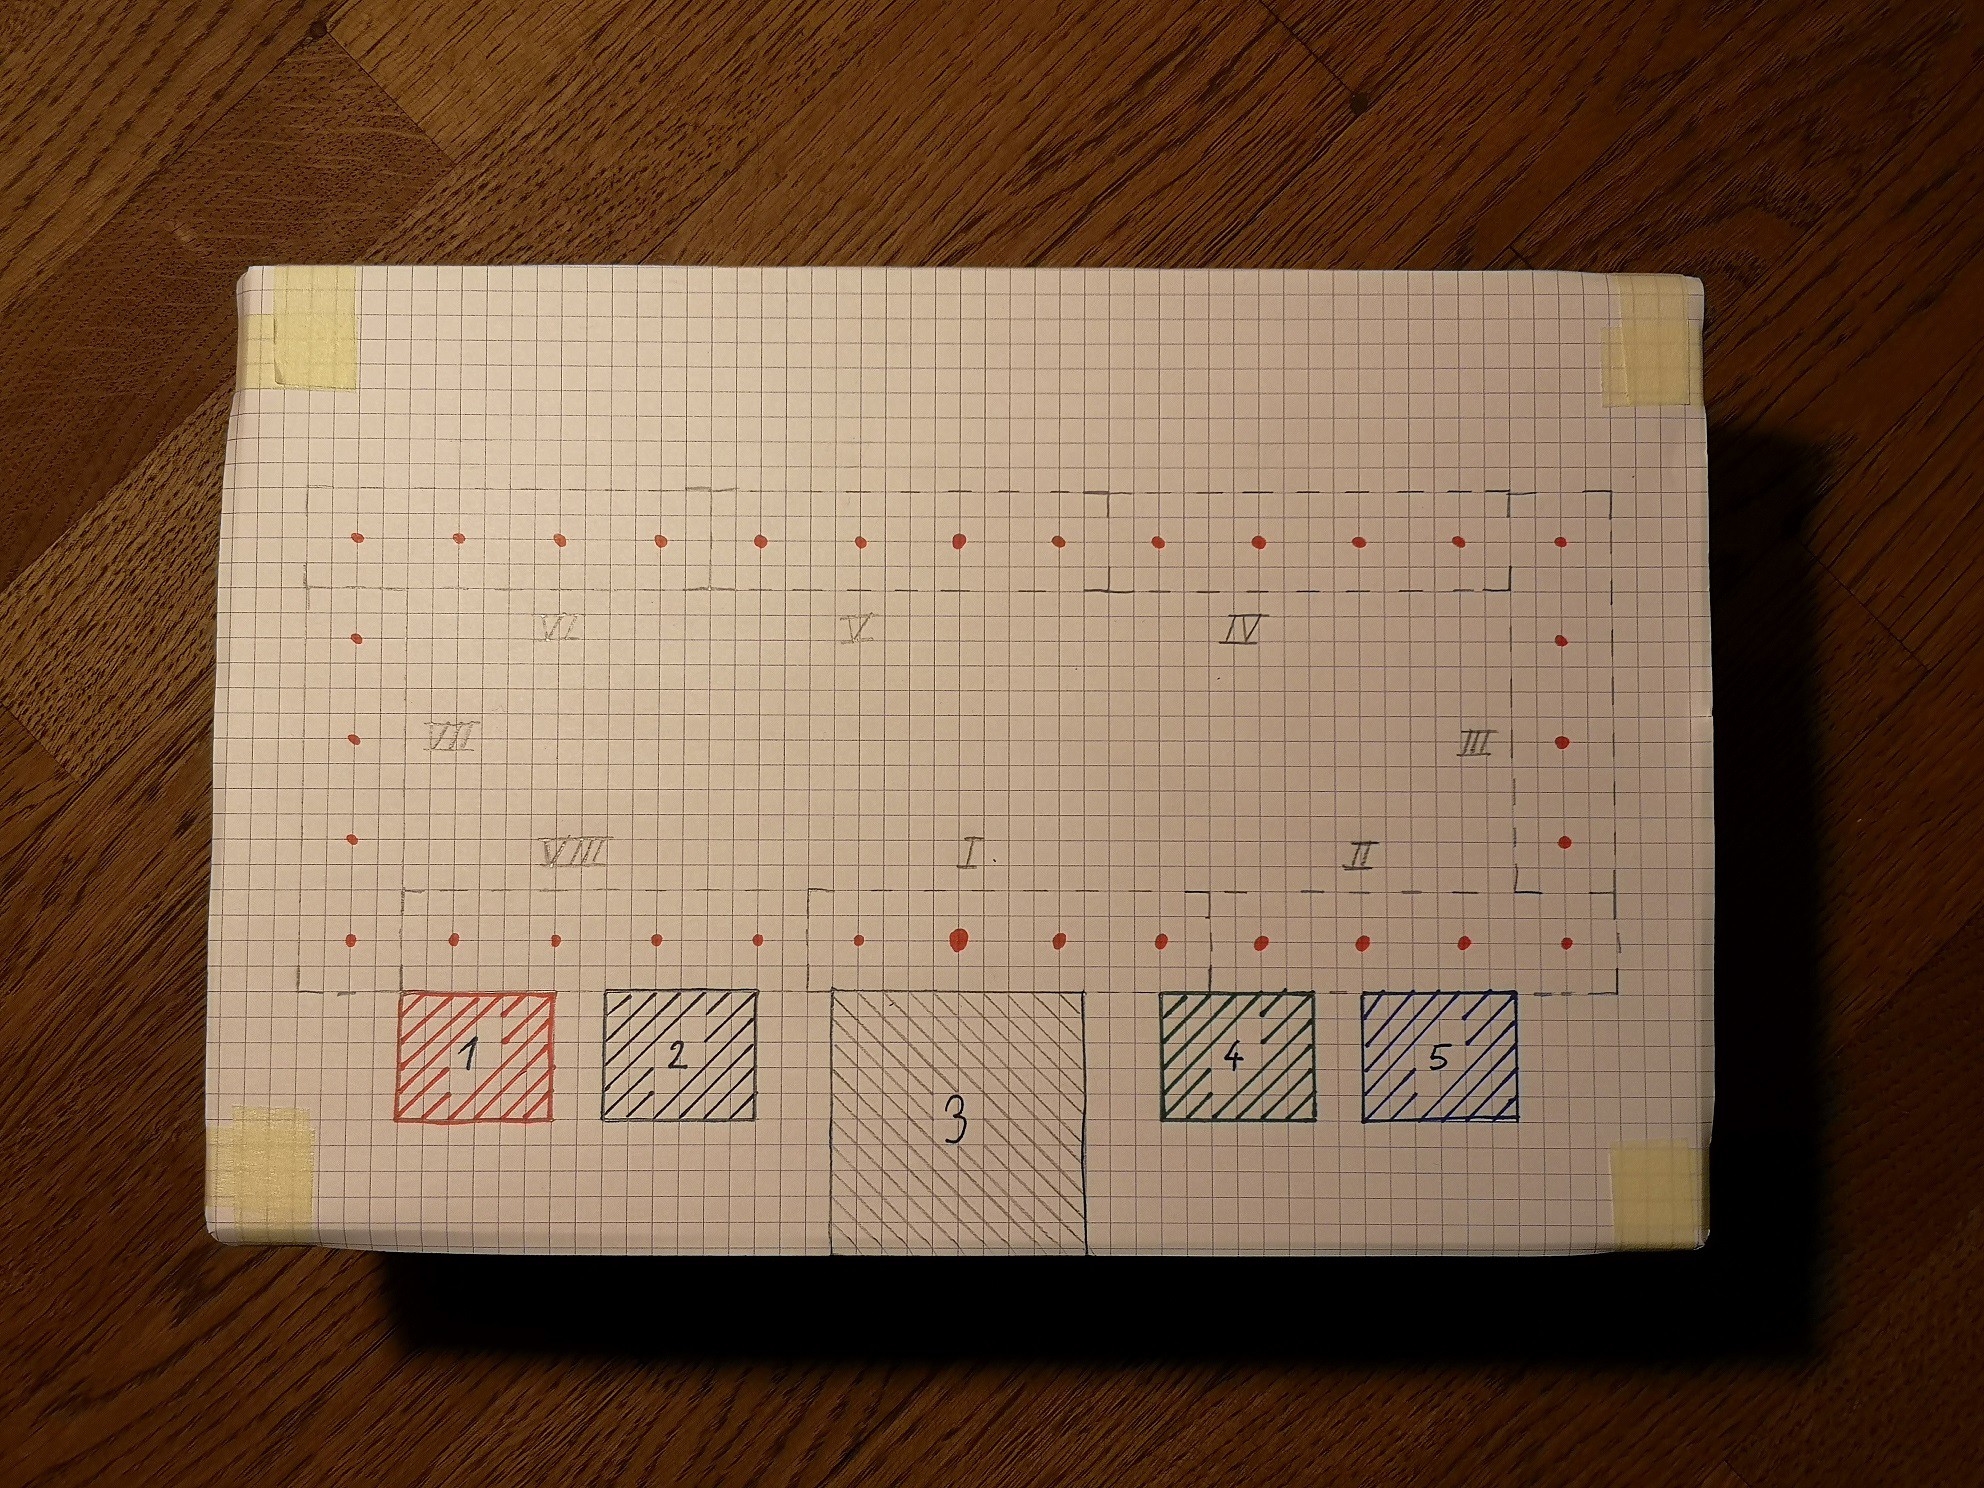
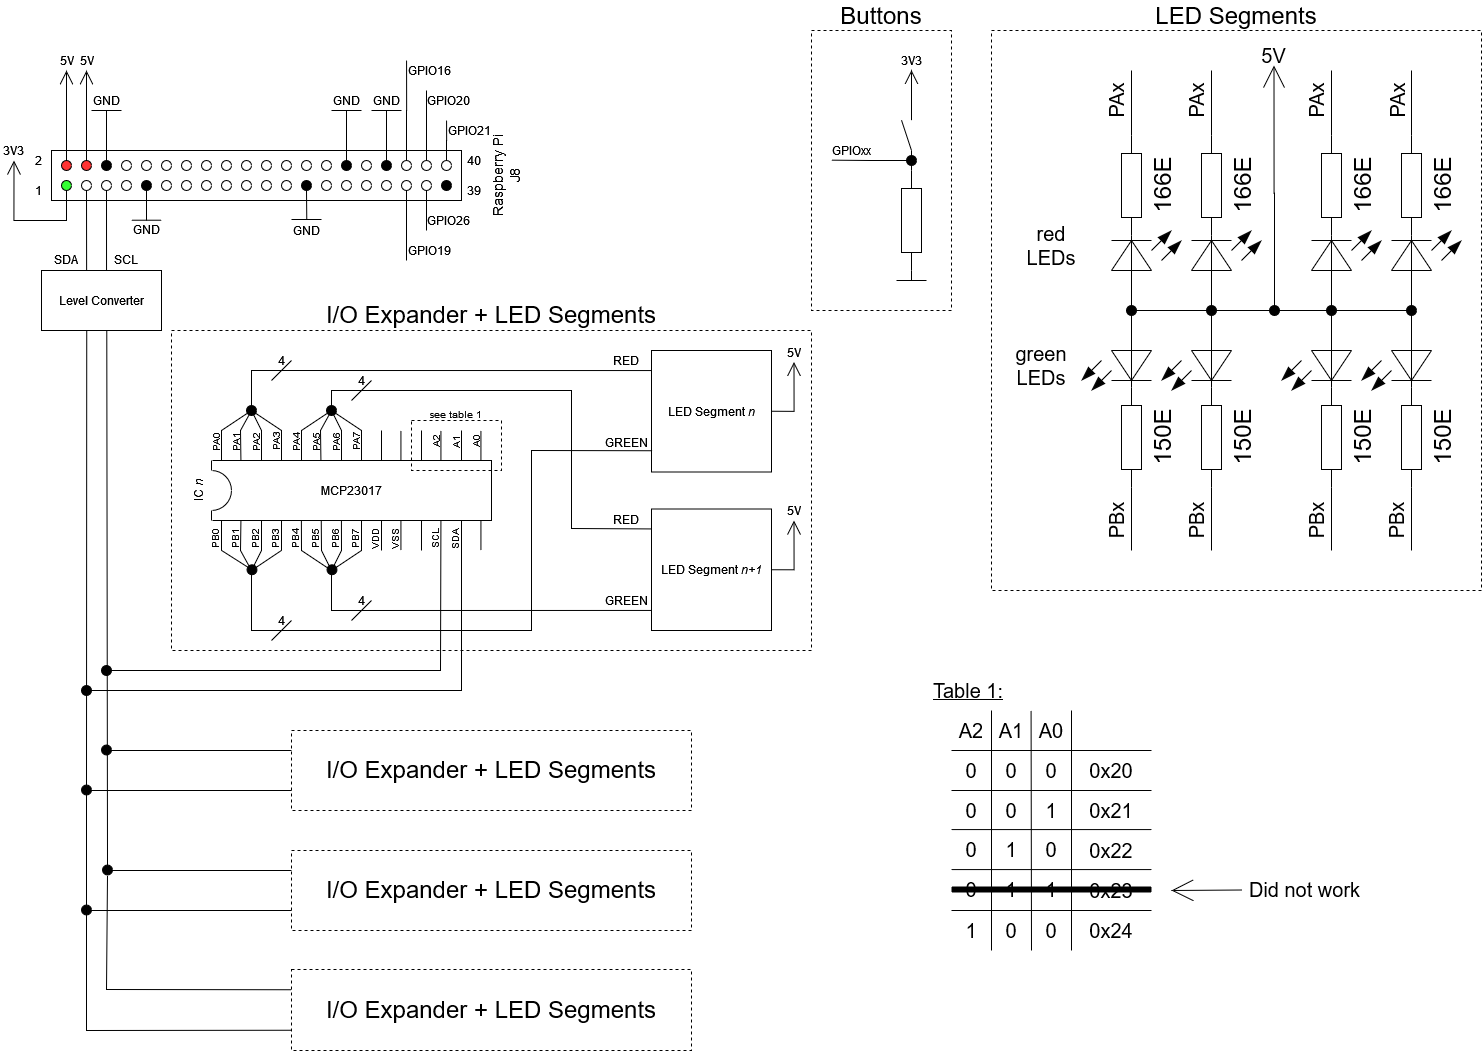
For the computer I chose the Raspberry Pi Zero W. I had one in spare and for these tasks I didn’t need something fancier. The Raspi does not have enough GPIOs to have a decent ring with LEDs. That’s why I used the “MCP23017 I2C I/O Port Expander”. This expander can control 16 GPIO pins and can be controlled via I2C-bus. In the end I used 32 LEDs. This means I needed 64 GPIOs that are controlled by four GPIO expanders. For the red lights I used the A port and for green the B port on every module. I separated the 32 LEDs into 8 segments with 4 LEDs each.

For the power supply I used the 5V pin of the Raspi on the J8 Header. This pin is directly connected to the 5V of the micro-USB connector.

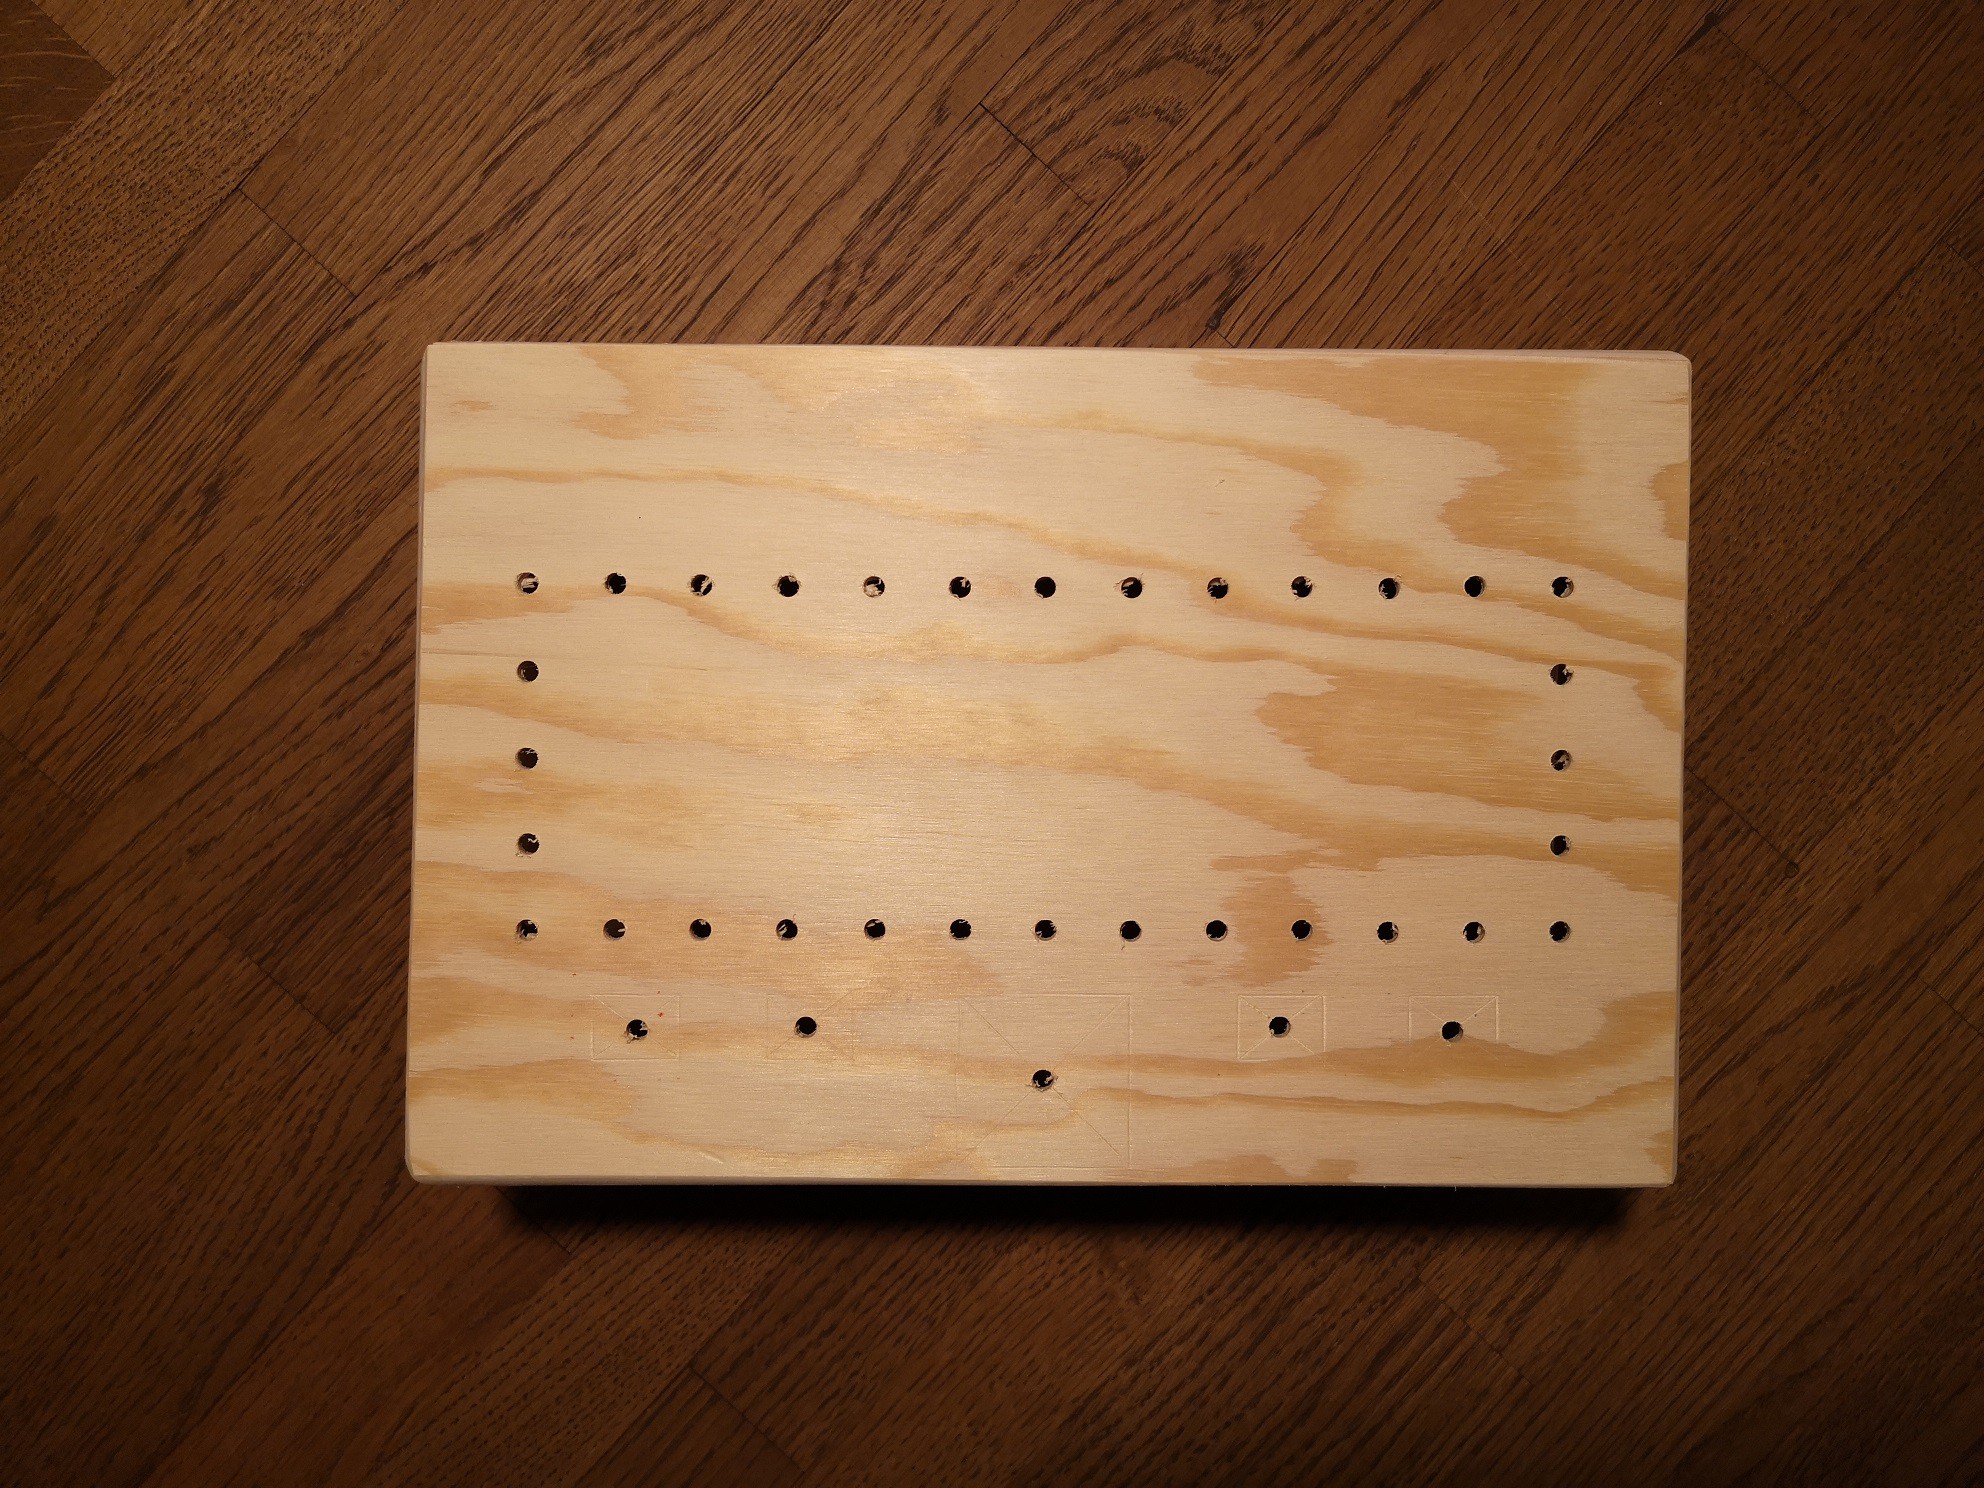
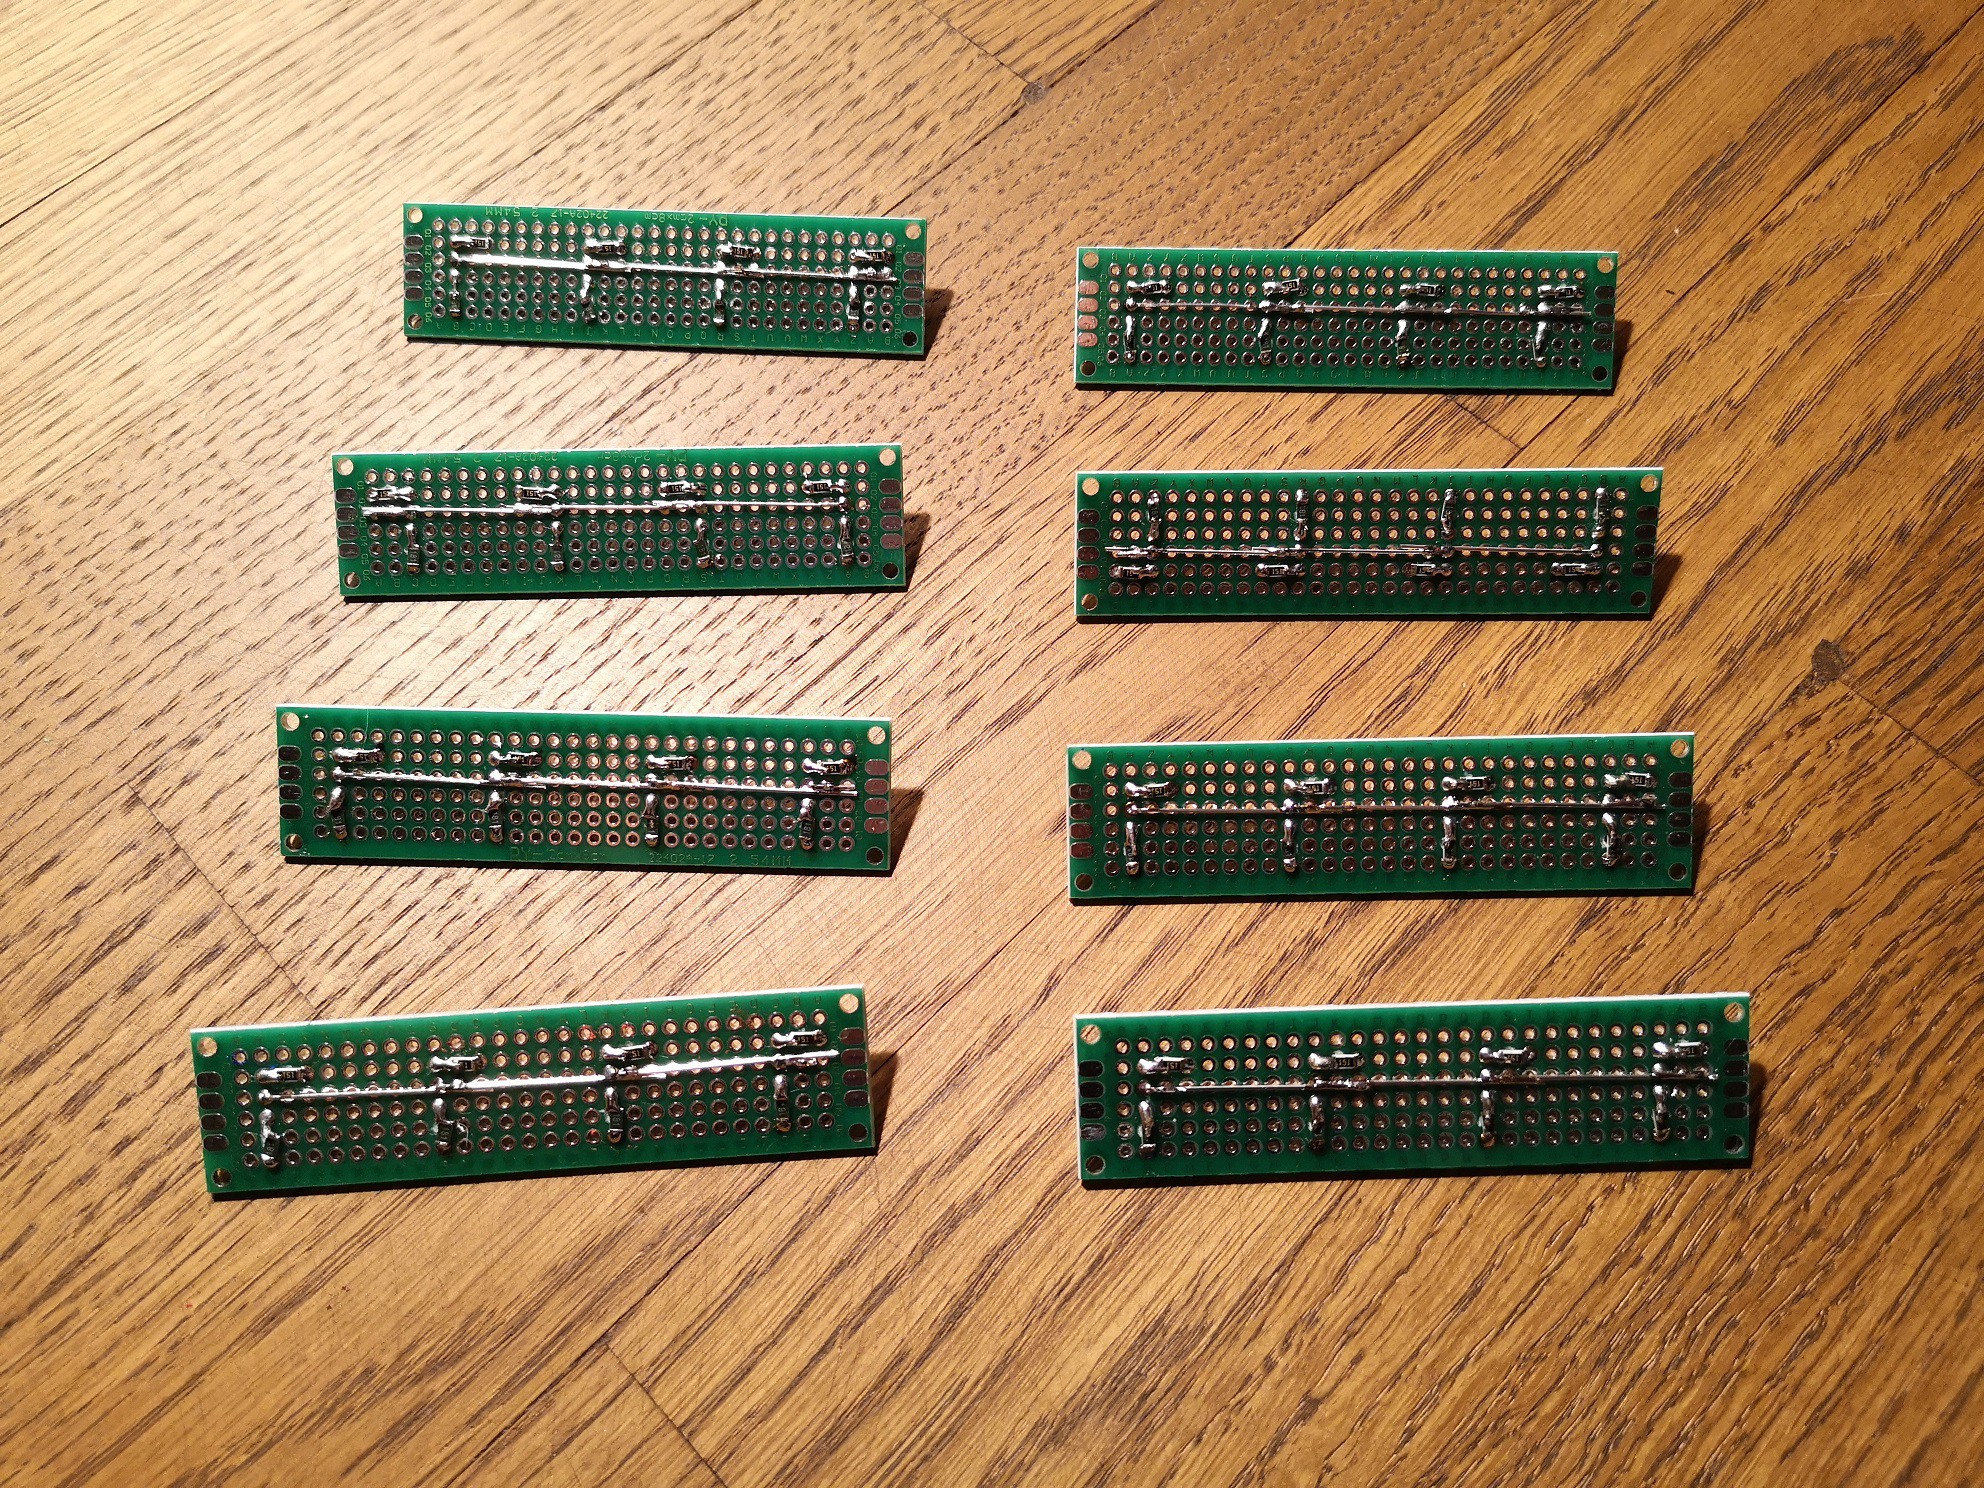
As you can see below in the schematic, the engineering of the hardware part was not a lot. But soldering took some time (see pictures). I was lucky that my stepfather helped me with the manual work. ;) Thanks!
  • Set up framework

    Nikola11/29/2021 at 22:11 0 comments

    Actually, this project is closed, because on hackaday it is declared as a pure hardware project. All further work will be realized in the github repo (runningLightBox). But because so many of you are following now this project, I thought to write how I am programming the Raspi.

    In the beginning I thought to use Visual Studio Code with the remote server, but then I decided to keep everything simple and mount the working folder form my laptop to the Raspi.


    Raspi Part

    • Install nfs-common

    sudo apt install nfs-common
    
    • Create a directory for mounting 

    sudo mkdir /var/runningLightBox
    •  Define what should be mounted where via fstab file

    sudo nano /etc/fstab

     File looks then like this:

    # <file system>     <dir>       <type>   <options>   <dump>     <pass>
    <IP_OF_LAPTOP>:<LINK_TO_WORK_FOLDER>  /var/runningLightBox/  nfs      defaults    0       0


    Laptop Part

    • Install NFS server
    sudo apt-get install nfs-kernel-server
    •  Define which folder is allowed to be used by whom via export file
     sudo nano /etc/exports

      File looks then like this:

    <LINK_TO_WORK_FOLDER> <IP_OF_RASPI> (rw)

    NOTE: Laptop must be booted first! (I know it's logical, but ....)

    Before I wrote a python script, I first tested the LEDs with the i2ctools:

    • Get all I2C devices on the I2C1

    i2cdetect -y 1
    •  Set all pins of port A of the first segment to output

    i2cset -y 1 0x20 0x00 0x00
    •  Turn on all LEDs of port A of the first segment

    i2cset -y 1 0x20 0x14 0x00
    •  Turn off all LEDs of port A of the first segment

    i2cset -y 1 0x20 0x14 0xFF
    •  Repeat last three steps above  for all other devices

    There is also a python script in the github repo (runningLightBox).

View project log

Enjoy this project?

Share

Discussions

Florian Wilhelm Dirnberger wrote 11/08/2021 at 05:28 point

The assembly looks very well done. Like to see this project come to fruition.

  Are you sure? yes | no

Similar Projects

Does this project spark your interest?

Become a member to follow this project and never miss any updates