0%
0%
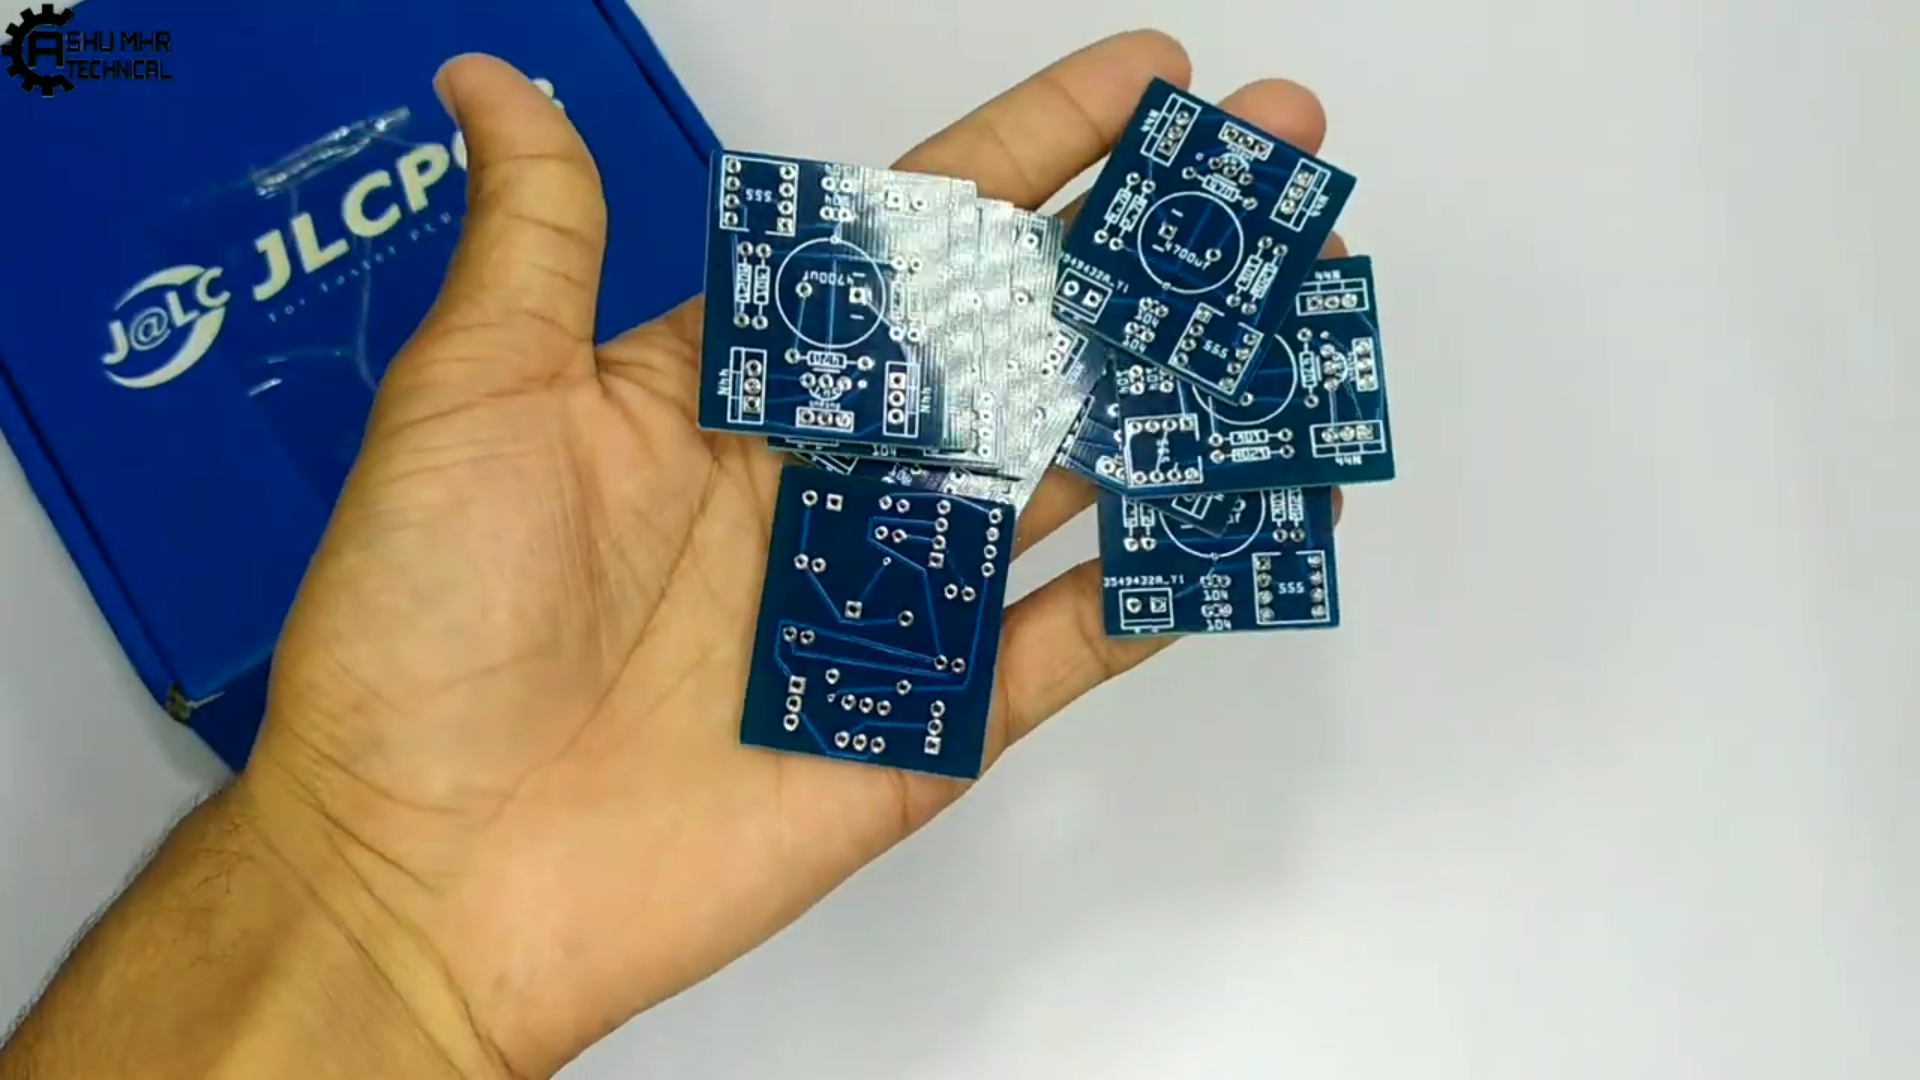
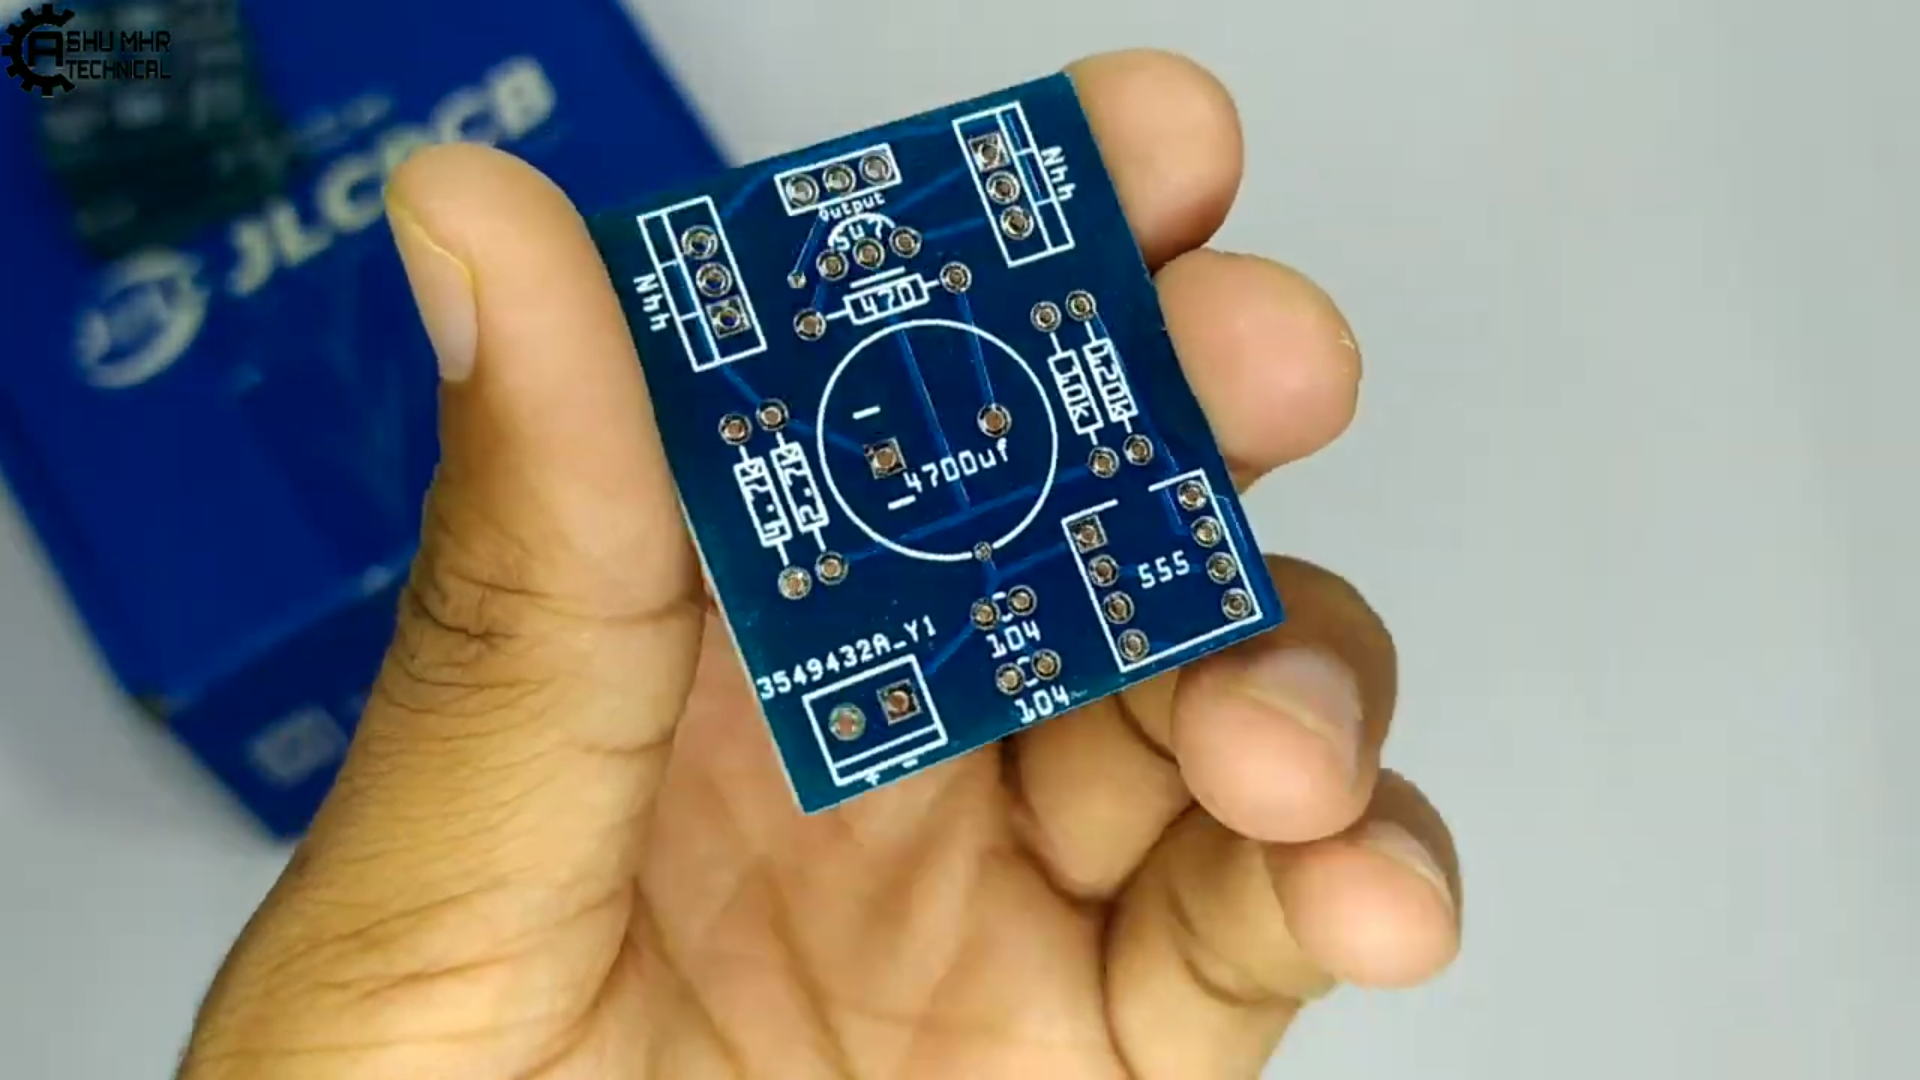
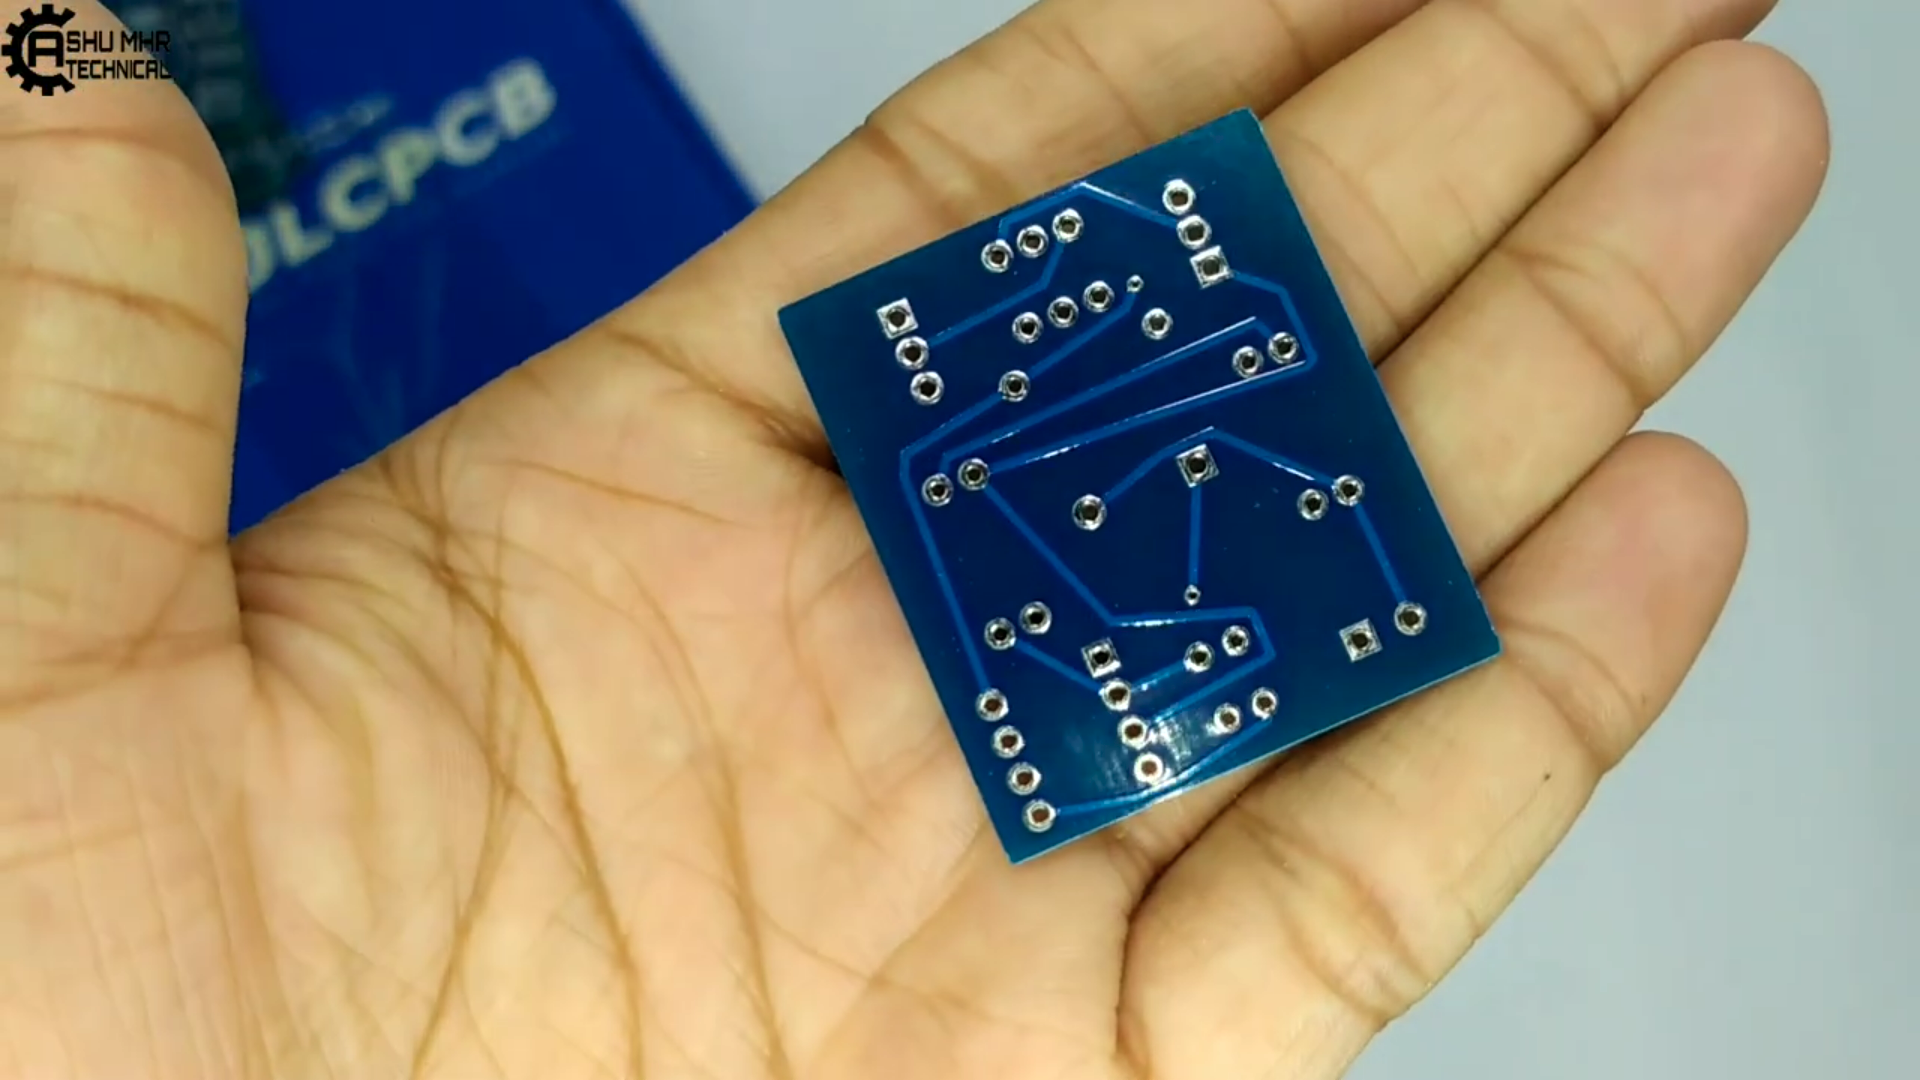
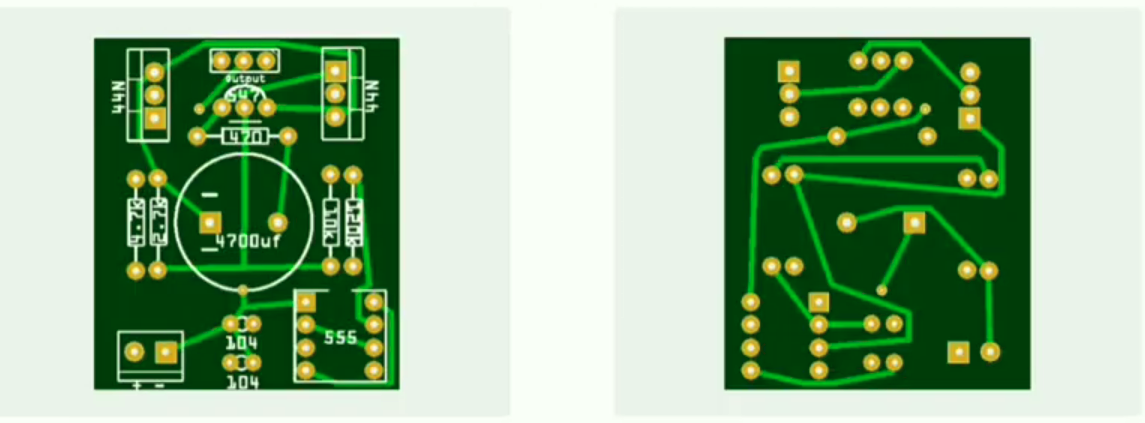
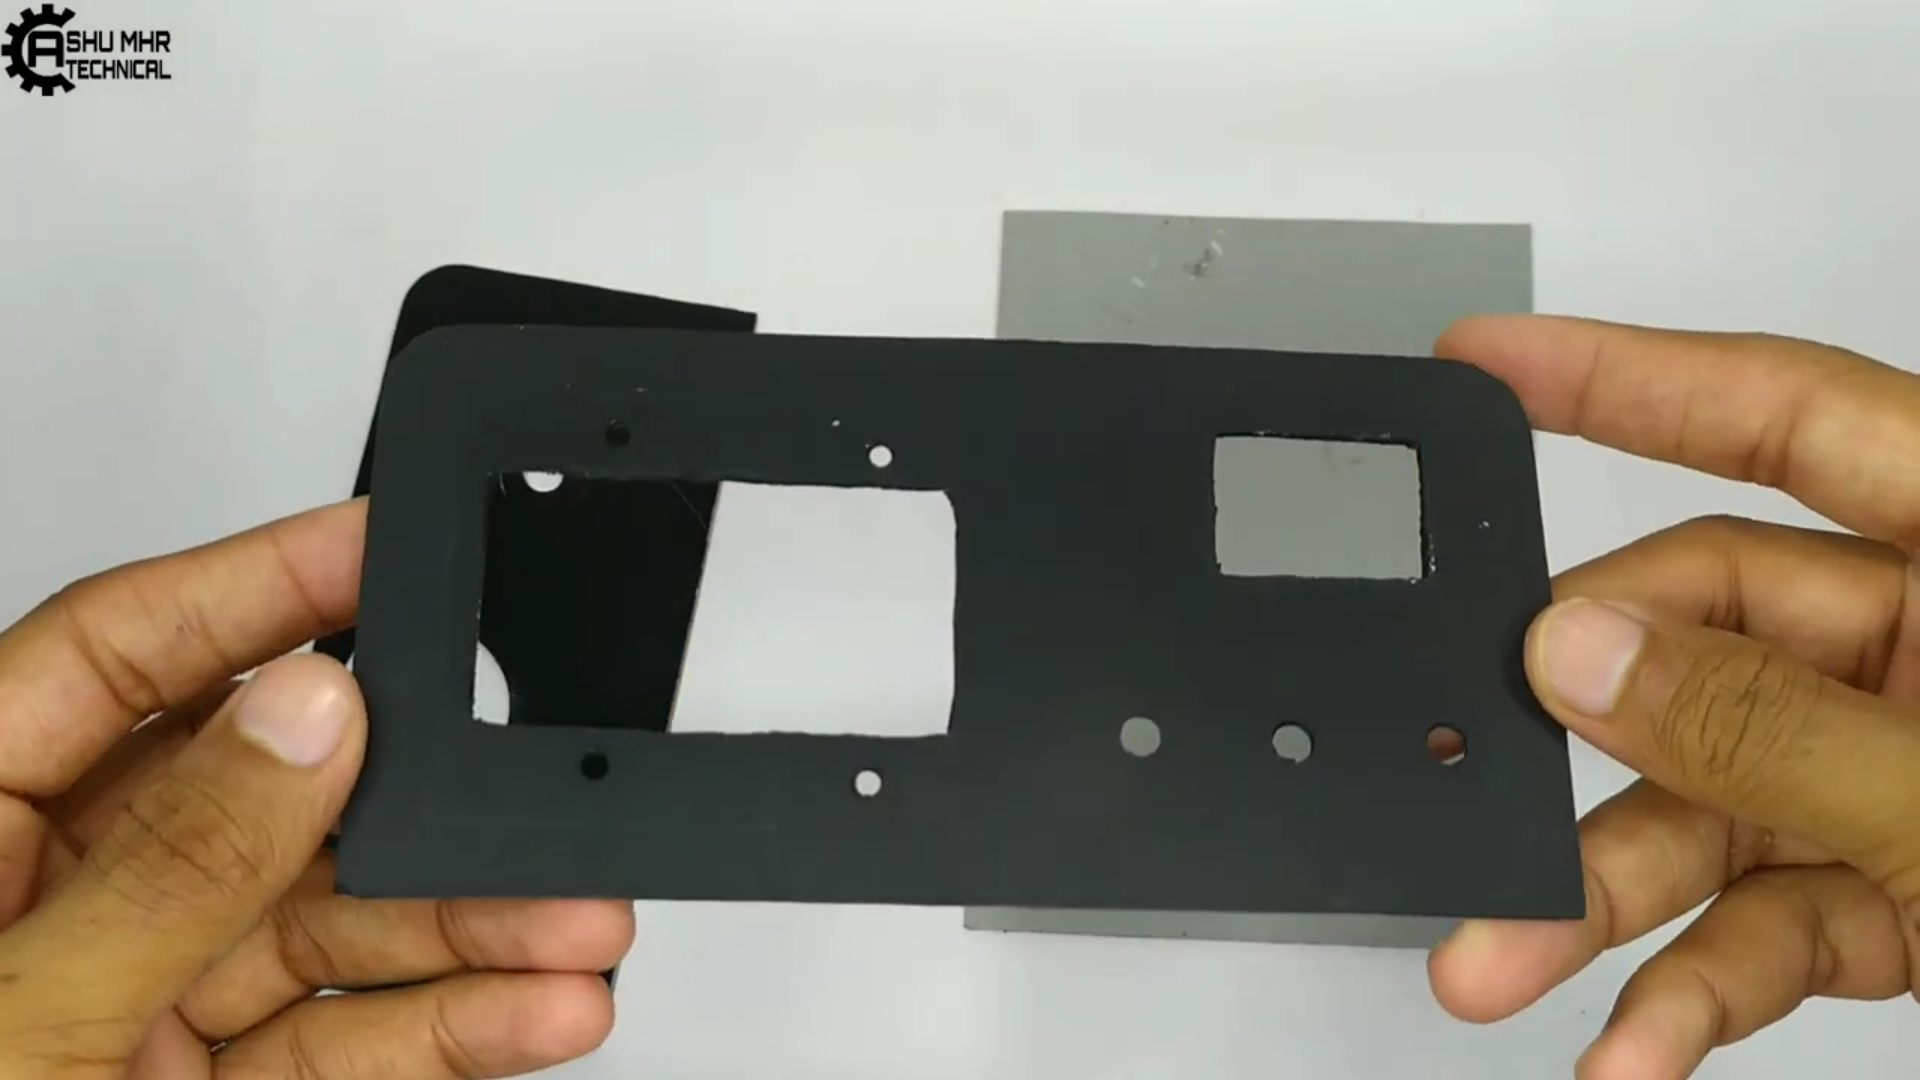
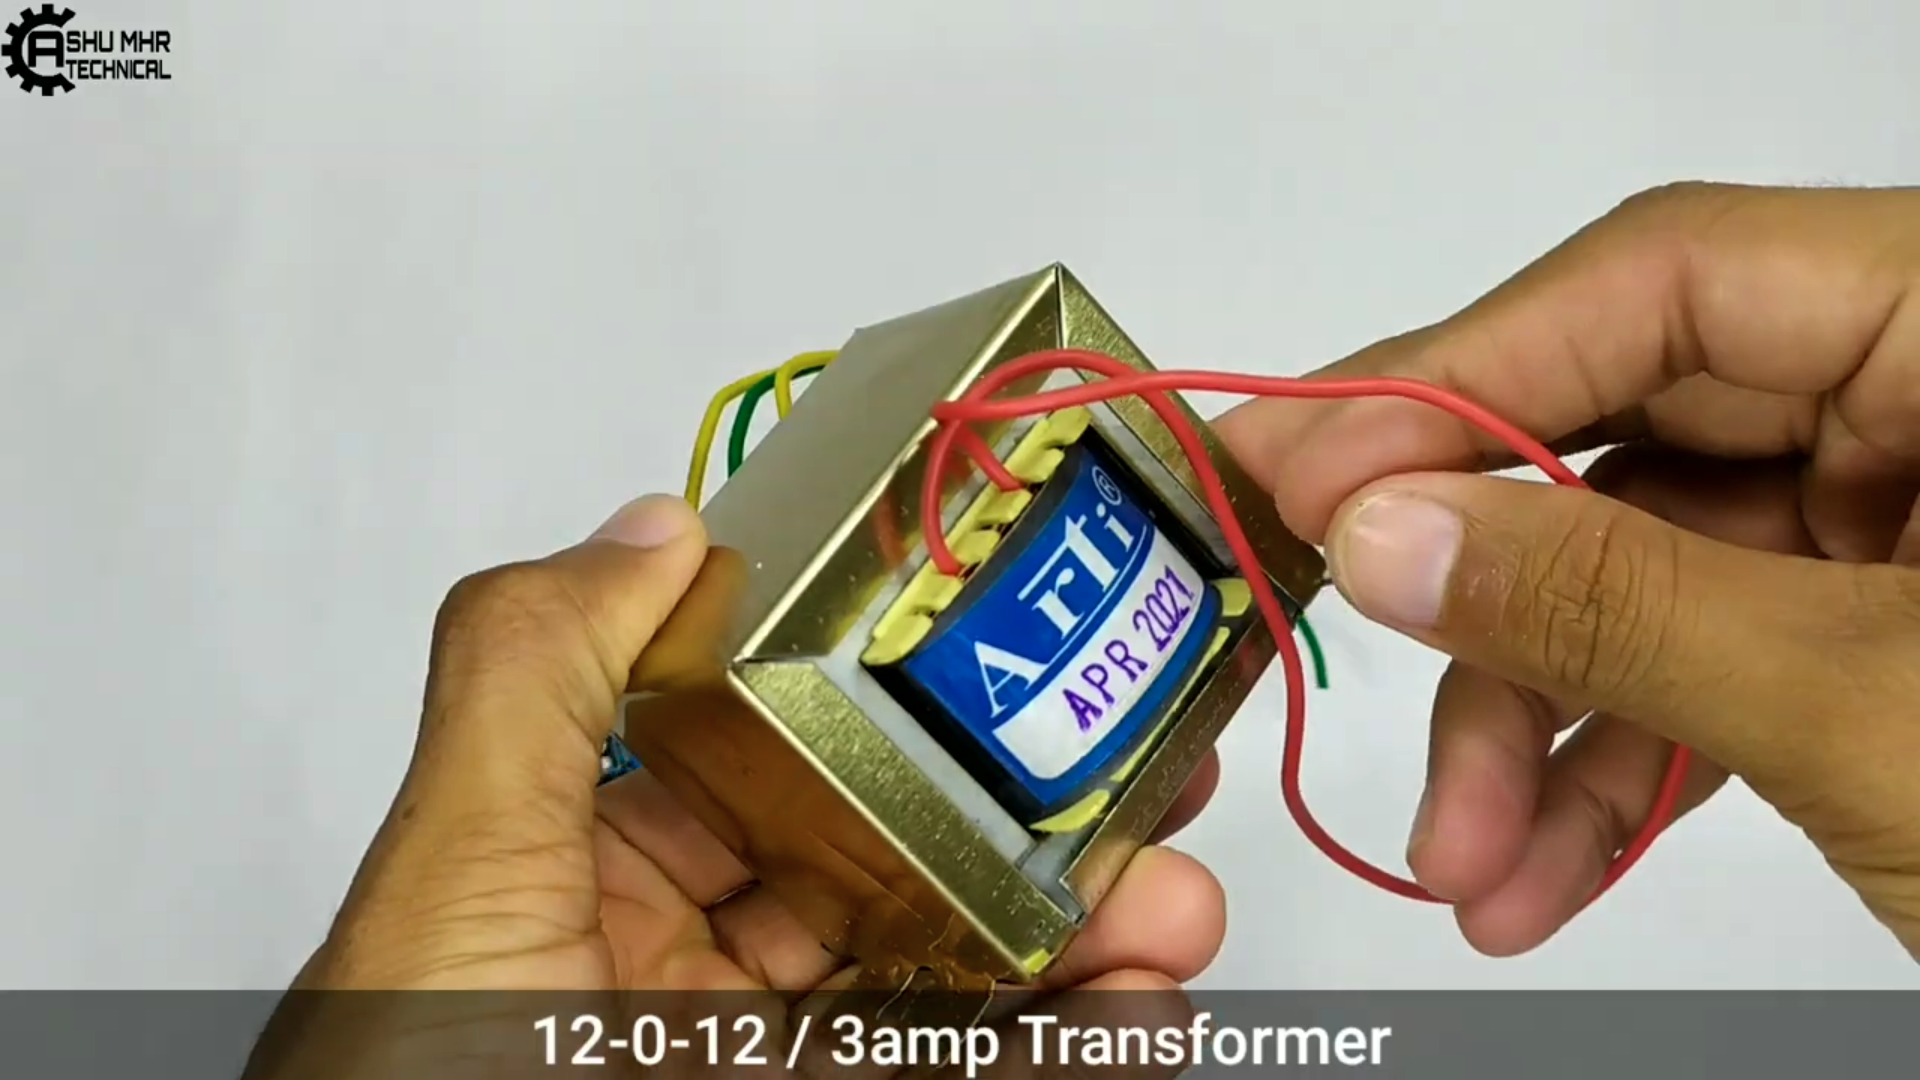
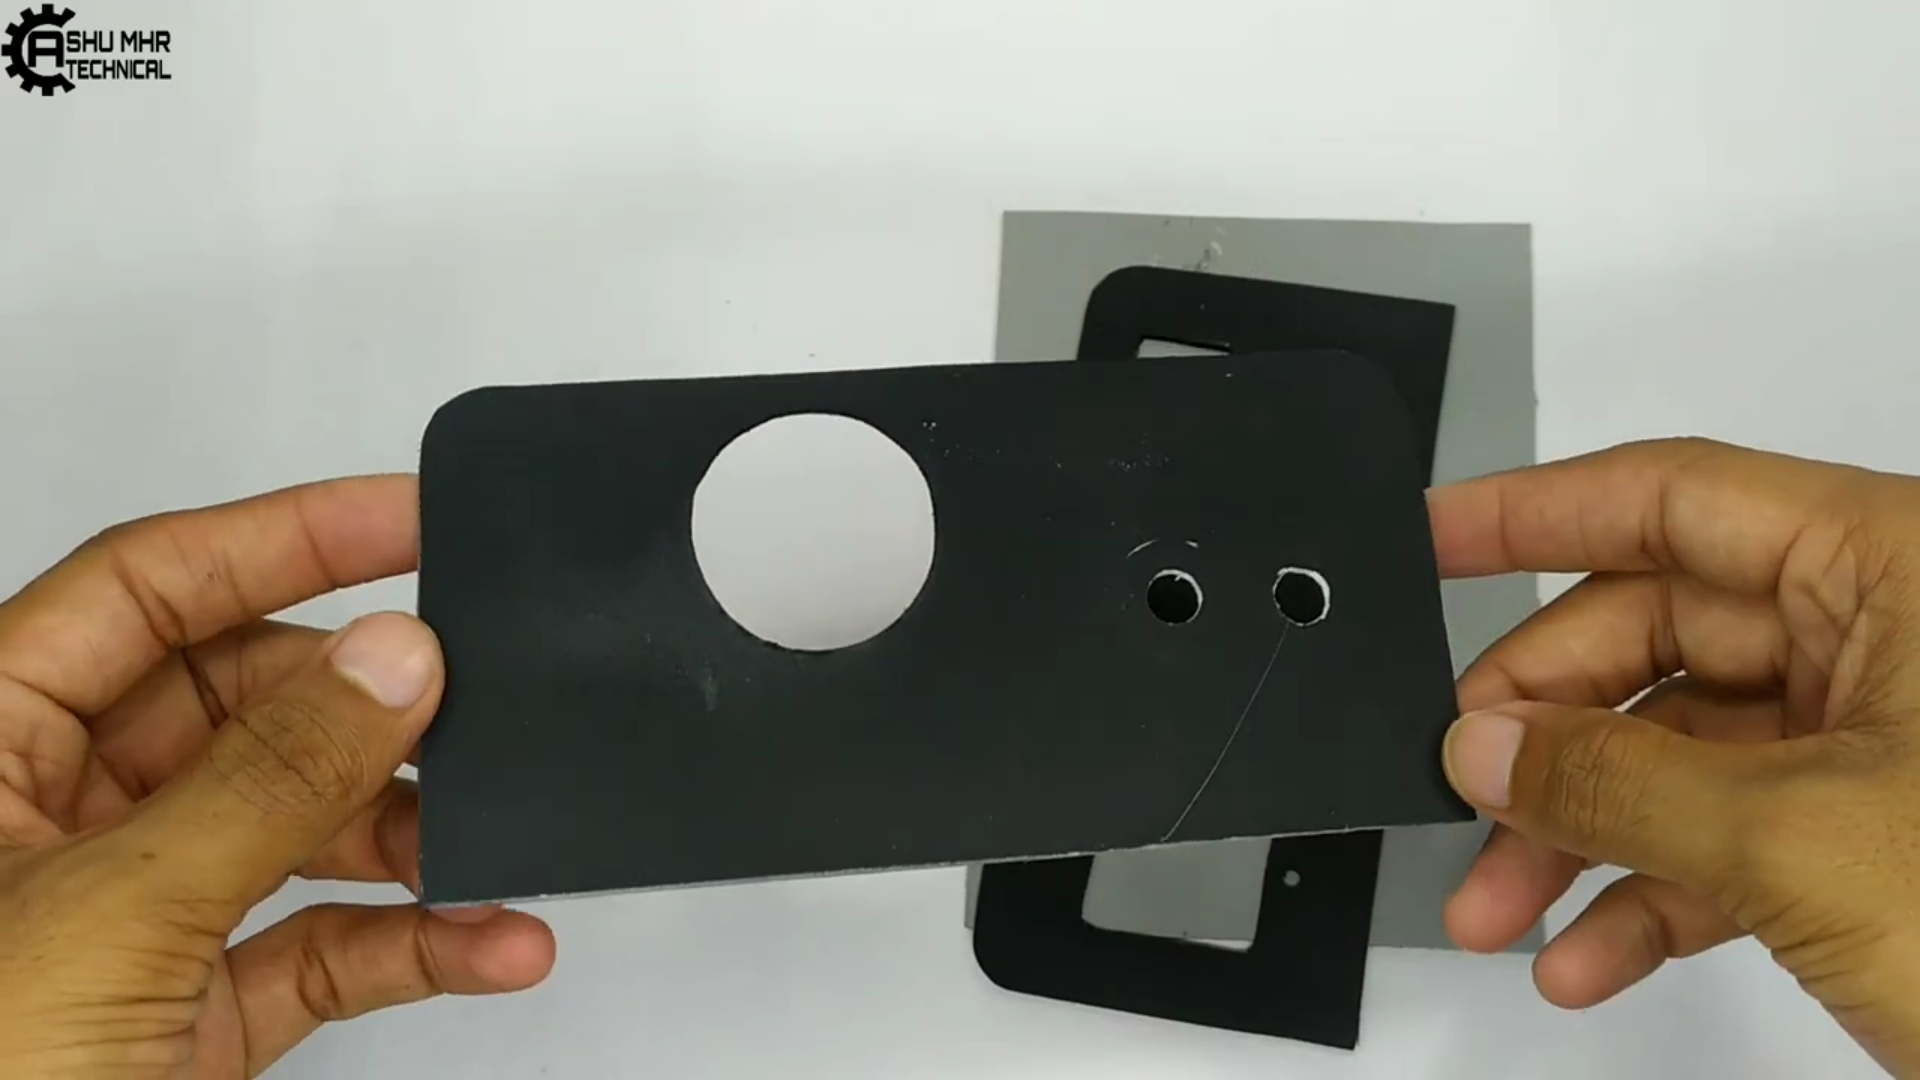
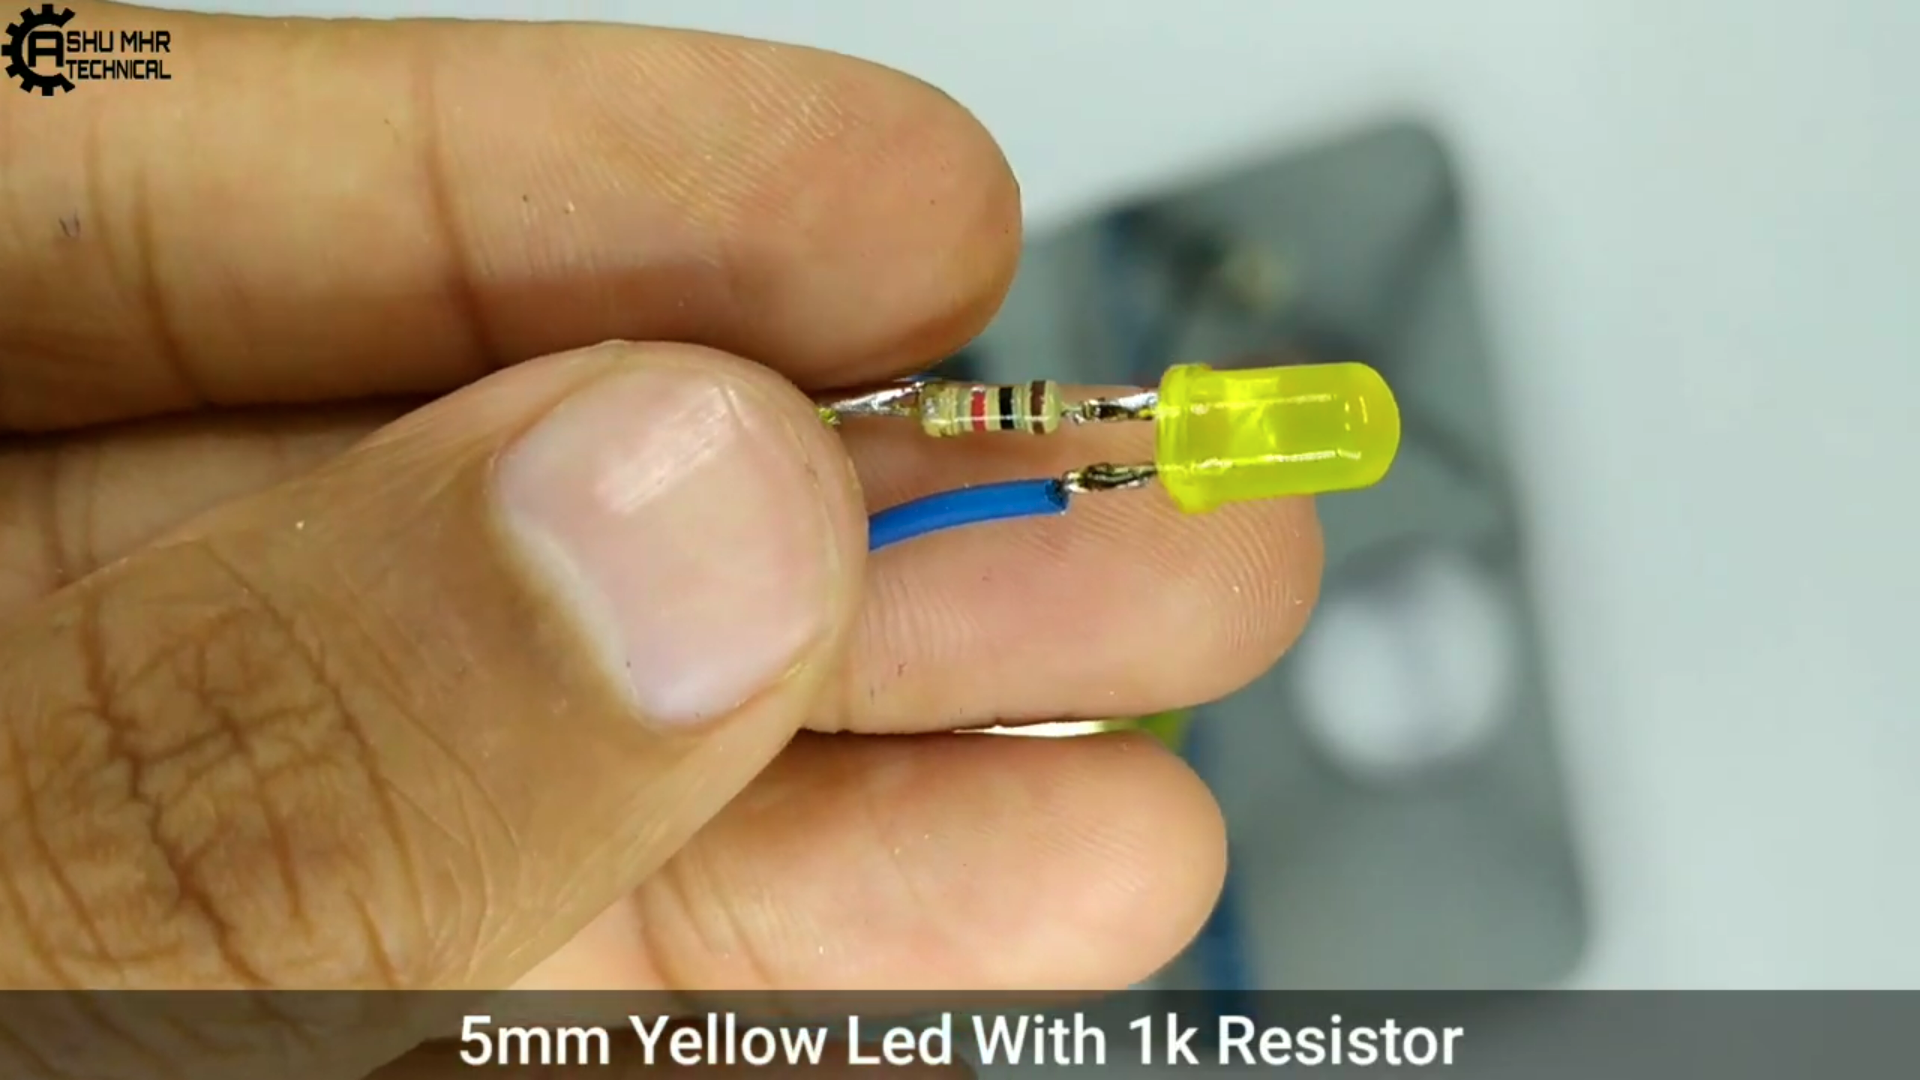
Diy Simple Inverter
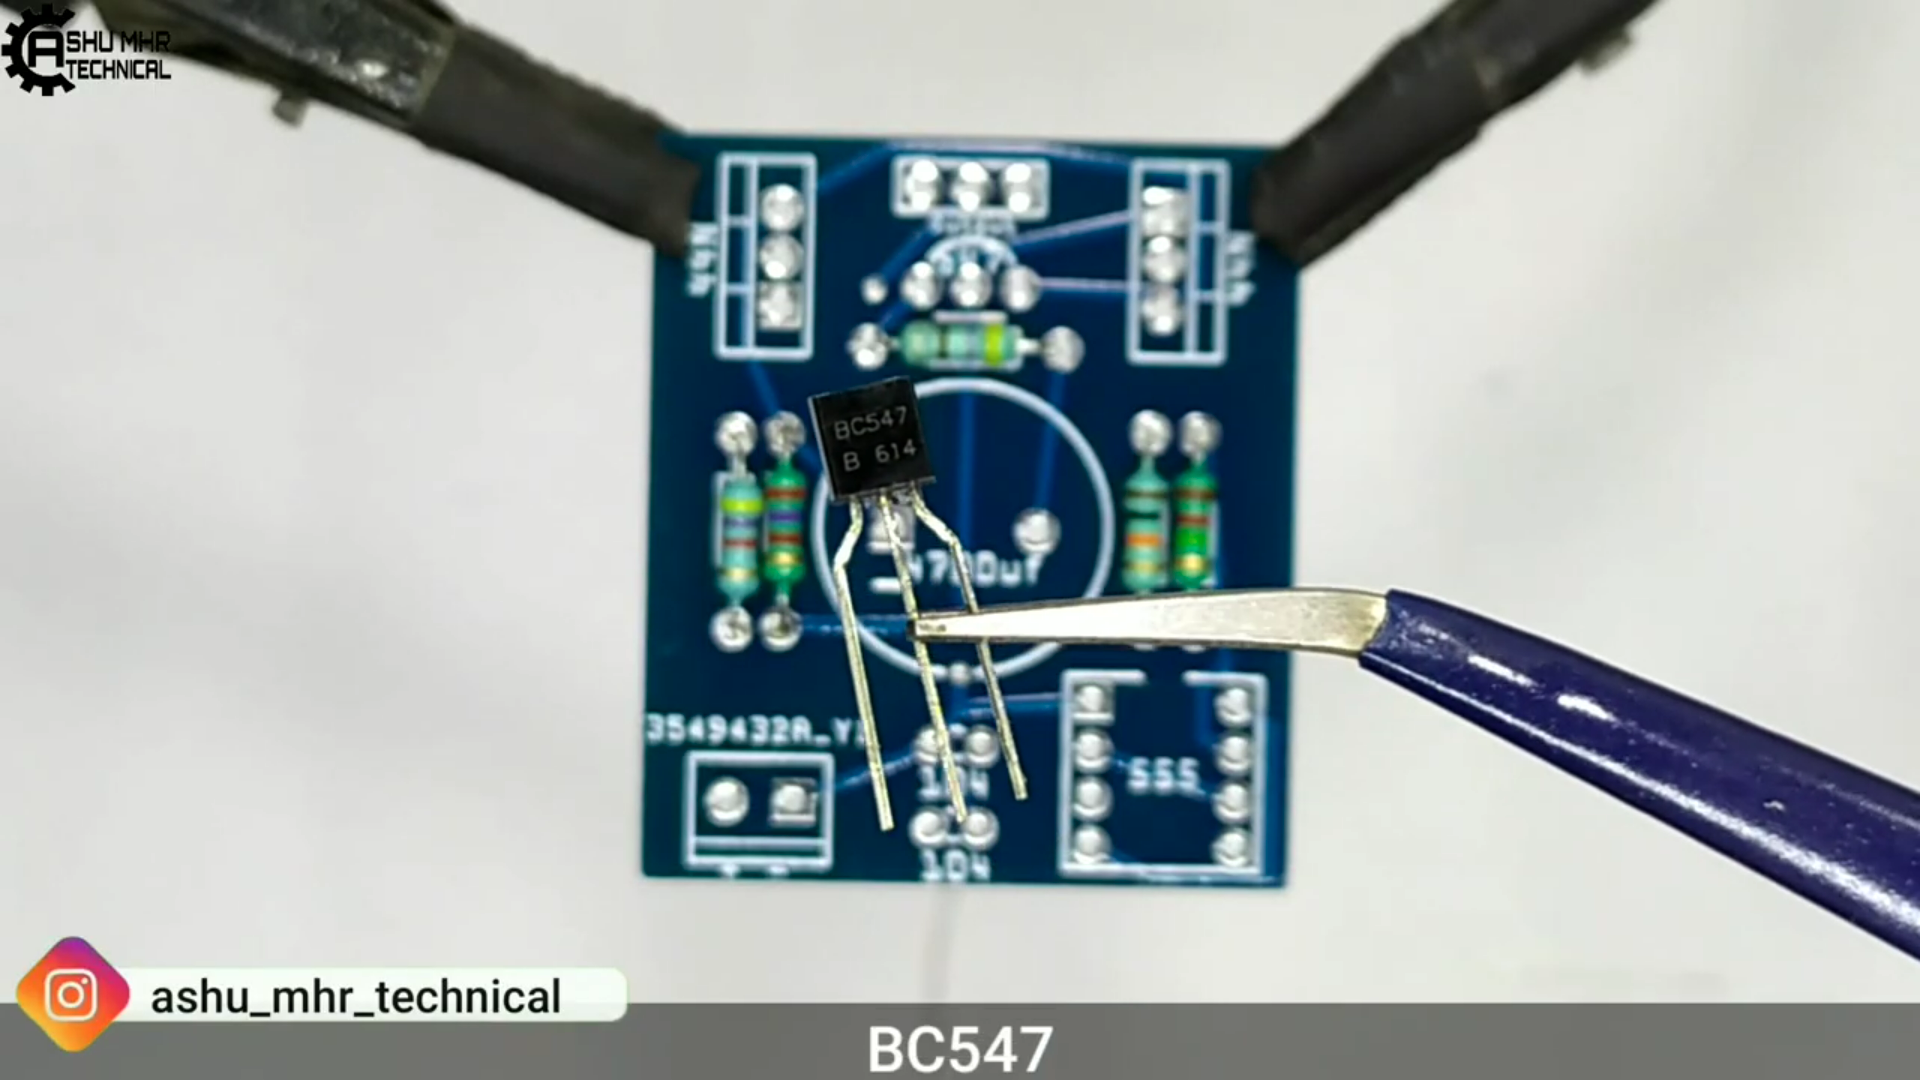
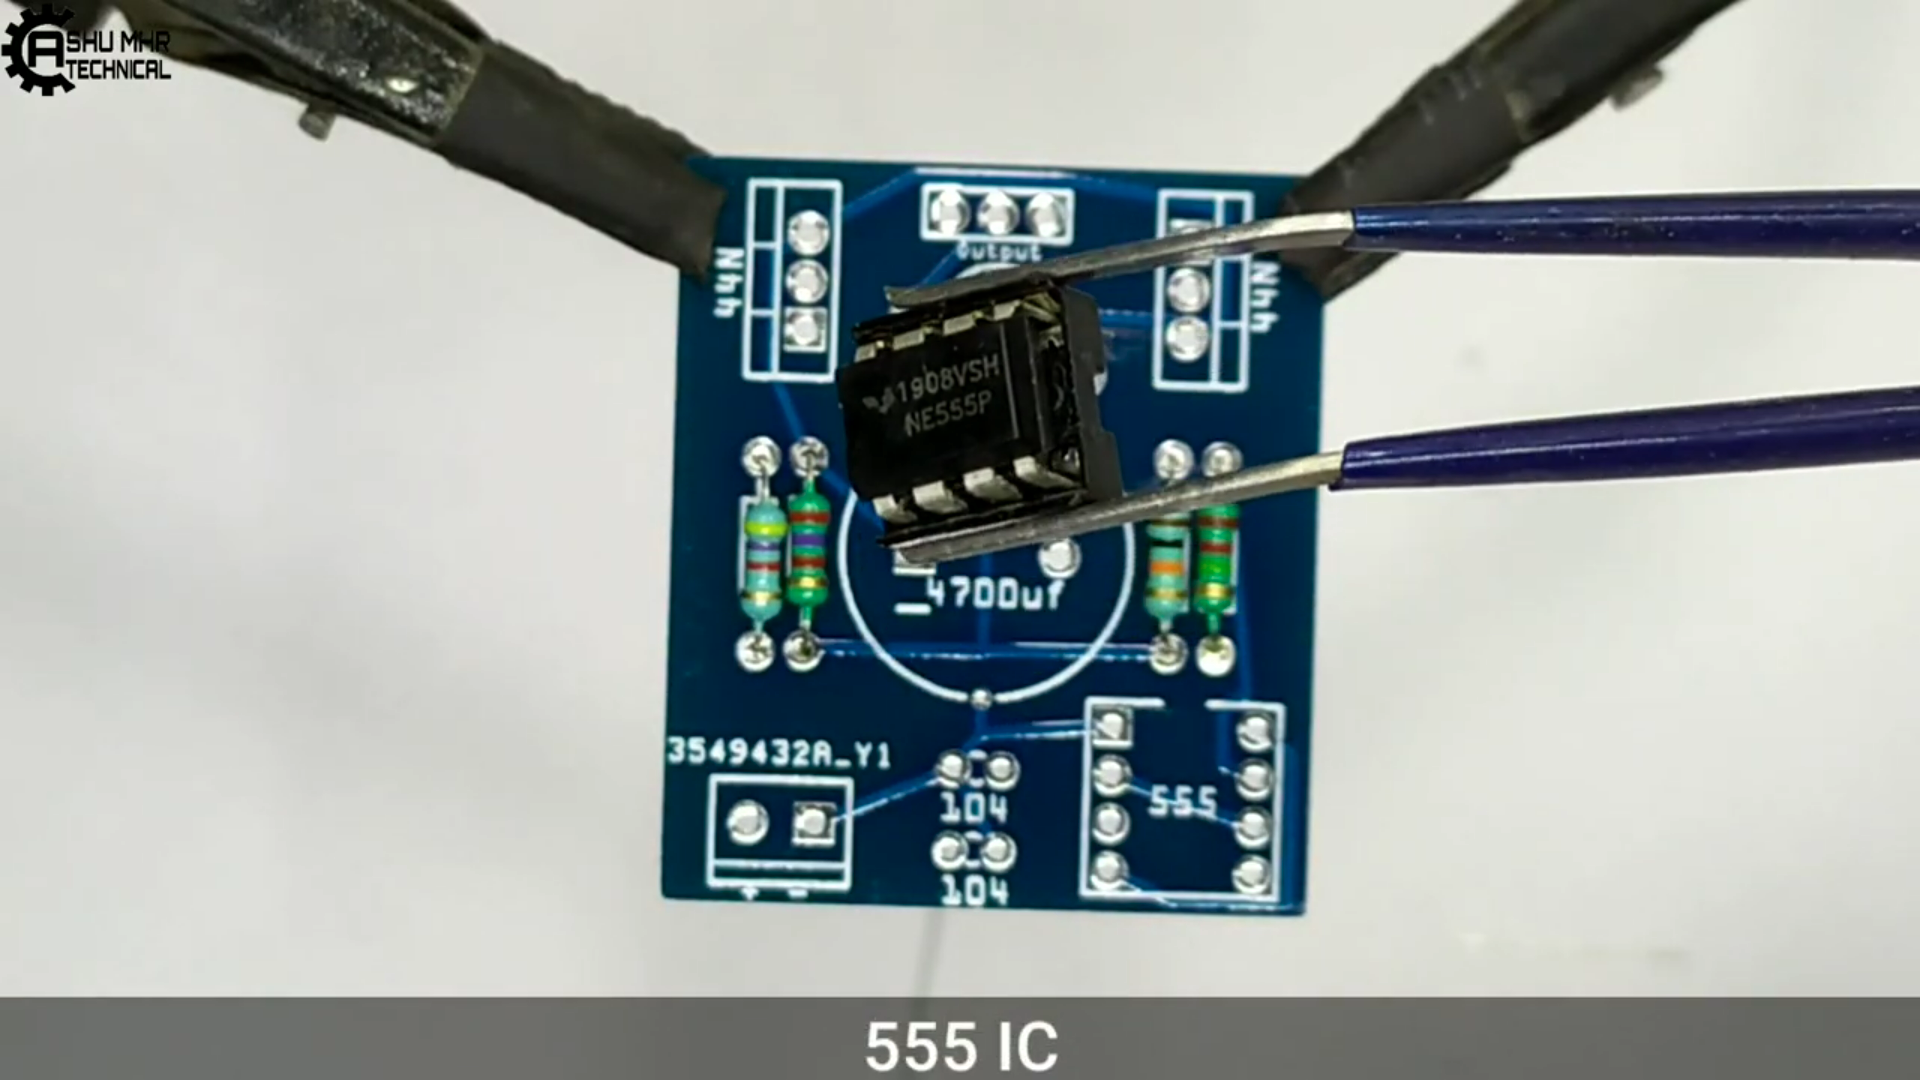
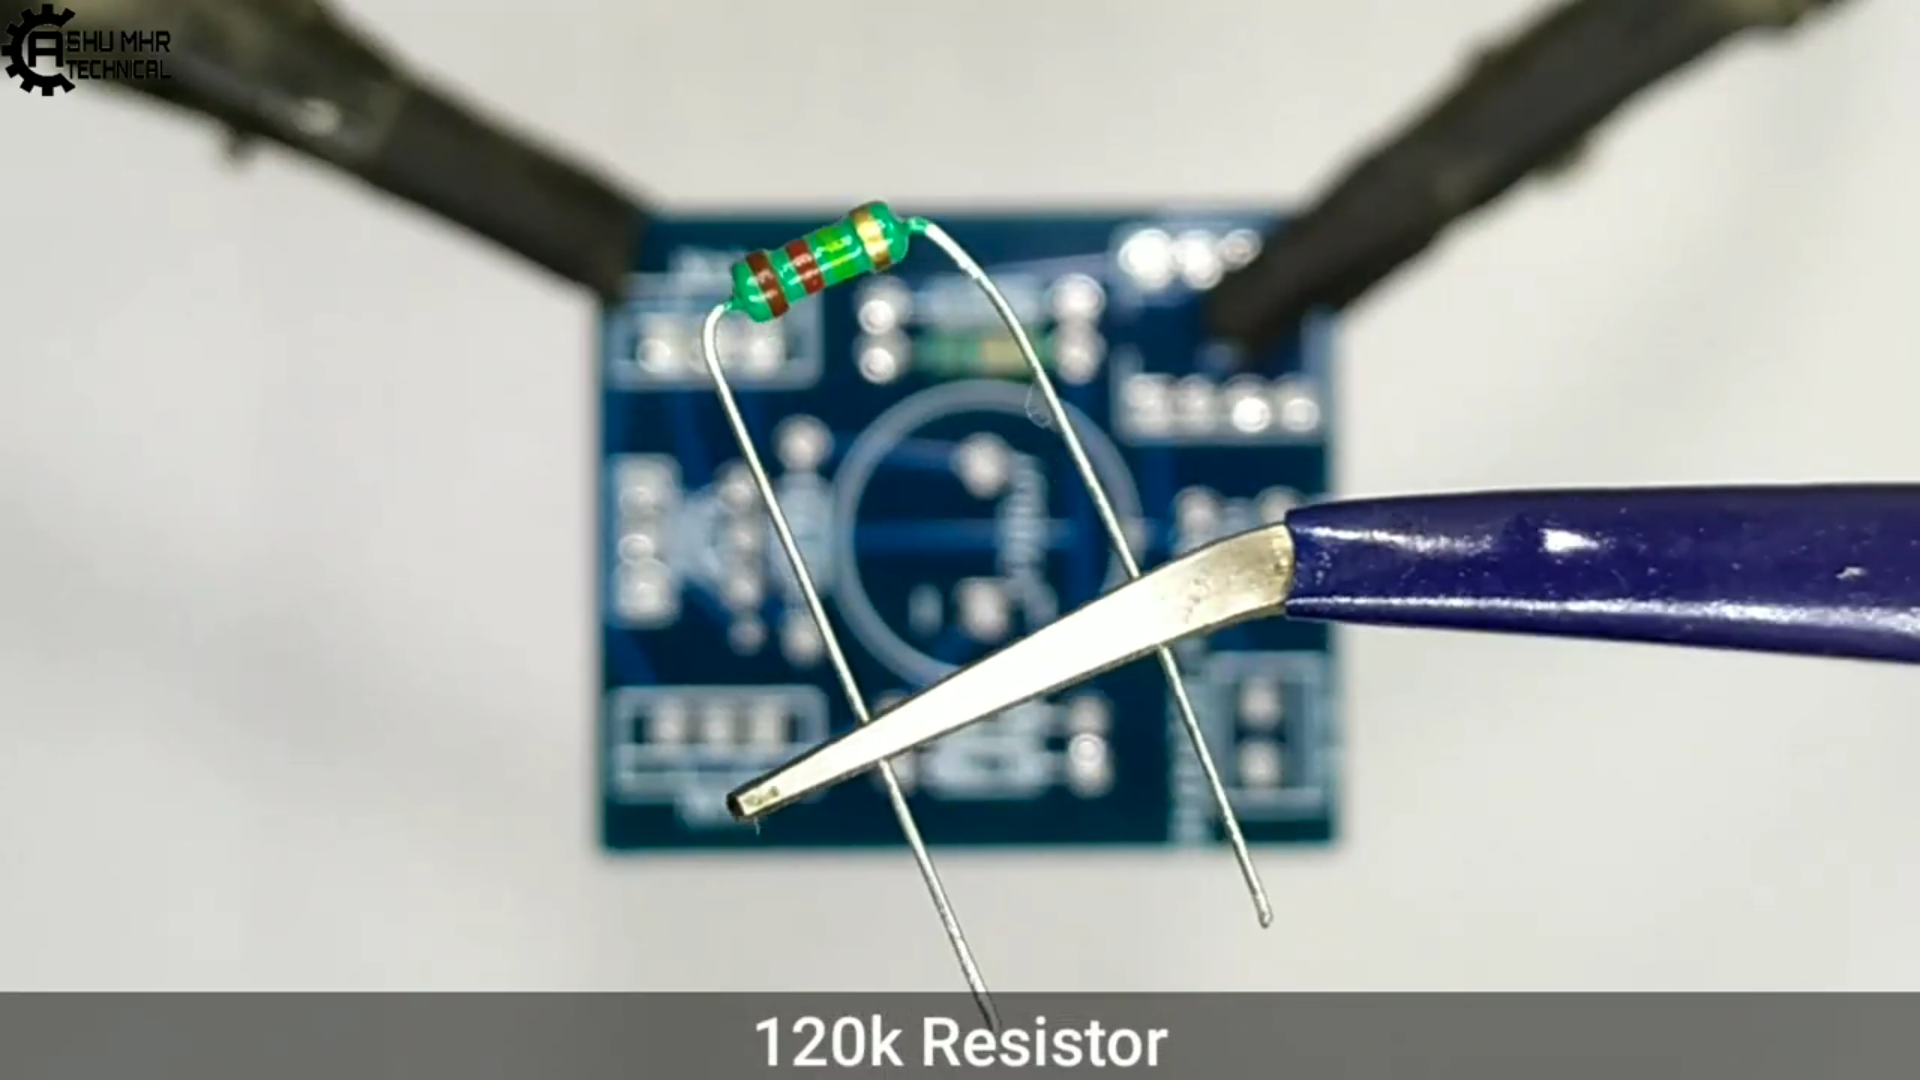
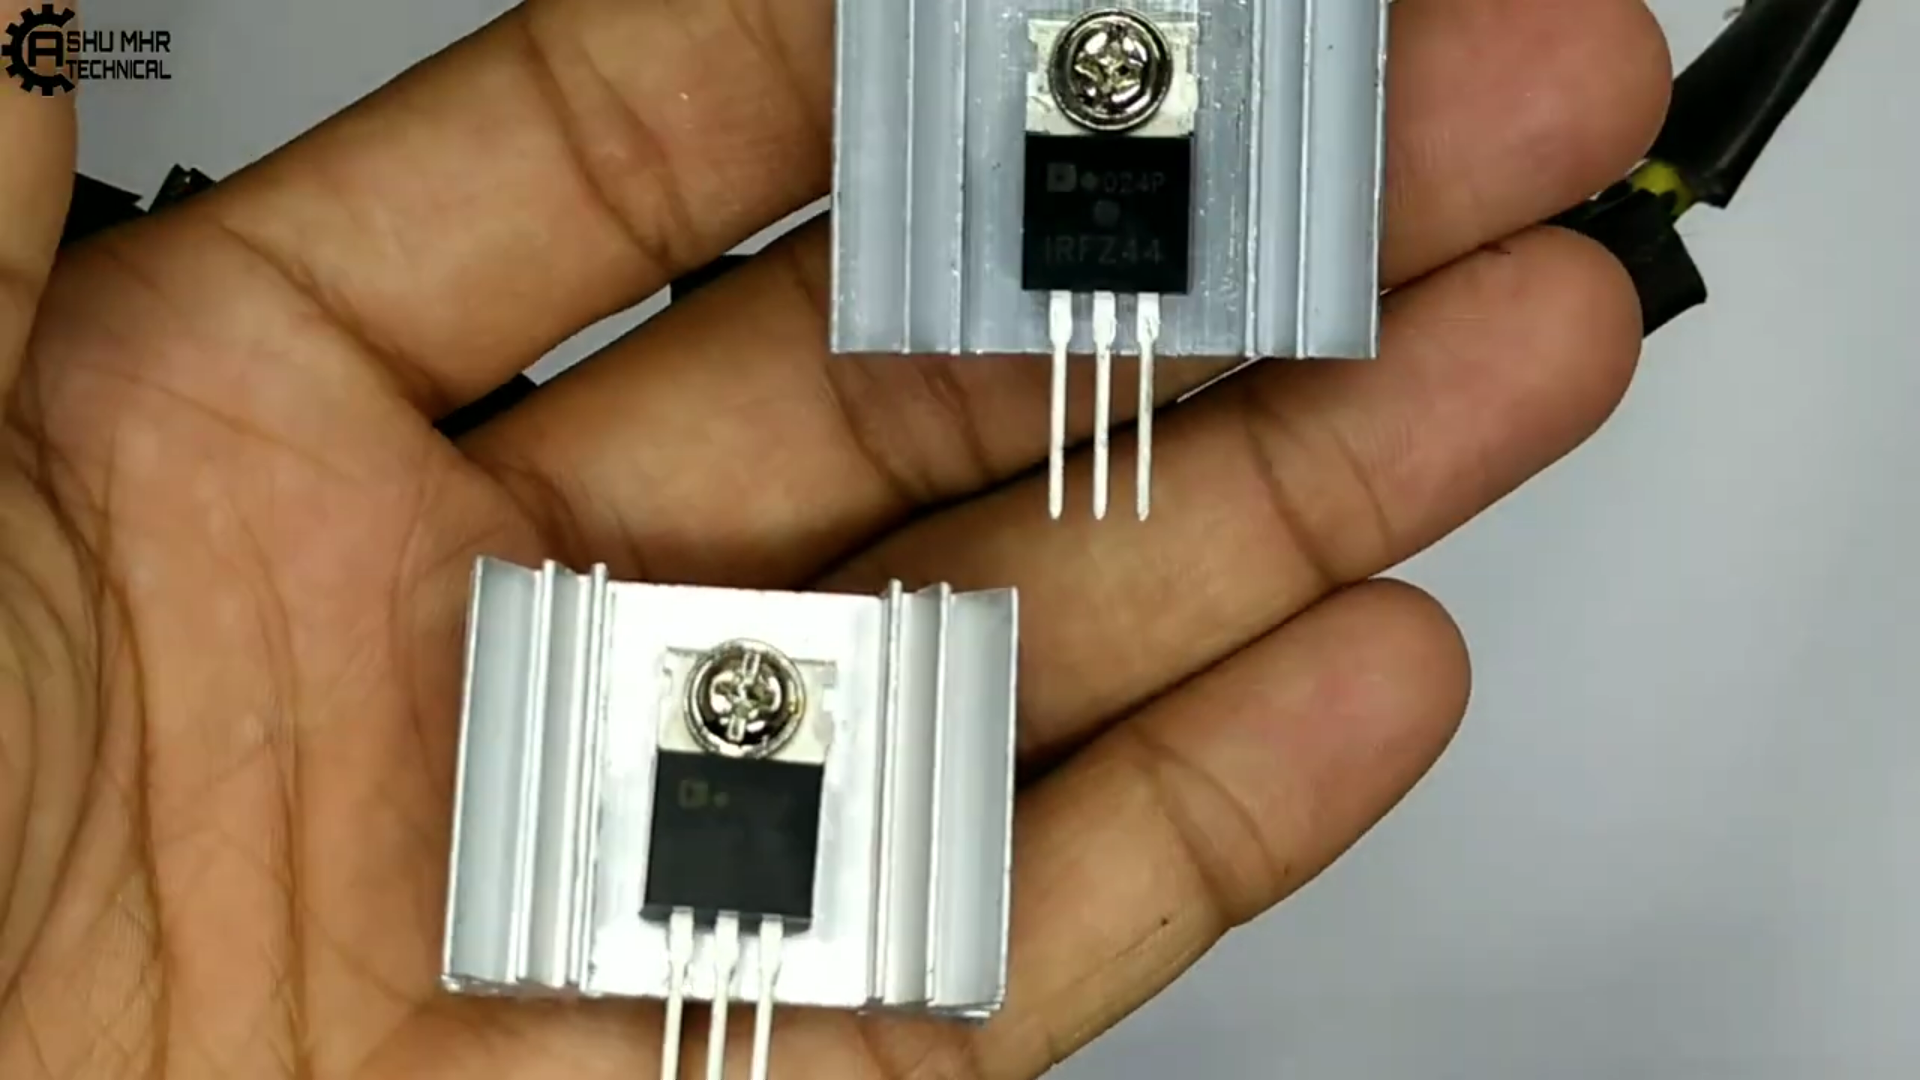
An inverter that uses the minimum number of components for converting a 12 V DC to 220 V AC is called a simple inverter.
 ASHUMHRPROJECTS
Become a Hackaday.io member
Already have an account? Log in.
Just one more thing
To make the experience fit your profile, pick a username and tell us what interests you.
Pick an awesome username
hackaday.io/
Your profile's URL: hackaday.io/username. Max 25 alphanumeric characters.
Pick a few interests
Projects that share your interests
People that share your interests


_yeR6NQkiyk.png?auto=compress%2Cformat&w=740&h=555&fit=max)
_XmLit3S8rs.png?auto=compress%2Cformat&w=740&h=555&fit=max)
_7RQf4FiSJk.png?auto=compress%2Cformat&w=740&h=555&fit=max)
_LXWGEoW11m.png?auto=compress%2Cformat&w=740&h=555&fit=max)
_l4VrZVpRLj.png?auto=compress%2Cformat&w=740&h=555&fit=max)
_4C5sXGKNHV.png?auto=compress%2Cformat&w=740&h=555&fit=max)
_xLBX4vmAPg.png?auto=compress%2Cformat&w=740&h=555&fit=max)
_IyCmkxvYDj.png?auto=compress%2Cformat&w=740&h=555&fit=max)
_ukivHi0c5N.png?auto=compress%2Cformat&w=740&h=555&fit=max)
_1LmxMM3K0v.png?auto=compress%2Cformat&w=740&h=555&fit=max)
_w5lhspRJdW.png?auto=compress%2Cformat&w=740&h=555&fit=max)
_76UmDVJcE3.png?auto=compress%2Cformat&w=740&h=555&fit=max)
_kVSWctmNge.png?auto=compress%2Cformat&w=740&h=555&fit=max)
_SnXuQACd7U.png?auto=compress%2Cformat&w=740&h=555&fit=max)
_Viq5nPsUxp.png?auto=compress%2Cformat&w=740&h=555&fit=max)
_WREjuSBxSG.png?auto=compress%2Cformat&w=740&h=555&fit=max)
_ZnaWRkdjjq.png?auto=compress%2Cformat&w=740&h=555&fit=max)
_blNIDC8UFU.png?auto=compress%2Cformat&w=740&h=555&fit=max)
_zpnbrrk3Yq.png?auto=compress%2Cformat&w=740&h=555&fit=max)
_kcV0qCeWqV.png?auto=compress%2Cformat&w=740&h=555&fit=max)
_Ai9HONOcvJ.png?auto=compress%2Cformat&w=740&h=555&fit=max)

_SZfl4P6SjQ.png?auto=compress%2Cformat&w=740&h=555&fit=max)
_bbVwDMWuw1.png?auto=compress%2Cformat&w=740&h=555&fit=max)
_5cqjzmX2da.png?auto=compress%2Cformat&w=740&h=555&fit=max)
_Rf8wi6BCnd.png?auto=compress%2Cformat&w=740&h=555&fit=max)
_5ApRpODvm8.png?auto=compress%2Cformat&w=740&h=555&fit=max)
_X9SCrsREUp.png?auto=compress%2Cformat&w=740&h=555&fit=max)
_vSkhIj4HJO.png?auto=compress%2Cformat&w=740&h=555&fit=max)
_SxjBqPQIOw.png?auto=compress%2Cformat&w=740&h=555&fit=max)
_VlEkOUyv3H.png?auto=compress%2Cformat&w=740&h=555&fit=max)
_EmQcHxdEE1.png?auto=compress%2Cformat&w=740&h=555&fit=max)
_ombevkYvCU.png?auto=compress%2Cformat&w=740&h=555&fit=max)
_s4iXgJLibW.png?auto=compress%2Cformat&w=740&h=555&fit=max)
_FP0cNqpnHu.png?auto=compress%2Cformat&w=740&h=555&fit=max)
_gD3ll90l83.png?auto=compress%2Cformat&w=740&h=555&fit=max)
_294knoOSKP.png?auto=compress%2Cformat&w=740&h=555&fit=max) |
|
 lukasz.iwaszkiewicz
 Alexey Voronin
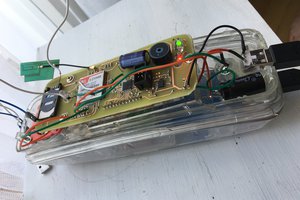
 Joakim Wennergren