 Albert Gonzalez
tl; dr: a 3d-printed bunch of letters with an addressable led strip inside covered up by a thin layer of white PLA (thin enough to let the light pass) + an attiny85 that runs different animations that can be selected by the user.
The sign was made for my friend Marc (aka El Funs), who has an awesome Youtube channel about videogames history (in spanish only).
The letters
I made the main structure as a collection of letters connected on different points (with some extra reinforcements added and glued later, since I didn't now at the beginning if the first supports were enough). Each letter was sketched on Fusion360 using an existing font as a template and then extruded to create a hollow shell that was later 3d-printed using black PLA.
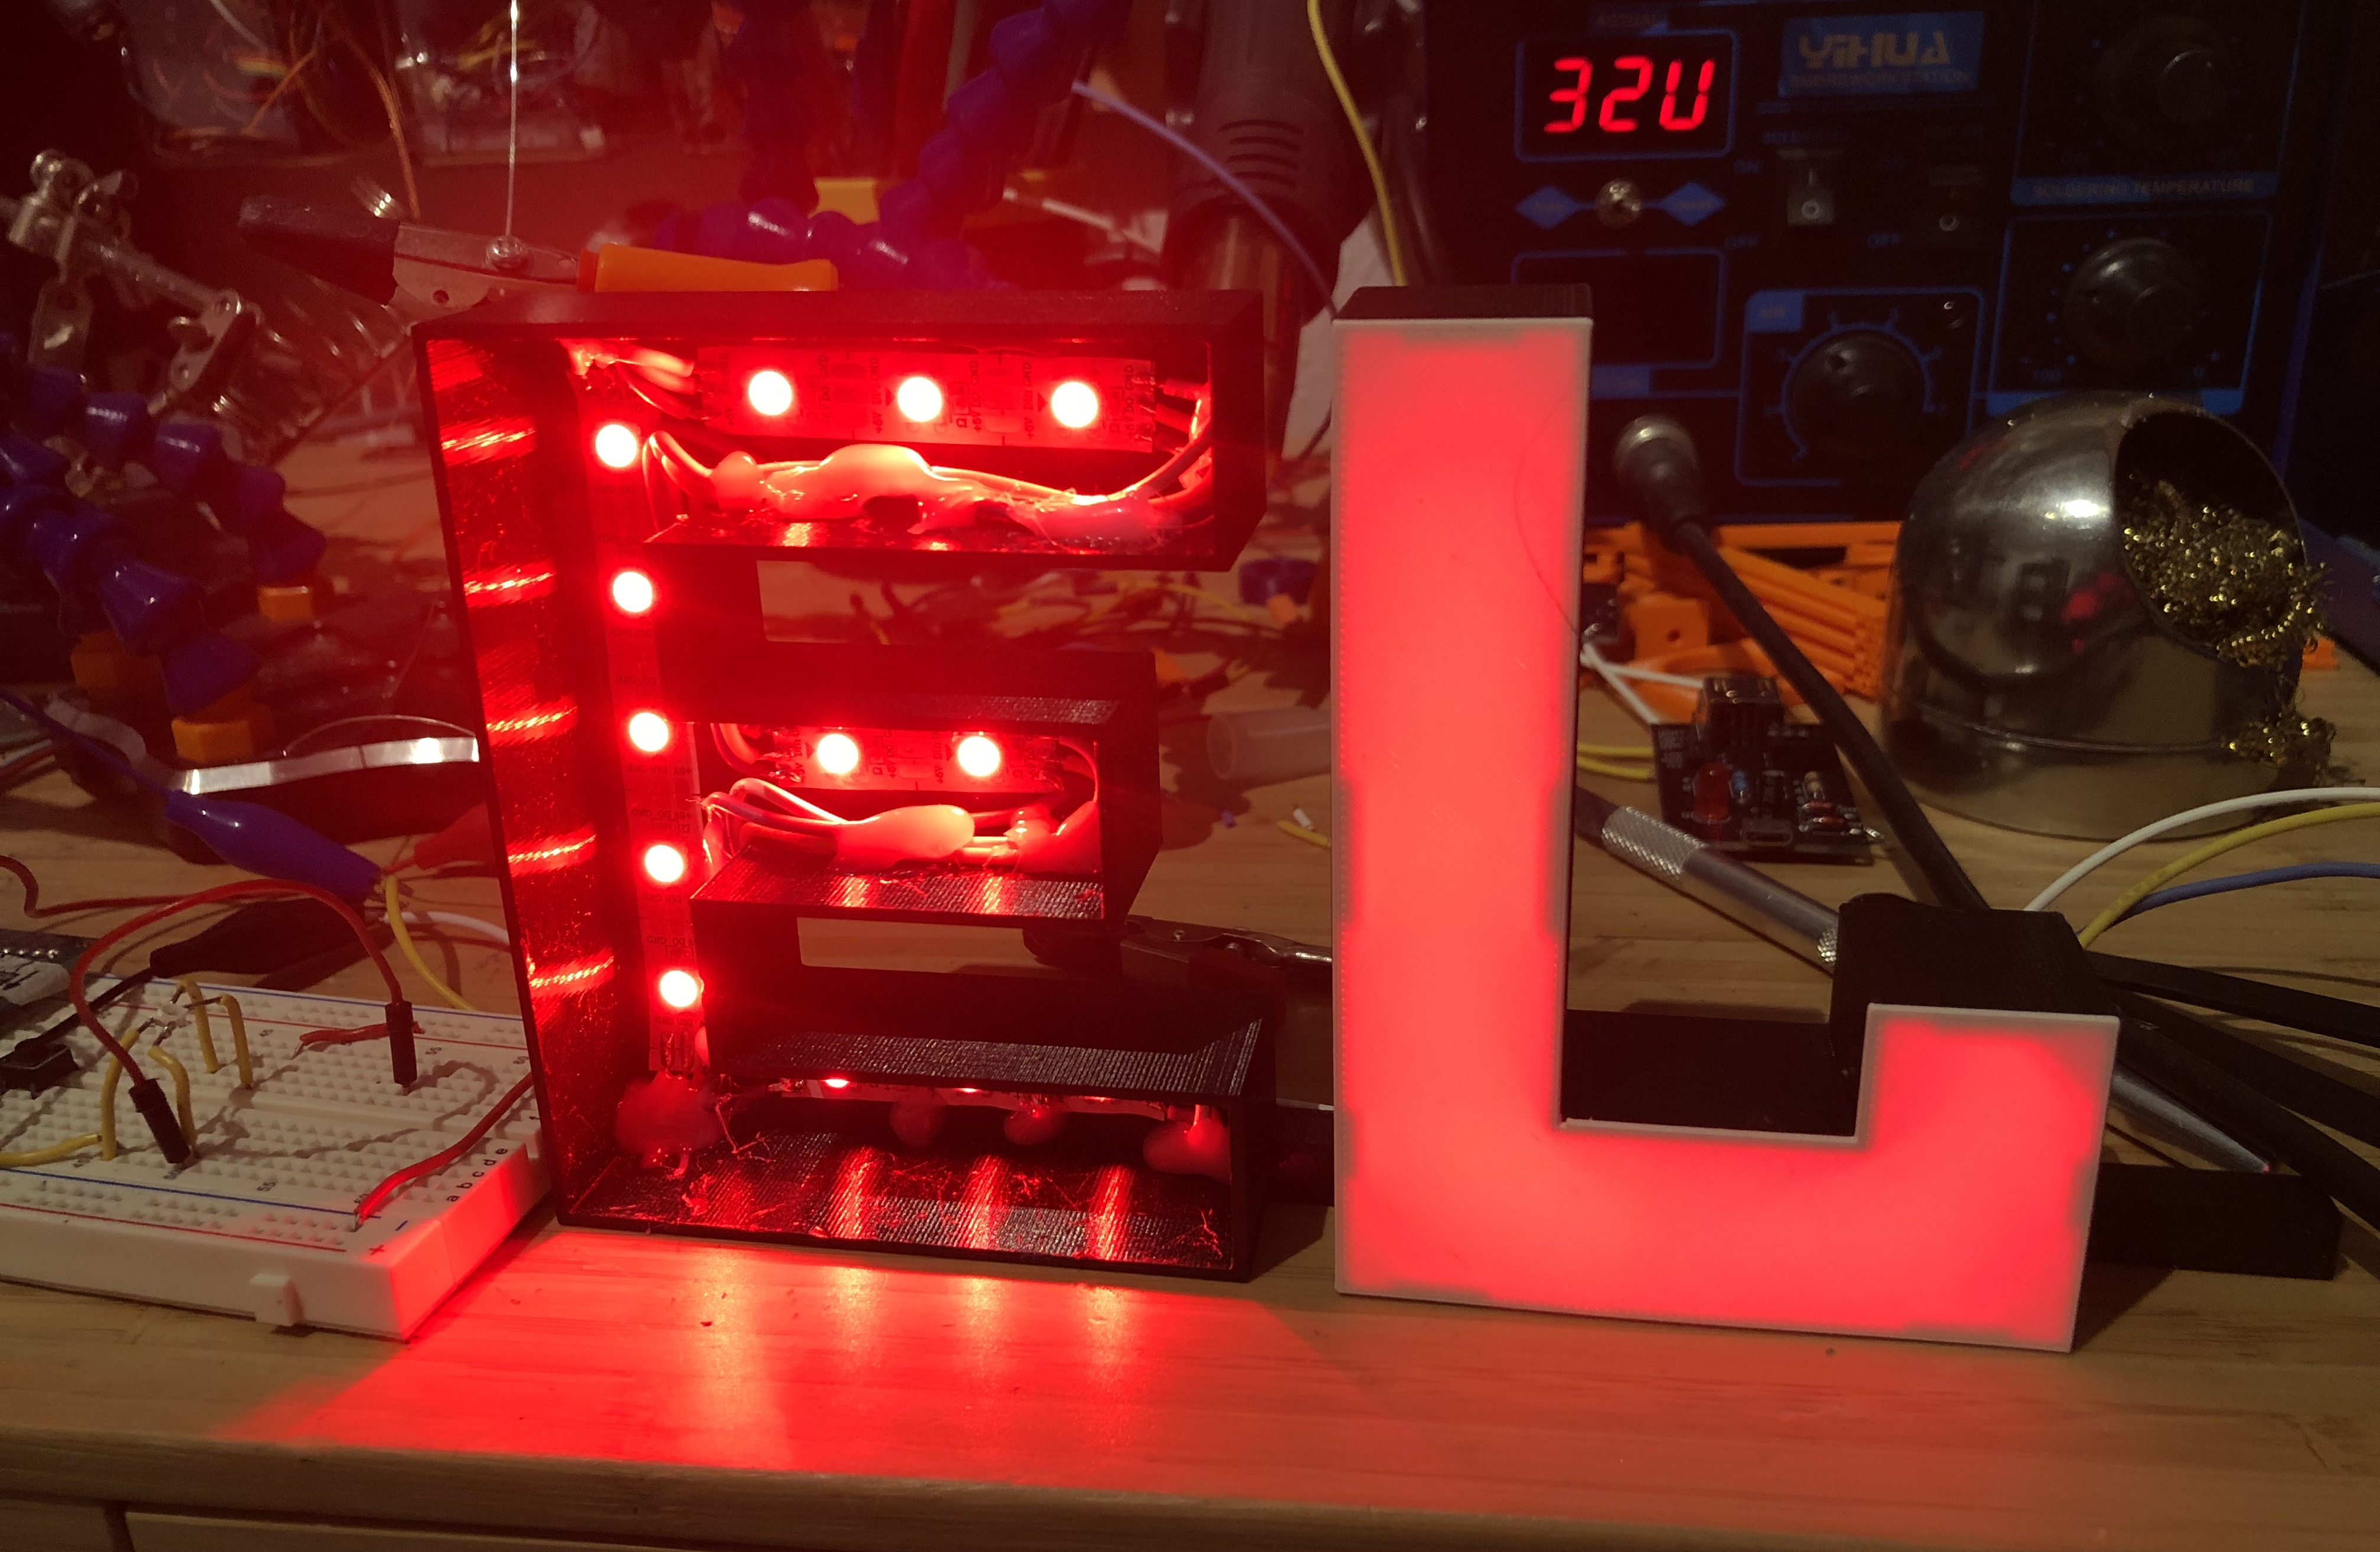
The letter covers were also printed using PLA: white, extra thin layer (0,75mm) in order to allow the inside leds to glow properly (I tested both thinner and thicker layers - but the diffusion wasn't good enough / total blocking the light).
The addresable leds
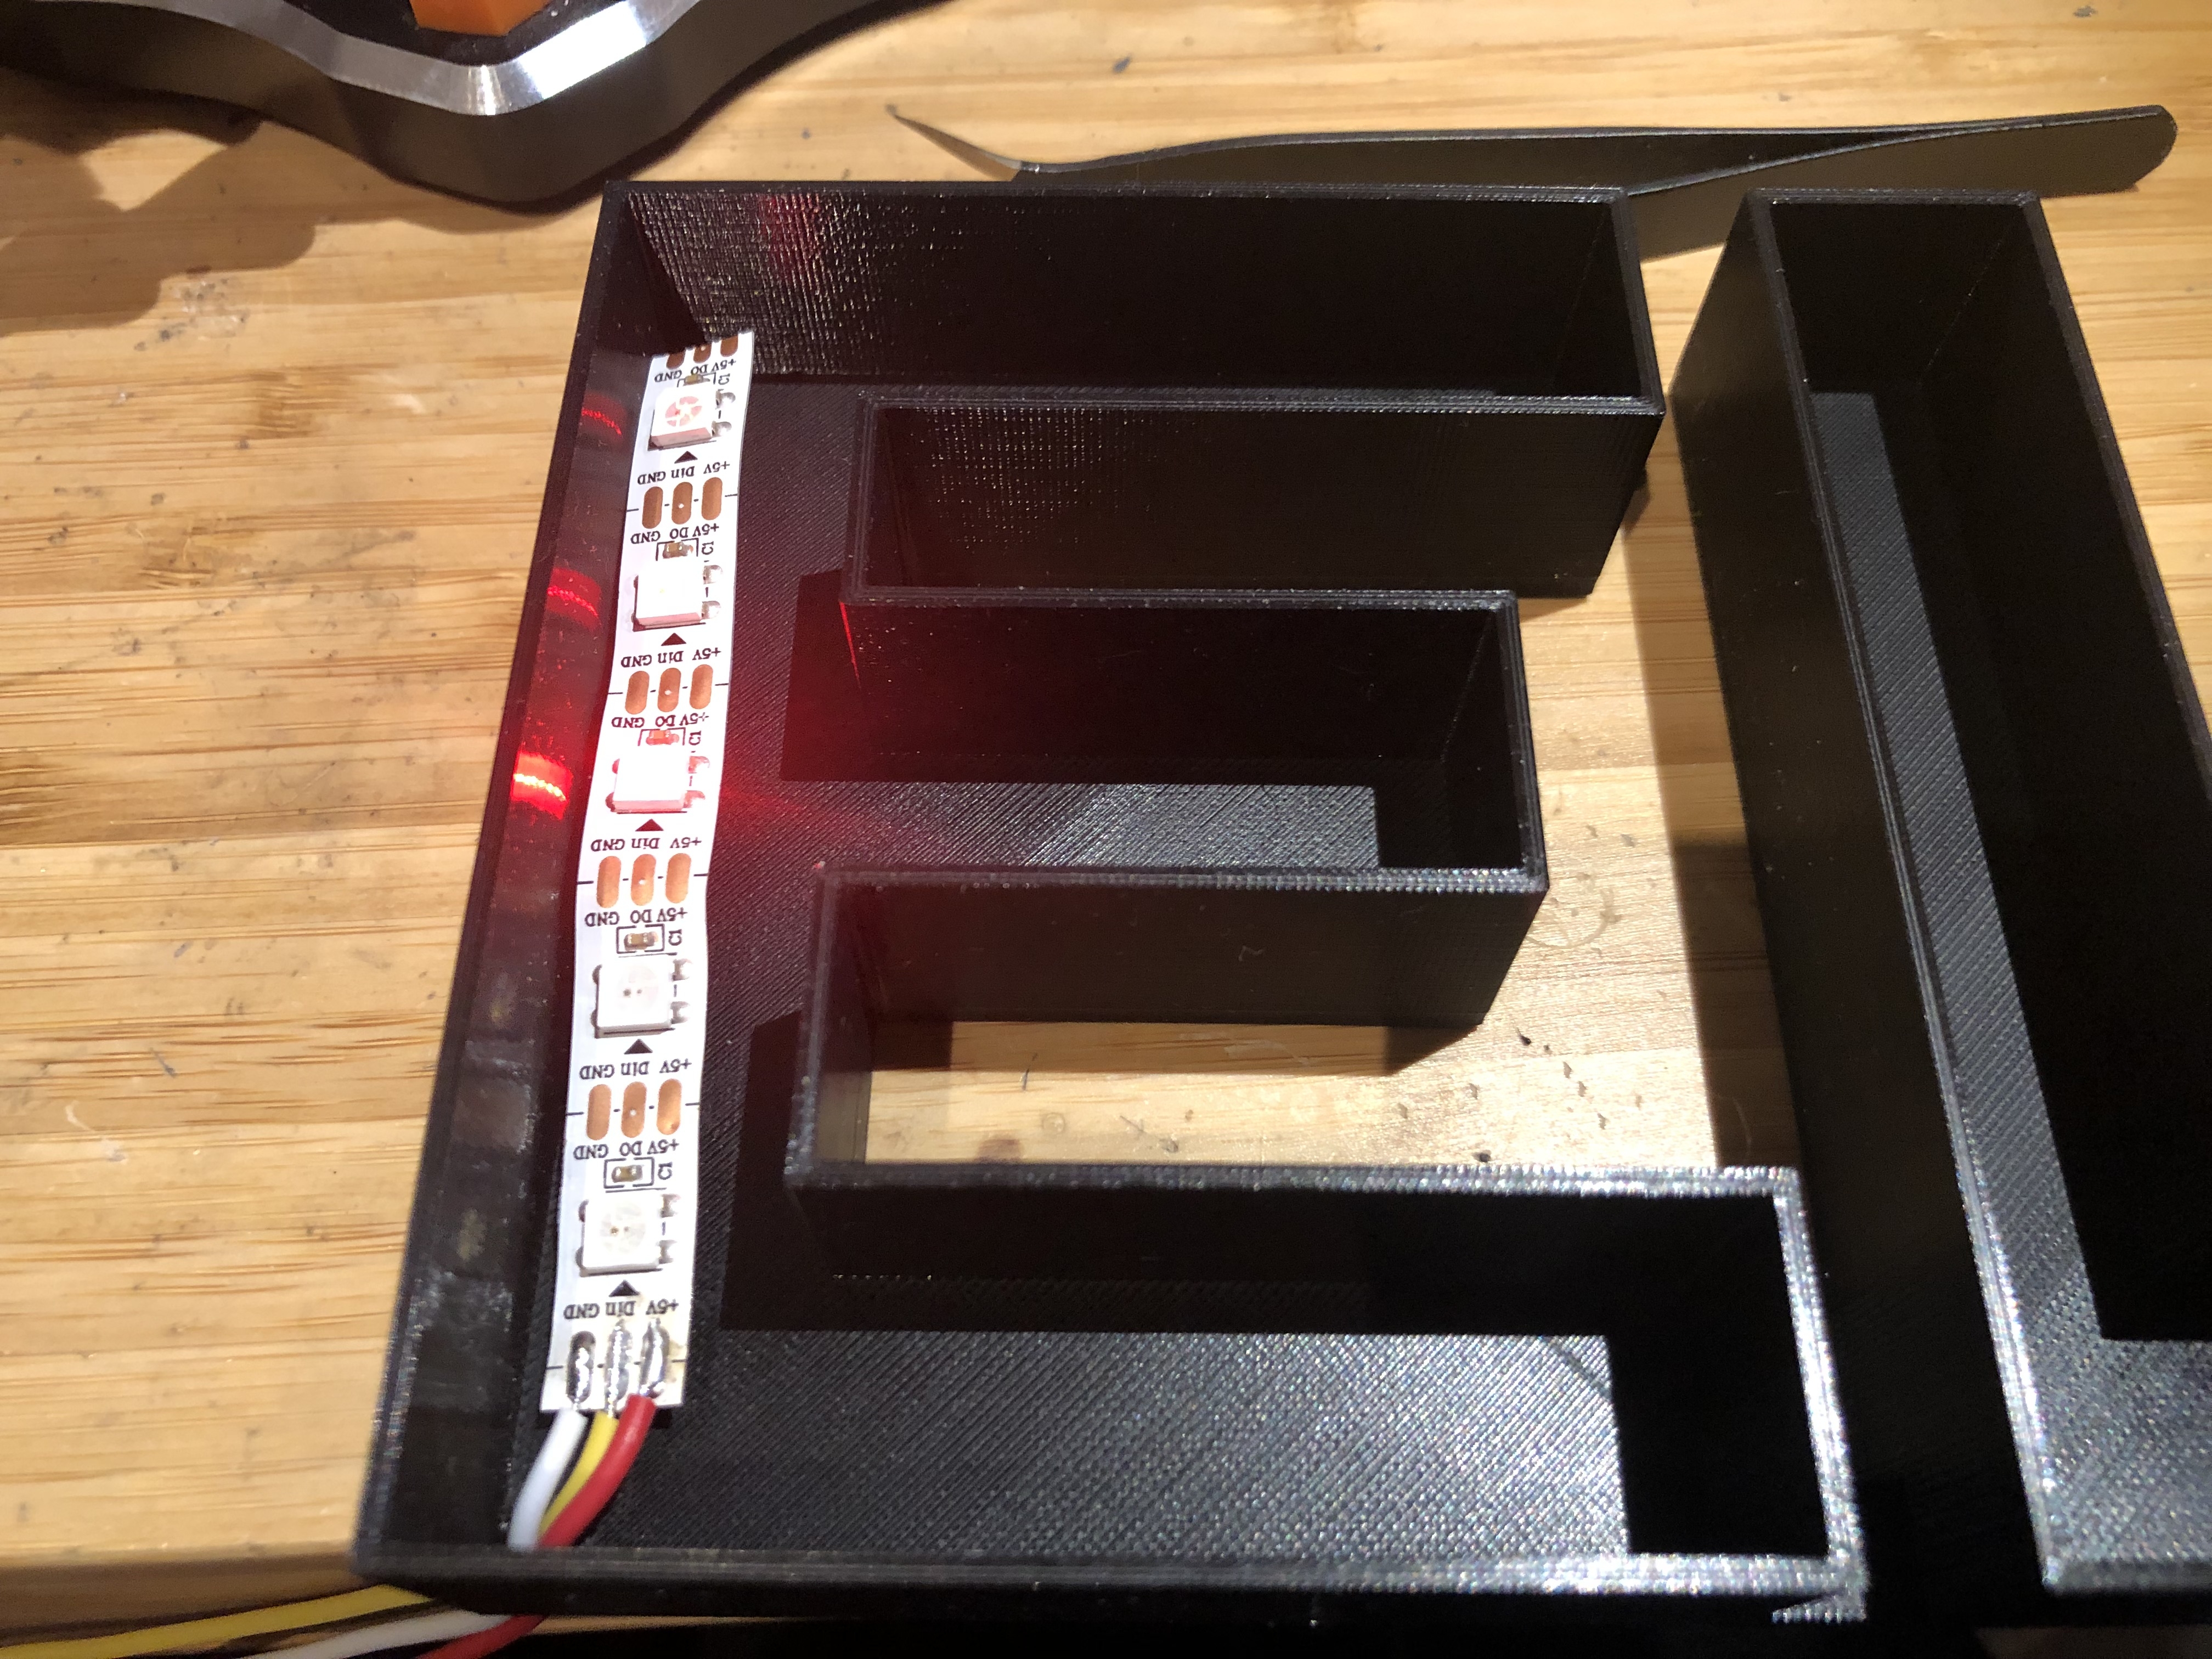
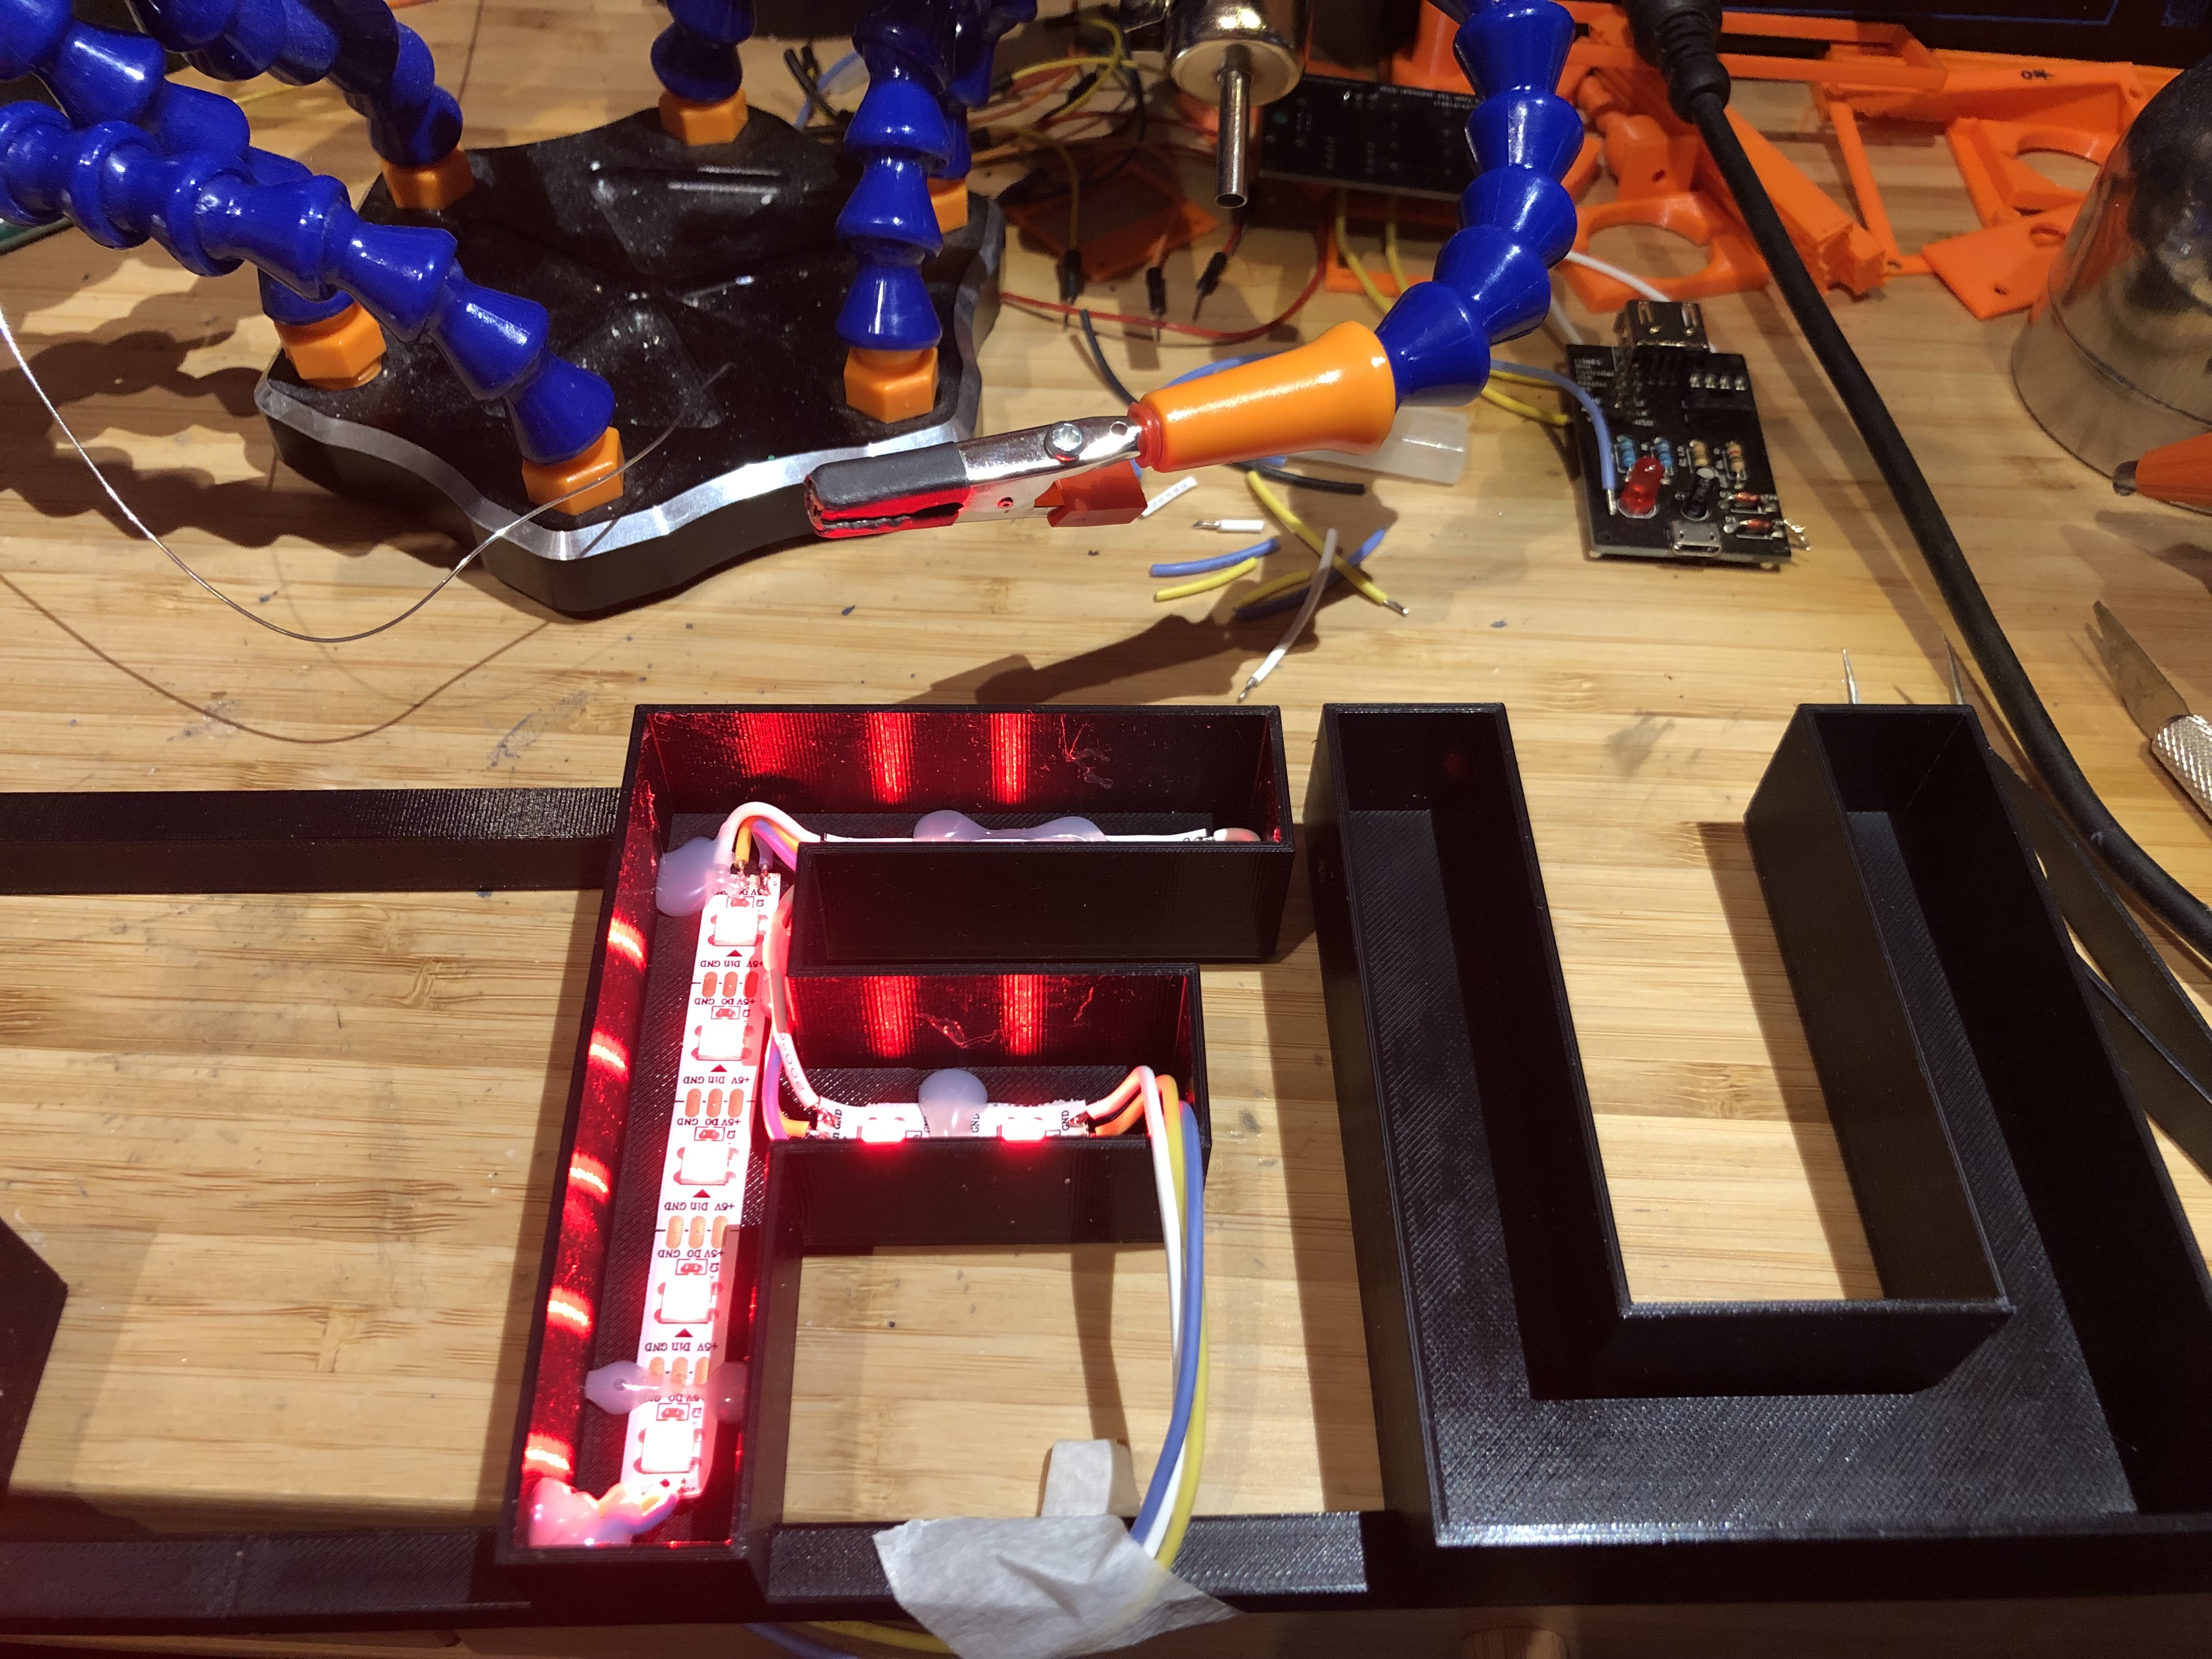
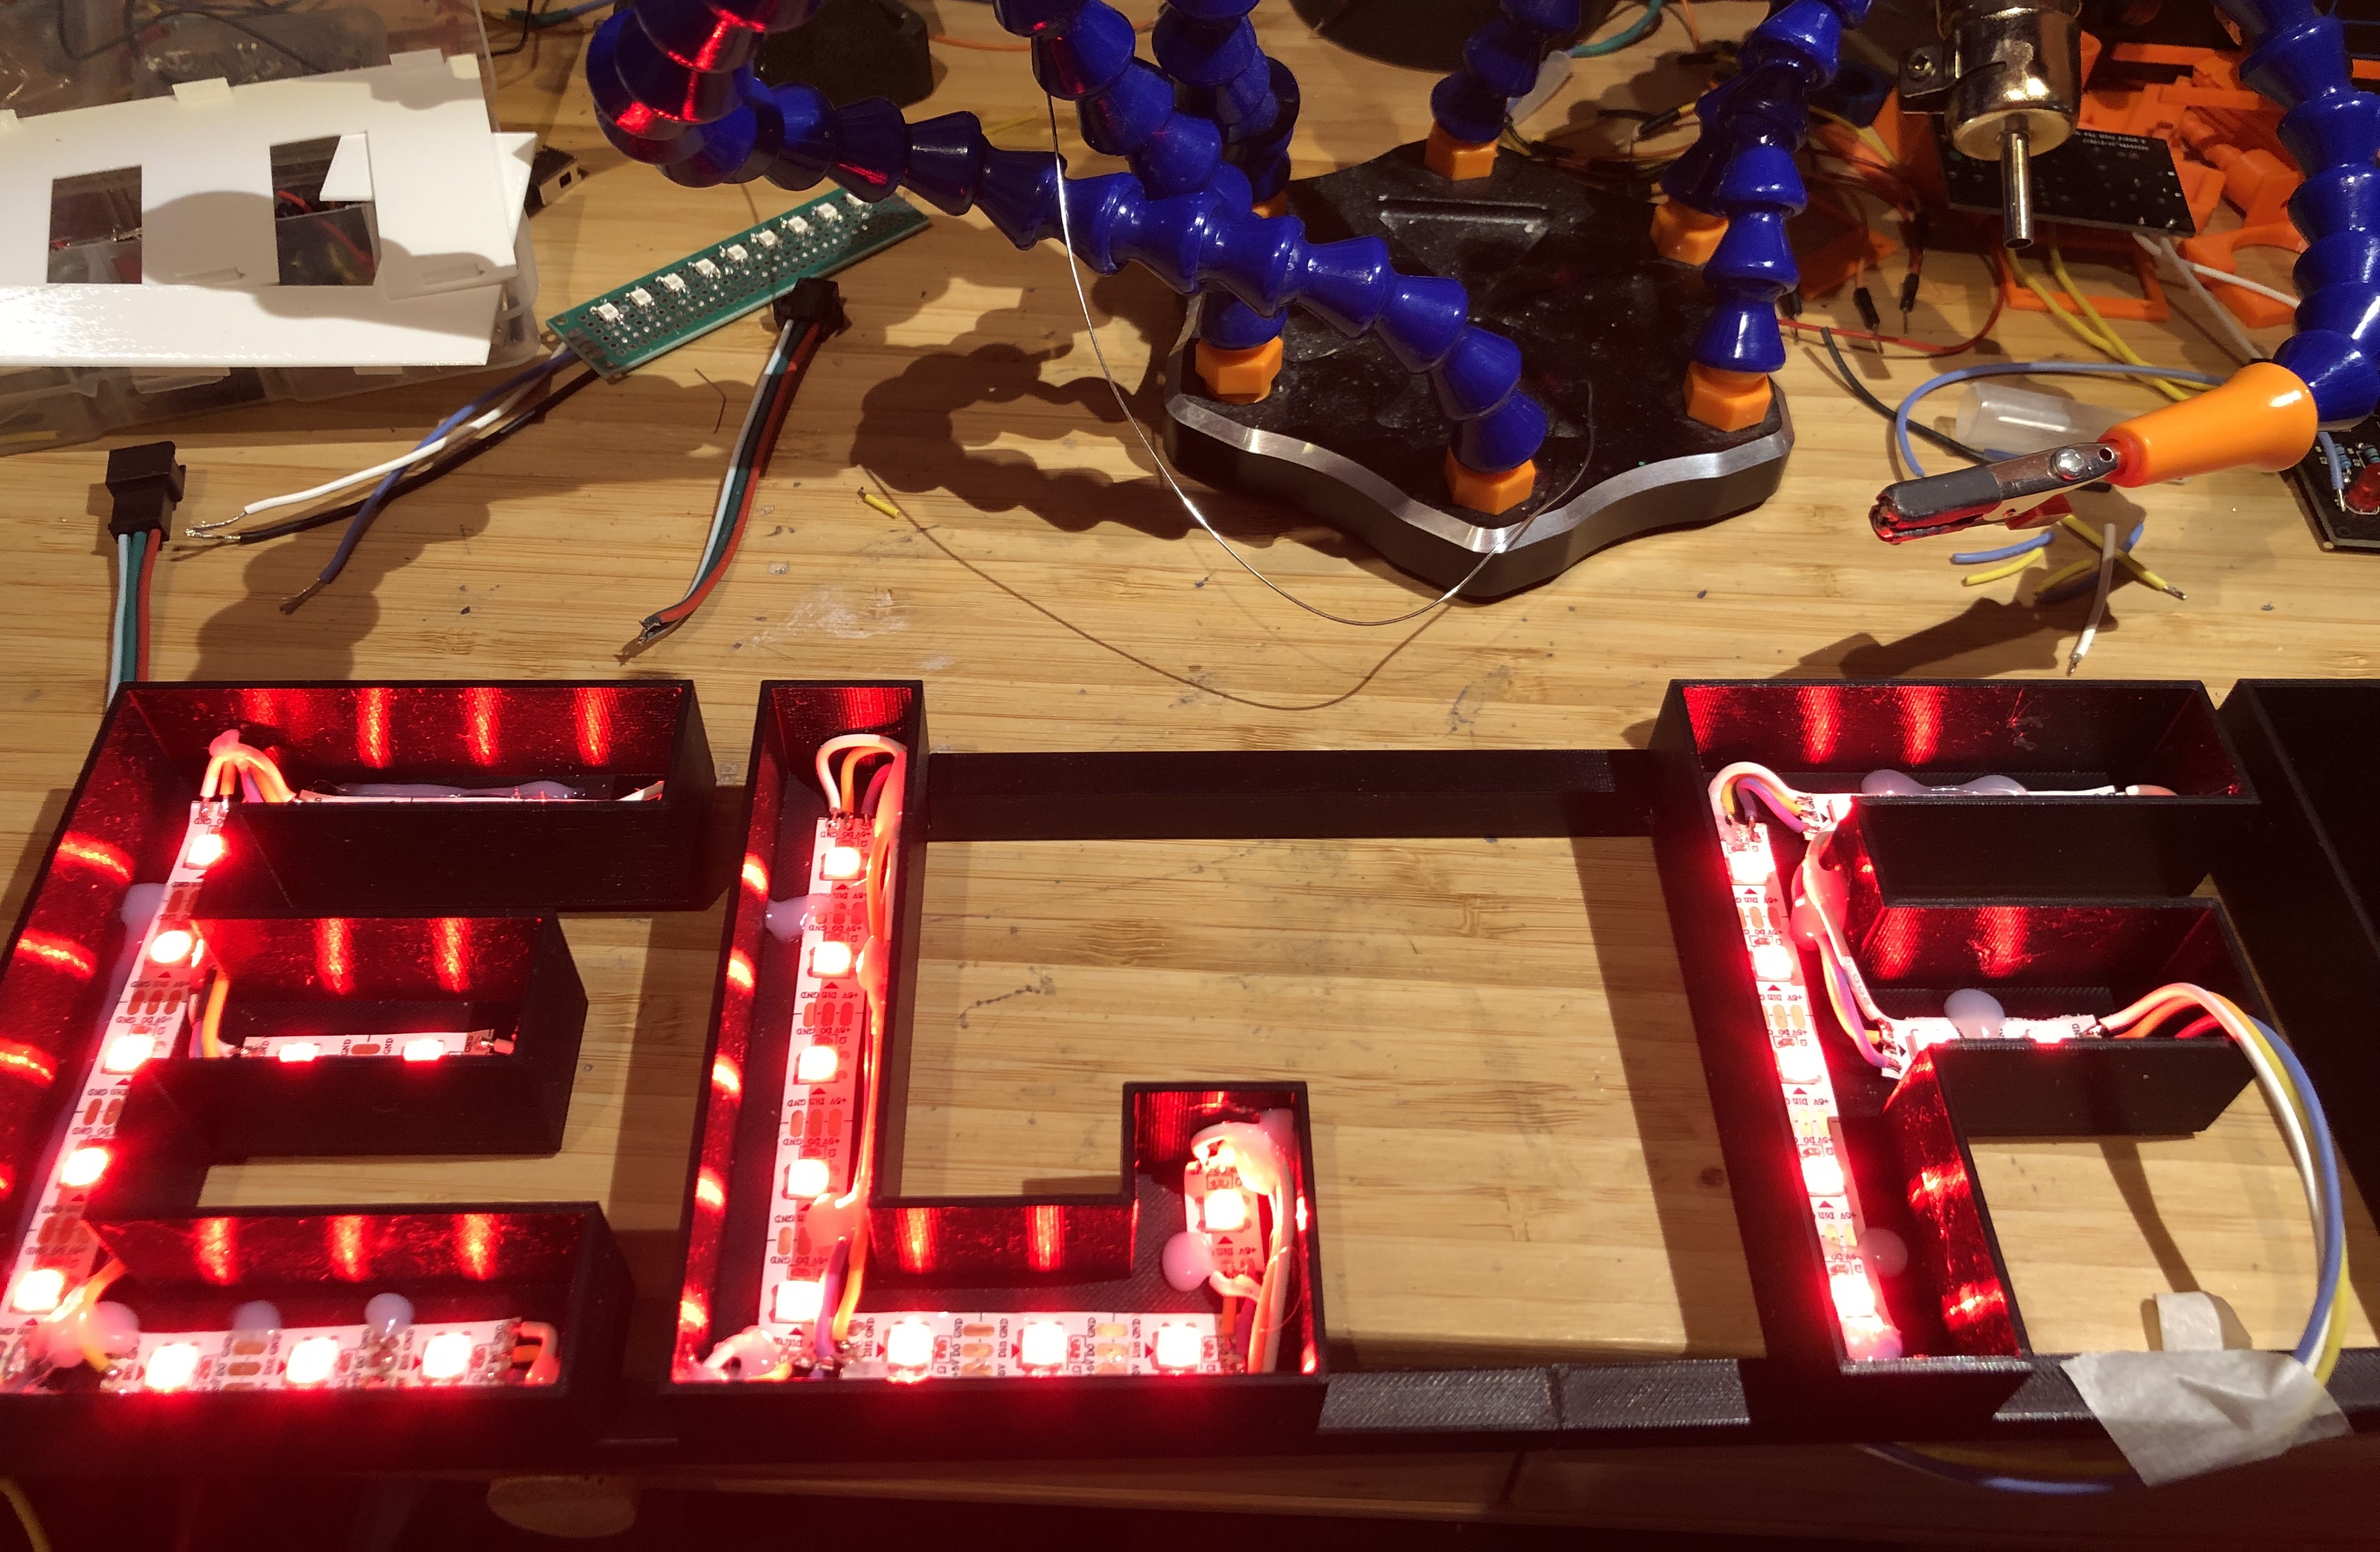
I used one of those flexible long strip of addresable leds based on the ws2812b controller.
Once I had the printed letters and everything ready it was only a matter of cutting the different segments, soldering them together with the proper clearance and glueing everything properly with a hot glue gun (first time using one of those, btw, and it was super easy to attach and fix anything by using insane amounts of glue blobs : D).
The controller
To run the leds and perform some cool animations I used an attiny85 to control the ws2812b drivers (Adafruit has an interesting guide over their NeoPixels, which also uses a ws2812 - or other similar ones).
(since it was a pretty simple sign I prefered a barebone small AVR micro instead of using a whole Arduino/similar board. Also, I love working with the attiny85! : D)
I found this awesome library by Danny Havenith that allows an 8Mhz clocked AVR micro to control a ws2811 driver.
Using that main ASM function (the trick here is about timing properly the pulses the ws2811 needs in order to modify it's own light or to pass the command to the next one in the chain - the library author write a very interesting post about how it works here) I wrote a small C program that allows the user to iterate over different "modes" by pushing a button.
The firmware itself is pretty simple: there's an array of function pointers that represents the different actions on every "animation mode" (init, process an "step" for the animation and perform a delay before the next step - that can be different for each mode). By pushing a button an interrupt is triggered (INT0, wired into PB2 on an attiny85) and the current functions pointers are updated to the functions from the next mode.

Source code
Available on my Github page.
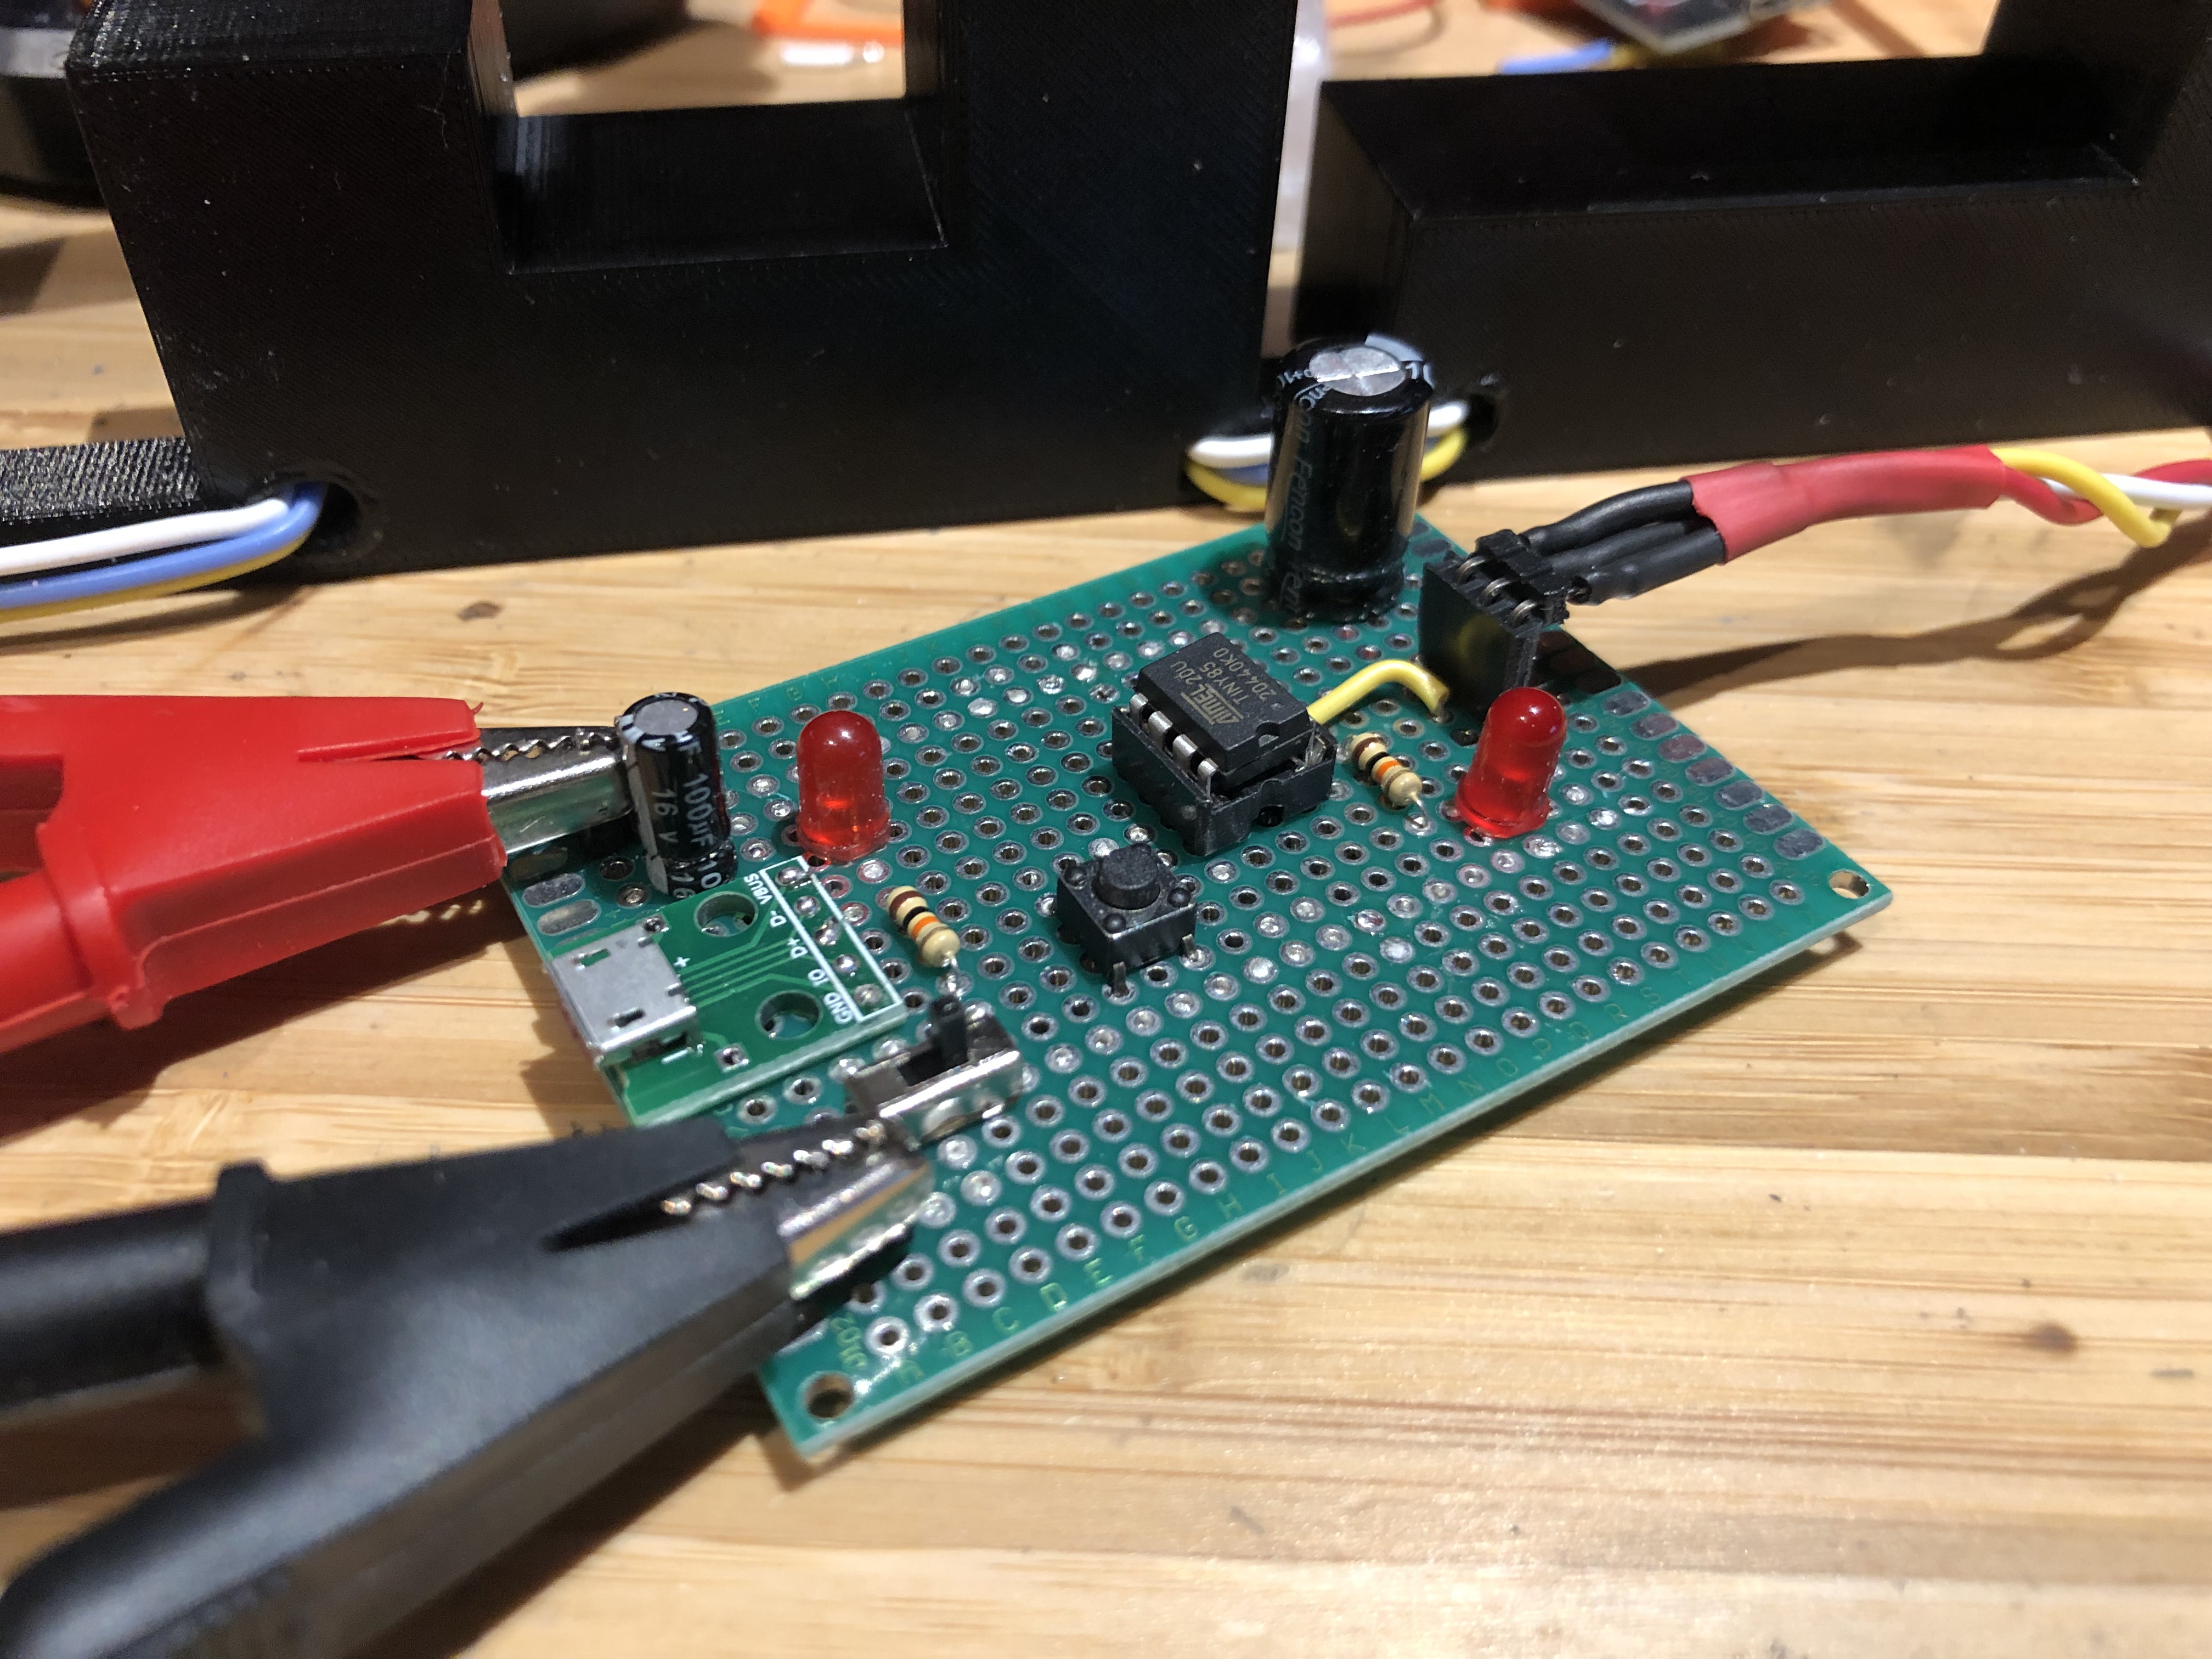
Electronics
I made a small protoboard with all the things I need to operate the device:
- A USB port that runs the entire thing under 5V (as far as I've checked, my setup uses around 0.88A for 71 single-color leds, so be sure to check your power source!)
- A 100uF decoupling capacitor on the USB port (otherwise the noise made the whole circuit unstable)
- A 1000uF near the led strip connector (it seems to work fine without it, but I added it just in case)
- A push button (to PB2)
- An on/off switch and a couple of status leds (one of them wired directly to power and the other one attached to the micro - on when requesting a mode change and off when the mode has been changed)
Current modes
- Static
- Slow fade in/out
- Larson scanner (aka "the Knight Rider / Cylon thing")
- Double Larson scanner
- Malfunction blink like a broken motel sign
- Turn on and off each led sequentially (some sort of "diagnostic mode" to make sure the whole strip is working fine)
The leds are full RGB, but as requested by my friend it only changes between "all red" and "all blue" (maybe I'll add new effects and/or colors in the future, depending on his needs...).

 smartroad
 Steve Pomeroy
 strange.rand