 Sumit
SumitIntroduction
So let's get started but before then if you haven't made a Tuya account yet, do make one and get free device licences and show and tell us all your unique projects and experiences with Tuya IoT here 🤹
Why can't I have a Magic Wand instead of another Tuya SDK?
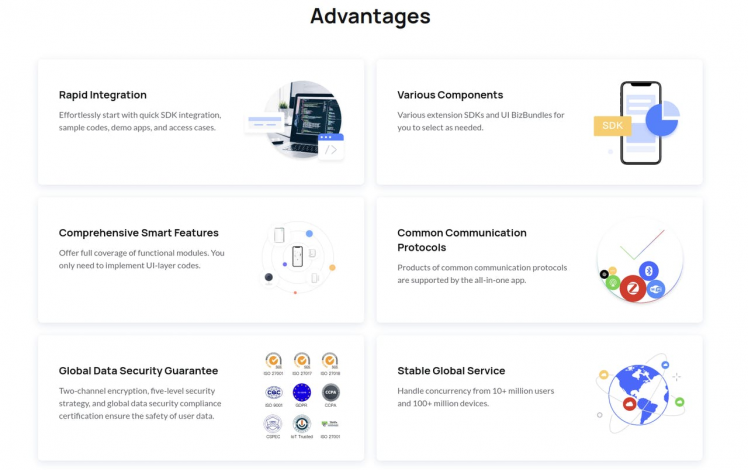
Well, SDKs make your life a lot easier. It helps you efficiently create cloud development projects regarding the OpenAPI or message subscription capabilities. You can now put all the focus on business or project logic without taking care of server-side programming or relational databases. Tuya Link SDK is one such SDK that provides interface encapsulation of basic services such as device activation, DP (DataPoints)upstream and downstream, and firmware OTA(Over-The-Air) upgrade. It is suitable for developers to connect the logic services of a self-developed device to the cloud. Check the advantages of using the SDKs - now you would be confident as a developer 😎
Smart Device Development:
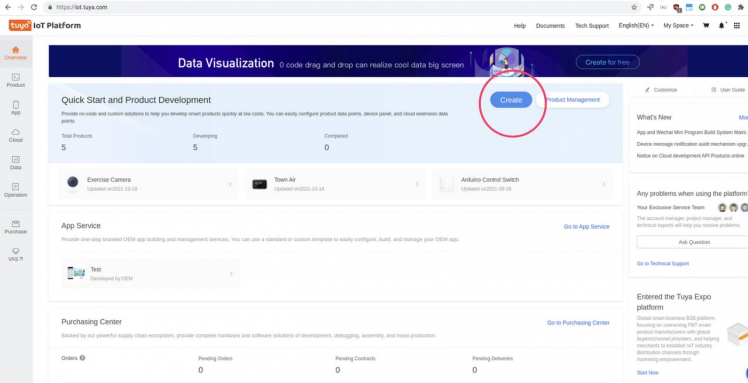
To use Tuya Link SDK, we will need to make a product to interact and connect to Tuya IoT Cloud. Go to your Tuya IoT account and log in, if you haven't registered for an account register one click here.
Step 1: Create a product by clicking on Create button on the home page
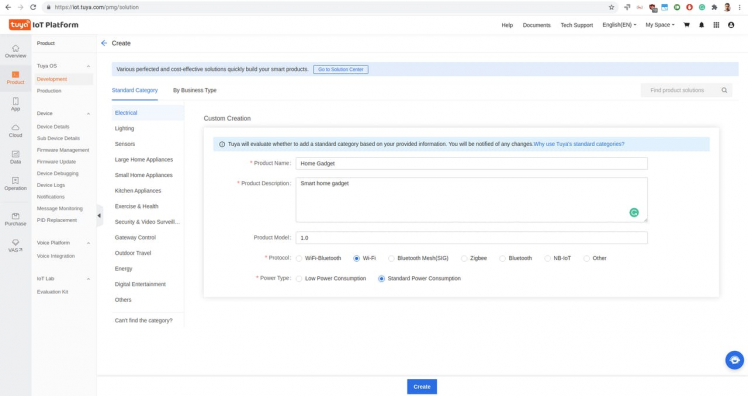
Step 2: A page will appear where you will need to select a category for your product (you can try exploring different SKUs offered by Tuya, tomorrow it might have one made by you 😉) Since we are going to use Raspberry Pi as our custom device so we will need to click on "Can't find the category" and enter the details as shown
Step 3: Create custom functions to send data and control the device, we made the custom functions for CO2, Humidity, Temperature and Humidifier switch. The custom function requires a few important things like Data type, Transfer type and most importantly Id and Identifier. Also, keep note of PID we will need it later as well.
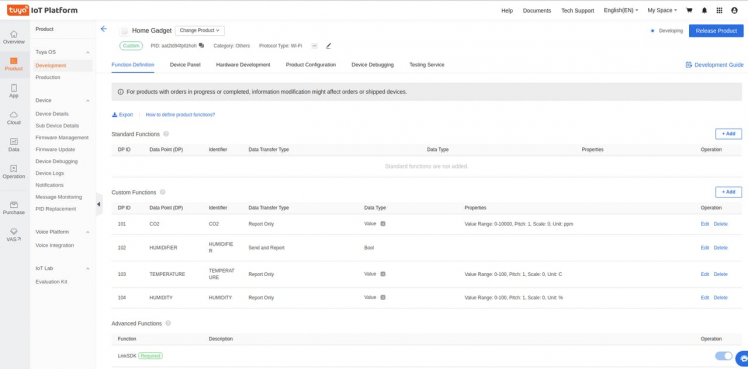
Refer here for a complete overview of Custom Functions https://developer.tuya.com/en/docs/iot/custom-functions?id=K937y38137c64
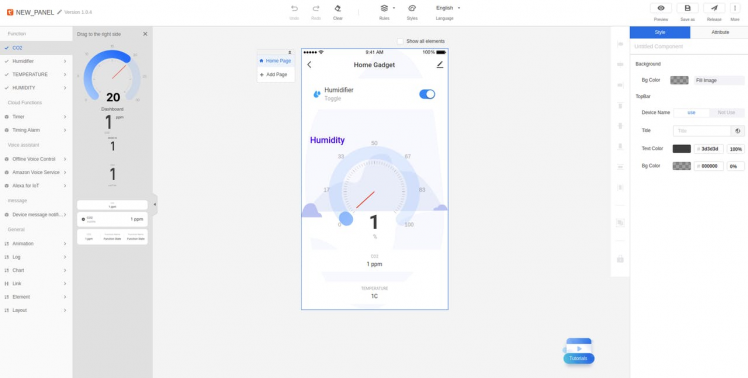
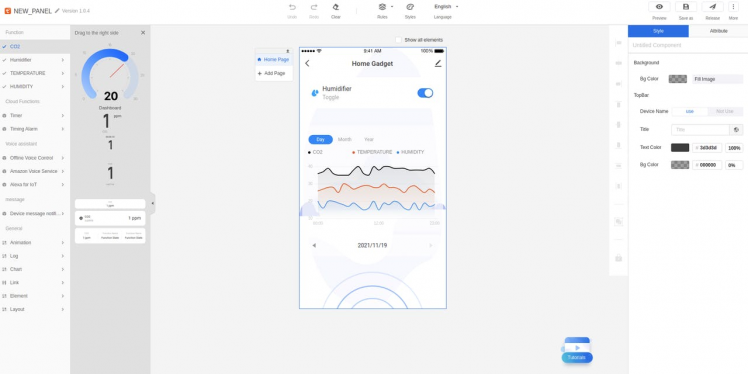
Step 4: To interact with the device we need to have a beautiful Panel with all required functionalities, although you can make Panels using Tuya Android and iOS SDKs, yet drag and drop UI panel designer is more exciting and faster for someone like me who loves exploring most things in lesser time 😉 For your defined Data Points (Dp) you would find all sorts of drag and drop widgets, add as many as you can and make it look professional.
1 / 2
Once you are finished building the Panel, click on the Release buttons and wait for it to finalize the Panel for you.
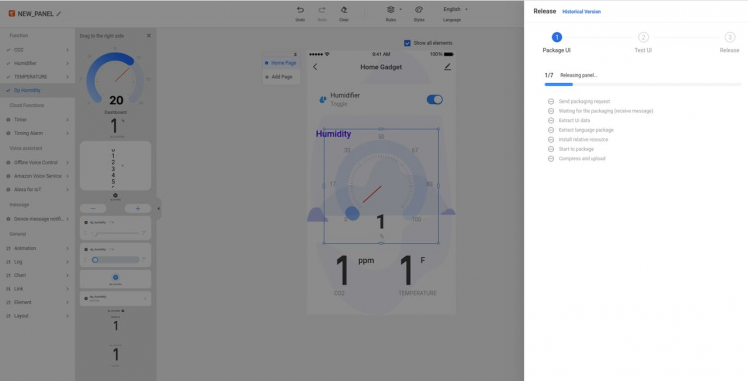
If you were successful in the above step without any kind of serious UI planning that means you are a sweet developer 😜. Now it's time to connect with Link SDK.
Step 5: Go to the Hardware Development Section of your product and click on Link SDK. But you will need a License to use Link SDK. Don't worry you will not need to spend any money on it but you can spend it on Starbucks to buy you a cup of coffee ☕ while we do the rest of the development.
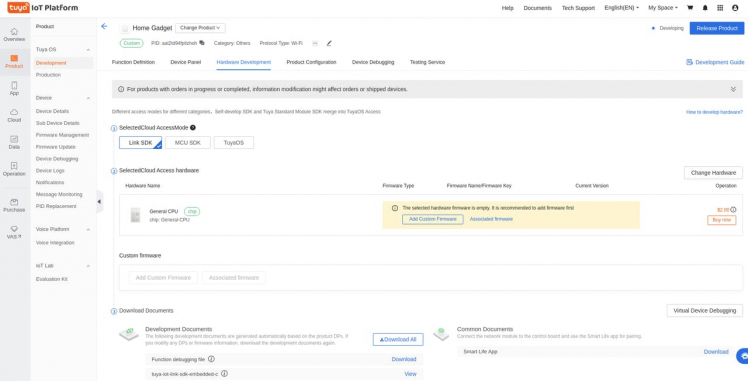
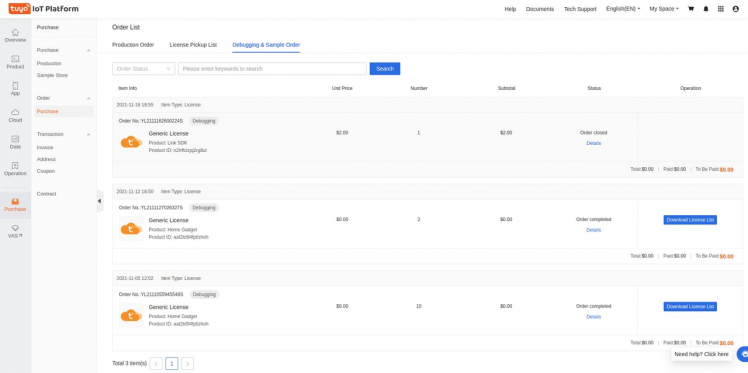
For Raspberry Pi we are going to use General CPU as a hardware type, also you would see an option to generate a free license if you are new to the platform. Click place the order and download the License list. The license is composed of tuya UUID and AuthKey which is needed to authorize the device to receive and send data to the Tuya Cloud.
With a total of five steps, we are done with major parts of this tutorial. Let's move on to the hardware part and set up a few sensors and actuators to use with Link SDK.
Hardware Setup:
Grab your raspberry pi with OS installed and fire up the terminal (I prefer to use VNC viewer to play with my Raspberry Pi). Check the circuit.
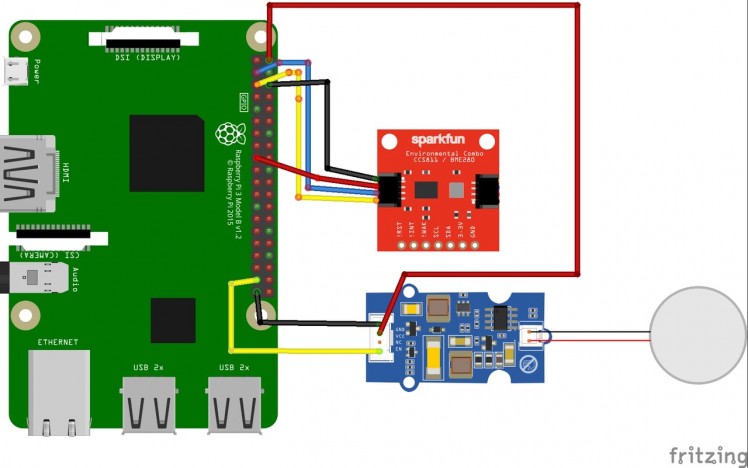
Make sure that thetheI2C interface is enabled through the raspberry Config console....
Read more »
 Dmitry
 Idrees Hassan
 Cloud4RPi