 Øystein
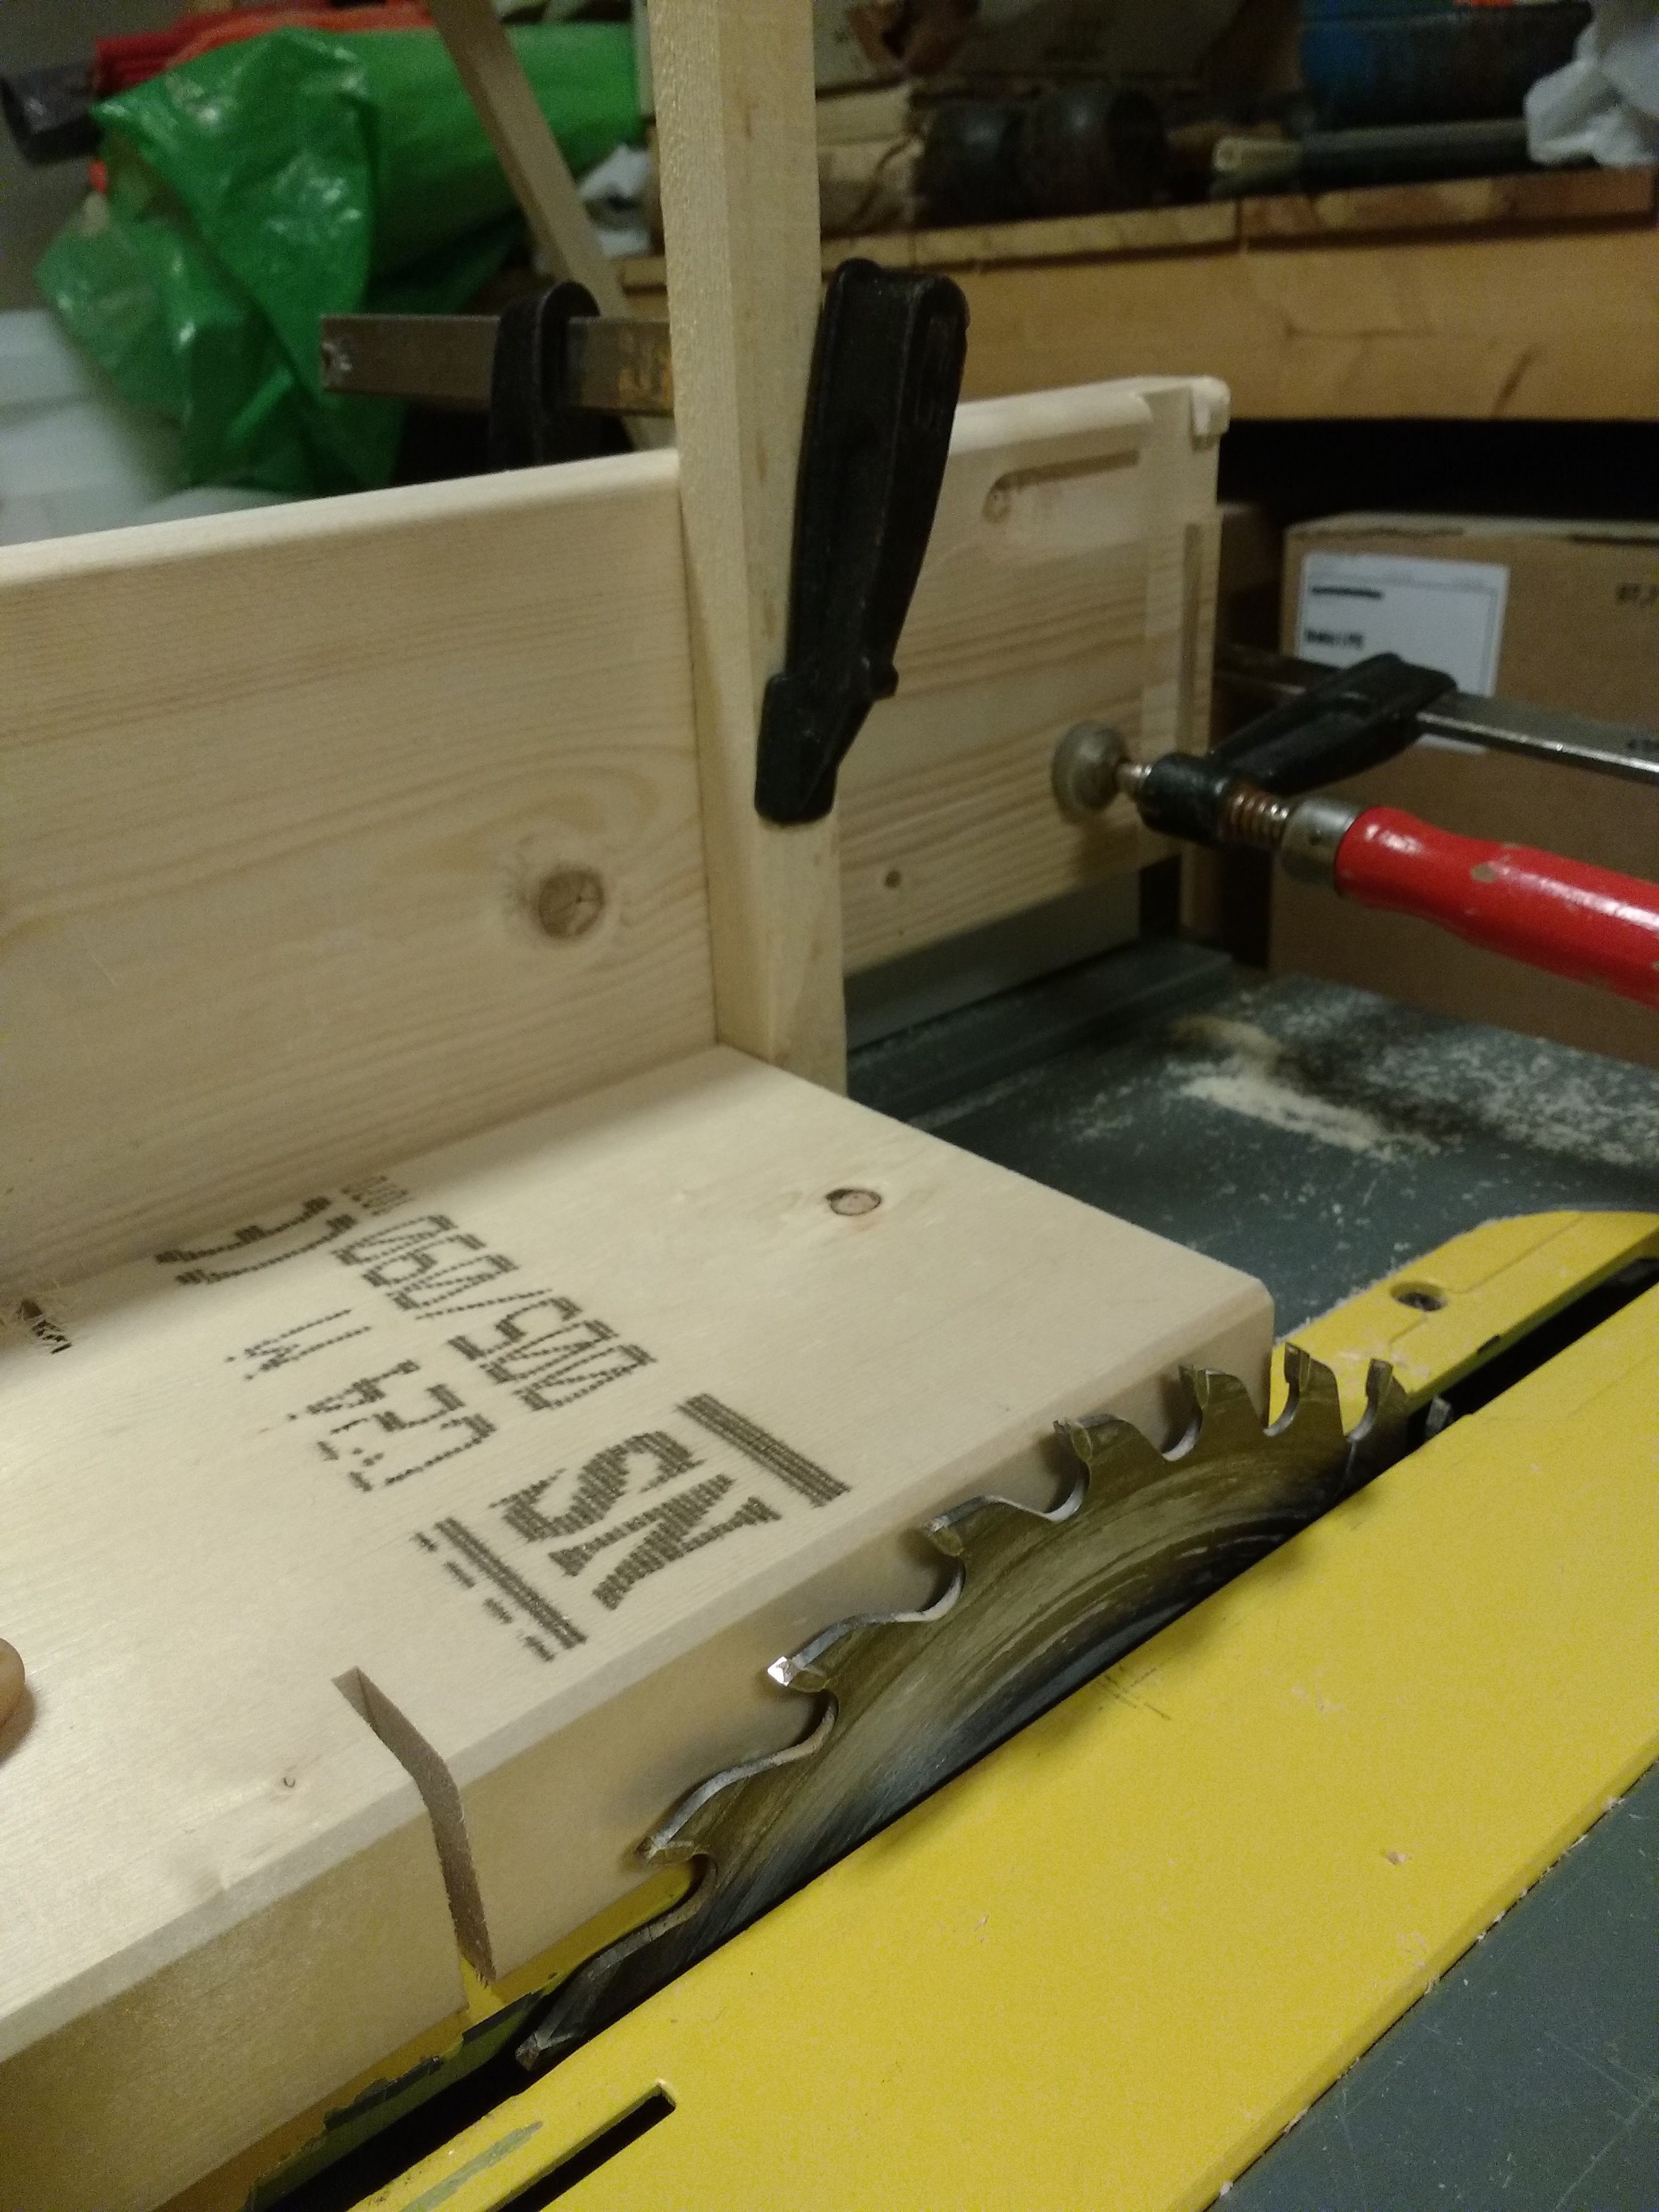
So All is well and progress has been made. I started today By finishing the cuts on the legs so I could testfit them. To make sure I did not cut to deep in the leg I made a stop block as seen below.
Actually the first thing I did was mounting My dji osmo to the wall and make a timelapse of me cutting and testing the legs. I used a 4 second interval and the built in timelapse function.
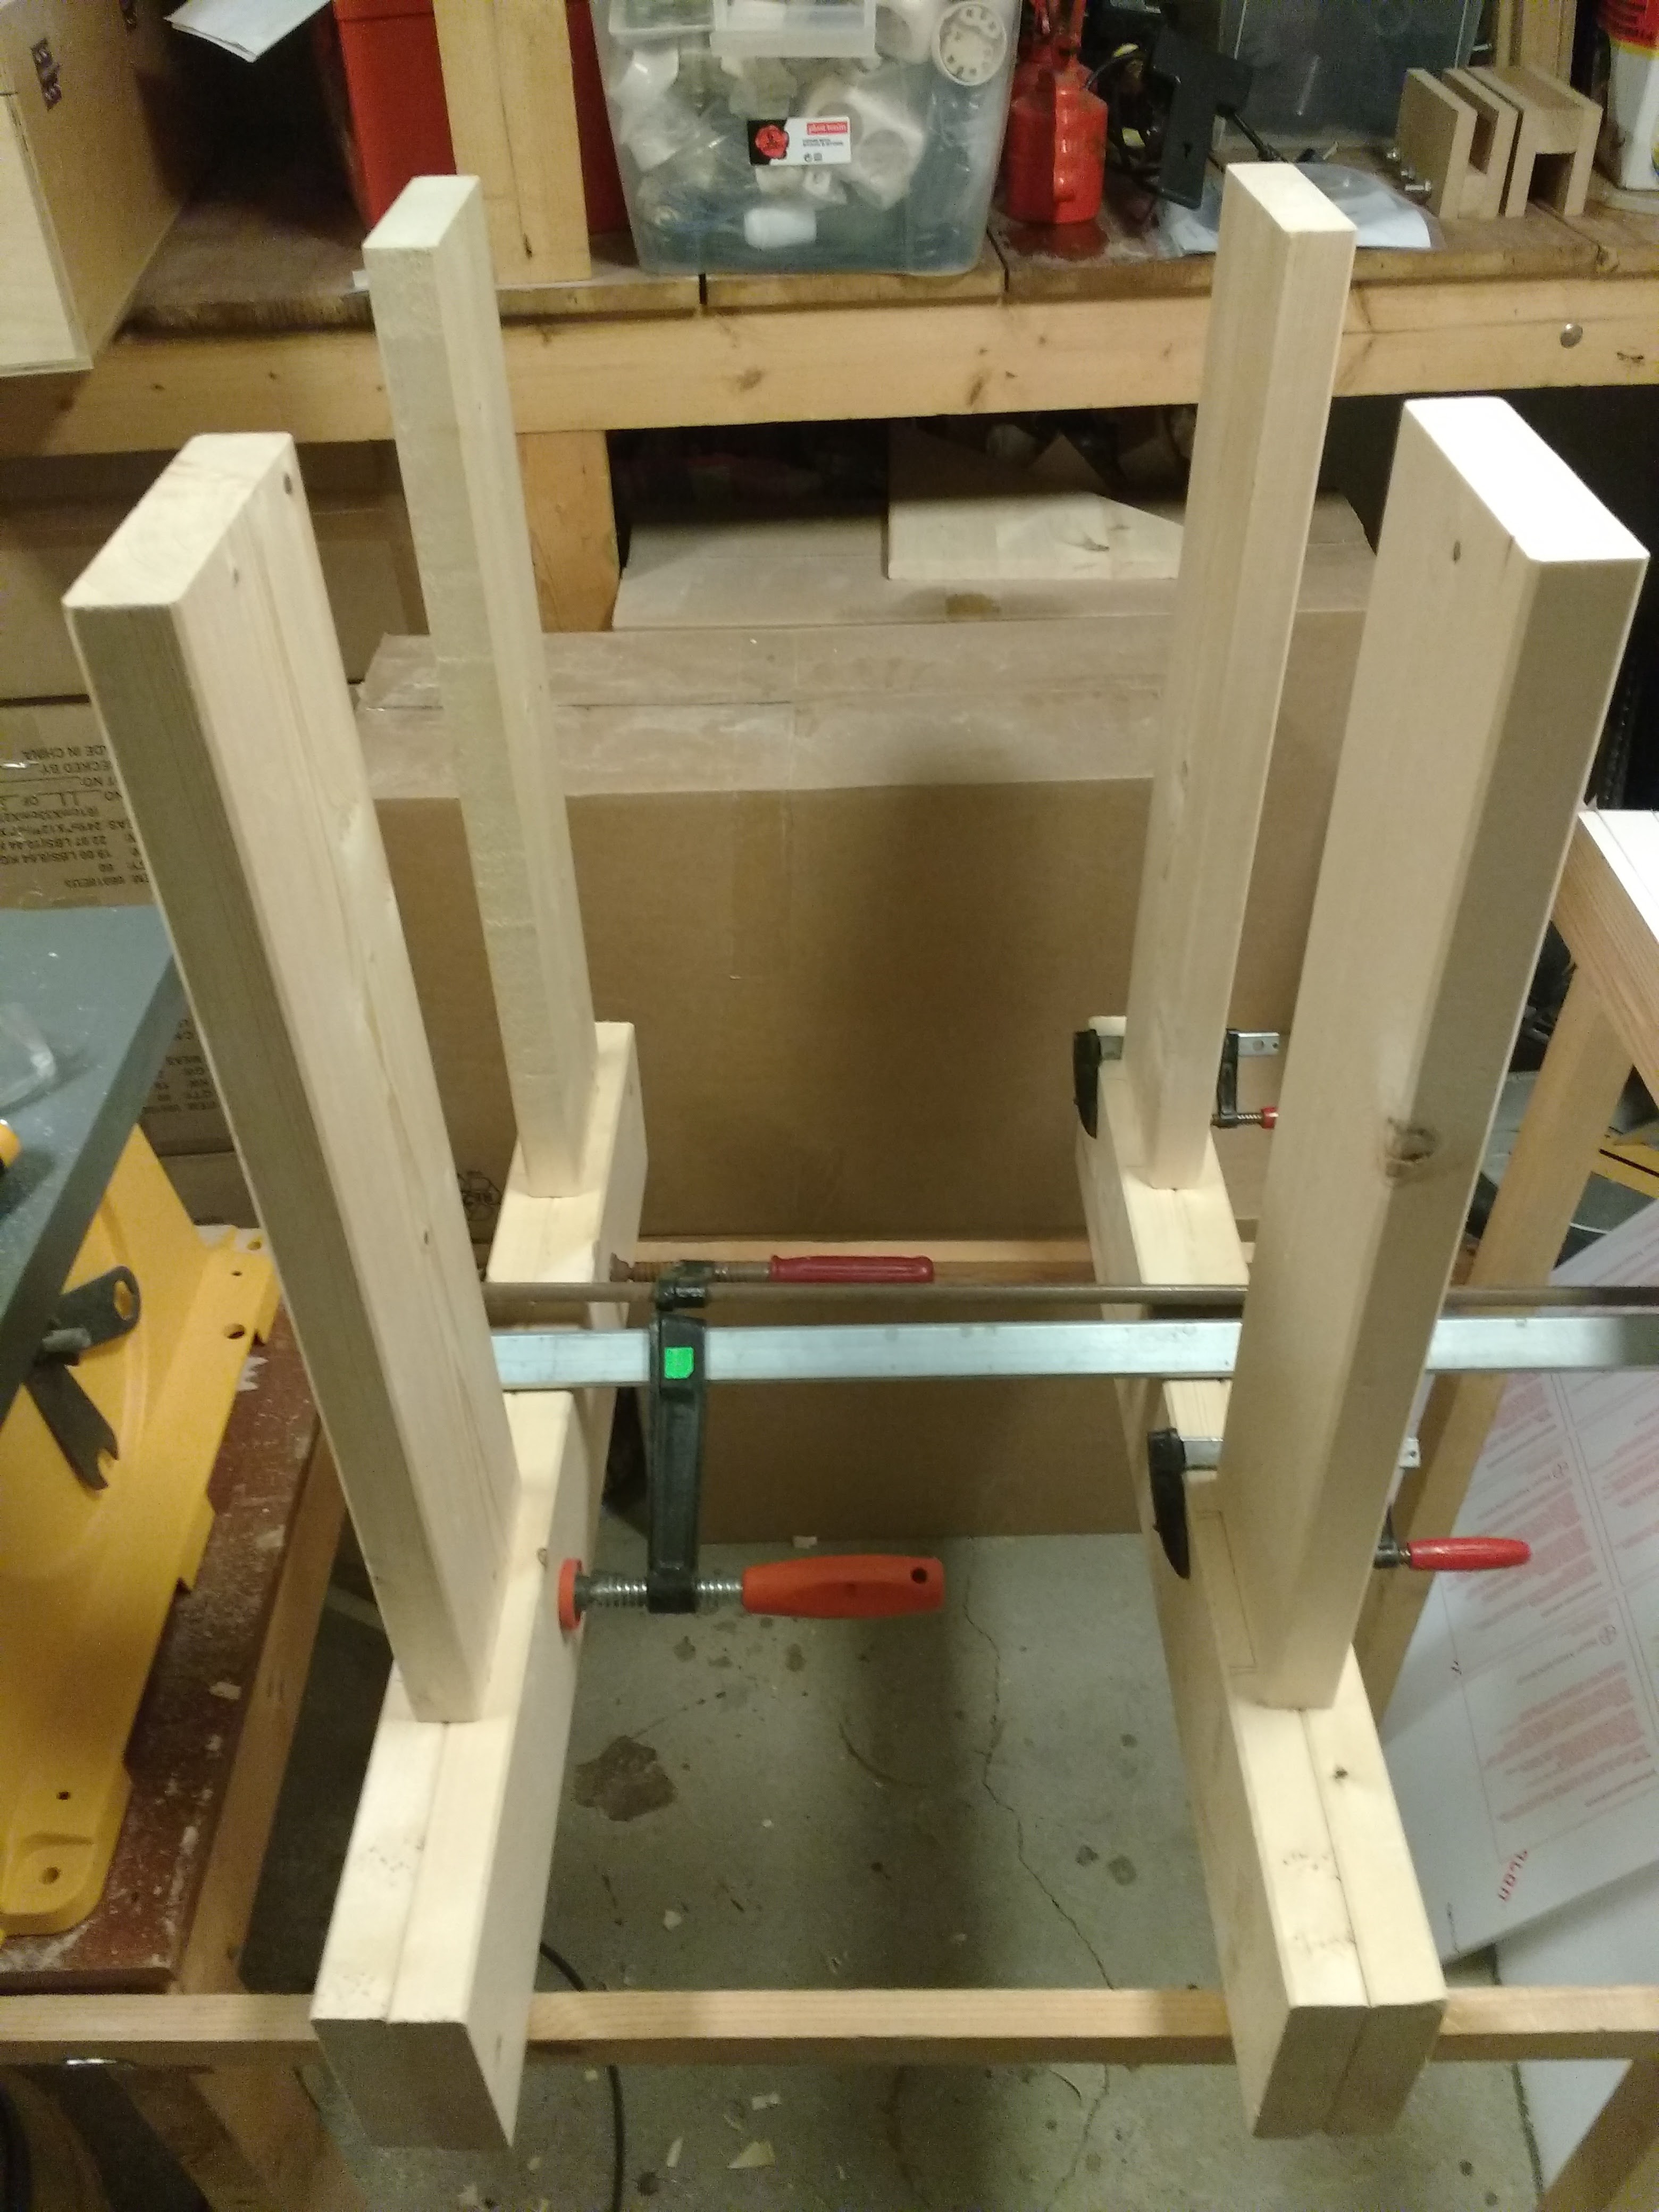
I numbered each of the tablelegs and made individual adjustments on the thickness of the since the dado cuts do not match up 100%. I use claps to make shure they fit snugly without to much force.
By now I was filled with excitment And I just had to make a quick test to see it use as a "Table". So I set up this quick test with four clamps.
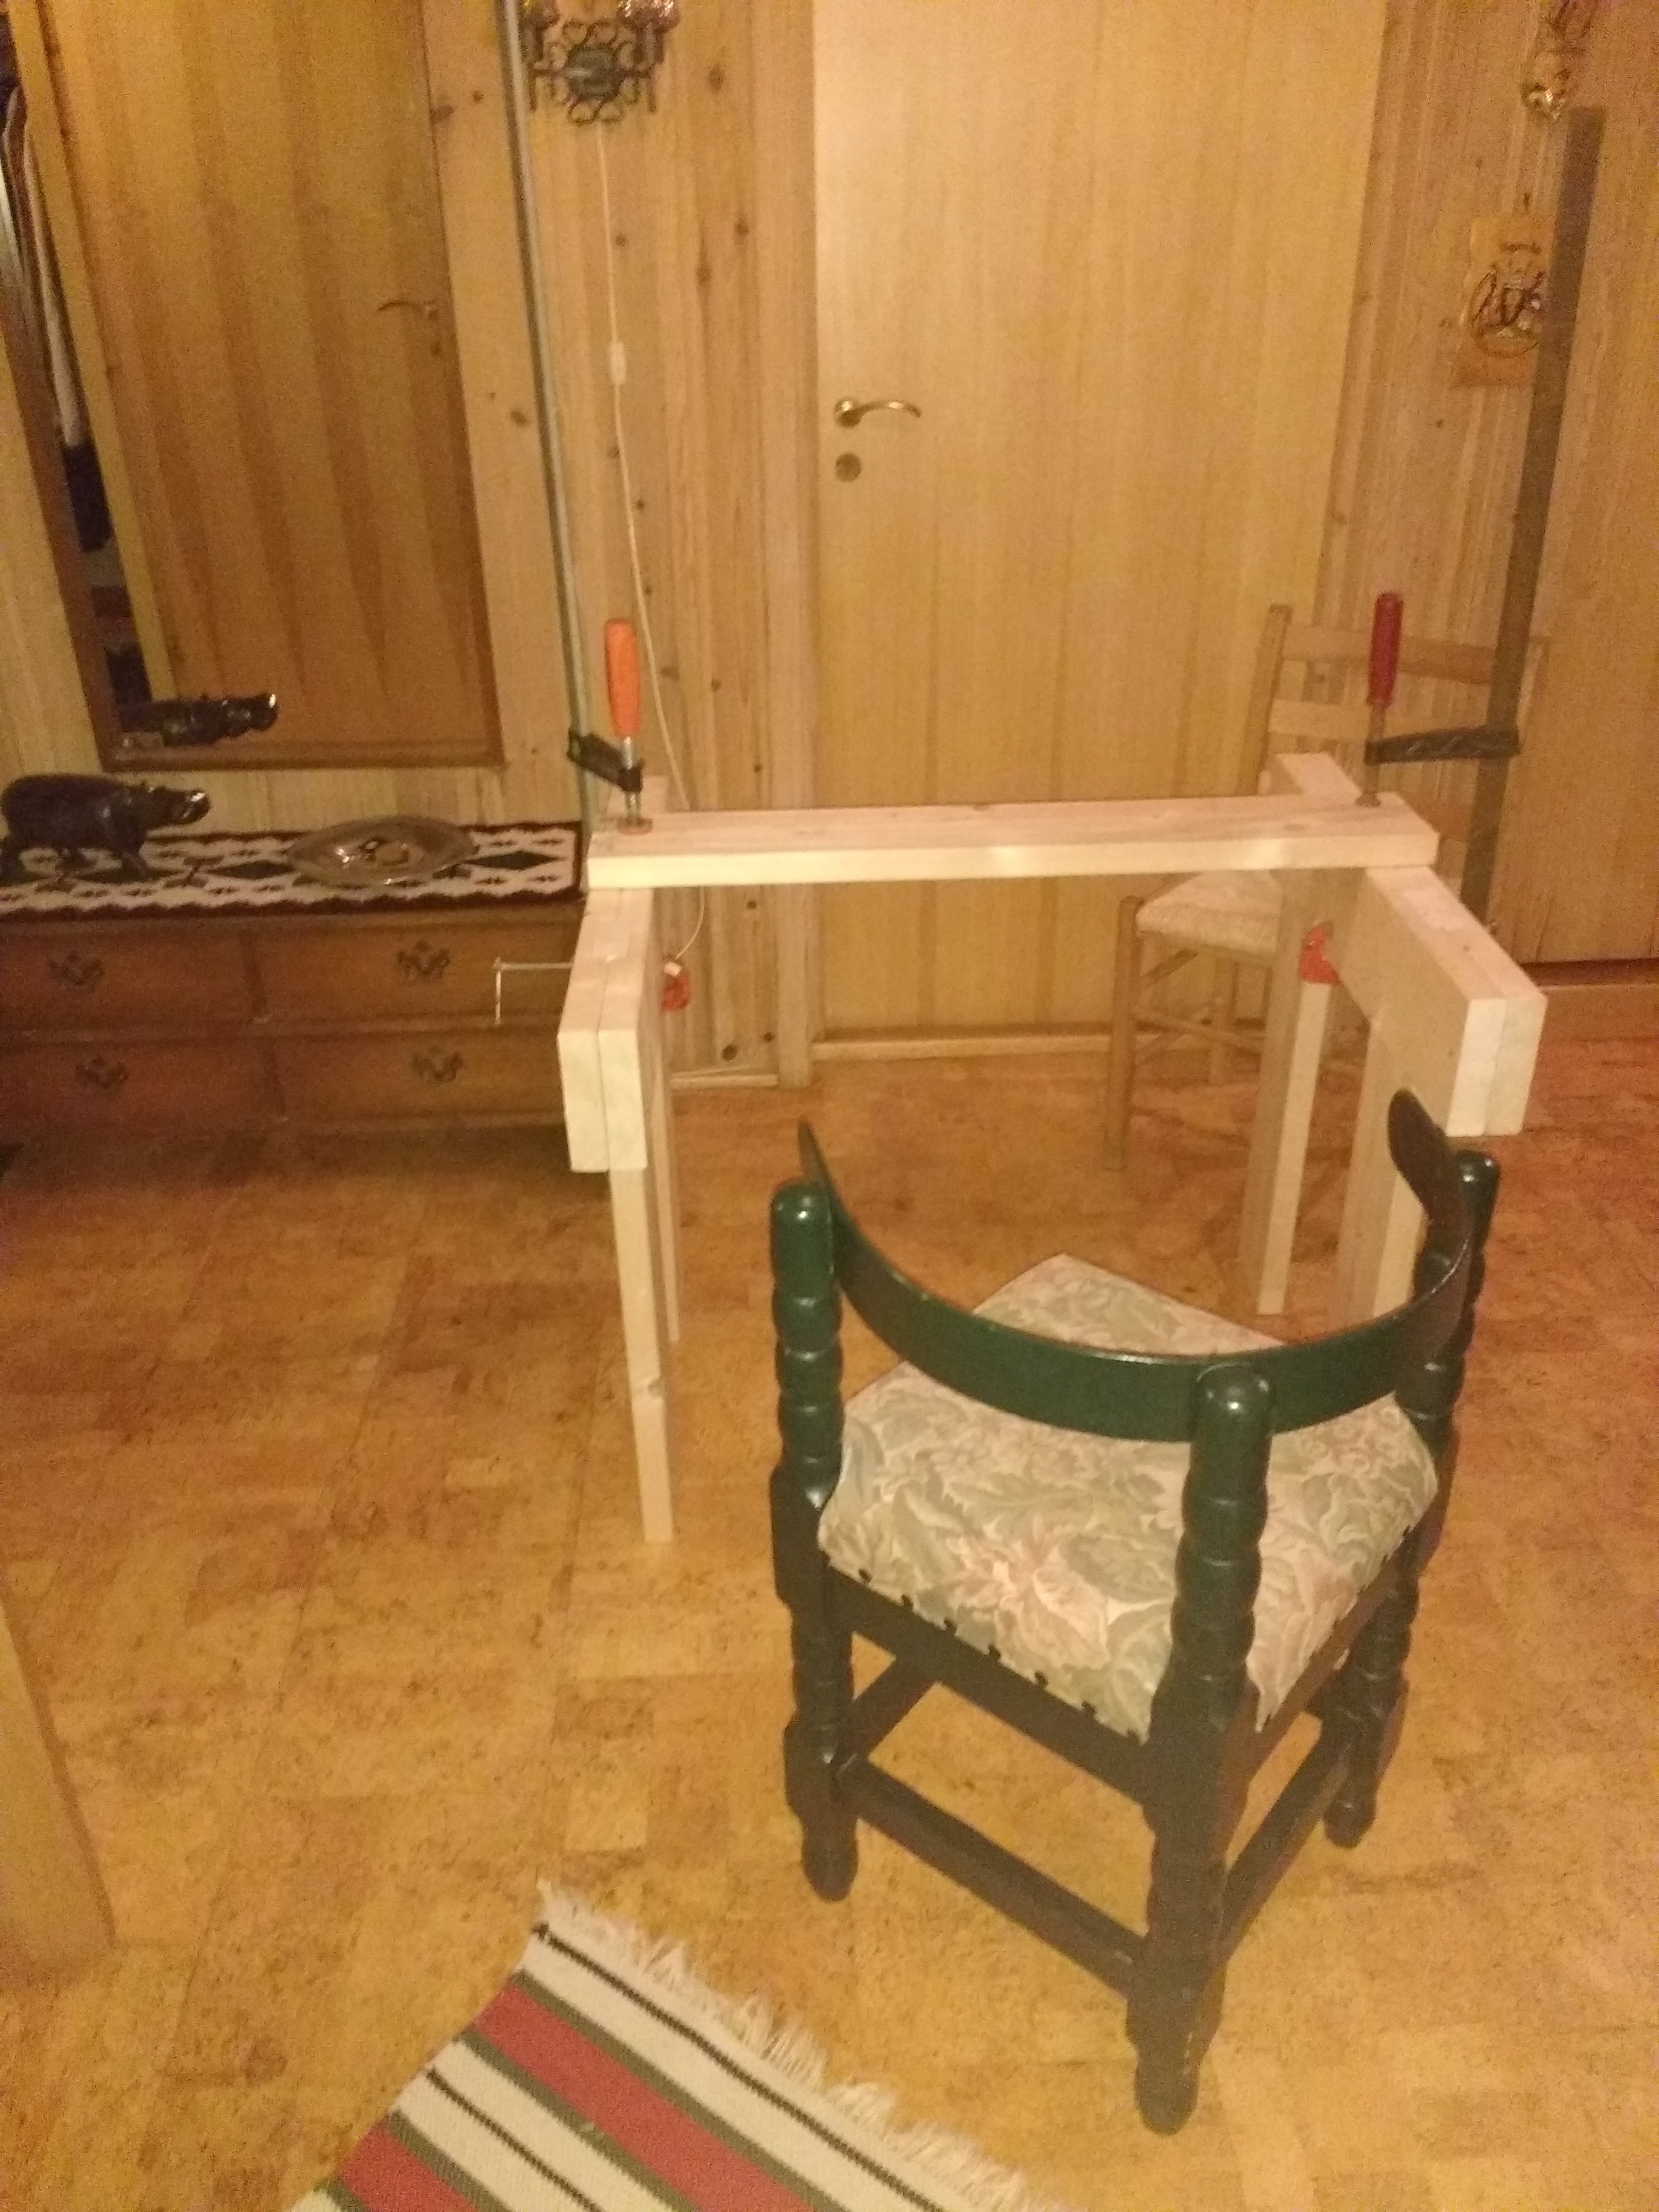
I sat on it and it felt very sturdy considering how it was clamped together. Milestone reached. I then proceed to make cutouts the supports in the length direction (sigh, that was a really badly written sentence). Better to show you a picture of it finished.
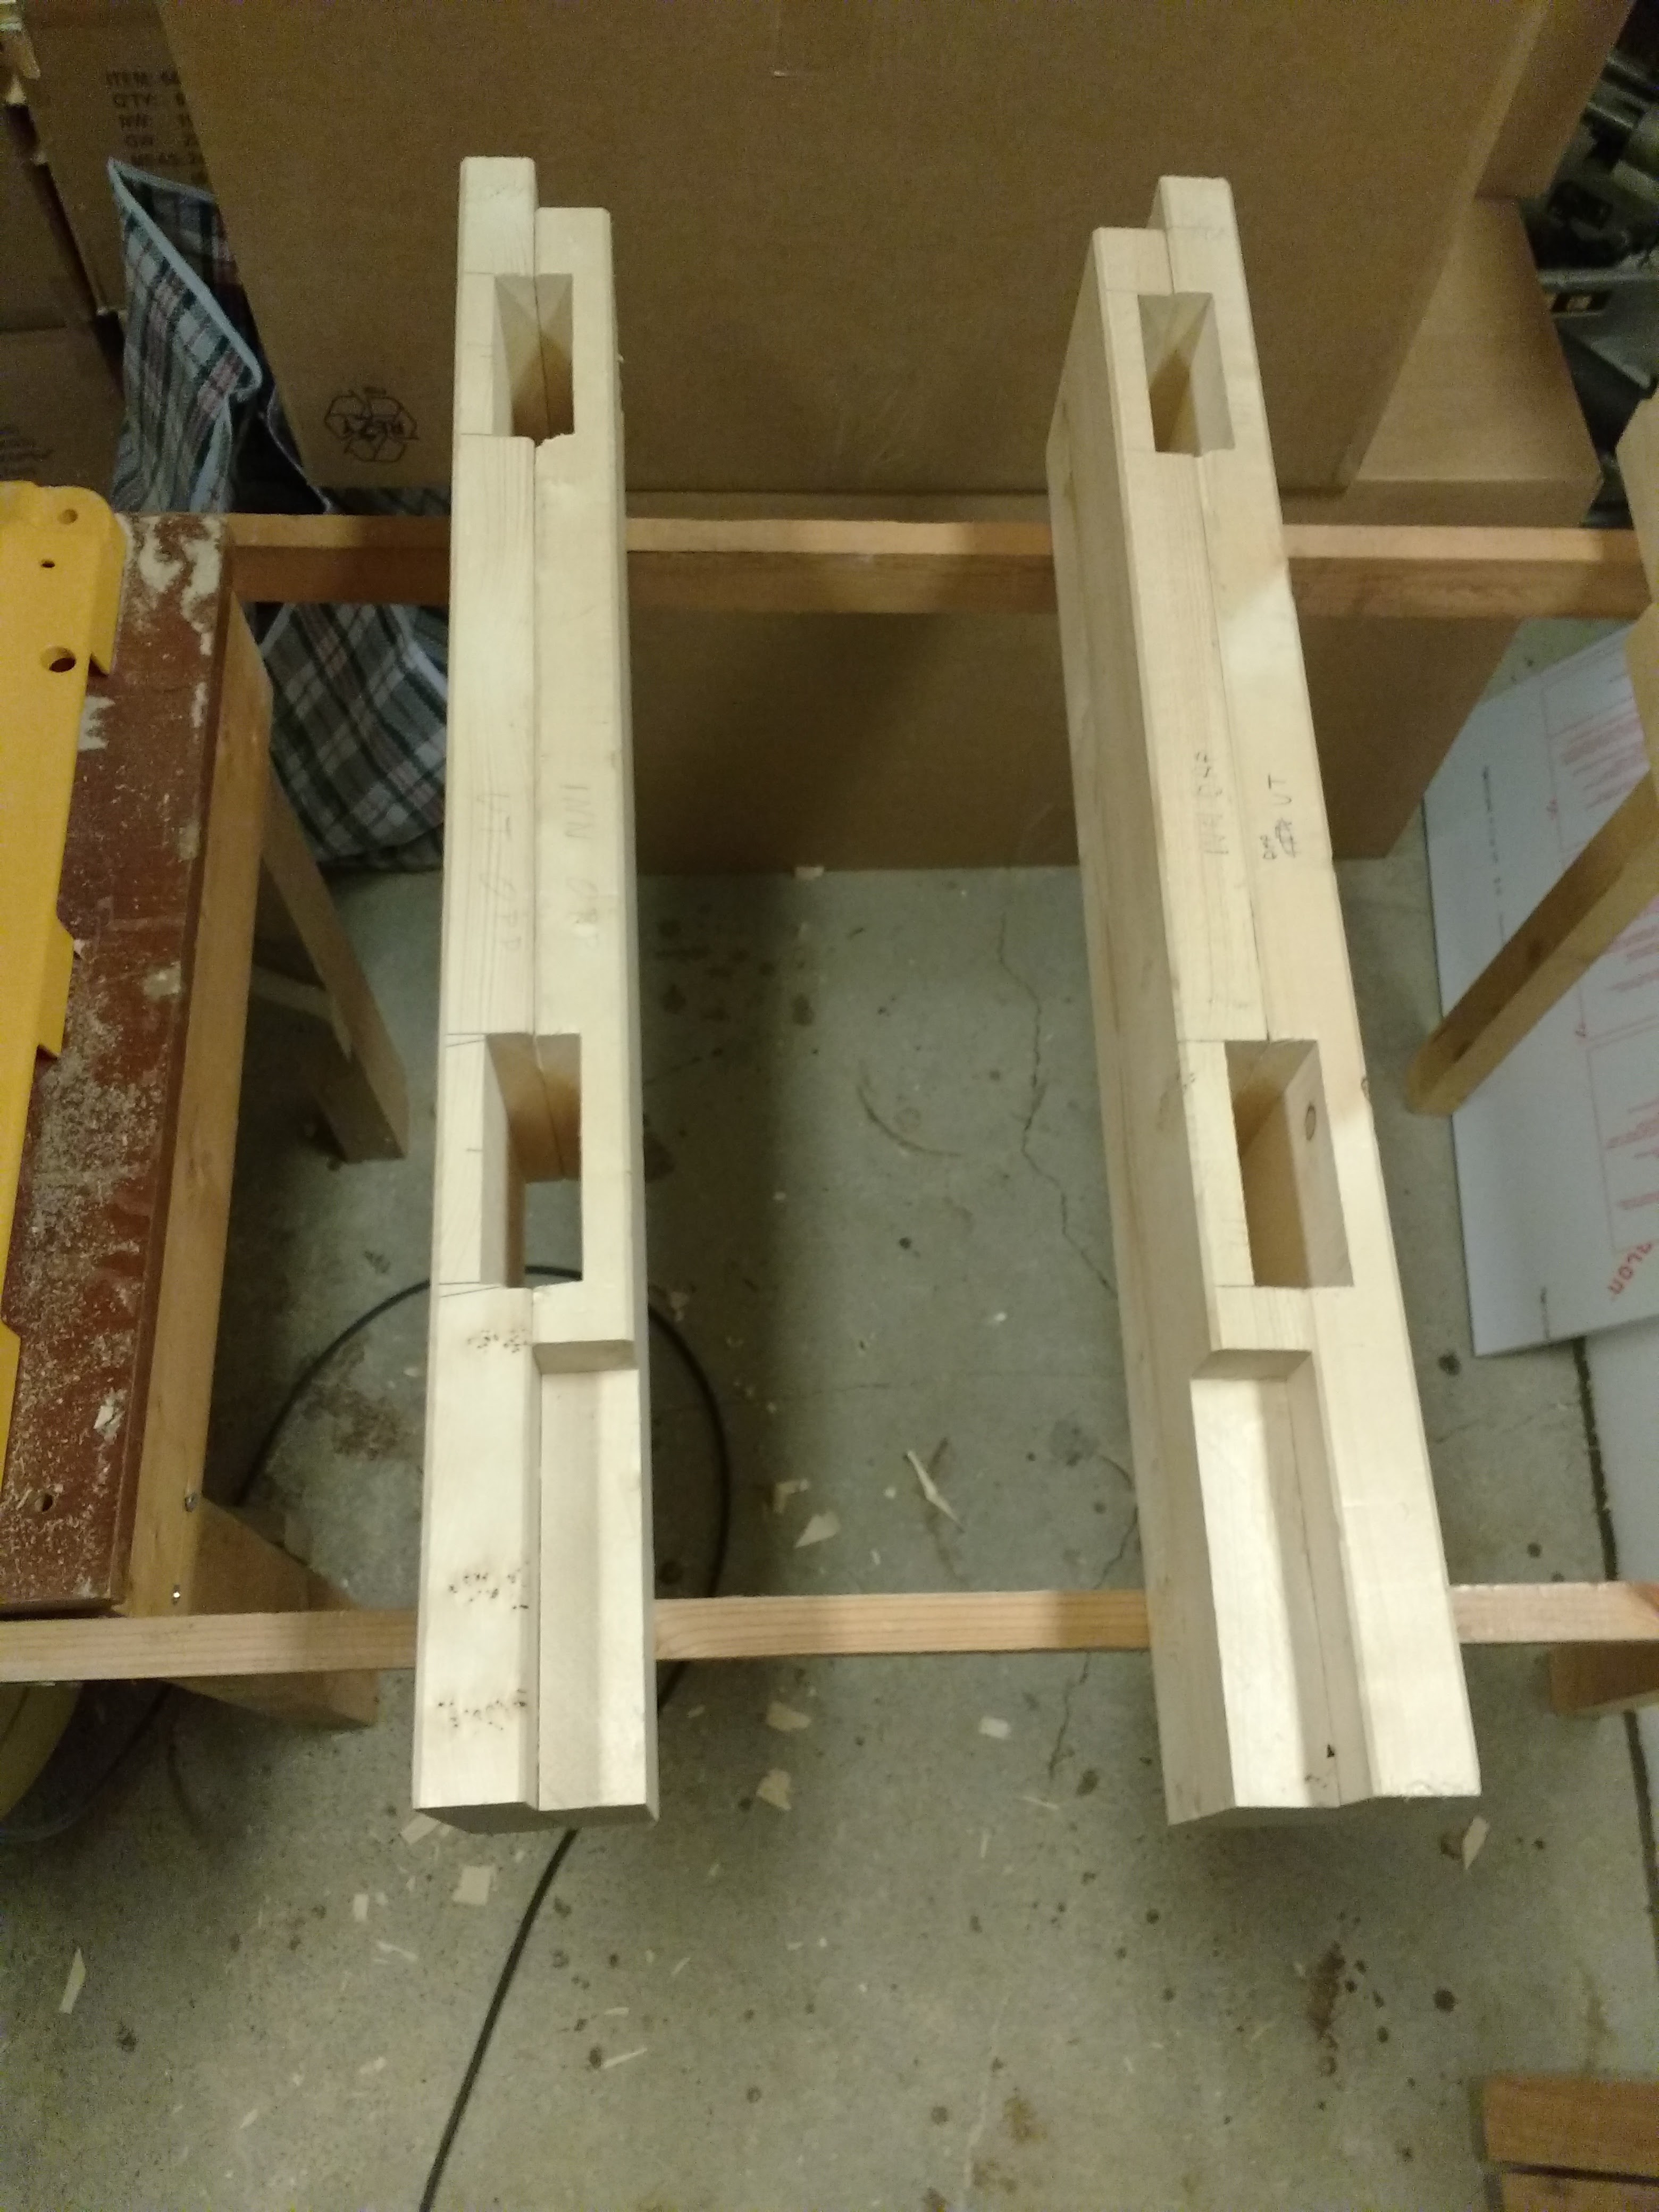
The parts that are not cut out for the support bar is going to be part of the fingerjoint I will make. Next I use a handheld router to make the edges smoother on the tablelegs. To do this I use a roundover bit. As shown here:
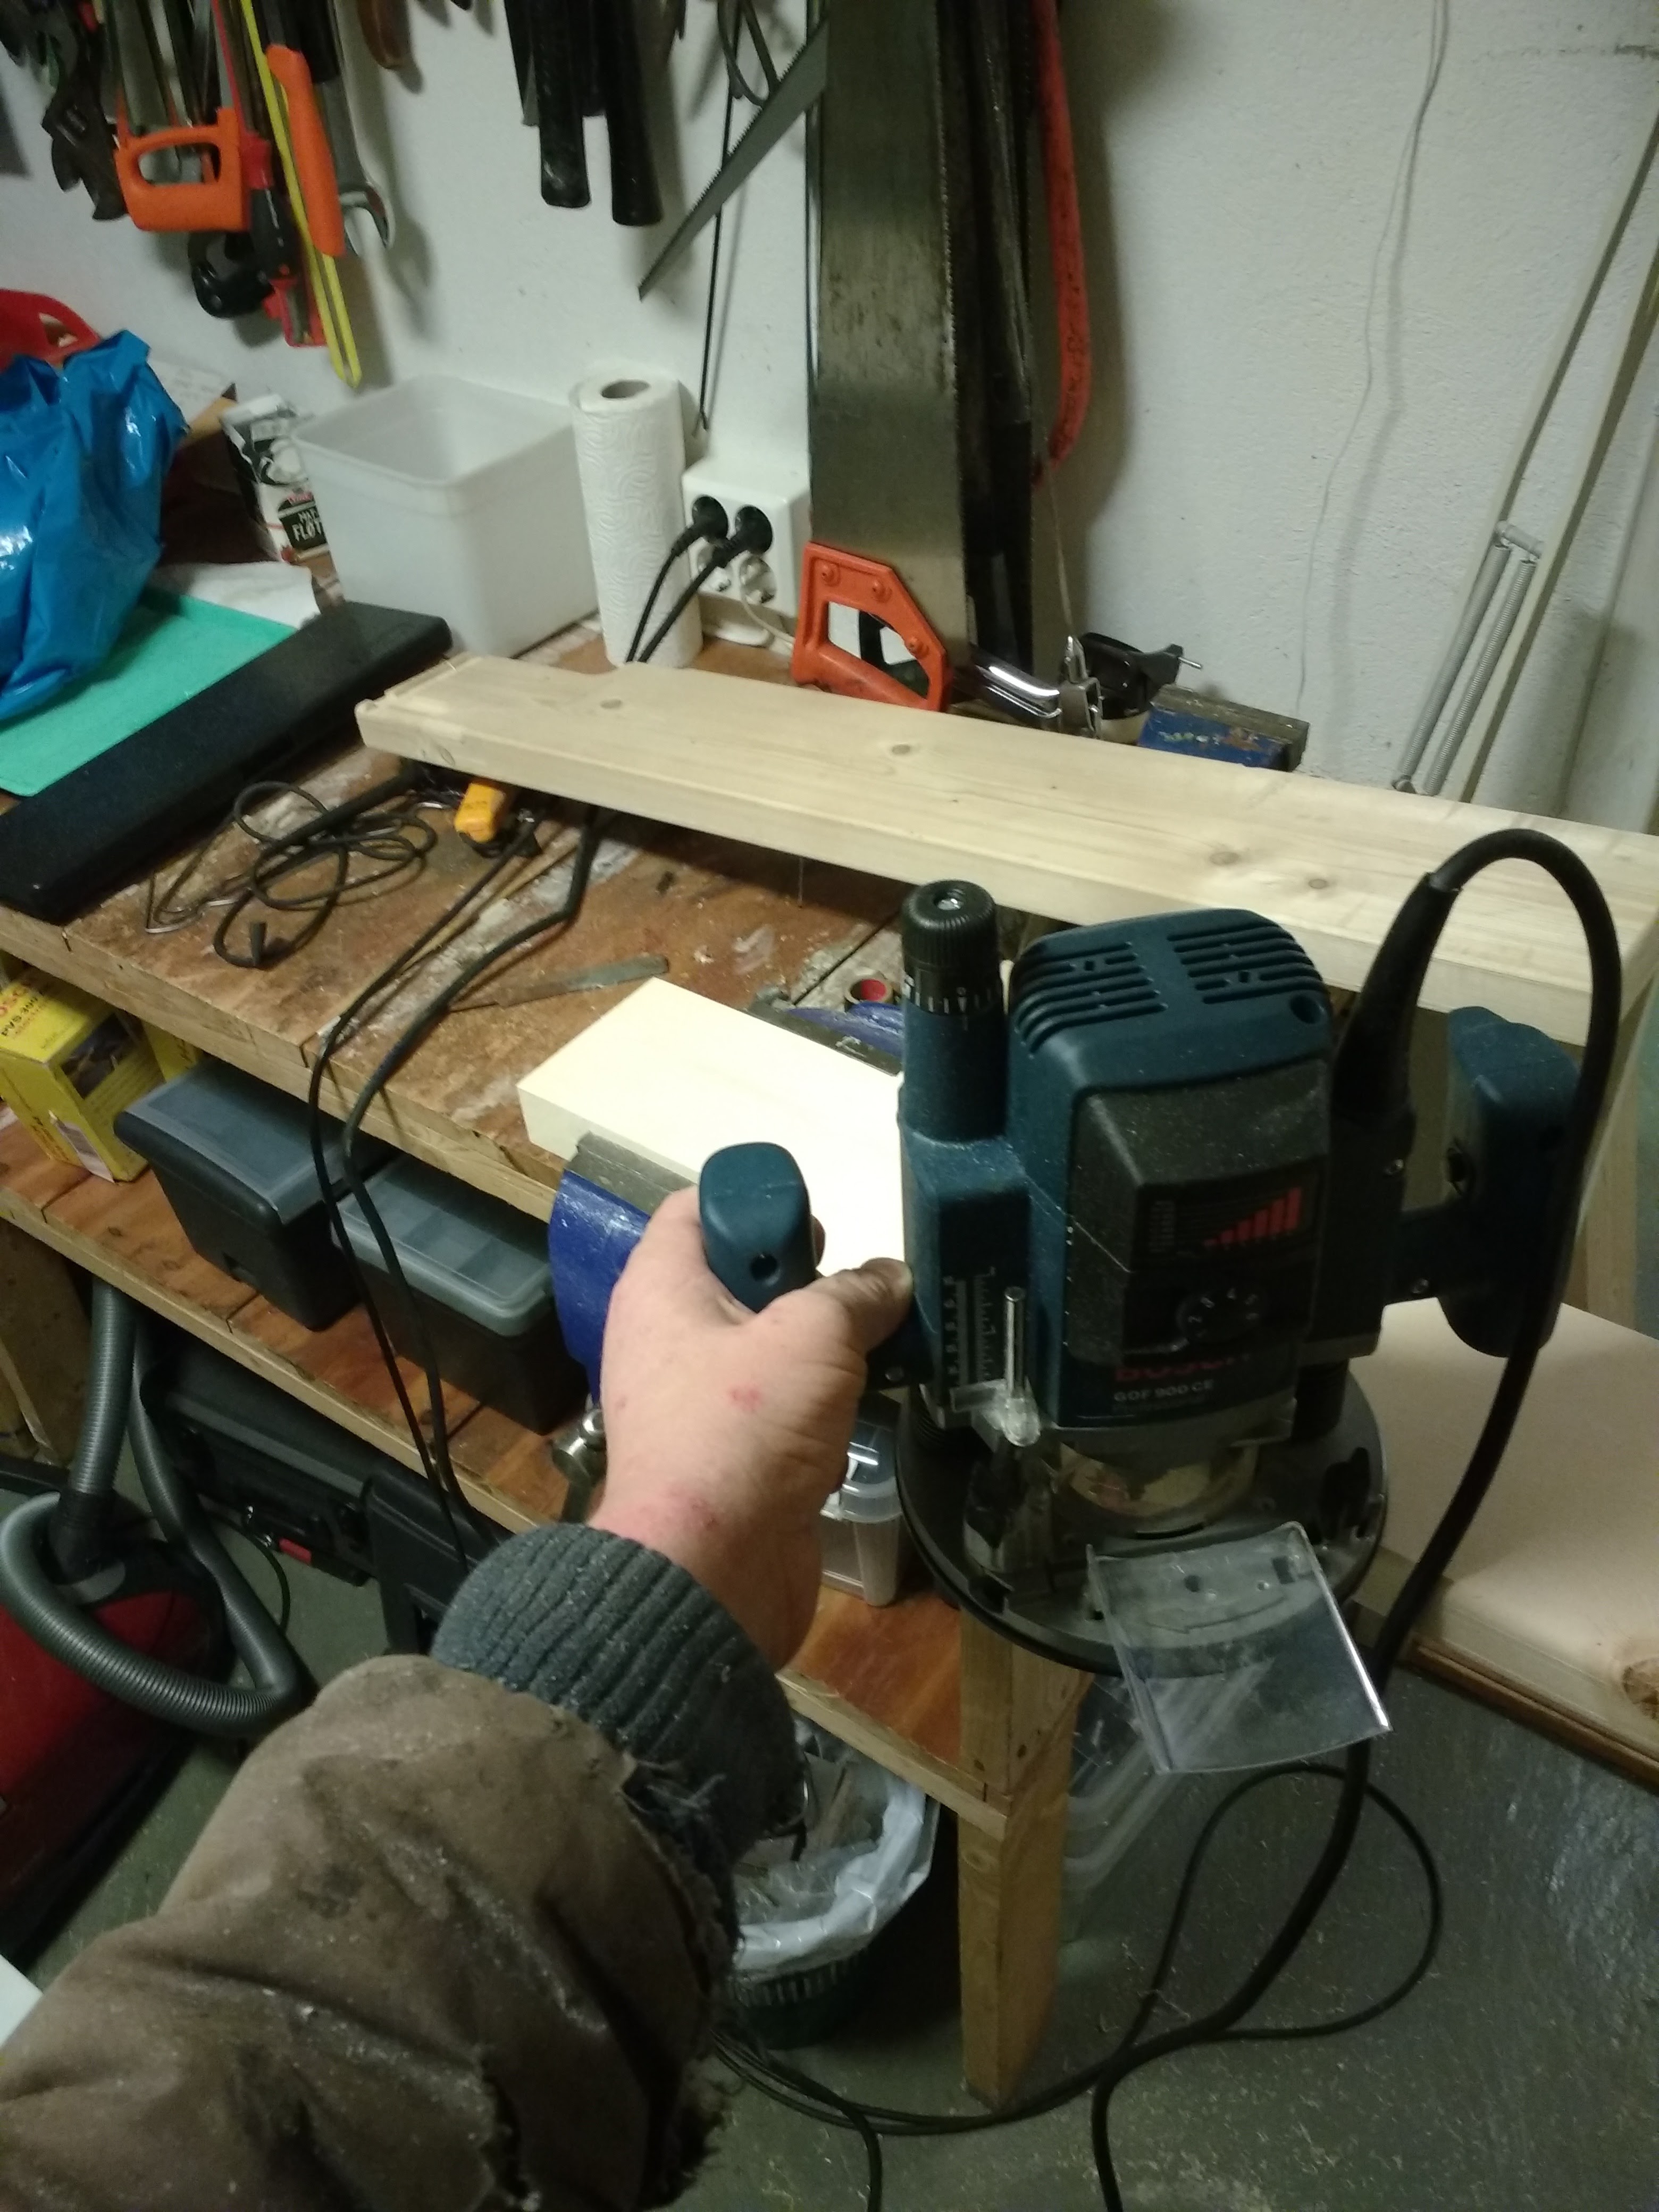
Trusty Bochy
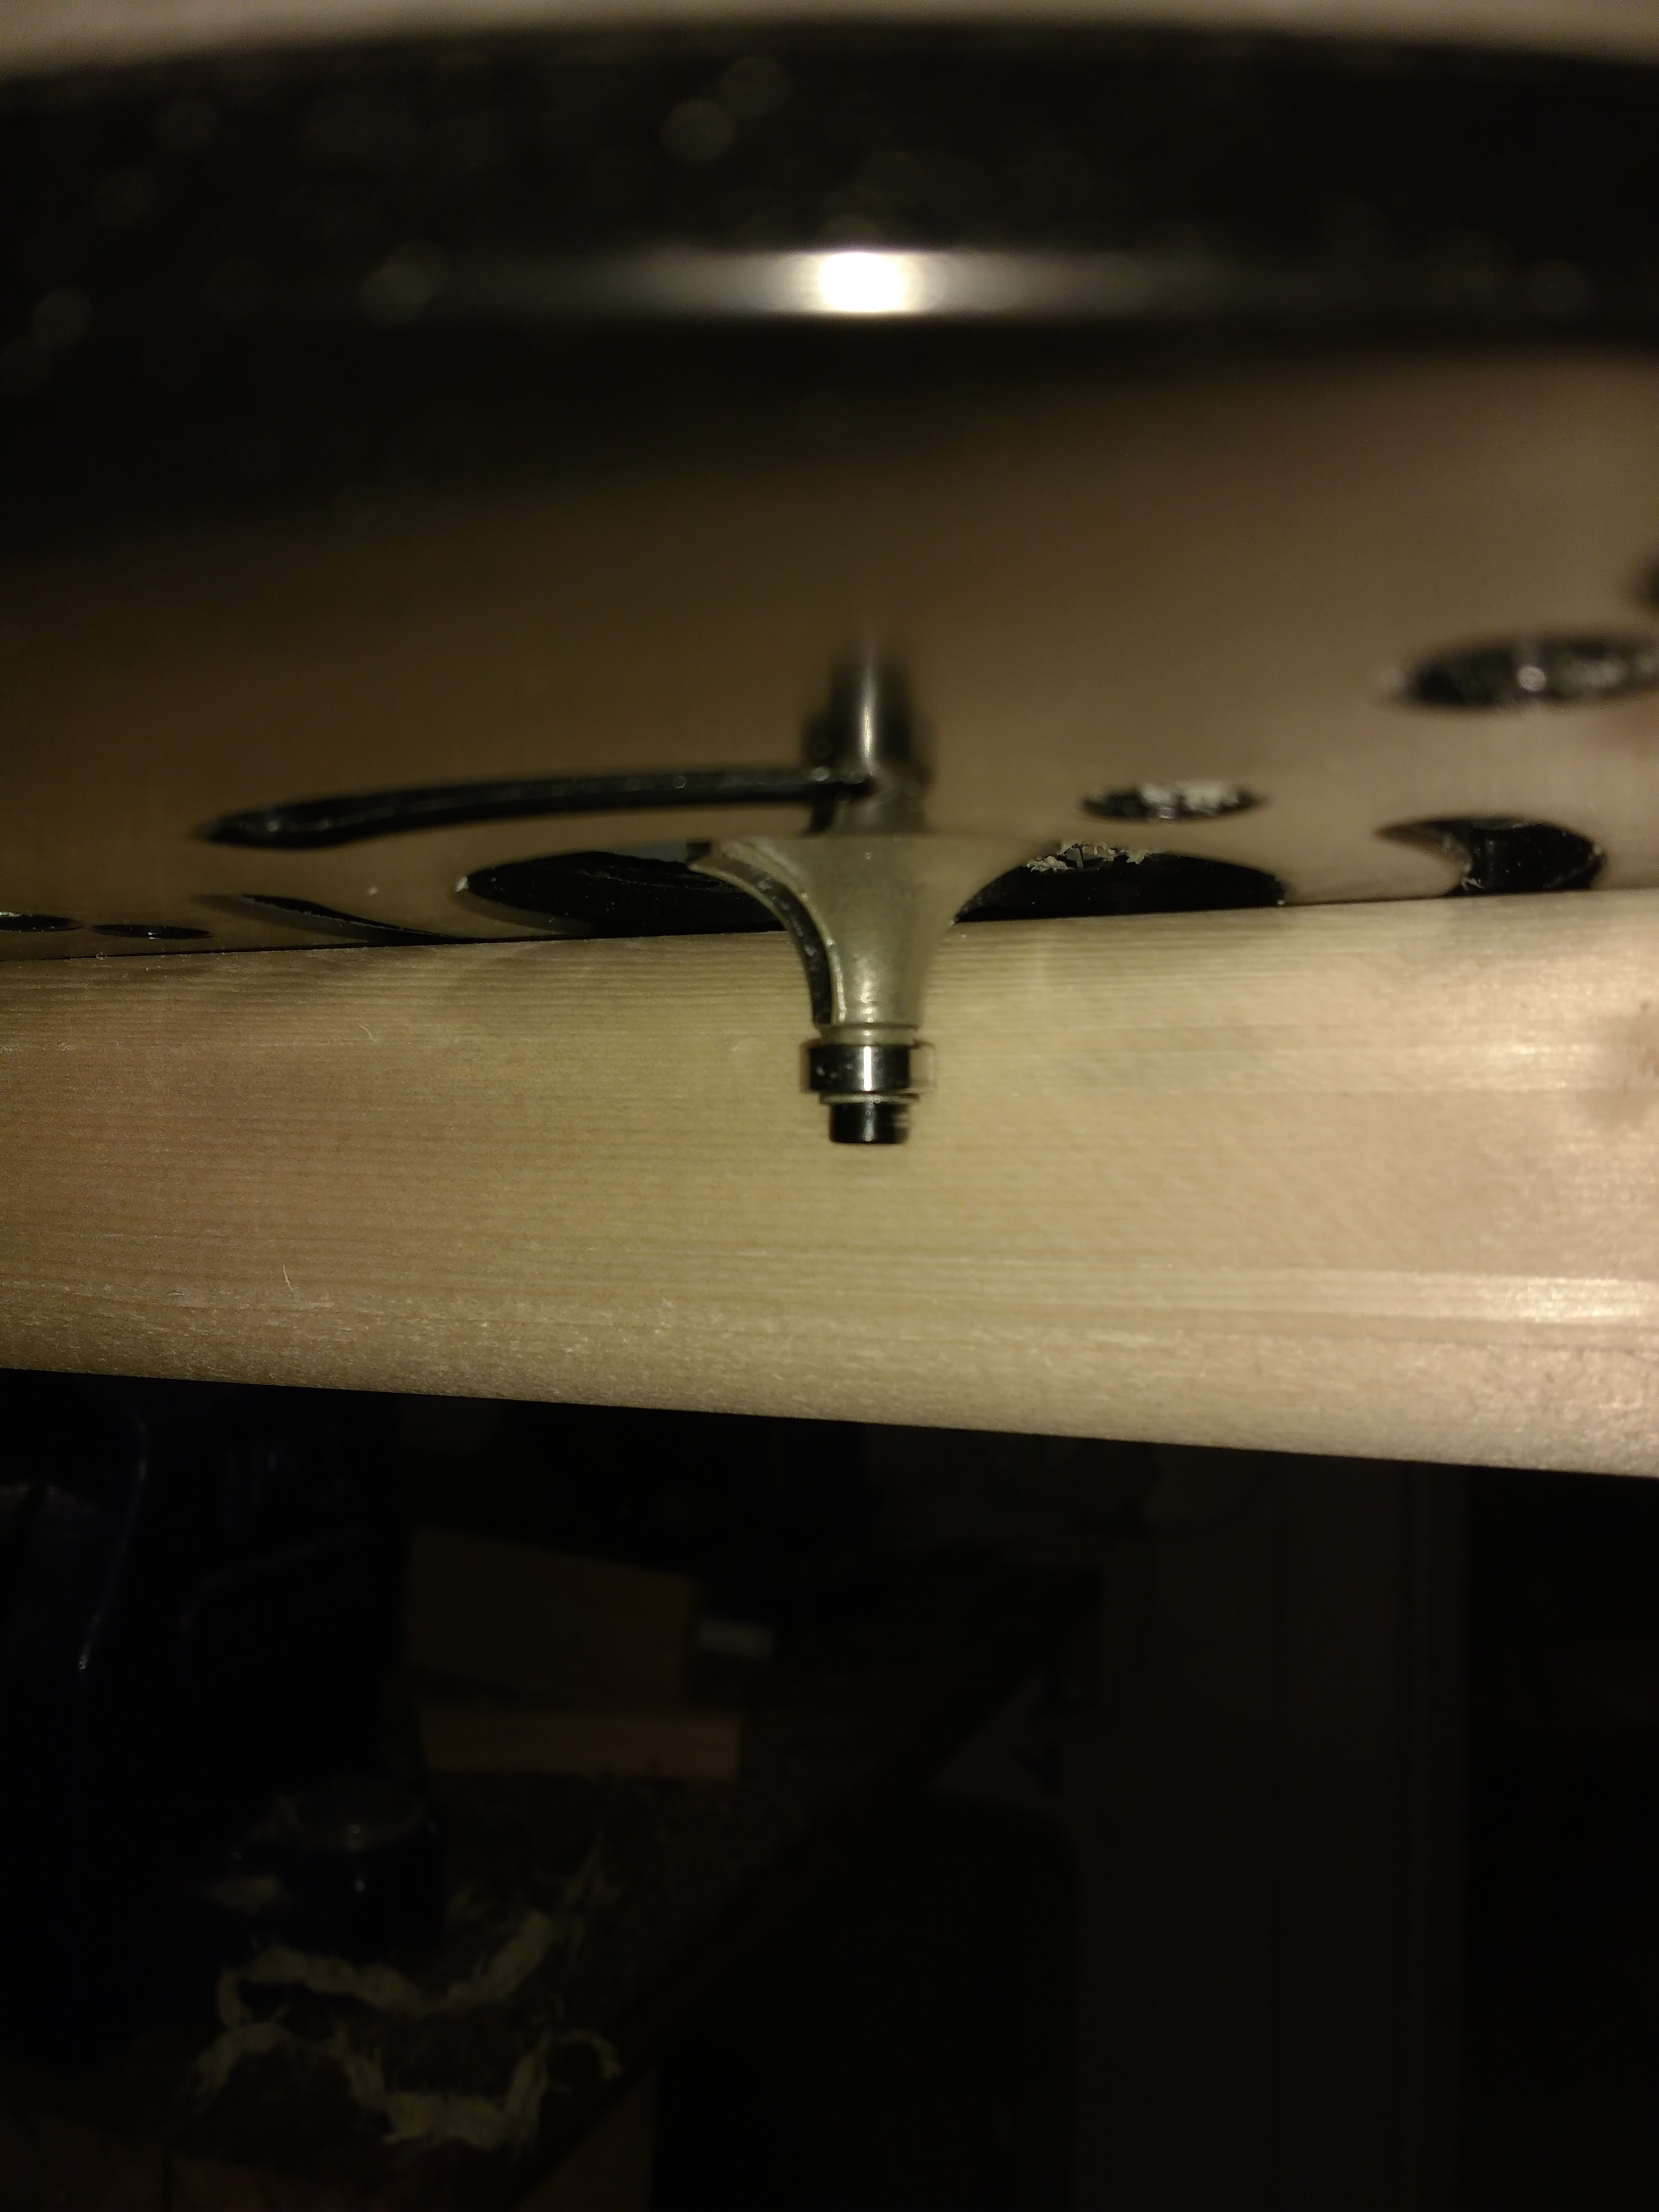
Roundover bit with ballbearing that follows the edge.
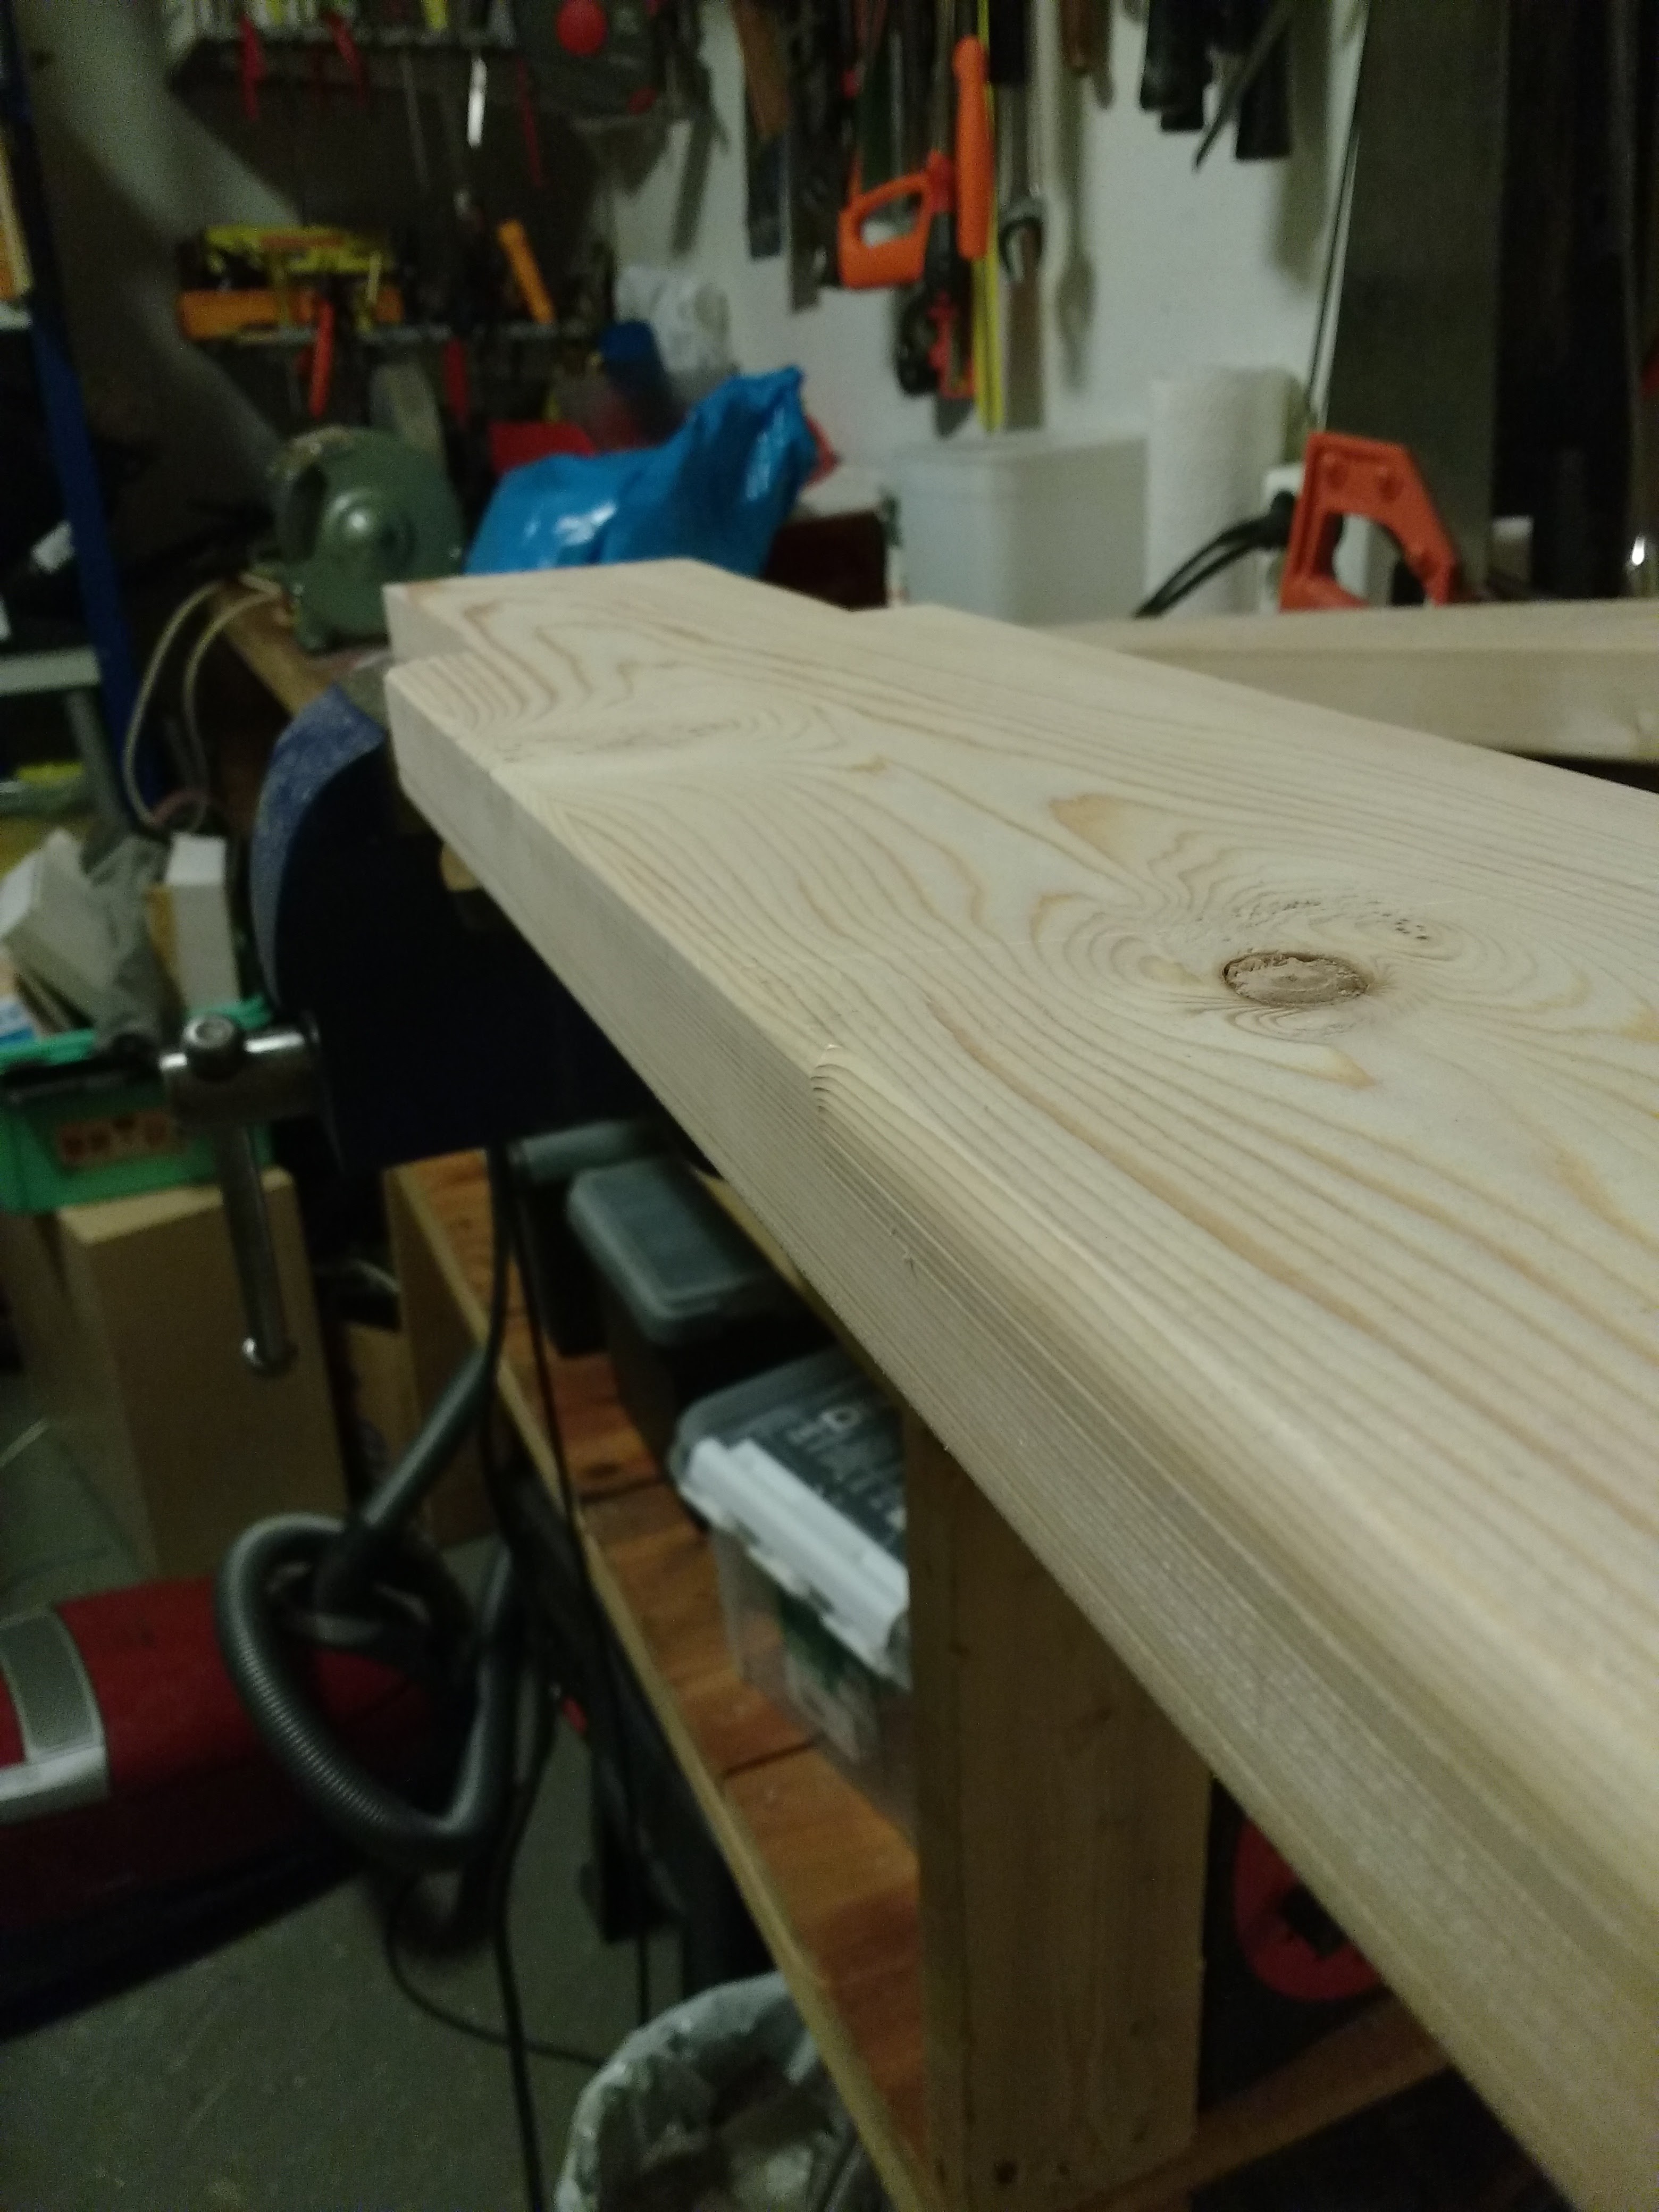 Here You can see the difference between an the edges with and without a chamfer. Overall I did quite alot done today. the next thing to do is to make the template for the finger joints. The template will be made with a cnc machine.
Discussions
Become a Hackaday.io Member
Create an account to leave a comment. Already have an account? Log In.