 Chris Gervang
In order to display my habit consistency over time I decided to build a calendar out of LEDs. Each column represents a day in the last 21 days and it is either dark or colored depending on if I had done a habit on that day. Each row in the calendar represents a different habit I am tracking. The color of the LEDs match a primary color from the habit illustration that it represents.
My design requires a way of diffusing the light produced by the circular LEDs so that the light can fill a crisp square cavity. I choose to laser cut a number of grids and stack them on top of each other to achieve this look. As the light travels from the LED it reflects off of the glossy surface of the grid wall and scatters. The walls have to be tall enough so that the light is sufficiently scattered by the time it hits a layer of 60% translucent acrylic. This final acrylic layer softens the light and hides the circuitry underneath.
Previously, I built the grids out of white 1/4" thick acrylic that allowed 20% of the light to shine through the material. This turned out to be too transparent as the light from each pixel mixed with adjacent pixels, muting the colors as you can see here.

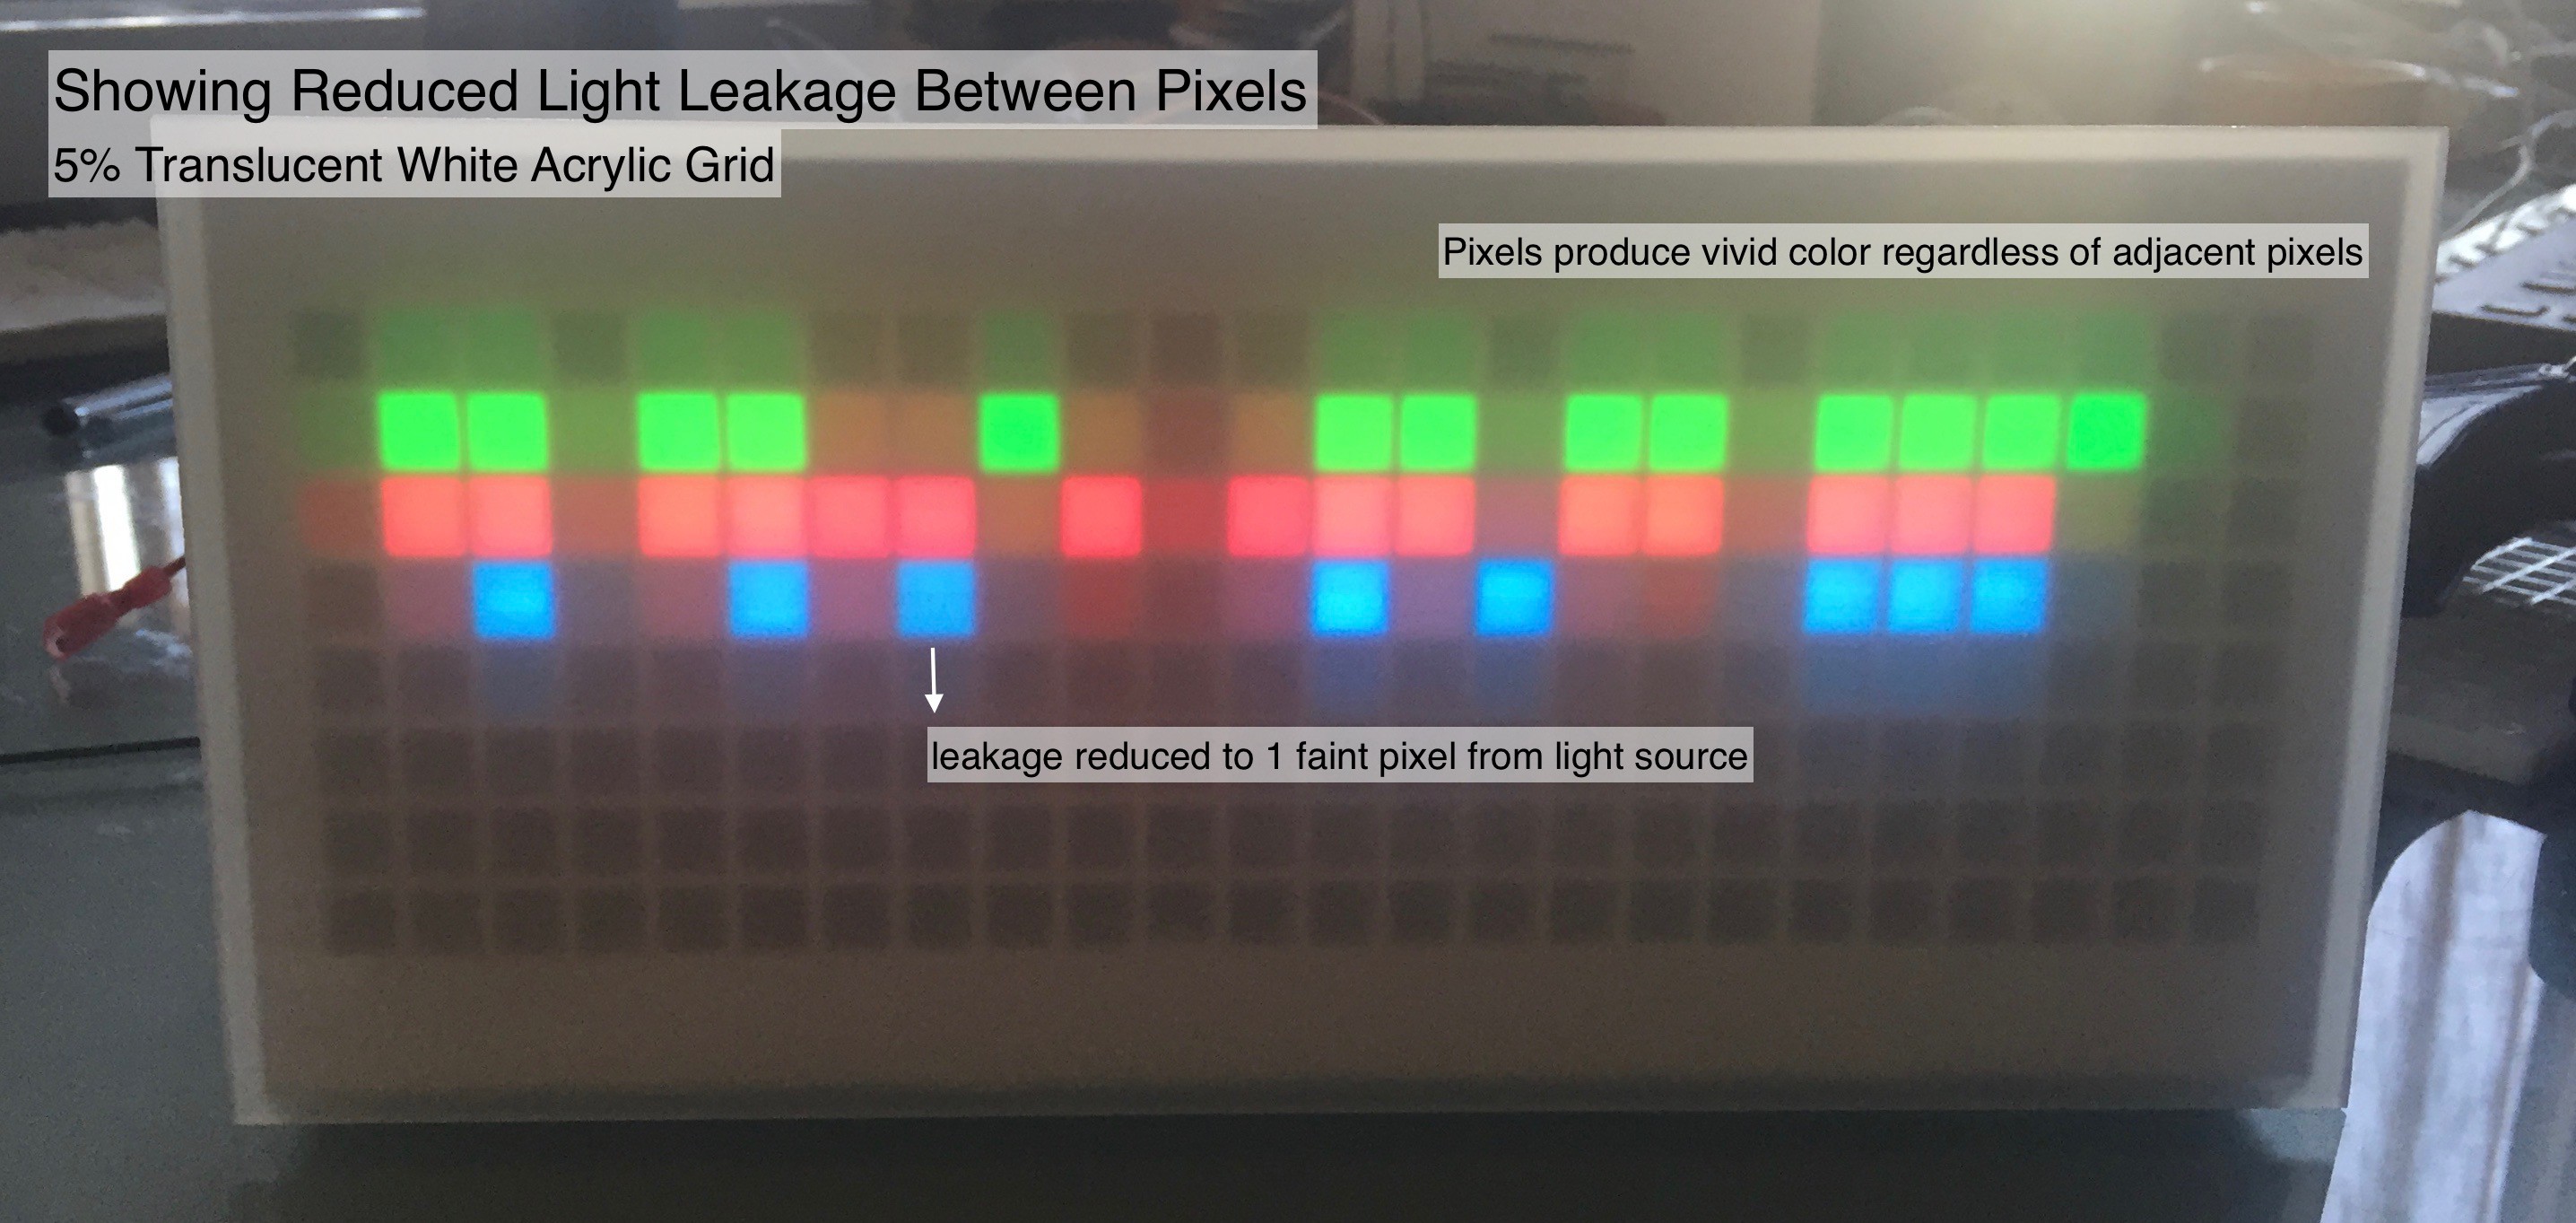
As this was undesirable I began to look into sourcing a cheap white acrylic that is not as transparent. It turns out opaque 1/4" thickness acrylic is not a very common item to stock at any of my local plastic shops, however, they do stock 1/8" acrylic that is about 5% translucent. Rebuilding the grids with this material produces a much better result, as you can see here, but it also introduced a new set of problems.
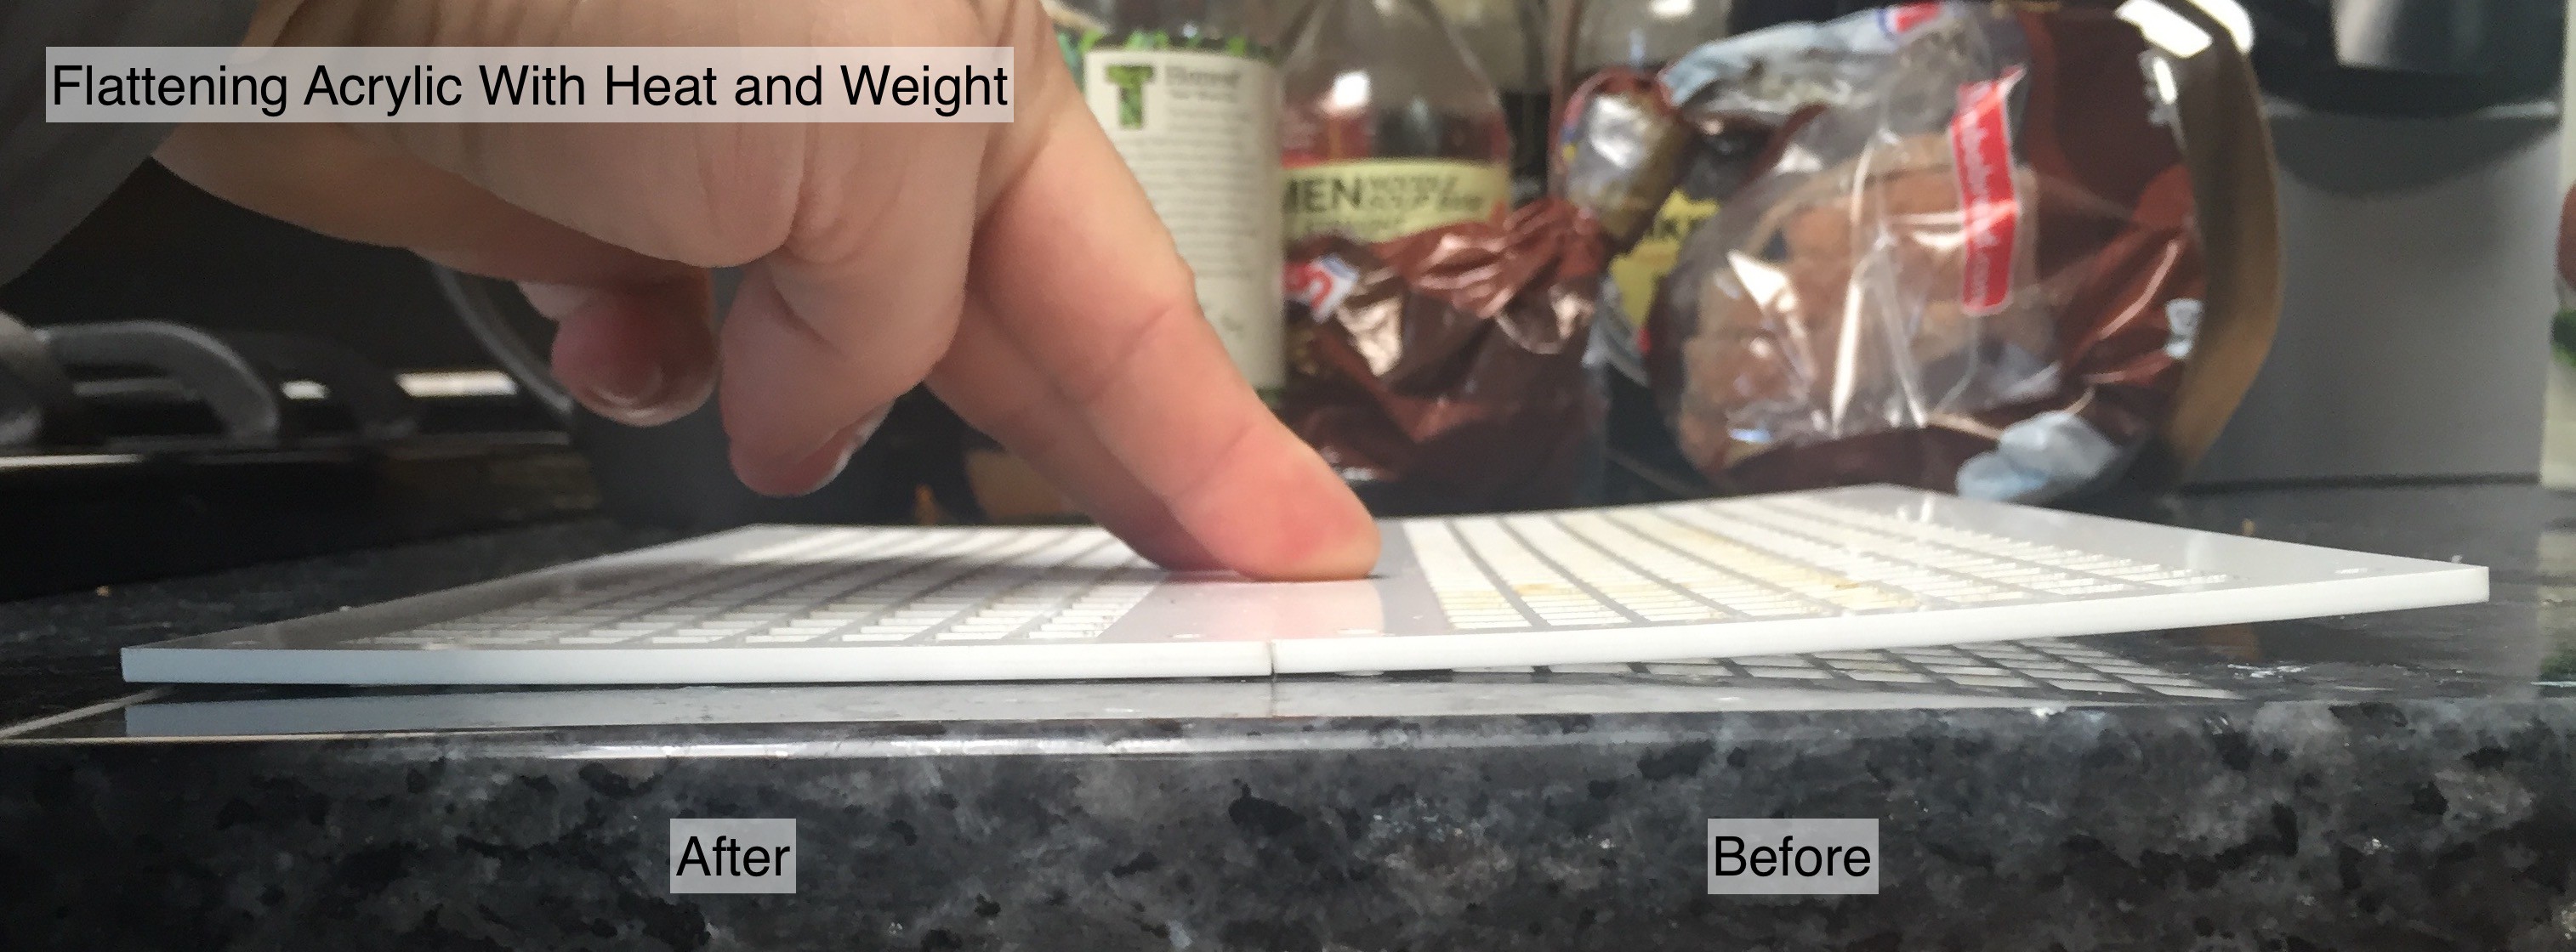
The problem with laser cutting 192 7mm squares in 3 minutes is that the plastic deforms because a ton of heat is transferred from the laser to the cutting bed and into the plastic. Its as if the plastic was resting on a stove top for a few minutes. I tried a number of different settings on the laser cutter, but due to time constraints and the limited material I had on hand I was not able to produce a perfectly flat piece.
I did, however, find that I could flatten the piece if I heated it up again on a stove and put it under a book that had weights stacked on top of it.
I am very satisfied with look of the 1/8" opaque grid because it achieves much higher light isolation, while still providing glossy walls to diffuse the light. I was afraid that if this hadn't worked I would have had to make the grids out of wood and then hand paint the walls of each square with white glossy paint to reflect and diffuse the light, a process that would have been extremely time consuming.
Discussions
Become a Hackaday.io Member
Create an account to leave a comment. Already have an account? Log In.