 ogghst
The Idea
The goals I wanted to reach were:
Not just a software library, but a vertical platform
Automating plant growing is not only a matter of writing code. You need to design the system, build it, wire everything together, and keep the environment suitable for your plants. Therefore, the project must contain not only code, but schematics, design documents, 3d prints.. An user will need to access and modify all of them. A potential community has to exchange not only new versions of a software library but also new DYI projects, recipes, sugestions. Lot of skills are involved and GrowNode will have to speak a lot of languages.
Focus on system architecture, not functionalities
Whoever has to work with this project, has to start with simple things. Custom code written has to be limited to defining what sensors are present in the system, and how they have to interact between each other. Schematics, 3D prints, instructions should be avaialable to give to users the physical building blocks that matches software components
Decoupled, scalable system
The environment where GrowNode systems has to operate will be distributed, scalable, etherogeneous. System boundaries can change as we increase the size of our farm, we add features, or entire new systems. A farming project could interact with his environment, e.g. opening a rollershutter to give the plants light.
If you want to play hard, you can
Simple systems should be ready in minutes, but you will find your own personal needs soon. Each plant has his own need. Every house or garden has his own climate. Technology advance at the speed of lights and every month there is something new to experiment. There's no one size fits all here. Users shall have the possibility to design their own components and architectures, and the GrowNode platform shall provide the access to the raw code and schematics when it's time to.
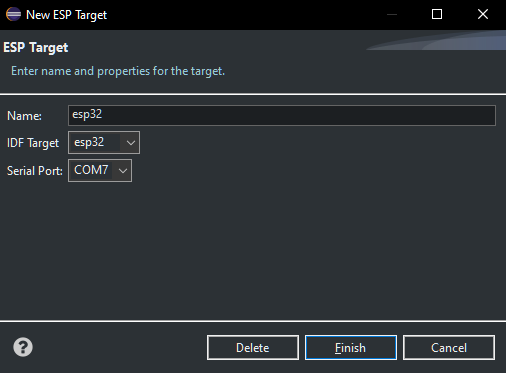
GrowNode aims to use most common development tools. Actual release is composed by:
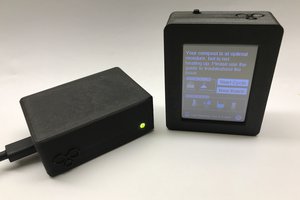
Hardware
- ESP32 and above microcontrollers
- Various displays tested (ILI9341) with touch screen (tested XPT2046) capabilities
- Common sensors and actuators (relay, PWM output, temperature probes, capacitance sensors..) with any esp-idf compatible libraries
Software Components
- ESP-IDF (release 4.4) programming environment
- MQTT as a messaging system
- LVGL as display library

 Darian Johnson
 JanoHak
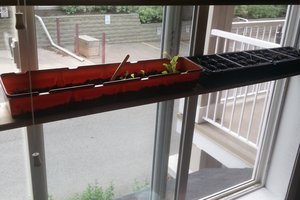
 hominidae
 Fabien Royer