0%
0%
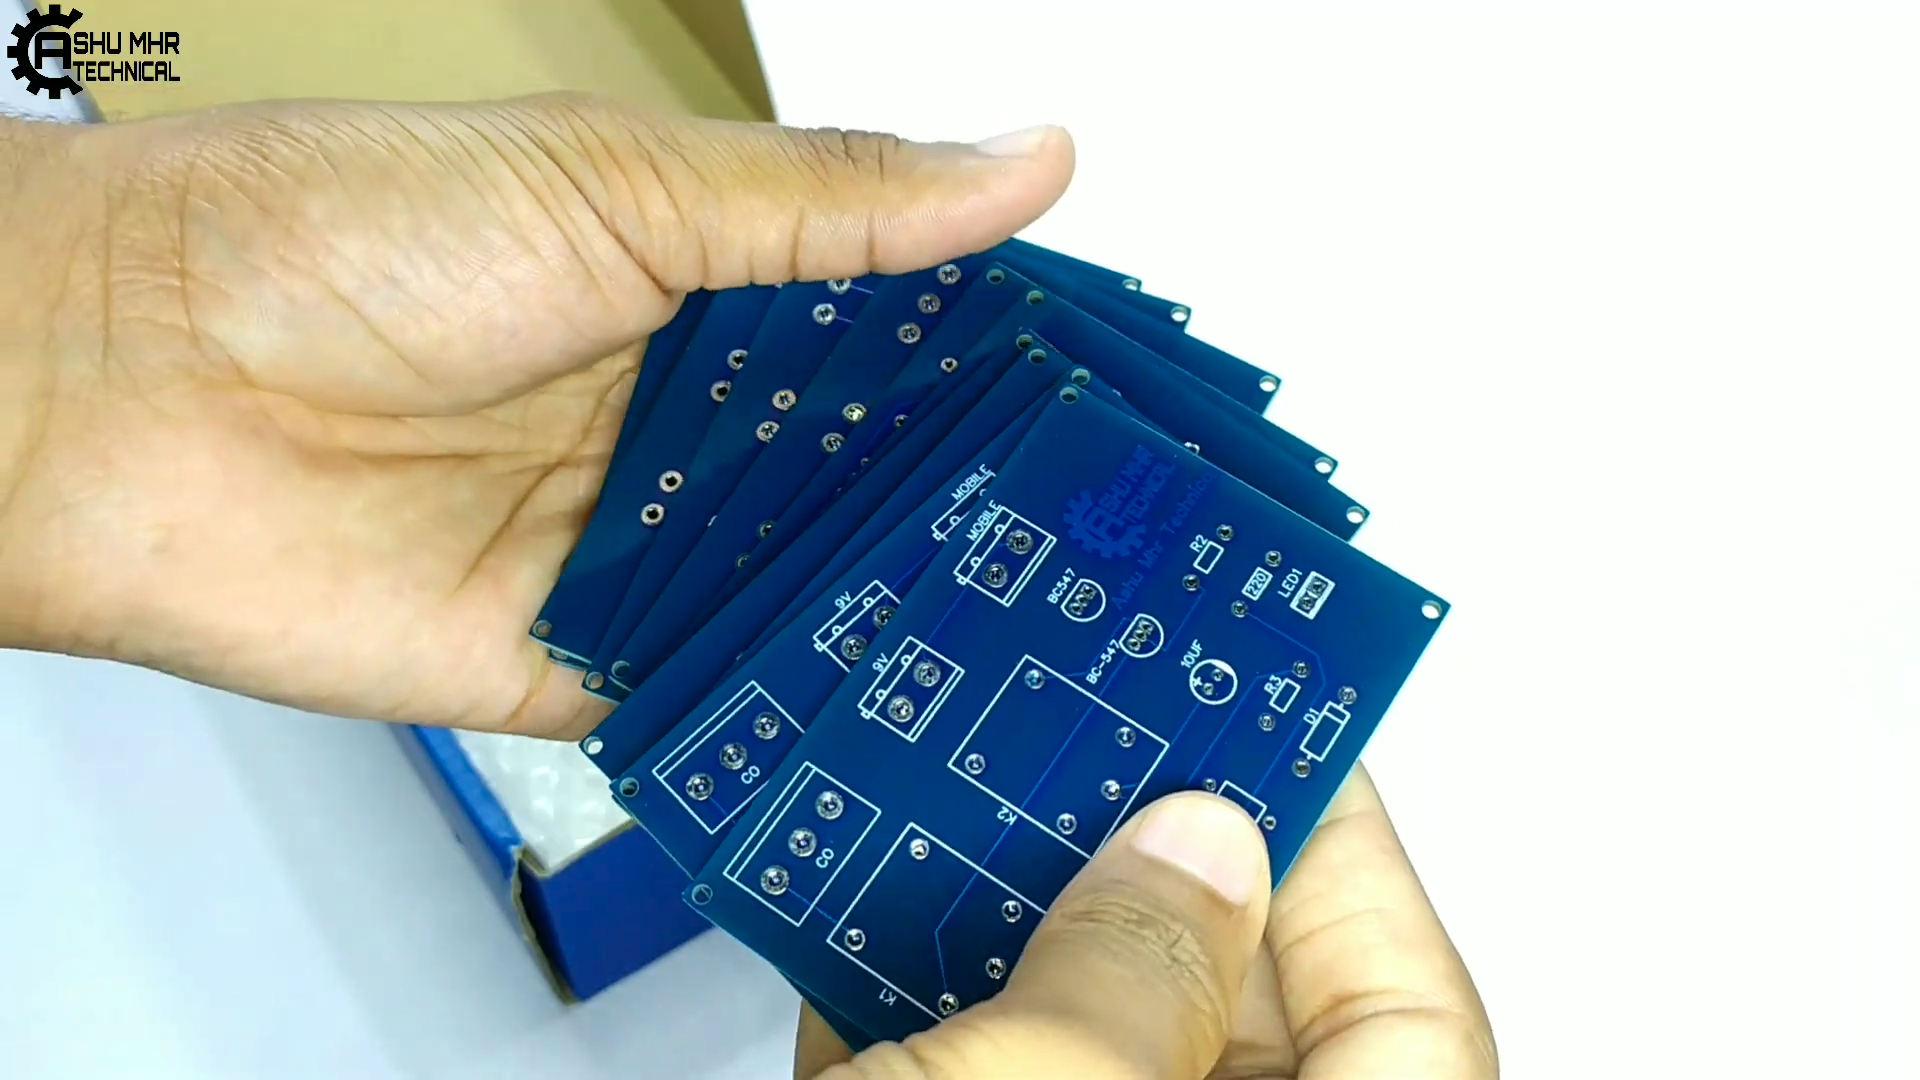
Smart Device Controller
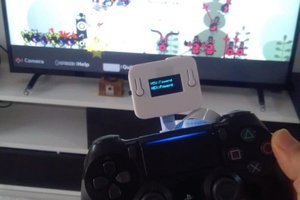
This is a very interesting yet simple project for controlling ac appliances through phone calls. We called it "Smart Device Controller".
 ASHUMHRPROJECTS
Become a Hackaday.io member
Already have an account? Log in.
Just one more thing
To make the experience fit your profile, pick a username and tell us what interests you.
Pick an awesome username
hackaday.io/
Your profile's URL: hackaday.io/username. Max 25 alphanumeric characters.
Pick a few interests
Projects that share your interests
People that share your interests

_Q3A4METNmv.png?auto=compress%2Cformat&w=740&h=555&fit=max)
_WnryFqCVNv.png?auto=compress%2Cformat&w=740&h=555&fit=max)
_XLdExSY1ps.png?auto=compress%2Cformat&w=740&h=555&fit=max)
_Y0vxKJNFcj.png?auto=compress%2Cformat&w=740&h=555&fit=max)
_Y4hFyNSilr.png?auto=compress%2Cformat&w=740&h=555&fit=max)
_5G4UlKNxpP.png?auto=compress%2Cformat&w=740&h=555&fit=max)
_gsWfnwBz1R.png?auto=compress%2Cformat&w=740&h=555&fit=max)
_UFhXEe4No1.png?auto=compress%2Cformat&w=740&h=555&fit=max)
_Q2VpcvGEcw.png?auto=compress%2Cformat&w=740&h=555&fit=max)
_ISjwu01lgG.png?auto=compress%2Cformat&w=740&h=555&fit=max)
_AHV9kVQCaZ.png?auto=compress%2Cformat&w=740&h=555&fit=max)
_rfyPKzUpOt.png?auto=compress%2Cformat&w=740&h=555&fit=max)
_TOhgjeUQdj.png?auto=compress%2Cformat&w=740&h=555&fit=max)
_u75ZcVnQQ7.png?auto=compress%2Cformat&w=740&h=555&fit=max)
_nacM8xXlmA.png?auto=compress%2Cformat&w=740&h=555&fit=max)
_9zOkq2gEE9.png?auto=compress%2Cformat&w=740&h=555&fit=max)
_Xwf5rgA7pn.png?auto=compress%2Cformat&w=740&h=555&fit=max)
_Lk8FilfMRd.png?auto=compress%2Cformat&w=740&h=555&fit=max)
_krFlyJuyIF.png?auto=compress%2Cformat&w=740&h=555&fit=max)
_aWHPAEShCs.png?auto=compress%2Cformat&w=740&h=555&fit=max)
_mMo28EoaJ7.png?auto=compress%2Cformat&w=740&h=555&fit=max)
_pFyjryzBPg.png?auto=compress%2Cformat&w=740&h=555&fit=max)
_uJ9Qx0shHW.png?auto=compress%2Cformat&w=740&h=555&fit=max)
_q3AR6UoXO8.png?auto=compress%2Cformat&w=740&h=555&fit=max)
_KcYZVlhTRn.png?auto=compress%2Cformat&w=740&h=555&fit=max)
_3oO1uqGyT6.png?auto=compress%2Cformat&w=740&h=555&fit=max)
_qLRXP9juAc.png?auto=compress%2Cformat&w=740&h=555&fit=max)
_Gfz7QsqV0G.png?auto=compress%2Cformat&w=740&h=555&fit=max)
_gYYpZNL5TK.png?auto=compress%2Cformat&w=740&h=555&fit=max)
_csZoTNge7l.png?auto=compress%2Cformat&w=740&h=555&fit=max)
_sS7vq7C9mM.png?auto=compress%2Cformat&w=740&h=555&fit=max)
_uVKptRyi7Y.png?auto=compress%2Cformat&w=740&h=555&fit=max)
_sZWp79Gsjo.png?auto=compress%2Cformat&w=740&h=555&fit=max)
_DFOUn7M1QQ.png?auto=compress%2Cformat&w=740&h=555&fit=max)
_nYrYb33bX9.png?auto=compress%2Cformat&w=740&h=555&fit=max)
_oFMLa7823C.png?auto=compress%2Cformat&w=740&h=555&fit=max)
_Zoj77zmrhp.png?auto=compress%2Cformat&w=740&h=555&fit=max)
_dRoV8LFiCG.png?auto=compress%2Cformat&w=740&h=555&fit=max)
_ThjctGJvJ1.png?auto=compress%2Cformat&w=740&h=555&fit=max)
_WWYbsZ2jE4.png?auto=compress%2Cformat&w=740&h=555&fit=max)
_Wn11jXztul.png?auto=compress%2Cformat&w=740&h=555&fit=max)
_25qNpWGRxY.png?auto=compress%2Cformat&w=740&h=555&fit=max)
_uqkS5mJl1u.png?auto=compress%2Cformat&w=740&h=555&fit=max)
_xFDFyqCRex.png?auto=compress%2Cformat&w=740&h=555&fit=max)
_2nv7Hfsw7z.png?auto=compress%2Cformat&w=740&h=555&fit=max)
_RJcnCfZ8QQ.png?auto=compress%2Cformat&w=740&h=555&fit=max)
_2pv6Pqpu2L.png?auto=compress%2Cformat&w=740&h=555&fit=max)
_P7CHd1H48t.png?auto=compress%2Cformat&w=740&h=555&fit=max)
_NPIH8ZbiSh.png?auto=compress%2Cformat&w=740&h=555&fit=max)
_KJpL0fooZa.png?auto=compress%2Cformat&w=740&h=555&fit=max)
_lv4T87vRPO.png?auto=compress%2Cformat&w=740&h=555&fit=max)
_SoV6BOaakn.png?auto=compress%2Cformat&w=740&h=555&fit=max)
_caSK1P45ig.png?auto=compress%2Cformat&w=740&h=555&fit=max)
_iJ6cEmsLkO.png?auto=compress%2Cformat&w=740&h=555&fit=max)
_BjBy4Wbspz.png?auto=compress%2Cformat&w=740&h=555&fit=max)
_XkUUdcRpYV.png?auto=compress%2Cformat&w=740&h=555&fit=max)
_6K9nXlpaiw.png?auto=compress%2Cformat&w=740&h=555&fit=max)
_B5pVju1ebO.png?auto=compress%2Cformat&w=740&h=555&fit=max)
_GjacFC5NXn.png?auto=compress%2Cformat&w=740&h=555&fit=max)
_OfHH38iwLp.png?auto=compress%2Cformat&w=740&h=555&fit=max)
_peGyiQn0In.png?auto=compress%2Cformat&w=740&h=555&fit=max)
_OiicSV5yLg.png?auto=compress%2Cformat&w=740&h=555&fit=max)
_2H7VHQBvPj.png?auto=compress%2Cformat&w=740&h=555&fit=max)
_7QsENpsfpy.png?auto=compress%2Cformat&w=740&h=555&fit=max)
_rAmhCCCod8.png?auto=compress%2Cformat&w=740&h=555&fit=max)
_txpWA9T2Pi.png?auto=compress%2Cformat&w=740&h=555&fit=max)
 Marcin Saj