Subhajit
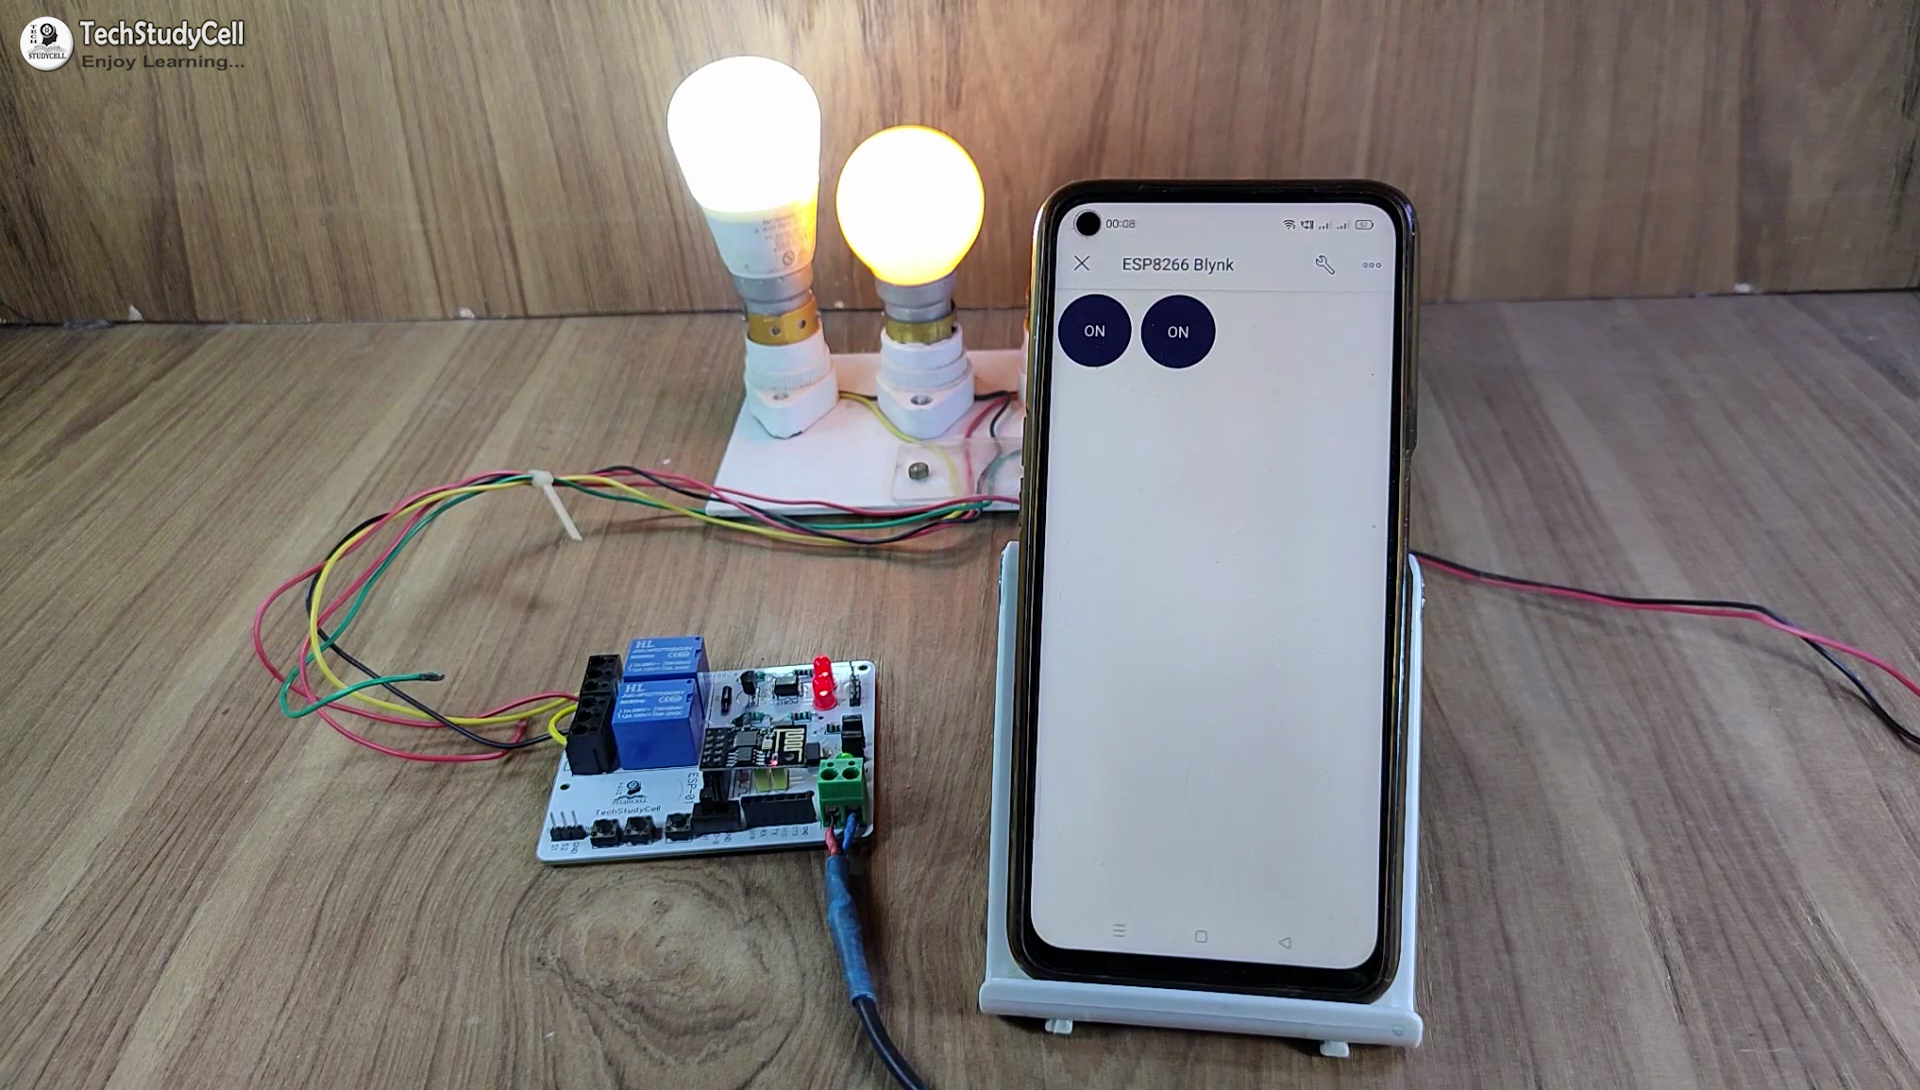
In this IoT project, I have shown how to make an ESP01 Project using Blynk IFTTT to control a 2-channel relay module with the Google Assistant, and manual switch.
During the article, I have shown all the steps to make this Blynk home automation system.
Tutorial Video on new Blynk ESP8266 ESP01 Project
This Blynk ESP8266 control smart relay has the following features:
- Control home appliances with Google Assistant.
- Control home appliances with the Blynk IoT app.
- Control home appliances with Blynk web dashboard.
- Control home appliances manually with push buttons.
- Monitor real-time feedback in the Blynk IoT App.
So, you can easily make this home automation project at home just by using an ESP01 and relay module. Or you can also use a custom-designed PCB for this project.
Required Components for the PCB

- ESP01 ESP8266
- Relays 5v (SPDT) (2 no)
- BC547 Transistors (2 no)
- PC817 Optocuplors (2 no)
- 510-ohm 0.25-watt Resistor (2 no) (R1 -- R2)
- 1k 0.25-watt Resistors (3 no) (R3 -- R5)
- LED 5-mm (3 no)
- 1N4007 Diodes (2 no) (D1 -- D2)
- Push Buttons (3 no)
- Terminal Connectors
- Jumper (2no)
- Switch (1no)
- 5V DC supply
Circuit Diagram of the ESP01 Home Automation Project

This is the complete circuit diagram for this home automation project. I have explained the circuit in the tutorial video.
The circuit is very simple, I have used GPIO-0 and GPIO-2 to control the 2 relays.
And the GPIO pins GPIO-3 and GPIO-1are connected with push buttons to control the 2 relays manually.
I have used the INPUT_PULLUP function in Arduino IDE instead of using the pull-up resistors.
I have used a 5V mobile charger to supply the smart relay module.
After programming the ESP01 disconnect the GPIO-0 from the GND pin.
Setup Blynk Cloud FREE Account

For this smart house project, I have used the Blynk IoT Cloud Free plan.
Click on the following link to create a Blynk Cloud account.
https://blynk.cloud/dashboard/register
- Enter email ID, then click on "Sign Up".
- You will receive a verification email.
- Click on Create Password in the email, Then set the password, click on Next.
- Enter your first name, click on Done.
- After that Blynk cloud dashboard will open.
Then, you have to create a template in the Blynk cloud.

Steps to Create New Template for ESP8266
- Click on New Template.
- Enter a template name, select the hardware as ESP8266, and the connection type will be WiFi.
- Then click on DONE.
You will get the BLYNK_TEMPLATE_ID and BLYNK_DEVICE_NAME after creating the temple.
The BLYNK_TEMPLATE_ID and BLYNK_DEVICE_NAME will be required while programming the ESP01 ESP8266.
Create a Datastream in Blynk Cloud

After that, you have to create Datastreams. Here I will control 2 relays, so I have to create 2 Datastreams.
- Go to the Datastreams tab.
- Click on New Datastream and select Virtual Pin.

- Enter a name, select the virtual pin V1, and the datatype will be Integer.
- Then click on Create.

In a similar way, create the next datastreams with virtual pin V2.
Set Up Blynk Cloud Web Dashboard

Now go to the web dashboard tab.
Drag and drop 2 Switch widgets.

Go to the settings of each widget, and select a Datastream.
Install Blynk IoT App to Configure Mobile Dashboard

- Install the Blynk IoT app from Google Play Store or App Store. Then log in.
- Go to Developer Mode.
- Tap on the template that you have already made.
- Now go to the Widget box (on the right) to add widgets.
Add Widgets in Blynk IoT App

- Add 4 Button widgets from Widget Box.
- Go to Button widget settings.
- Enter the name, select Datastream, Mode will be Switch. Then exit.
- After setting all the Buttons tap on exit.
Design the PCB for This Smart Home System

To make the circuit compact and give a professional...
Read more »