0%
0%
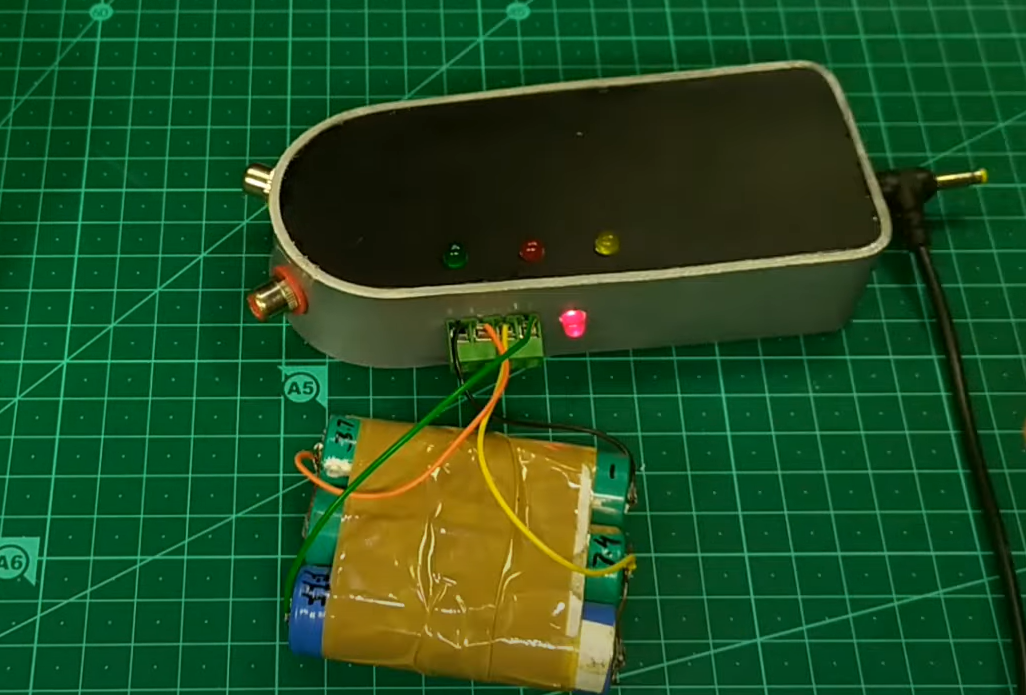
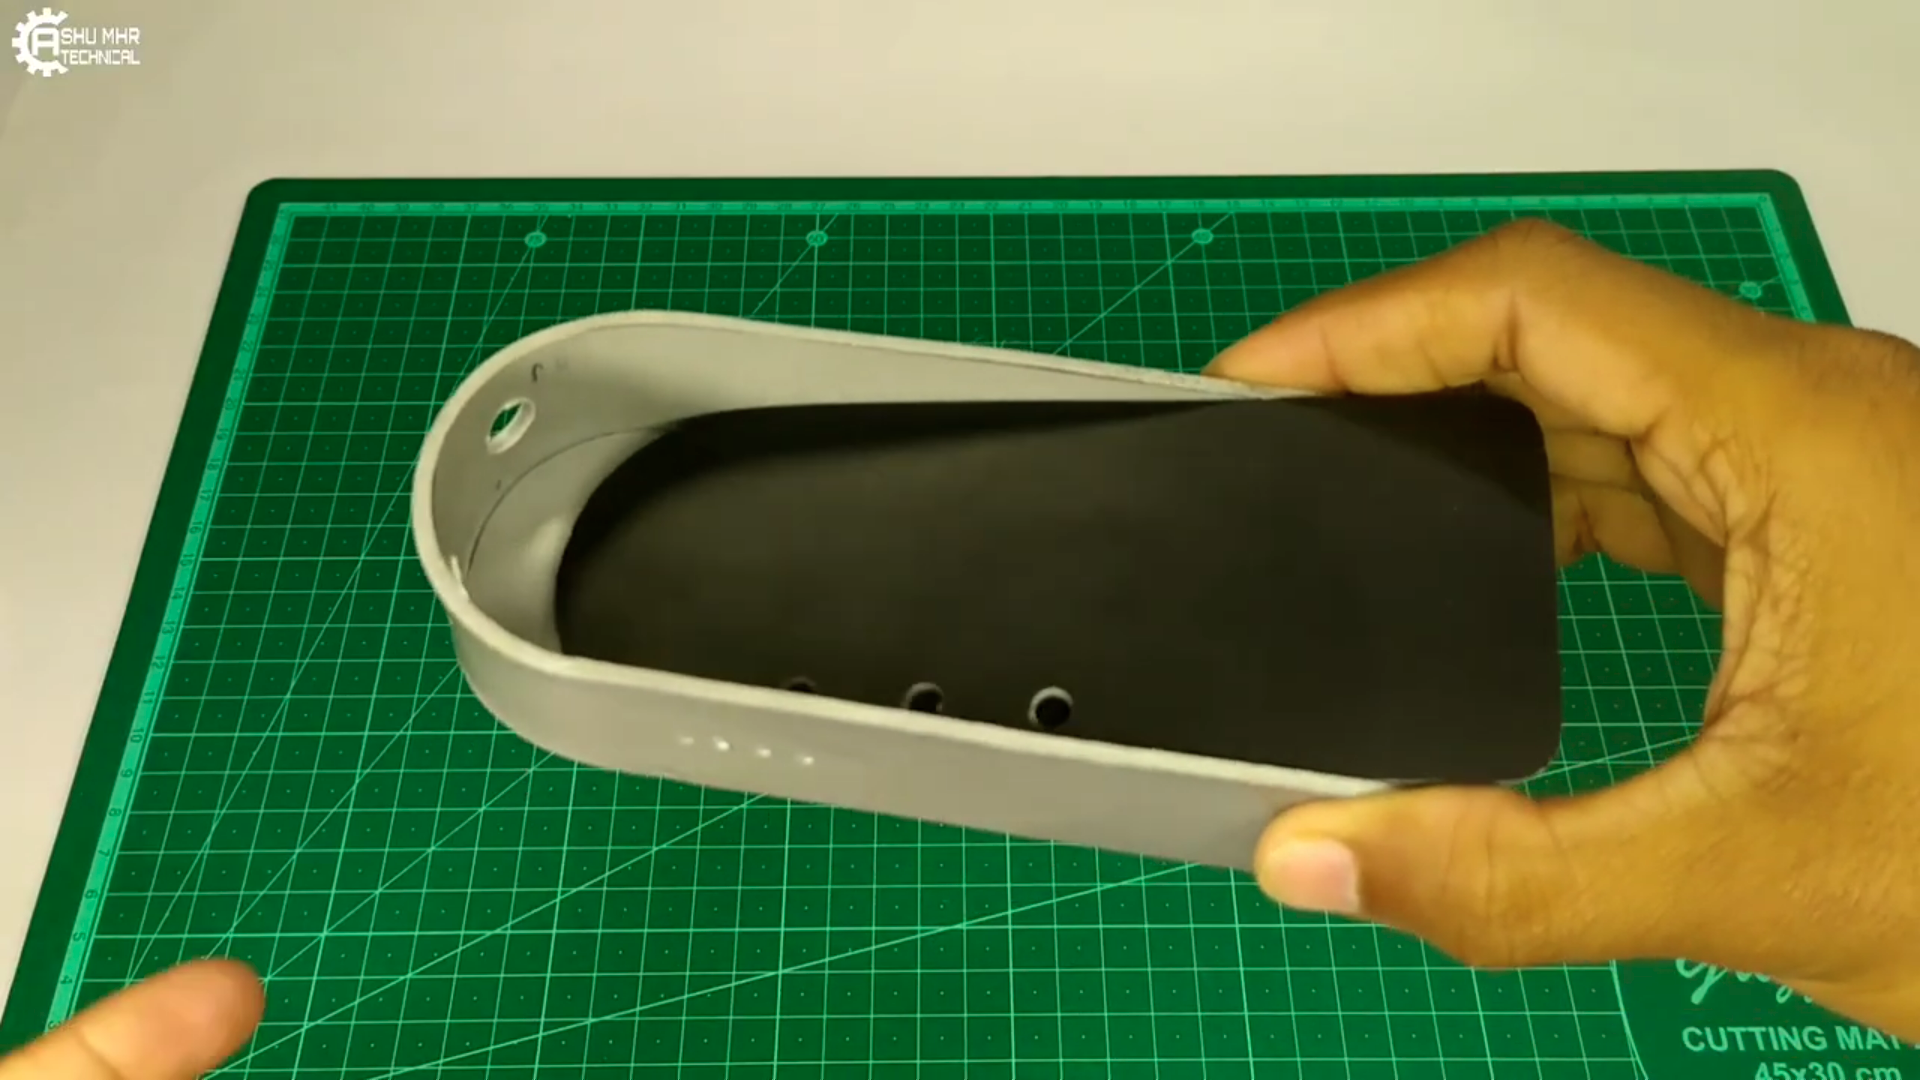
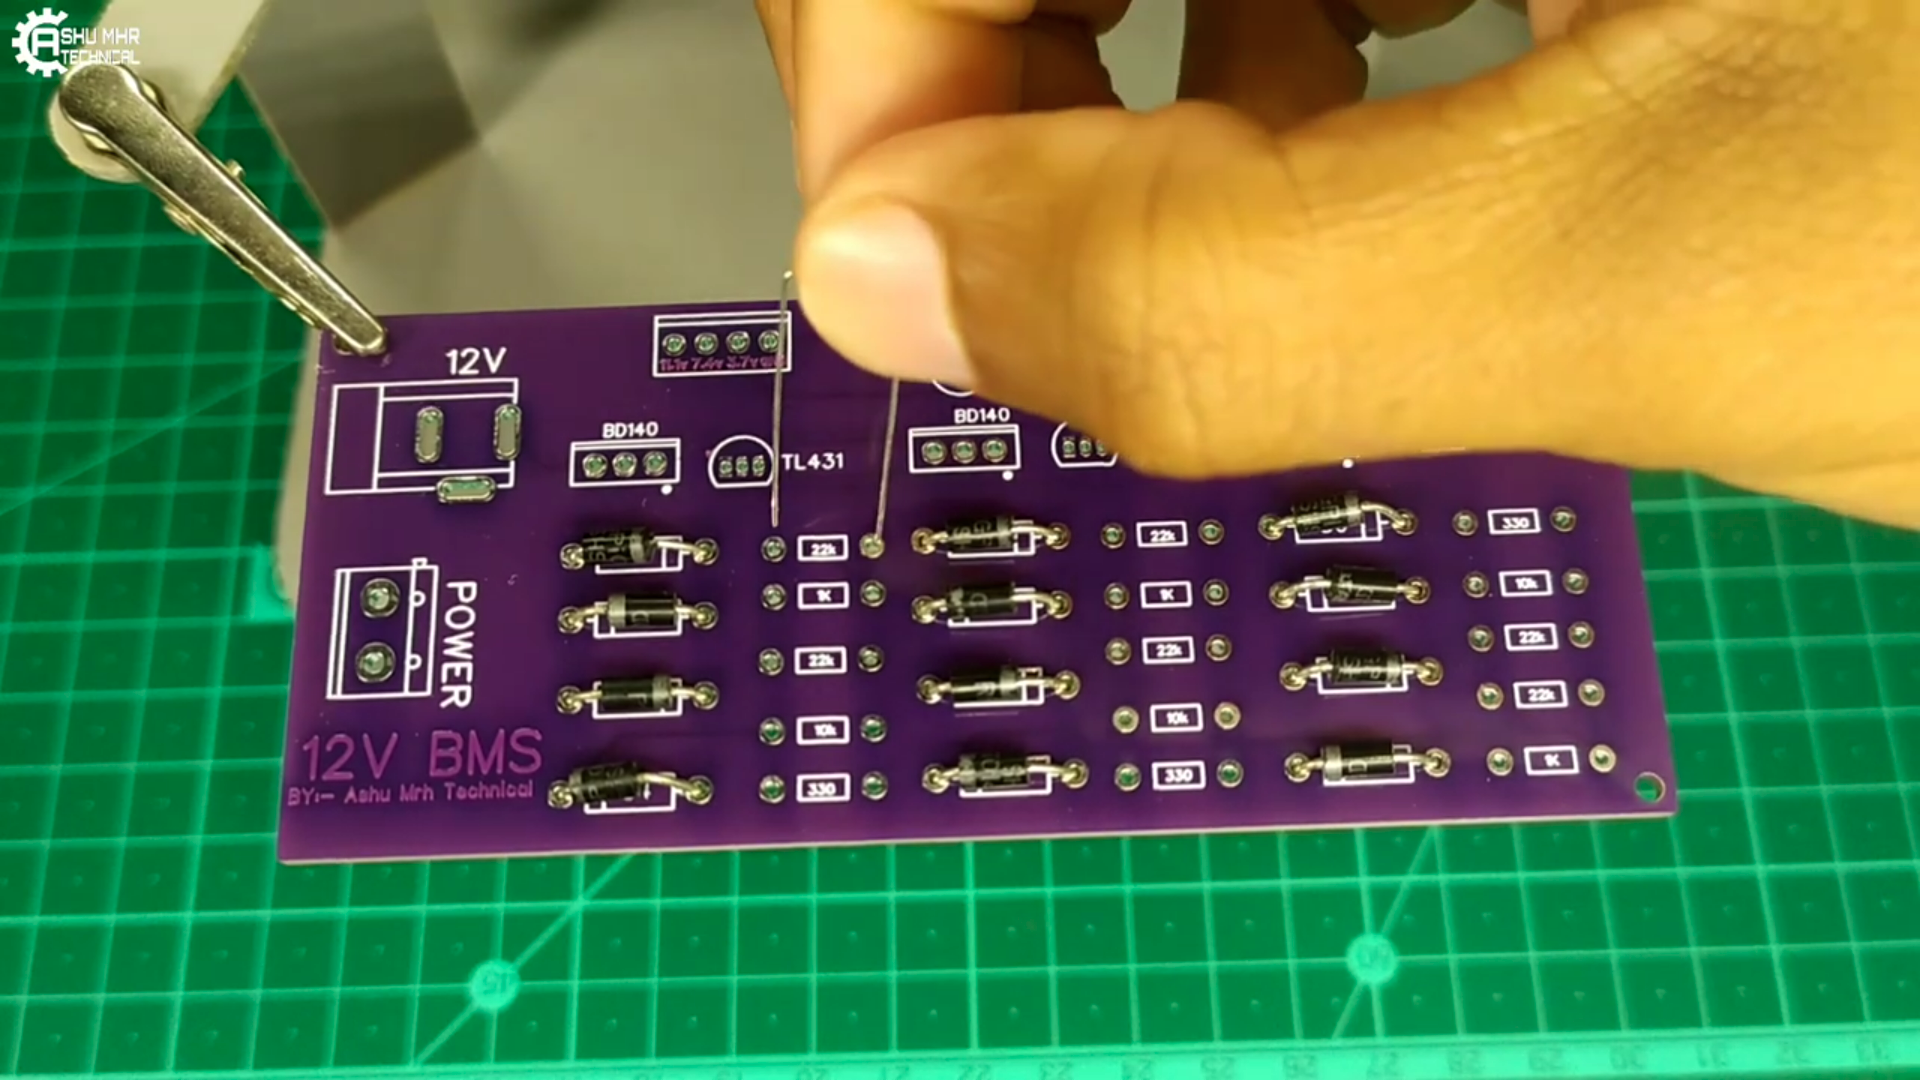
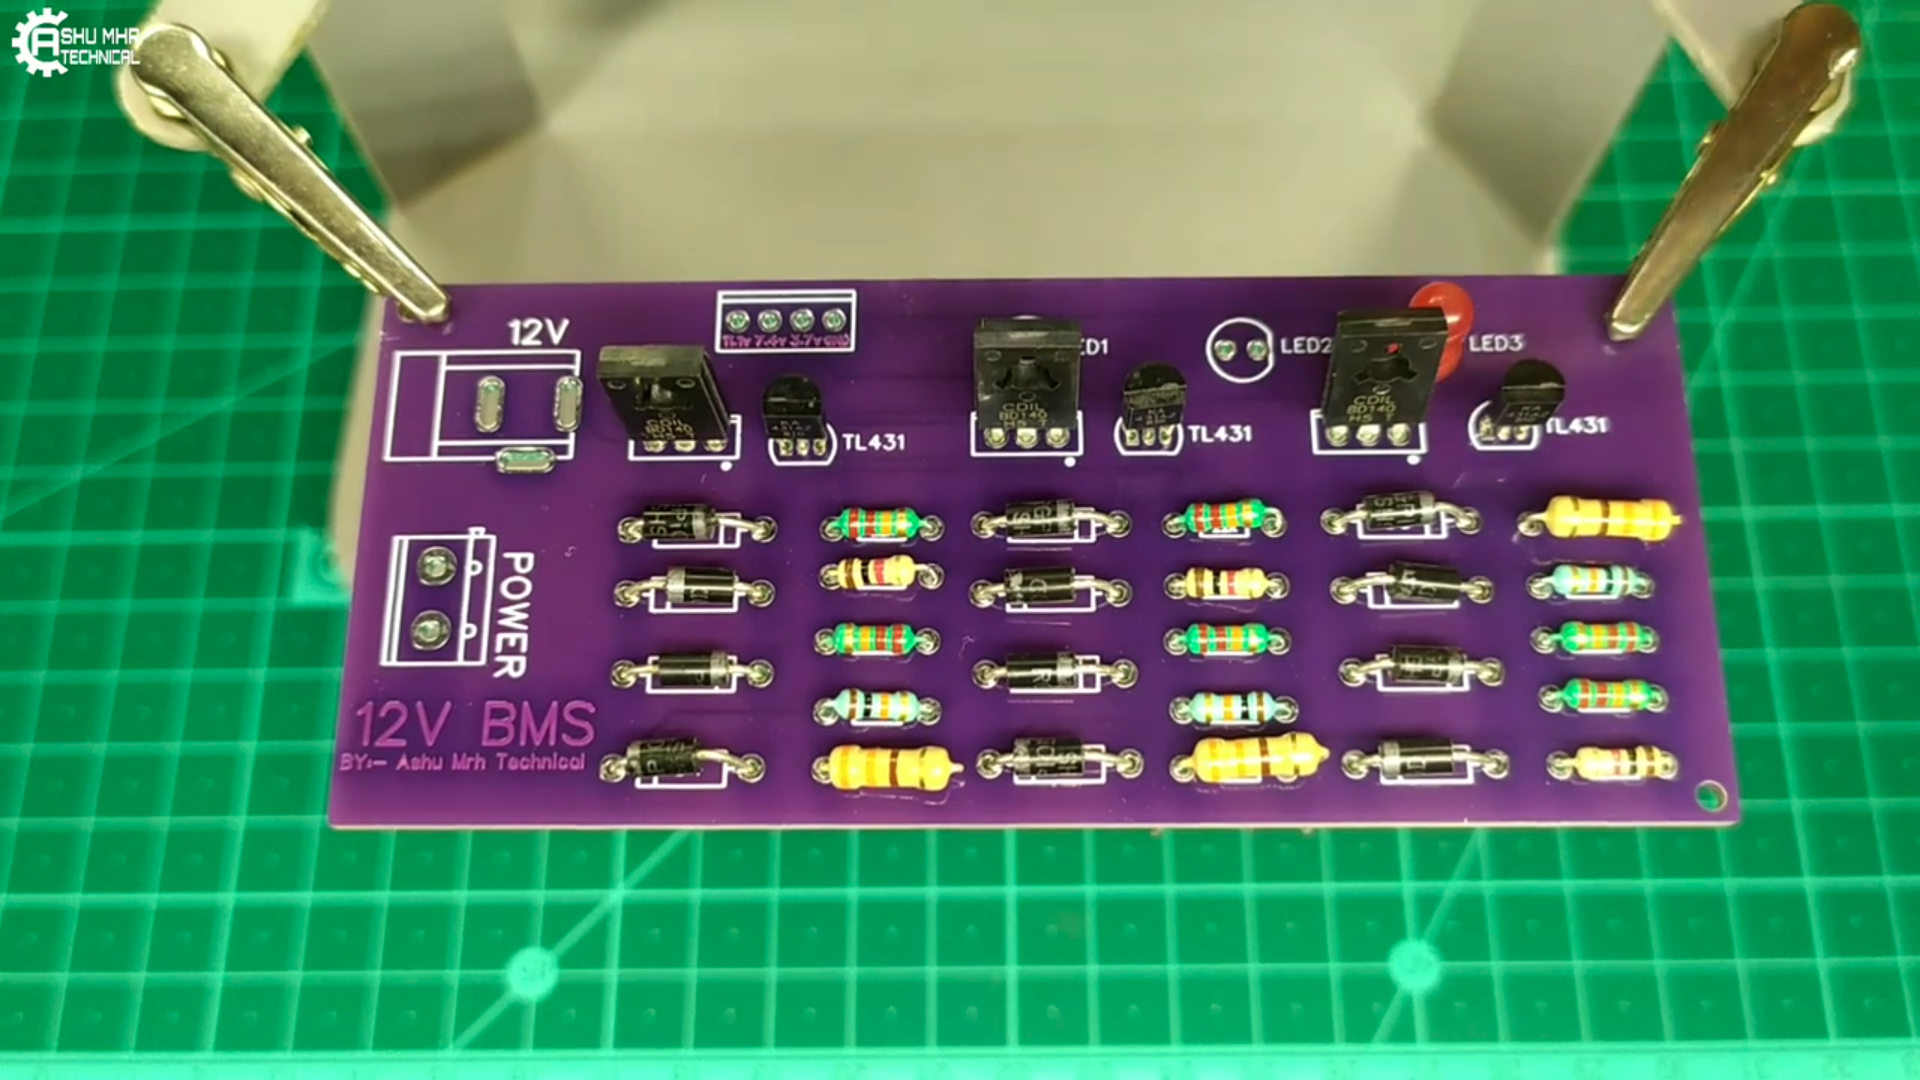
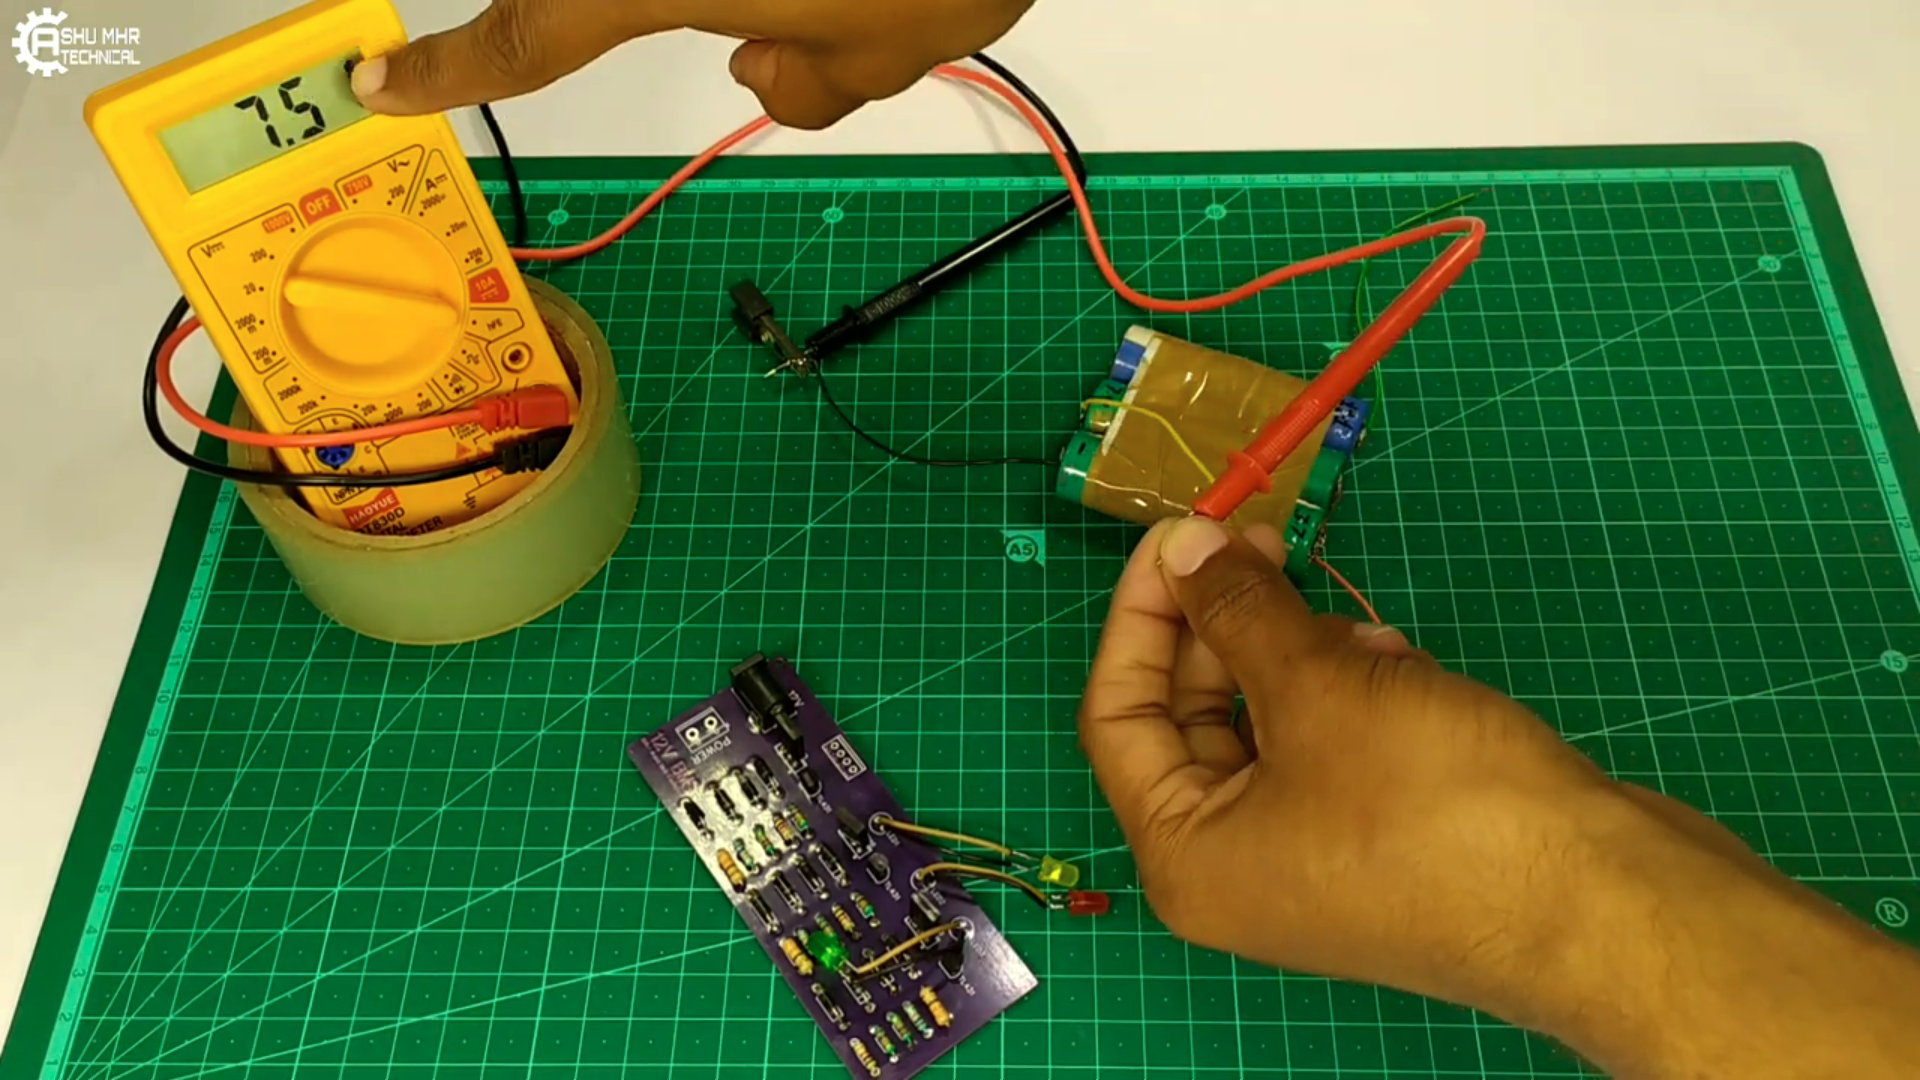
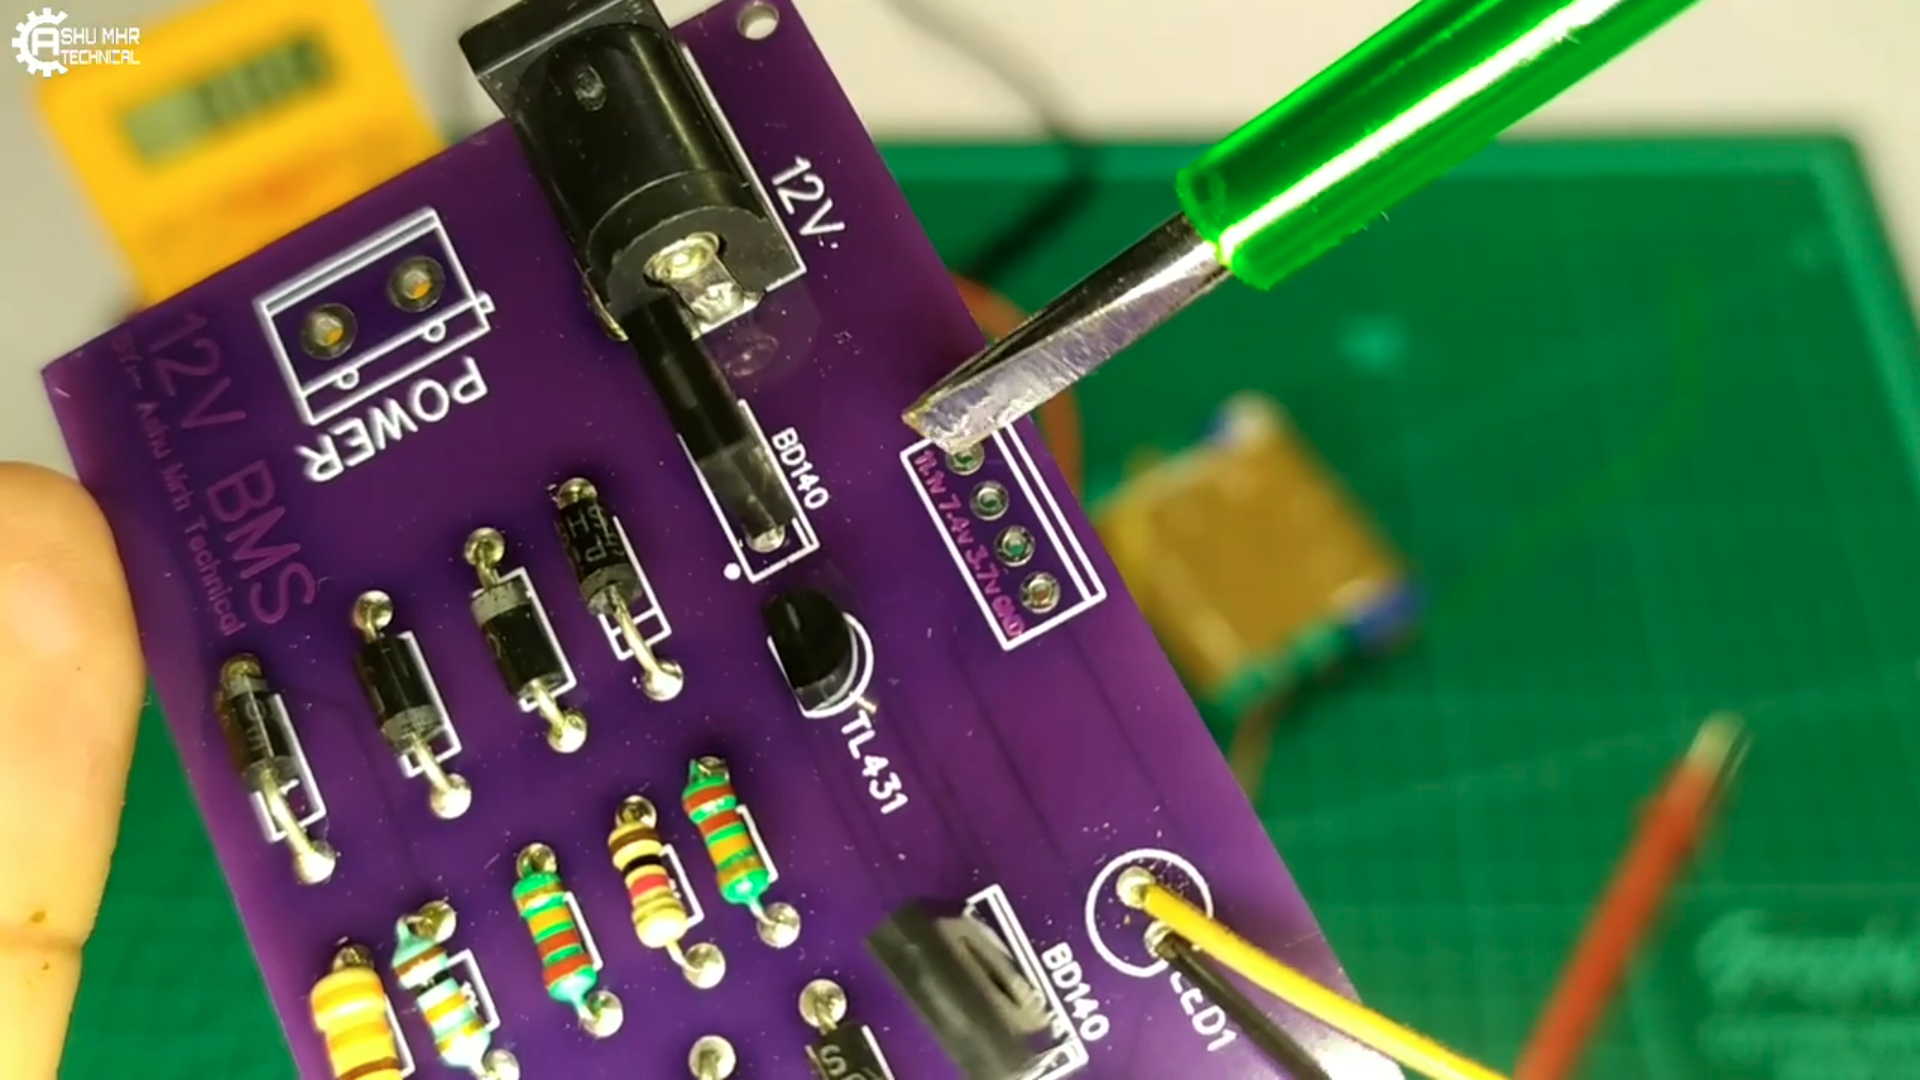
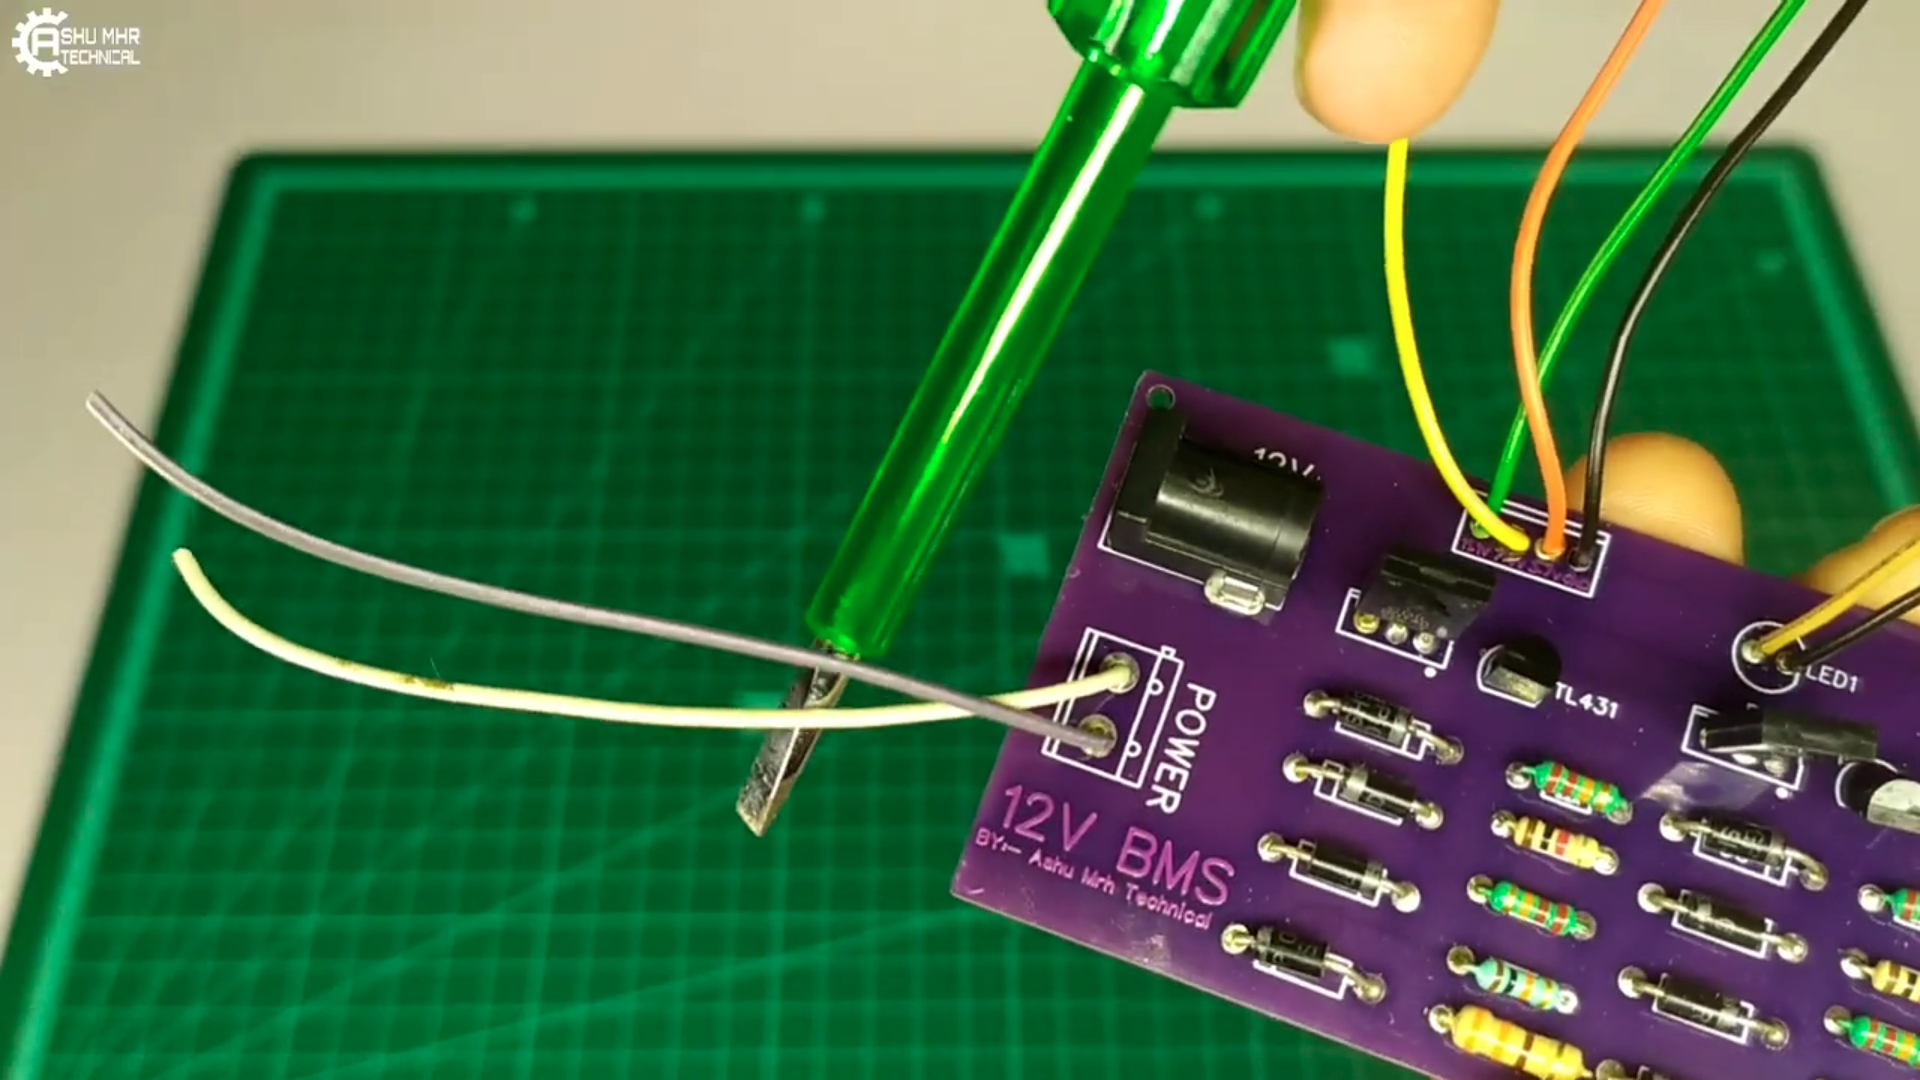
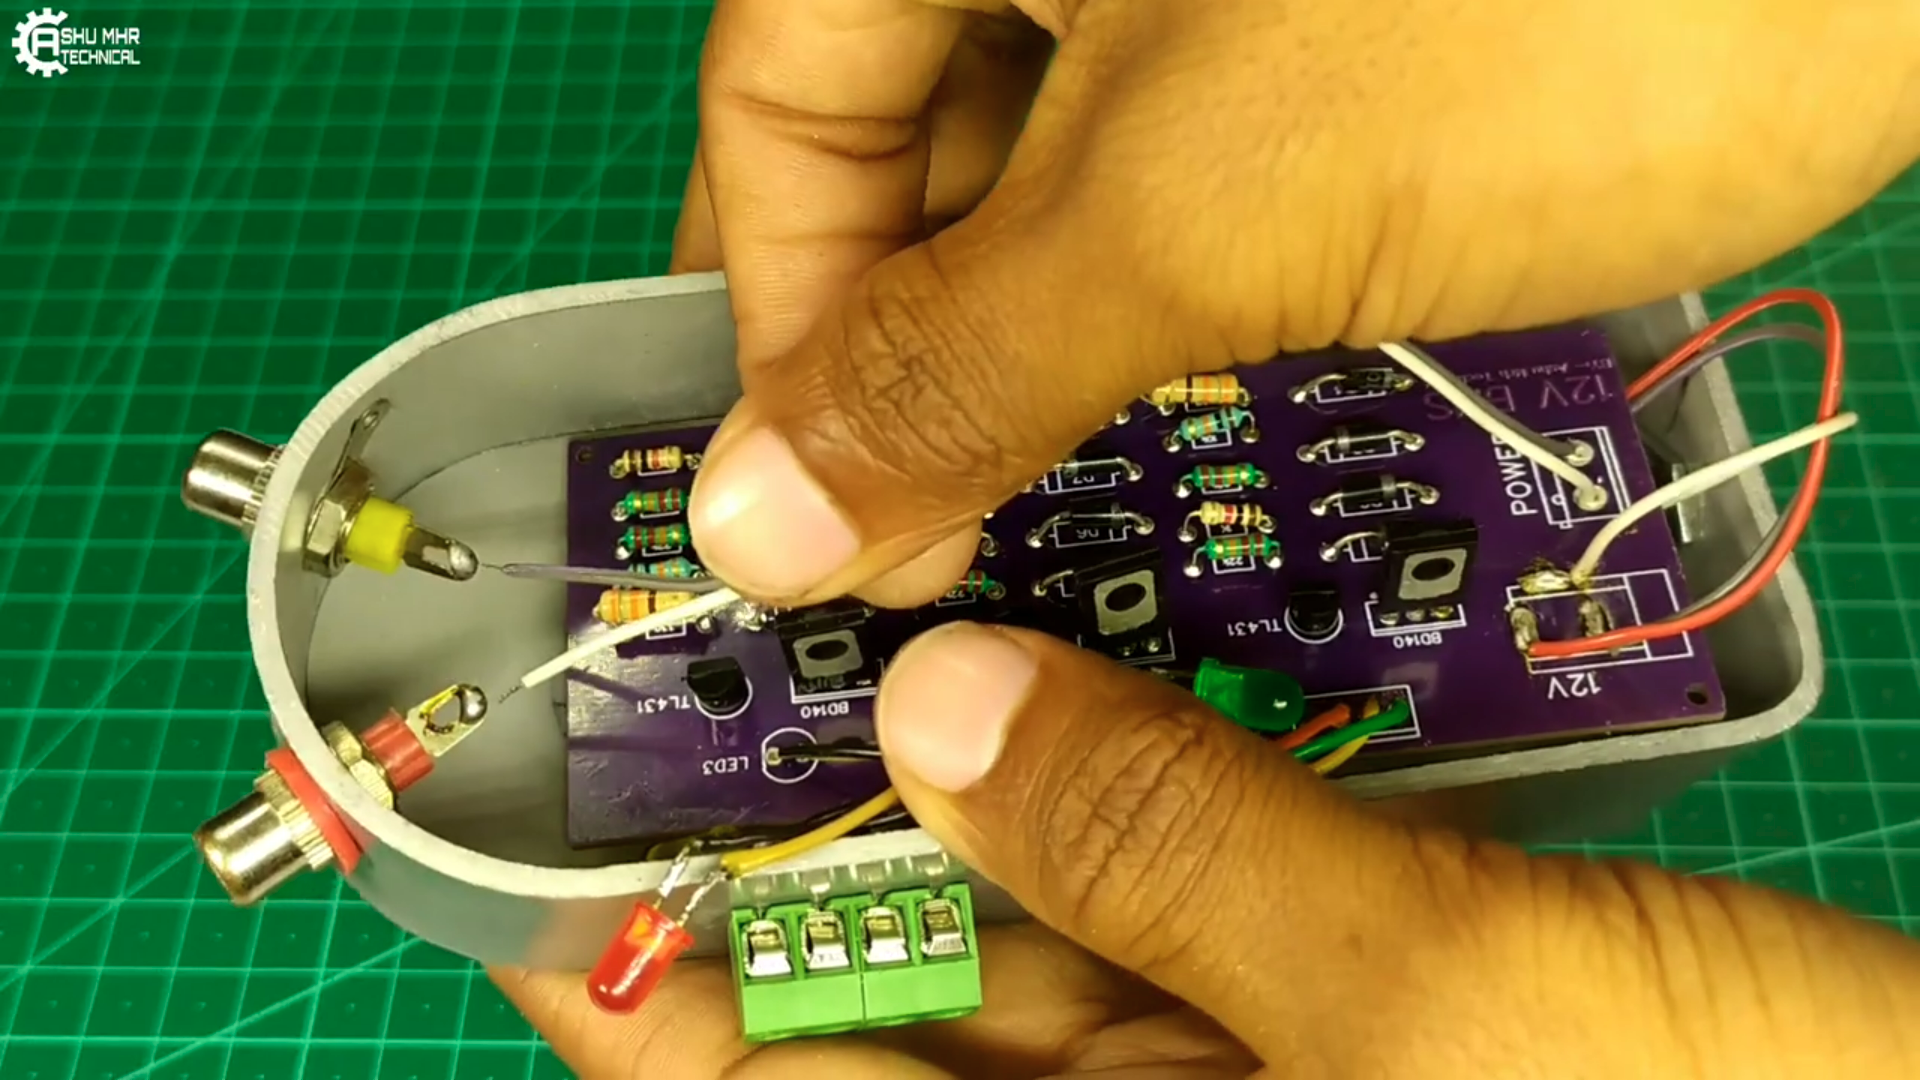
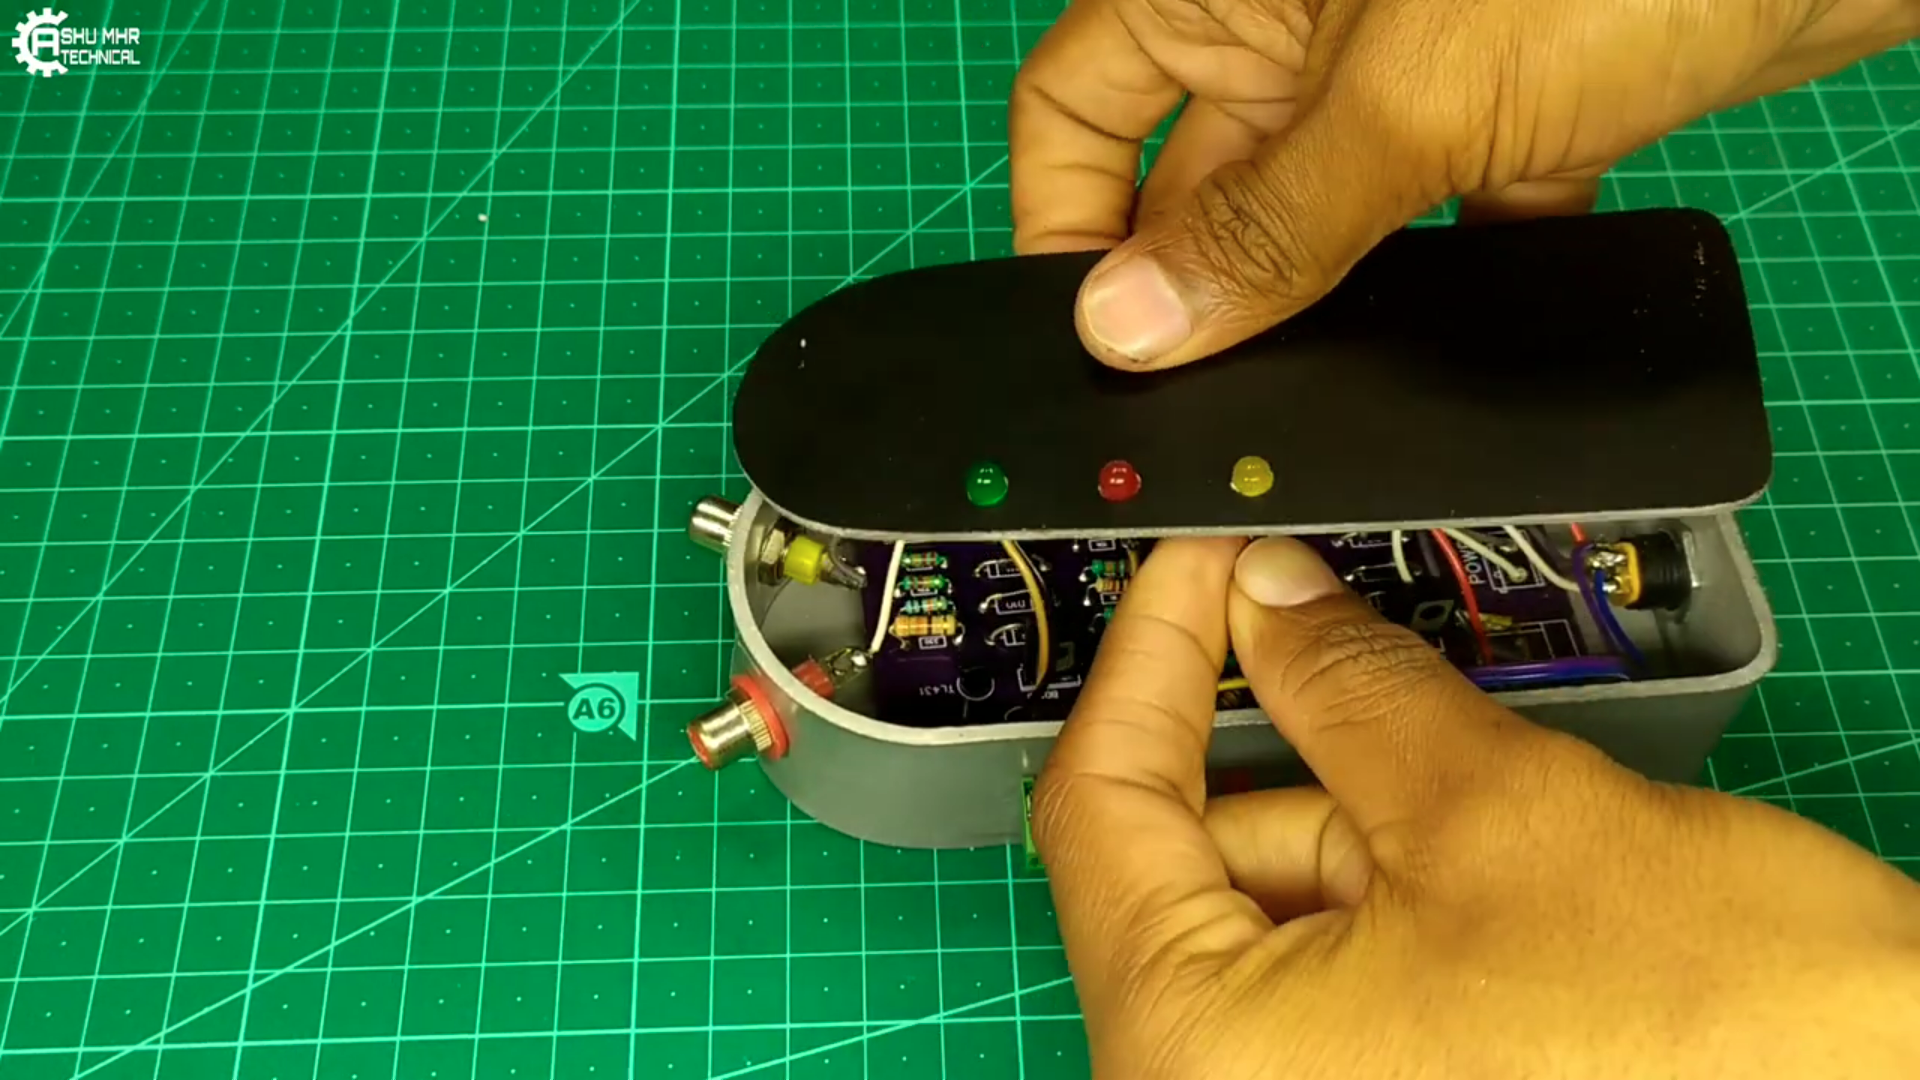
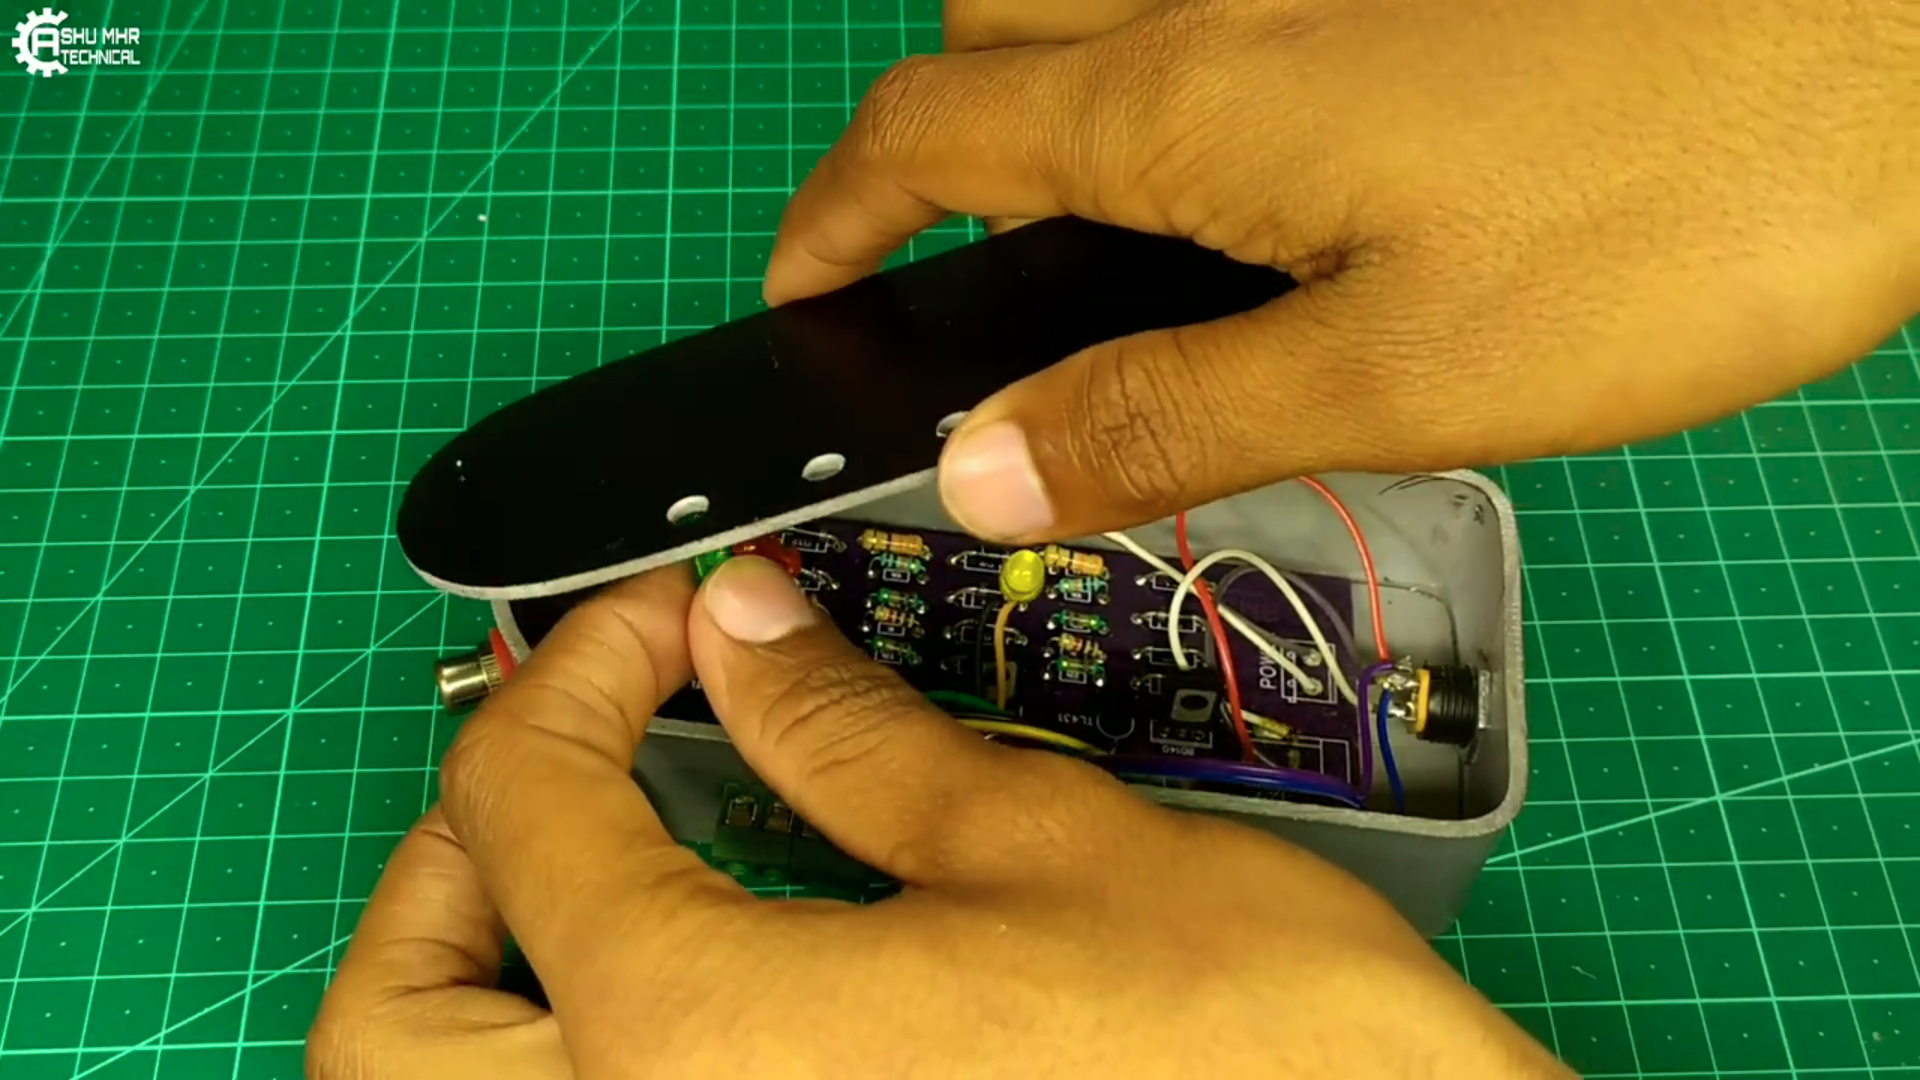
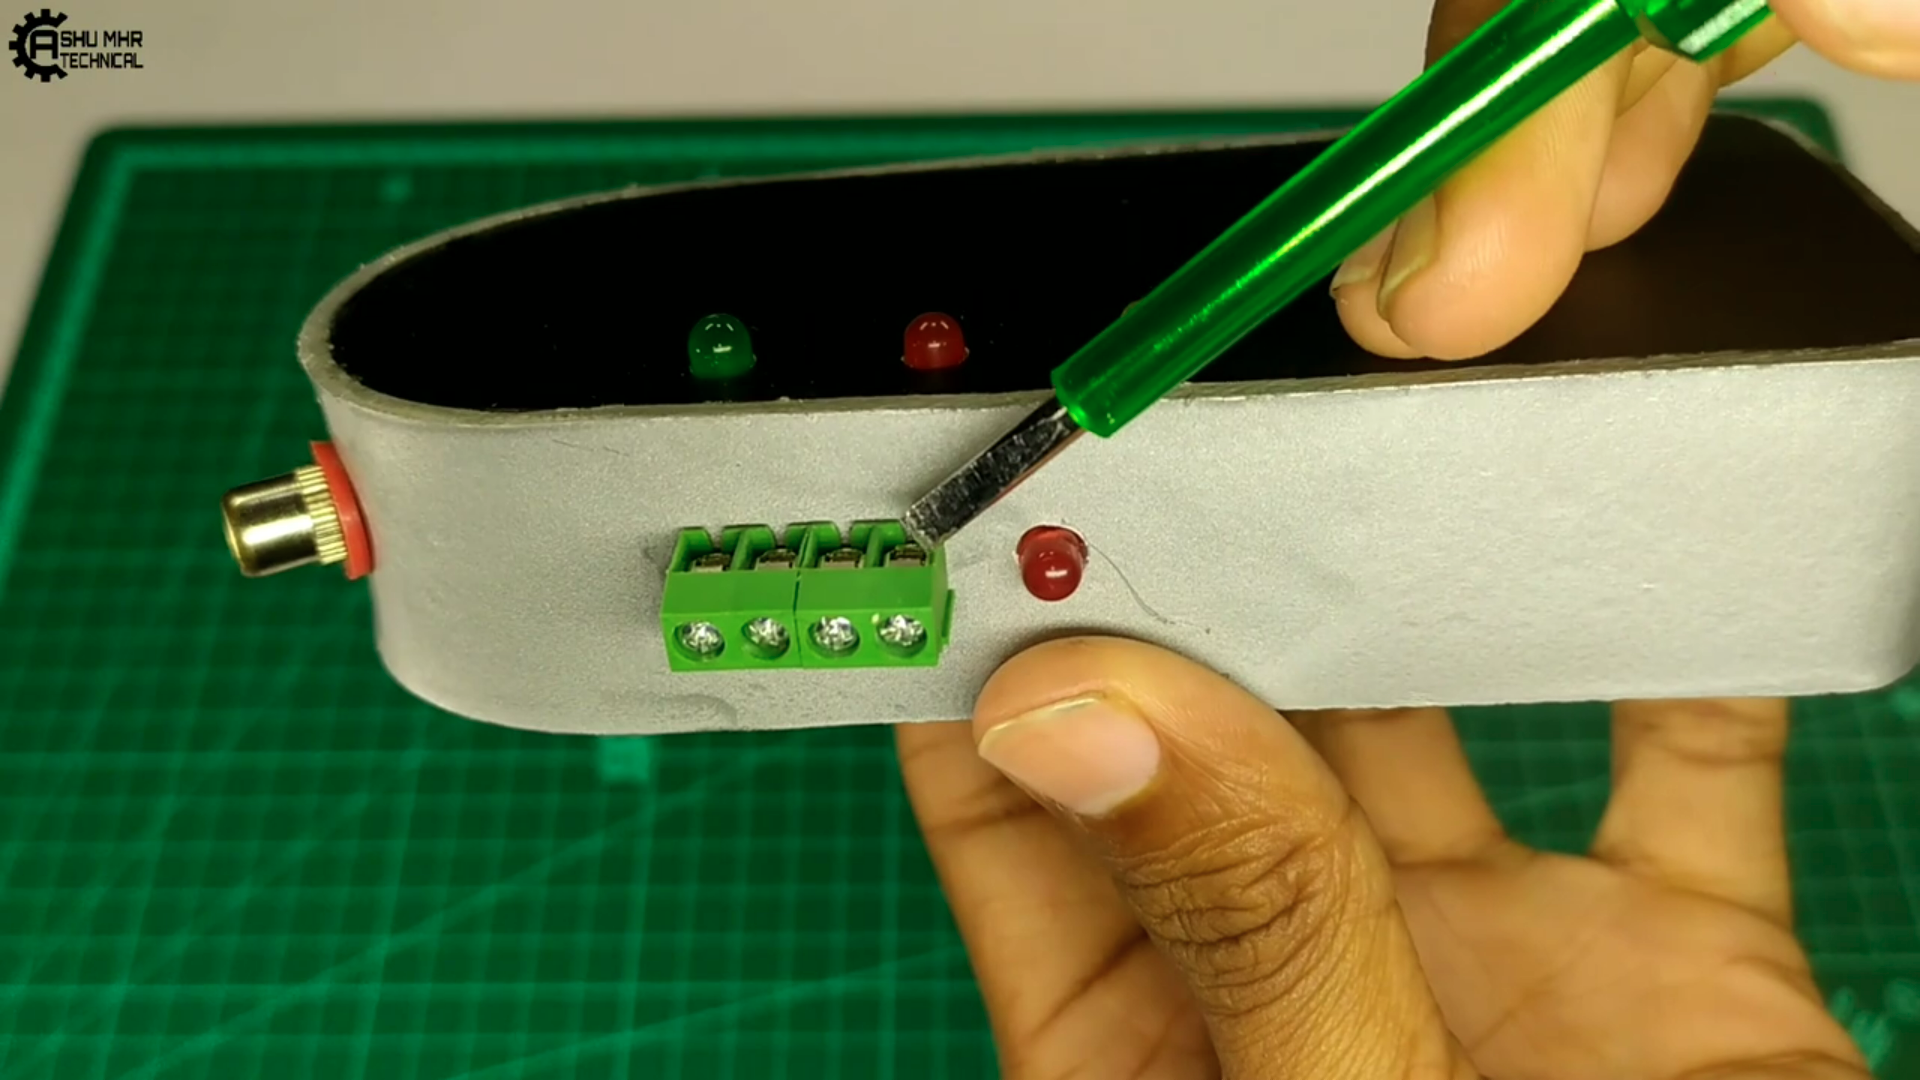
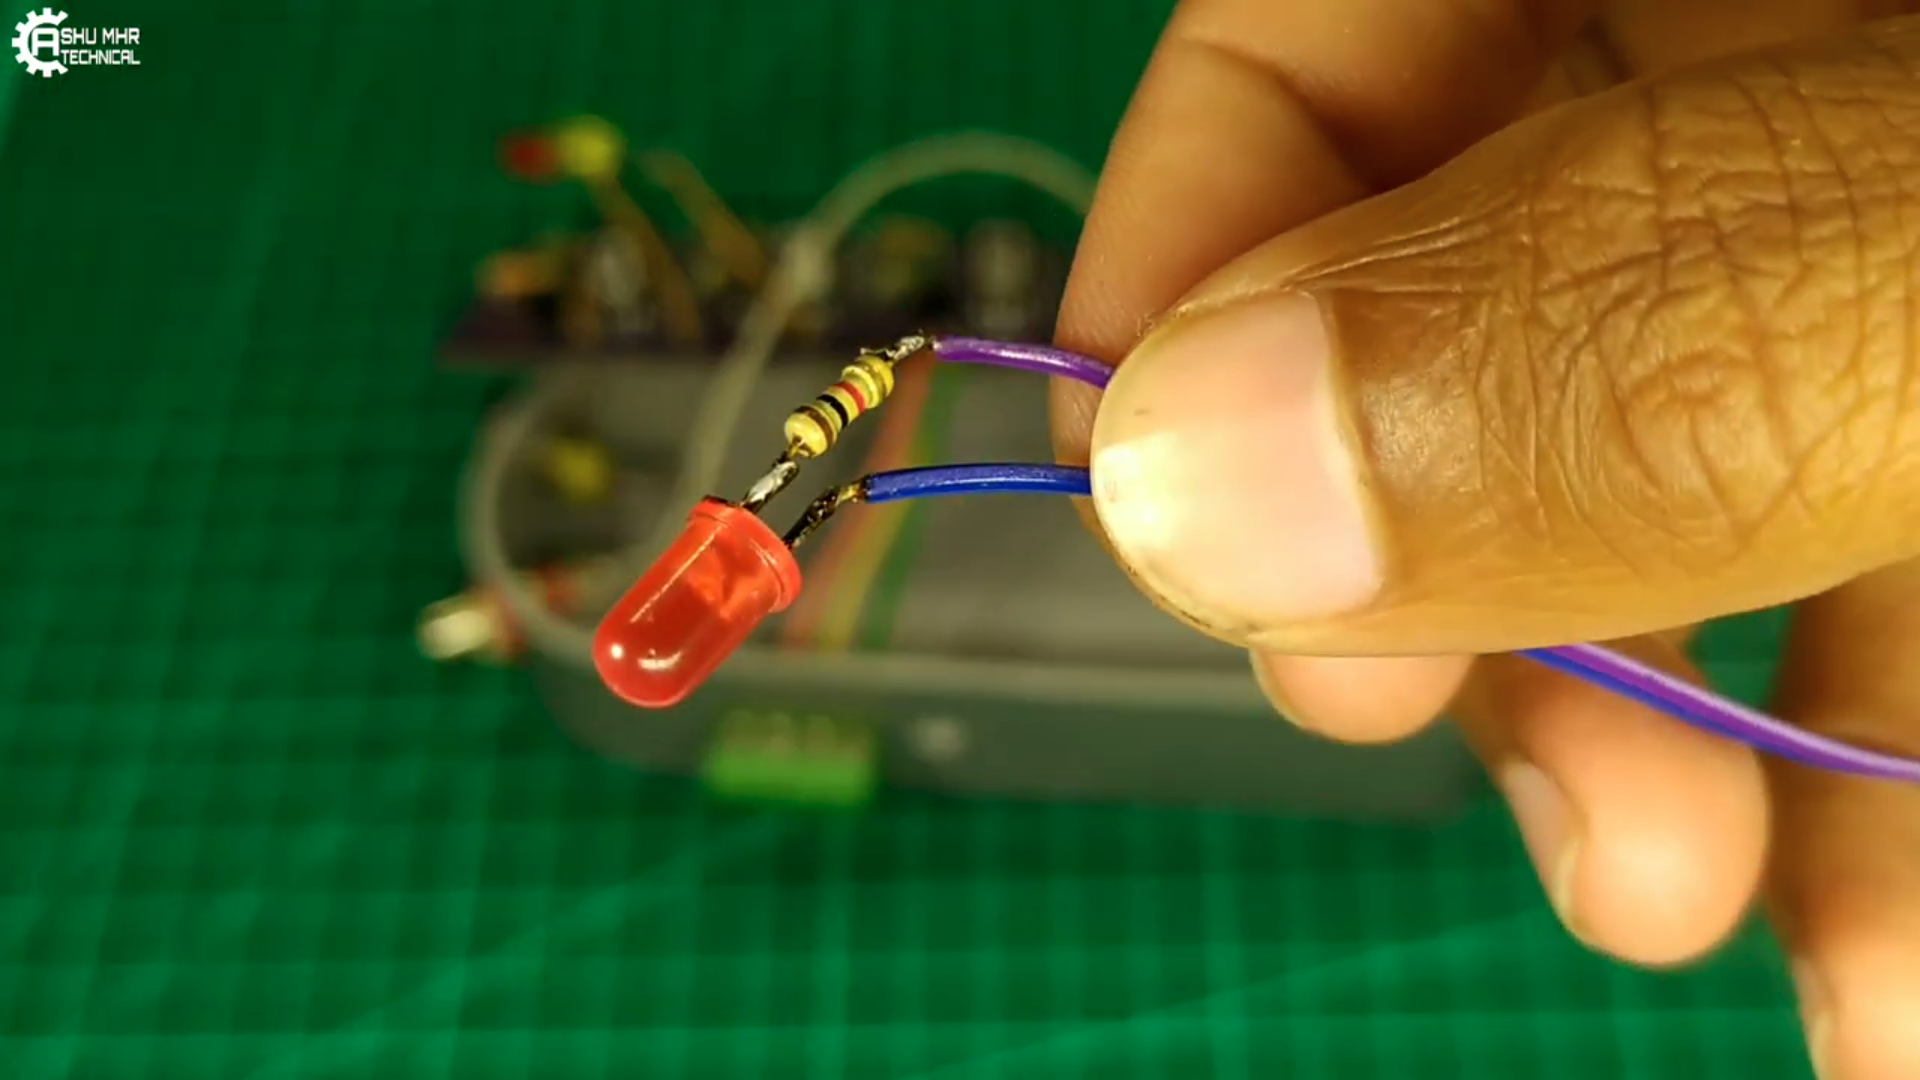
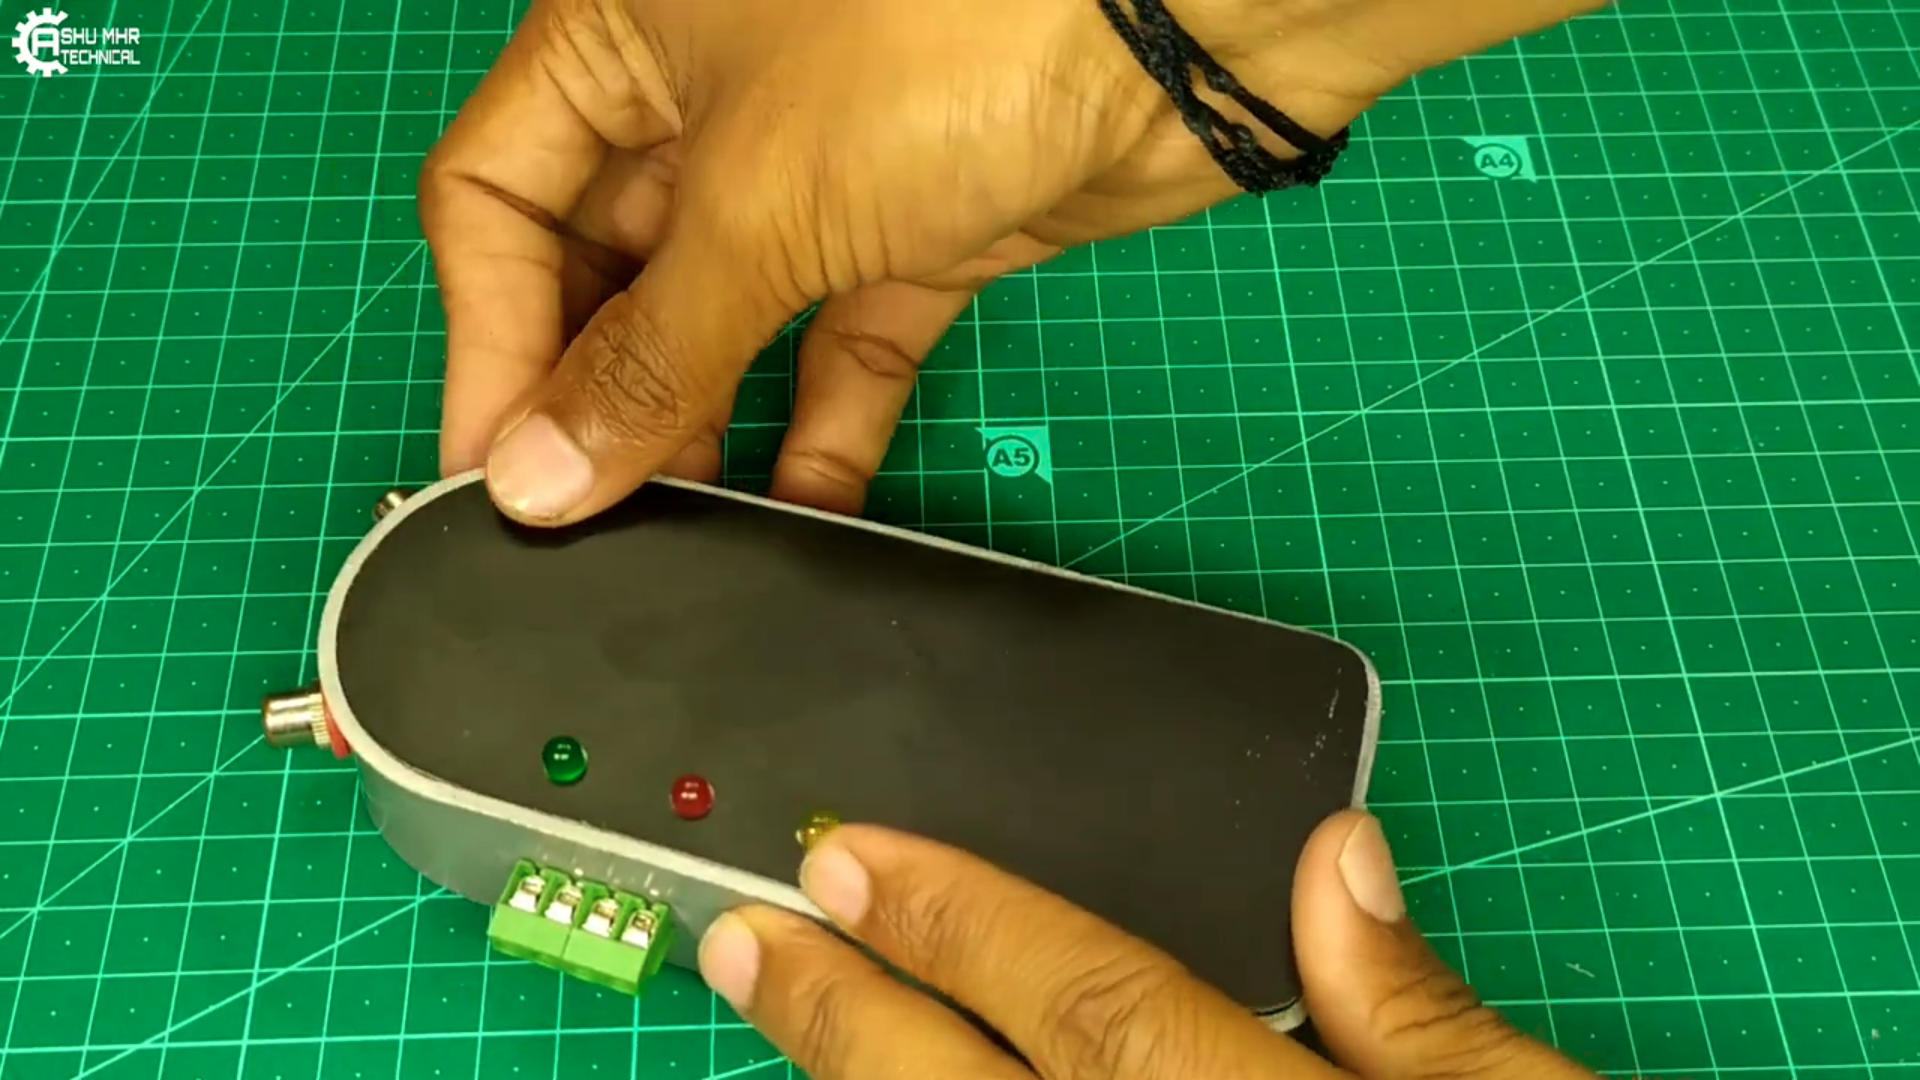
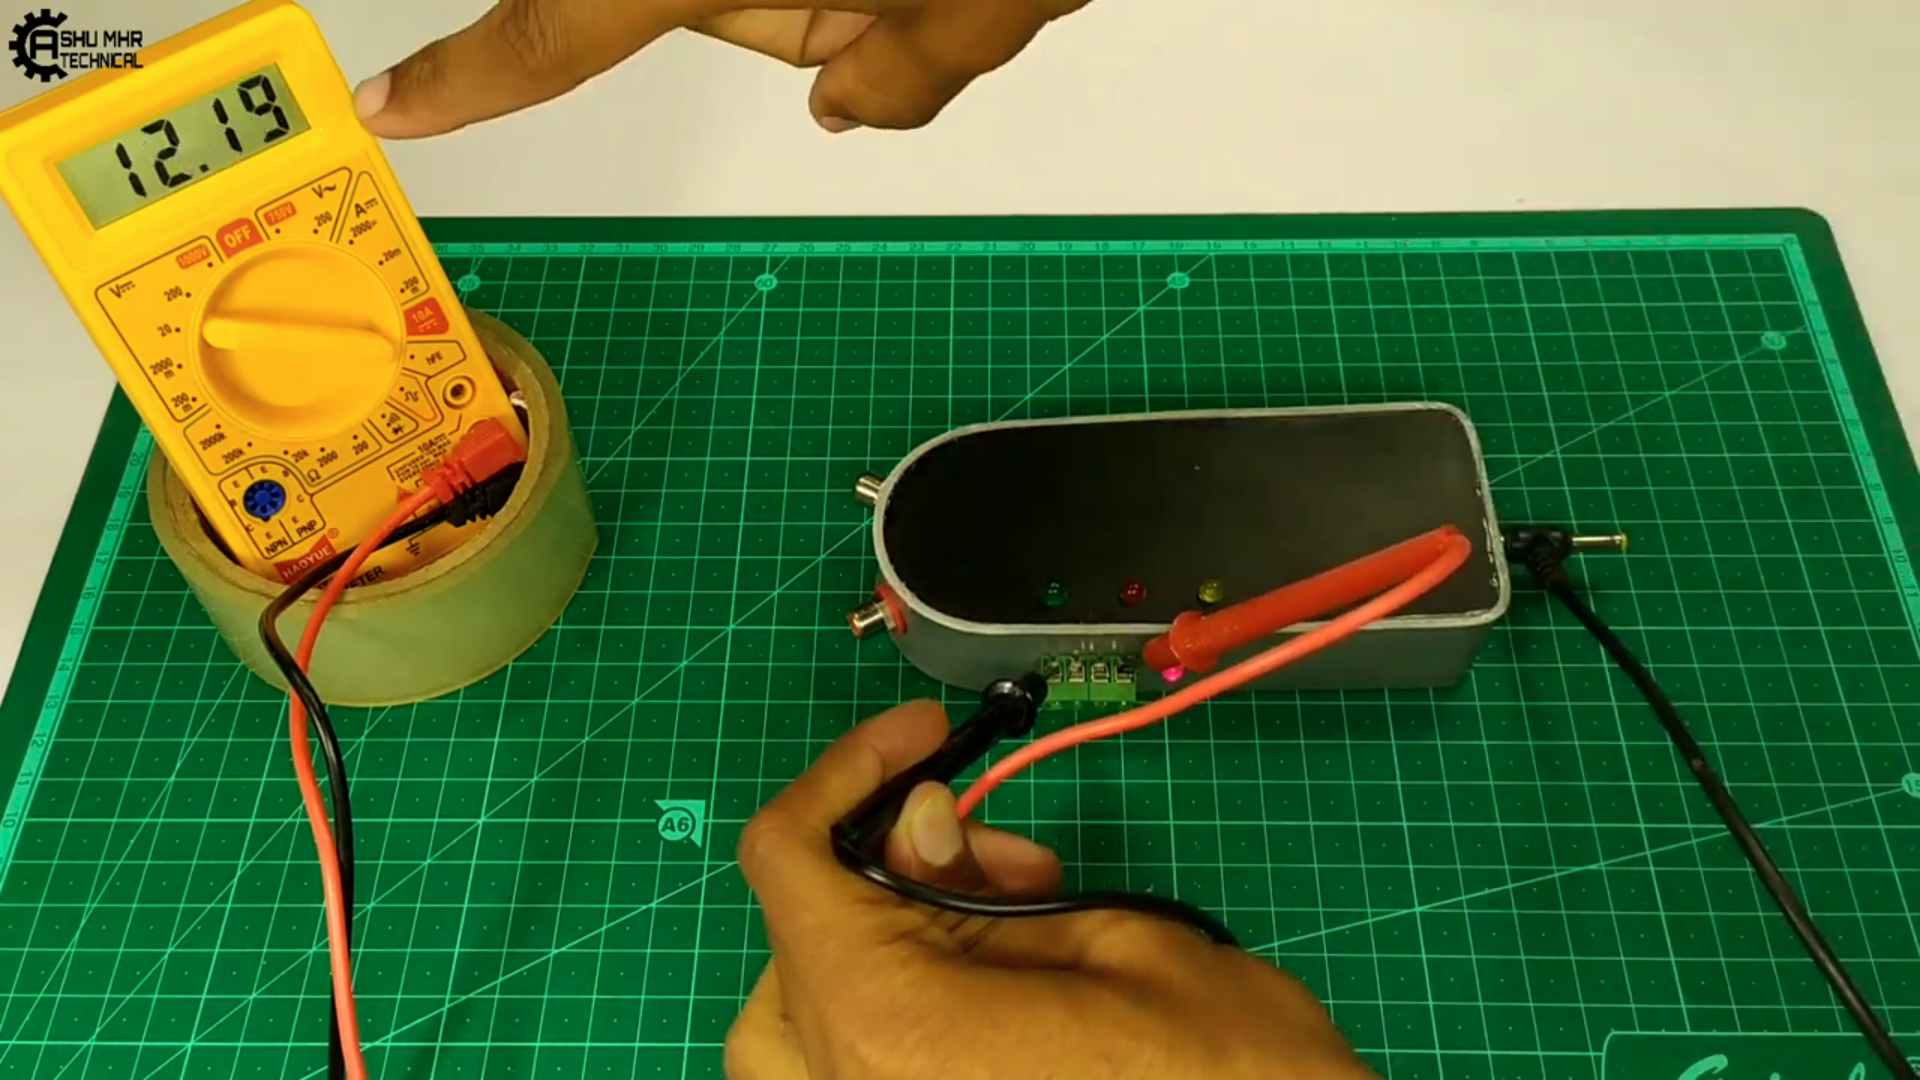
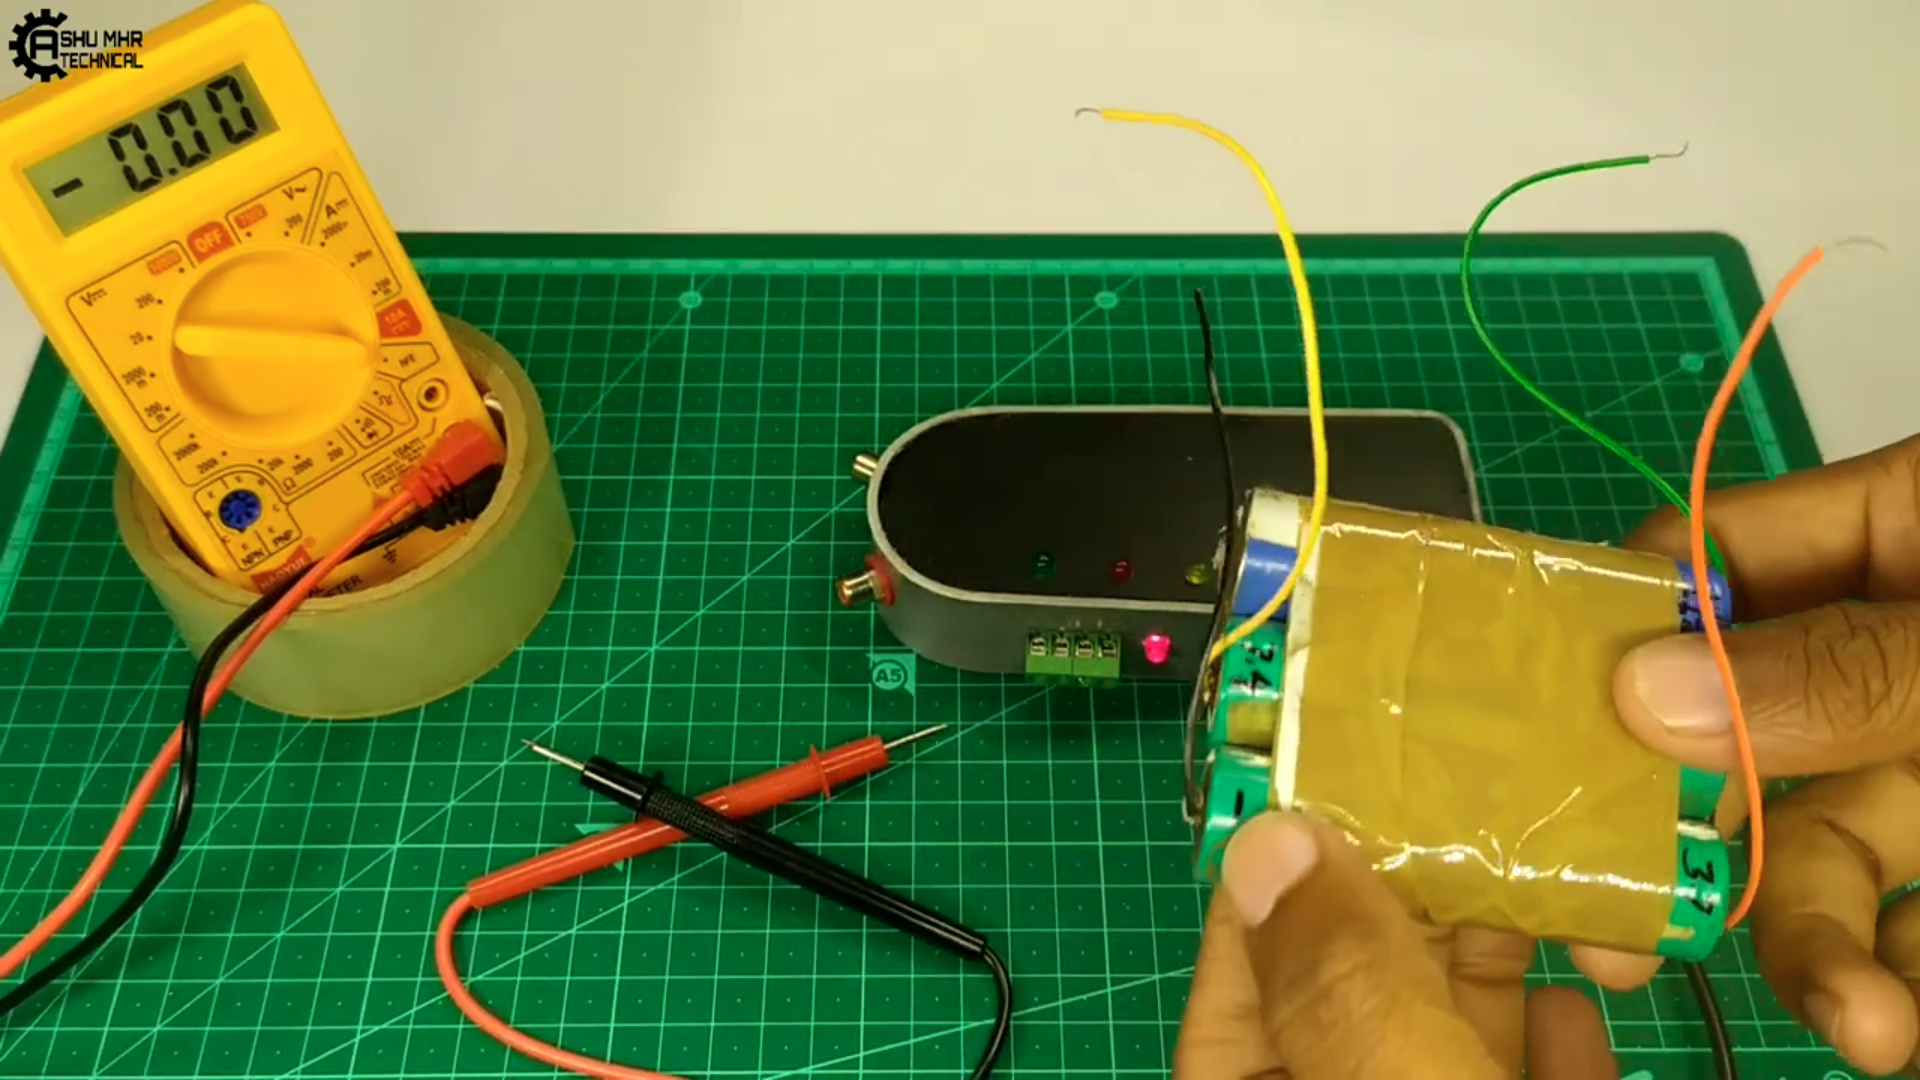
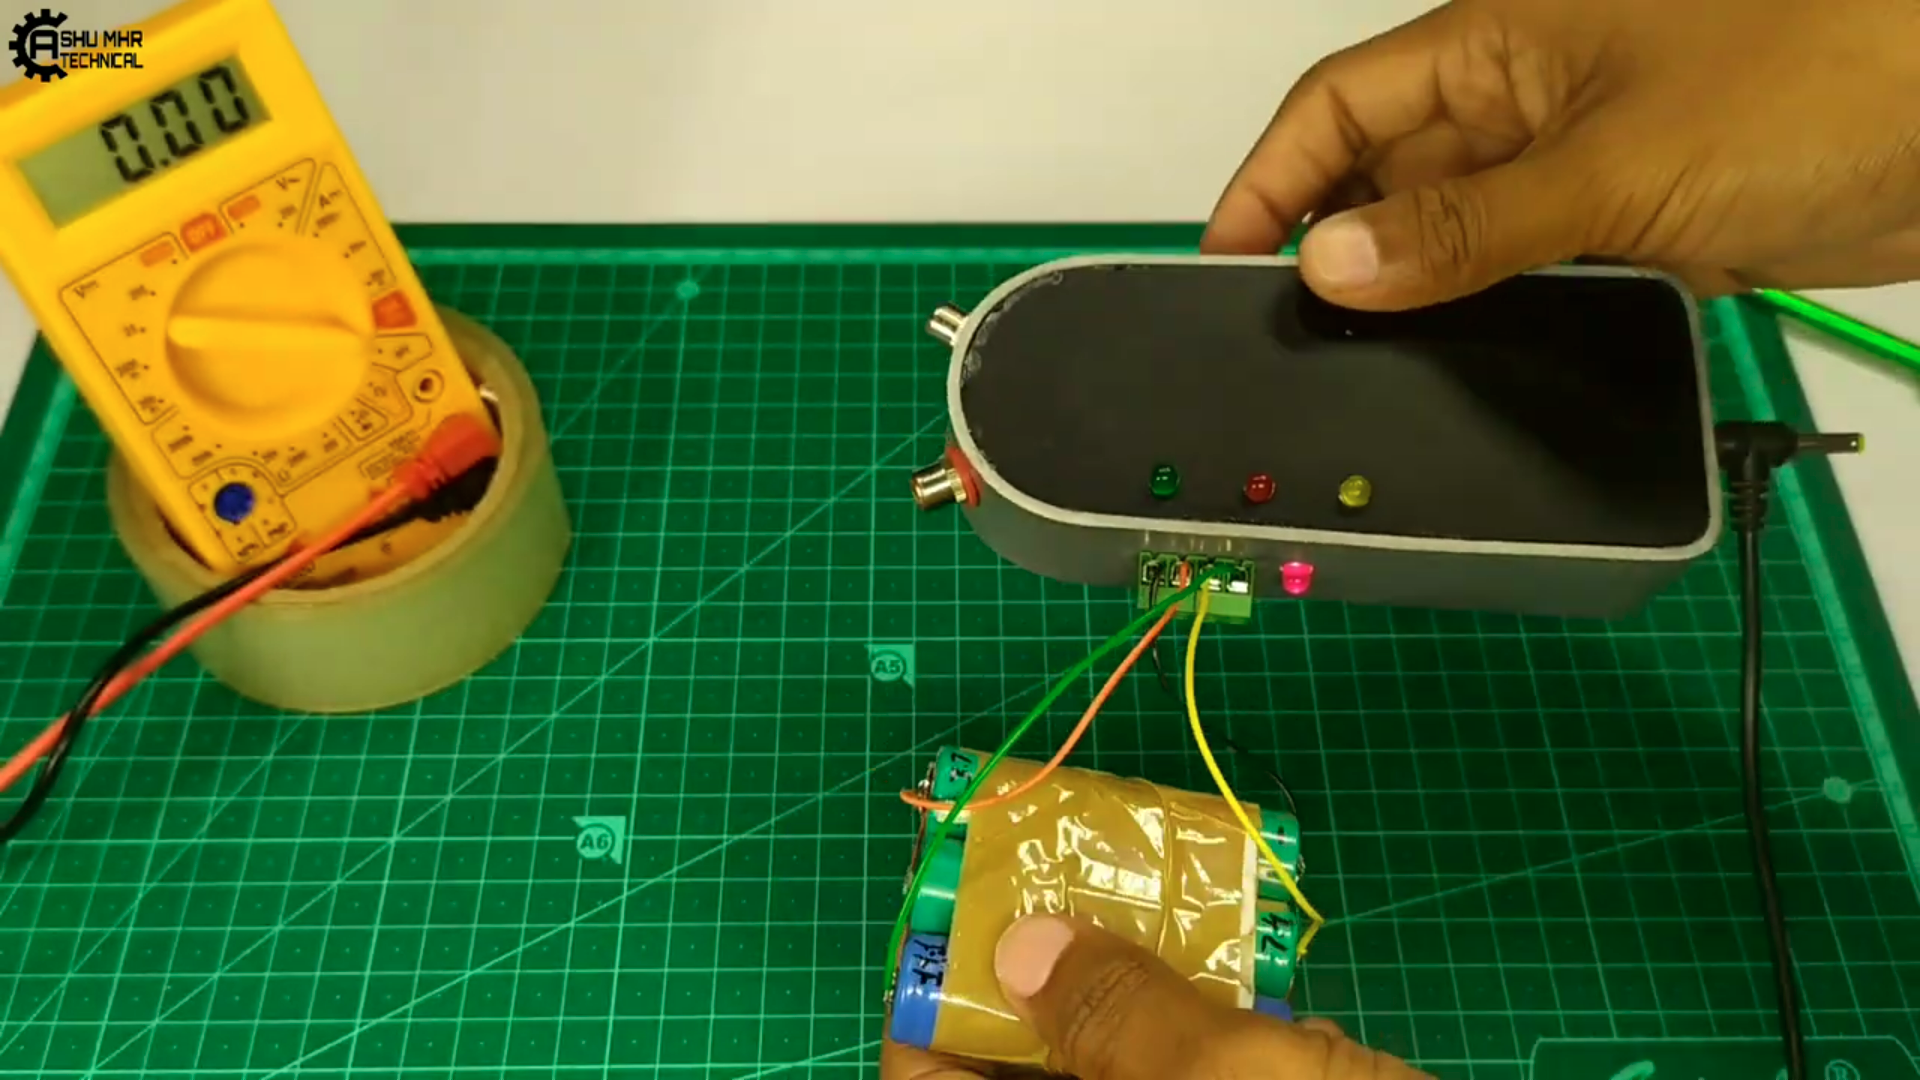
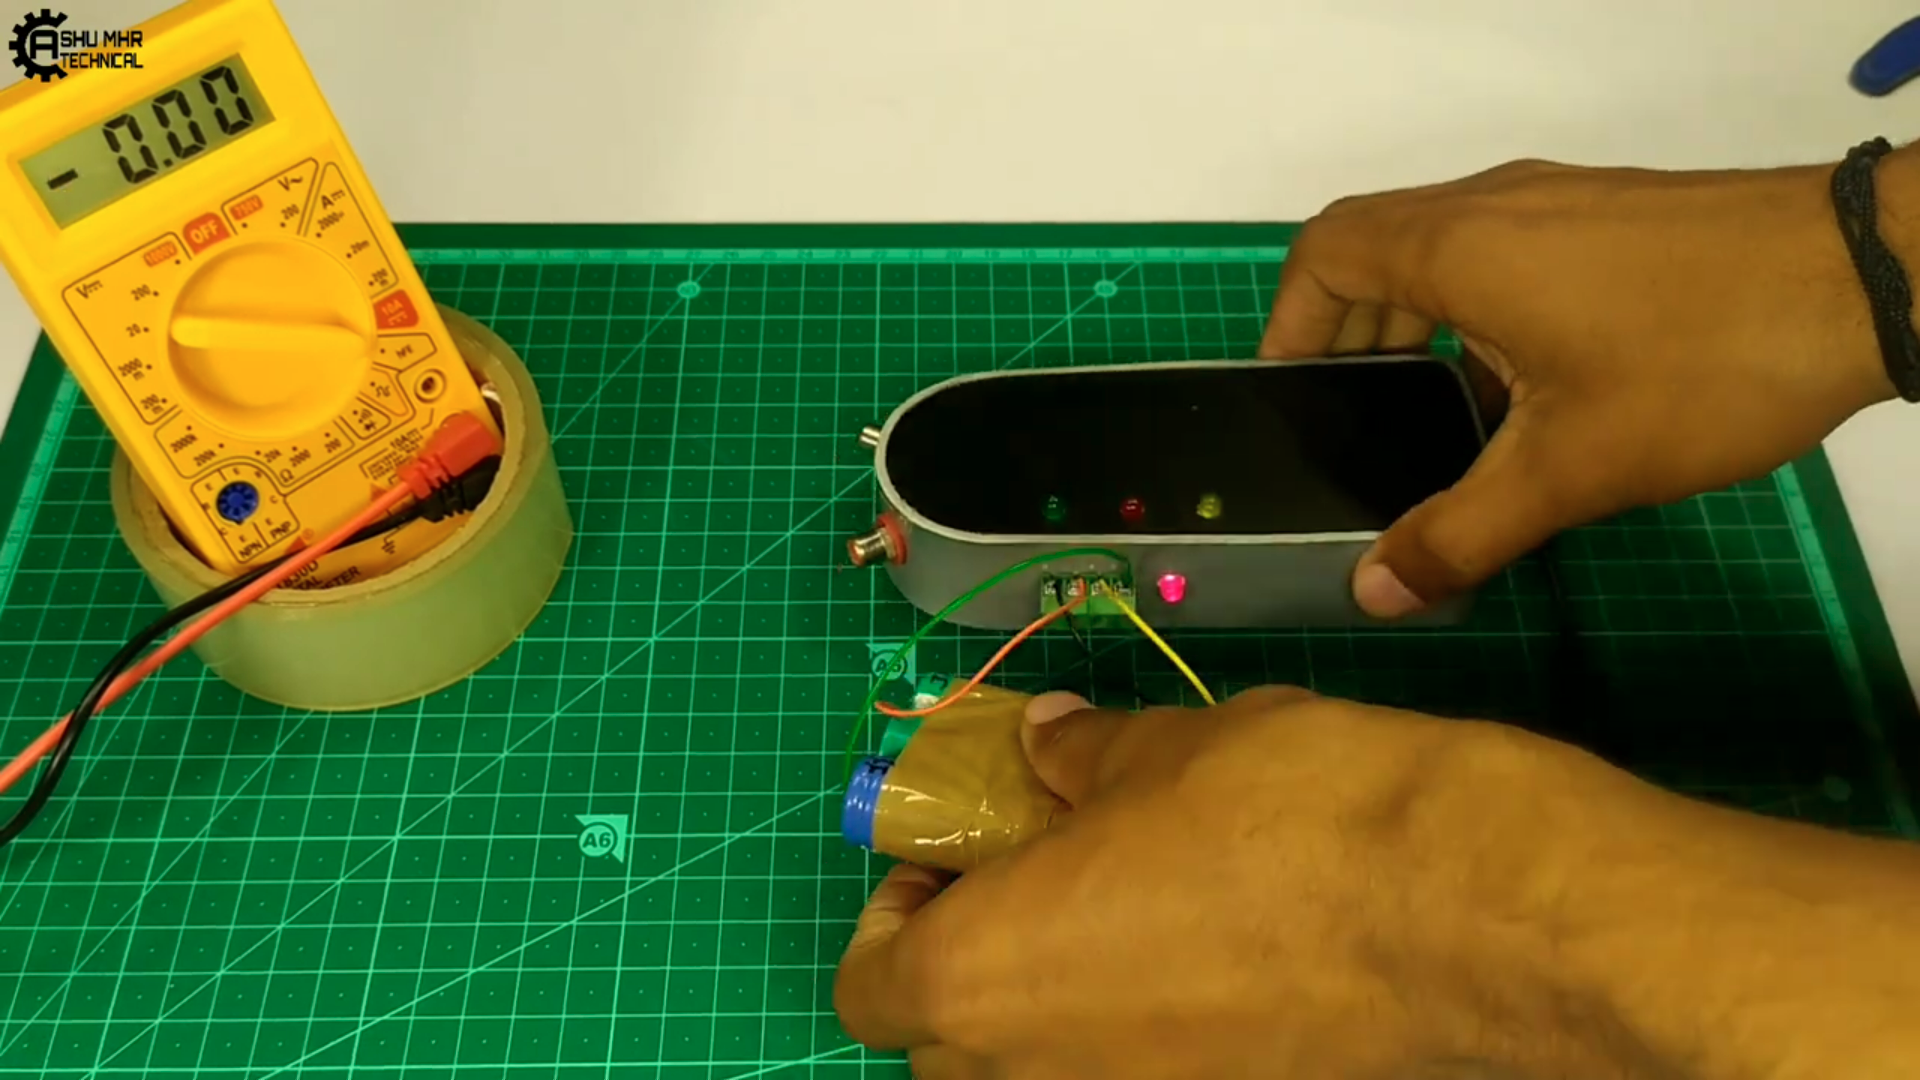
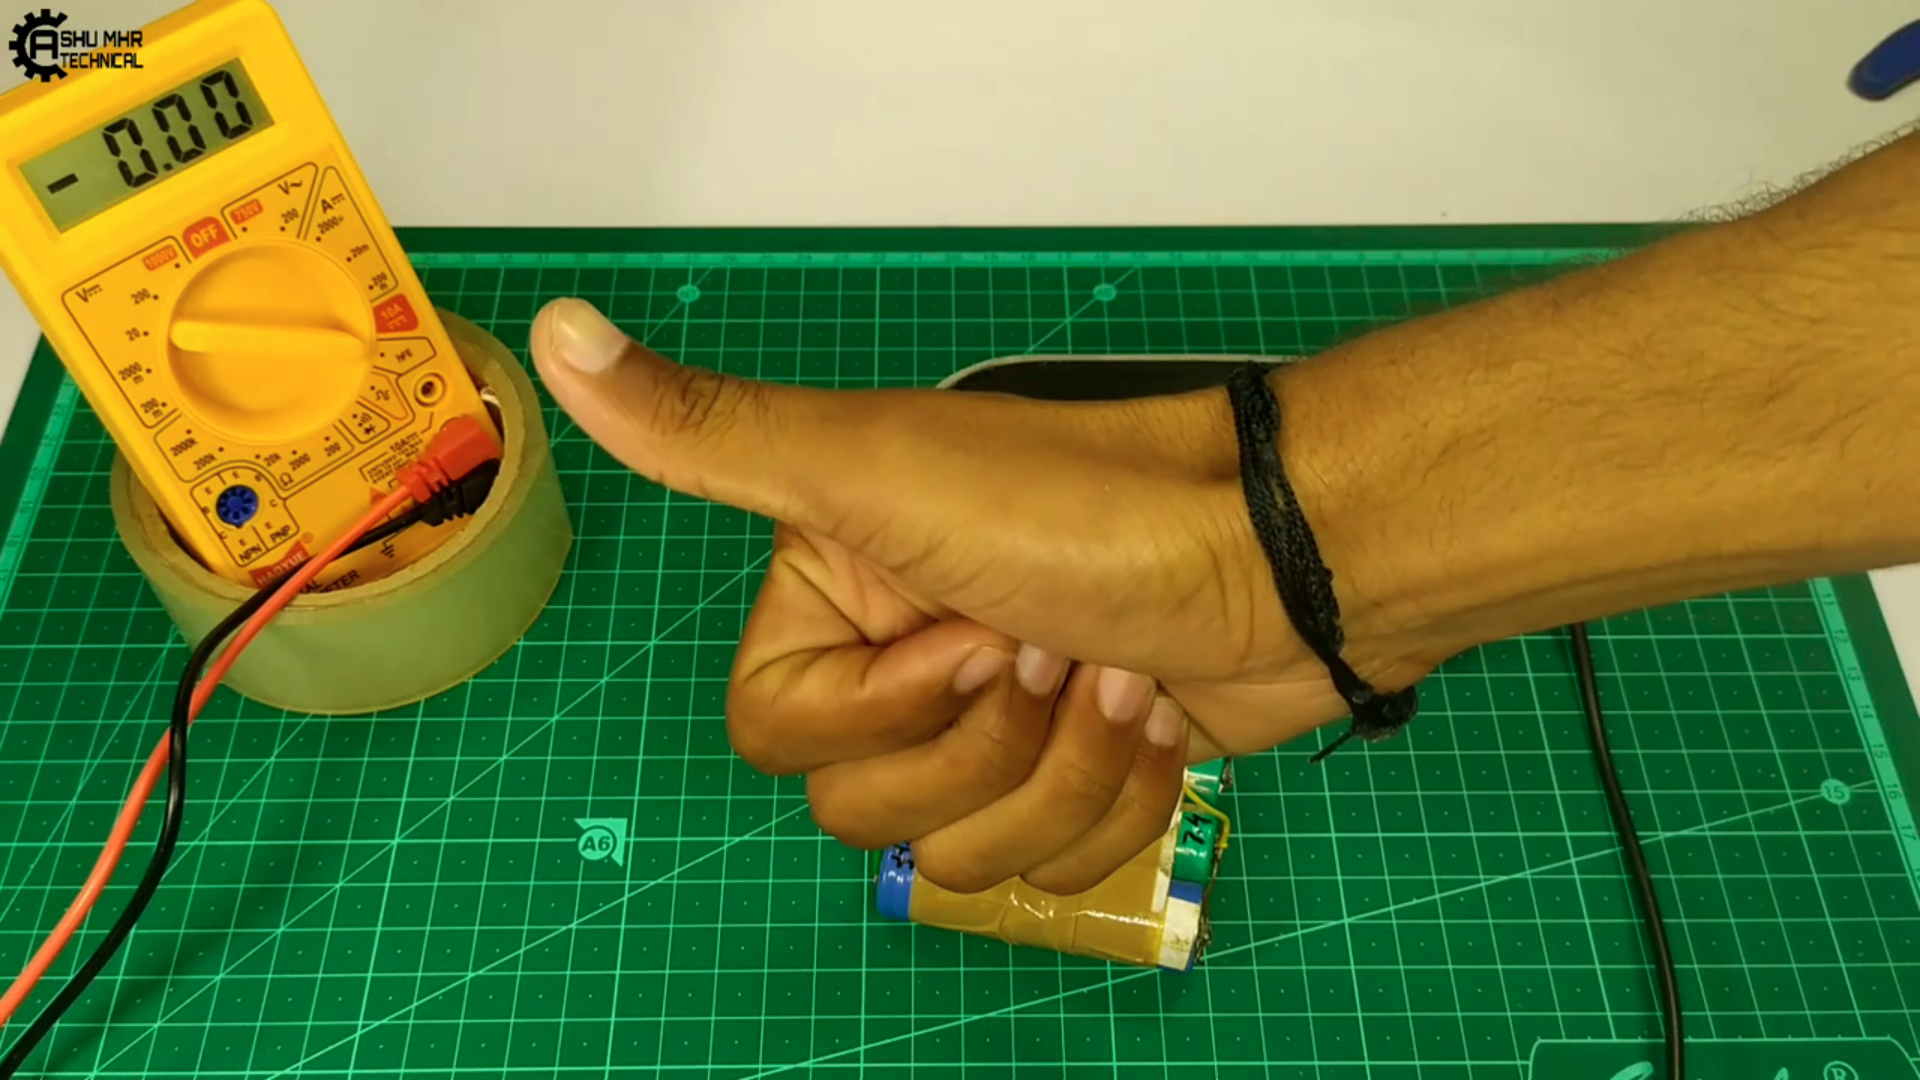
DIY BMS
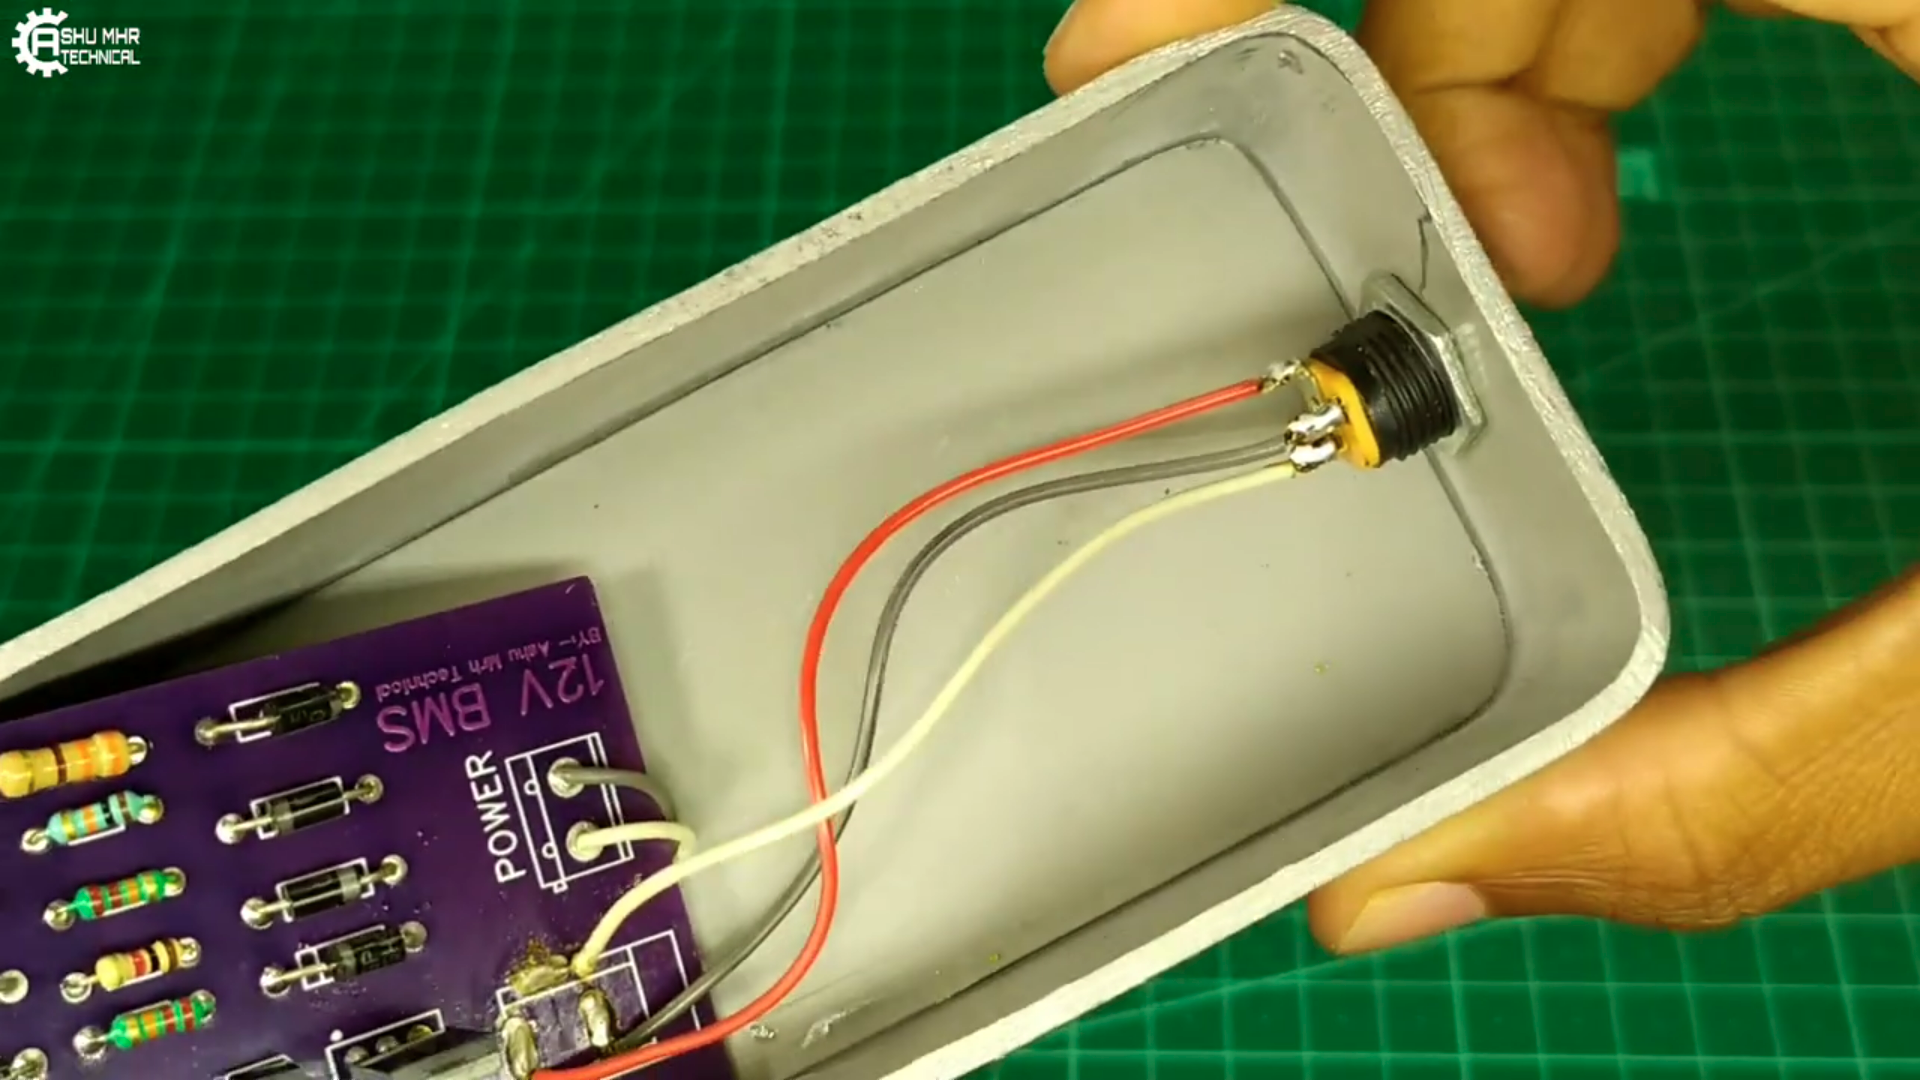
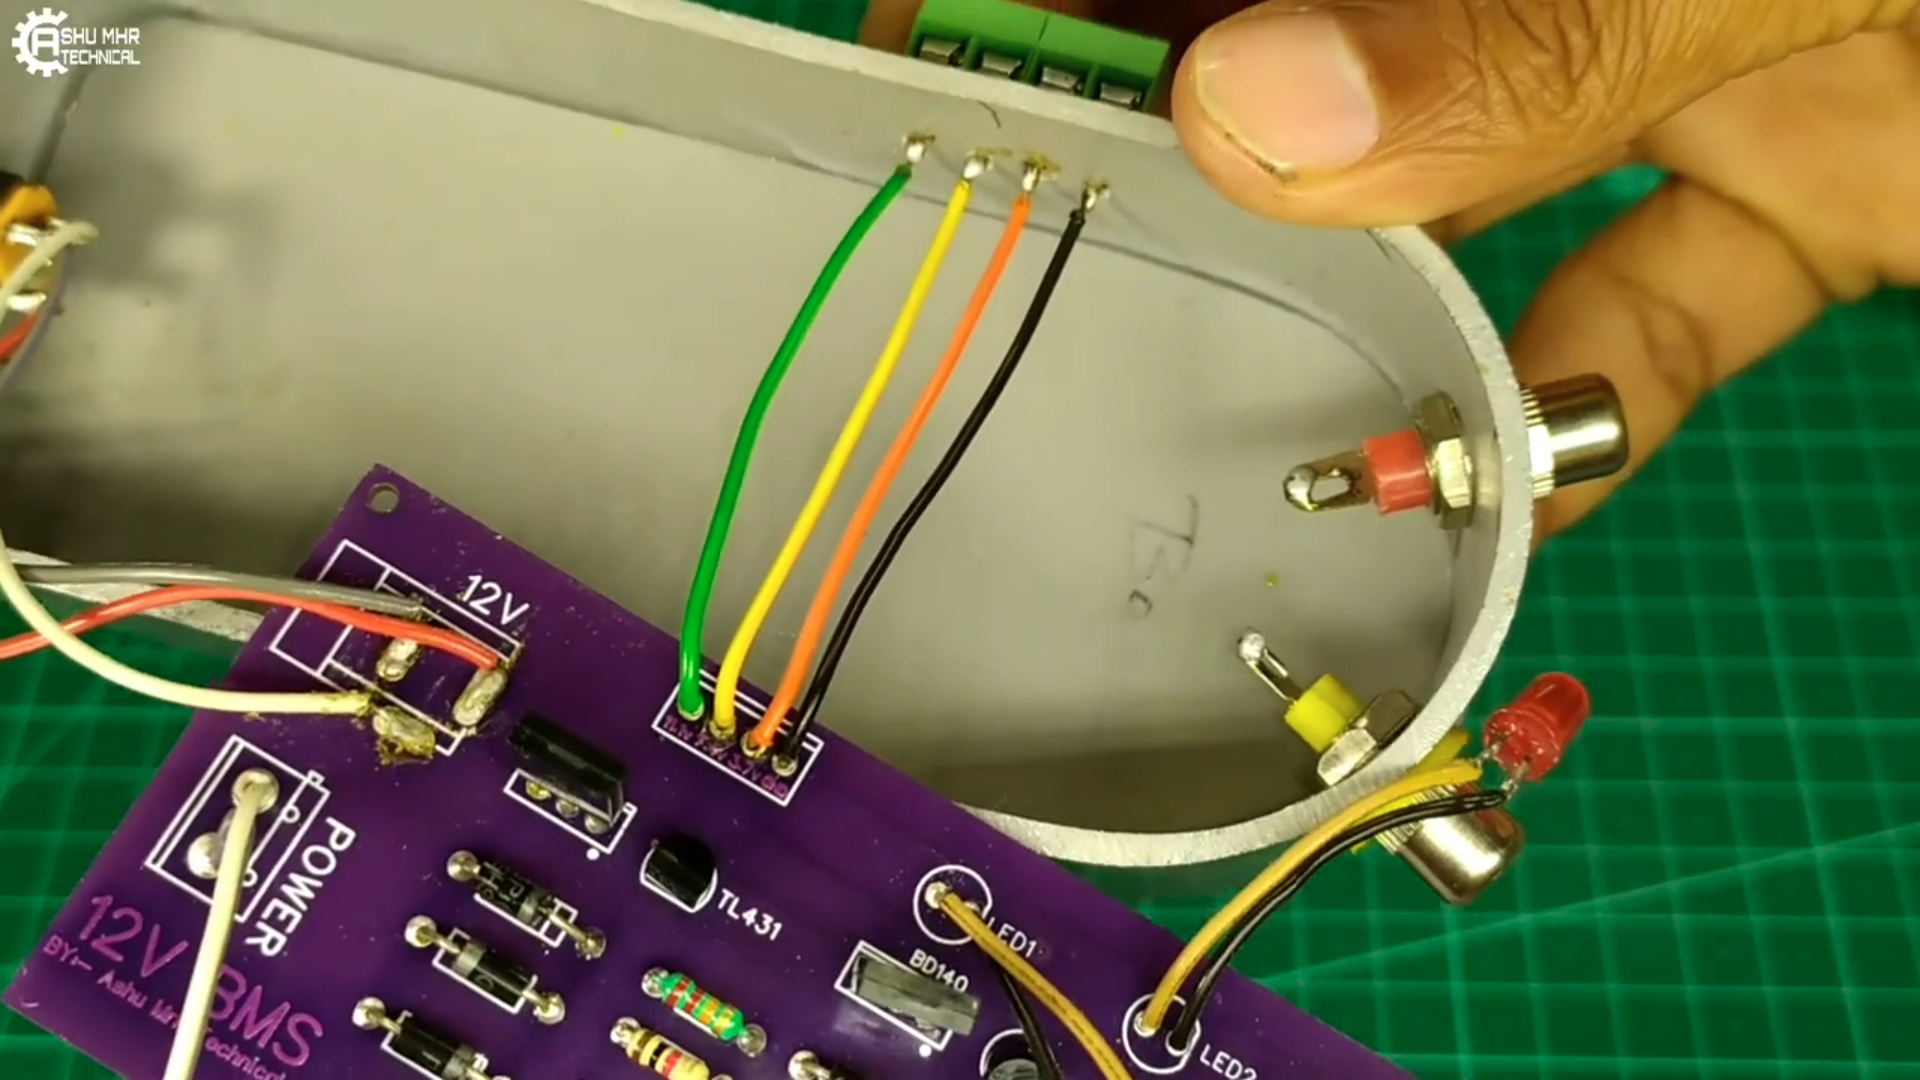
This is a very interesting yet simple project for charging battery safely by making Battery Management System.
 ASHUMHRPROJECTS
Become a Hackaday.io member
Already have an account? Log in.
Just one more thing
To make the experience fit your profile, pick a username and tell us what interests you.
Pick an awesome username
hackaday.io/
Your profile's URL: hackaday.io/username. Max 25 alphanumeric characters.
Pick a few interests
Projects that share your interests
People that share your interests

_E3XJMhSLoX.png?auto=compress%2Cformat&w=740&h=555&fit=max)
_ylqEM3z8IC.png?auto=compress%2Cformat&w=740&h=555&fit=max)


_yq2dNGaPY7.png?auto=compress%2Cformat&w=740&h=555&fit=max)

_PlPf3k1we7.png?auto=compress%2Cformat&w=740&h=555&fit=max)
_xEtuzuwwwc.png?auto=compress%2Cformat&w=740&h=555&fit=max)


_29TXHlXwRz.png?auto=compress%2Cformat&w=740&h=555&fit=max)

 Electroniclovers123
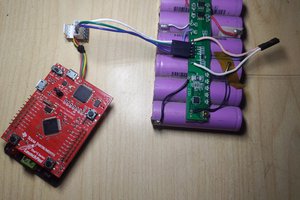
 Omar Mekkawy
 Avamander
Got a schematic? I wonder if this would be safe to use with LiIon batteries.