 DIY GUY Chris
Starting with the Ingredients


This Jet Engine has been fully 3D printed and I got the STL files from Thingiverse specifically the ones prepared by Catiav5tfw user but I have added some extra parts to make the design suitable to get a DC motor installation and this way we could turn the design from a static to dynamic one.
Also I have scaled all the available parts to 60% of size because the original size is a bit big one and it will be complicated for me to make it spin.
I attached the image that shows the necessary parts that you need (the minimum parts) and the rest of the needed parts are shared in the next steps so just keep on reading.
Jet Assembly
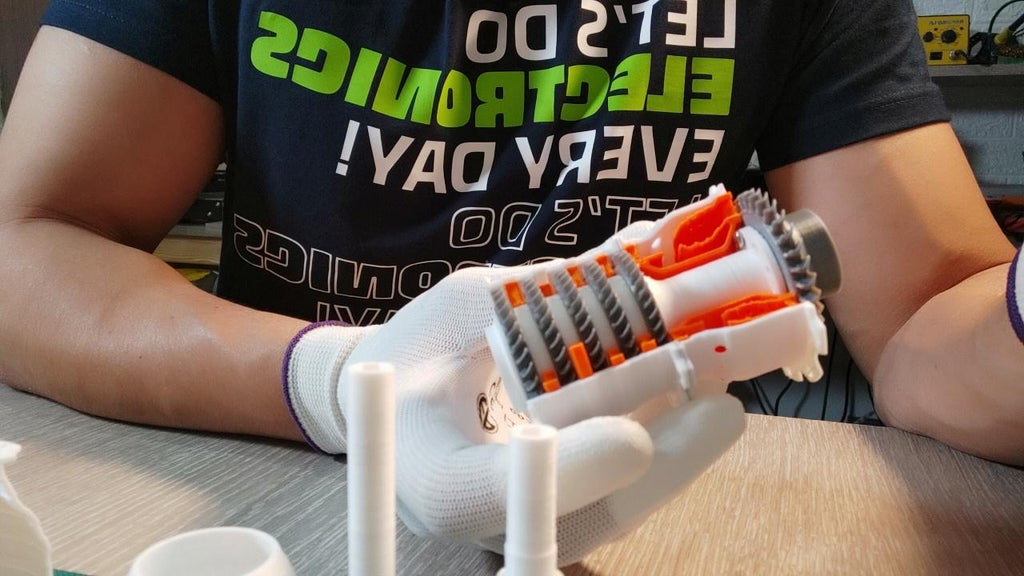


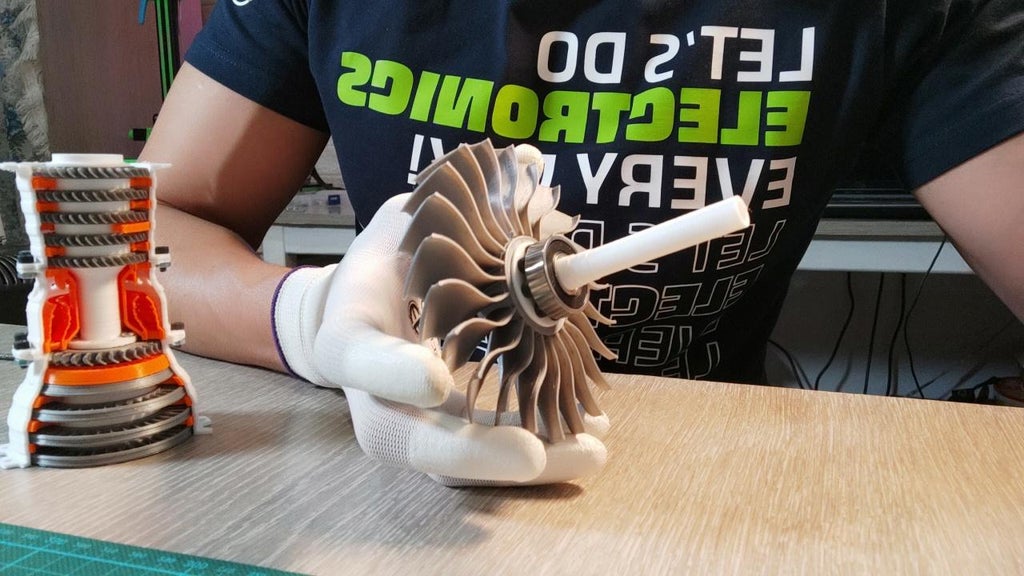


I found that the best way to guide you on this step is to drop images about the assembly since the Jet has many parts.
Make sure that you have enough screws (3x8mm) and nuts (around 100 pieces each) to join the cover parts together. You need to consider also that there are some inner parts that you need to deal with them carefully to keep an aligned structure which helps the motor to spin smoothly.
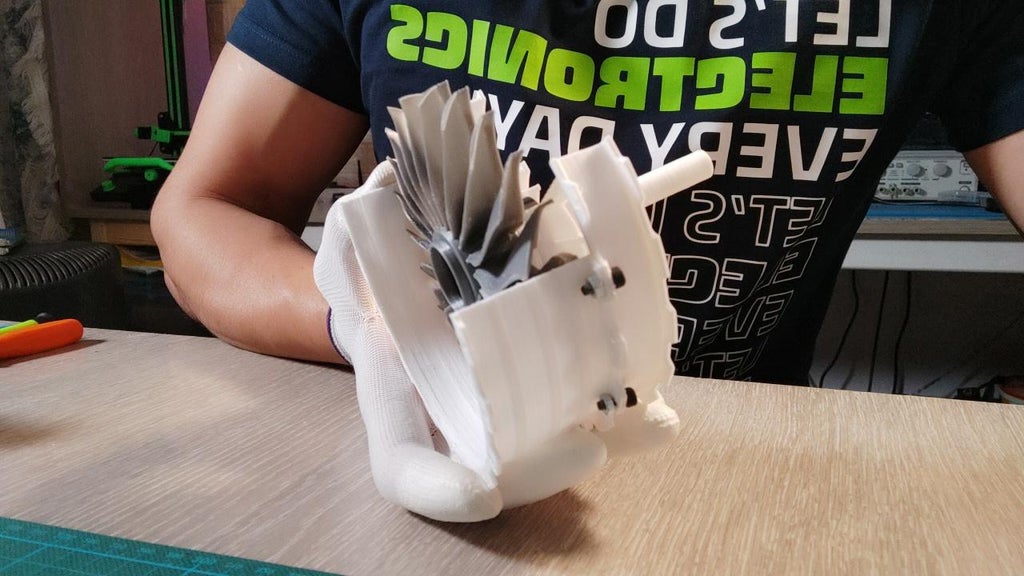
Insert the Motor
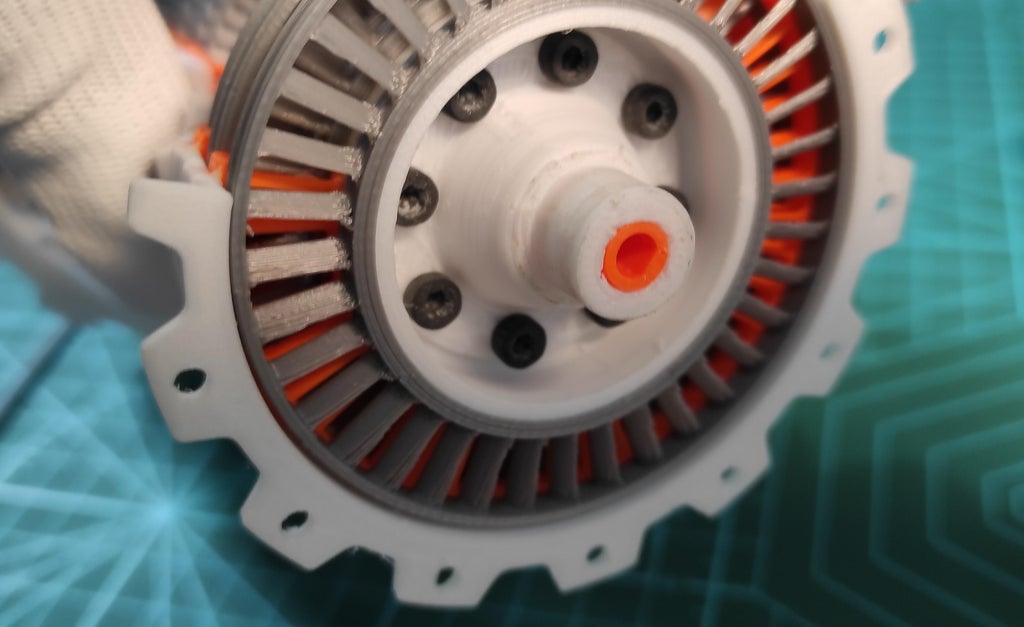


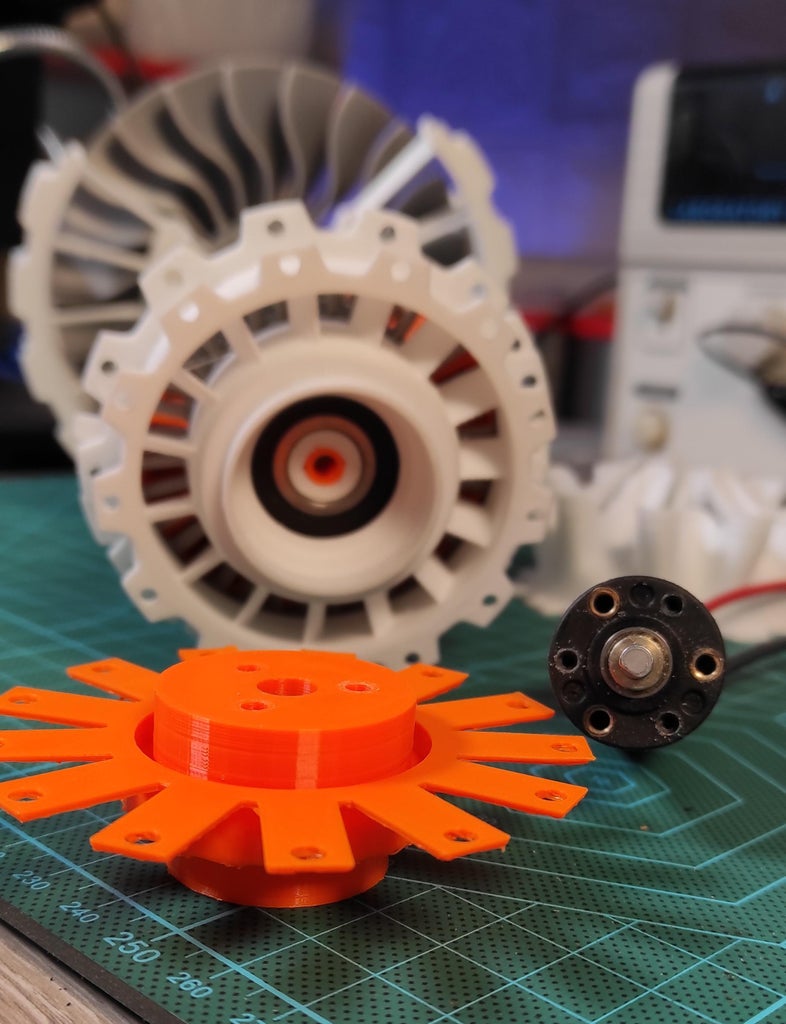


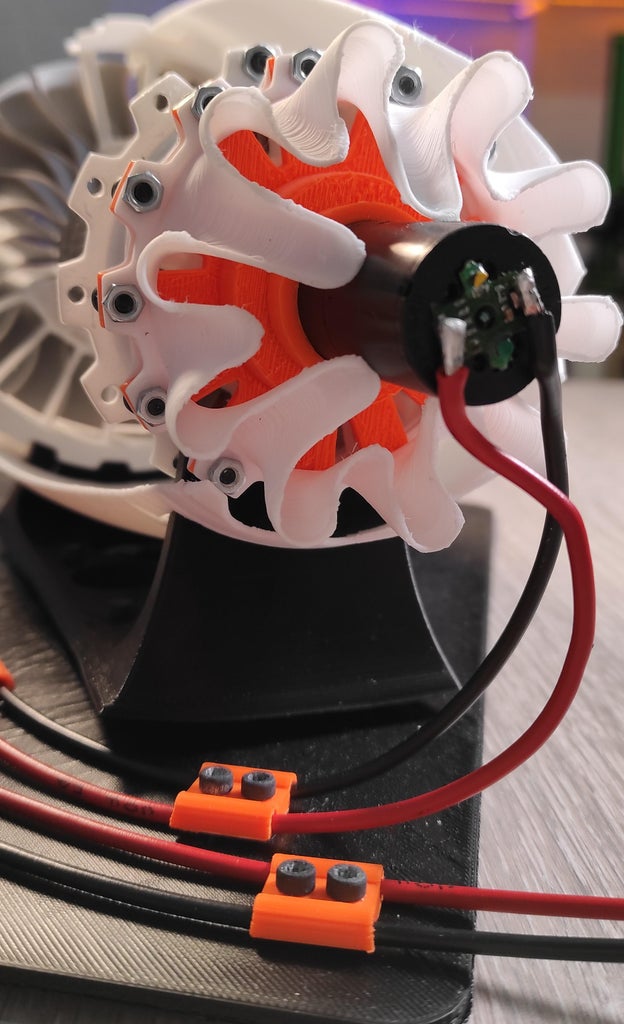
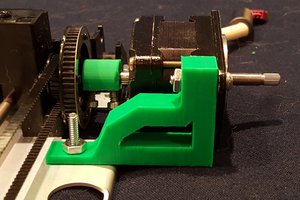
Now this is the major upgrade that I made for the available model, by adding a DC motor to our Jet it will spin that's why I got a geared 48V DC motor for the Jet, make sure that you are using a geared one otherwise the motor will not start.
We will hold the motor to the Jet structure by the Motor join part, this is one of the extra parts that I made and I uploaded its STL file. You will also need two bearings (6001) for front and back sides of the Jet.
The needed motor has to have a medium torque (anything above 0.88Kg cm will be fine).
I recommend the JGA25-370 Model and for this you will need the second version motor support STL file.
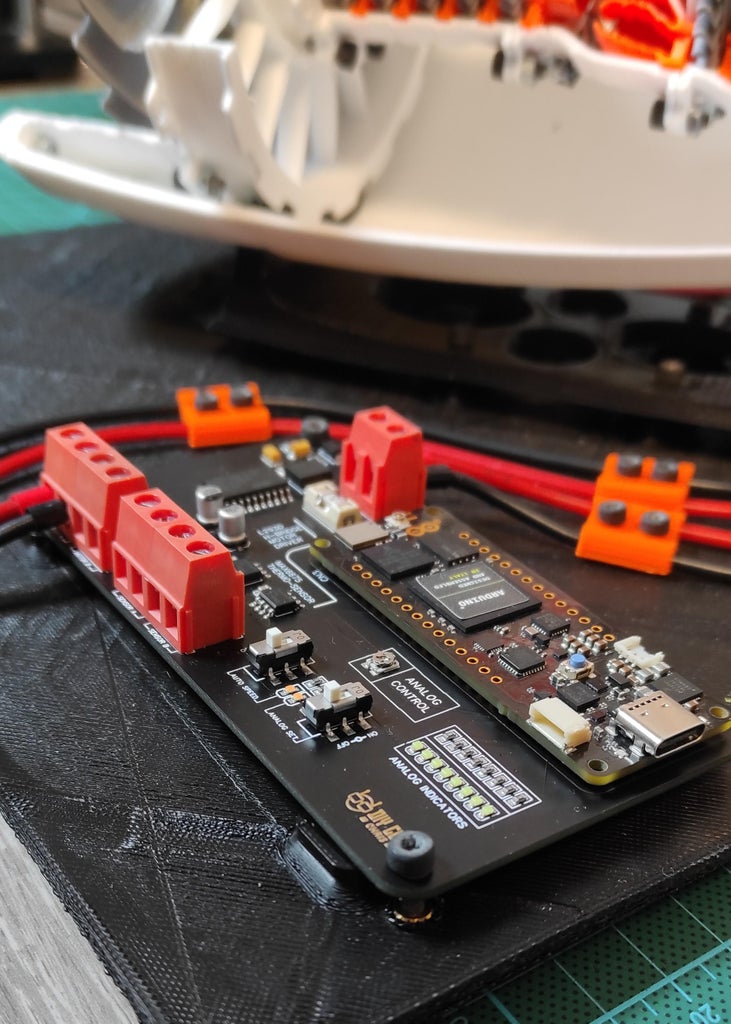
The Control Circuit Board
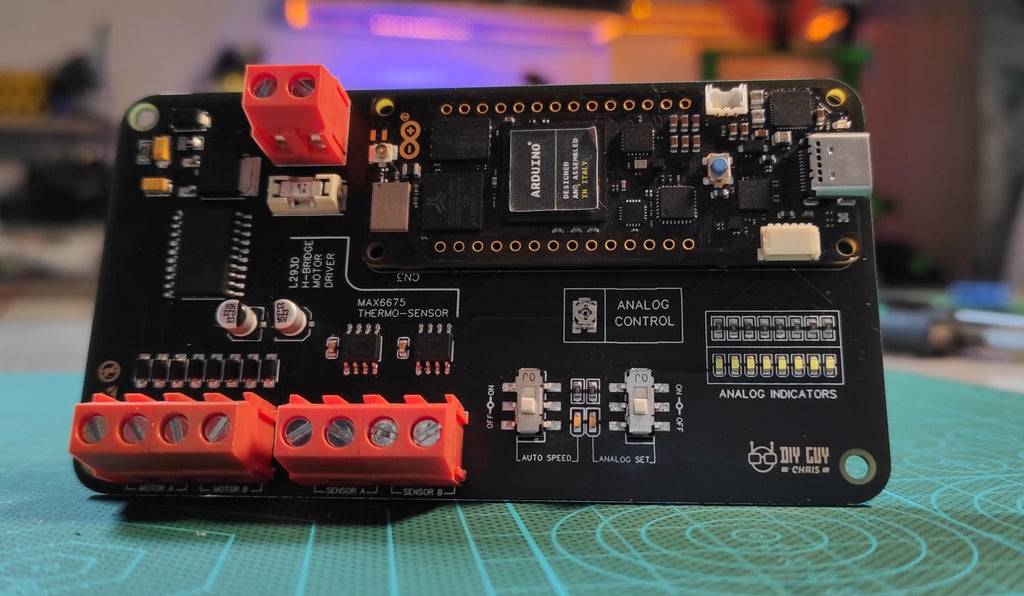
I have done this Throne board months ago and this is the best occasion to test the Portenta capabilities to drive a 24V DC motor and also to get powered through an external power source. I have developed the board schematic and PCB through Altium designer where I found all the necessary tools to successfully complete my design, after finishing the design I got the board beautifully manufactured by JLCPCB..
The Arduino Portenta board is the guest board in this project and I added an L293DD H-bridge motor driver to control the 24V DC output through the 5V PWM signals from Portenta.
Arrange the Setup
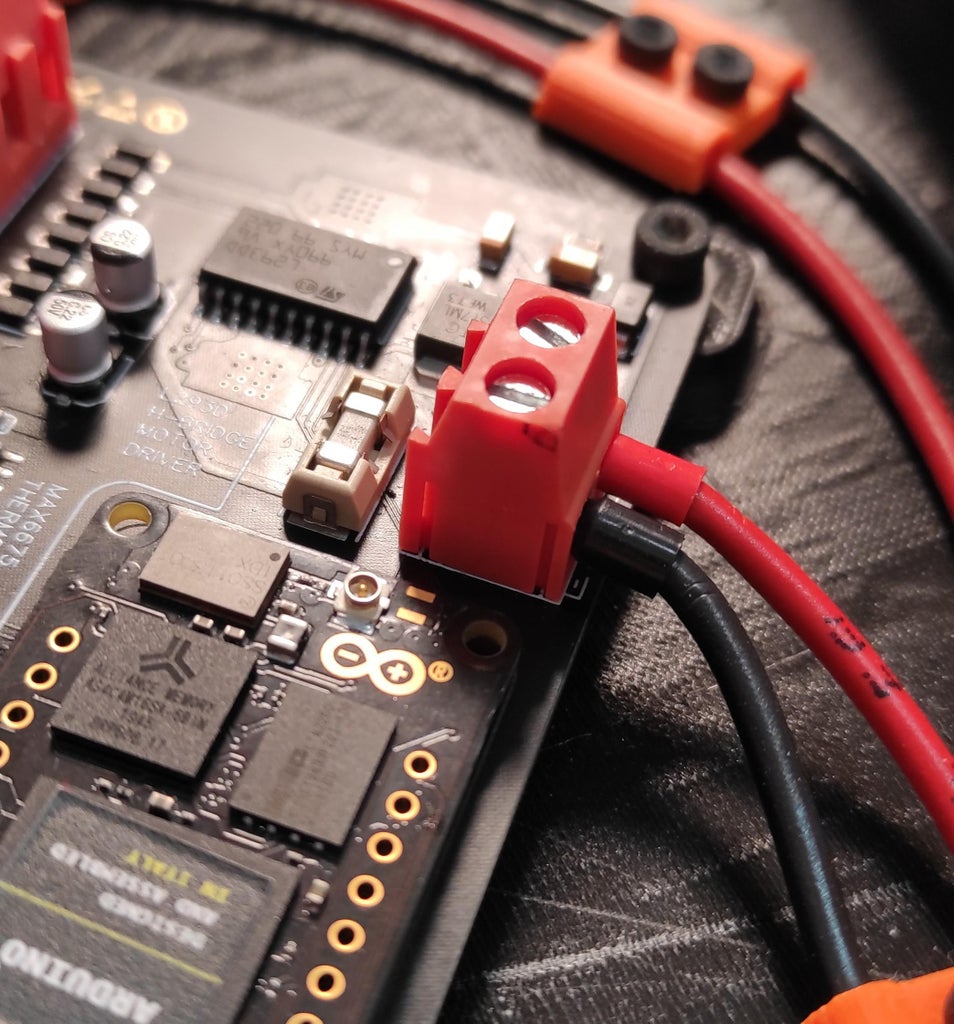


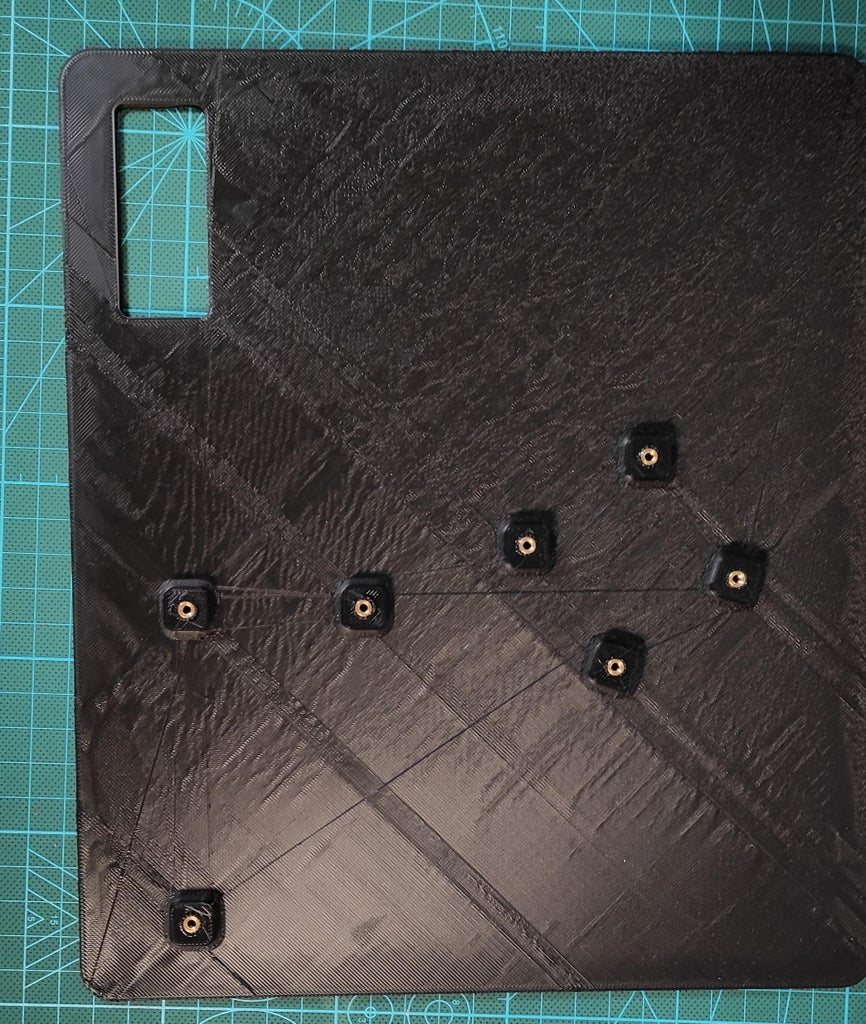


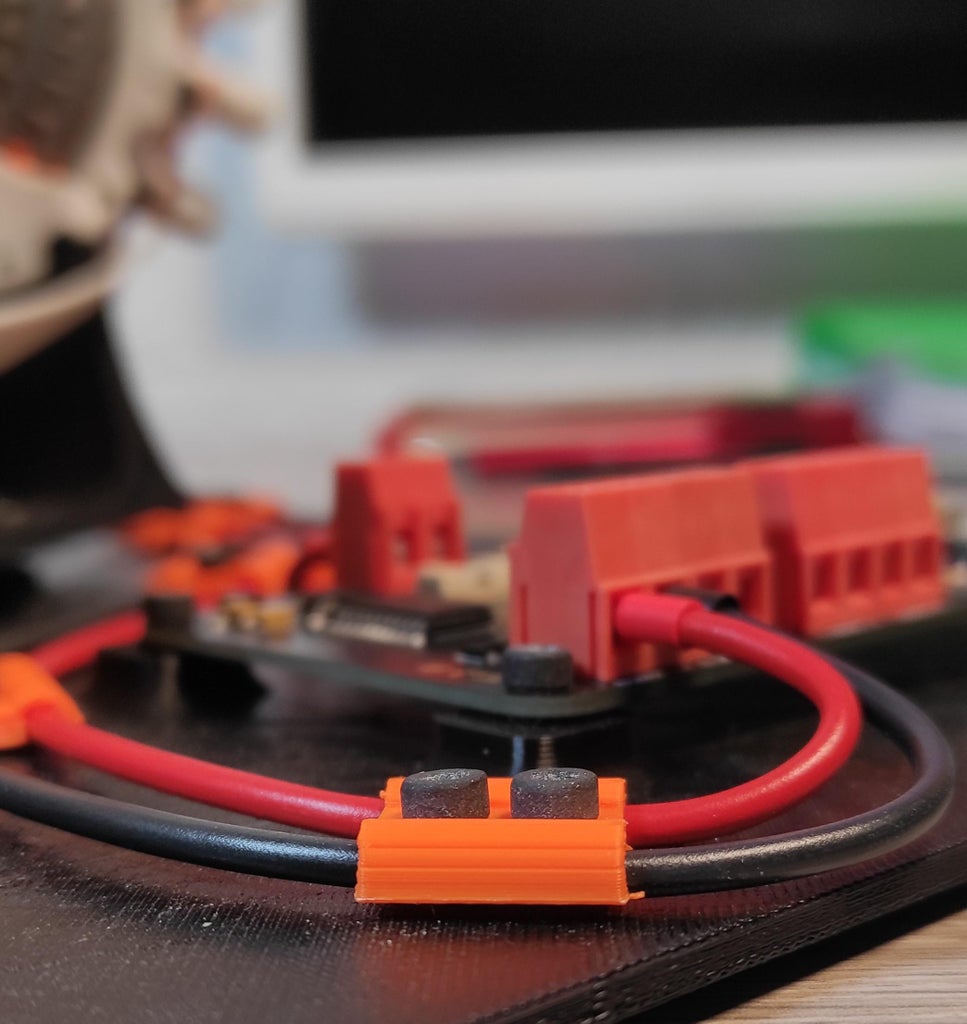
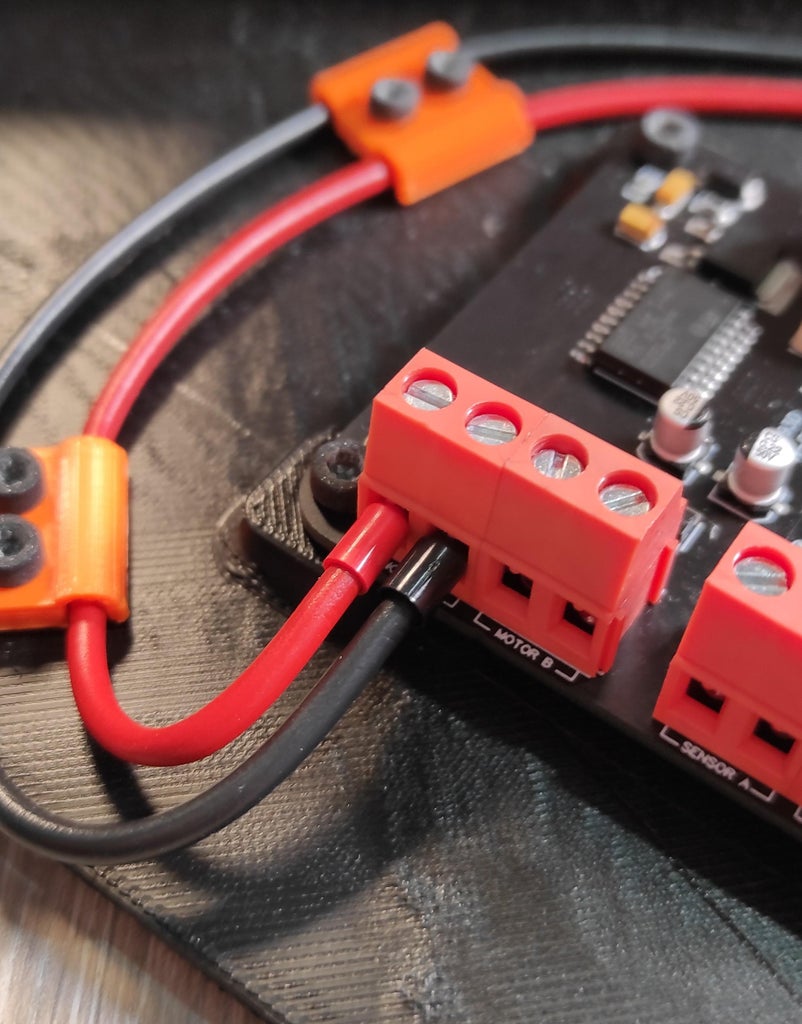


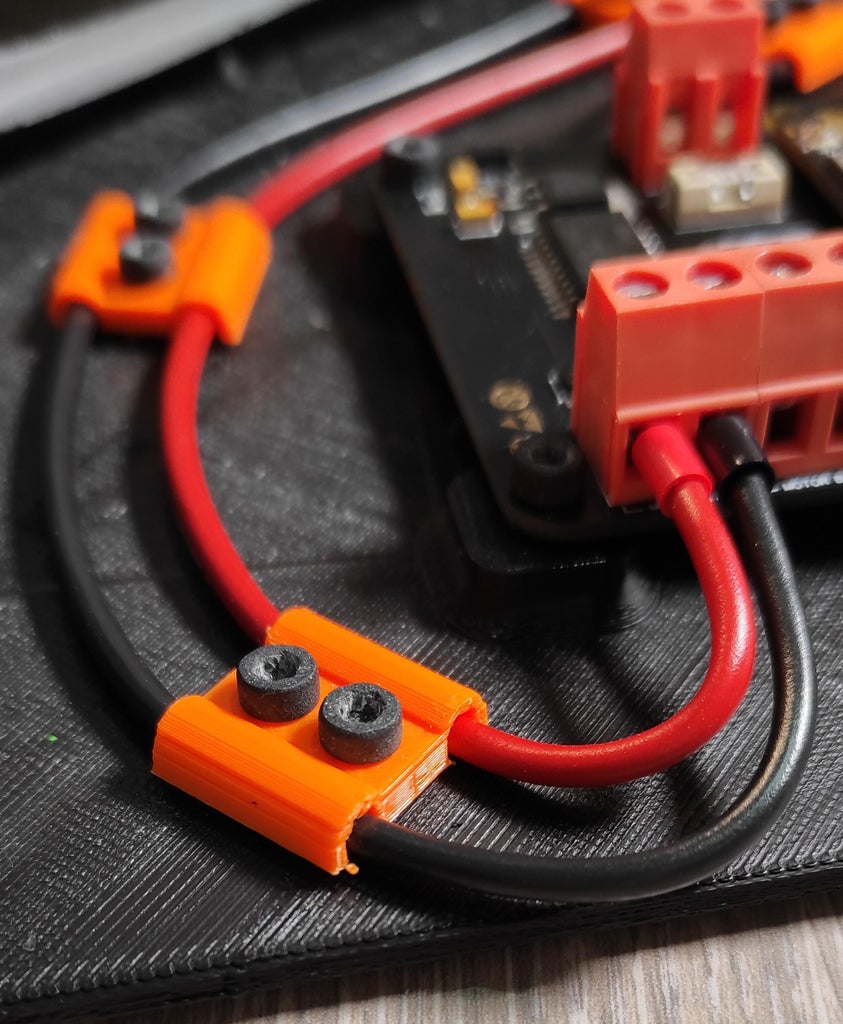

After getting both the circuit board and the Jet Engine core assembled, we just need to place the Jet on its support and the circuit board in its placement then we finish the wiring of the power source and the motor power control as it is showed in the above images, in order to keep an arranged looking of the wiring setup I have designed some wire clips and produced them through 3D printing.
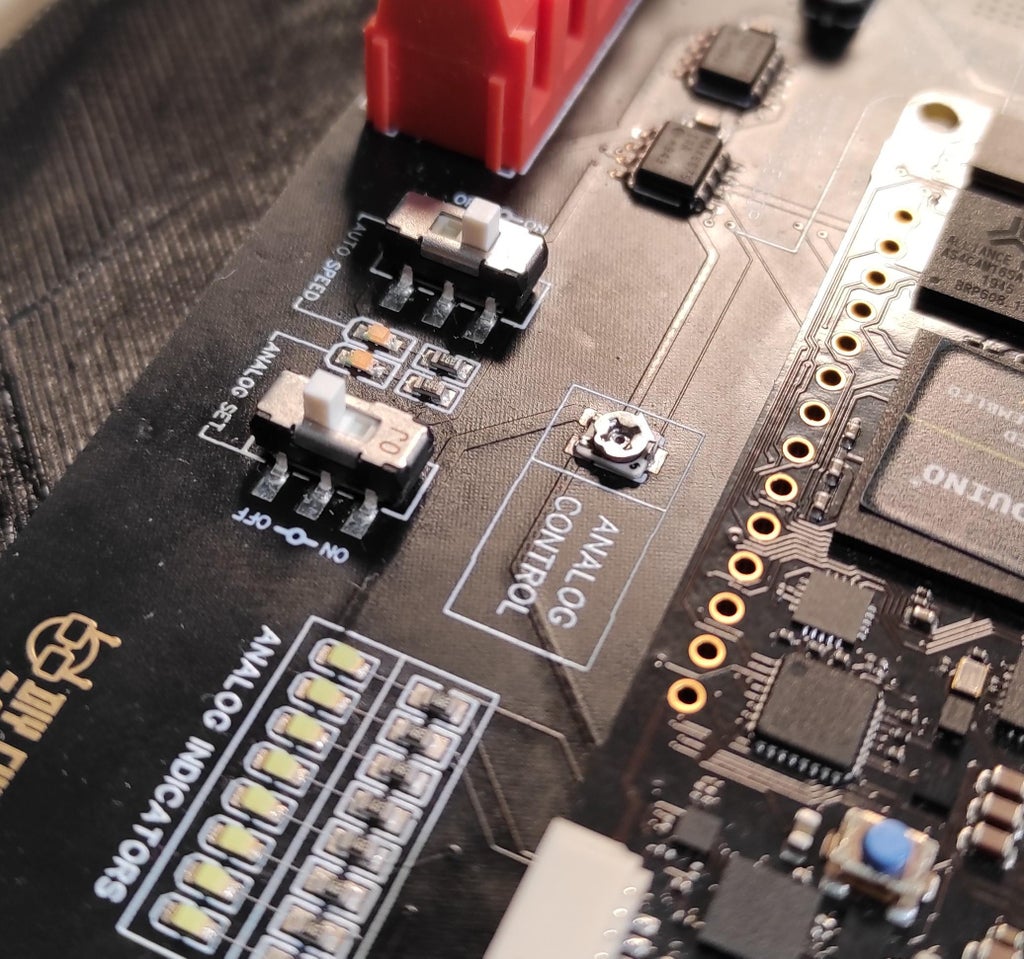
Before getting to the final step, I remind you that I have insert an SMD potentiometer and some slide switches on my Throne board which will be helpful for controlling the motor speed and direction.

Software and Test

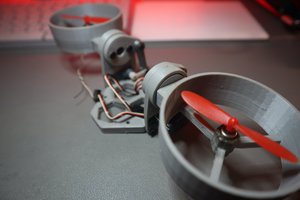
Here is the final step, I just made this Arduino code that allows me to read the analog signals from the SMD potentiometer, convert it and then transmit it over the PWM outputs of Portenta, it also gives ability to switch the spinning direction of the motor through the digital signals of the slide switch.
I attached a snap shot of the Jet spinning but you still can watch the full making video on my Youtube channel.
Do not hesitate to let me know your thoughts and suggestions through the comment section.


 Saul
Saul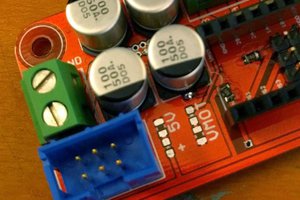
 Benchoff
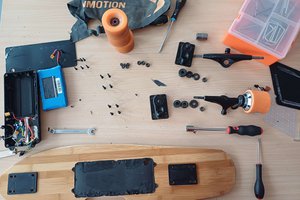
 Rocketburns
waooo.. Its pure love. Also, visit https://sewinglogs.com/.