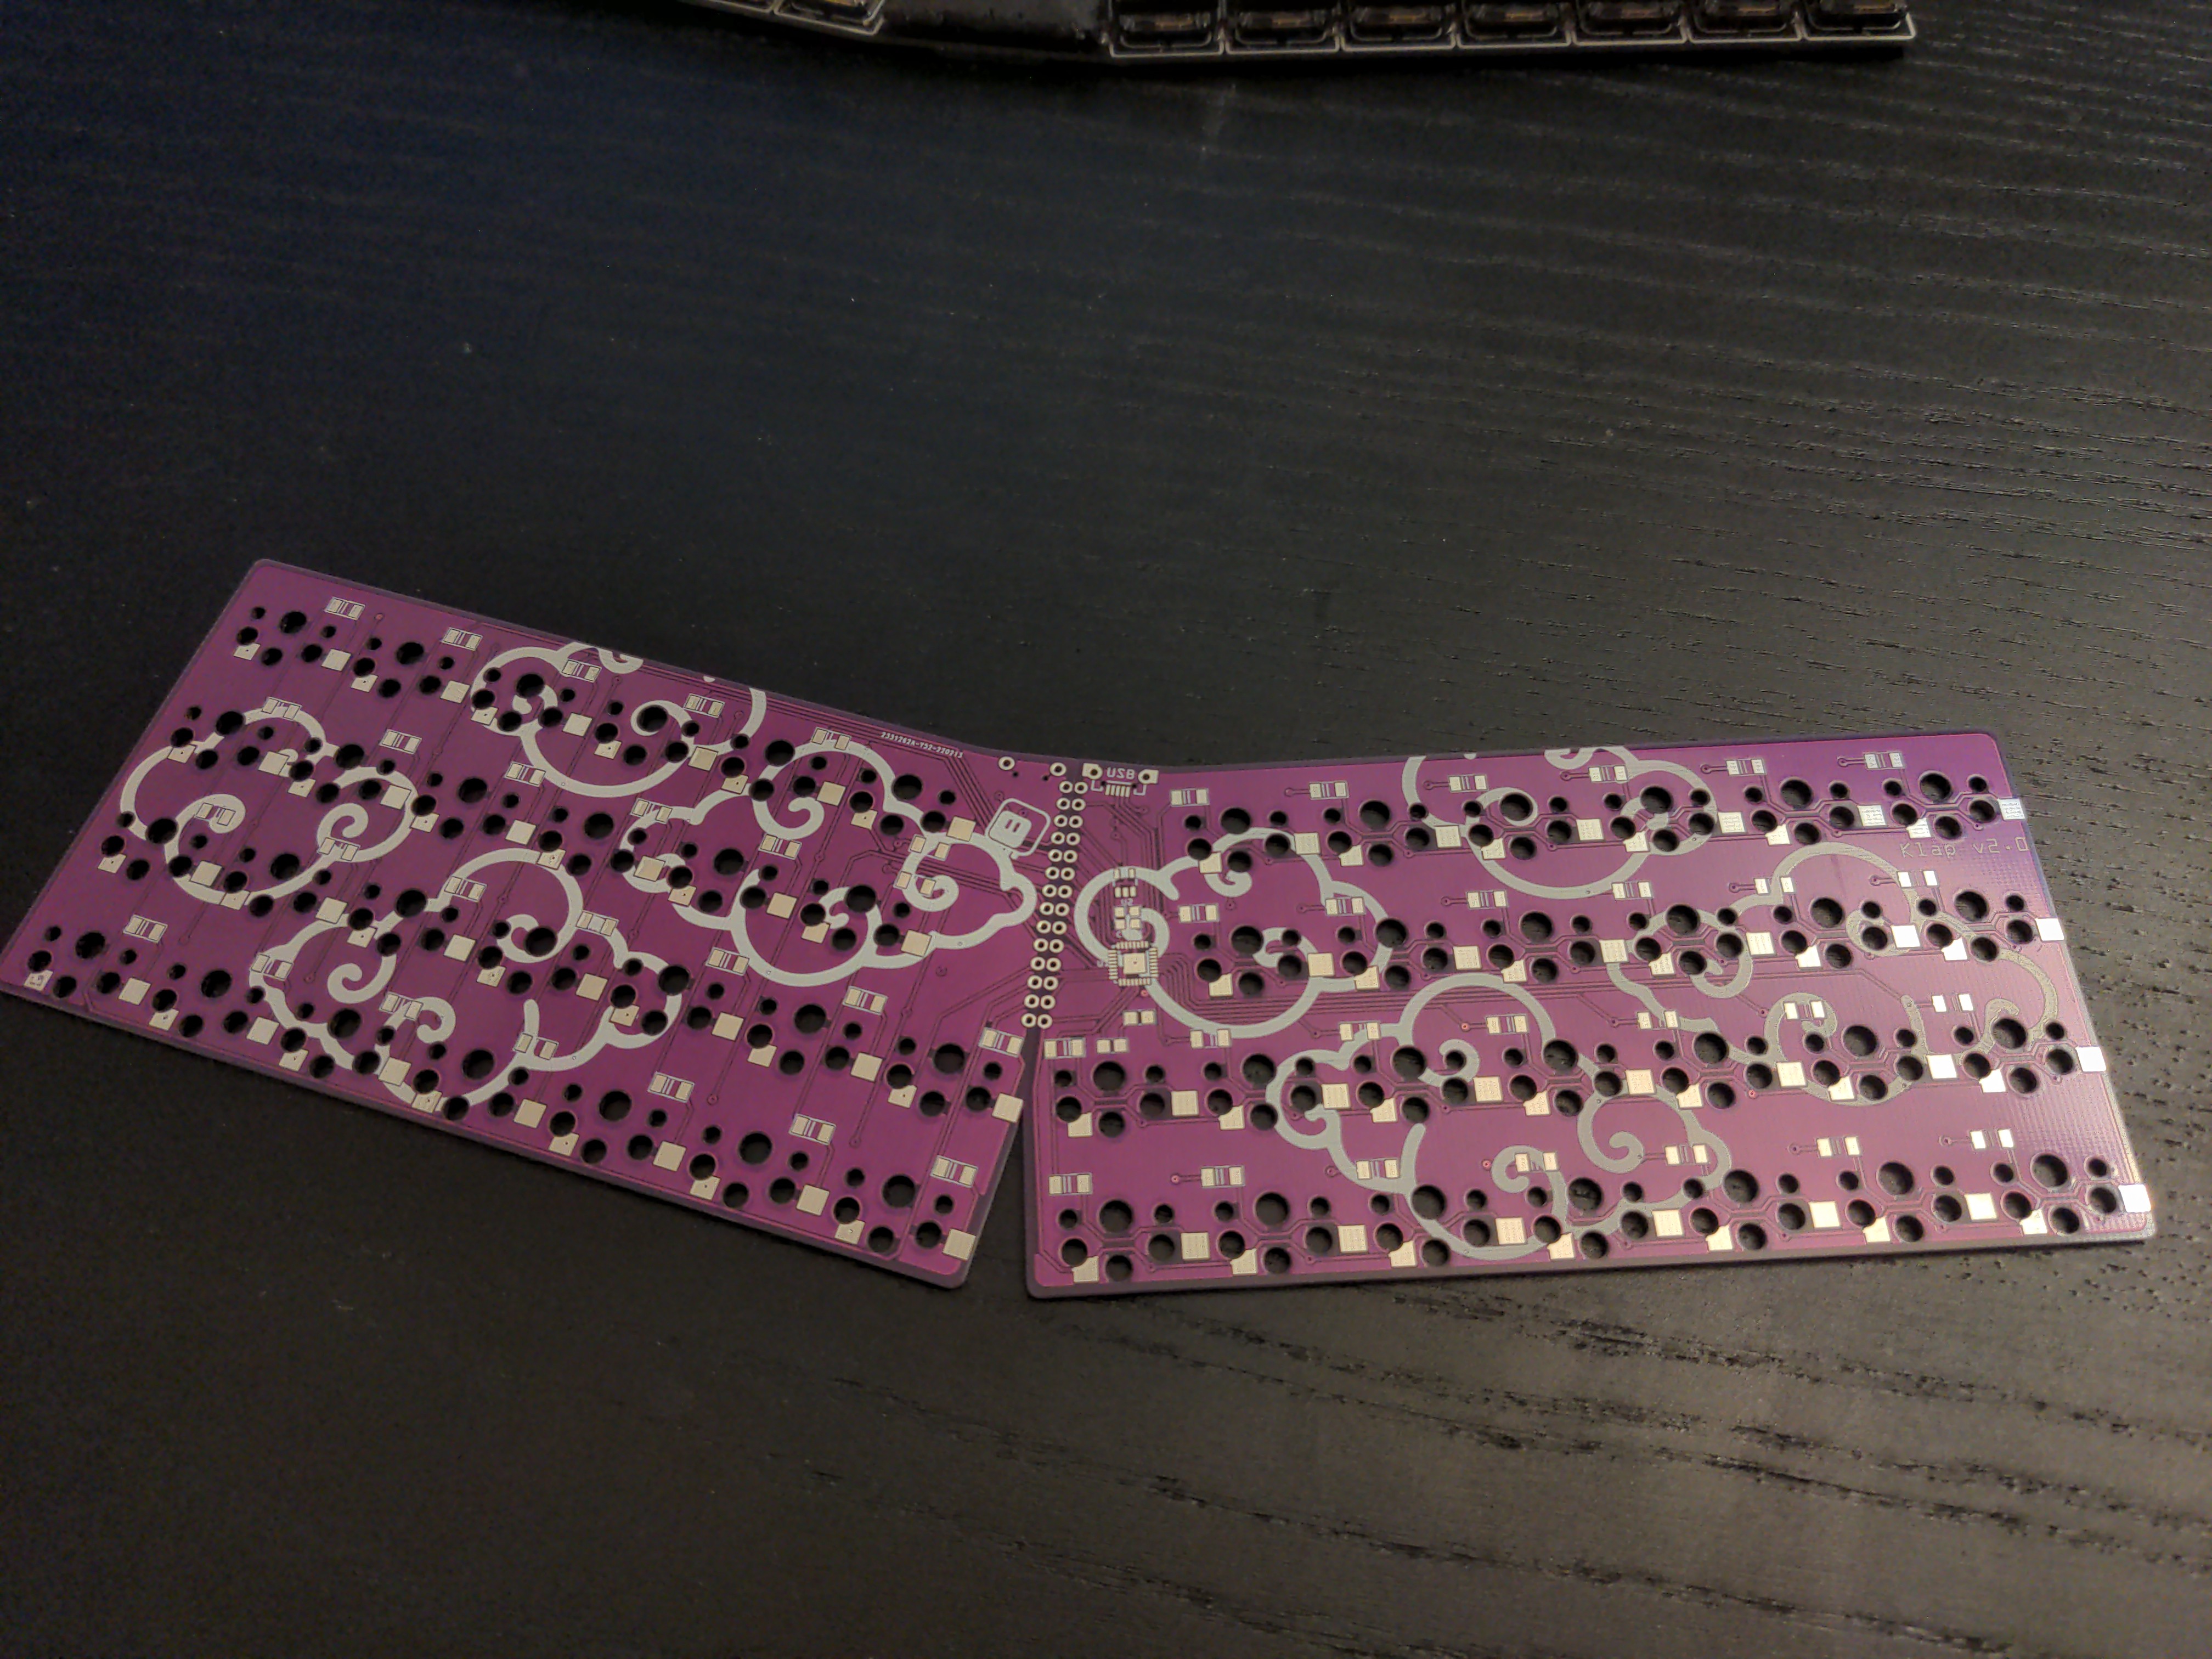
The PCB for the second version of this keyboard arrived:

This time I'm using switch sockets, so I decided to add an extra row and extra column to each side, to have more room with experimenting with different arrangements of keys. I also put the connector in the middle a little bit closer to the edge, so I can solder pin headers in there, and have a sort of a "clip" made of a double-row header, to connect the halves together, and still be able to disconnect them for transport. Oh, and since the sockets add a few millimetres to the bottom anyways, I moved the diodes to the bottom too.
Right now I ran out of the sockets, so the PCB is waiting for more to arrive.
 deʃhipu
Discussions
Become a Hackaday.io Member
Create an account to leave a comment. Already have an account? Log In.
This one looks like fun! Do you know of good beginner tutorial for fritzing/kicad? I've done some handwired projects, and would like to try my hand at PCBs.
Are you sure? yes | no
I know that Ben Vallack is planning to do a tutorial on using Ergogen, a generator program for such keyboards. He already has on his Youtube a more general introduction to it, check it out.
Are you sure? yes | no