 Owen Trueblood
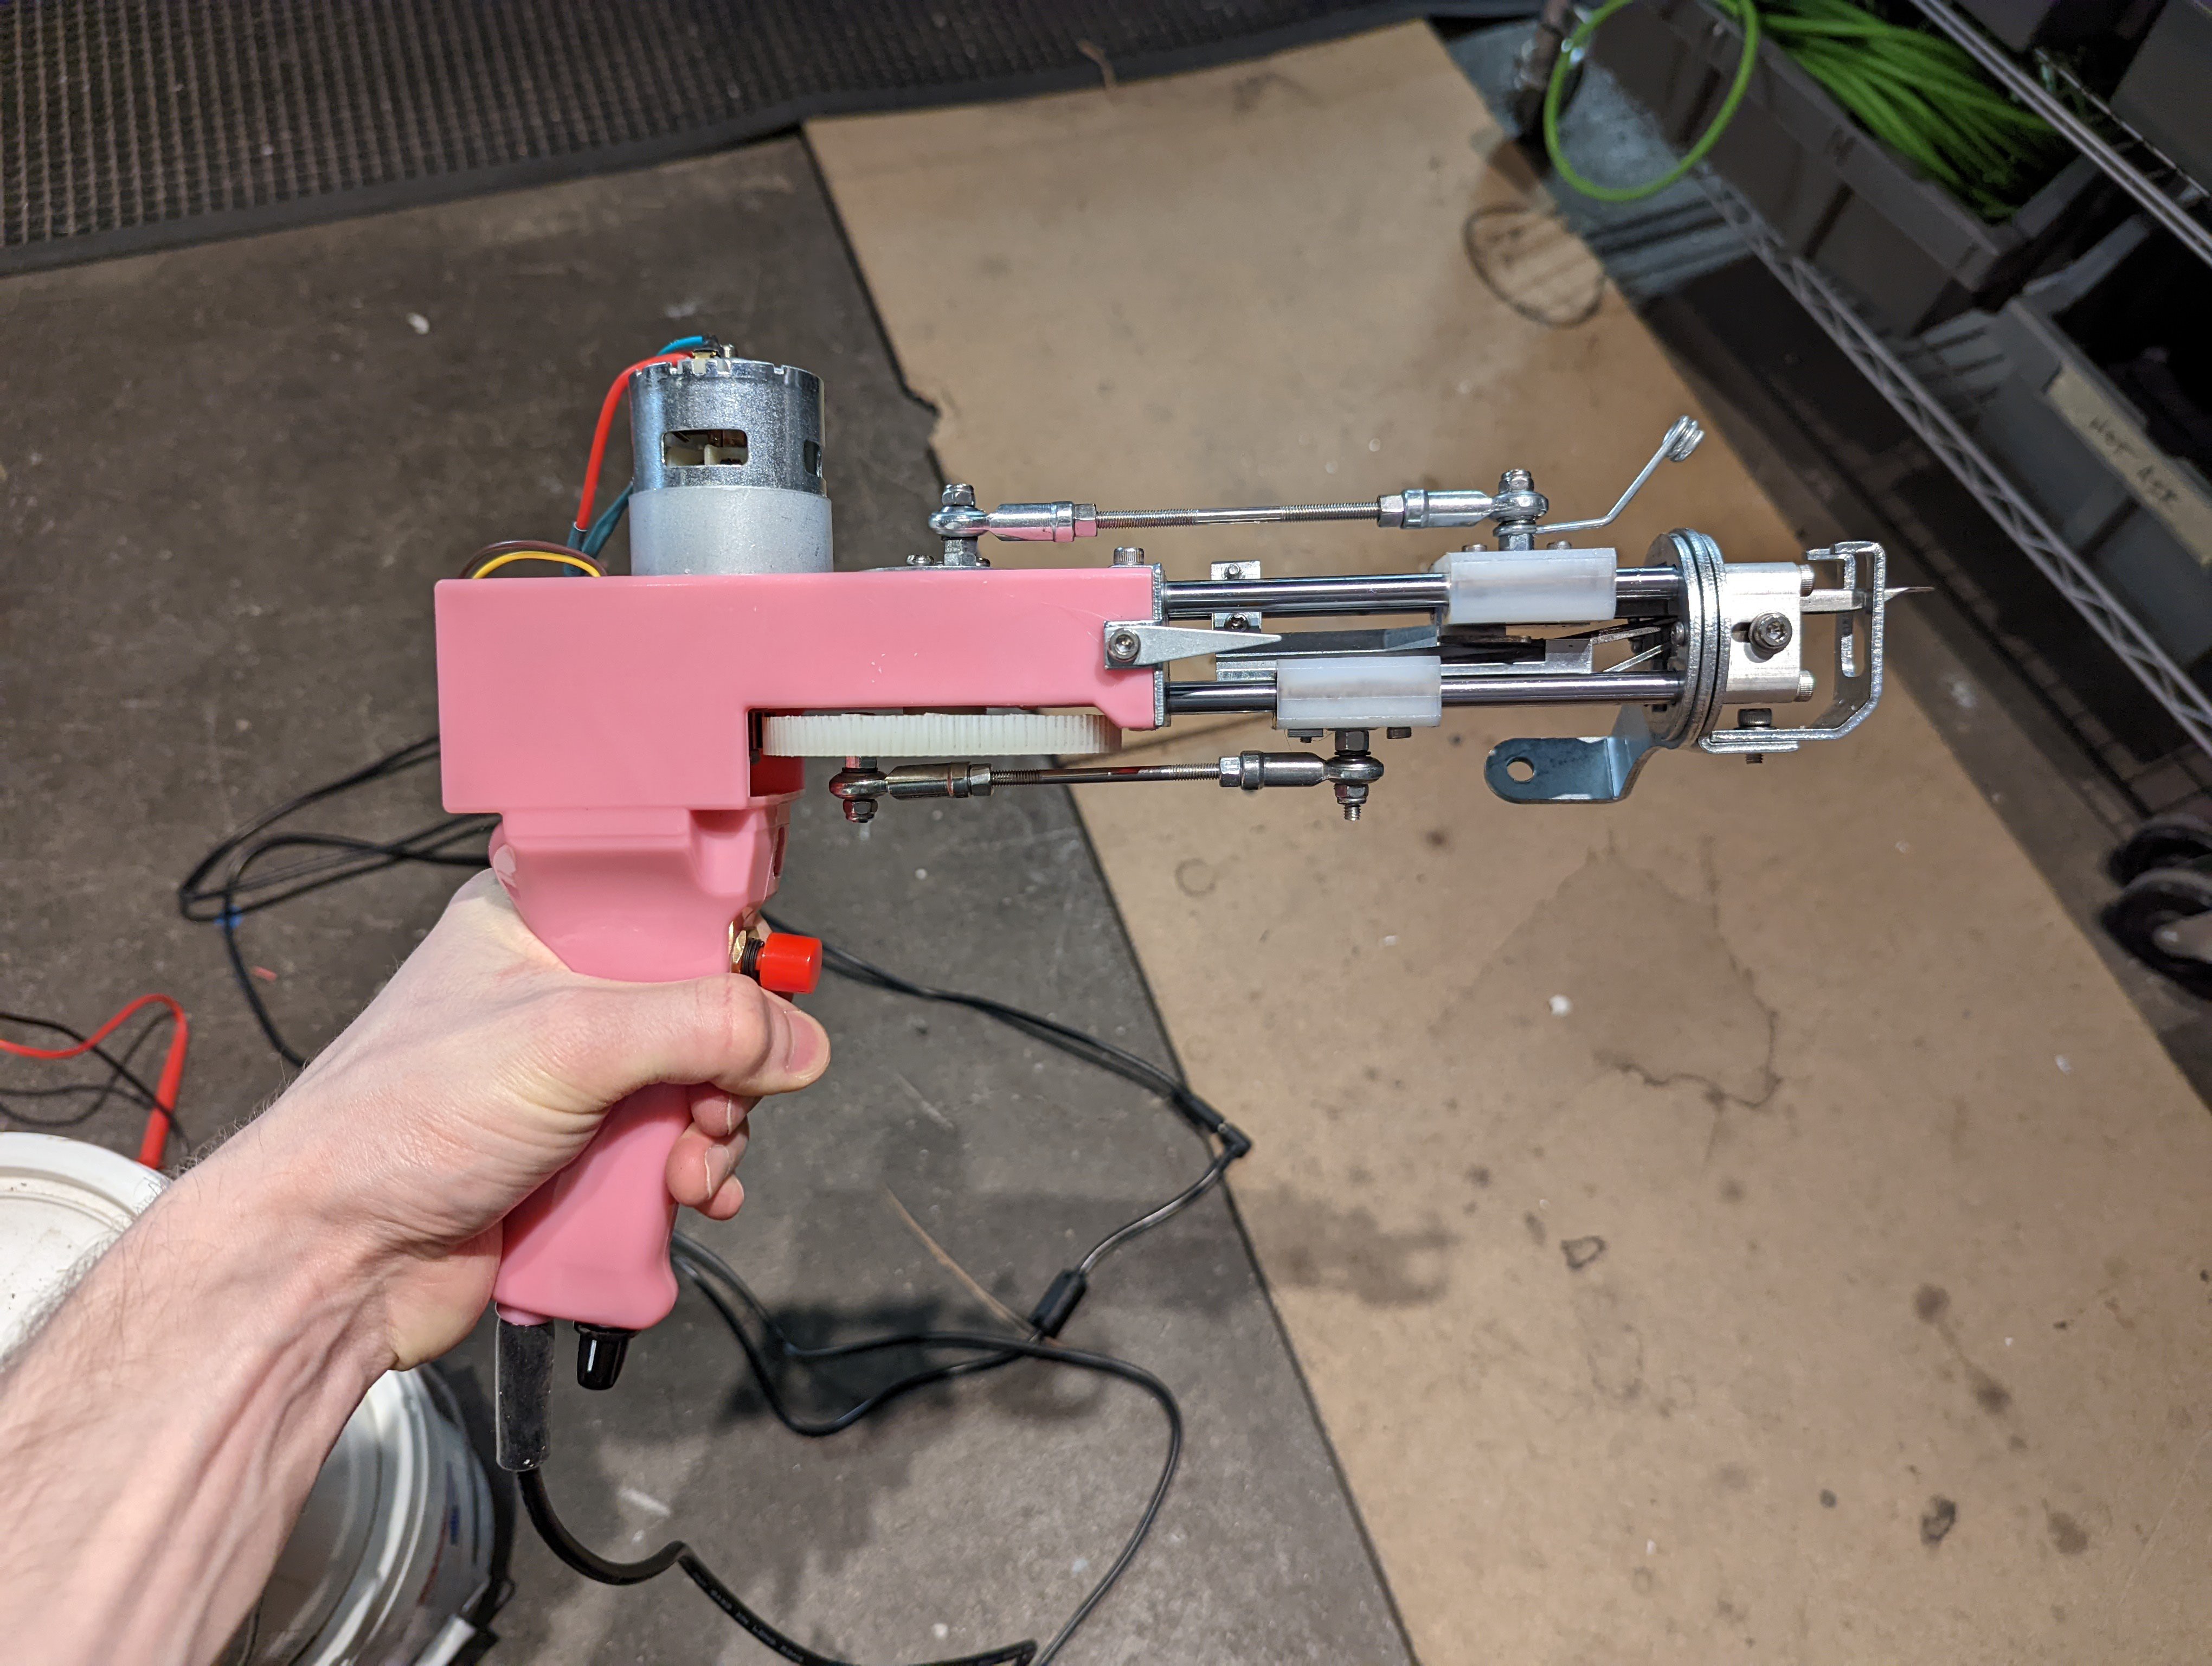
How Tufting Guns Work
Tufting guns are fairly simple machines. There are usually two modes that they operate in: loop pile or cut pile. In loop pile the yarn is never broken - it's one long strand. Each time the needle pokes the fabric backing it creates a loop of yarn on the other side. The backing holds the loop in place but if you were to pull the loose end of the yarn the entire pattern would come out. Once the pattern is finished a type of glue is added to fix everything in place and prevent the pattern from being pulled out. Cut pile tufting just involves cutting the yarn on the front side after every needle plunge. As a result you end up with a small segment of yarn shoved through the backing after each needle plunge.
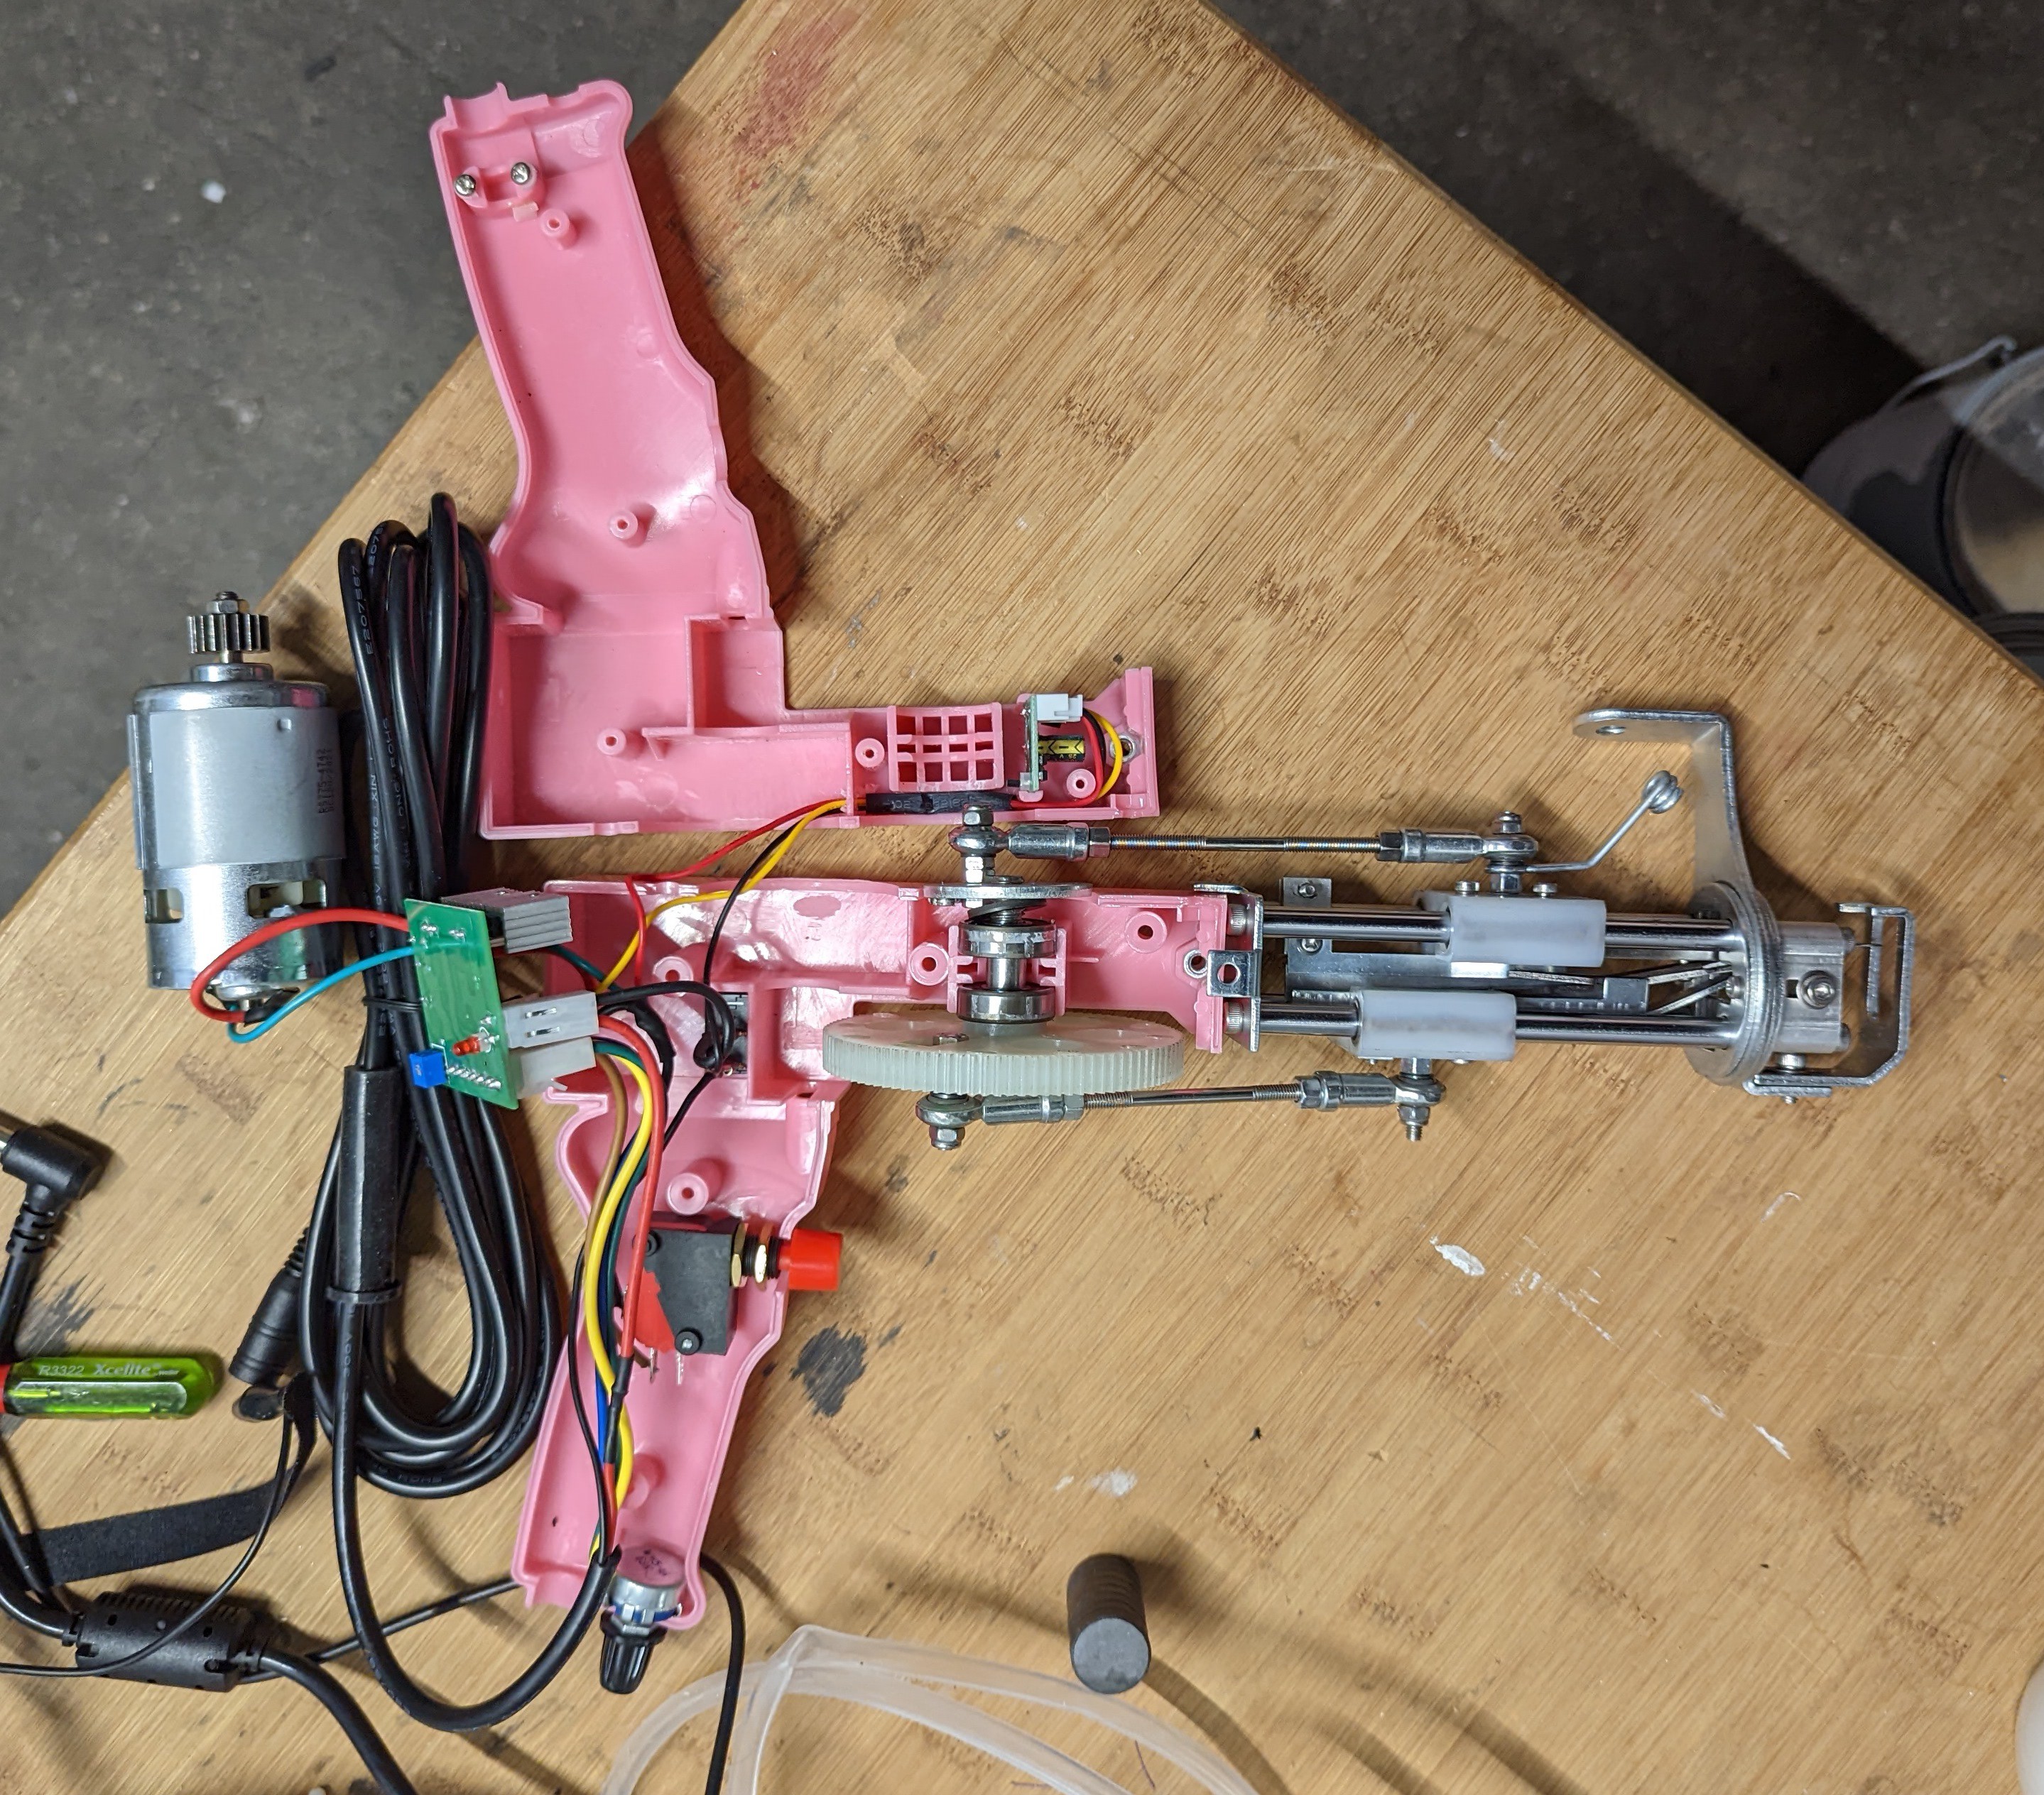
The mechanism is simple and almost the same for loop pile and cut pile. One needle is used to carry the yarn. It has a hole in it which the yarn is threaded through. On the gun we are using it is connected by a crank mechanism to a large gear. On every revolution of the gear the needle plunges once. Another "needle" is used for the loop or cut pile action. It is attached to the same large gear but about 90 degrees out of phase. If doing loop pile a special "pusher" needle is inserted which just helps hold the yarn down while the main needle is retracted from the backing, leaving the loop in place on the other side. If doing cut pile the pusher is removed and a small scissor mechanism is installed instead. The scissors have one fixed "handle" and one free handle that is actuated by pressing against a piece of metal that is fixed up in the linear part of the mechanism. This causes the scissors to close and cut the yarn just when the main needle is being retracted from the backing.
For control there is just a power switch, a trigger button, and a knob on the bottom to set the speed.
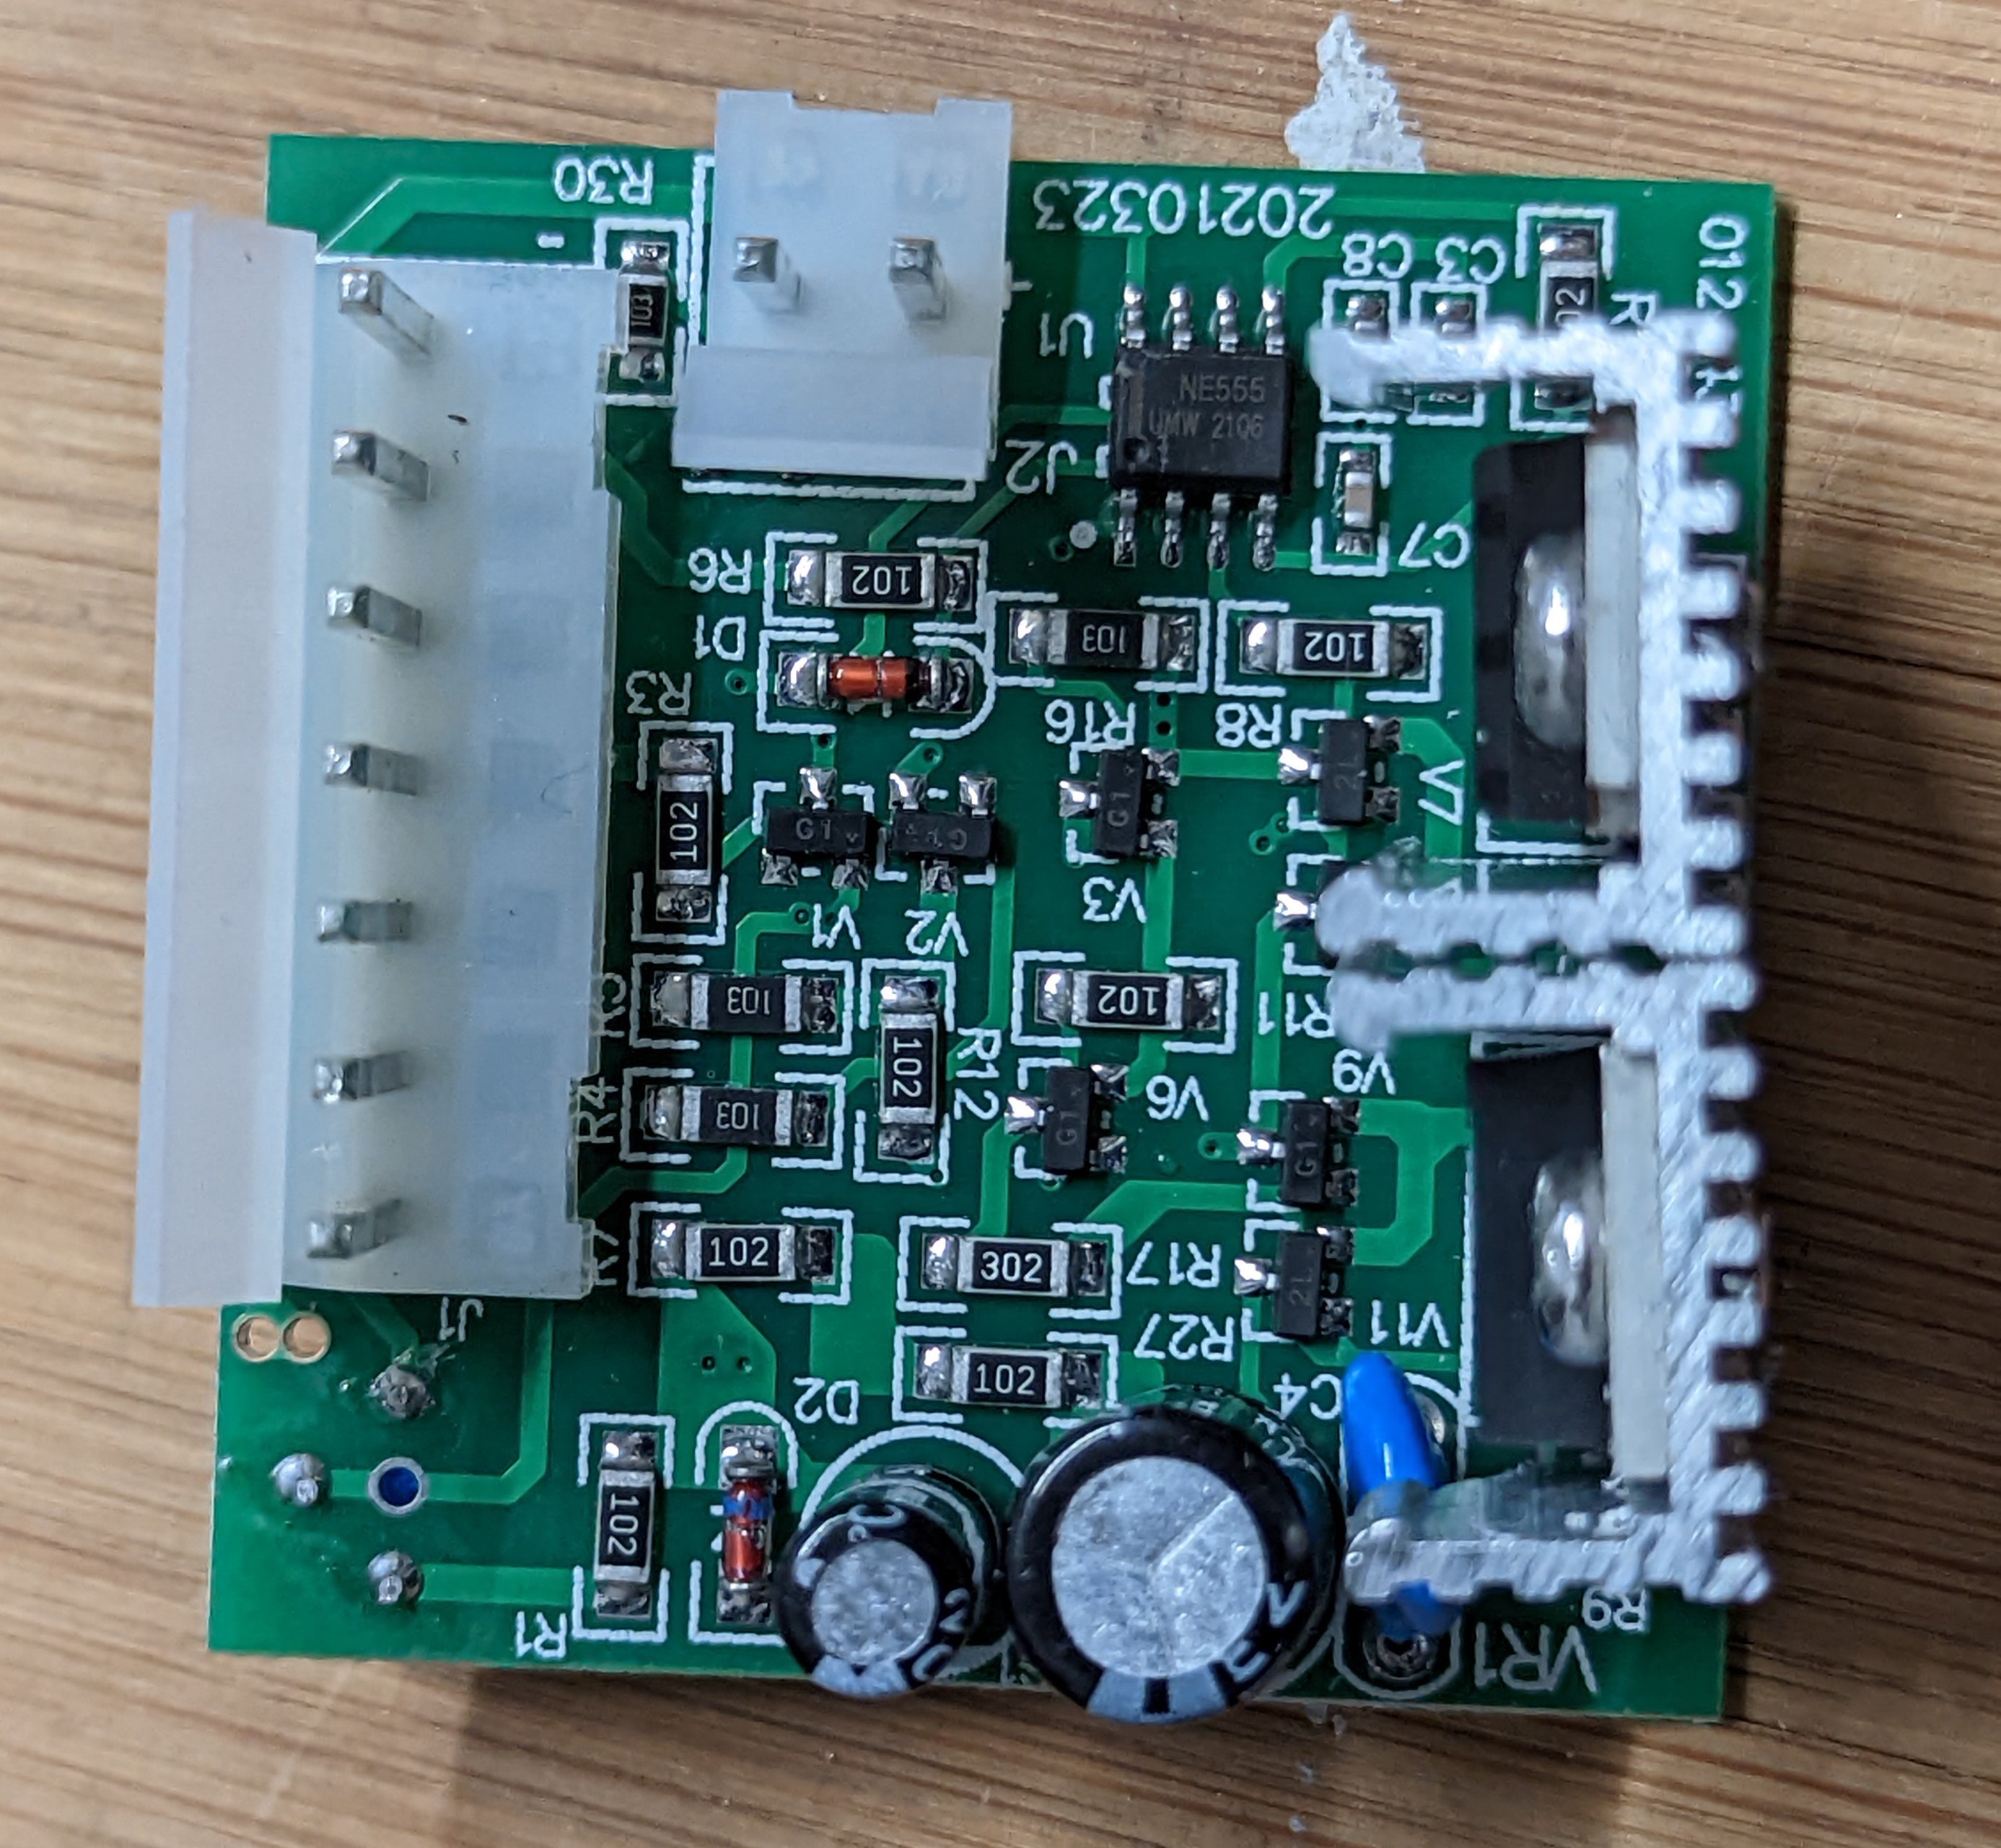
The motor driver just uses a 555 timer to PWM a half-H bridge based on the potentiometer that the speed control knob is affixed to. There is an additional pot on the PCB that sets the minimum speed.
Hacking the Tufting Gun
For our CNC system we don't want to trigger the tufting gun by hand but we still want to be able to turn it on and off, so we can't just leave it running continuously. We need a way to control it from the robot controller, or the computer sending instructions to the robot controller. Ideally we also want to have control over the speed of the gun, because that needs to be synchronized with the speed of the robot arm for a constant tuft density.
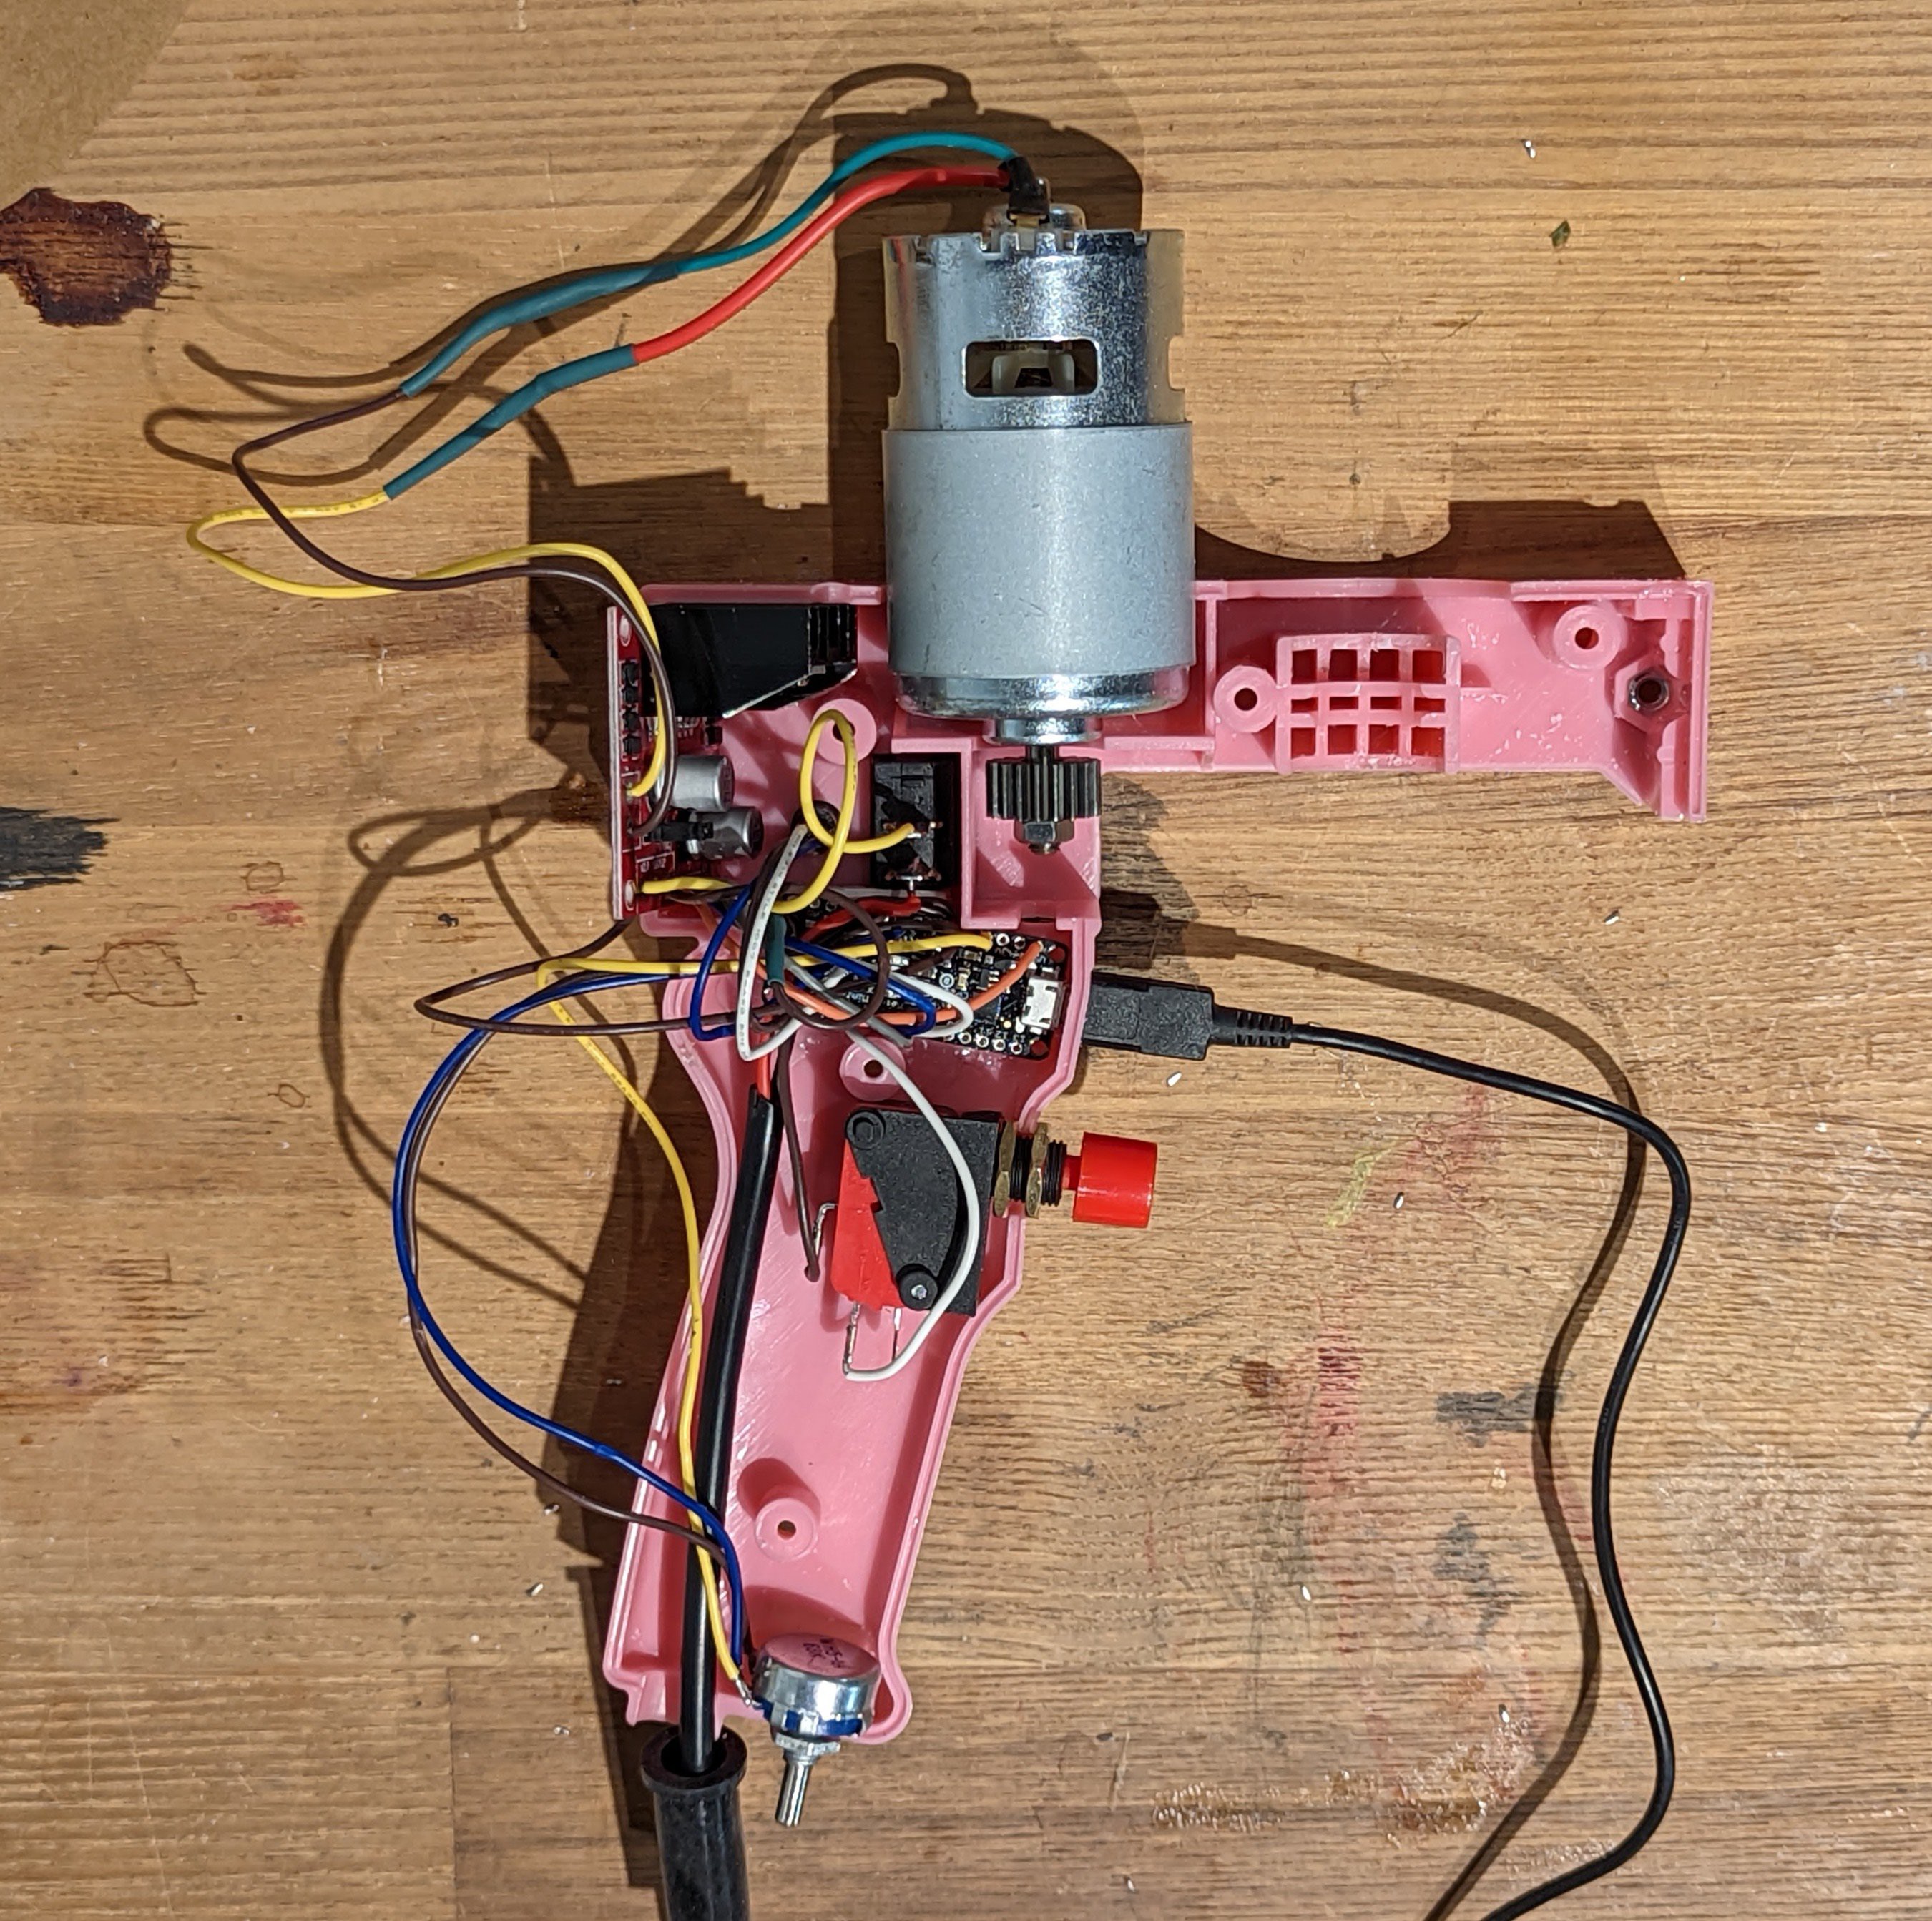
To accomplish these goals I replaced the motor controller, added an Arduino, exposed the Arduino's USB connection, and added an IO port.
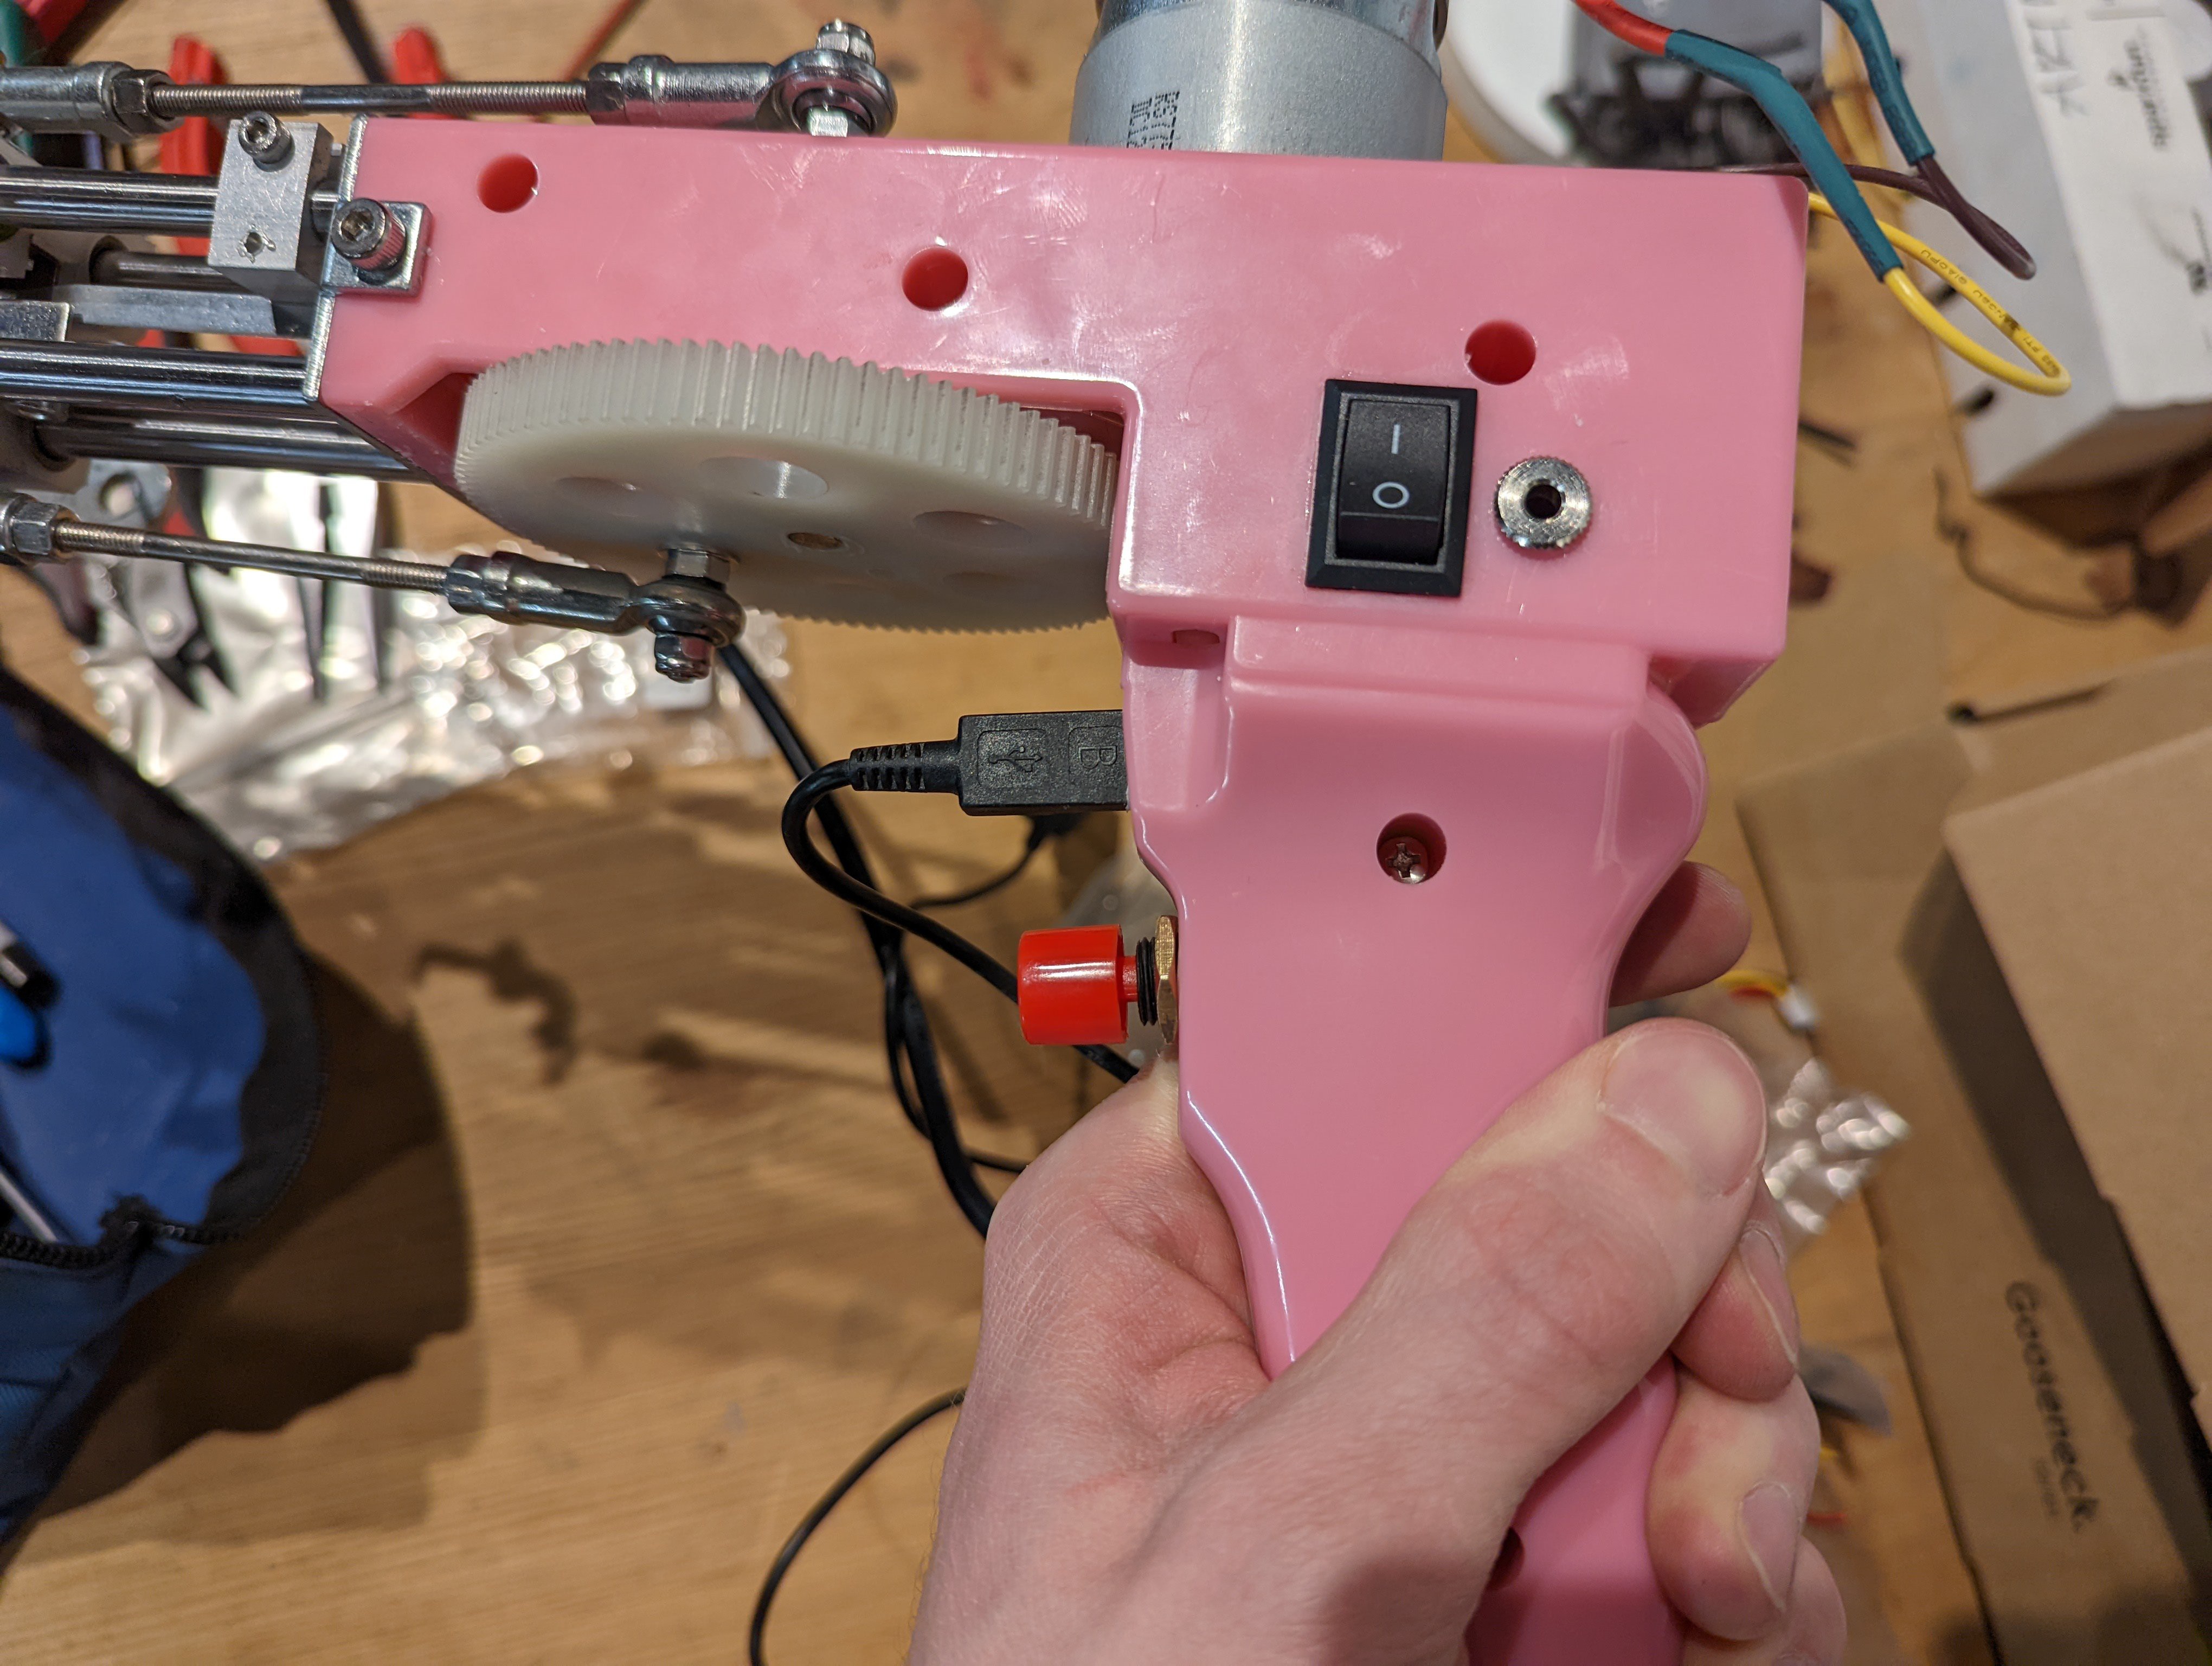
For the IO port I just added a standard stereo 3.5mm audio jack which is wired to ground and two of the analog inputs on the Arduino. With the IO and USB we can update the firmware to either control the tufting gun over USB serial or directly via digital/analog IO. The latter is convenient for the robot because it has digital and analog IO that can be controlled from the program it is running. The easy route will be to use one IO as a digital input to turn the tufting gun on or off and the other IO as an analog input that controls the speed based on the voltage.
The trigger and pot are wired through the Arduino now. So with a few lines of code we can restore the original functionality and still use the tufting gun manually:
const int PIN_ENABLE = 2;
const int PIN_OUT1 = 5;
const int PIN_OUT2 = 6;
const int PIN_BUTTON = 3;

void setup() {
  pinMode(PIN_ENABLE, OUTPUT);
  pinMode(PIN_OUT1, OUTPUT);
  pinMode(PIN_OUT2, OUTPUT);
  pinMode(PIN_BUTTON, INPUT_PULLUP);

  digitalWrite(PIN_ENABLE, HIGH);

  digitalWrite(PIN_OUT1, LOW);
  digitalWrite(PIN_OUT2, LOW);
}

void loop() {
  if (!digitalRead(PIN_BUTTON)) {
    analogWrite(PIN_OUT1, analogRead(A0) >> 2);
  } else {
    digitalWrite(PIN_OUT1, LOW);
  }
}
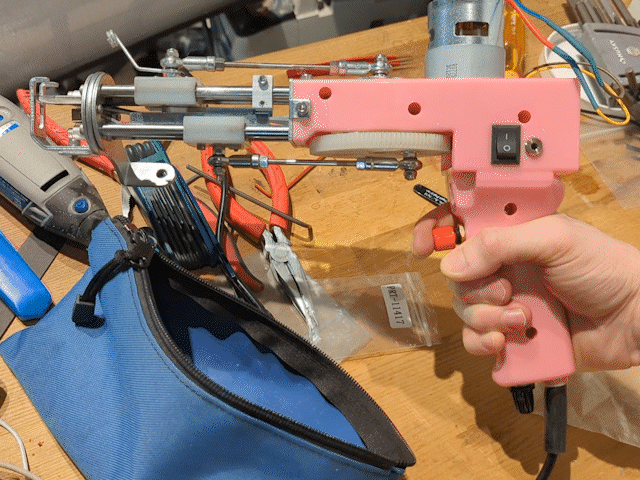
Next up is mounting the gun to the robot and doing our first CNC tufting.
Discussions
Become a Hackaday.io Member
Create an account to leave a comment. Already have an account? Log In.