 kelvinA
[G] = Generic Progress Update
I've been meaning to get an M6 tap for a while to fix the threads in the 30mm aluminium spacers I bought months ago, but today I thought that I might as well ask my uni's workshop if they have one.
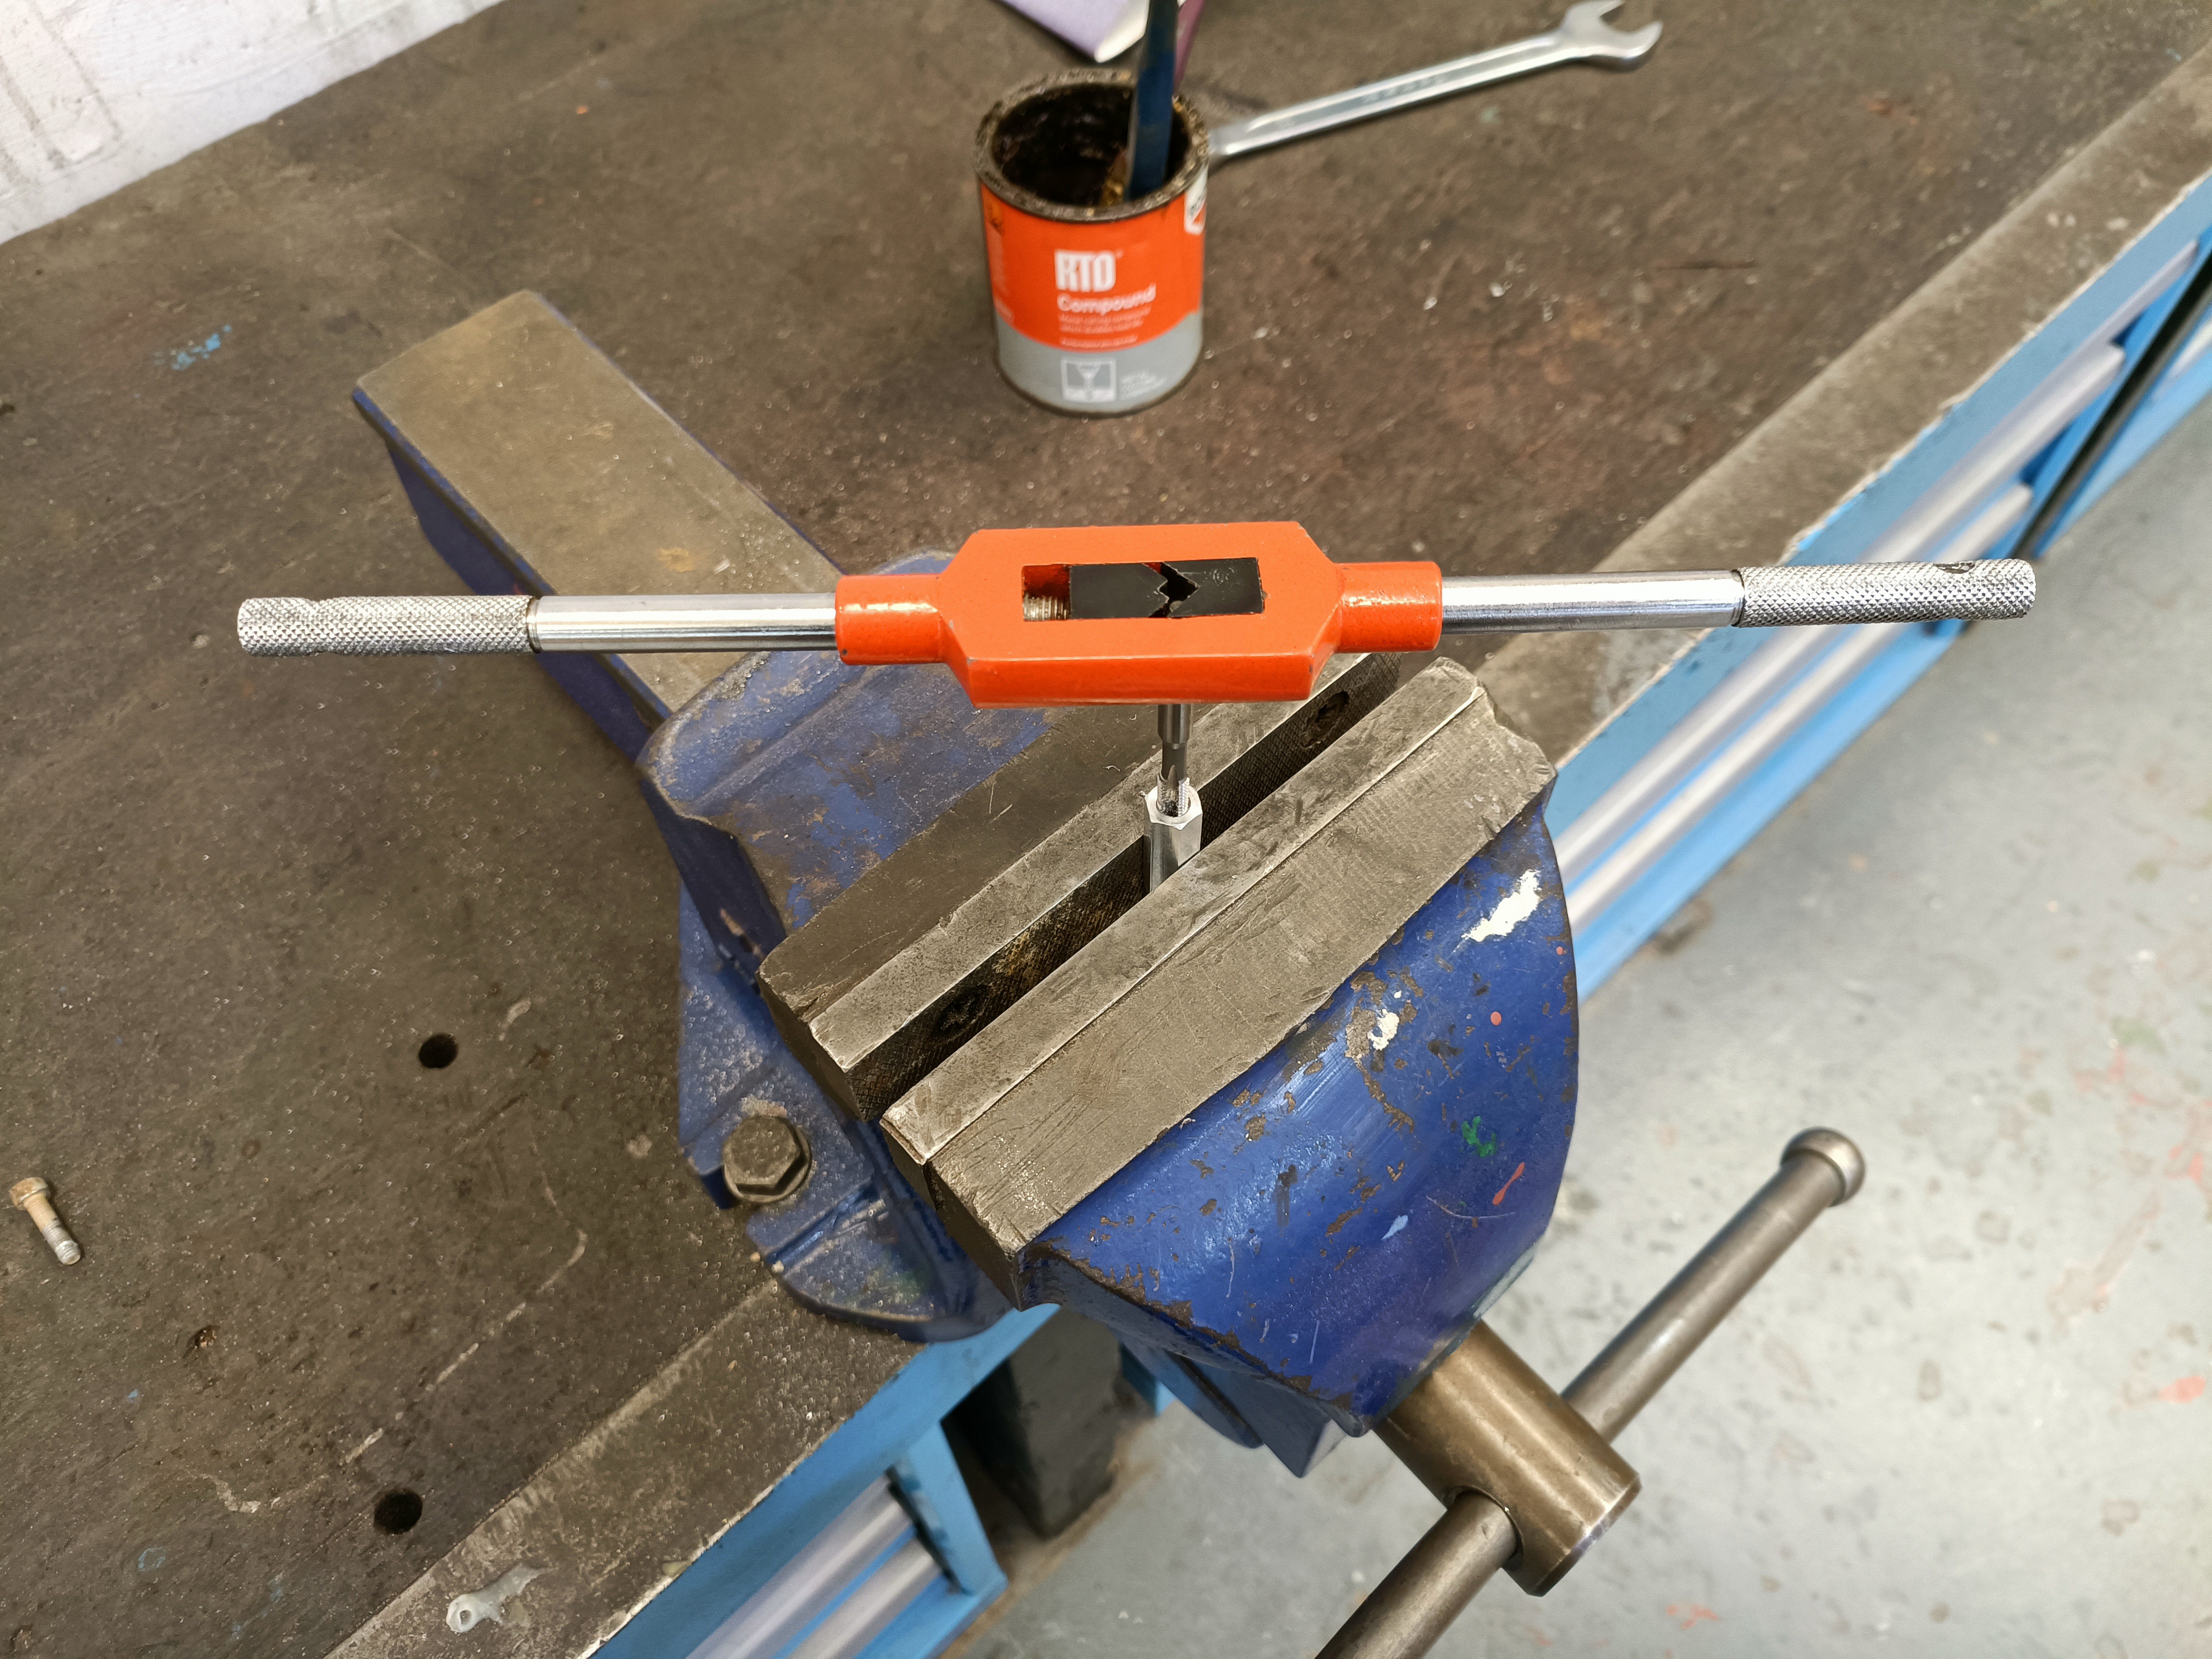
So with the M6 tap the uni's workshop just happened to have, I got to work. I bottommed out, flipped the spacer and threaded from that side too for good measure.
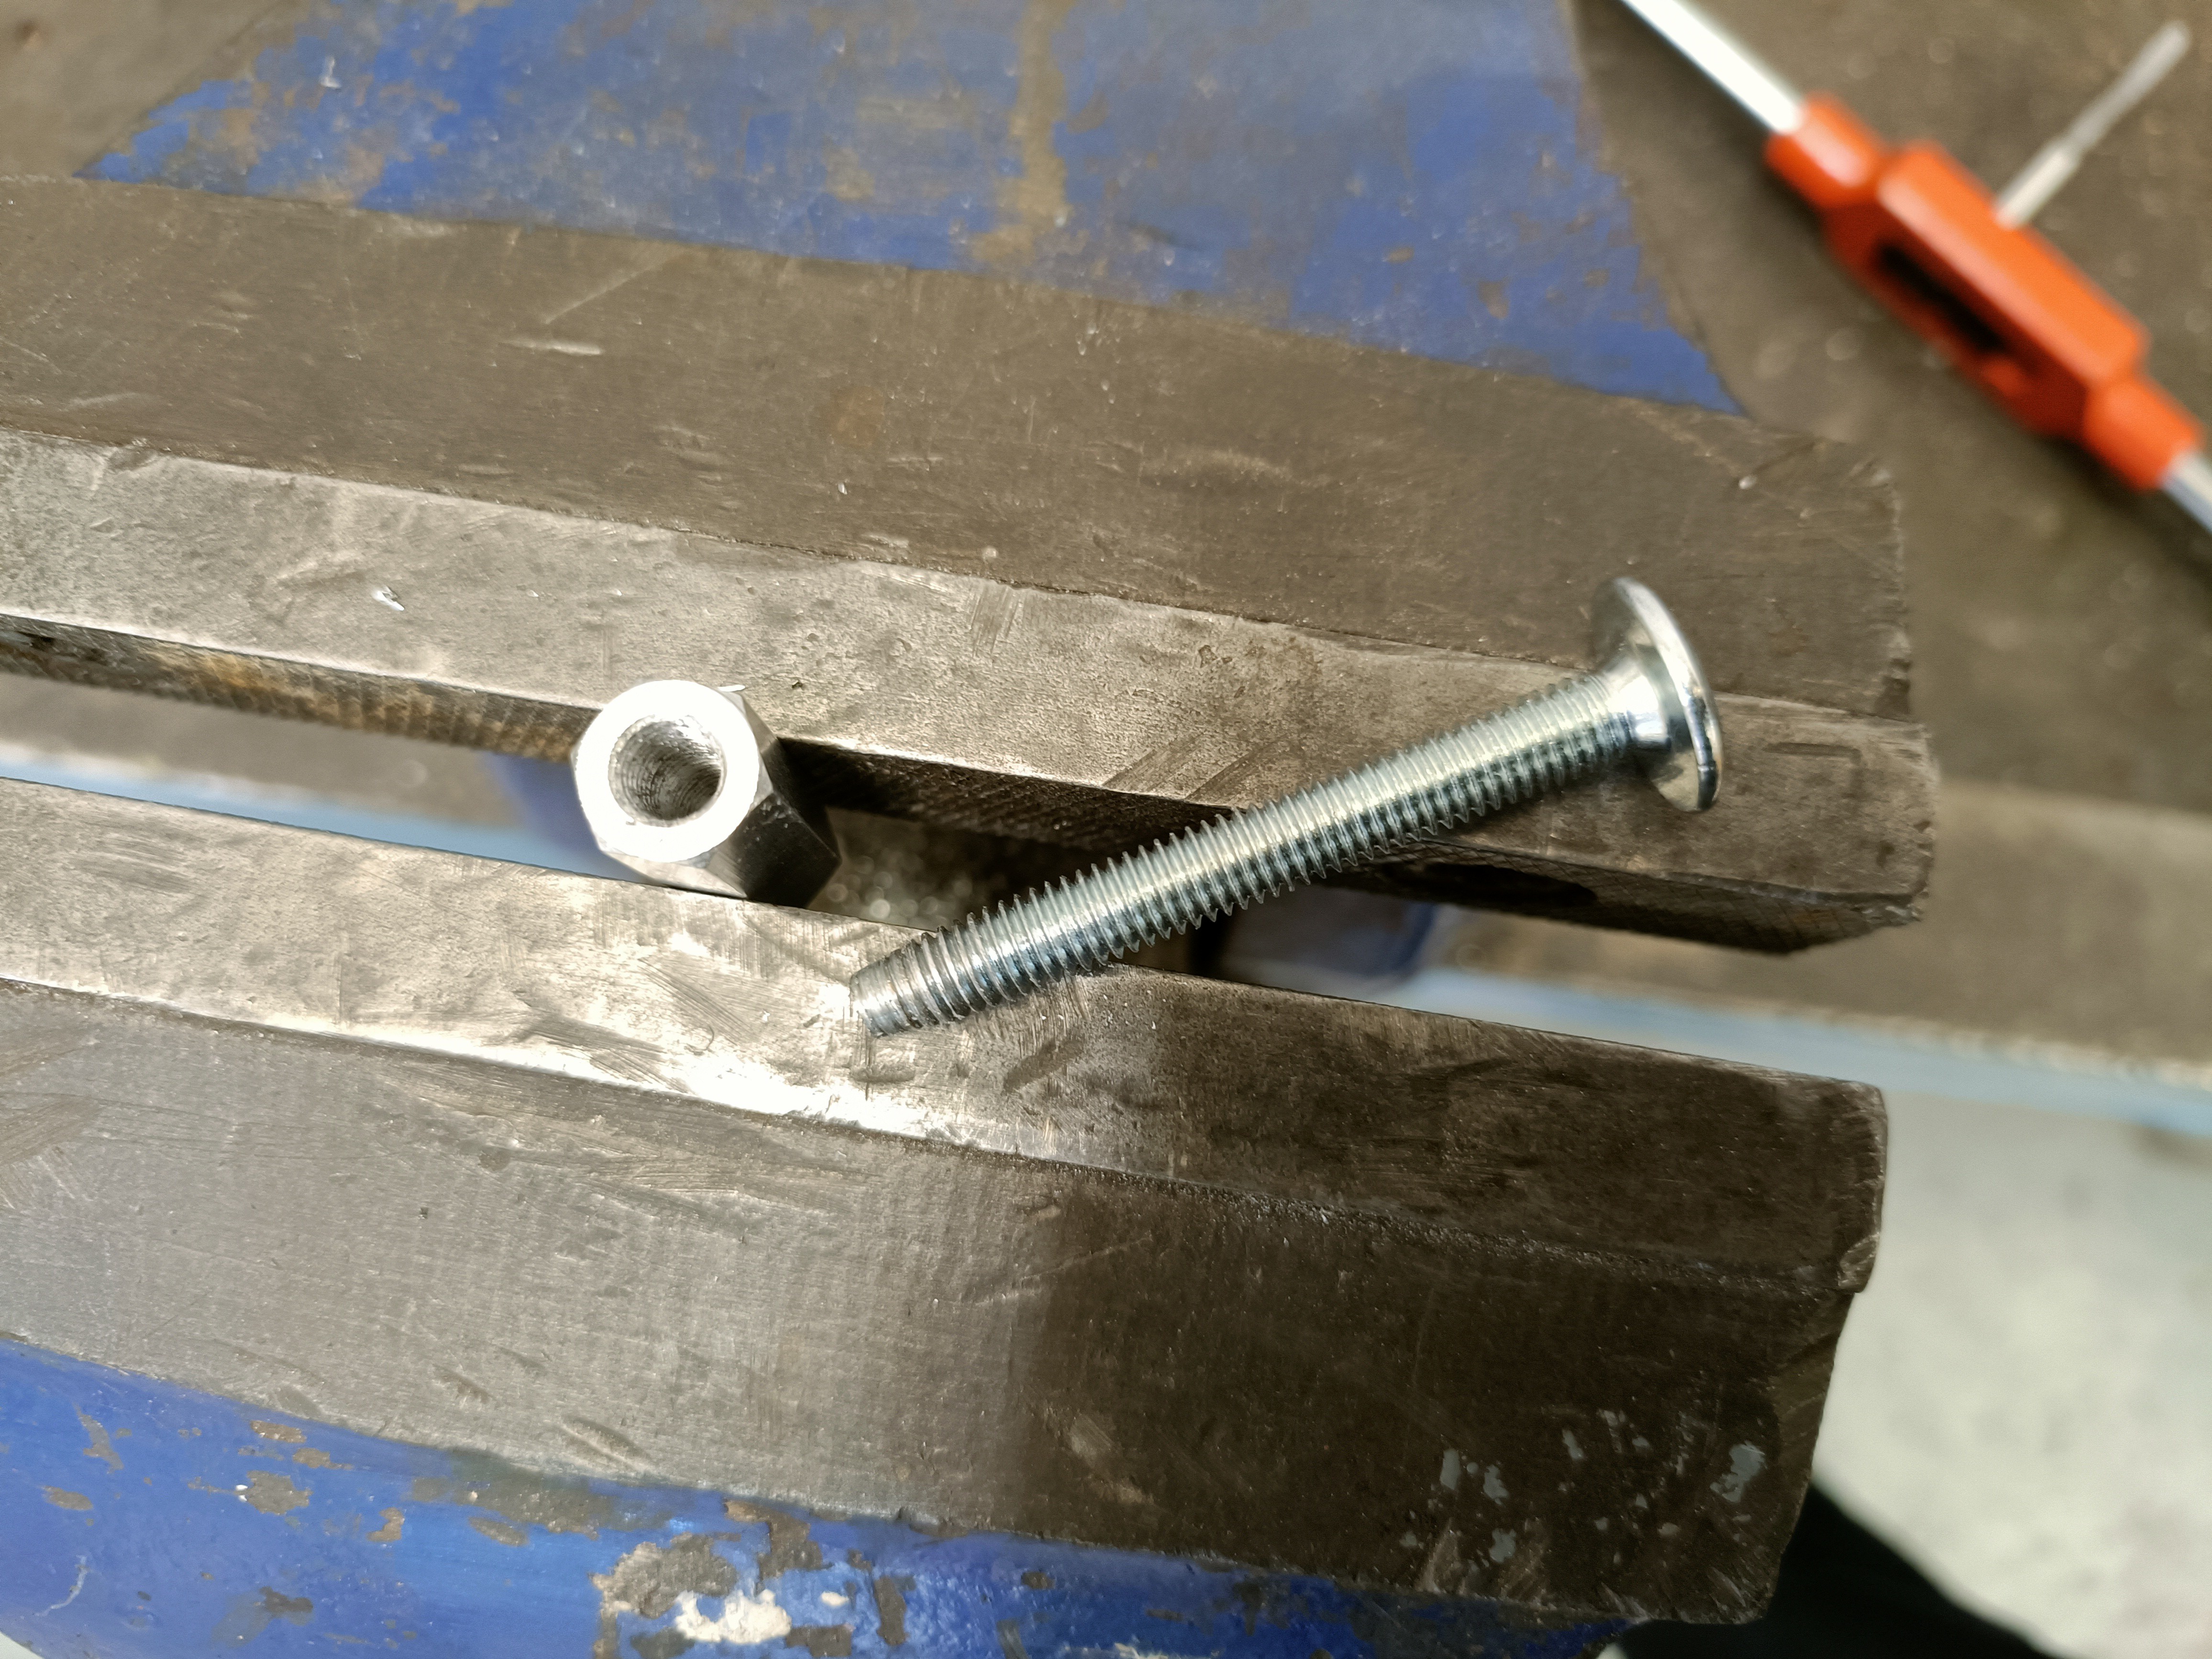
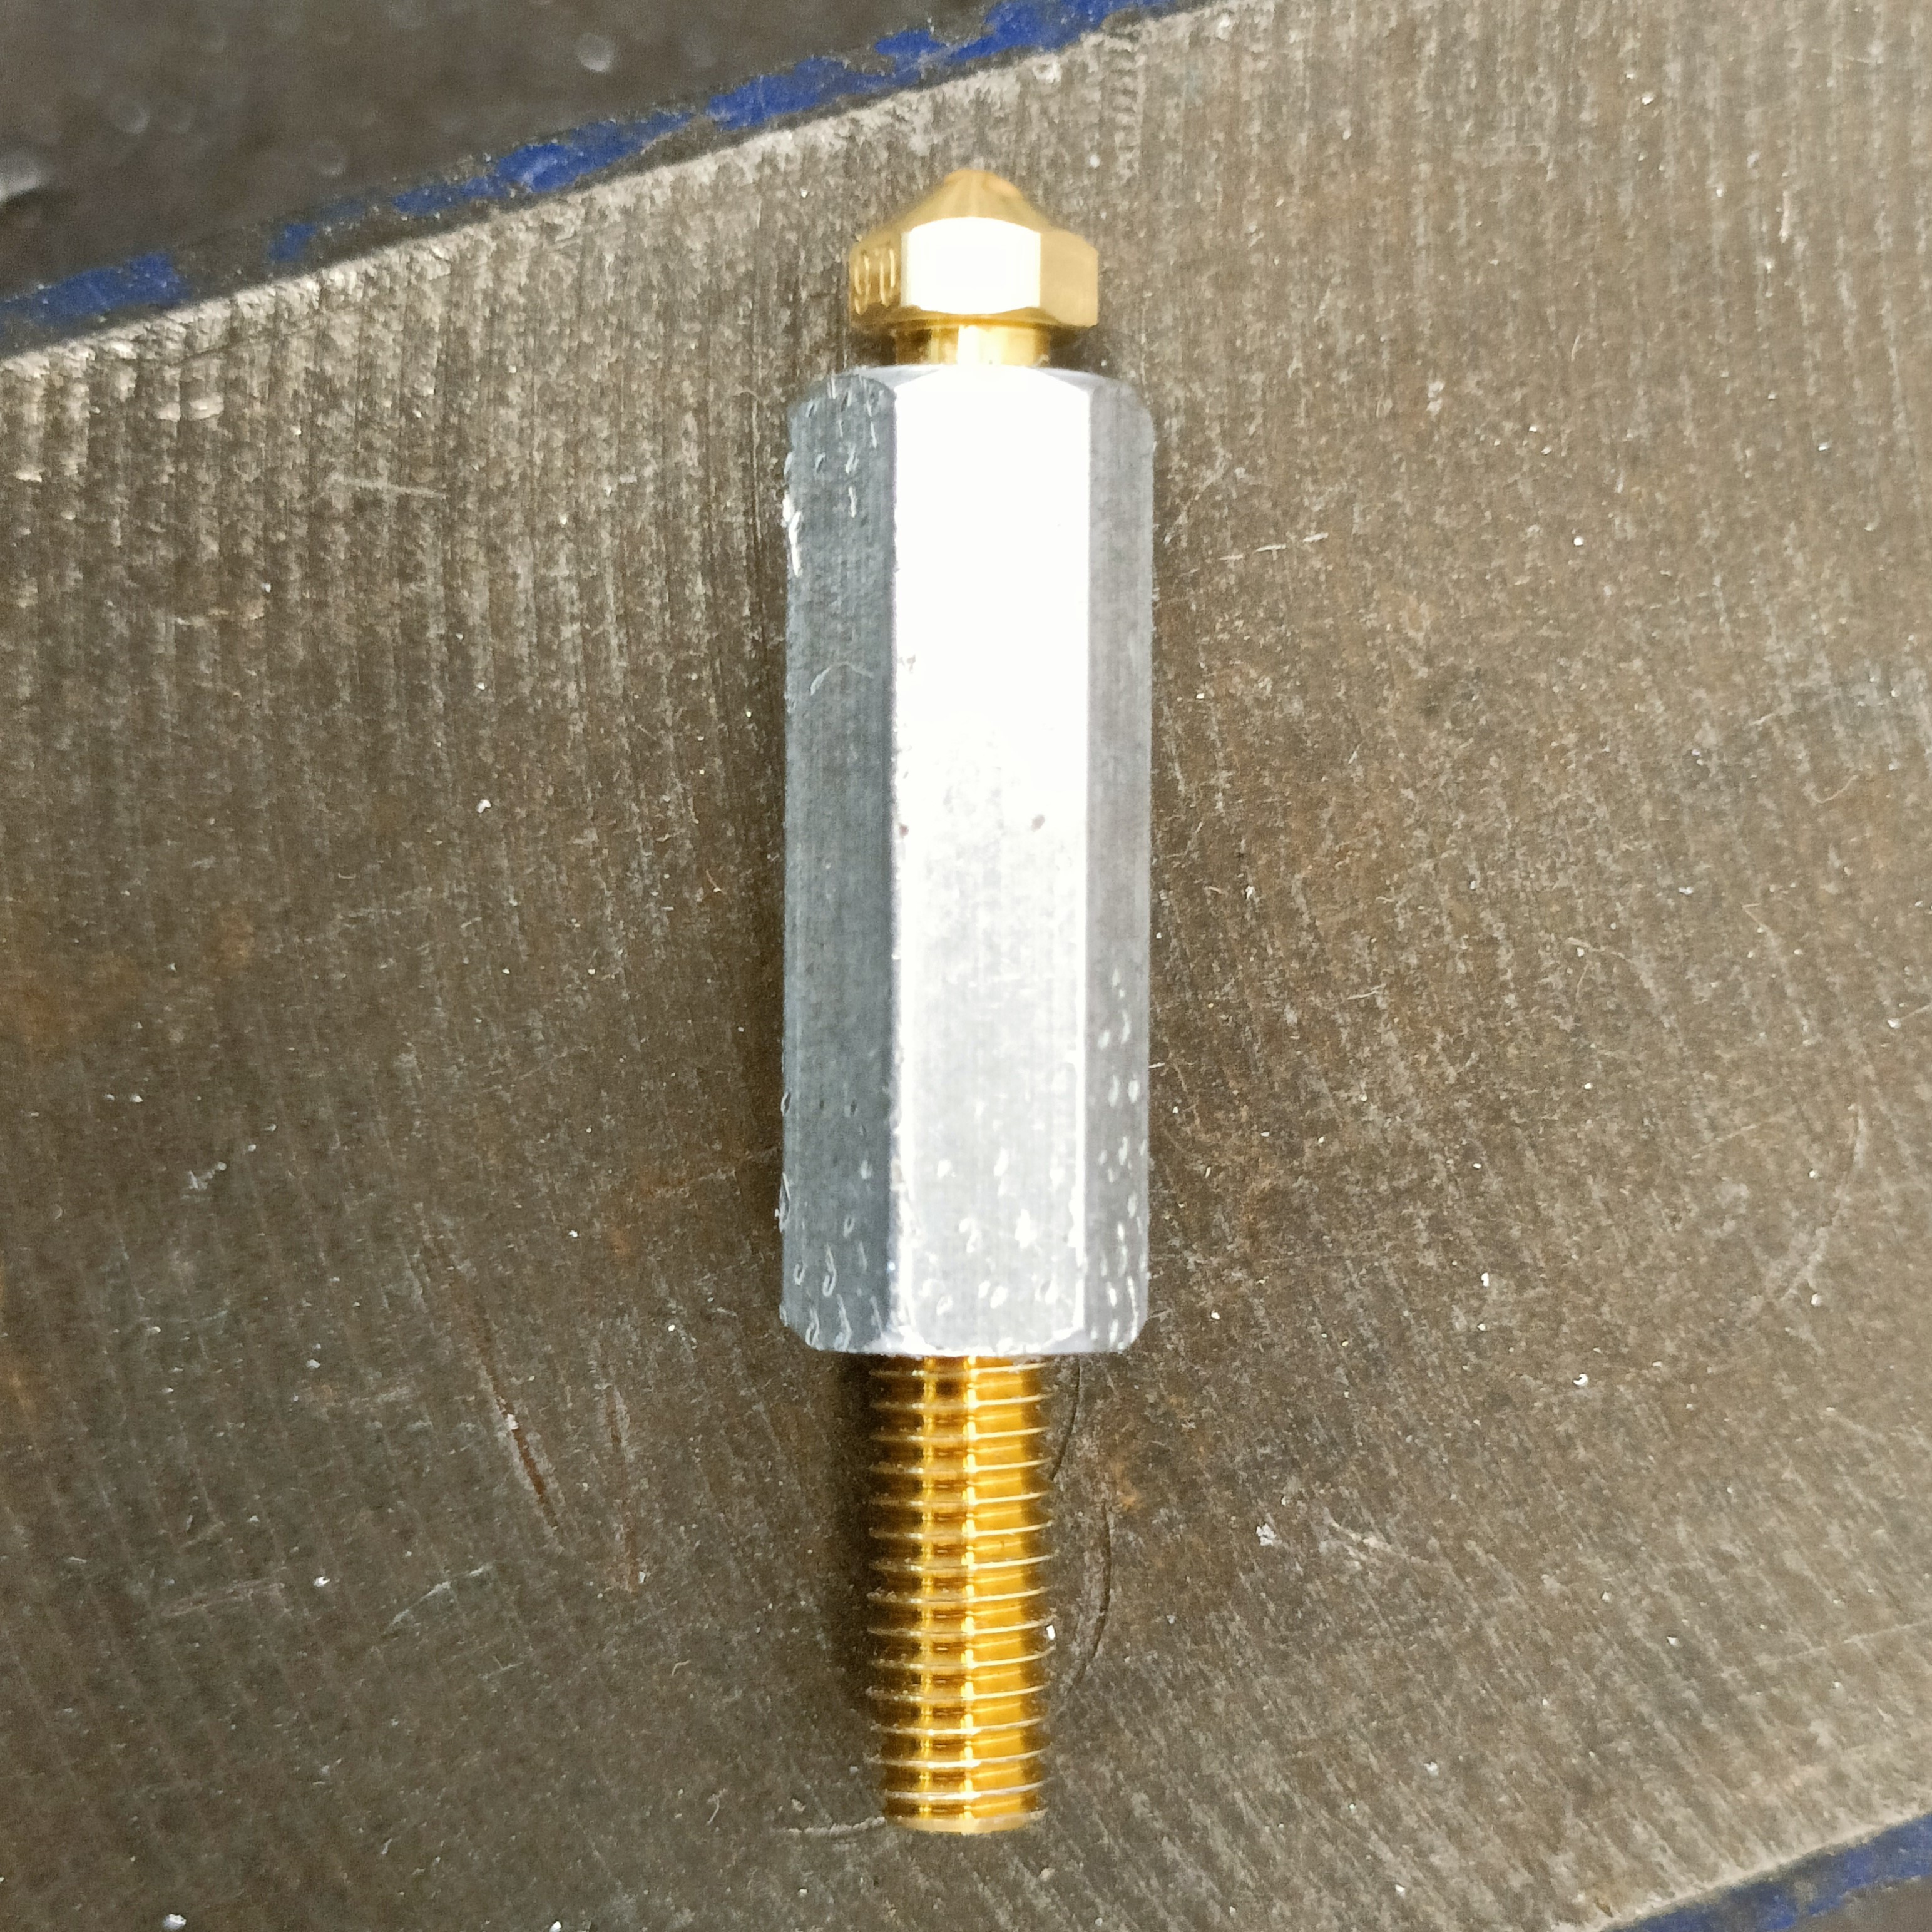
Then I got the long M6 bolt to try the threads.
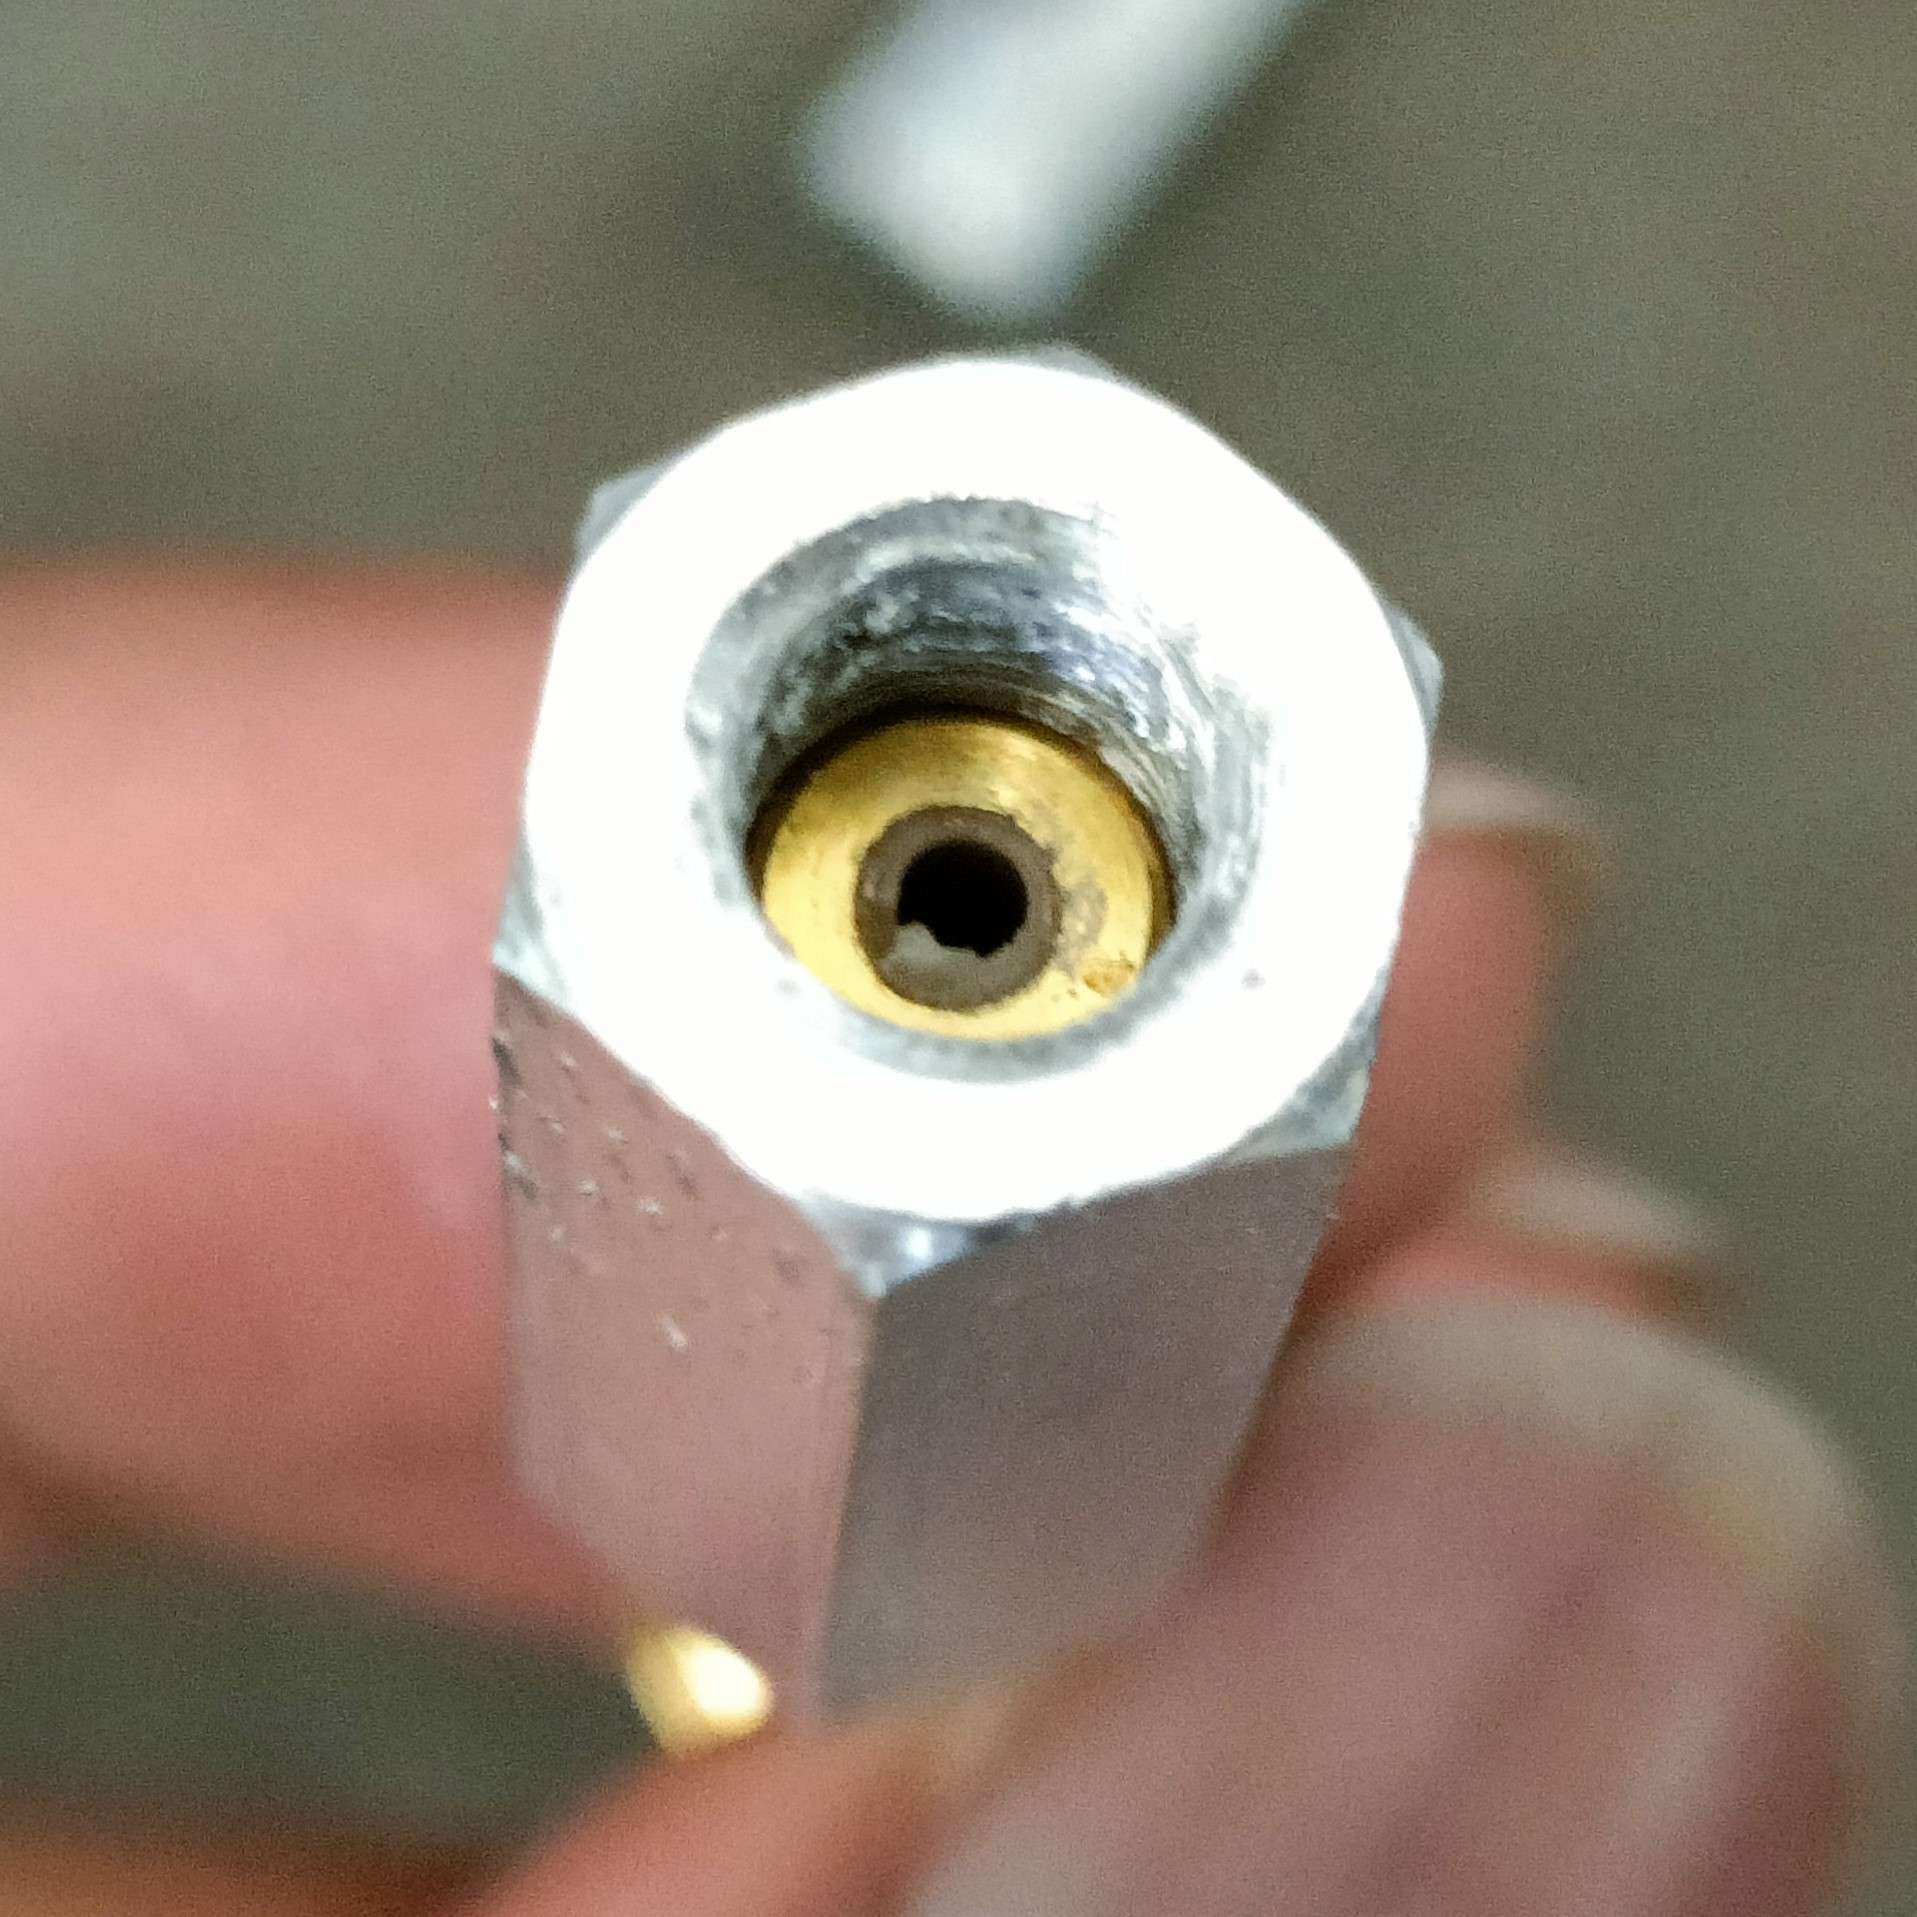
 Failure. Shame. It still didn't want to thread all the way. It really seems that I'd need to thread all the way from one side. Oh but it's so close:
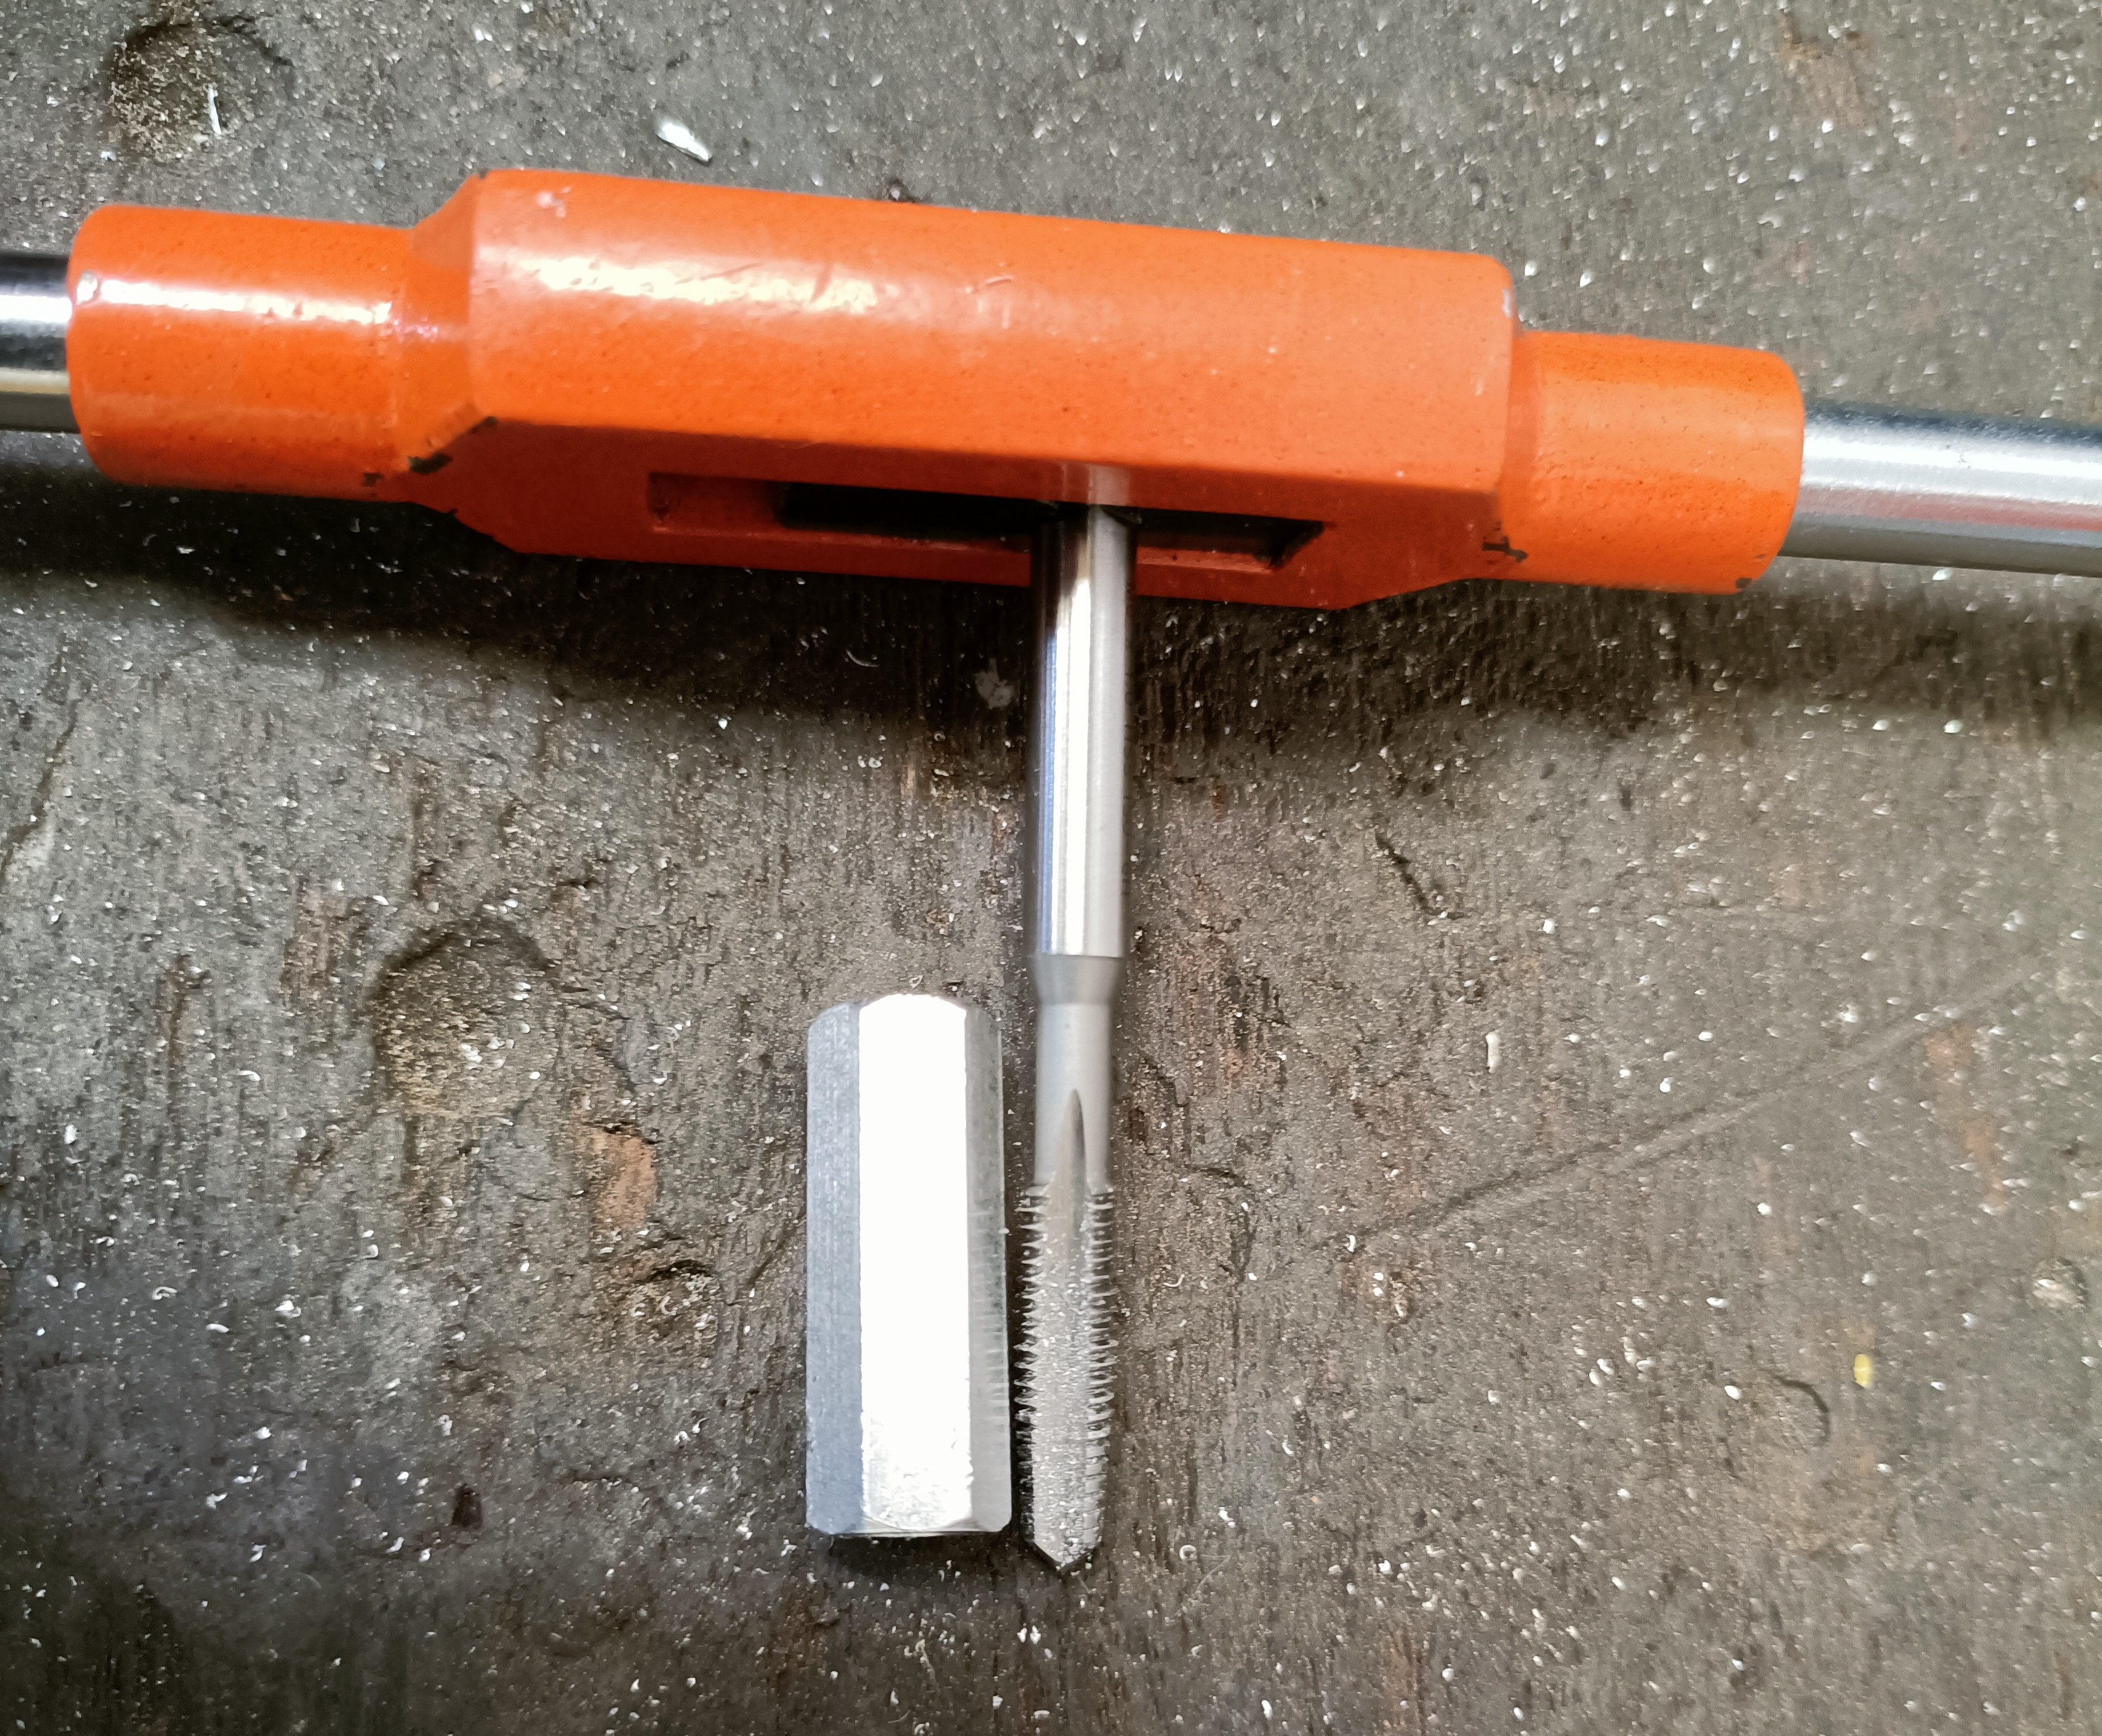
 So I go to the technician and ask if they have a tap that's ever so slightly longer.
- "How much more do you need?"
- "About 5 milimetres."
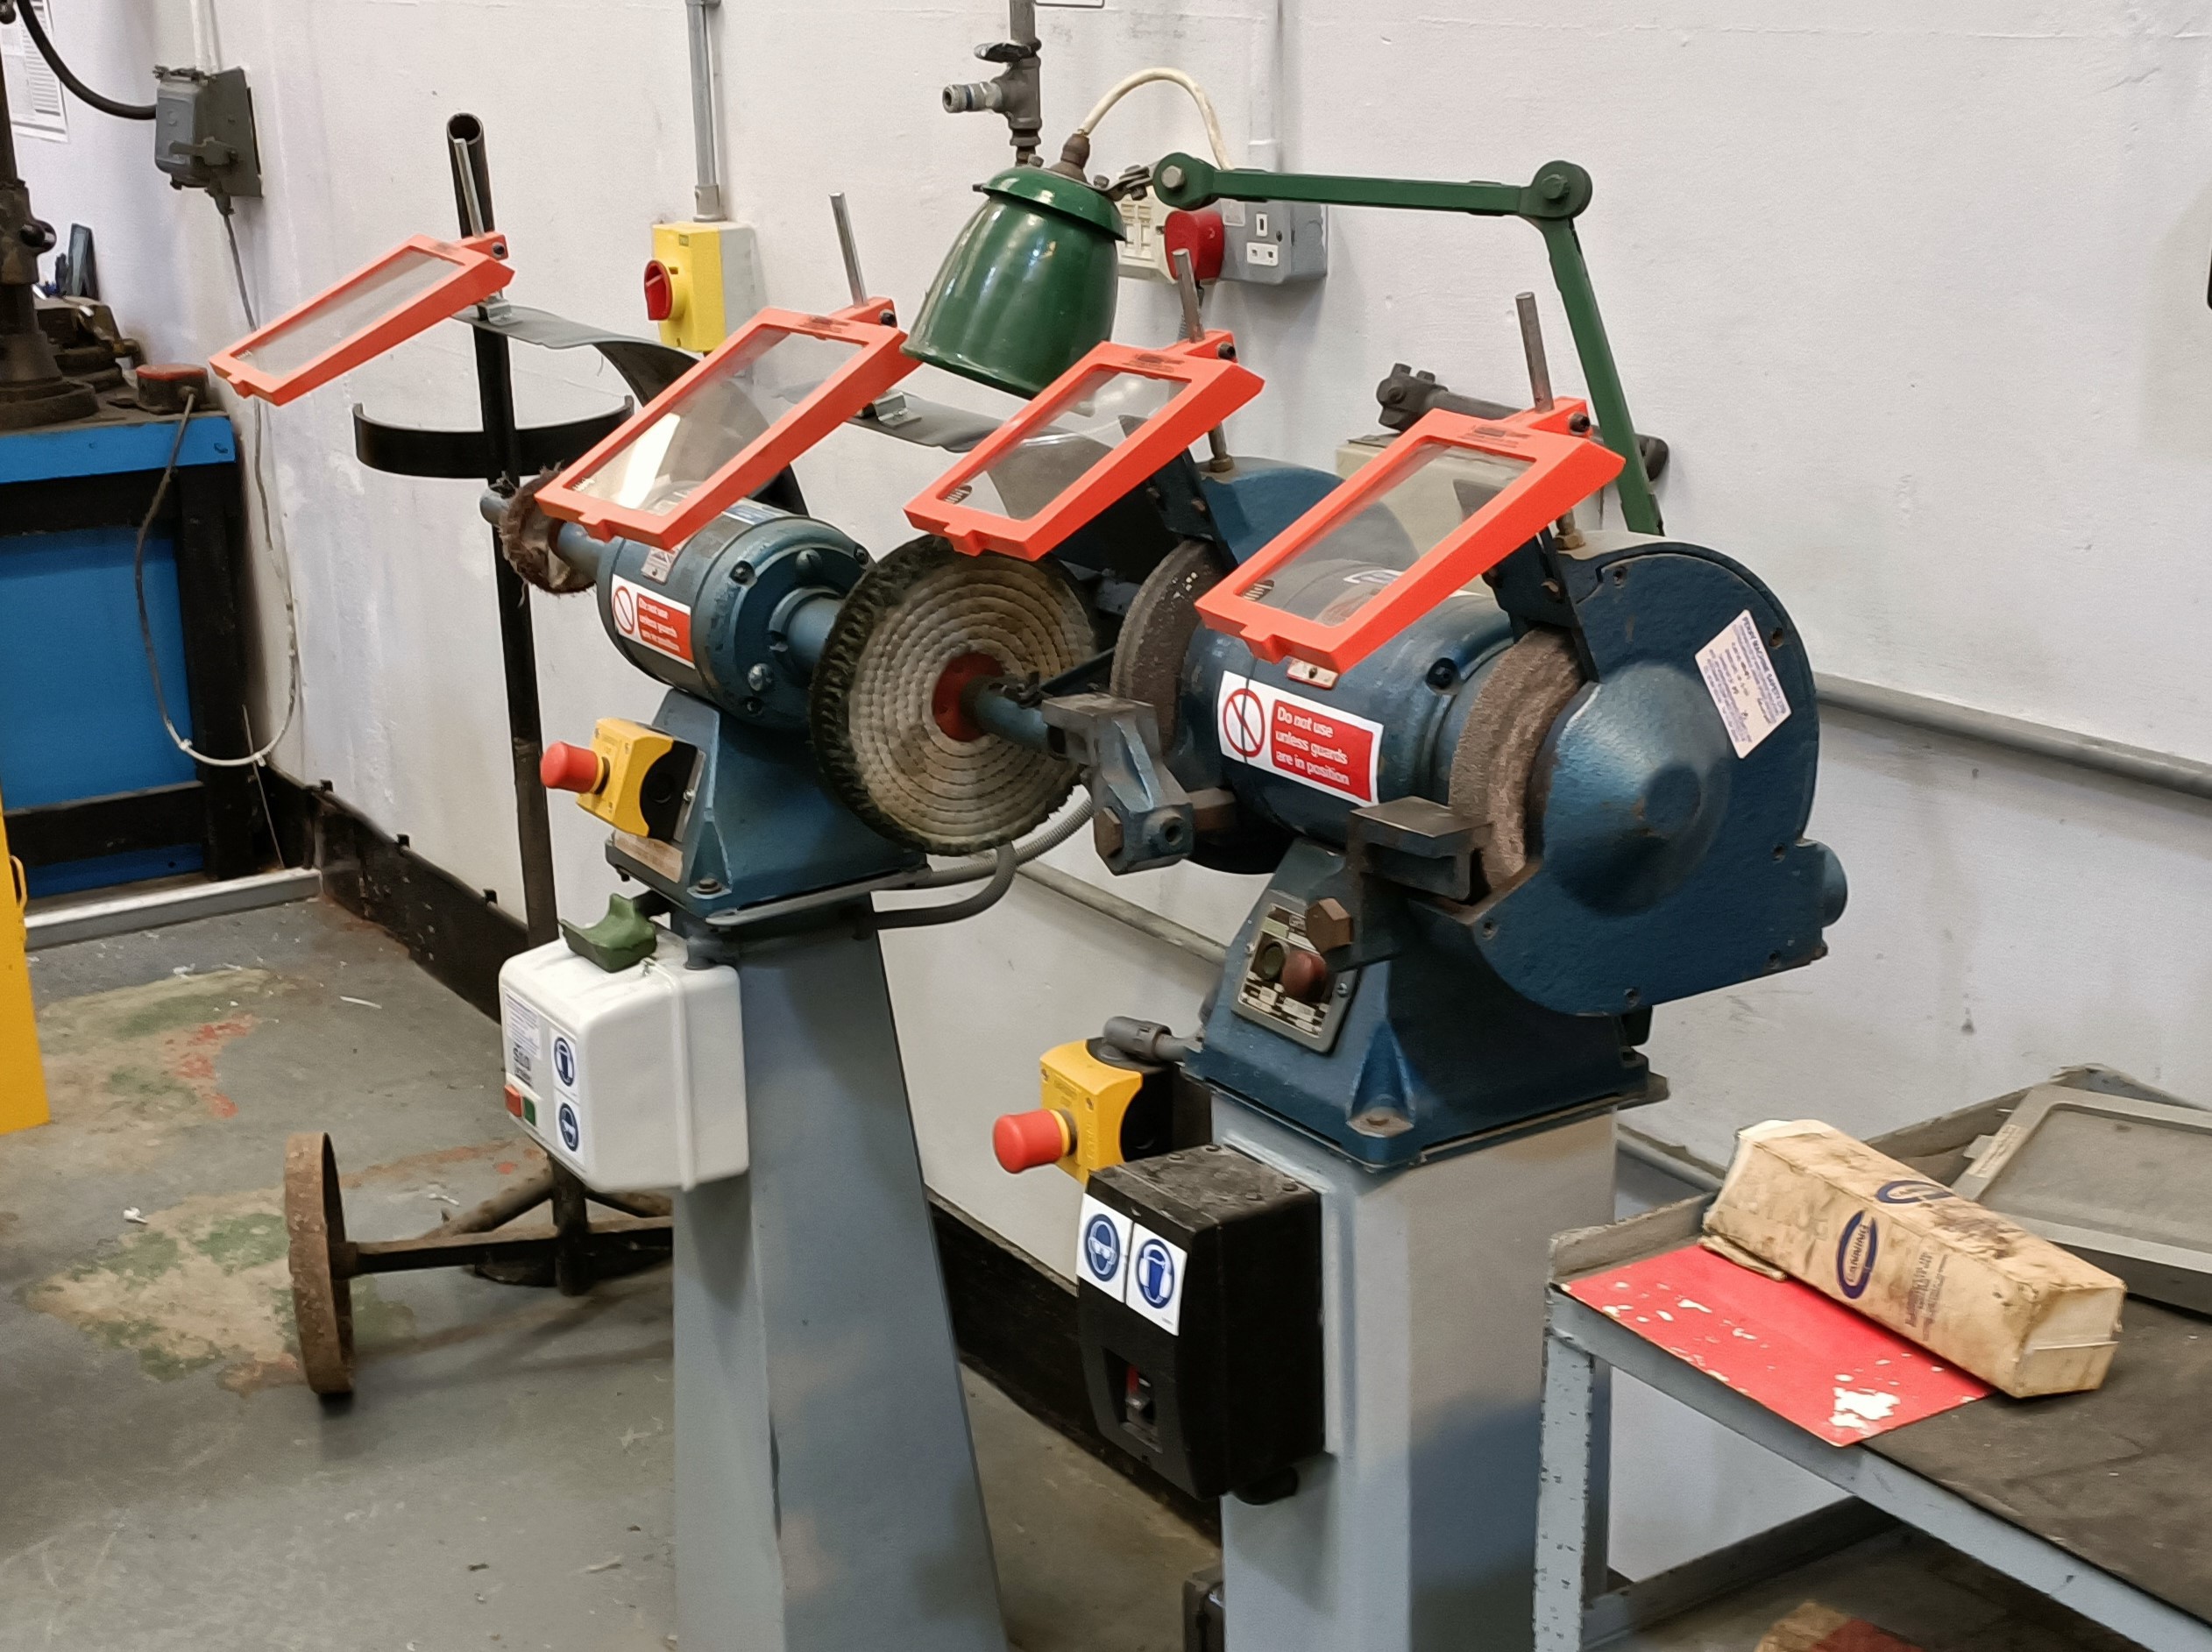
Then he goes to a machine [below] that I assume is some kind of sander and grinds away at the tap for 1 - 2 minutes.
 So now the wider part of the tap has been ground back approximately 12mm:
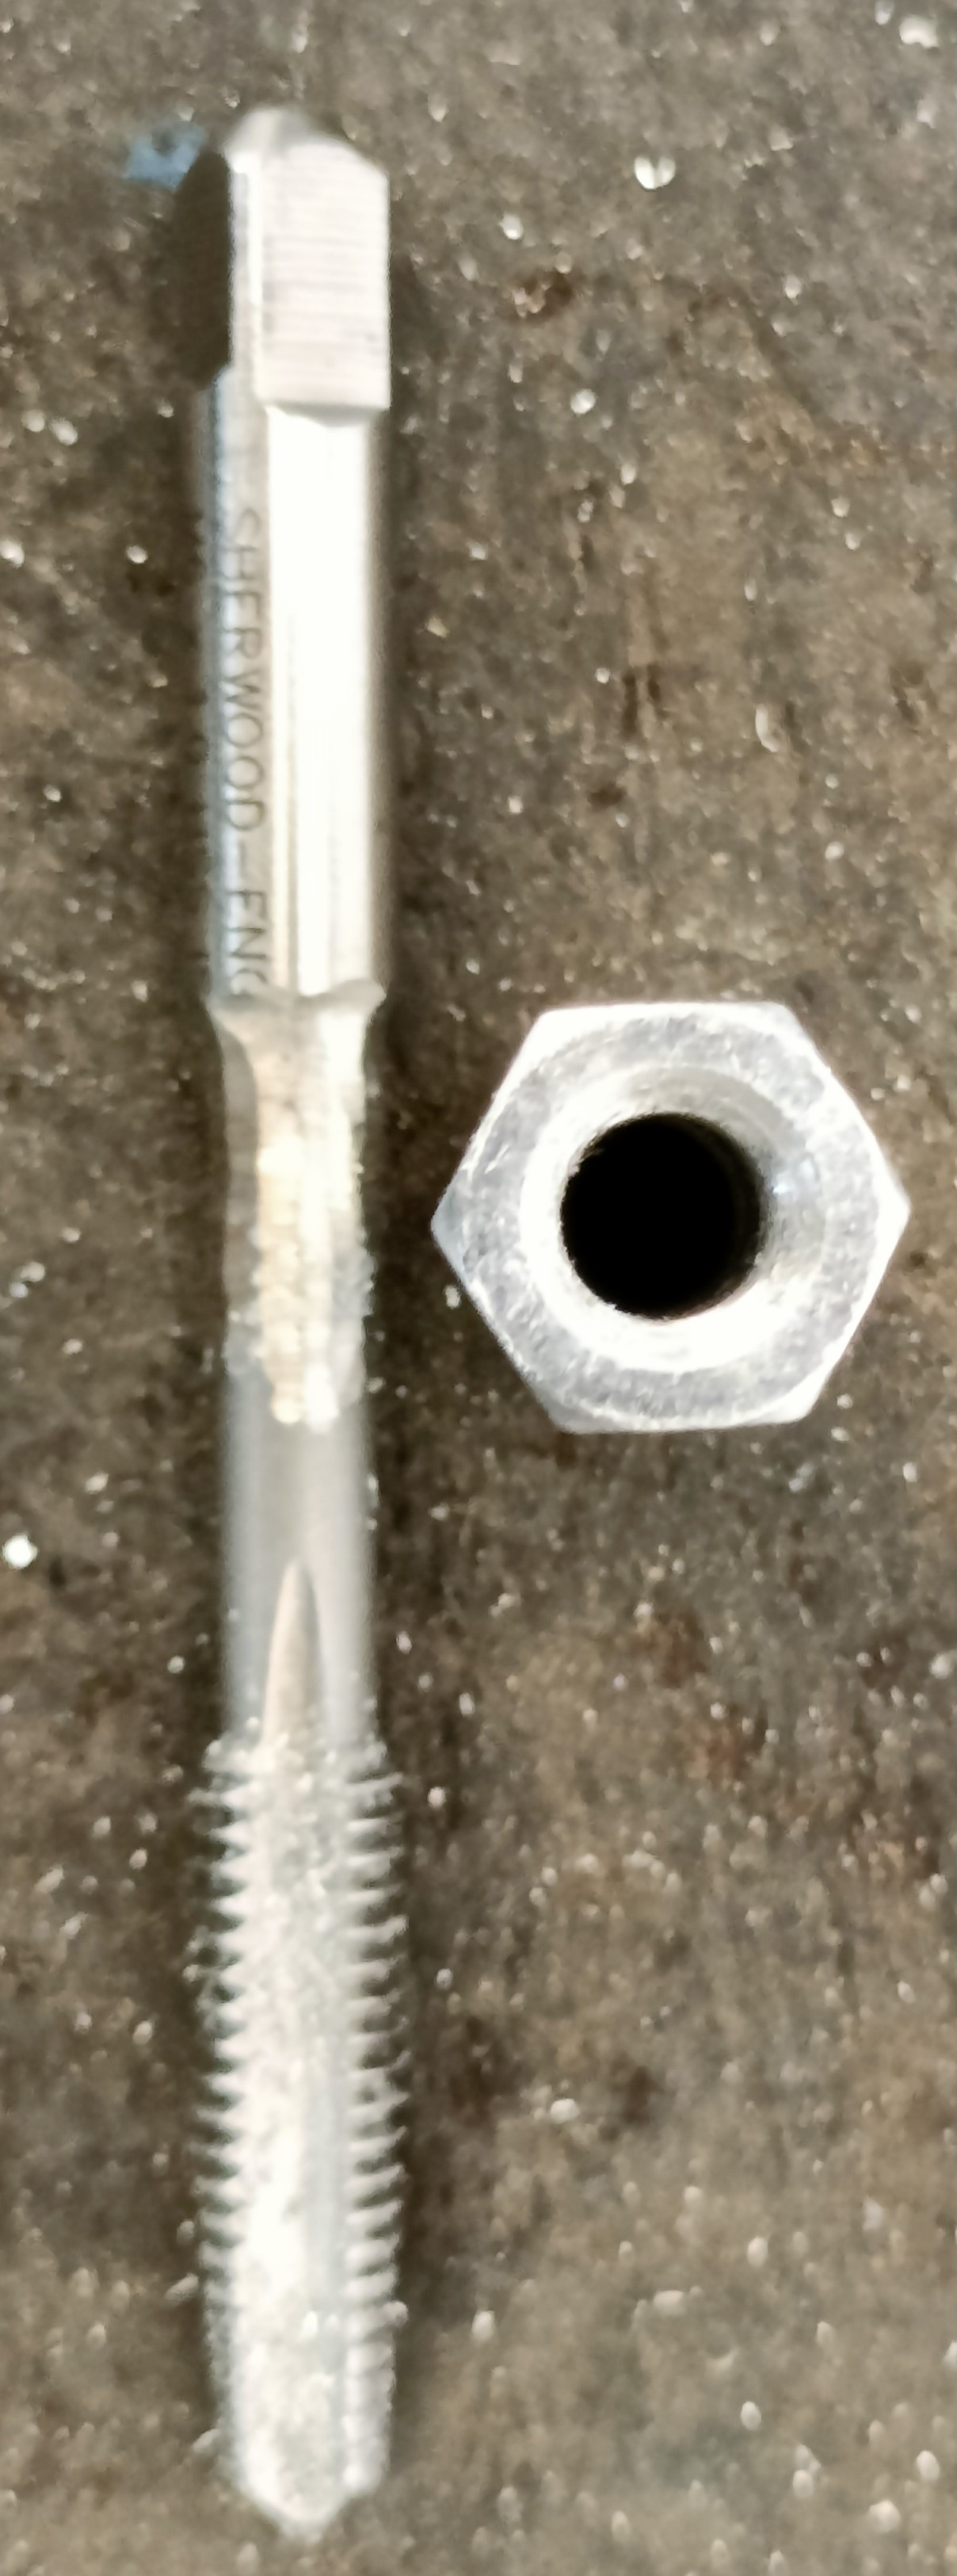
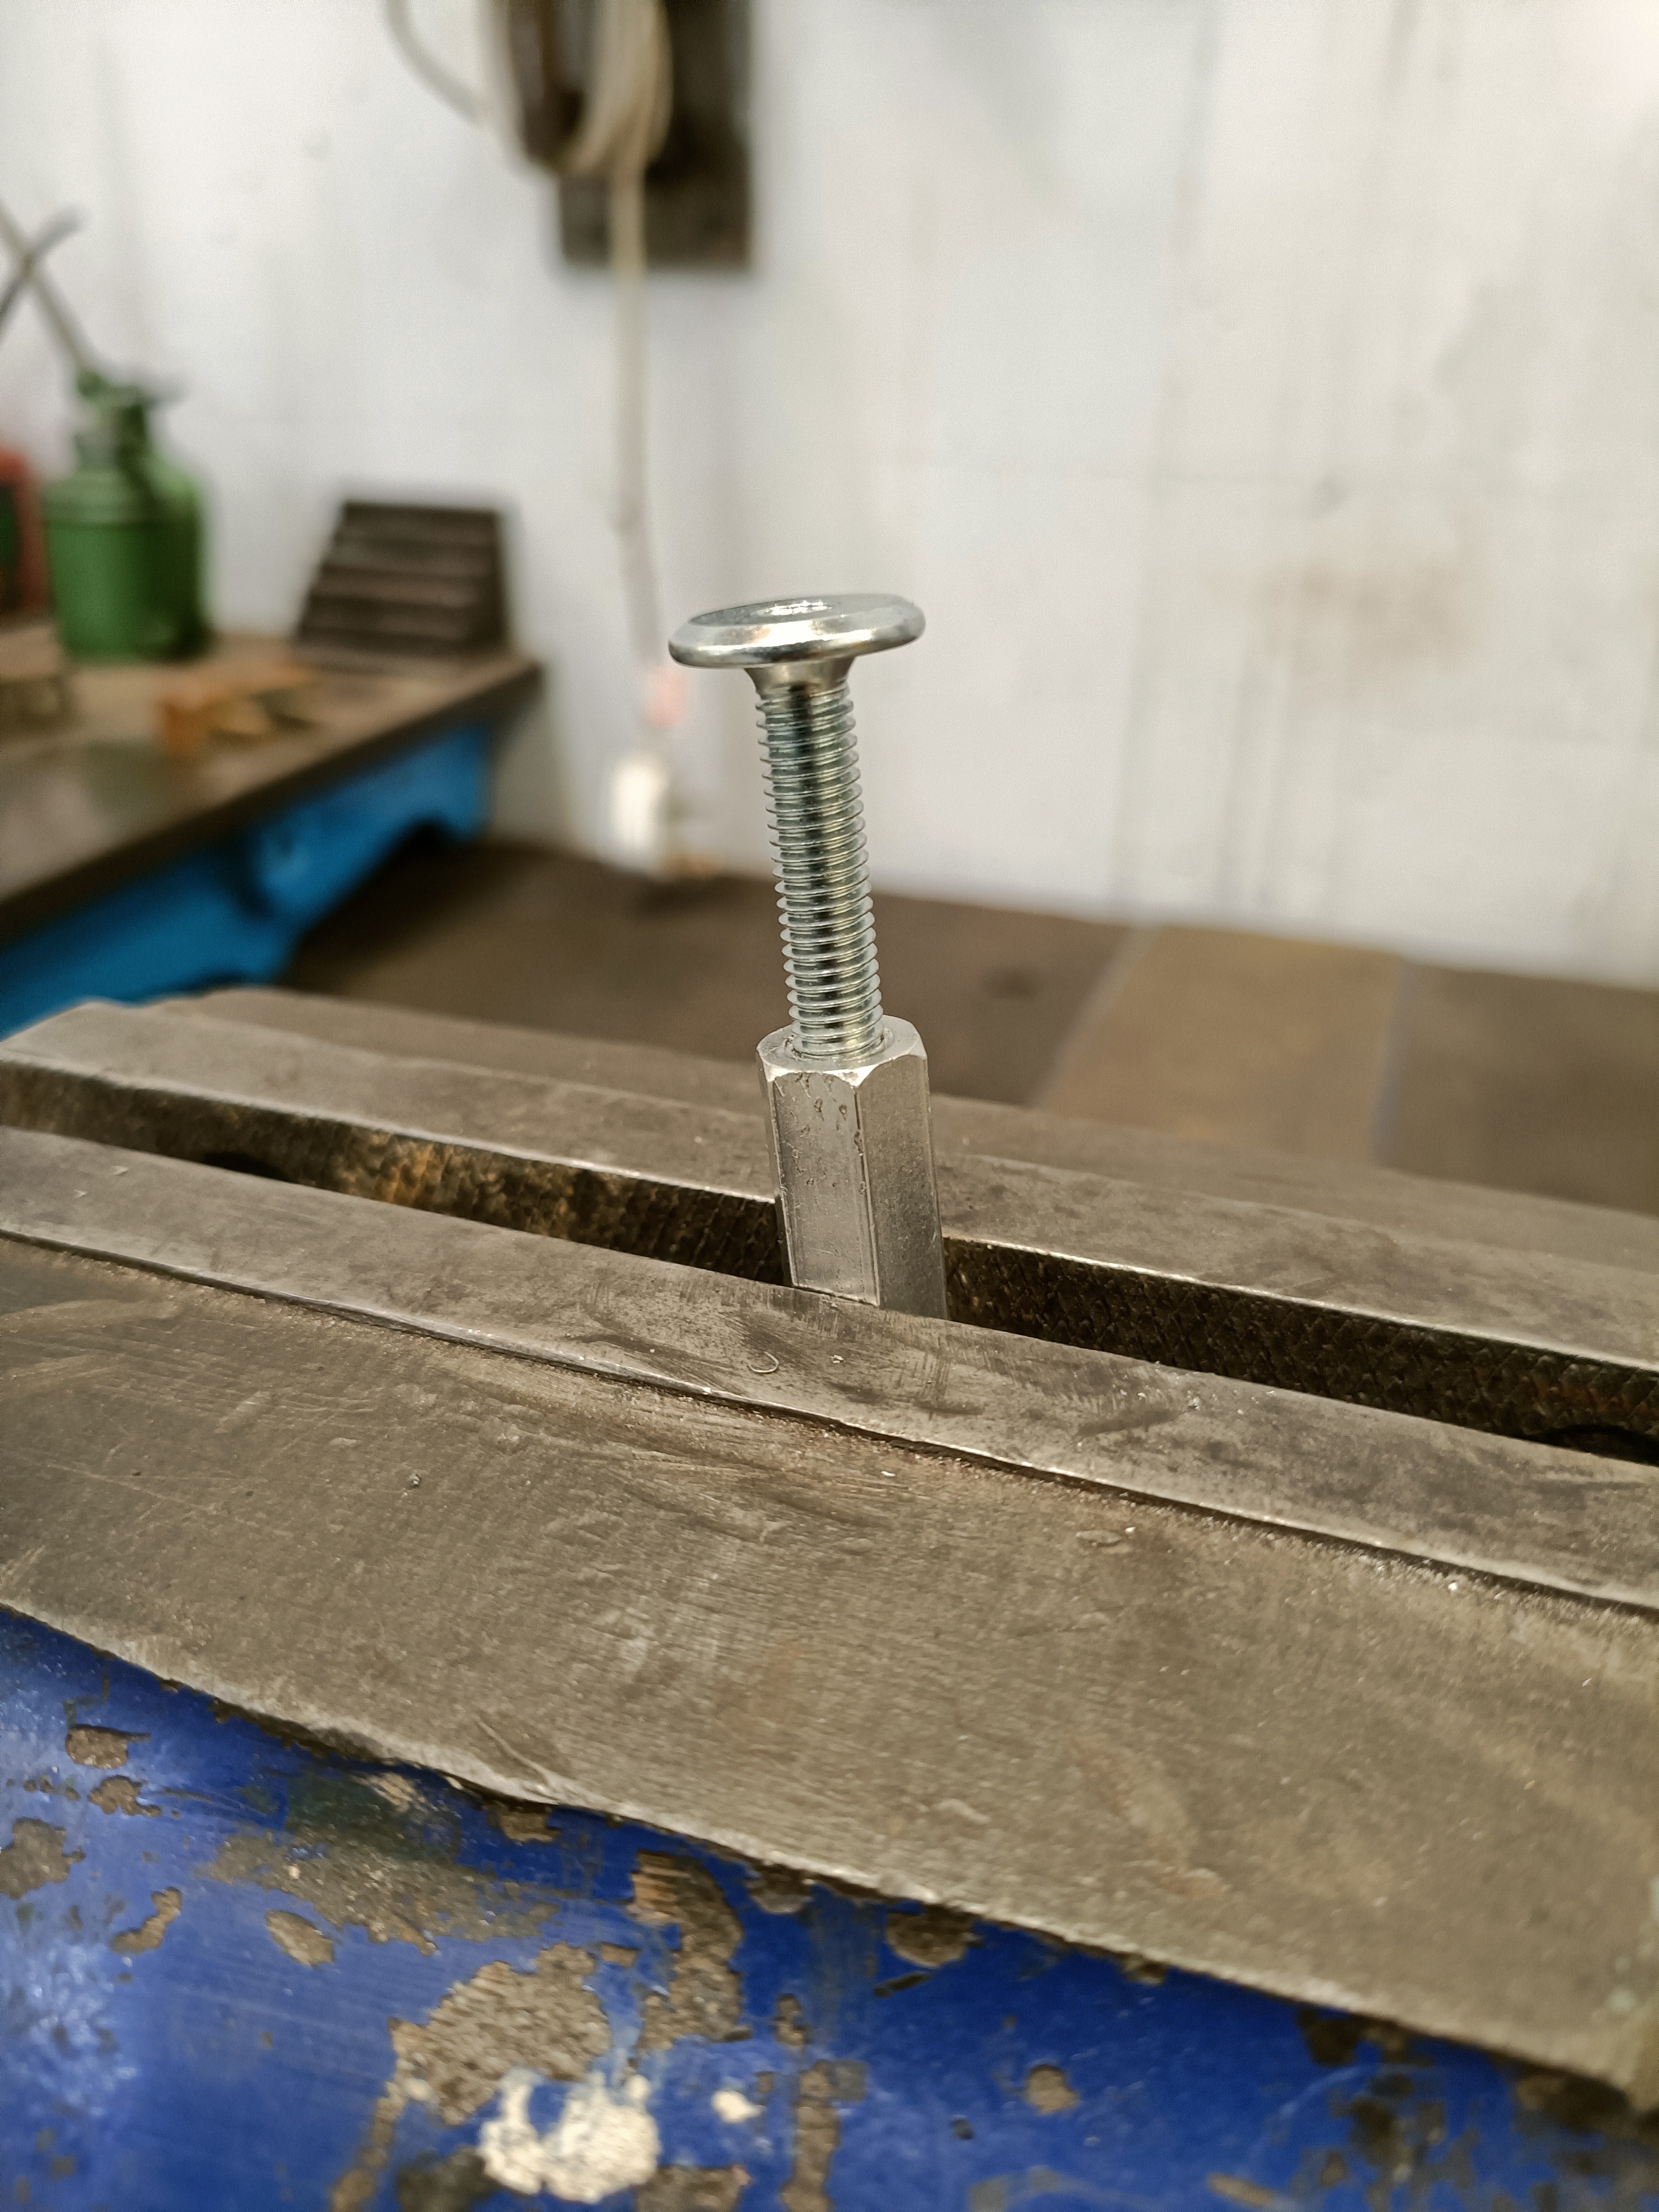
Wow. I was not expecting that. I try it and it goes through pretty nicely. Moment of truth; does the bolt thread through?
Success.
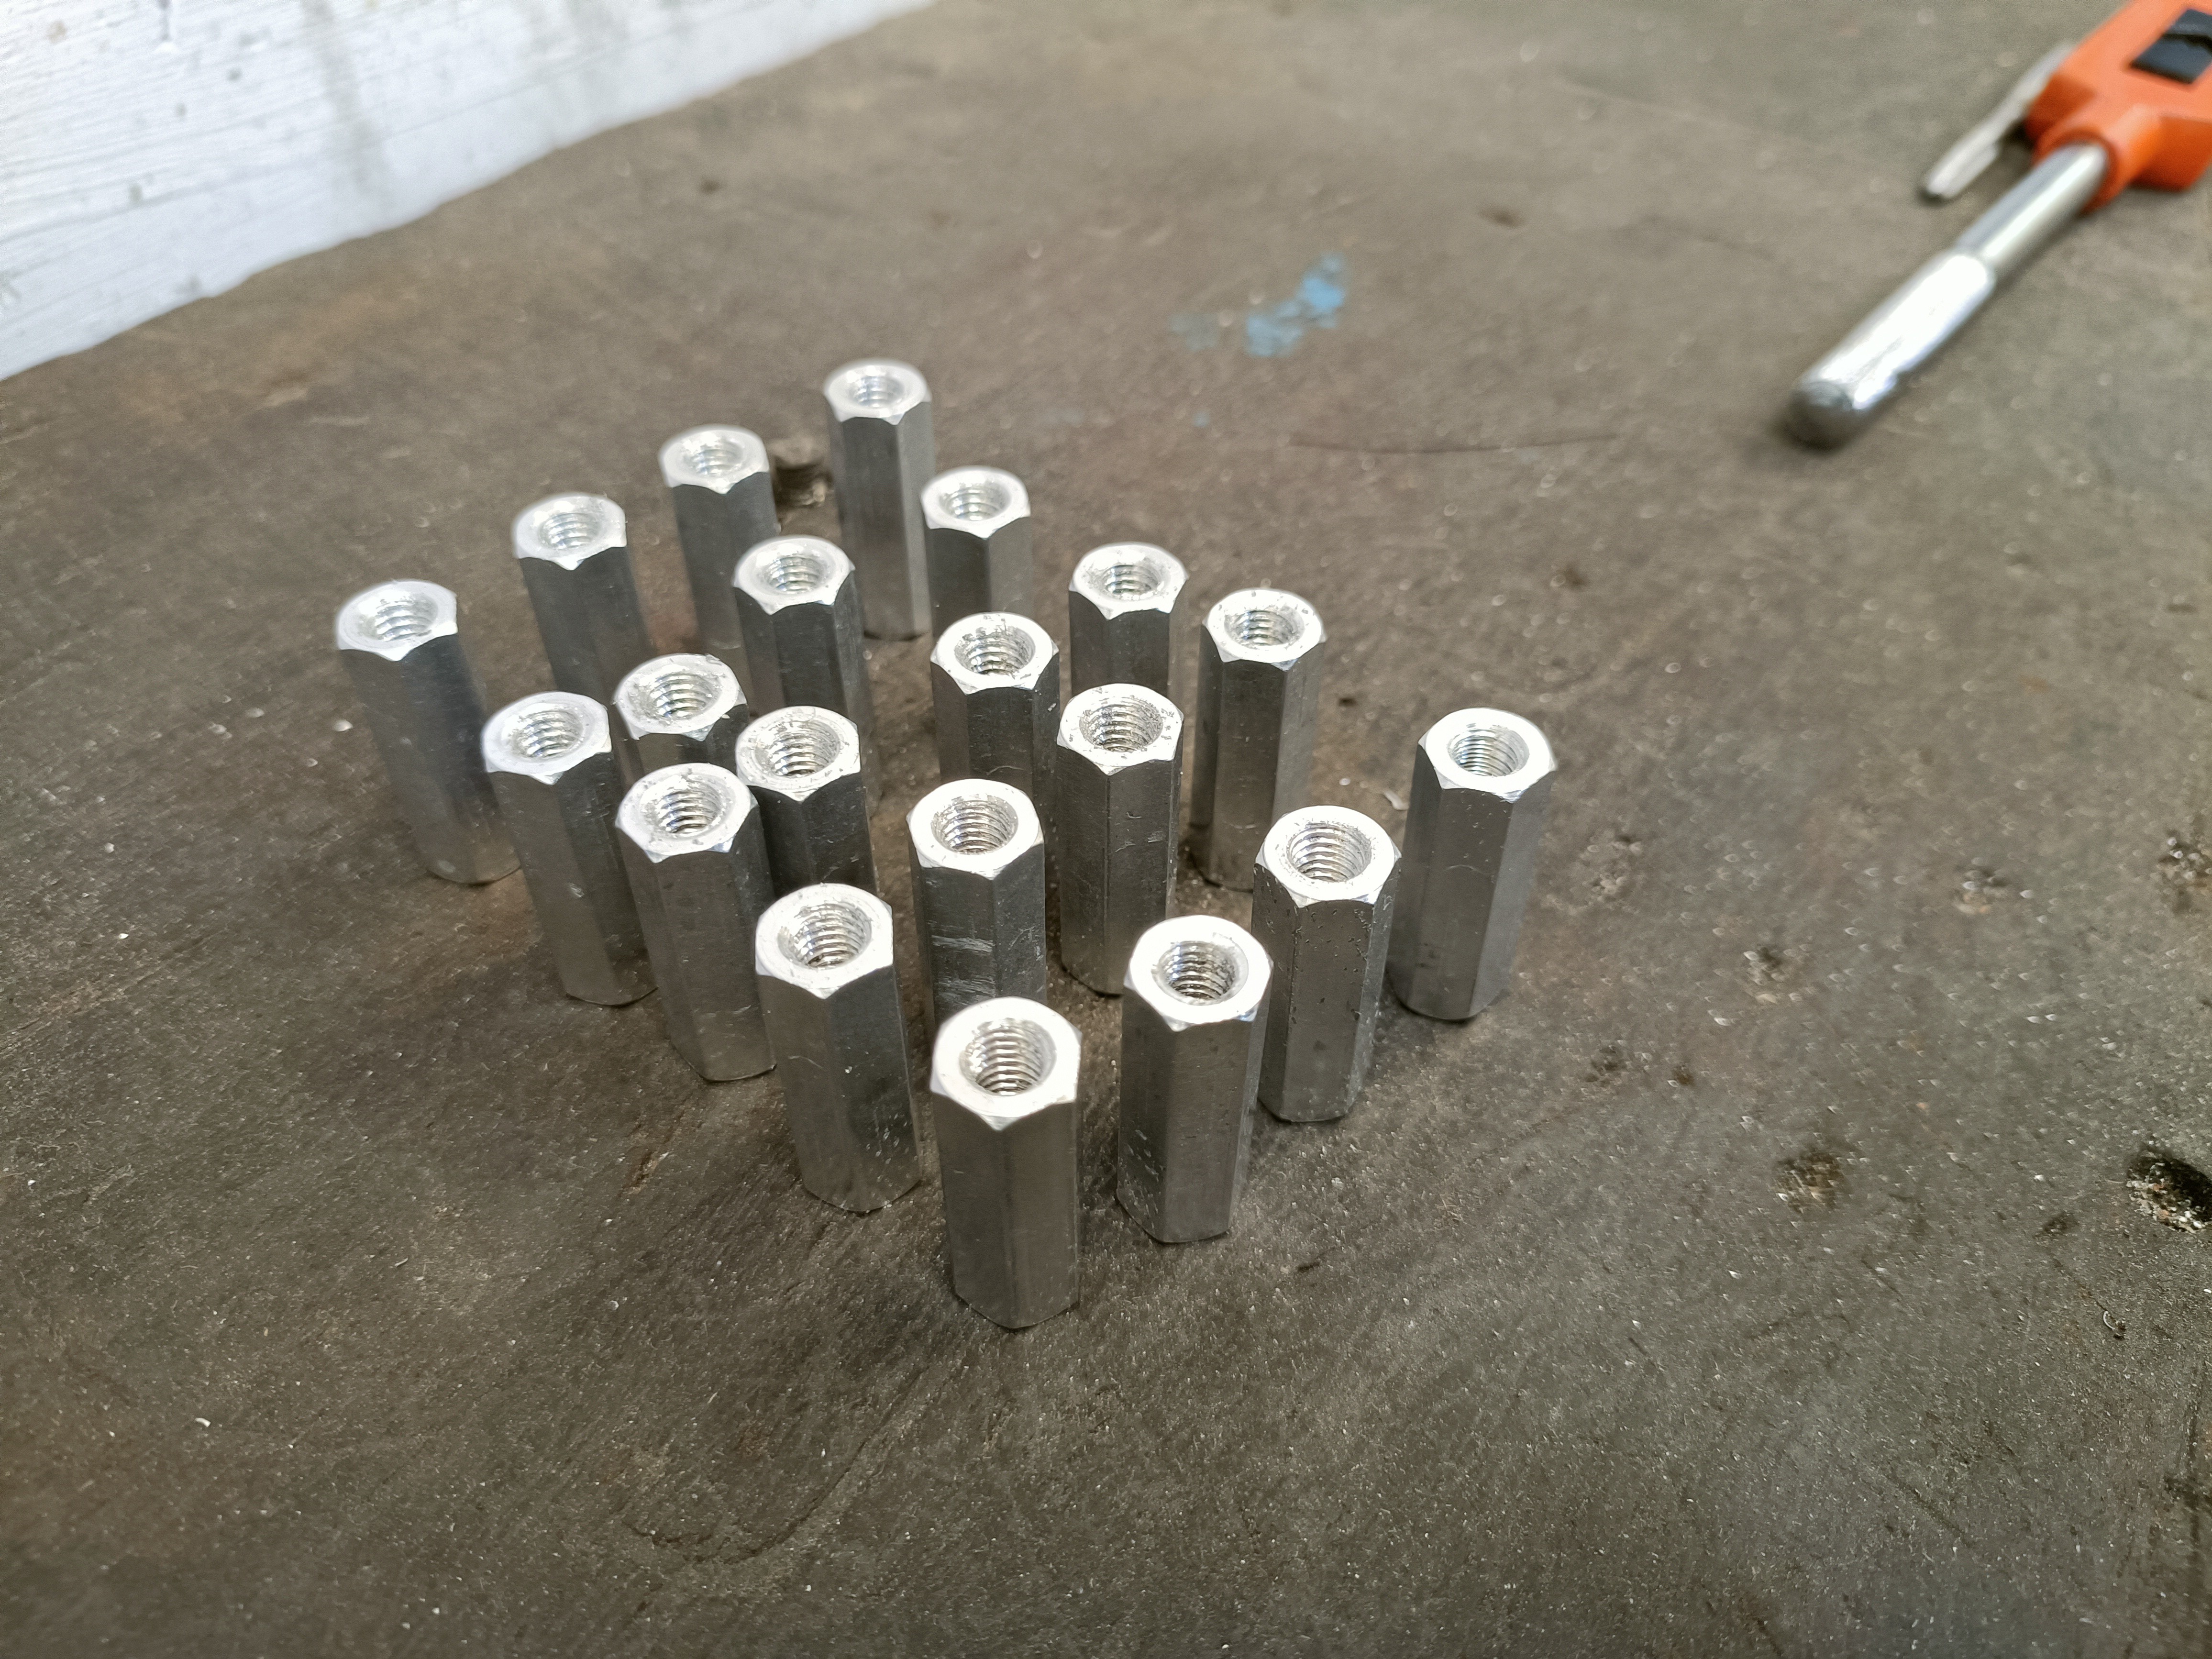
Now I didn't want to find myself wishing I tapped more, and I had the other 19 spacers in my pocket, so I tapped them all.
 My method was this:
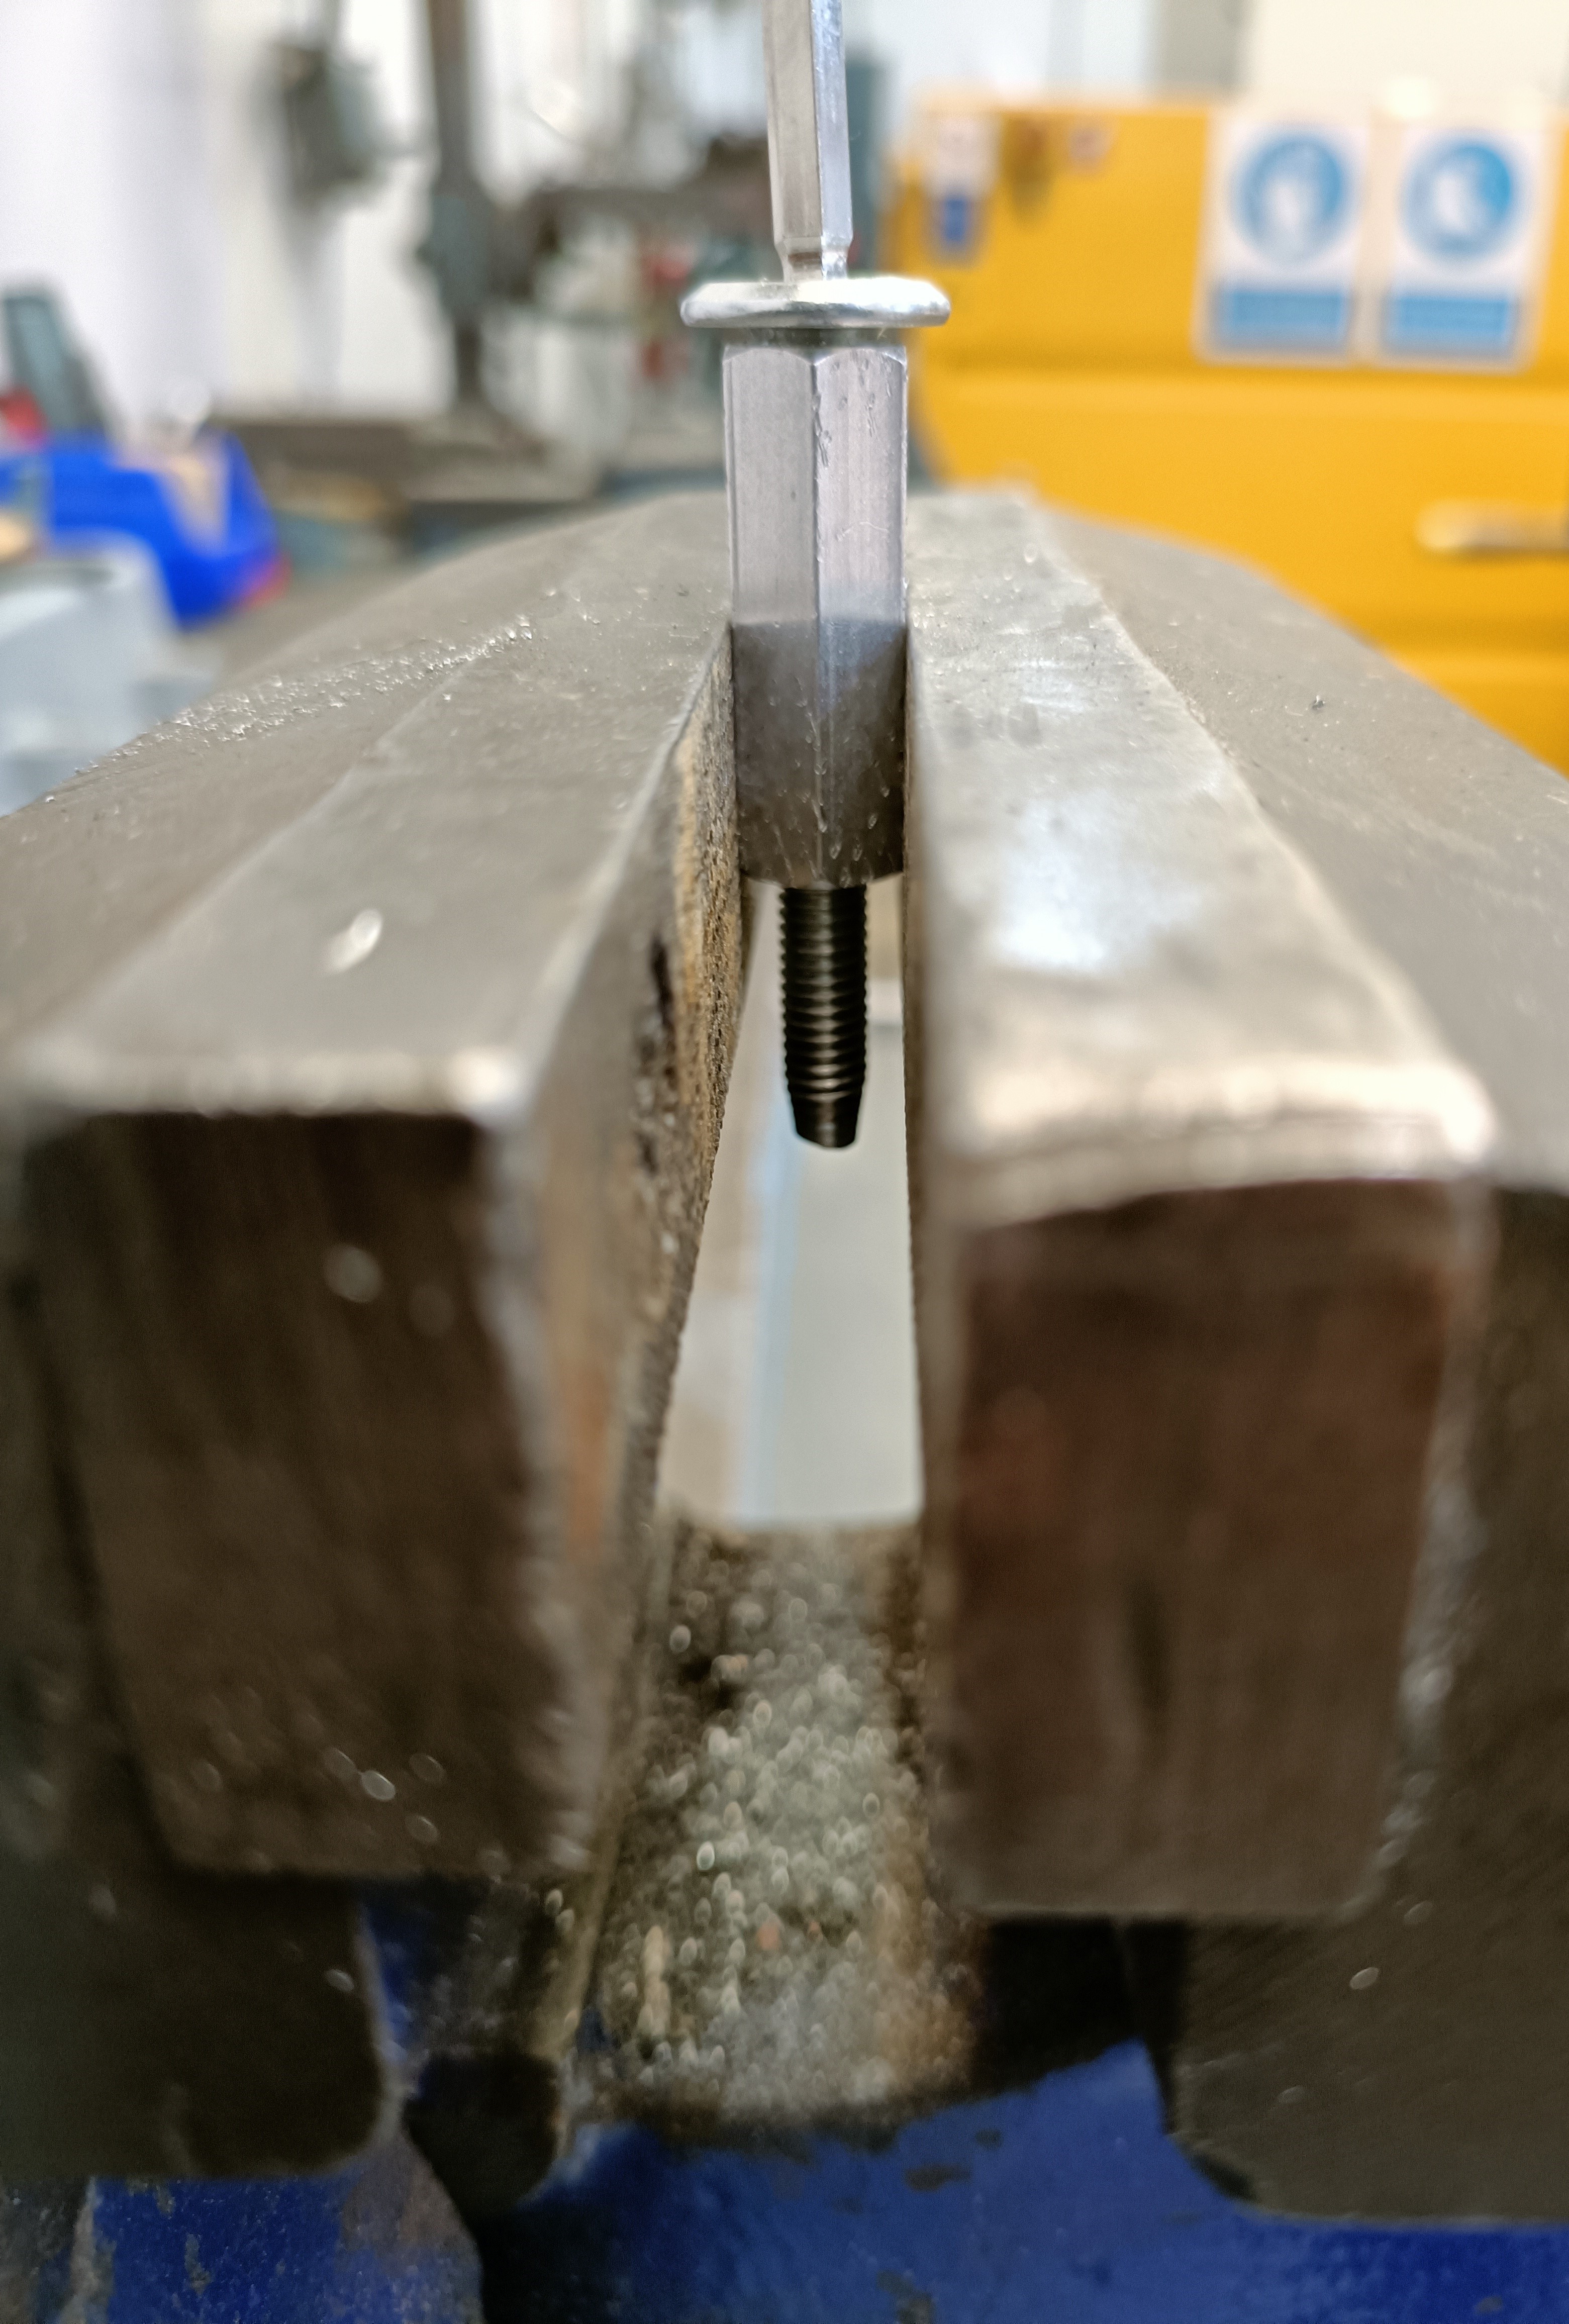
- Insert spacer into vice.
- Put tap in thread and turn it once by hand.
- Put on the tap handles and spin the tap with just my left hand until noticable resistance.
- Turn with both hands. The left hand is always in contact with the handle and the right hand lets go to grab it again.
- On the 4th time the right hand grabs the handle, turn the tap back 270 degrees.
- Continue 4 and 5 until I've gotten through the spacer (and bottomed out)
- Unscrew the tap by turning it 32 times, then take off the handle and manually unscrew until it comes off.
- Insert the 50mm M6 bolt and then the allen key.
- Screw the bolt in until very low resistance (the bolt freely rotates with almost no friction)
- Unscrew the bolt. Take out the spacer and tap it to remove shavings.
- Do steps 1 - 10 for the remaining bolts.
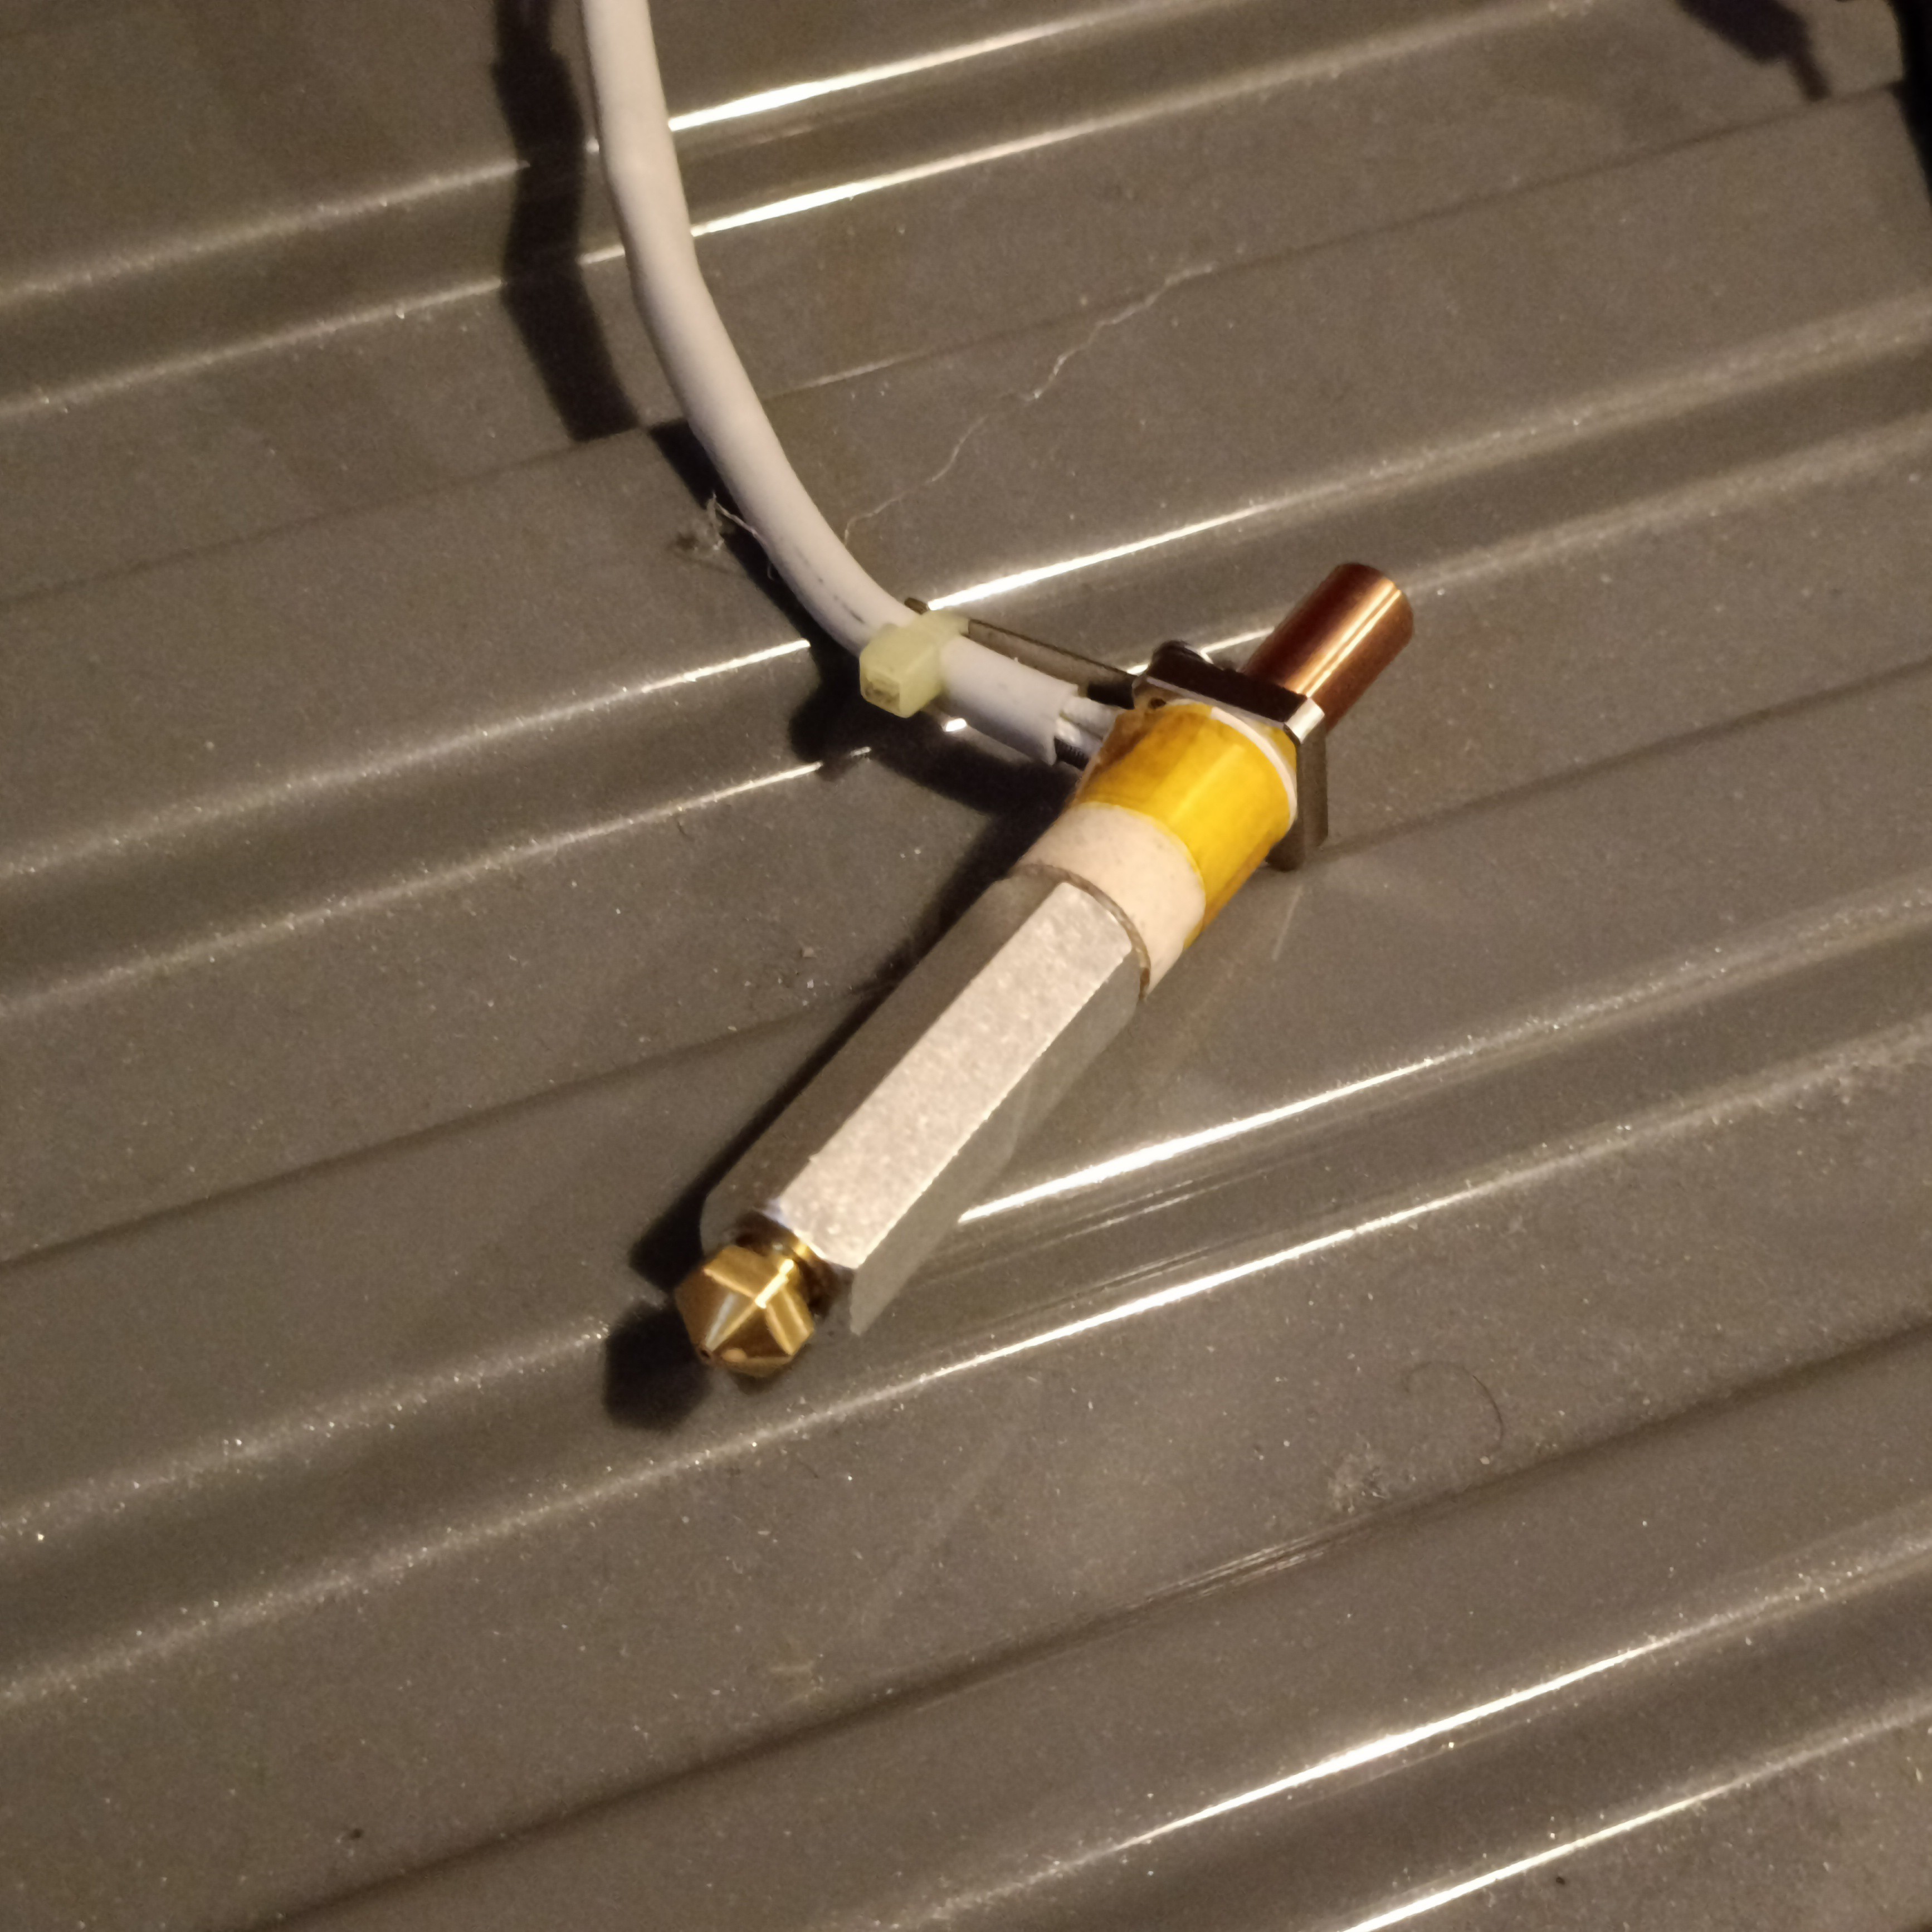
Now I've got to put the test hotend back together again to see what the temperature difference is between 3 9mm spacers and 1 30mm spacer.
[E1: 23 June, 20:31] The melt zone extender looks suprisingly professional.
Discussions
Become a Hackaday.io Member
Create an account to leave a comment. Already have an account? Log In.