 Eddie
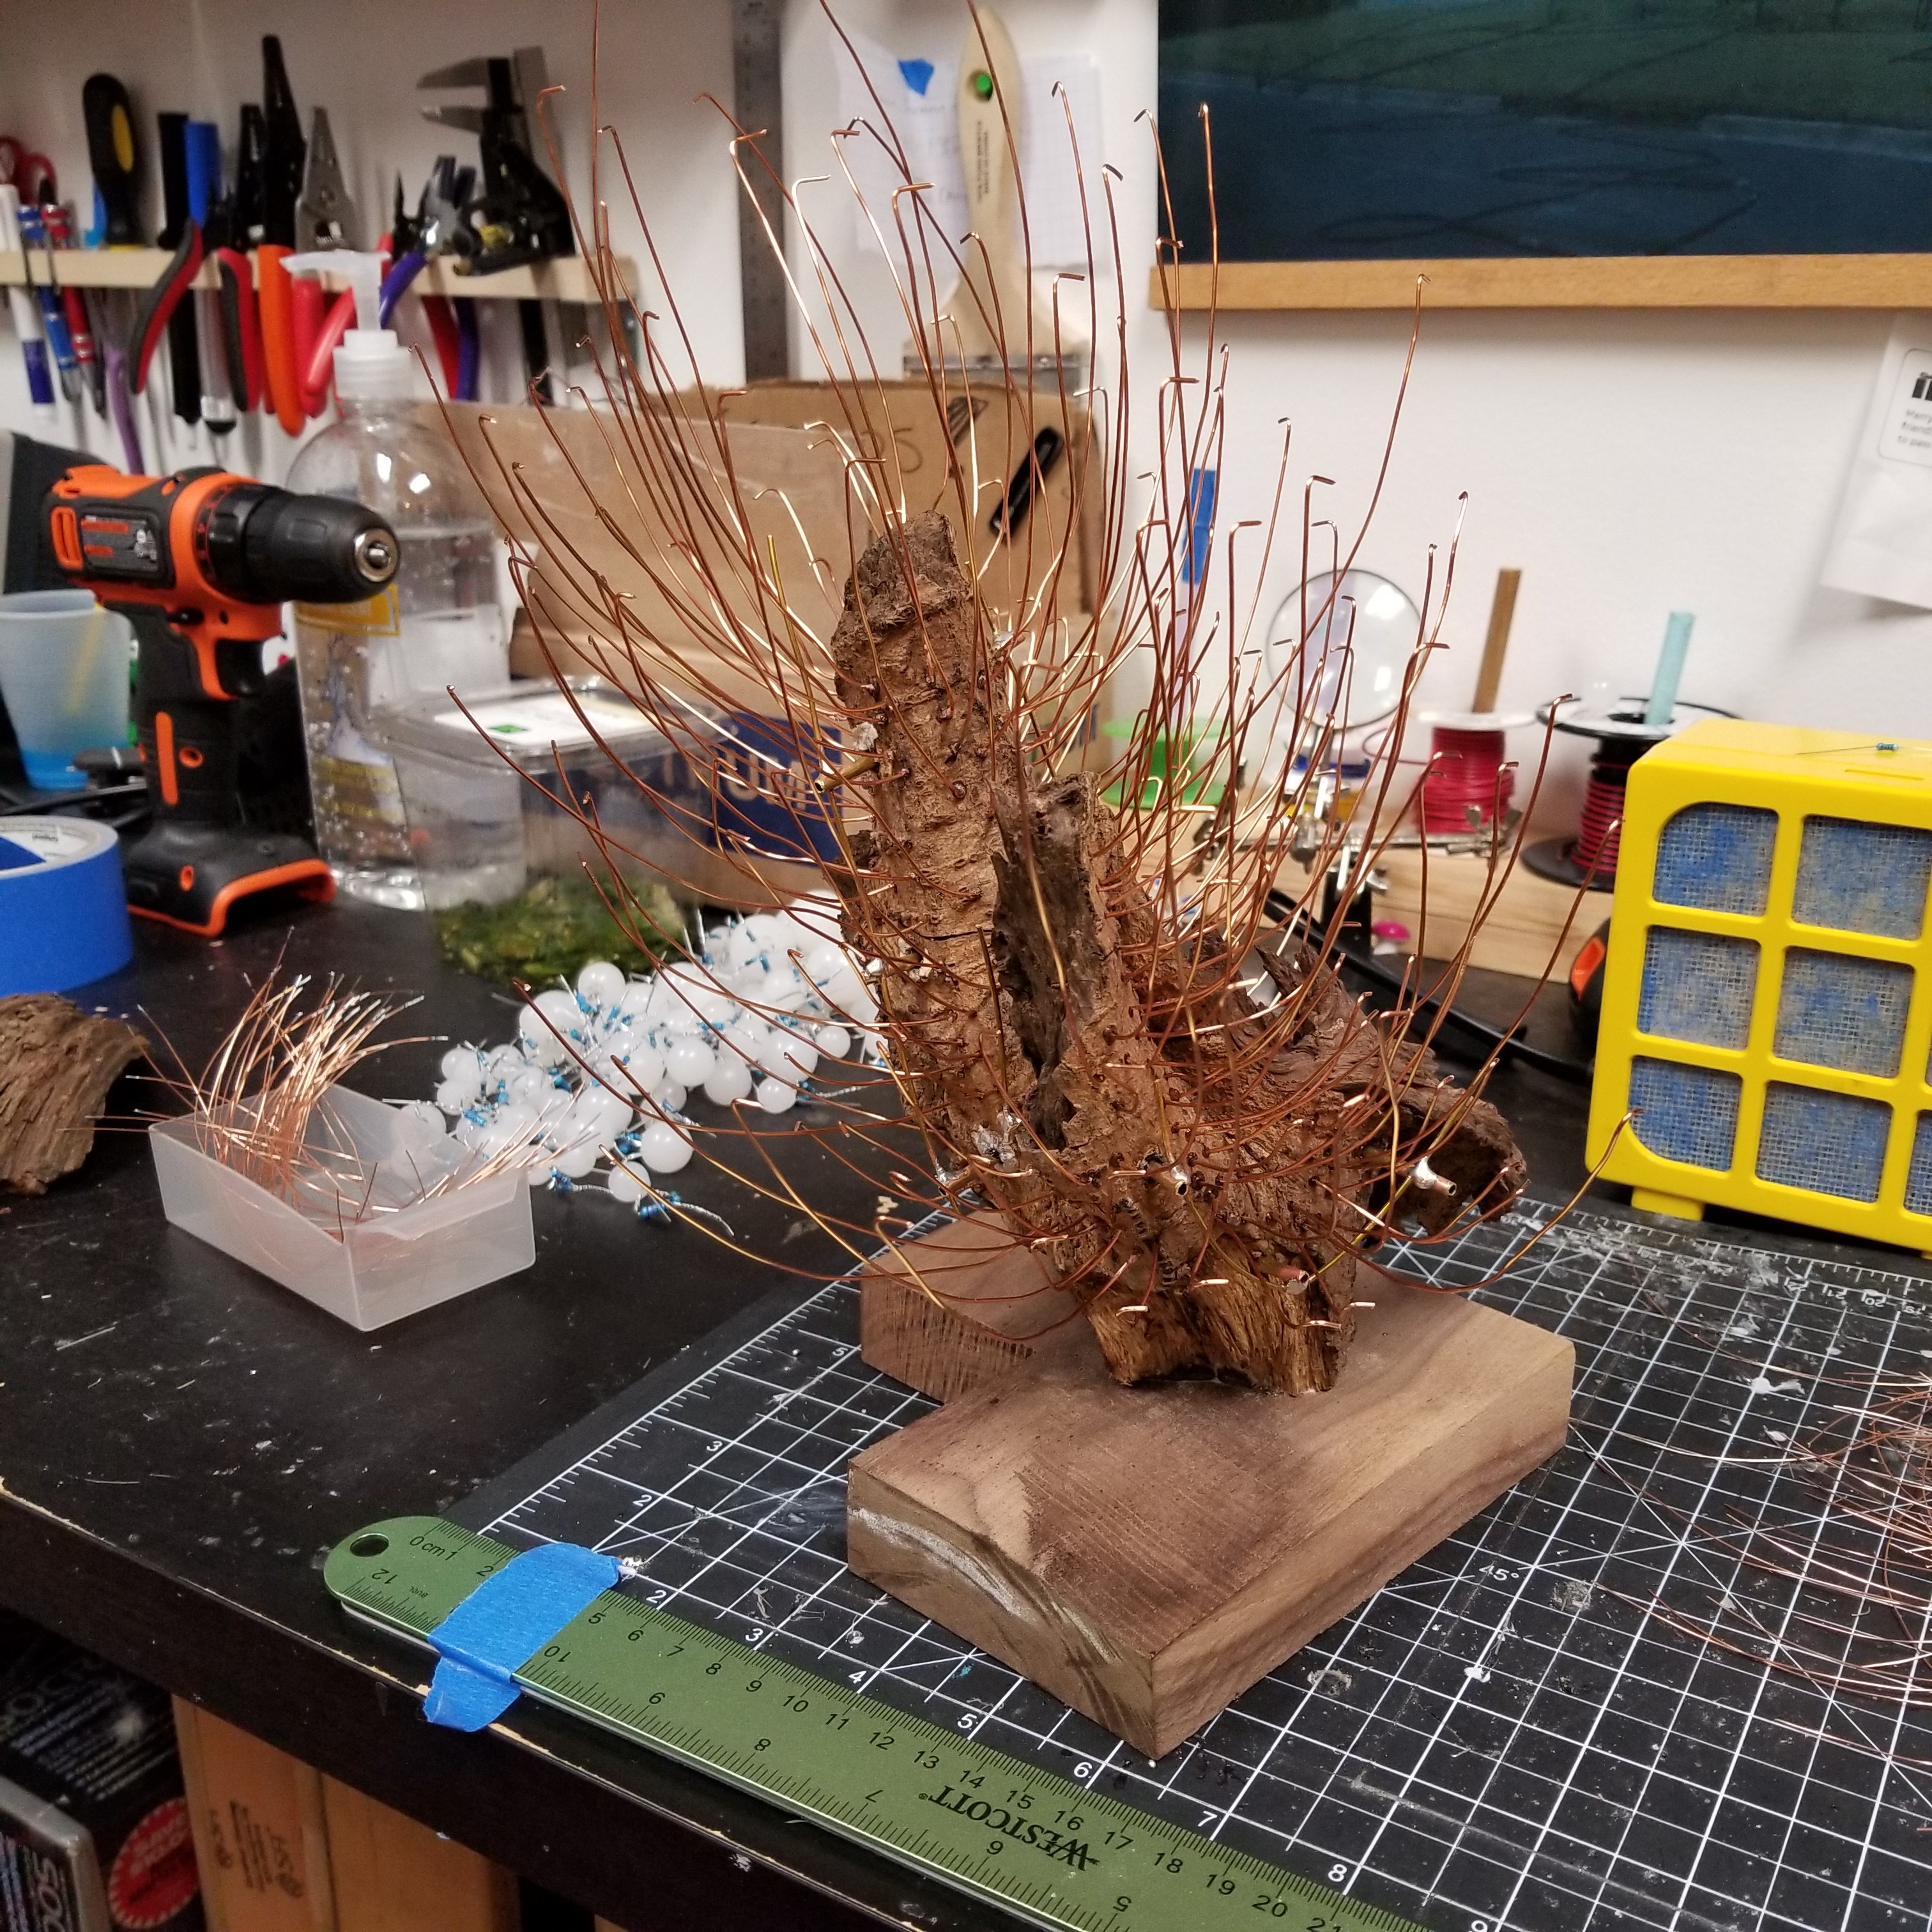
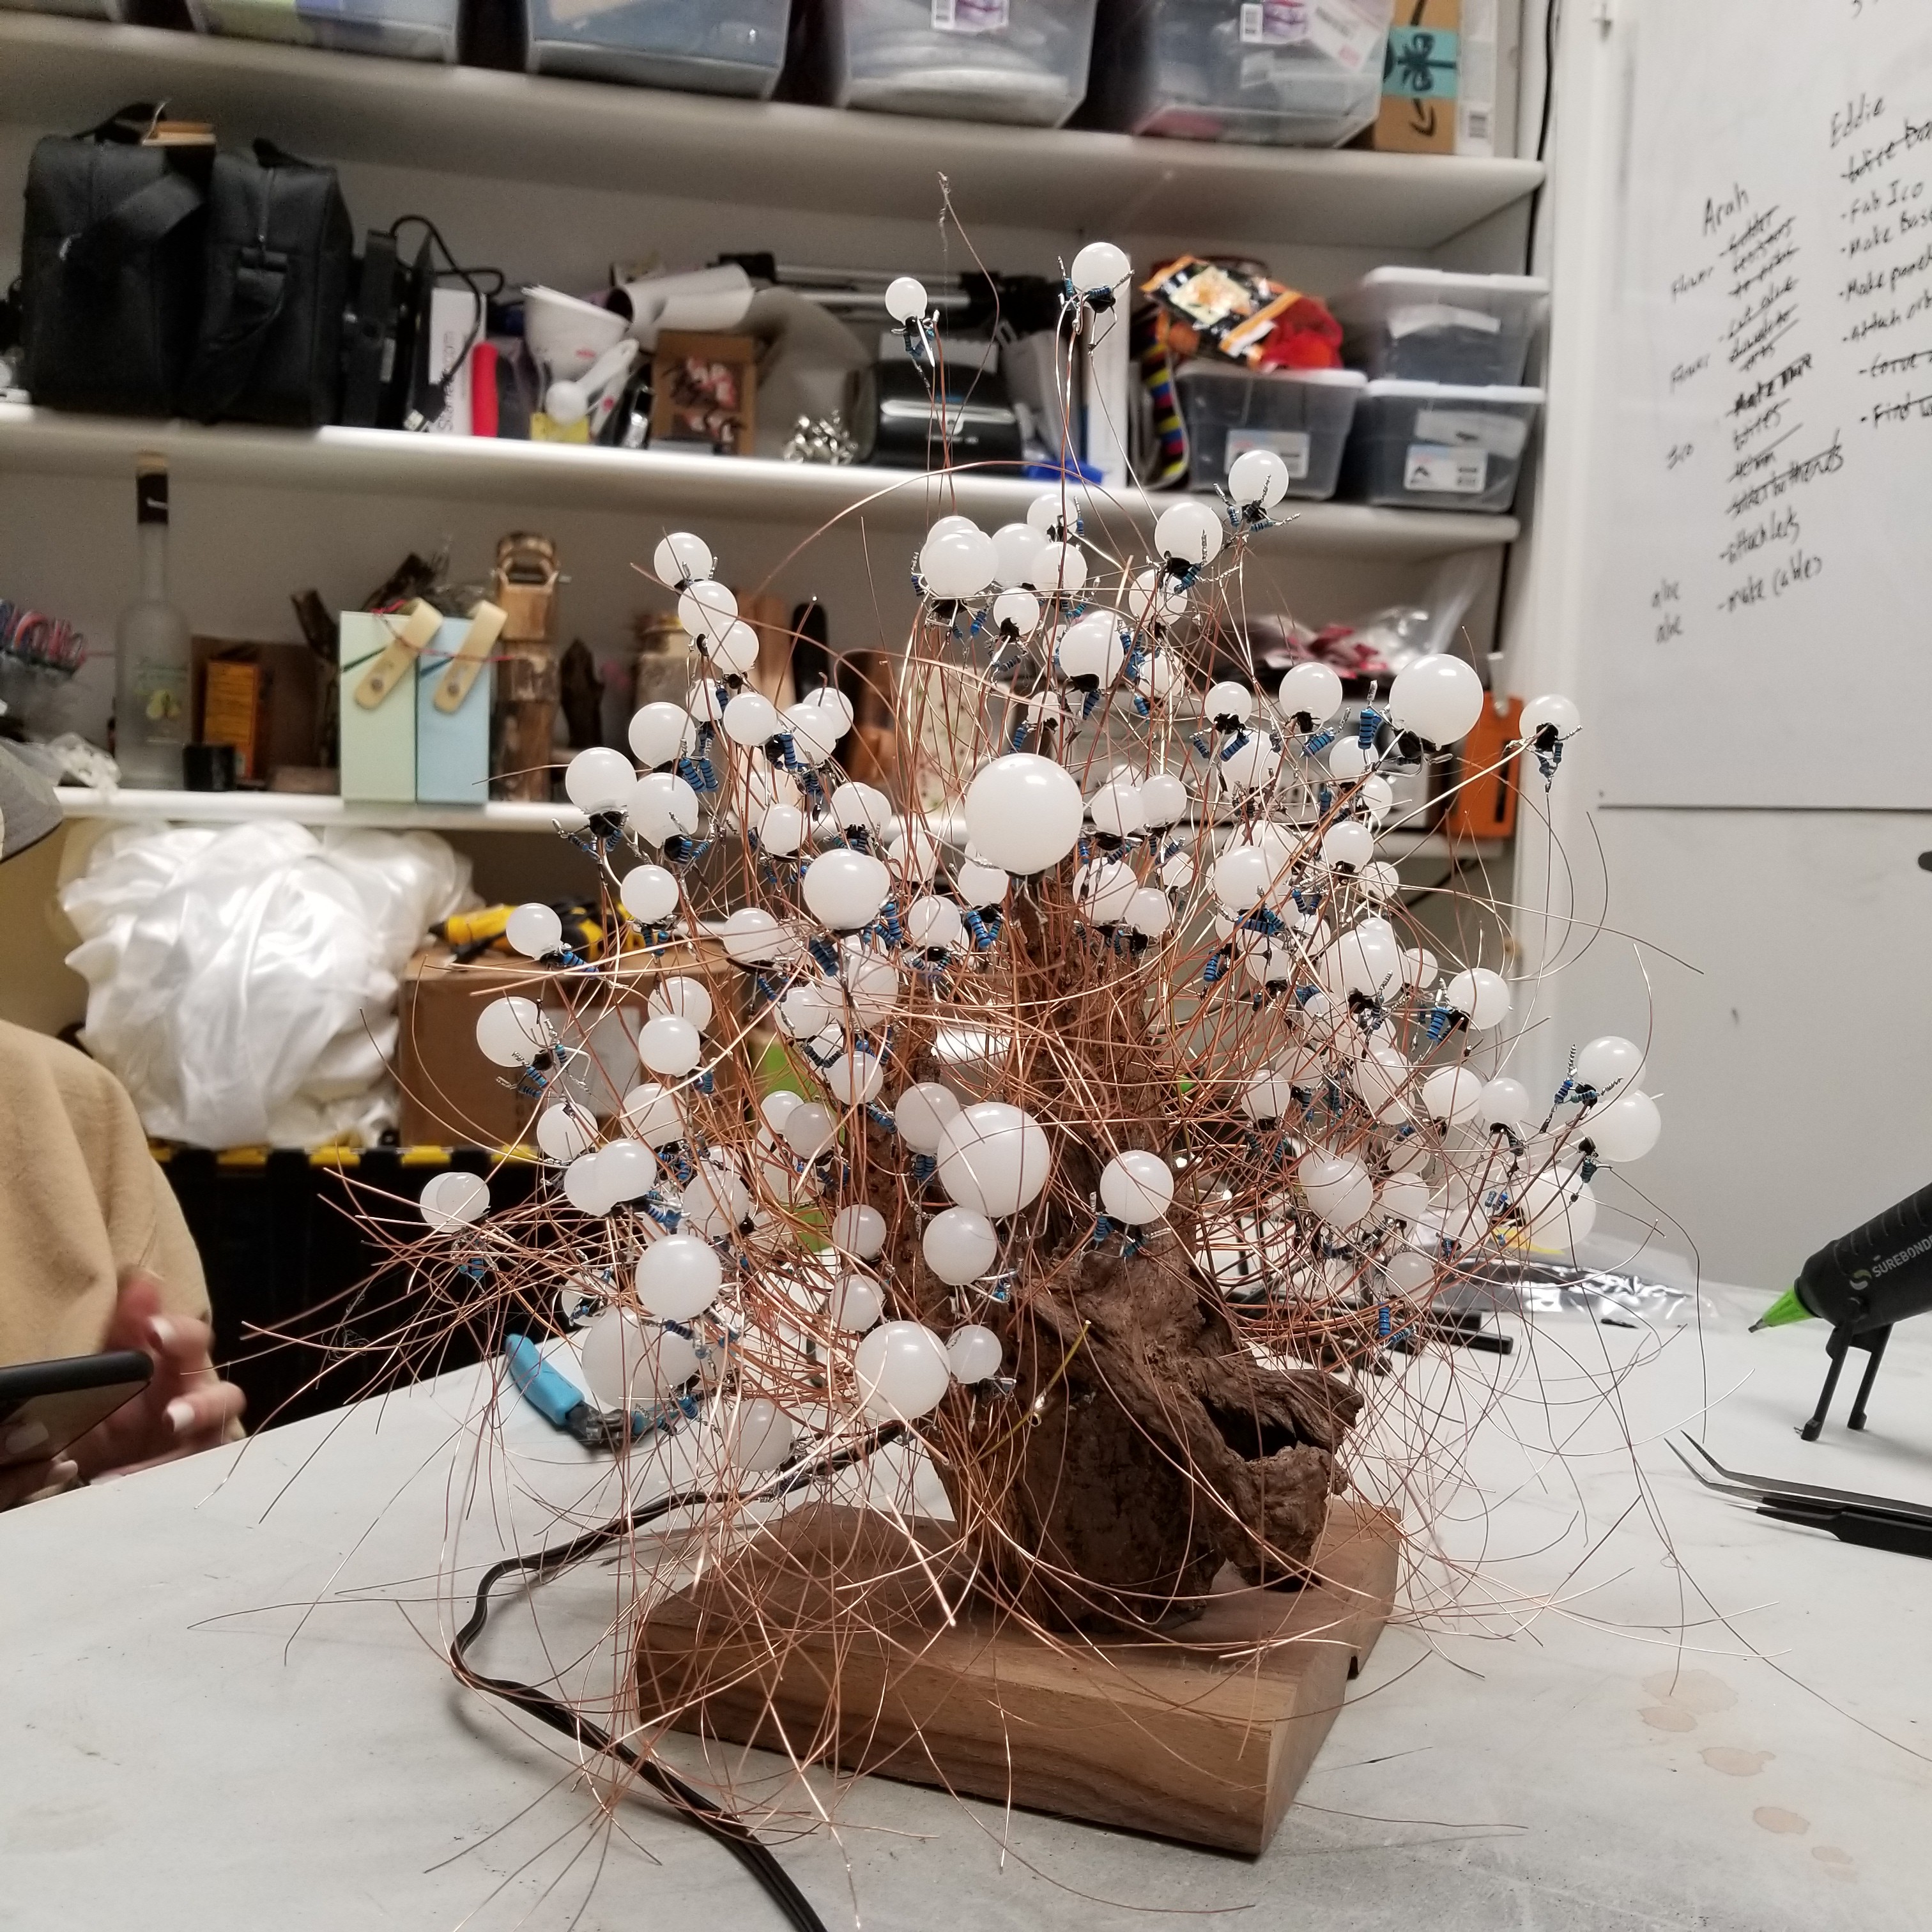
EddieThoughts • Kaleidoscope is the culmination of several years of conversations, dreaming, and many prototypes. I started working on this idea in March of 2020 during the first few days of the lockdown in Georgia. Coping with the new reality.
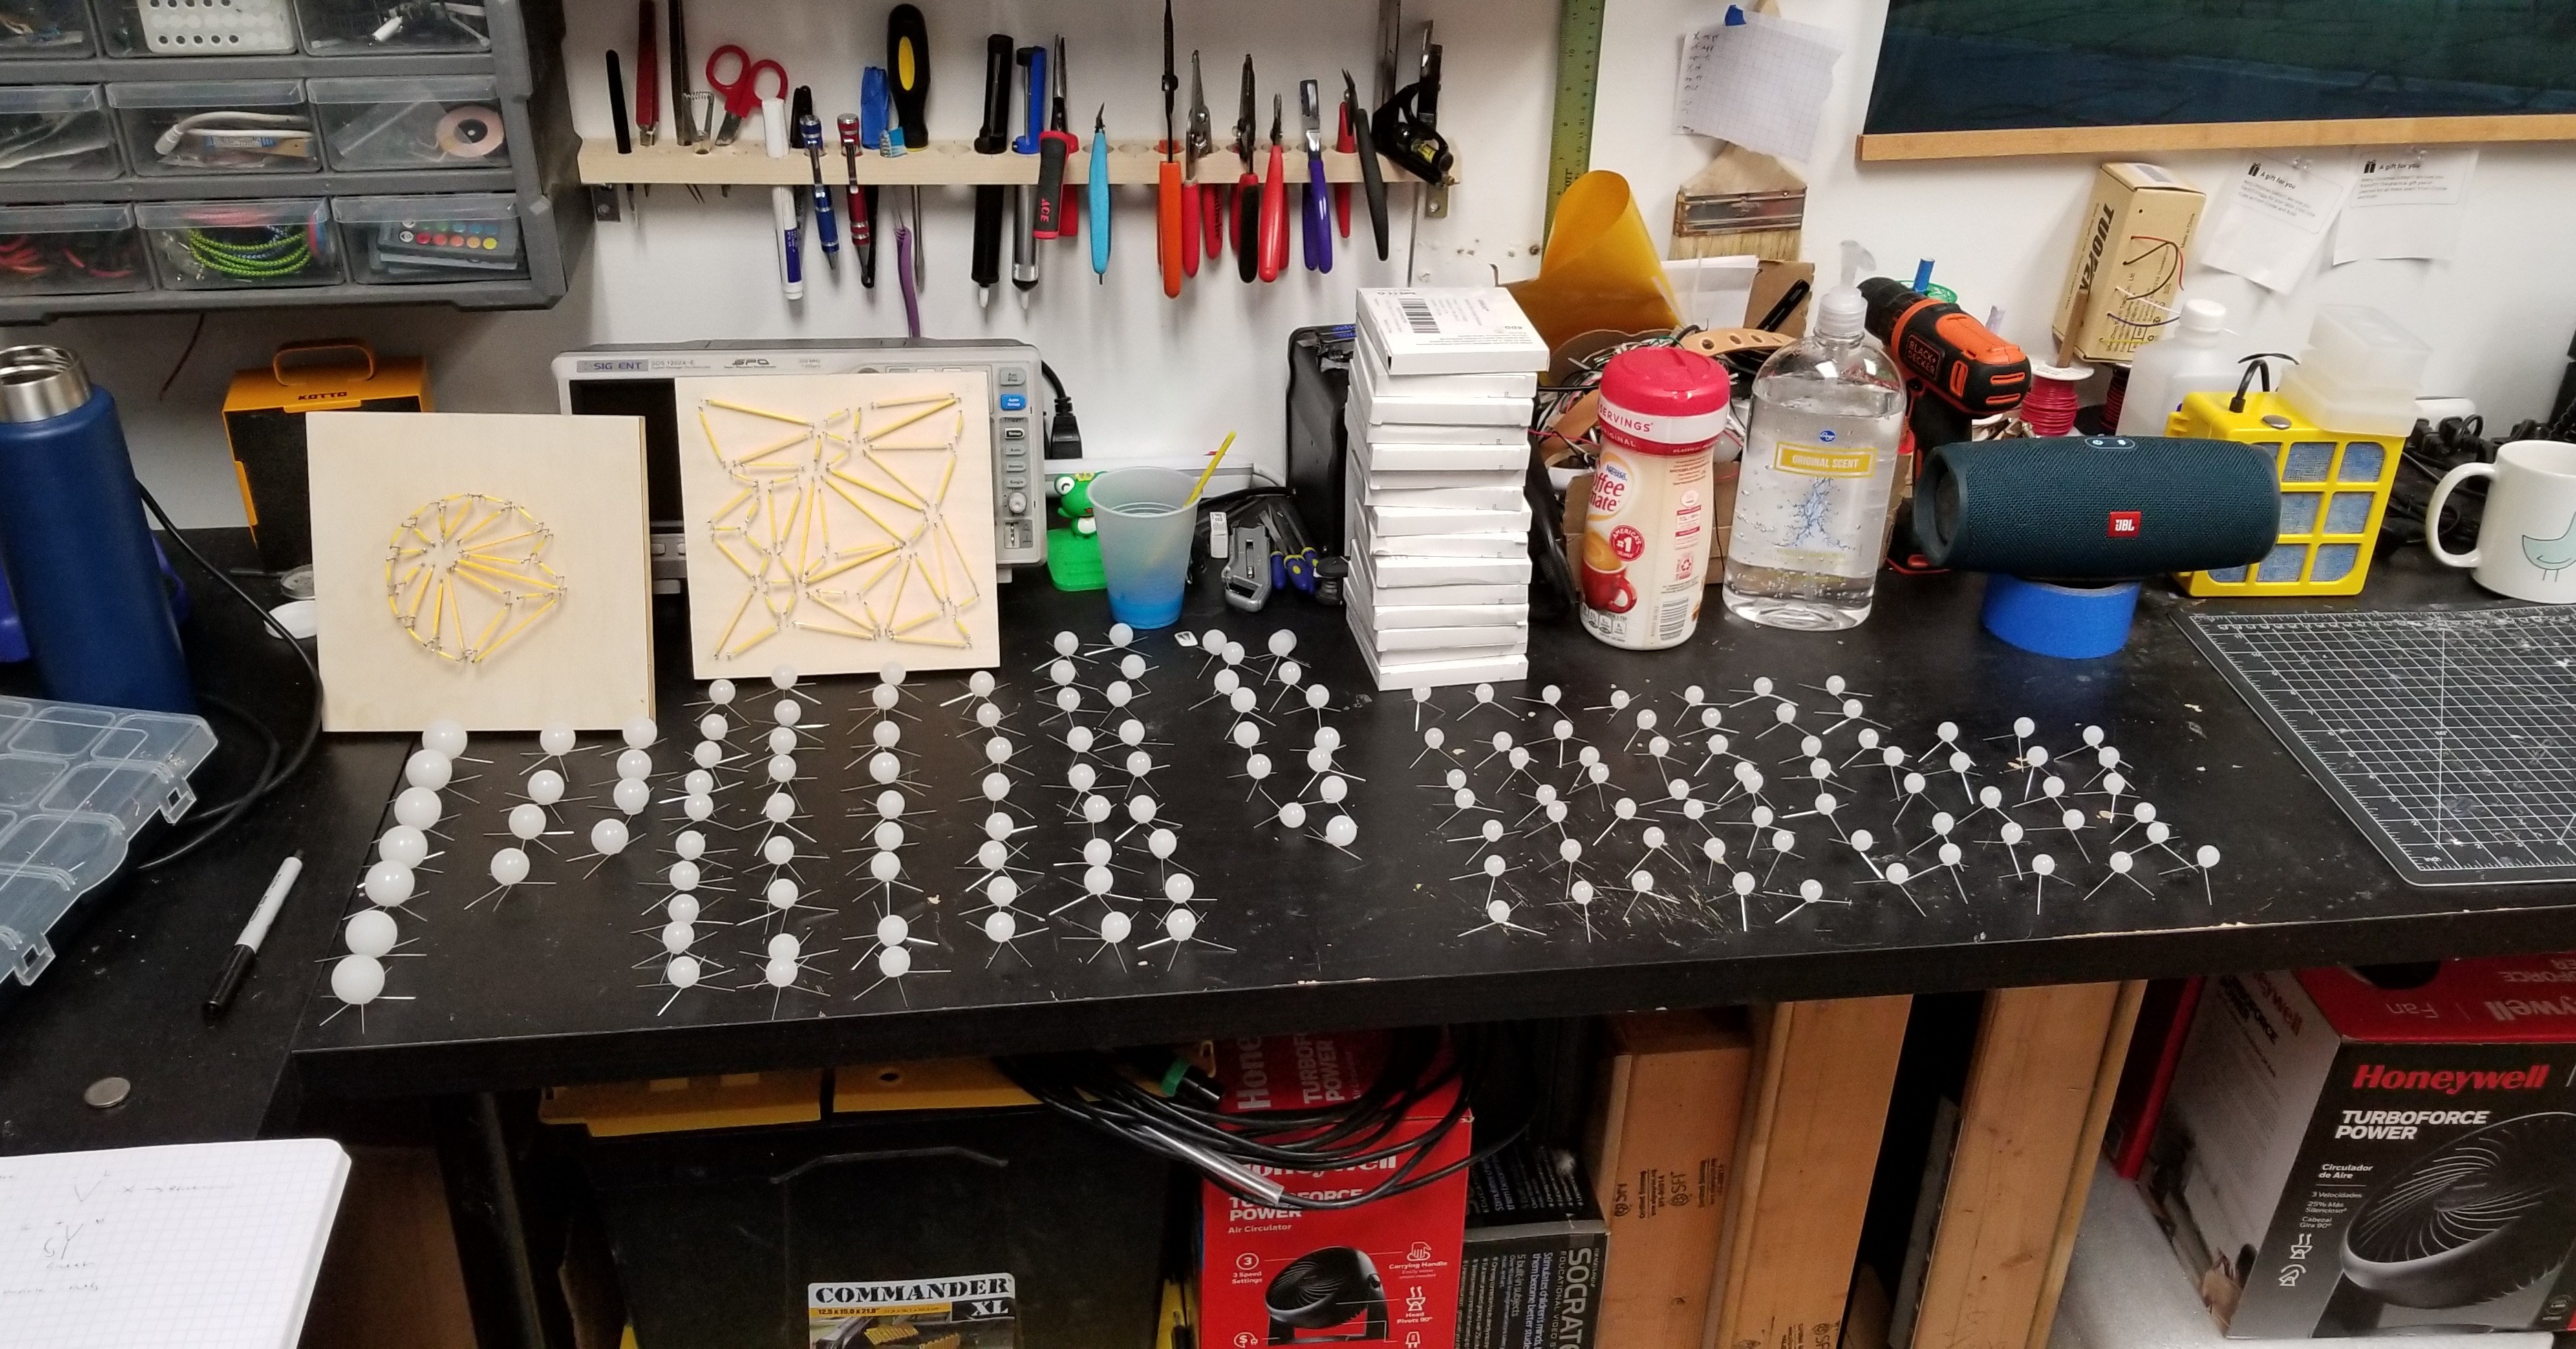
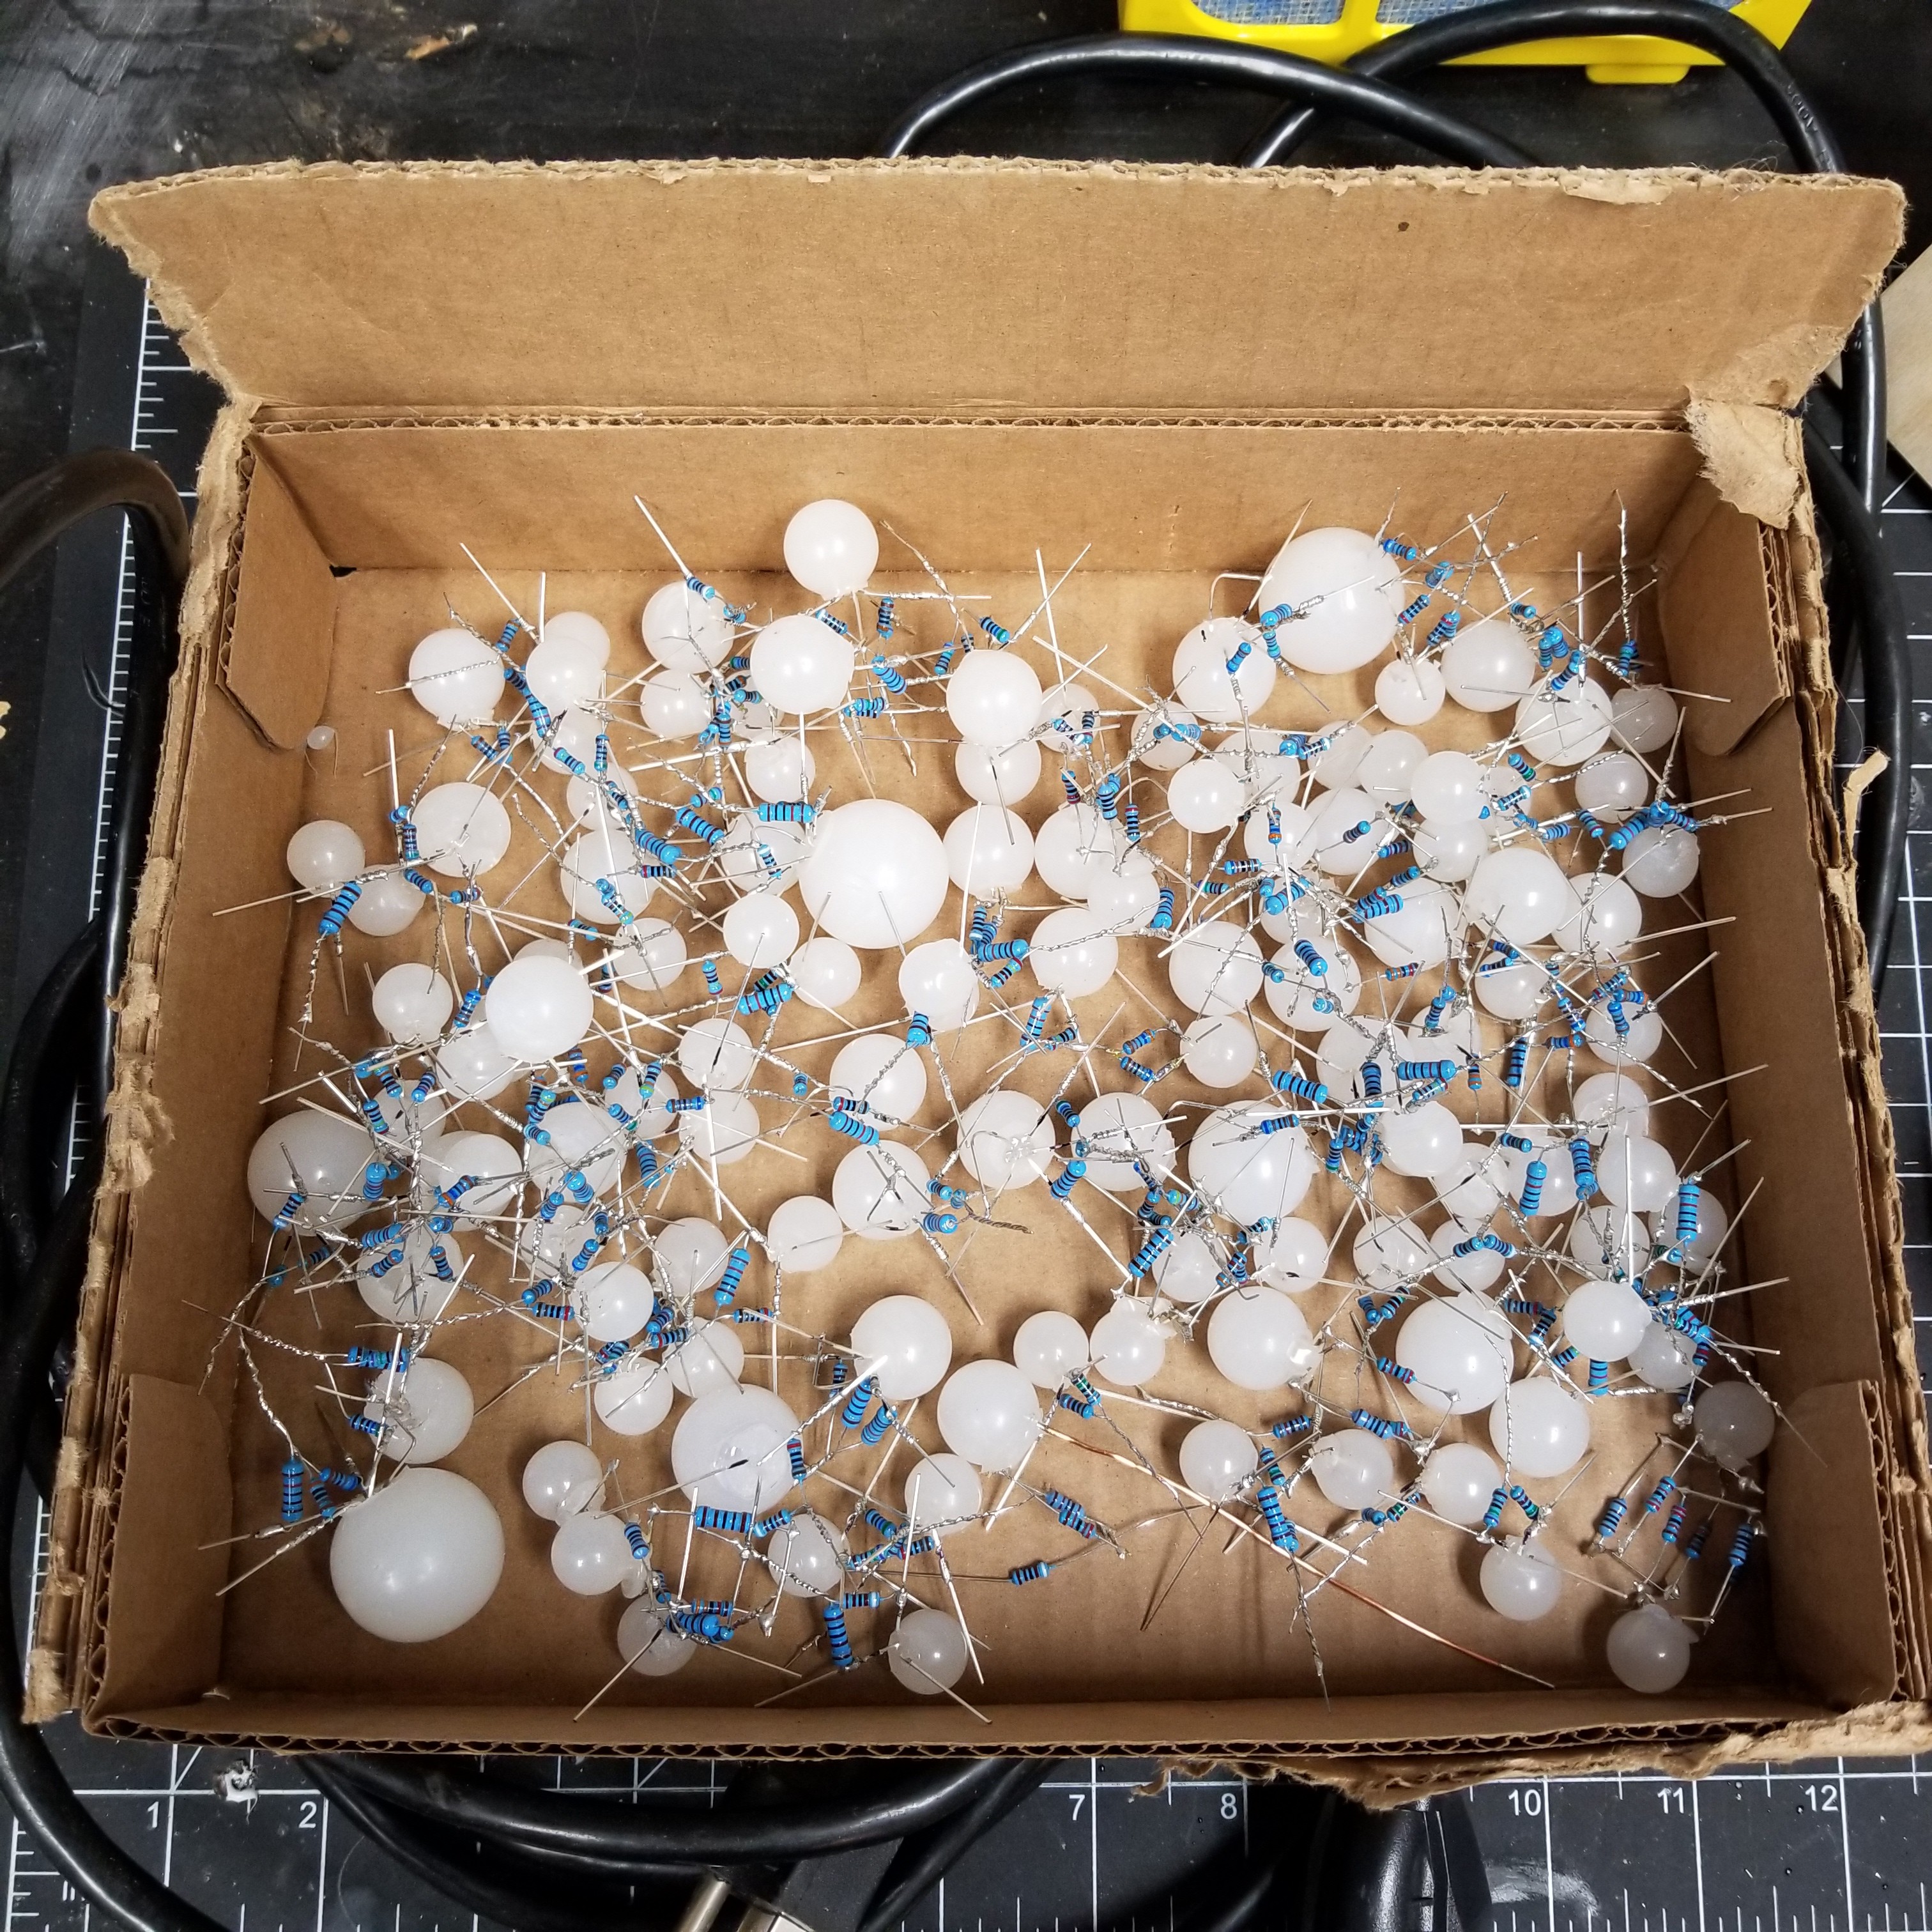
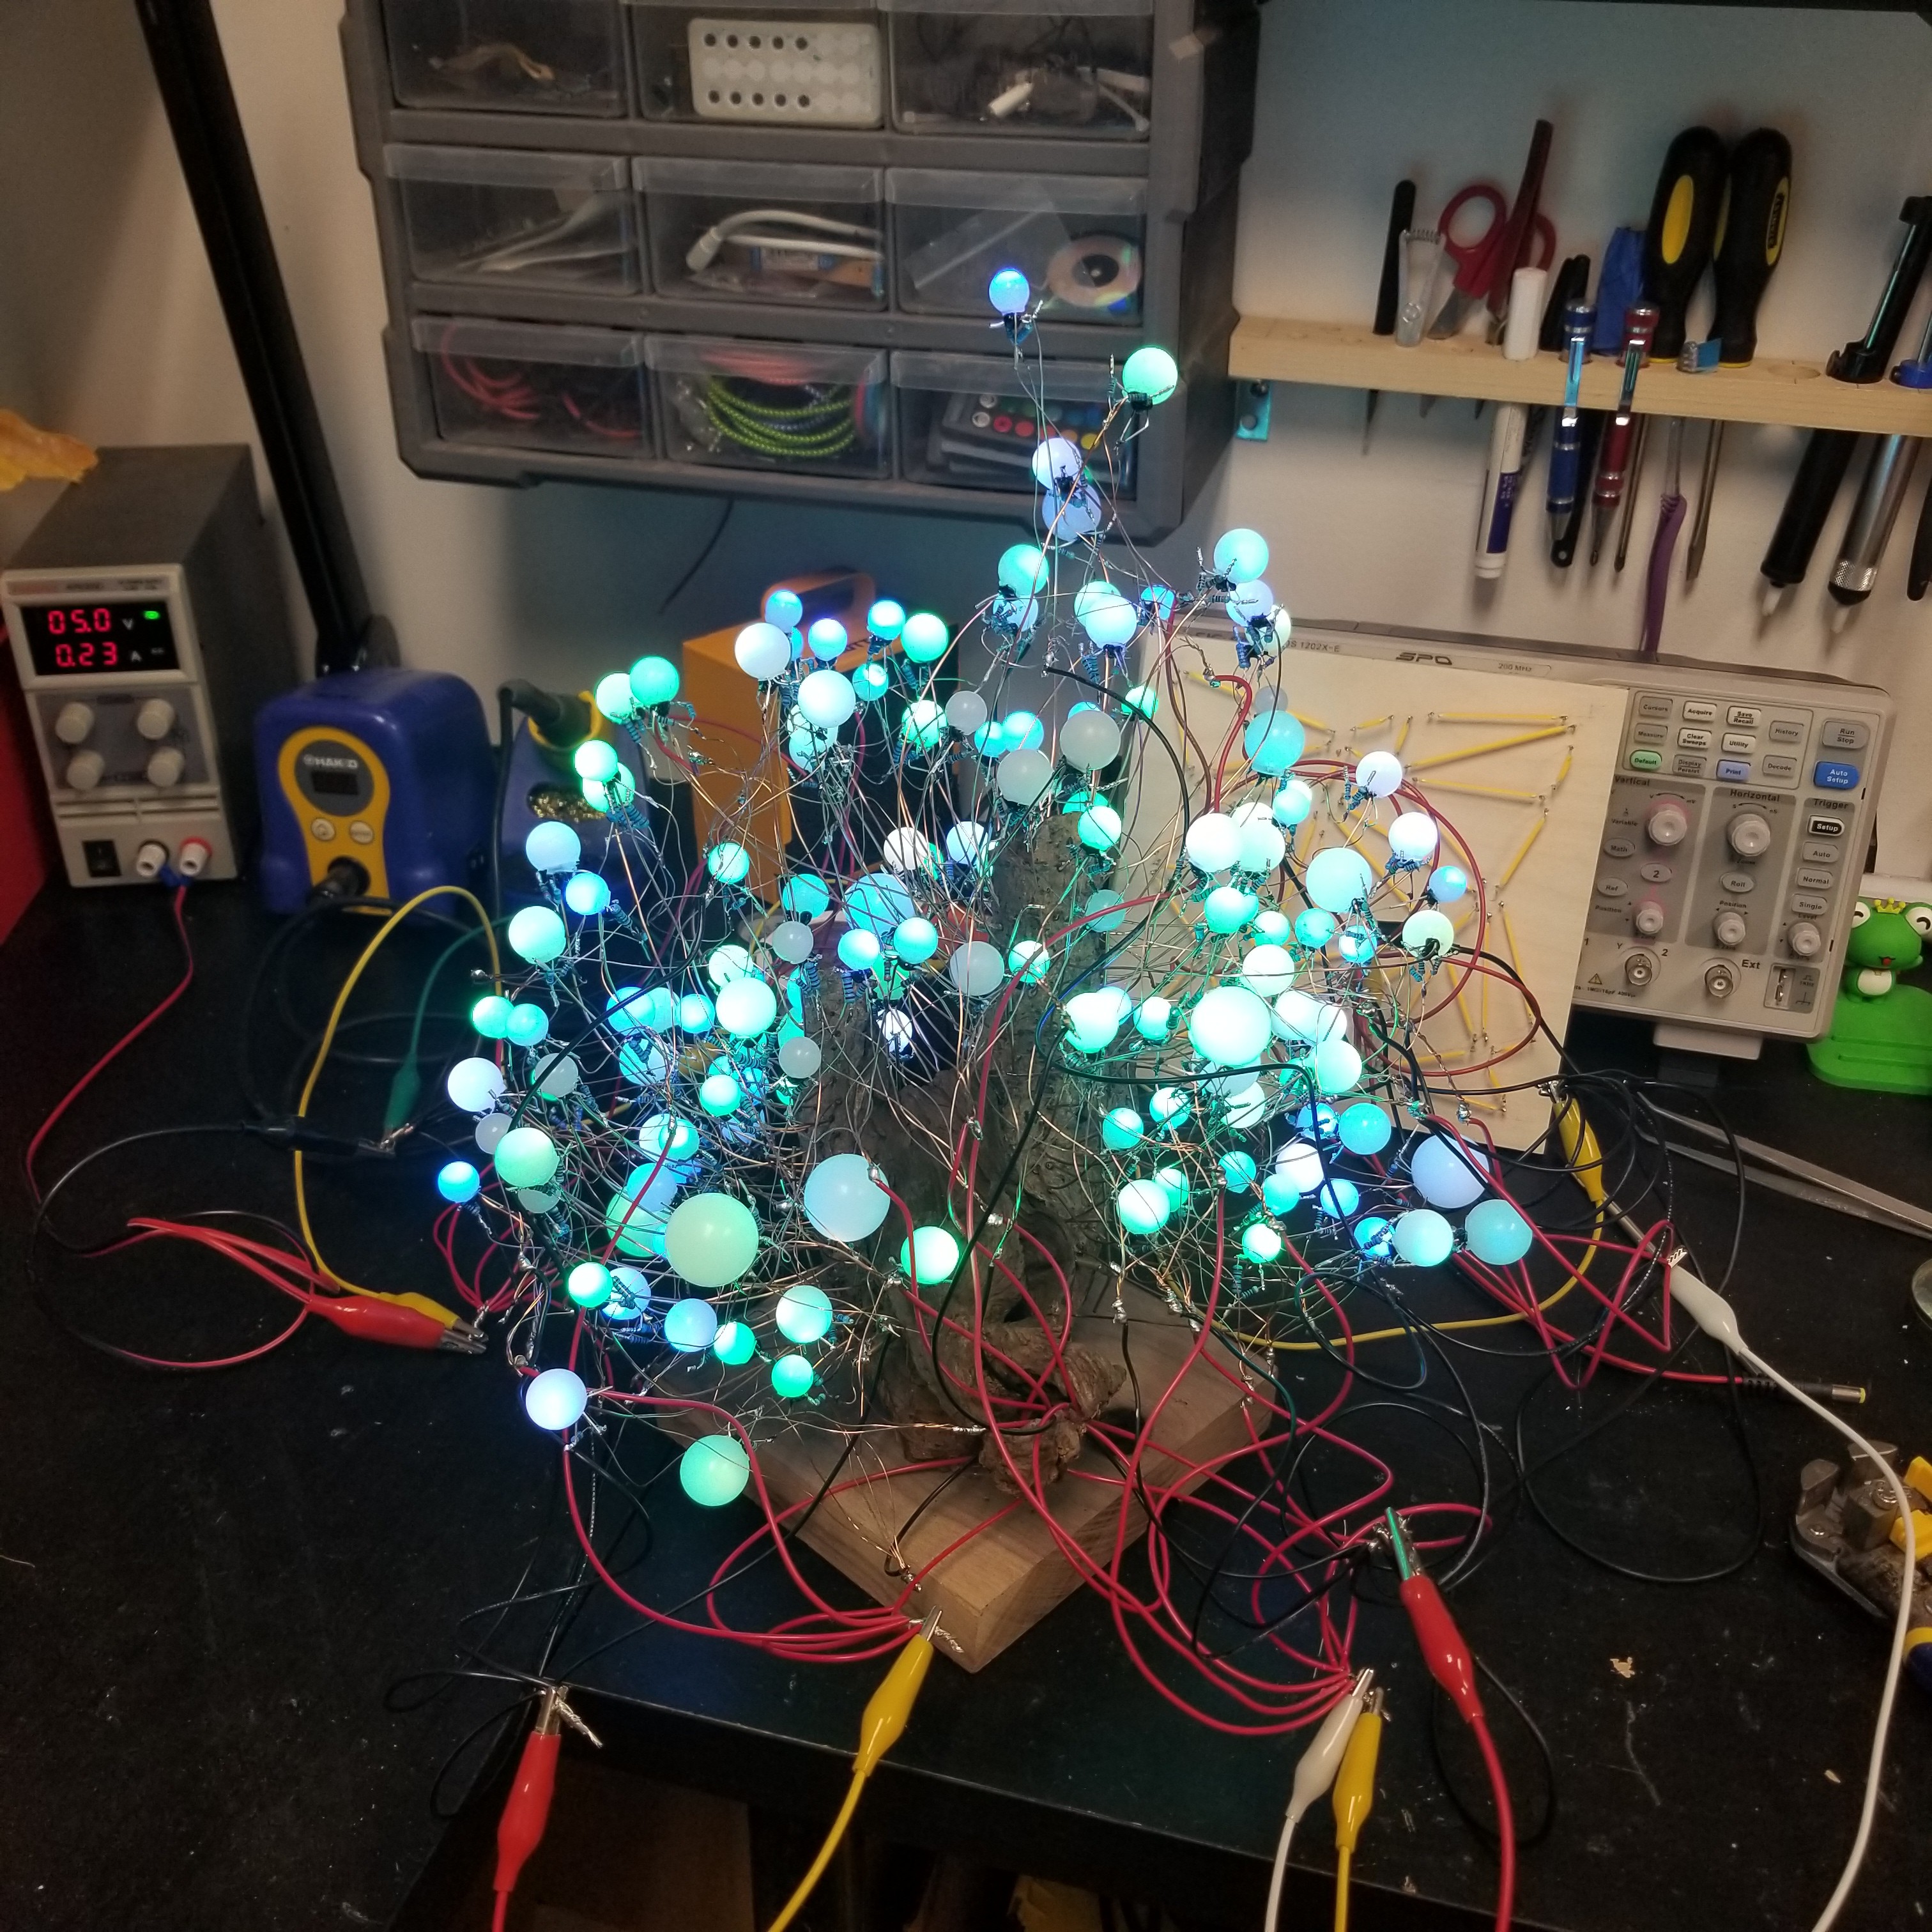
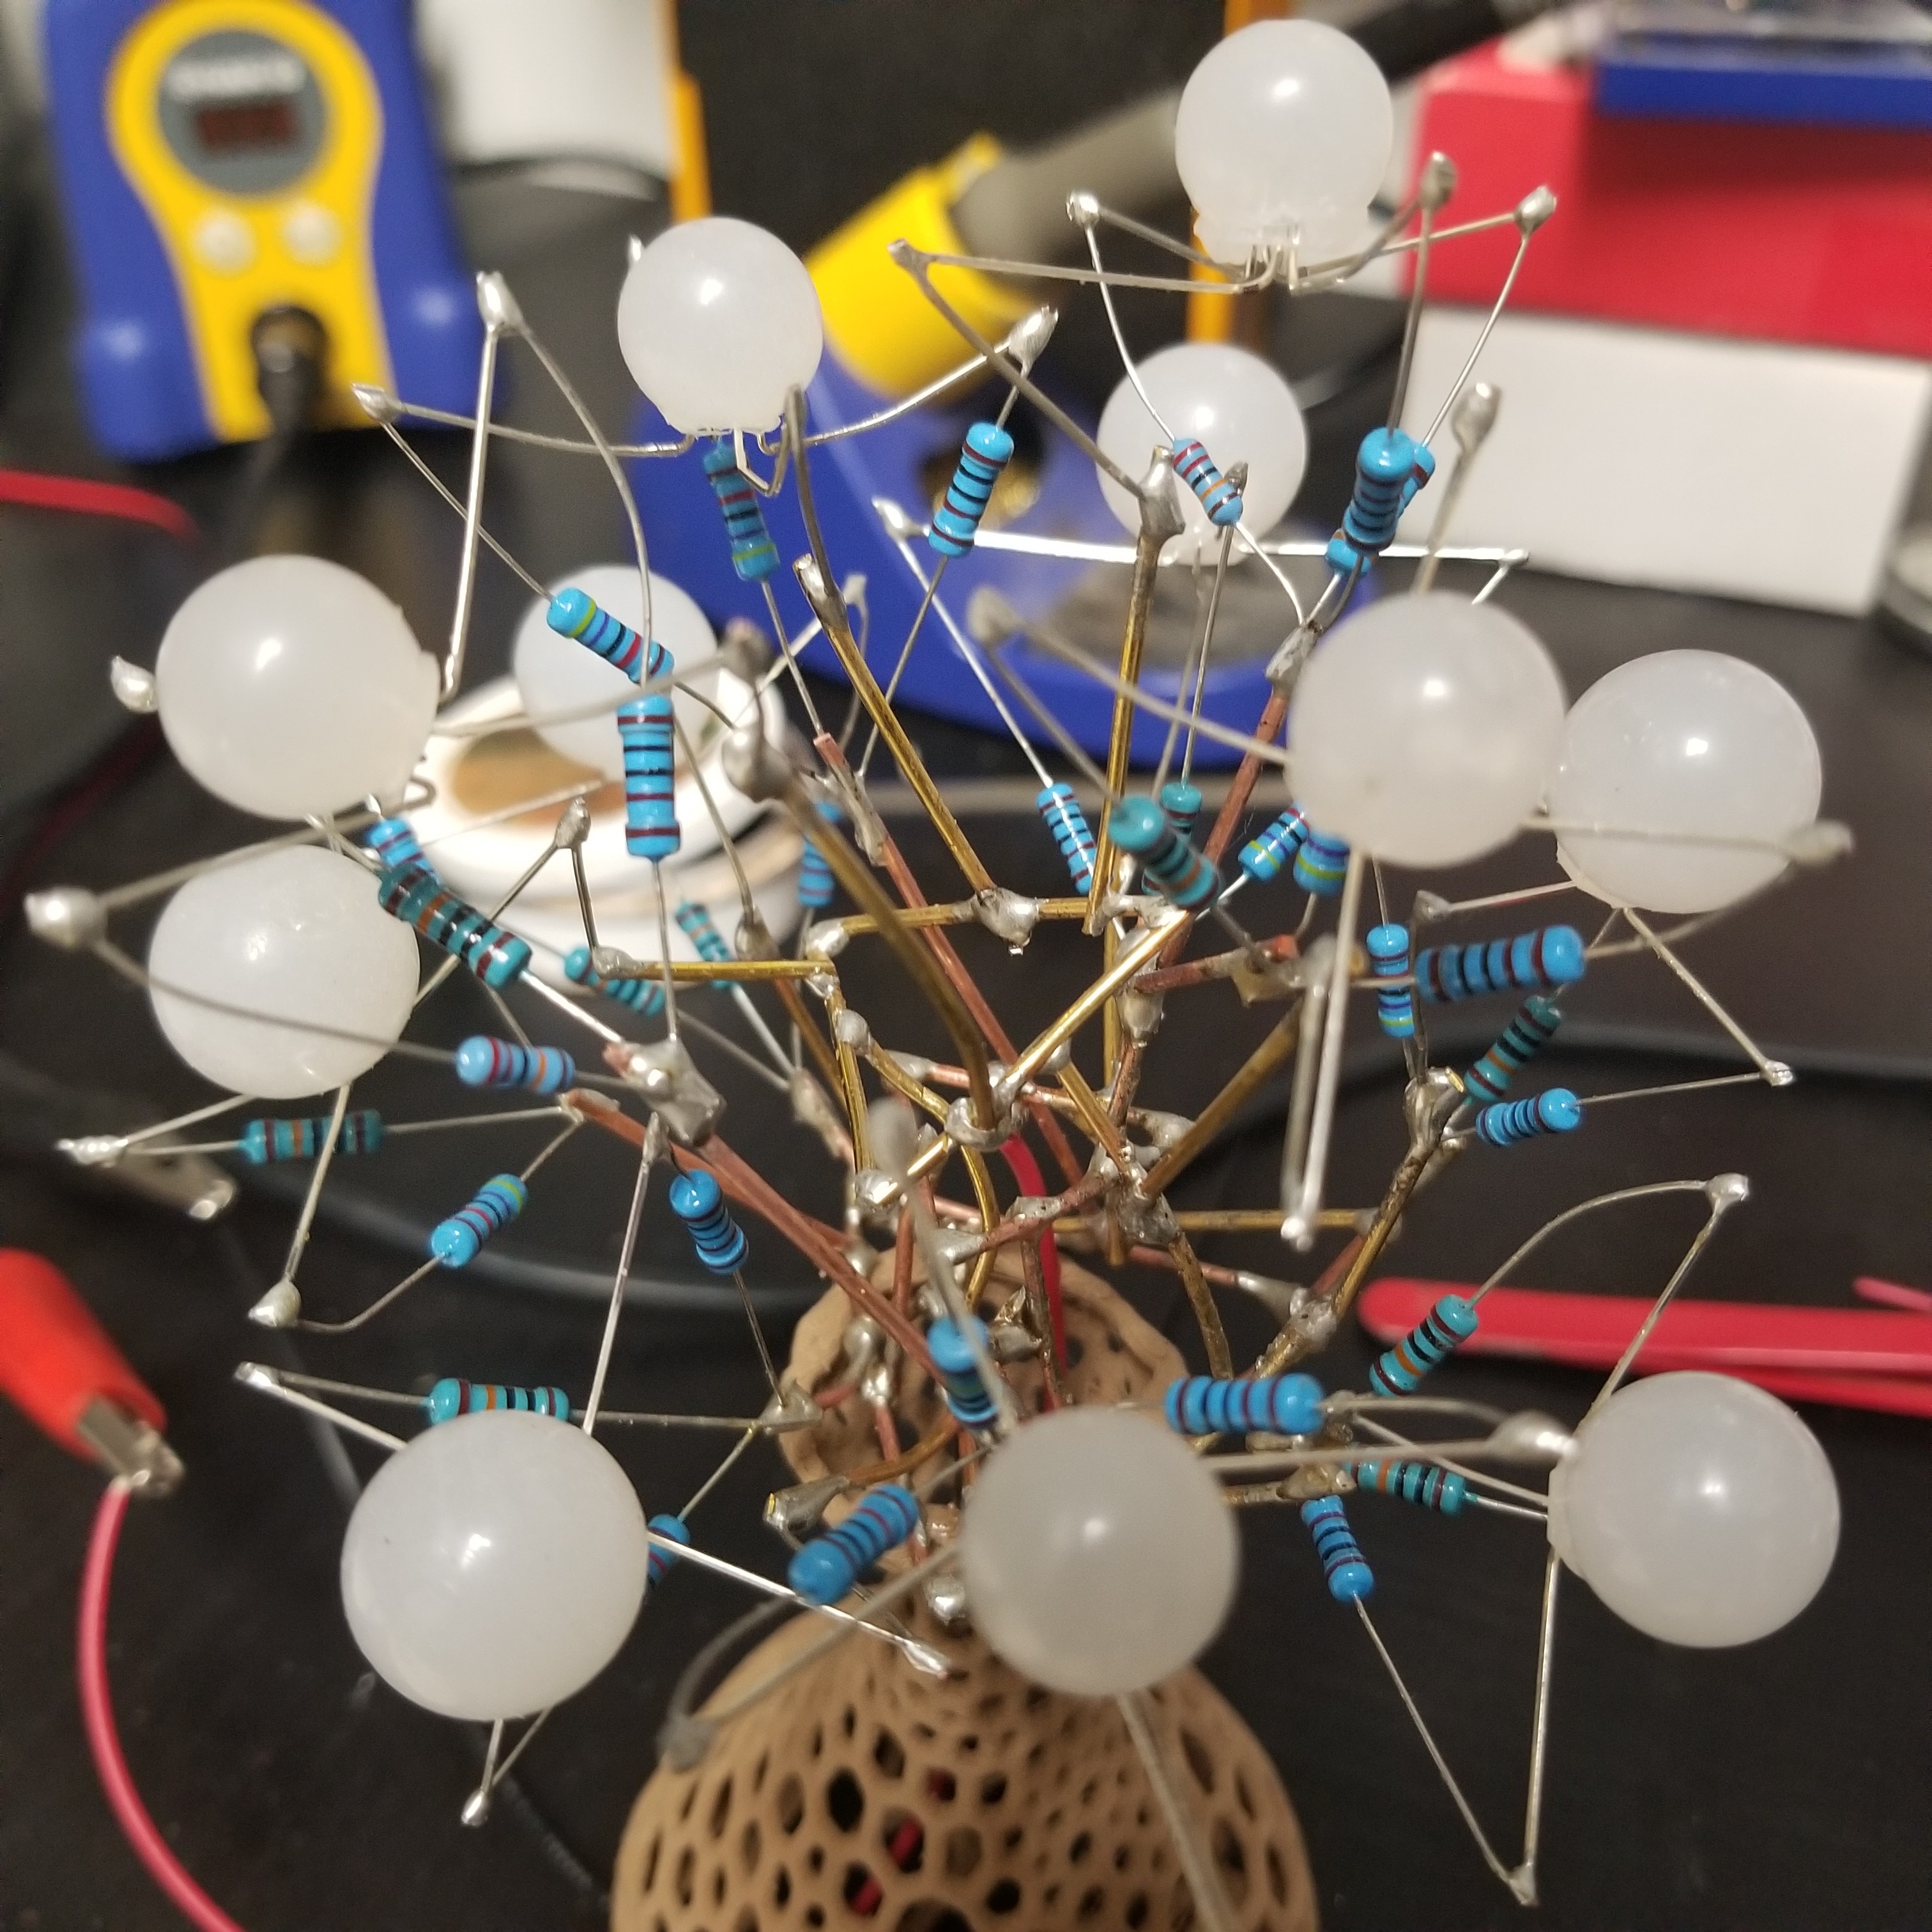
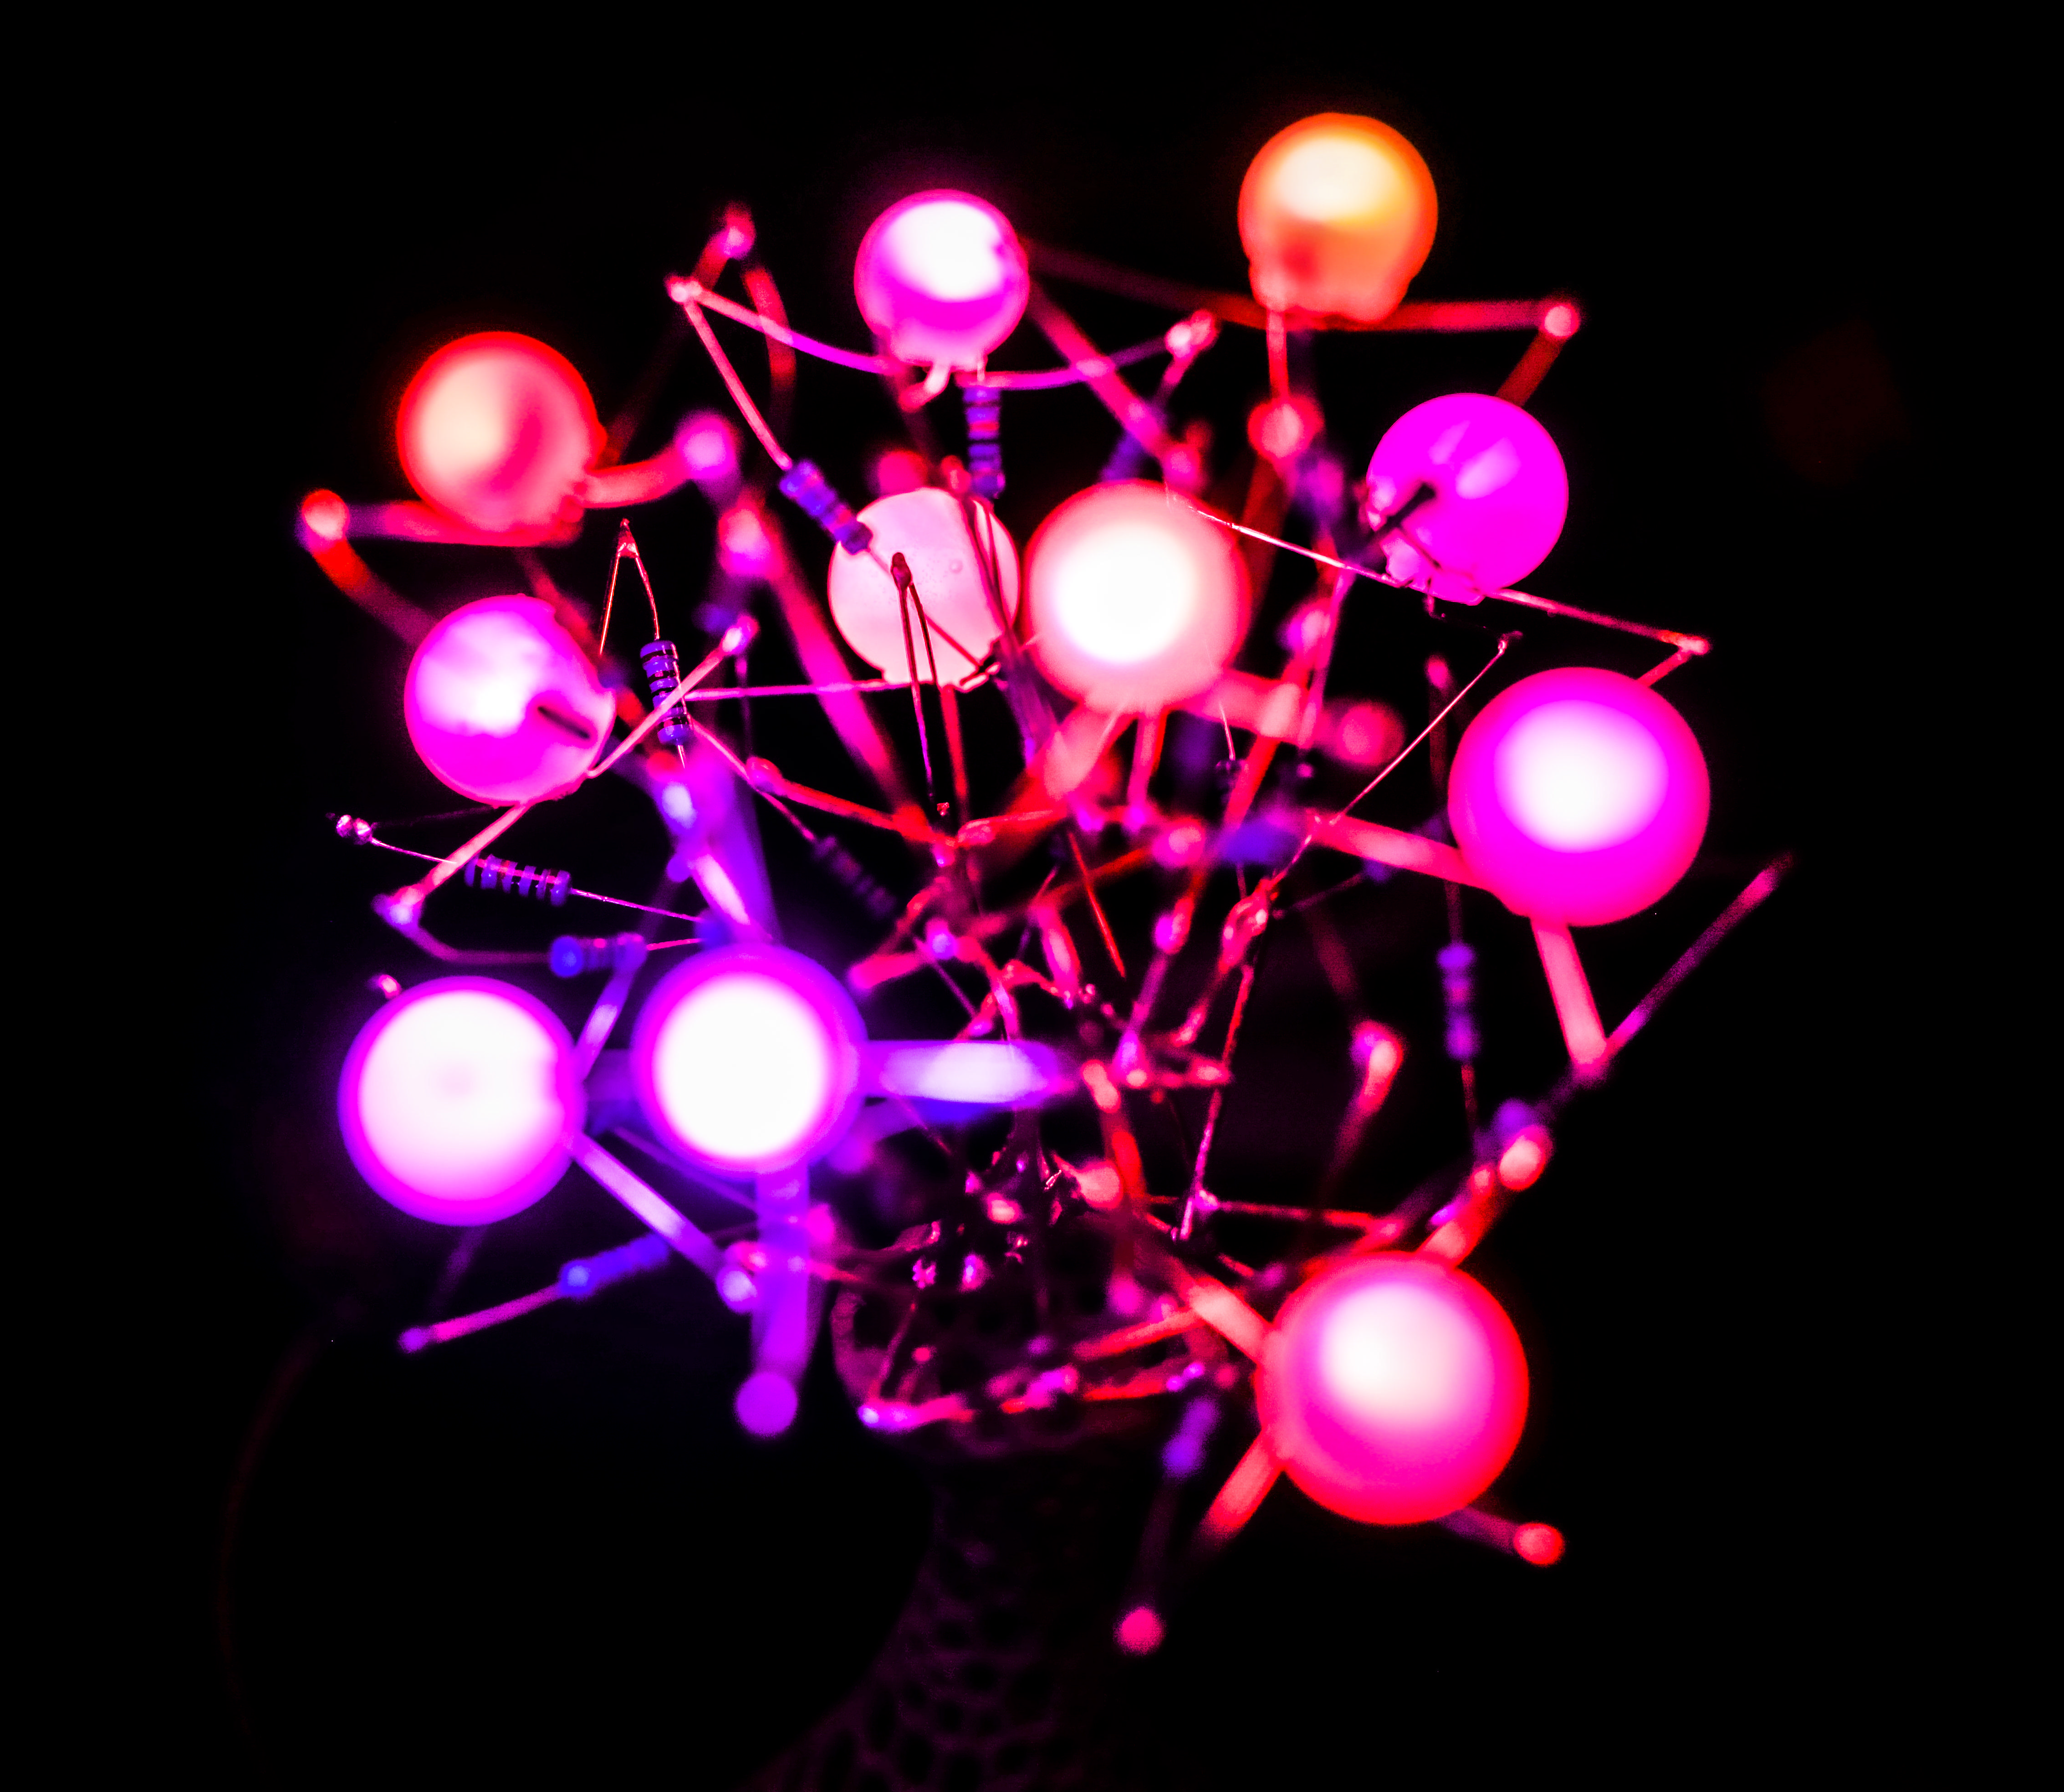
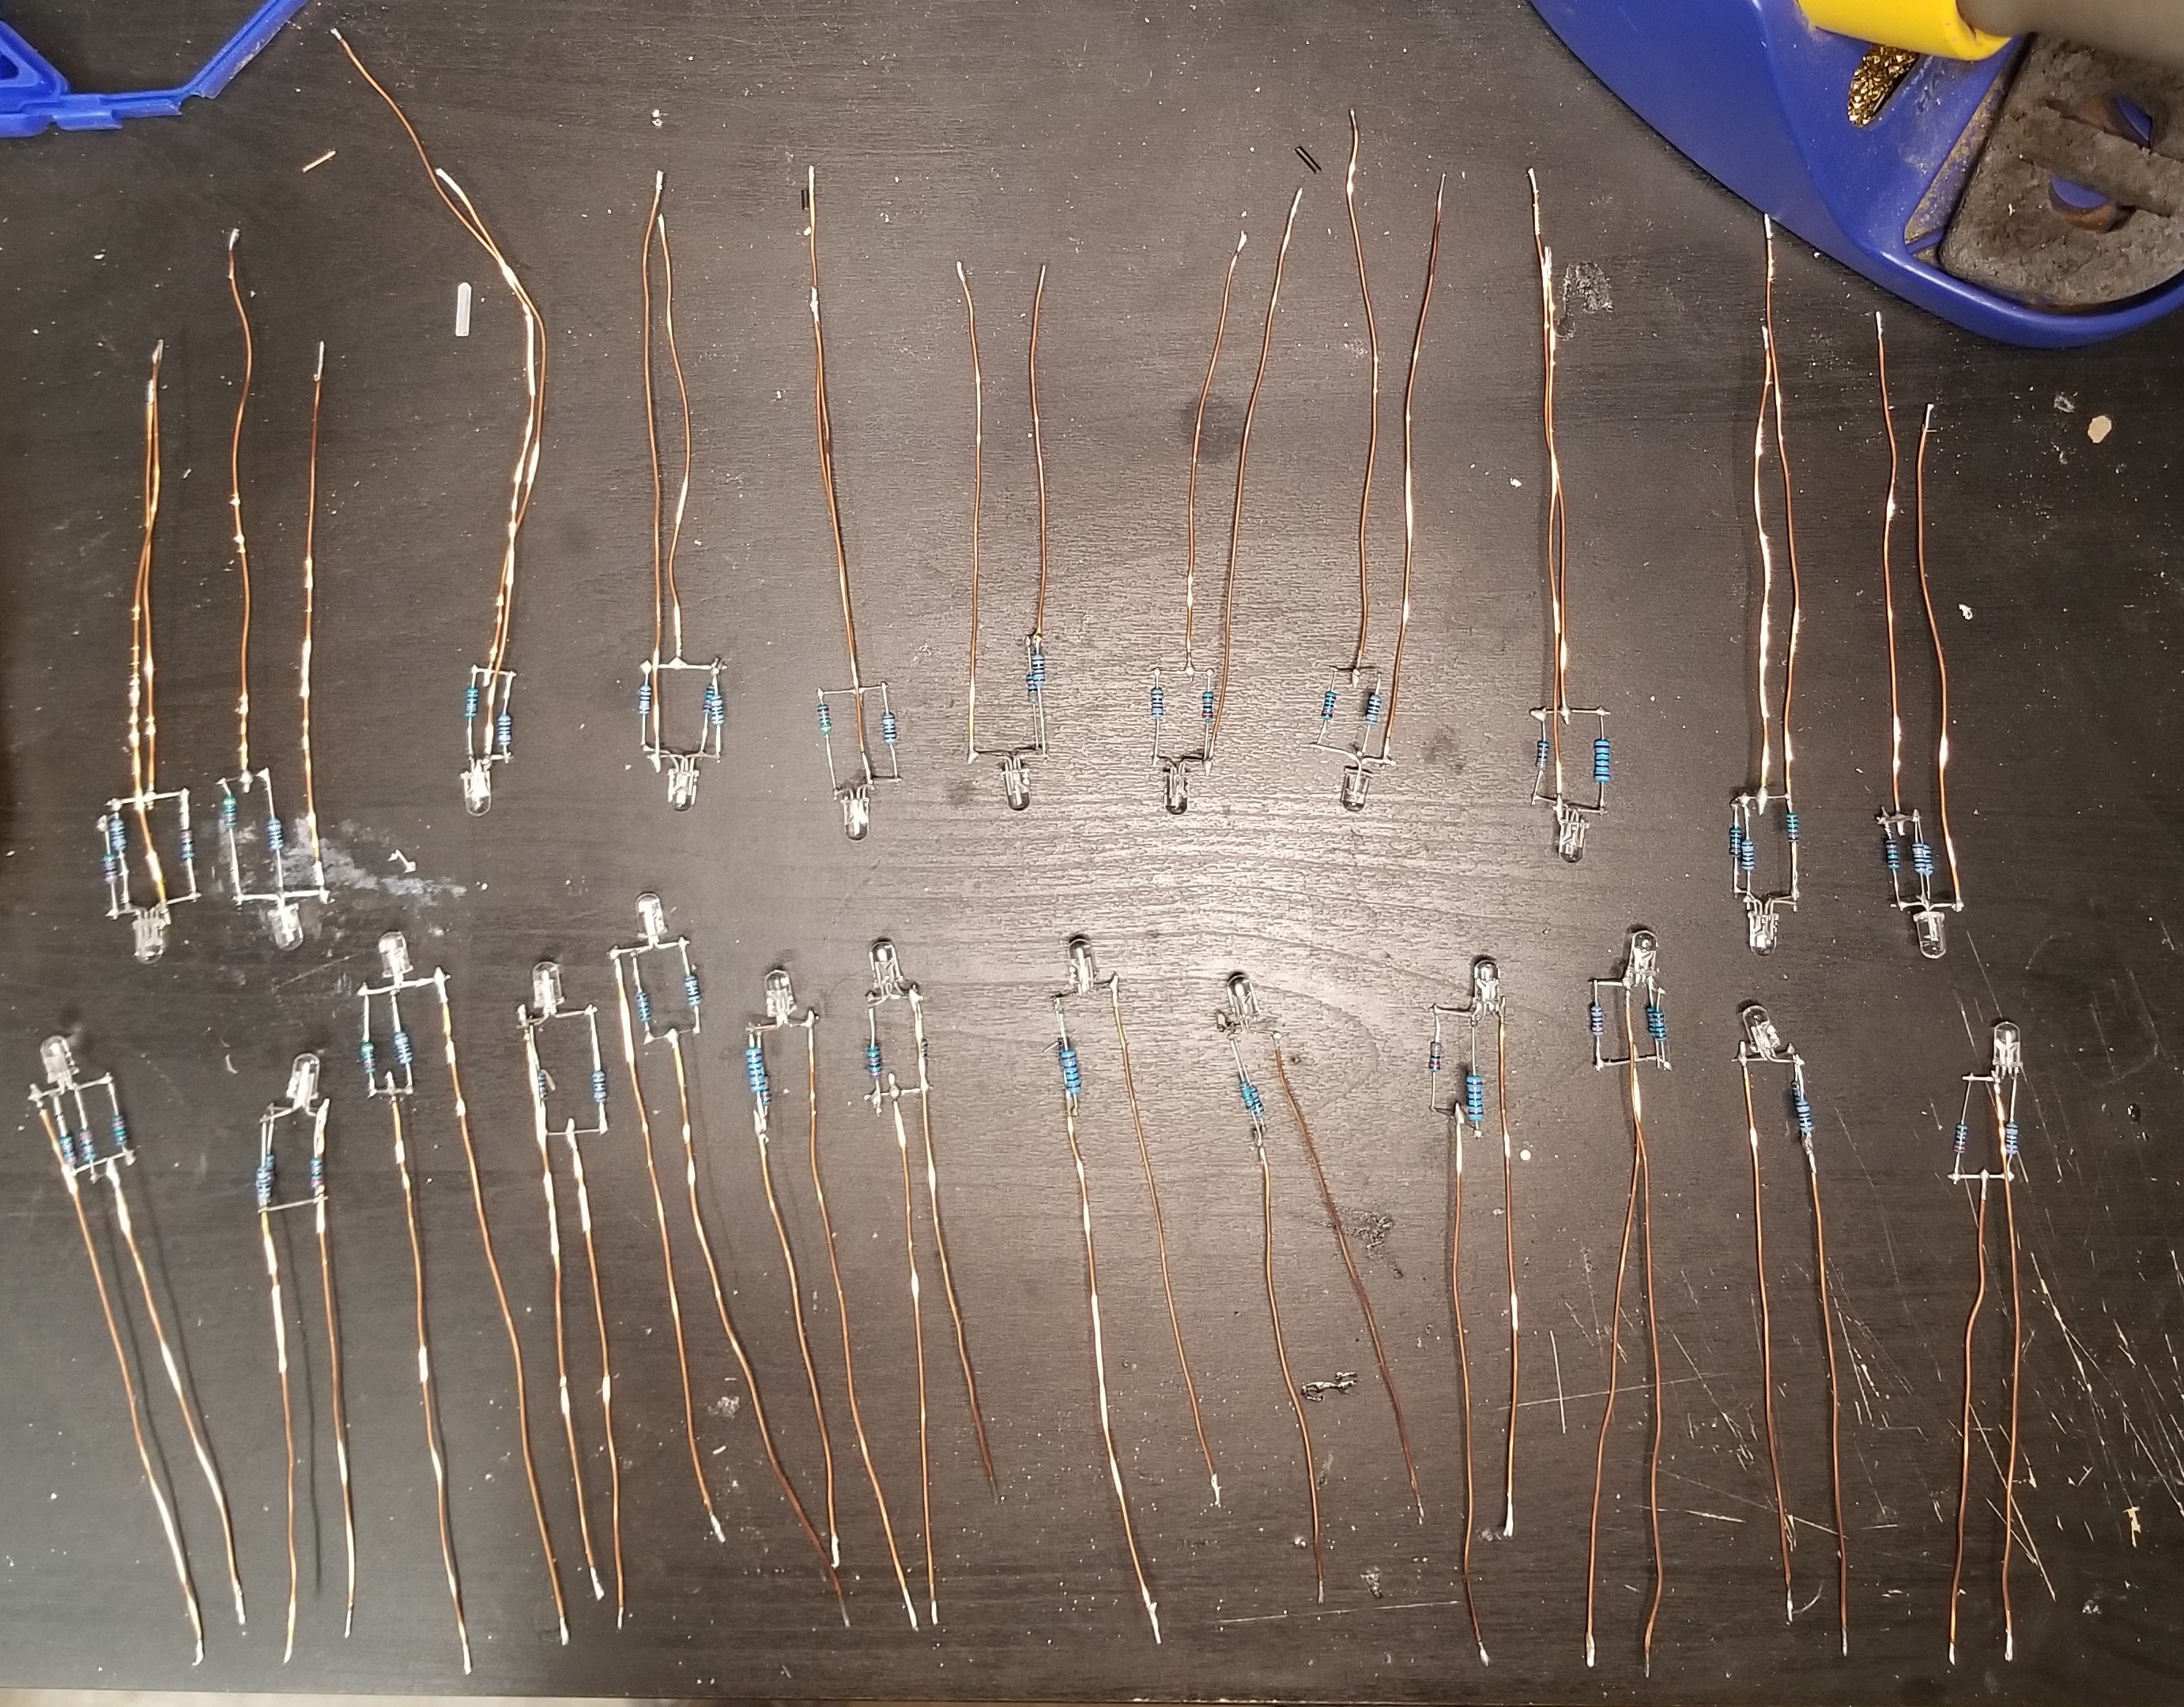
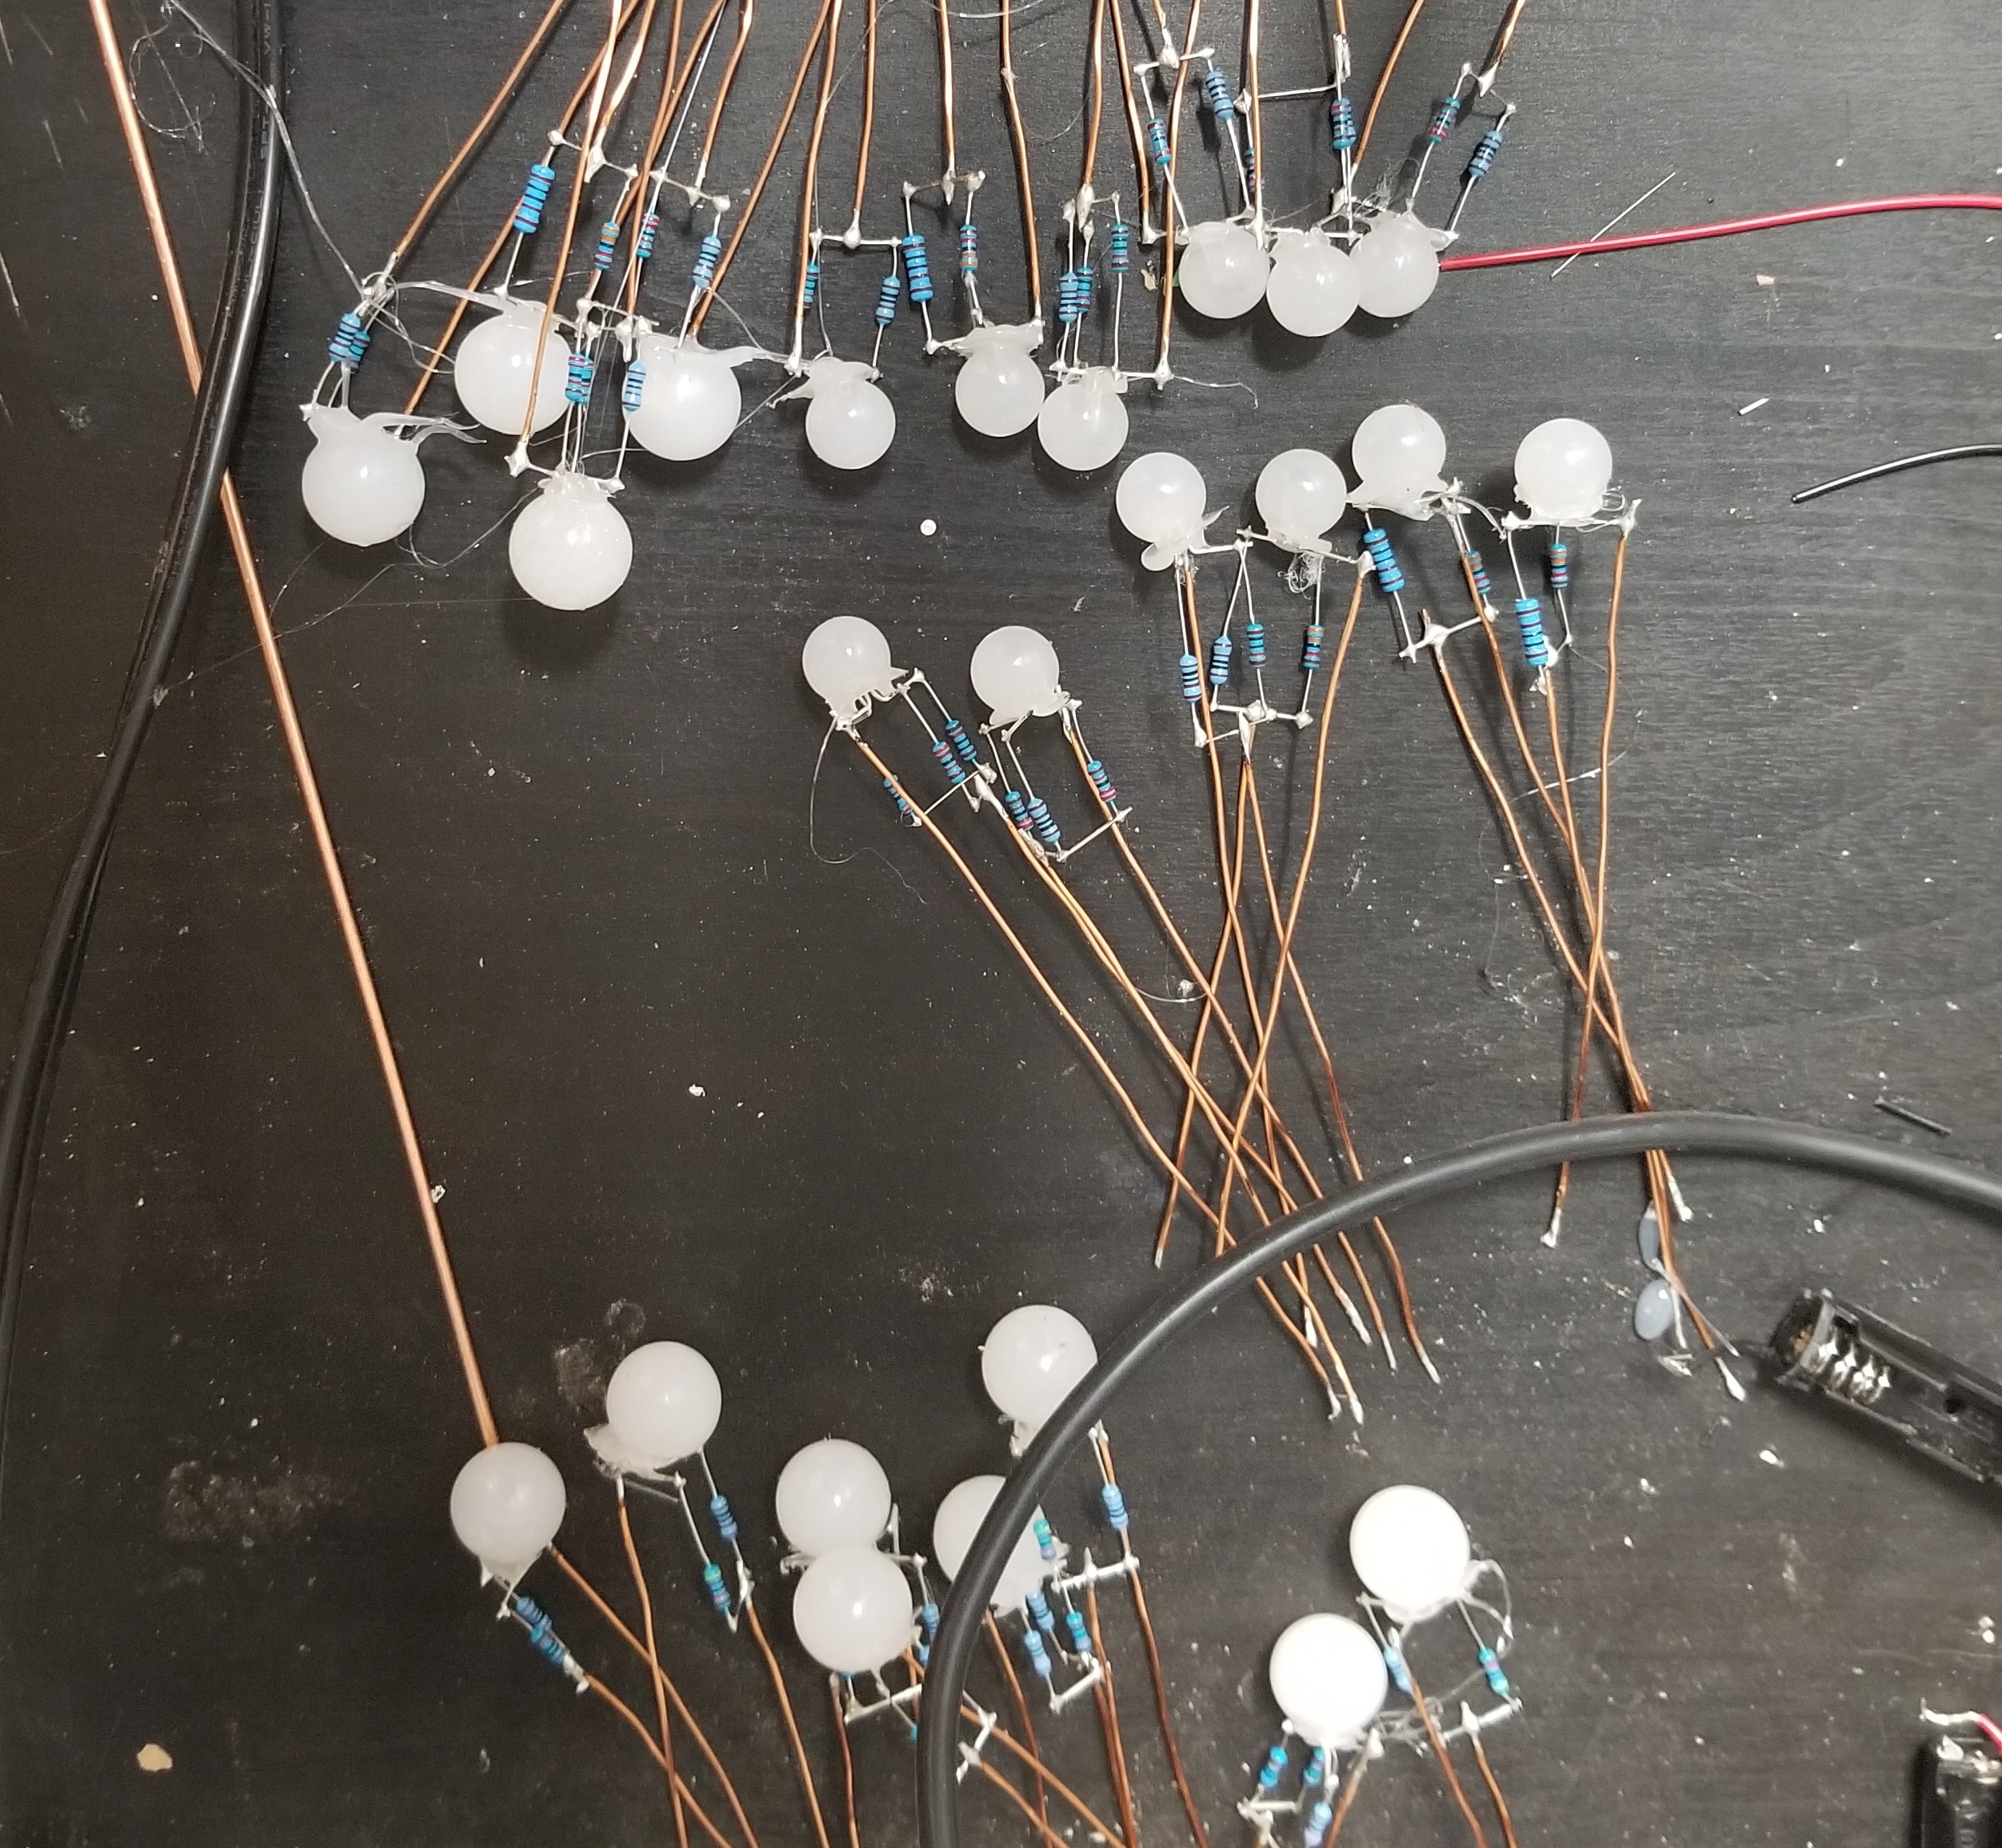
I had always loved the idea of using current limiting resistors to mix the colors of RGB LEDs. There's a permanence and intentionality that you can't really achieve with an addressable LED. Colors mixed like so many unique humans in our world.
Arah, my assistant, and I decided it was important to not try and group colors by likeness, instead, placing them without knowing what color they would be when we powered everything up. I think it was the right decision.
I'm still not entirely sure what this piece means to me, I just knew I needed to make it.
I thought a lot about Diaspora while working on it. How my friends came to be in this country and how my own distant family came here. Dropping the 'e' from Farr when they arrived, from what I can scrounge from the family that even know or remember how we got here, to assimilate easier and to not sound Irish. Generationally when do you call a new place home? Is there ever an answer to that?
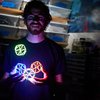
I thought a lot about hope for the future too. A world without suffering and war. How do we get there? Blue and Greens are symbolic of our own world revived and revitalized. Living in harmony with each other and the planet


 Josh Cole
 Petri Varsa
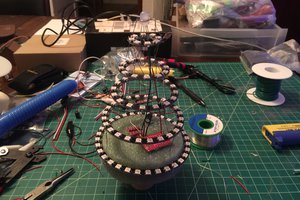
 Jorj Bauer
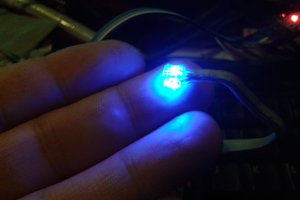
 Morning.Star
Brilliant This is gorgeous. Nice job!