Close
0%
0%

PolaPi v2.0

inspired by PolaPi (https://hackaday.io/project/7176-polapi) i did an improved version

Similar projects worth following
Polaroid like camera that prints on thermal paper, using common hardware and a raspberry.

inspired by https://hackaday.io/project/7176-polapi but as he hasnt added any updates and some things have changed i thought of writing down my experience and ideas

This is my first project published, so if i miss something and you cant follow, just write me and i try to improve the tutorial :)

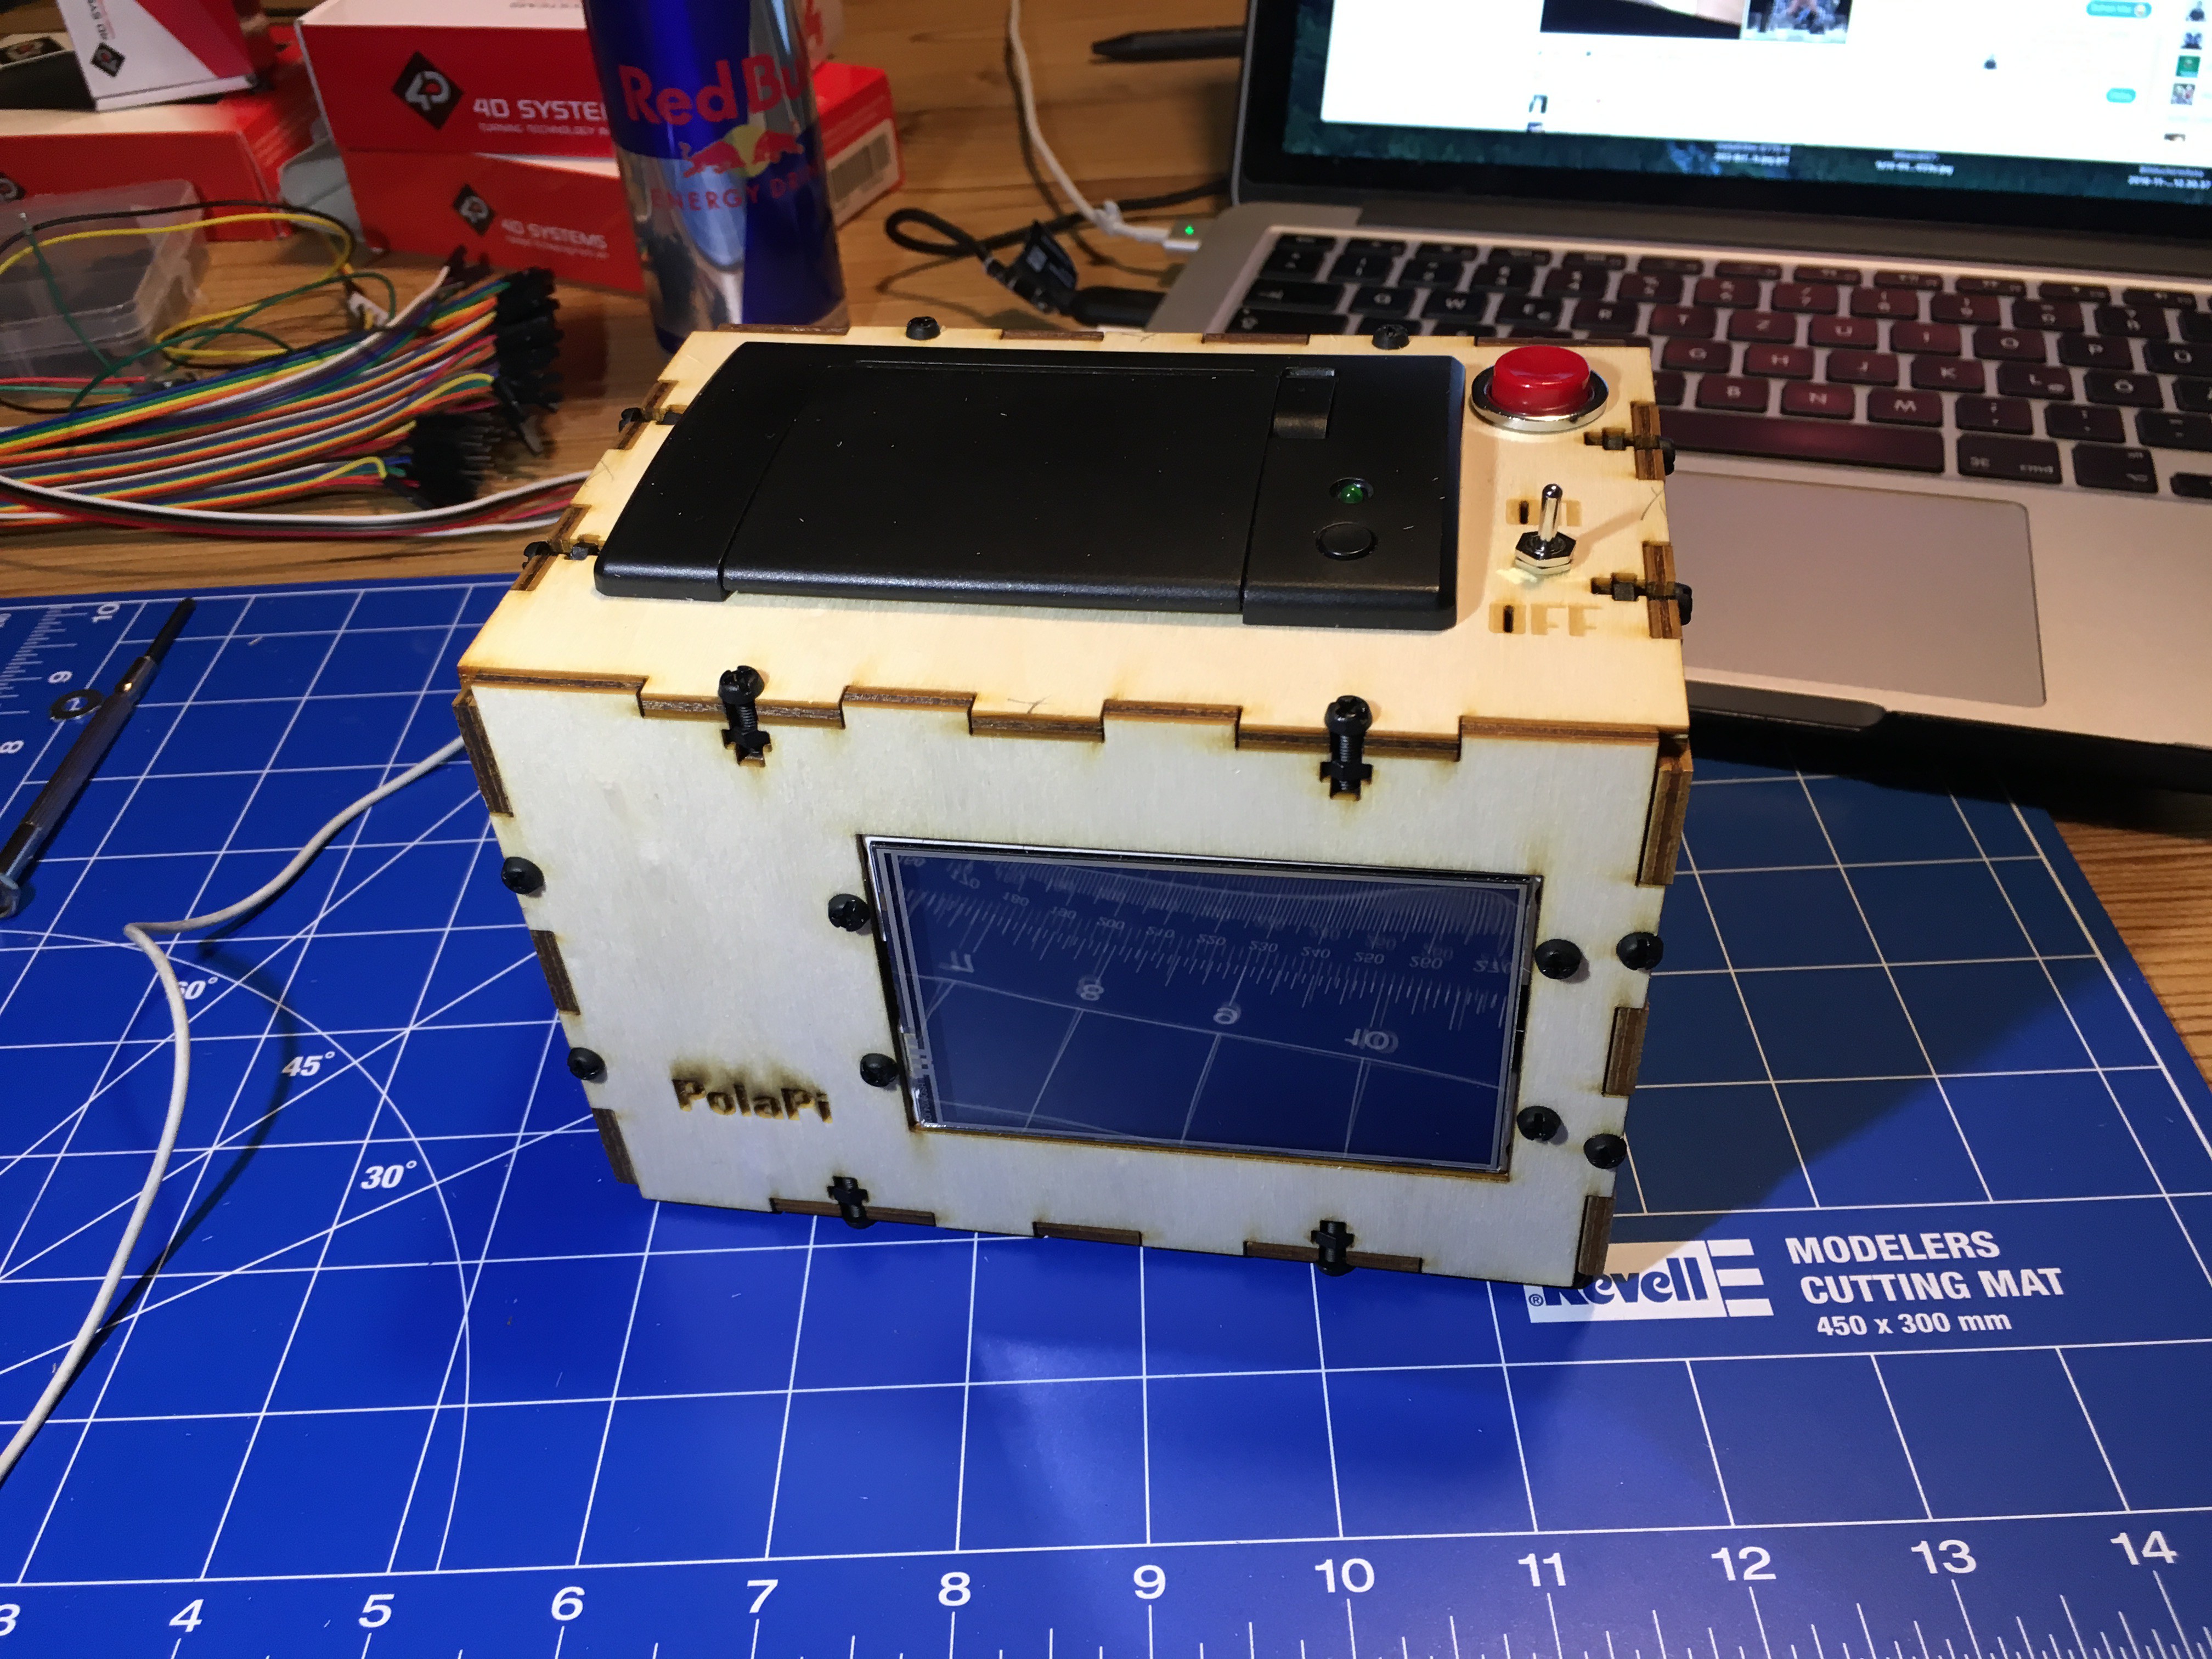
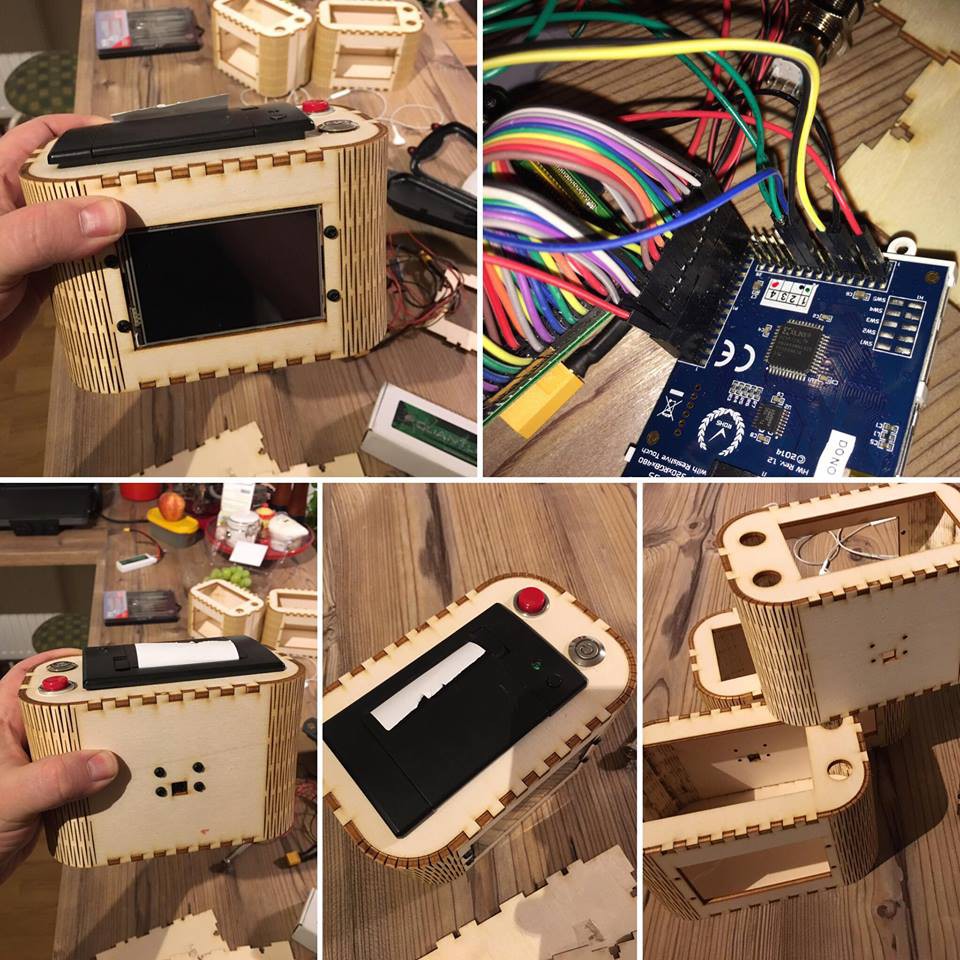
First of all this is not my project, i just did use this project PolaPi (https://hackaday.io/project/7176-polapi) and modify it so it fits my needs.

And i want to write a complete documentation with all steps as the project is not an easy to follow tutorial.


Case3.0.eps

New Case without screws

postscript - 2.77 MB - 05/21/2017 at 14:10

Download

Circuit_PolaPi.png

Circuit Diagram (raspberry, step down, Lipo, Printer, Camera, display

Portable Network Graphics (PNG) - 849.24 kB - 11/22/2016 at 11:57

Preview
Download

Pins_4DSystems_35GPIO.jpg

GPIO Layout on 3D Systems 3,5" Display

JPEG Image - 380.33 kB - 11/22/2016 at 07:48

Preview
Download

gunplay rg.ttf

Gunplay Font used in Adobe Illustrator Lasercut File

TrueType Font - 55.87 kB - 11/22/2016 at 07:39

Download

caseplans3acryl-12schrauben-rundeloecher_cleaner_kleinereabstände.ai

Adobe Illustrator LaserCut File (150x100x100 M3 12mm)

postscript - 59.07 kB - 11/22/2016 at 12:02

Download

View all 13 components

View all 4 project logs

  • 1
    Step 1

    Thermal Printer configuration/tweak

    if you bought the printer over Aliexpress, the seller will ask you which settings you want, then u dont need to do this step. If not read carefully!

    Standard baud rate the printer comes with is 19200 (you could leave it like this and edit the config file to use 19200 as baud rate) but you get better results if you change it to 115200. You need a USB to 5v TTL serial converter for this stepchange the printer baud rate to 115200 and code page US


  • 2
    Step 2

    then you have to add a stepper pin which regulates the flow control. Please be very carefully doing the next steps scratch the layer as shown in the pictures.

  • 3
    Step 3
    TTL cable modification

    cut off the green wire of the TTL Printer or just remove it, use a thin screw driver to unplug it (if you run the printer with 7,4V and attach the Tx to the GPIO of the Raspberry you can damage it, so as it is not needed we unplug/cut it, so there is no risk of destroying your raspberry)

View all 9 instructions

Enjoy this project?

Share

Discussions

Similar Projects

Does this project spark your interest?

Become a member to follow this project and never miss any updates