 Michael Gardi
With the frame built it's time to add the top panel. First I modeled the panel in Fusion 360. Notice that I don't have a cutout for the keyboard yet because I don't have the keyboard yet.
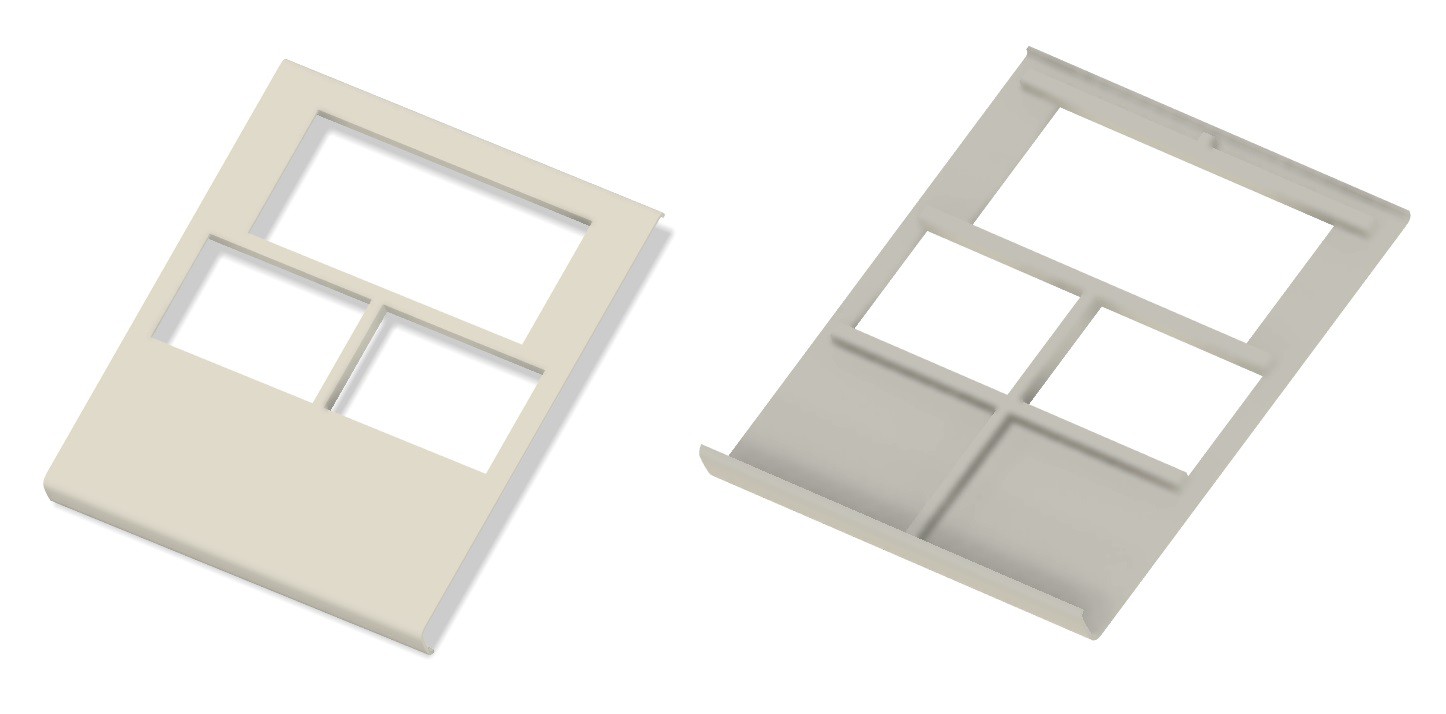
I have added integrated support "beams" to the underside. Since this model is way to big for my print bed I used 3D Builder (which I believe ships with all current Windows versions) to cut the model into six pieces. The Split tool in 3D builder is easy to use and works great.
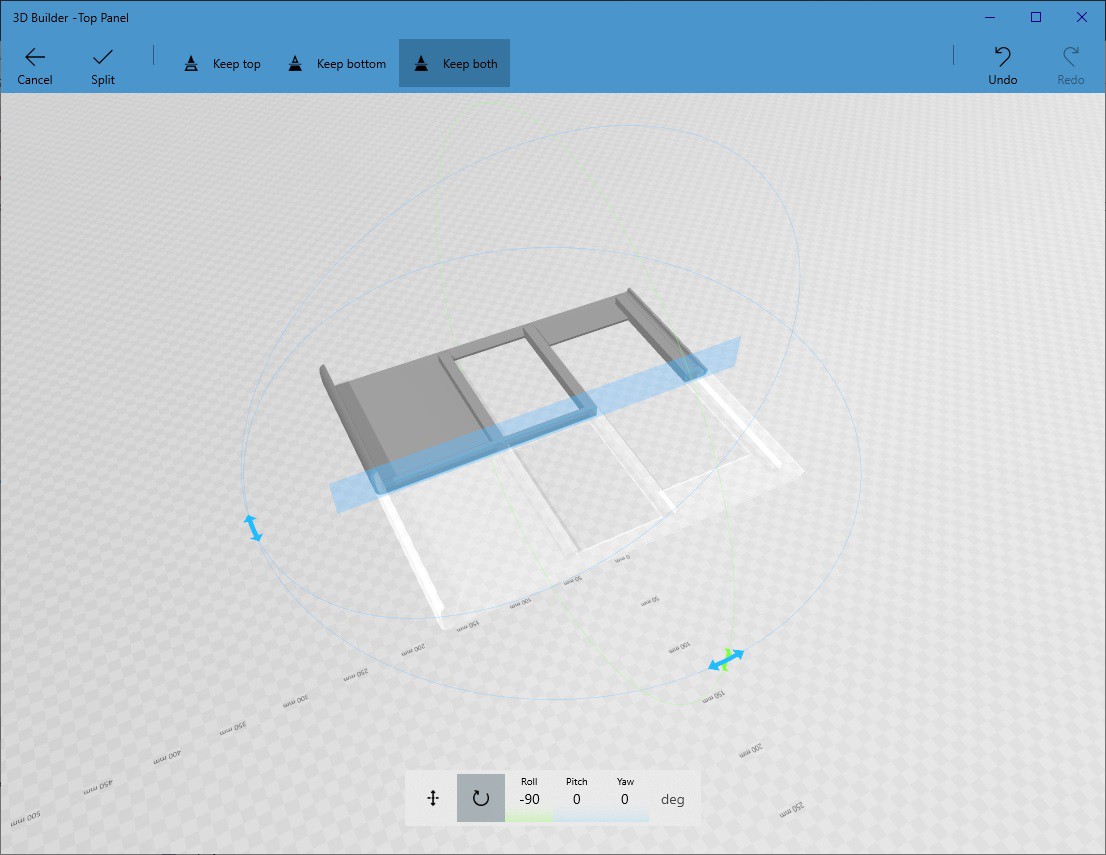
I did all of the splits down the centerline of the vertical and two center horizontal beams so that I would have a lot of surface area when gluing the pieces back together.
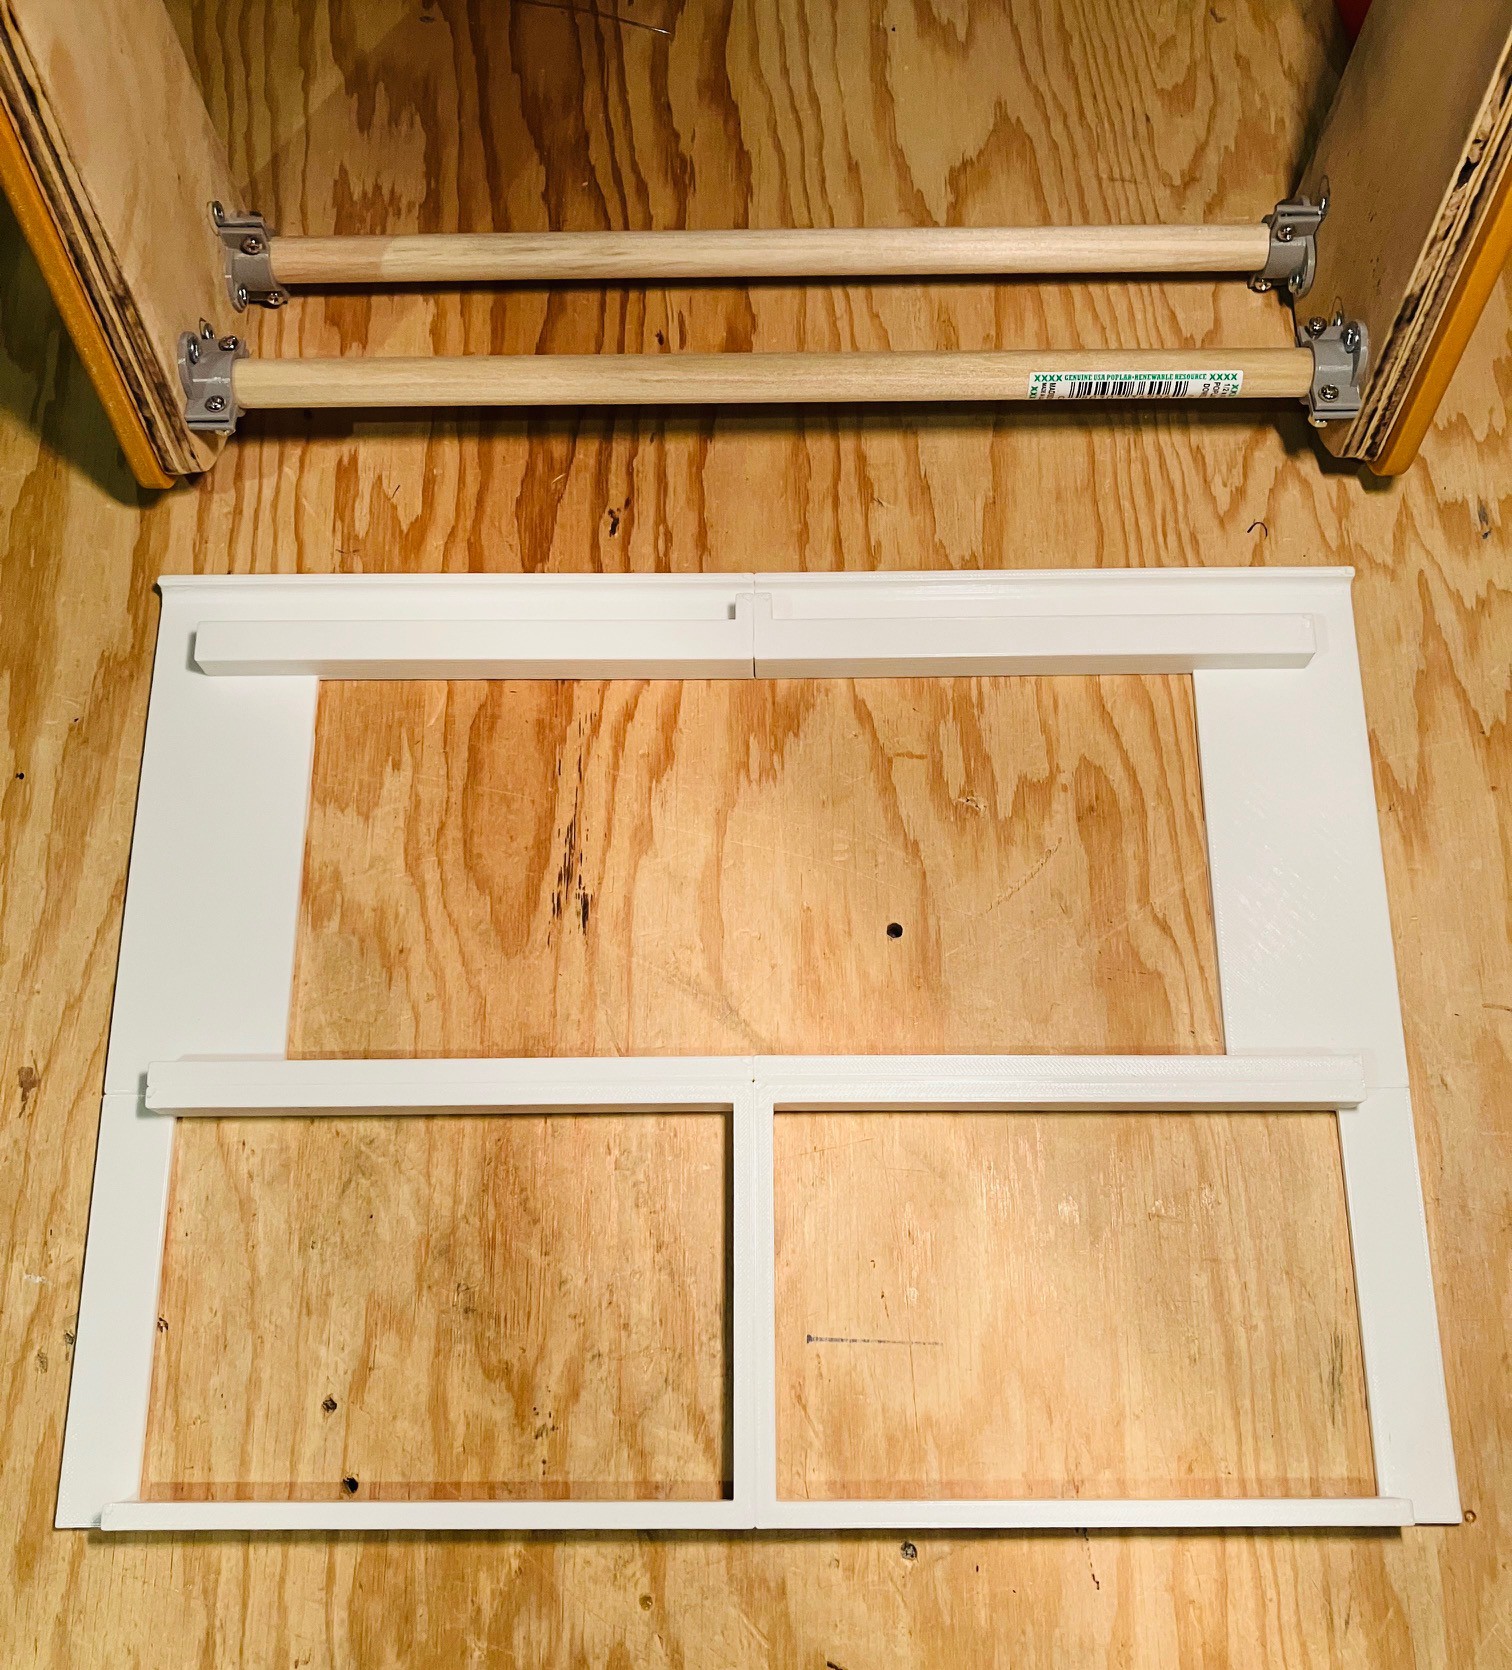
So far I have printed and assembled the top four panel parts. I used a gel CA glue to attach the pieces together. I printed the top panel in white because I could not find a suitable pale yellow filament. I have seen images where the panel appears to be white but that could just be due to the lighting when the photo was taken. I'm not opposed to painting the top panel at some point closer to the end of the project.
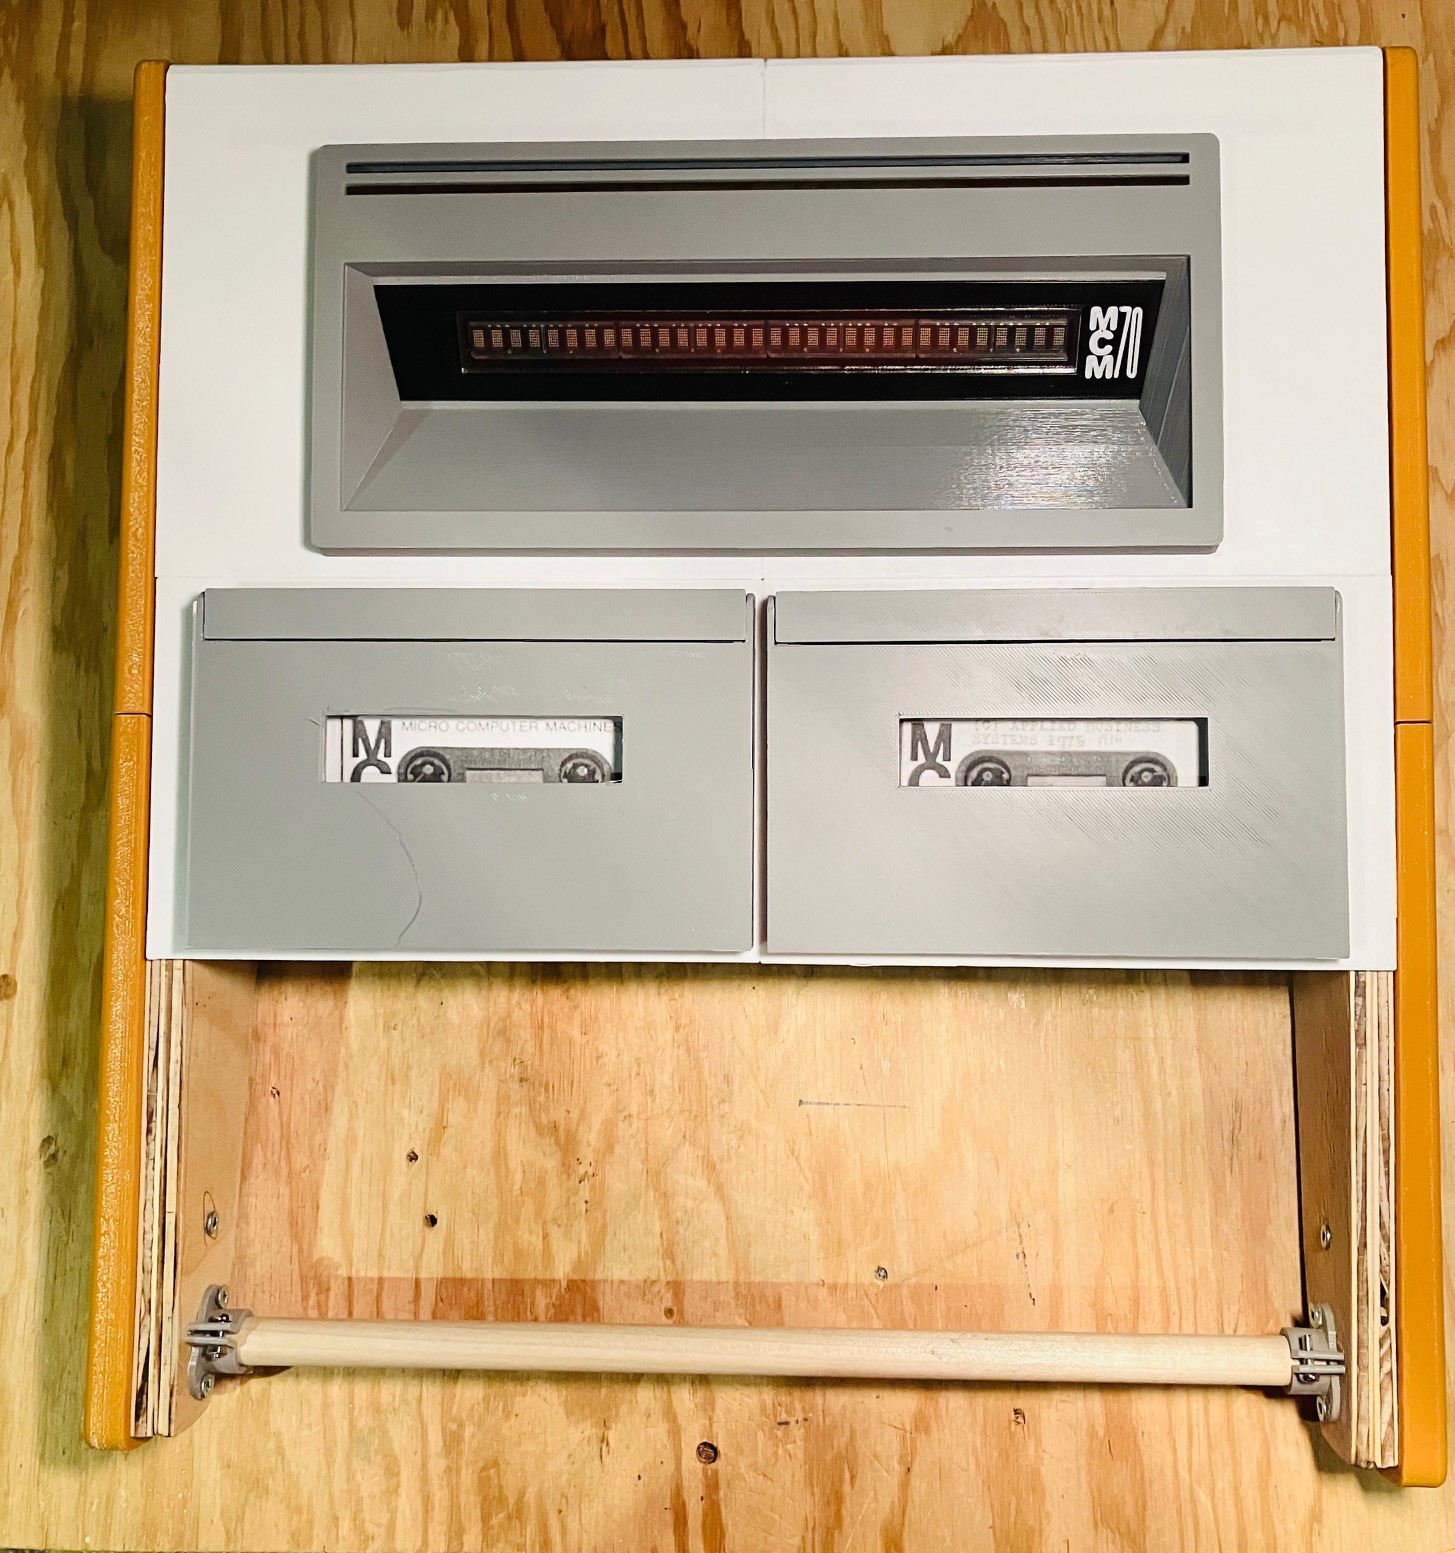
And this is what it looks like so far with the display and cassette drives installed.
Discussions
Become a Hackaday.io Member
Create an account to leave a comment. Already have an account? Log In.