 Eric Ljungquist
A video of the finished project:
Pump:
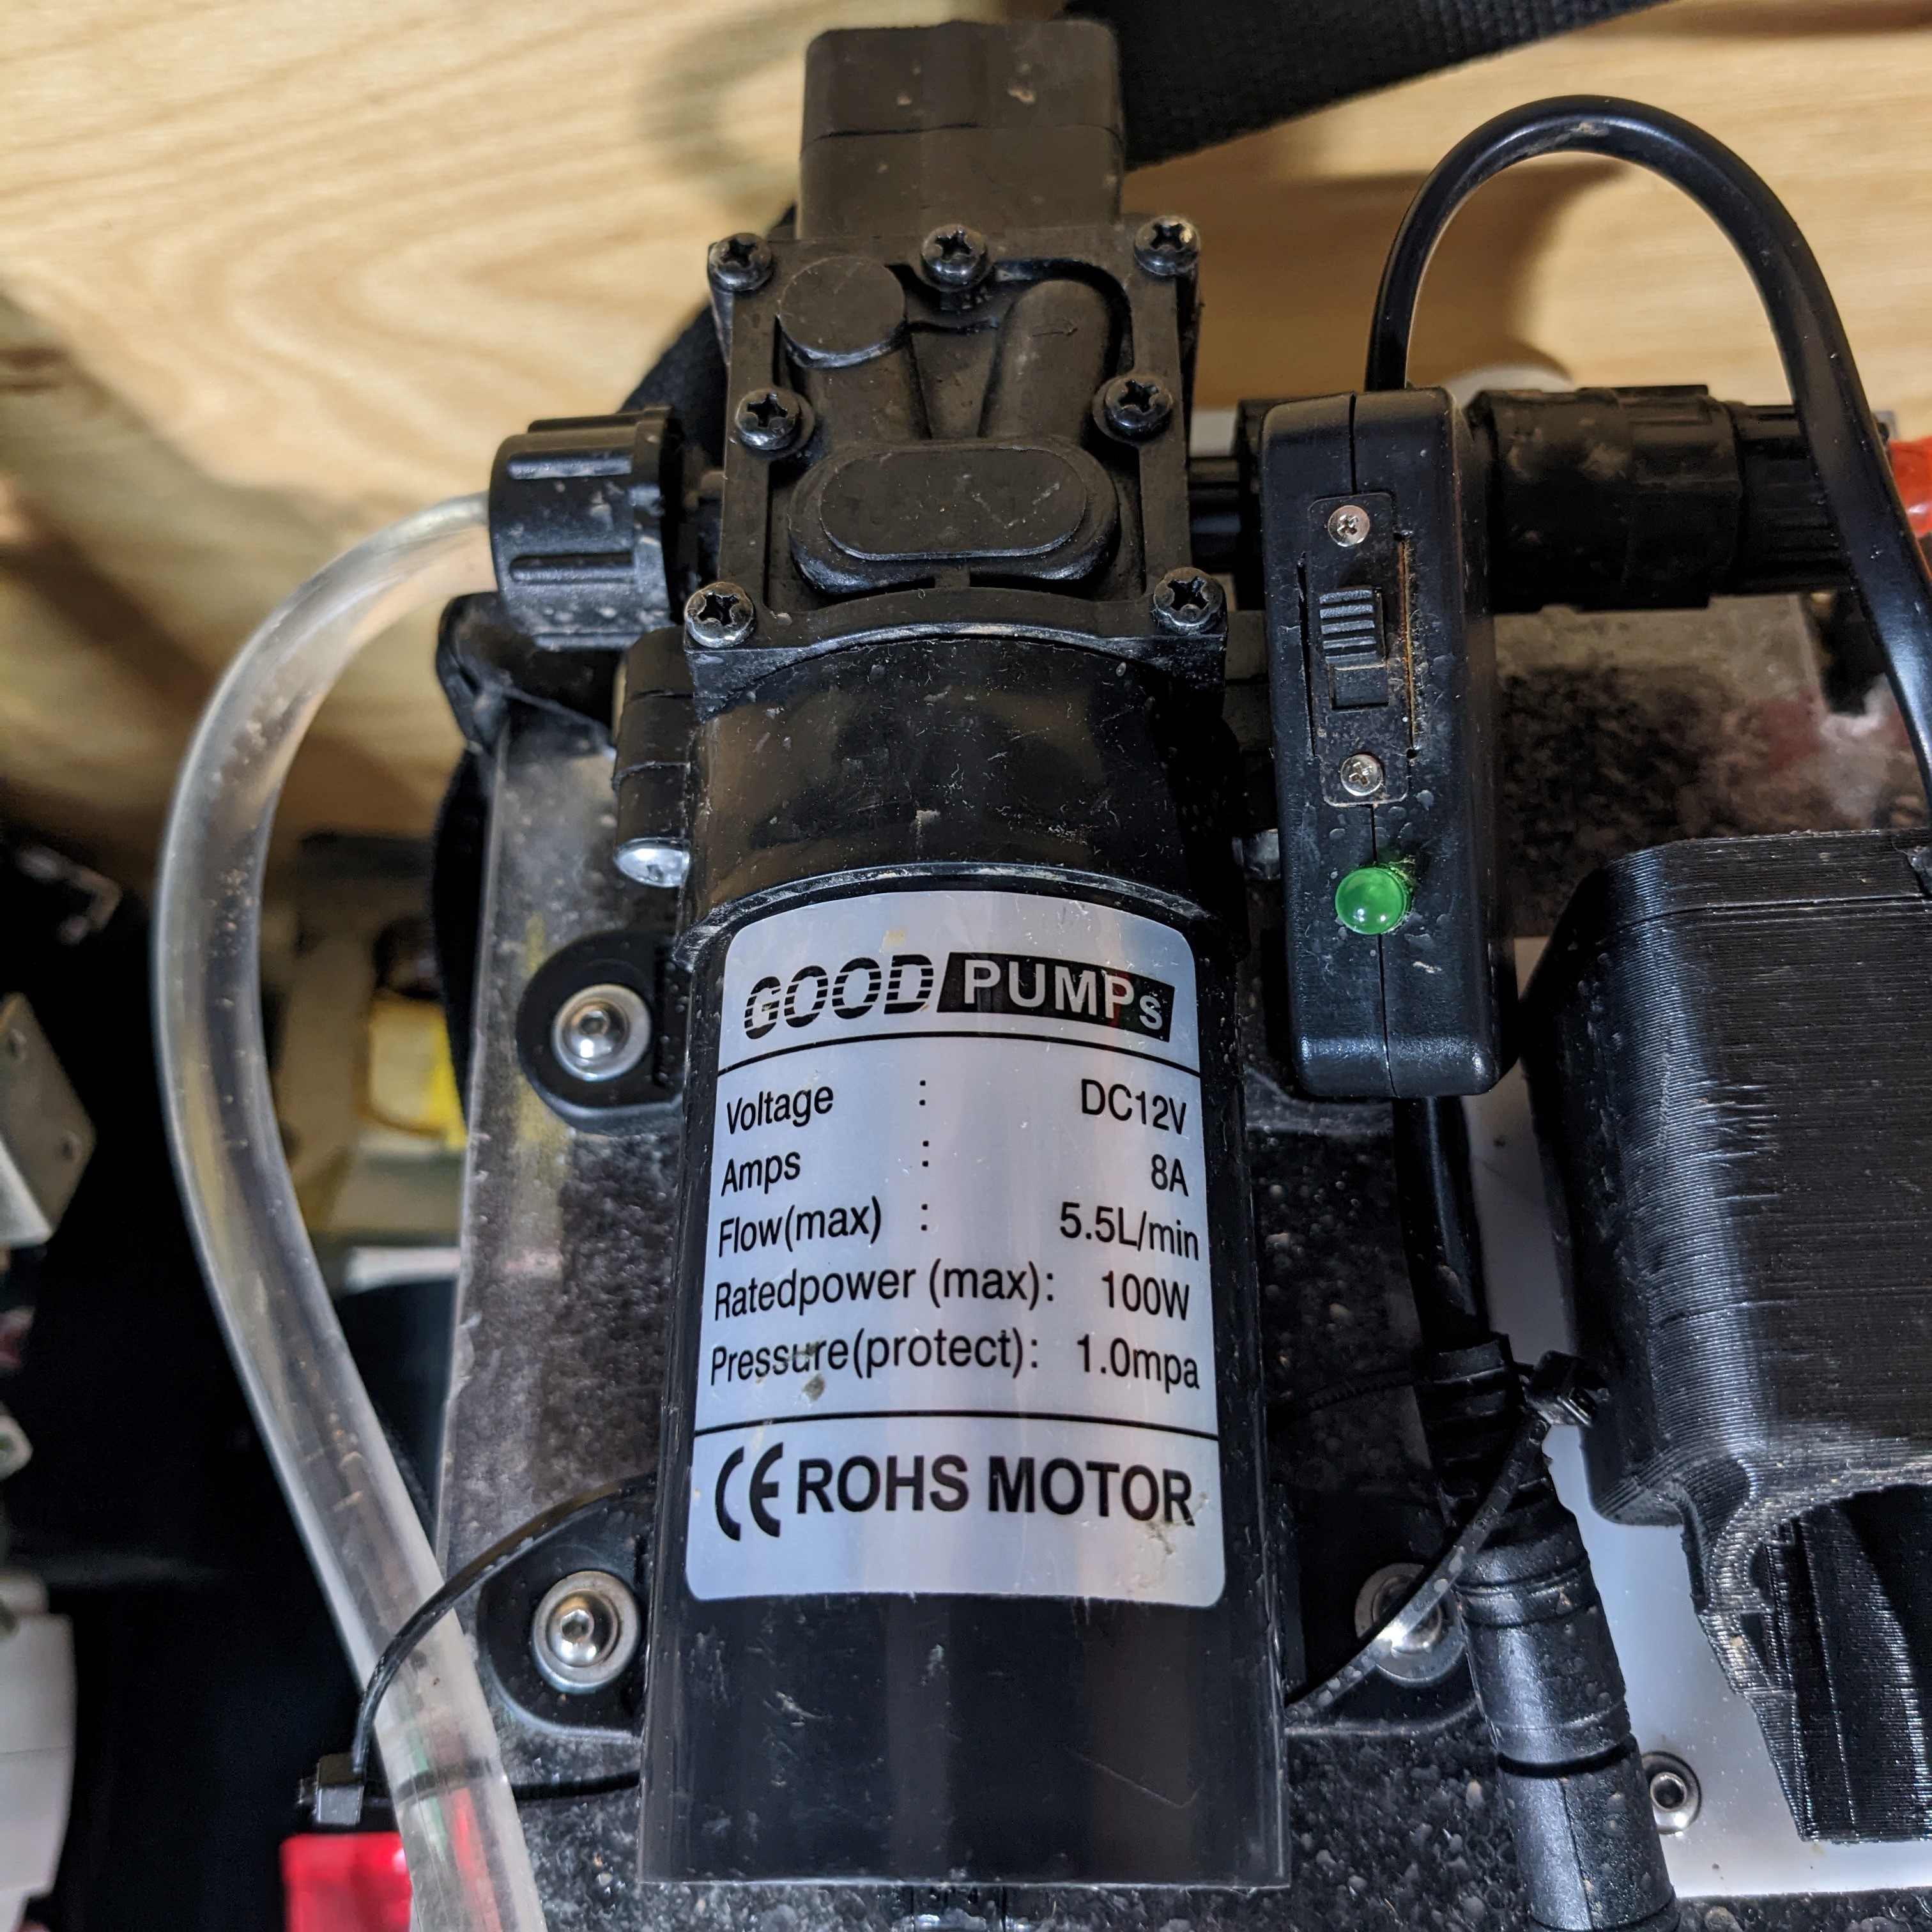
This is the specific pump kit the project is based around:
https://www.amazon.com/PetierWeit-Pressure-Portable-Self-Priming-Electrical/dp/B08K2LT8DW
It is unavailable now but doing a search for "12V Car Pressure Washer Kit" will bring up plenty of available kits that are the same. I bought that specific one at the time as it was the cheapest. It comes with all the tubing, connectors, and hand sprayer needed to run the pump. It comes with a 12v car lighter plug but that is simply cut off and the DC jack and some wire is used to make a connection to the battery.
The high pressure tube that comes with the kit was too long for my needs and so I cut it down. The orange tubing is very inflexible and so to reattach the cut end to the pump connector you need to heat it up until it is malleable and force it back onto the barb connector.
The inlet tube turned out to be the perfect size to fit into the hole where the original spray wand attached. No modification to the garden sprayer was needed.
I just want to note that this pump is advertised as "high pressure" but the pressure out of the sprayer nozzle is more like what you would have out of a garden hose. It is at least much quieter then actual battery powered pressure washers.
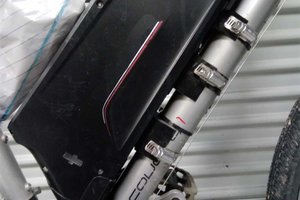
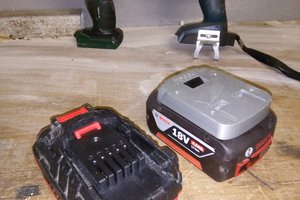
Battery:
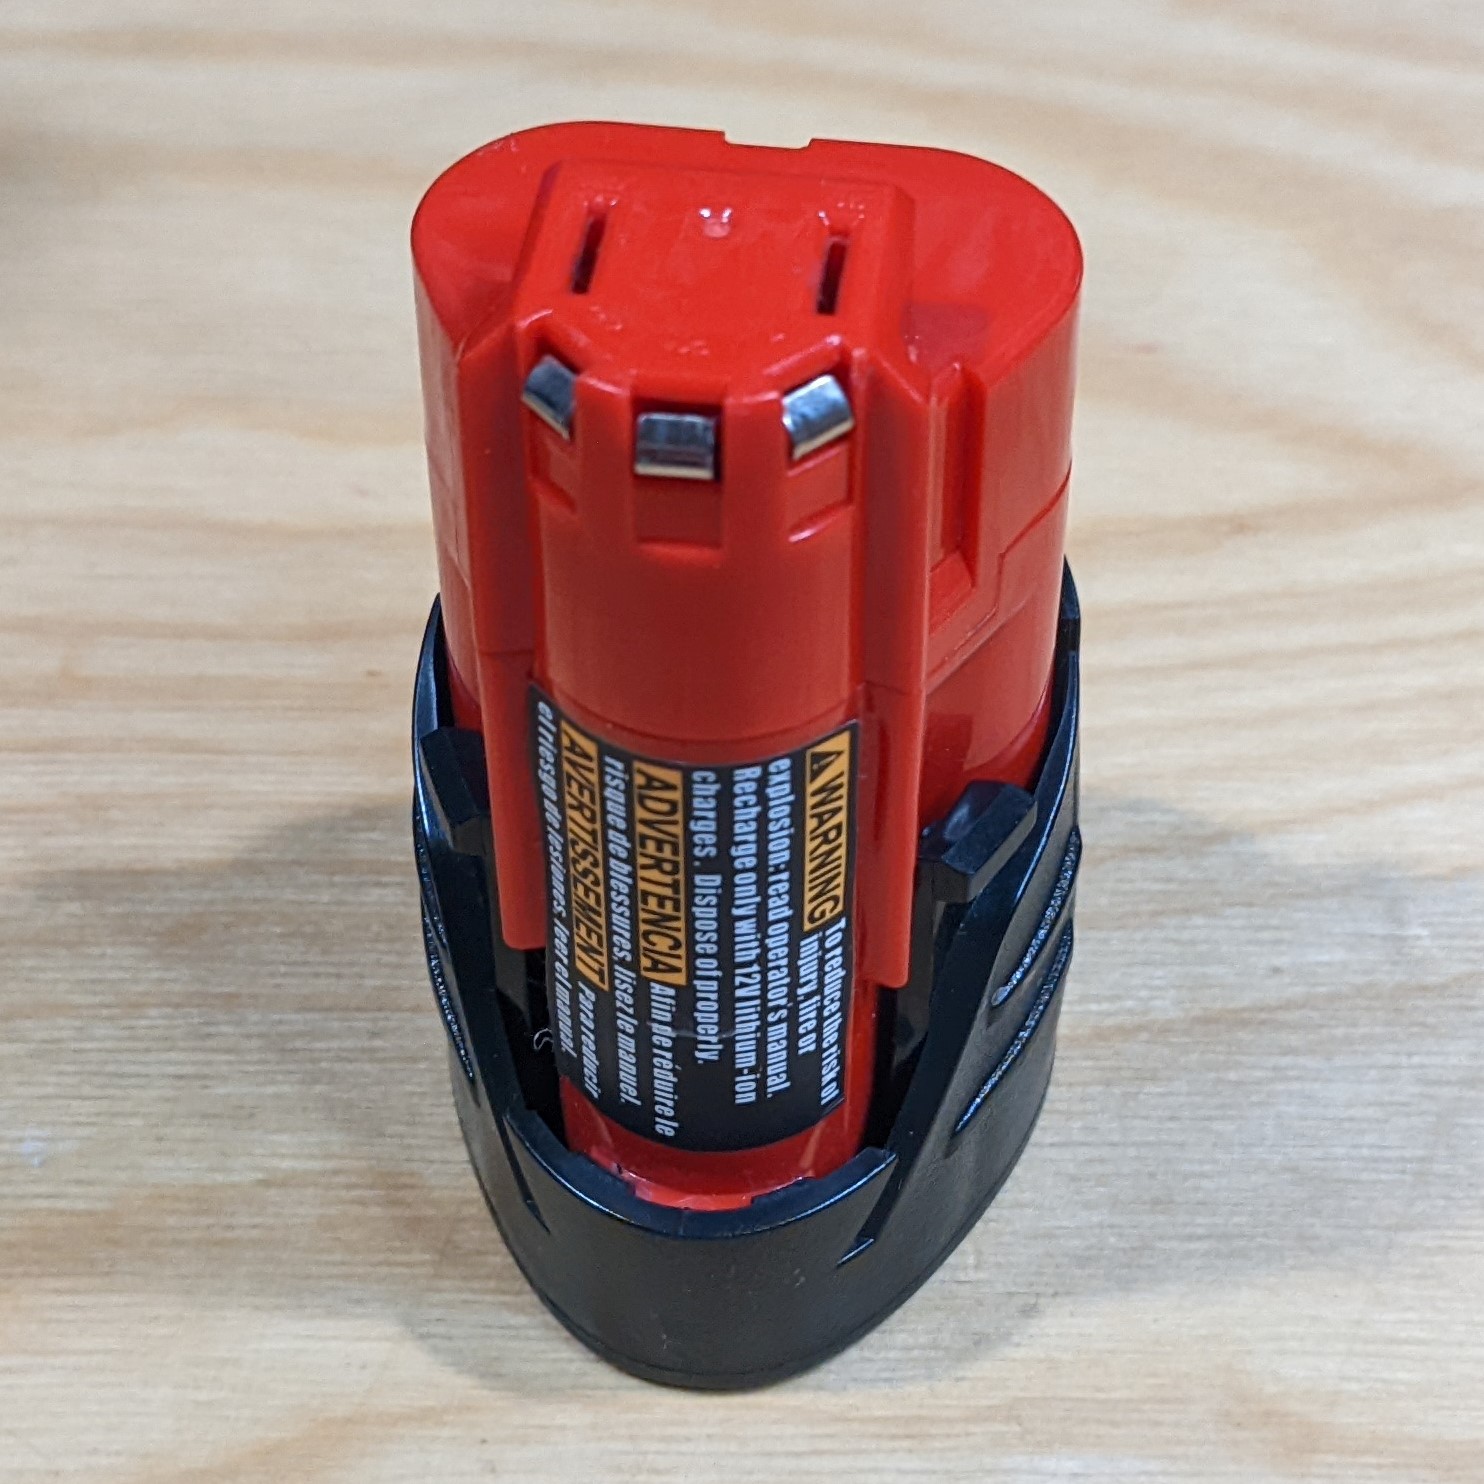
I have a couple of Milwaukee M12 batteries that are used for their power tool line. They output 12 volts and have a decent capacity. Since I already have them on hand they are a great fit. Luckily I found a free to use 3D printable model of a socket for these batteries. After 3D printing, the battery fit perfectly and no adjustments were needed to the model. I used some male spade terminals I had on hand as the battery contacts. I used some JB Weld to glue the terminals into socket so that they would stay secure when inserting and removing the battery.
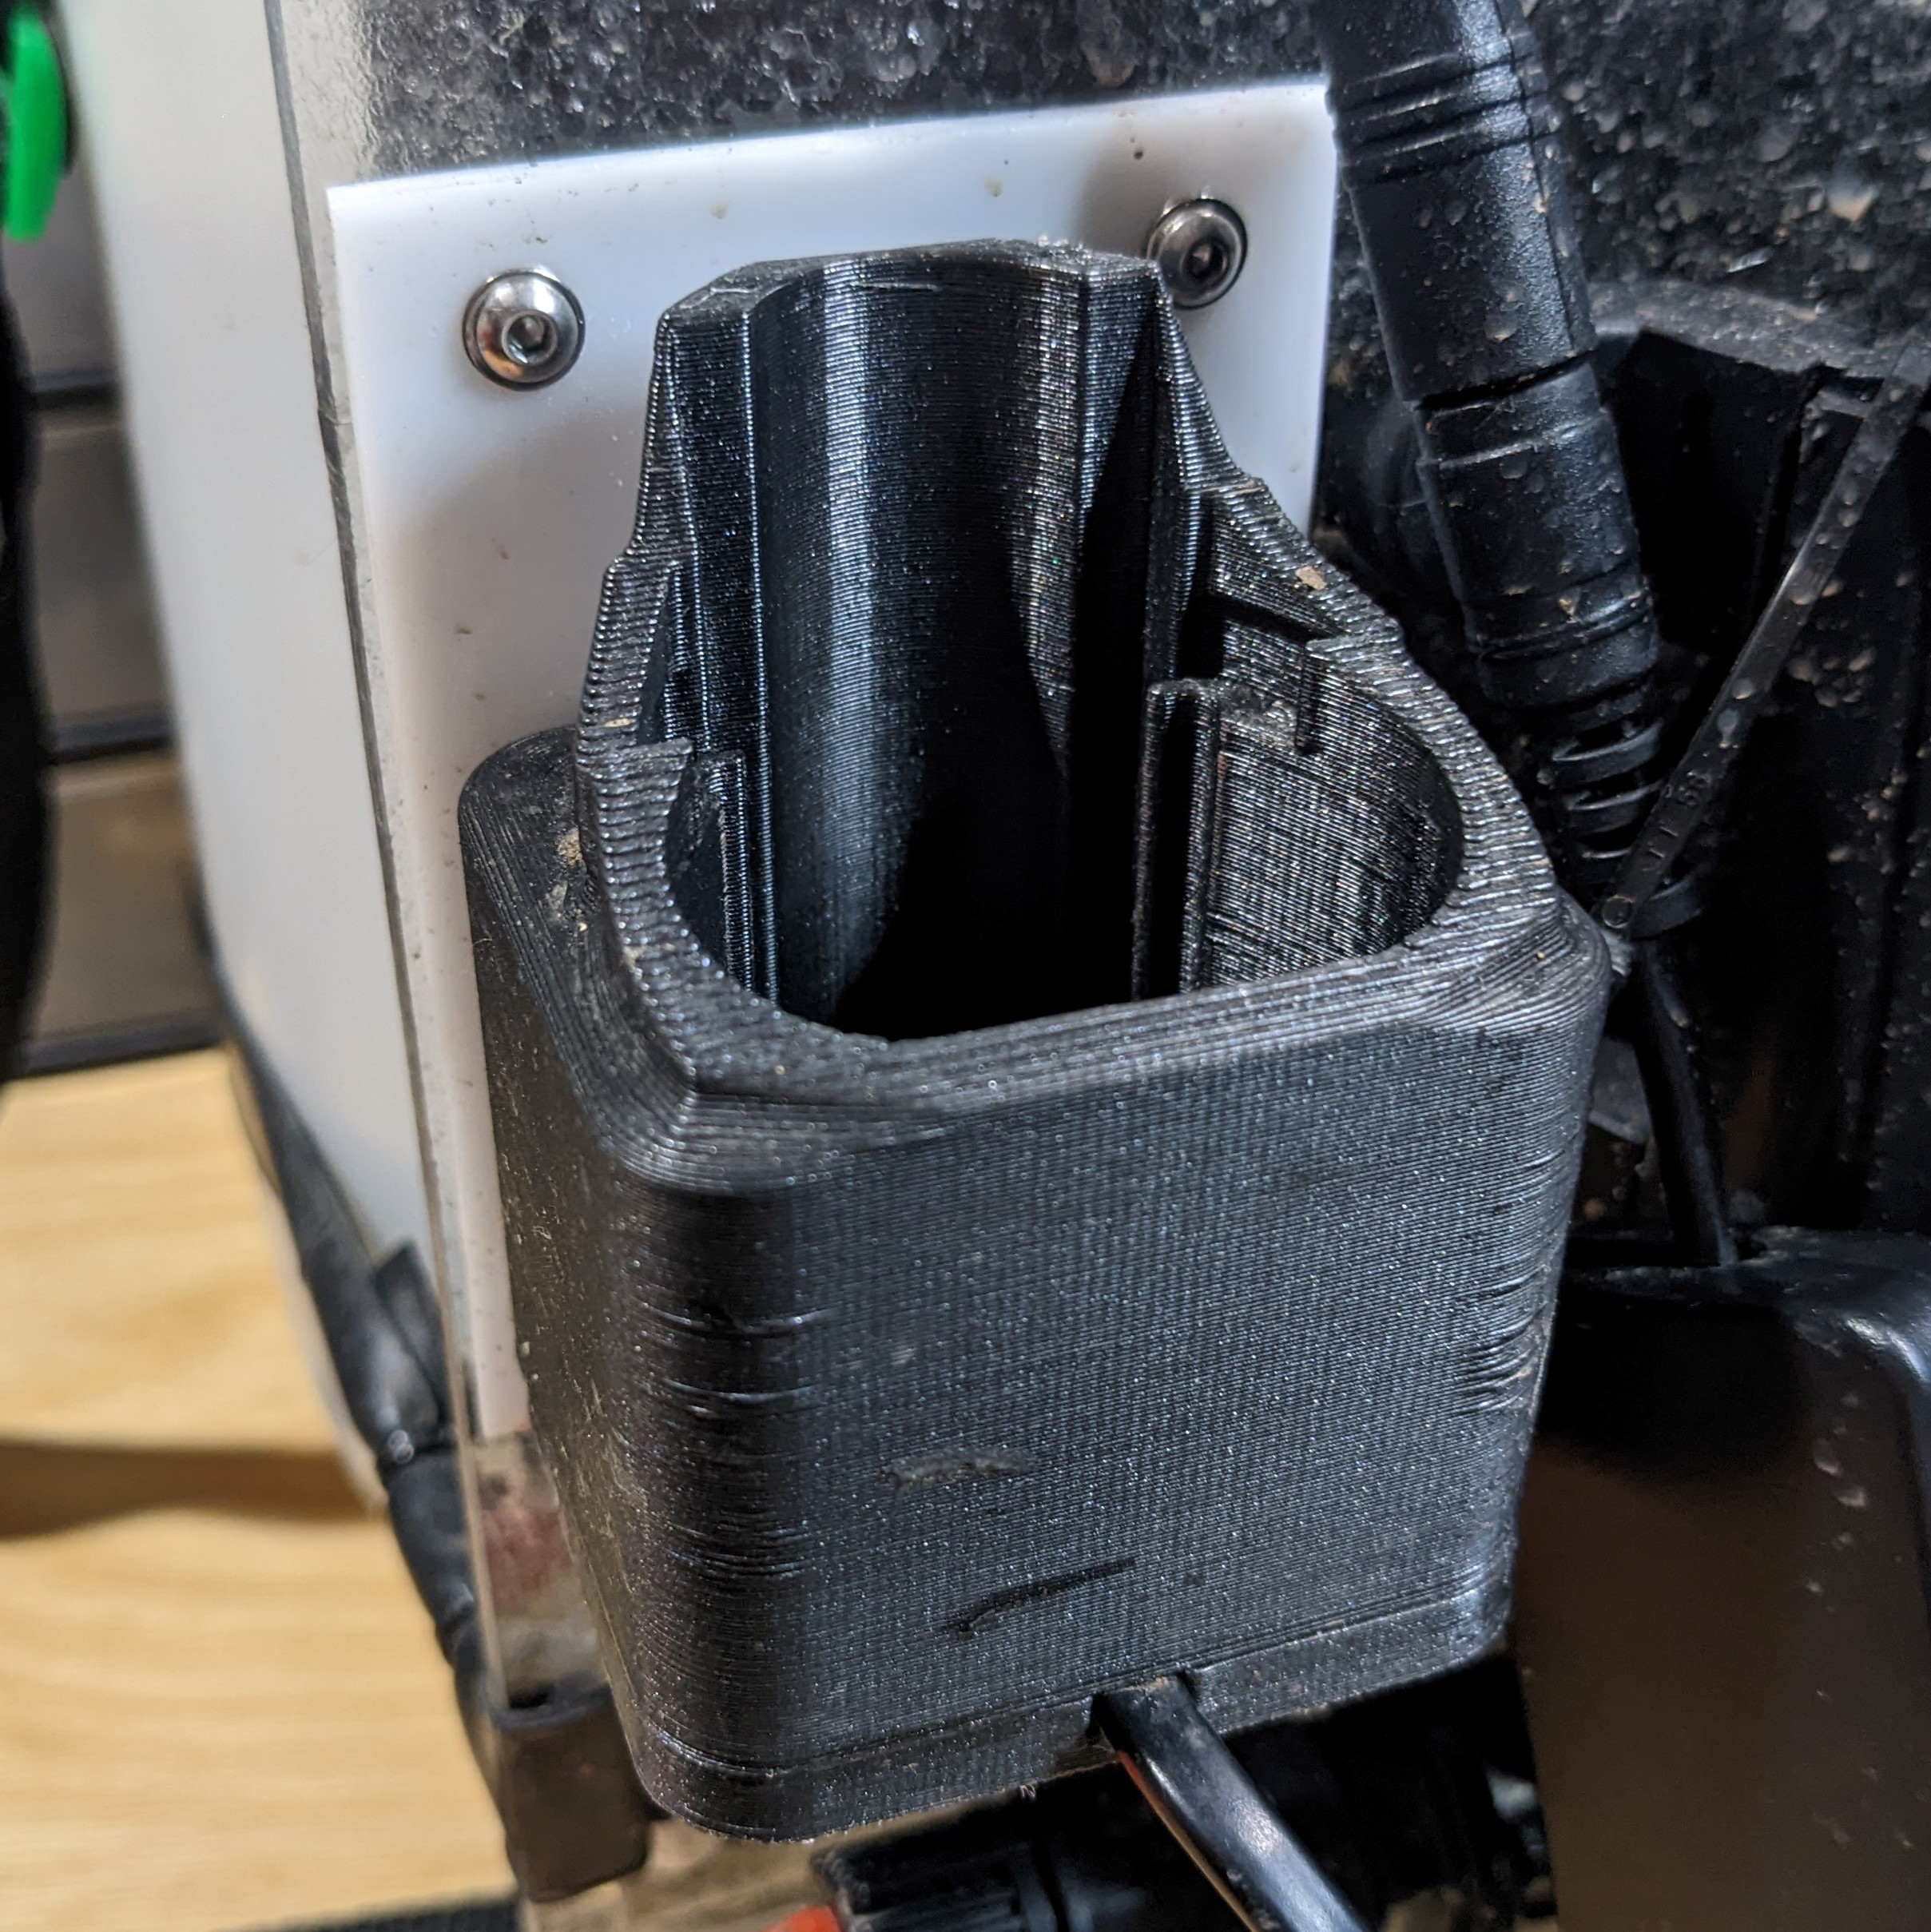
3D Print Socket for M12 Batteries by user tiz.io at myminifactory.com:
https://www.myminifactory.com/object/3d-print-milwaukee-m12-battery-cable-adapter-135453
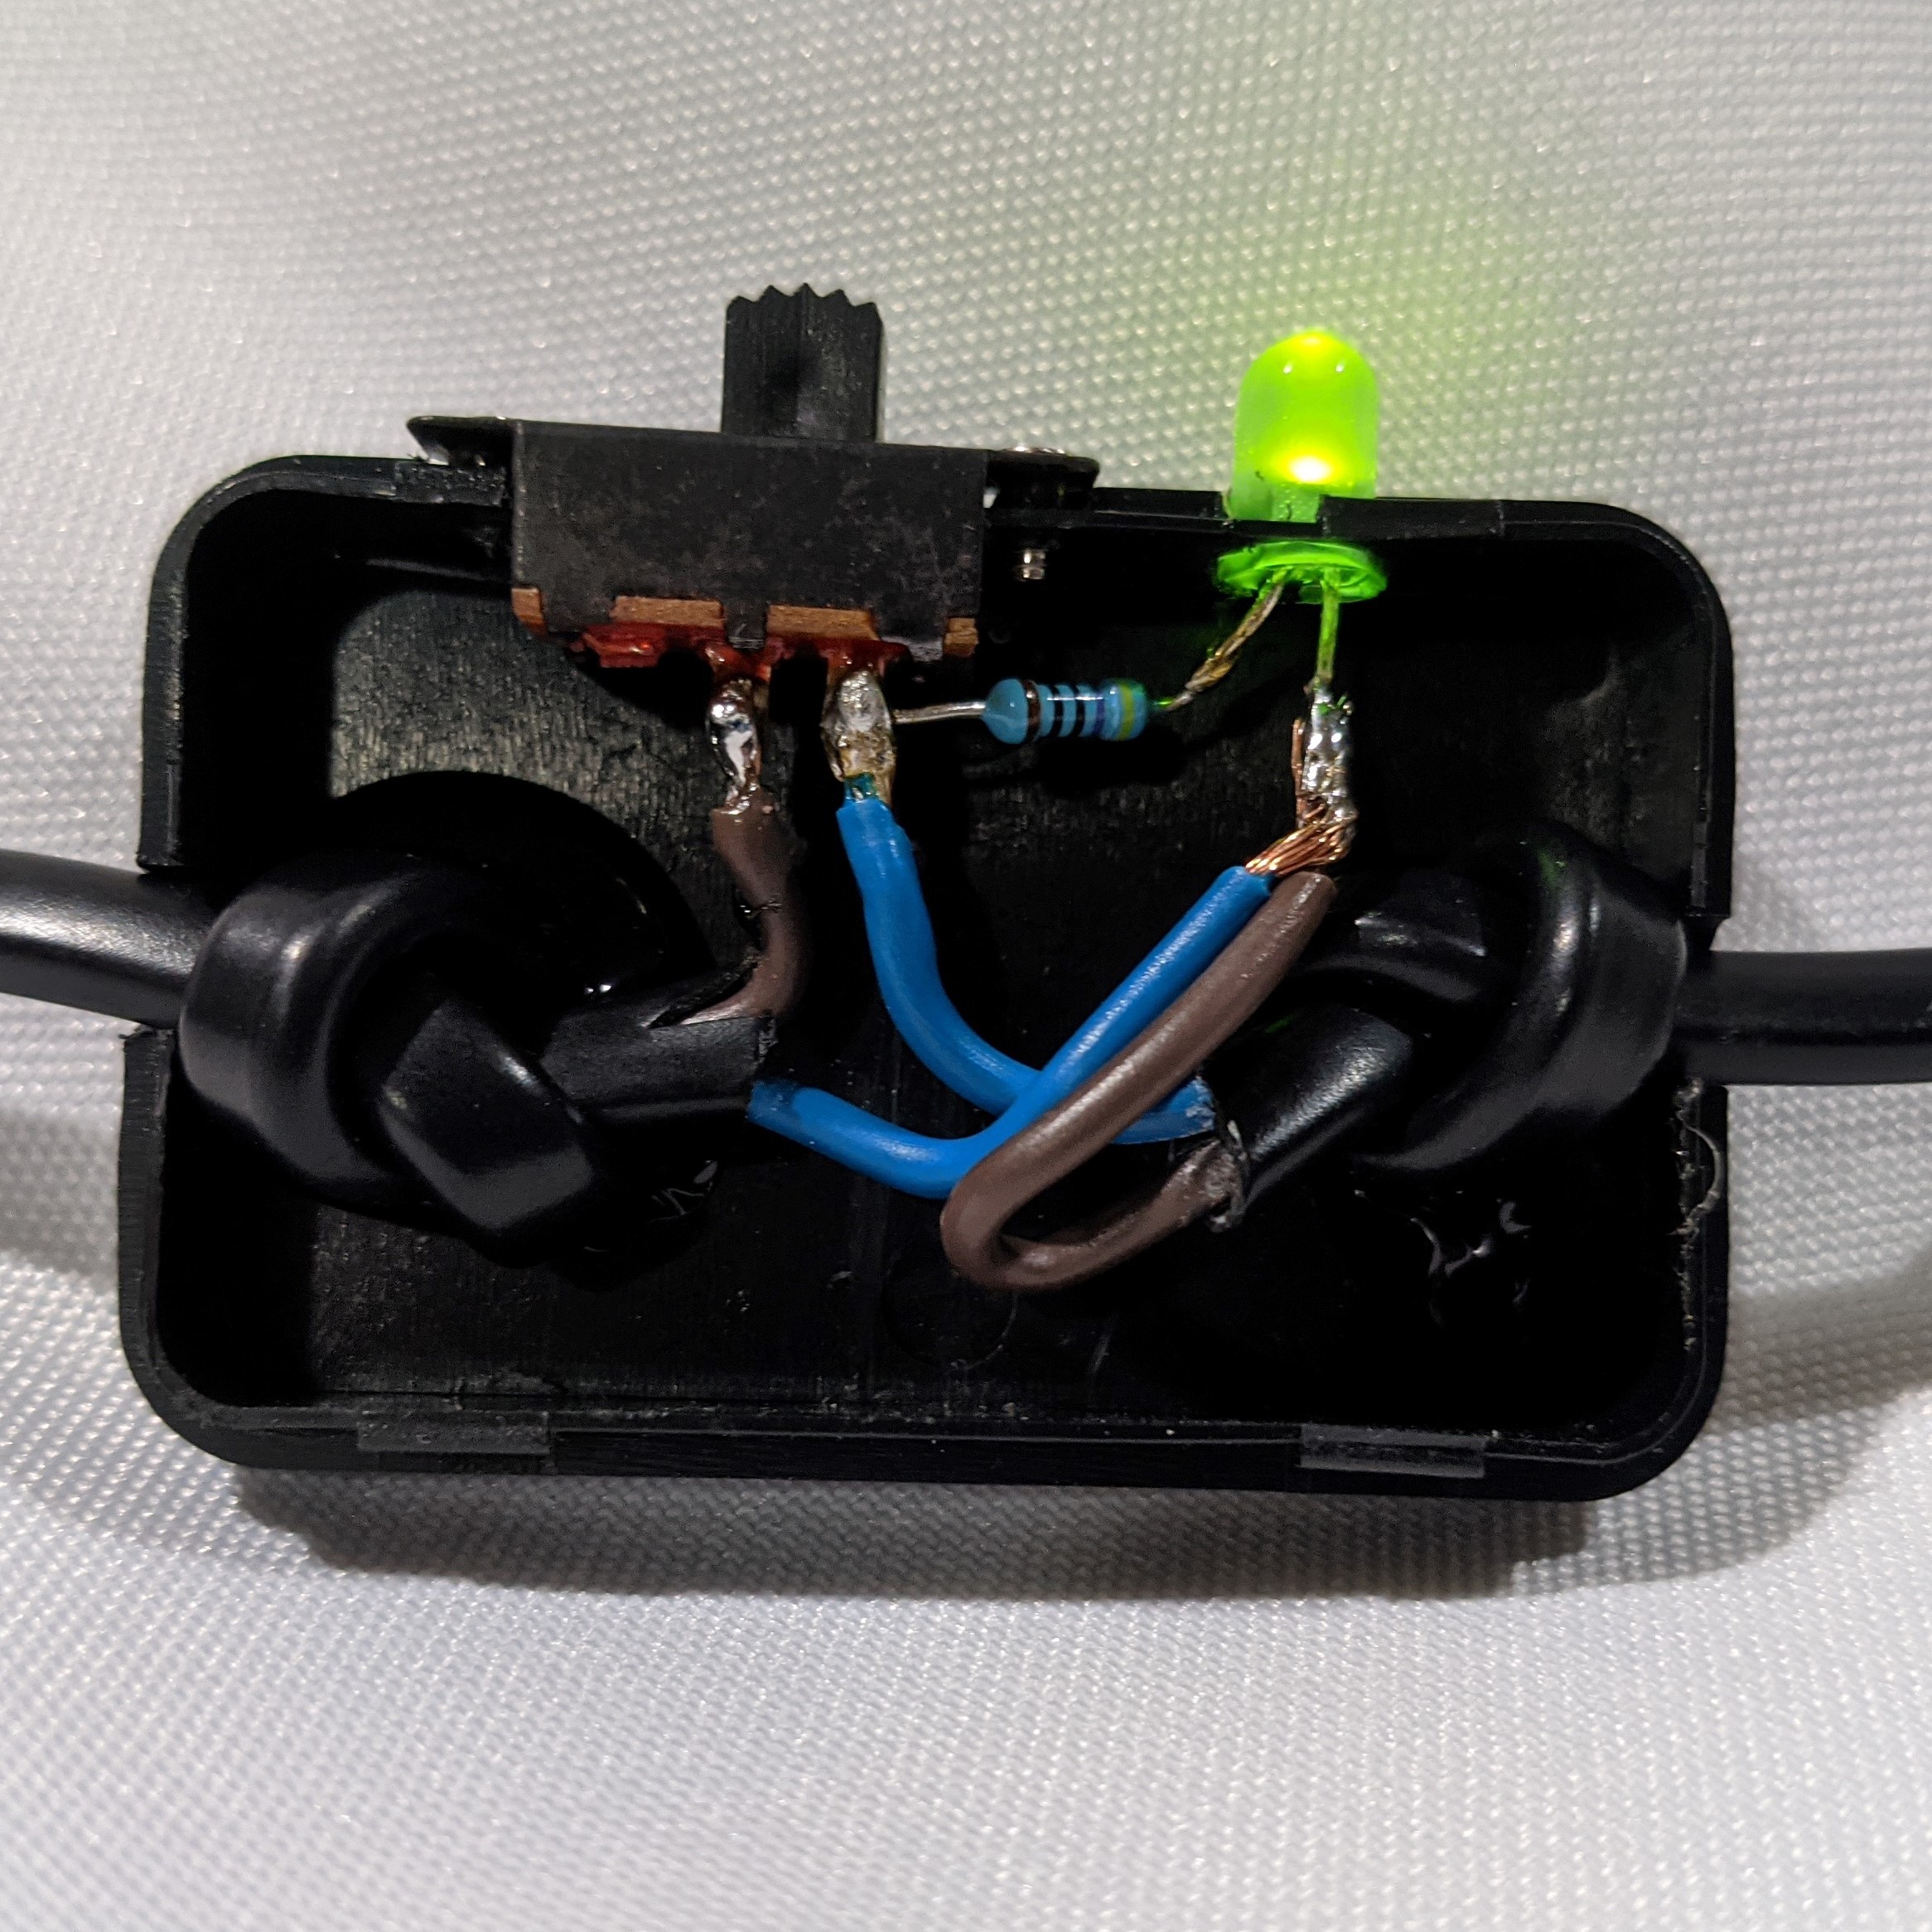
I inserted a switch and indicator light between the pump and the battery. It is wired as a simple ON/OFF switch with the LED showing the same. I put the switch in a mini project box I already had on hand. Overall this part isn't needed as you can just rest the battery partially in the socket and push it fully in when needed.
Garden Sprayer:
No modification of the garden sprayer was needed. I only unscrewed the spray wand from the tank to use that port. The one I used has a 1 gallon capacity.
Mounting:
I originally mounted the pump and battery to some white 1/8" thick acrylic sheet that I didn't end up using for another project. This didn't work out as I found out that acrylic and blue Loctite threadlocker do not mix well. I was putting some of the threadlocker on the mounting bolts and accidentally dripped some on the acrylic. The next day the acrylic basically shattered when I went to move it with the cracks all centered around the area I dripped the threadlocker. You can see the remnants of this white sheet glued behind the battery.
I redid mounting all the parts on some 1/4" thick acrylic from an old 3D printer I no longer used. This time I skipped the threadlocker and found some nylon lock nuts to use. Not much thought was put into layout, I simply placed each part on the acrylic sheet and marked where the mounting holes were. I used a hand drill to make the holes and secured everything with M3 bolts, nuts, and washers.
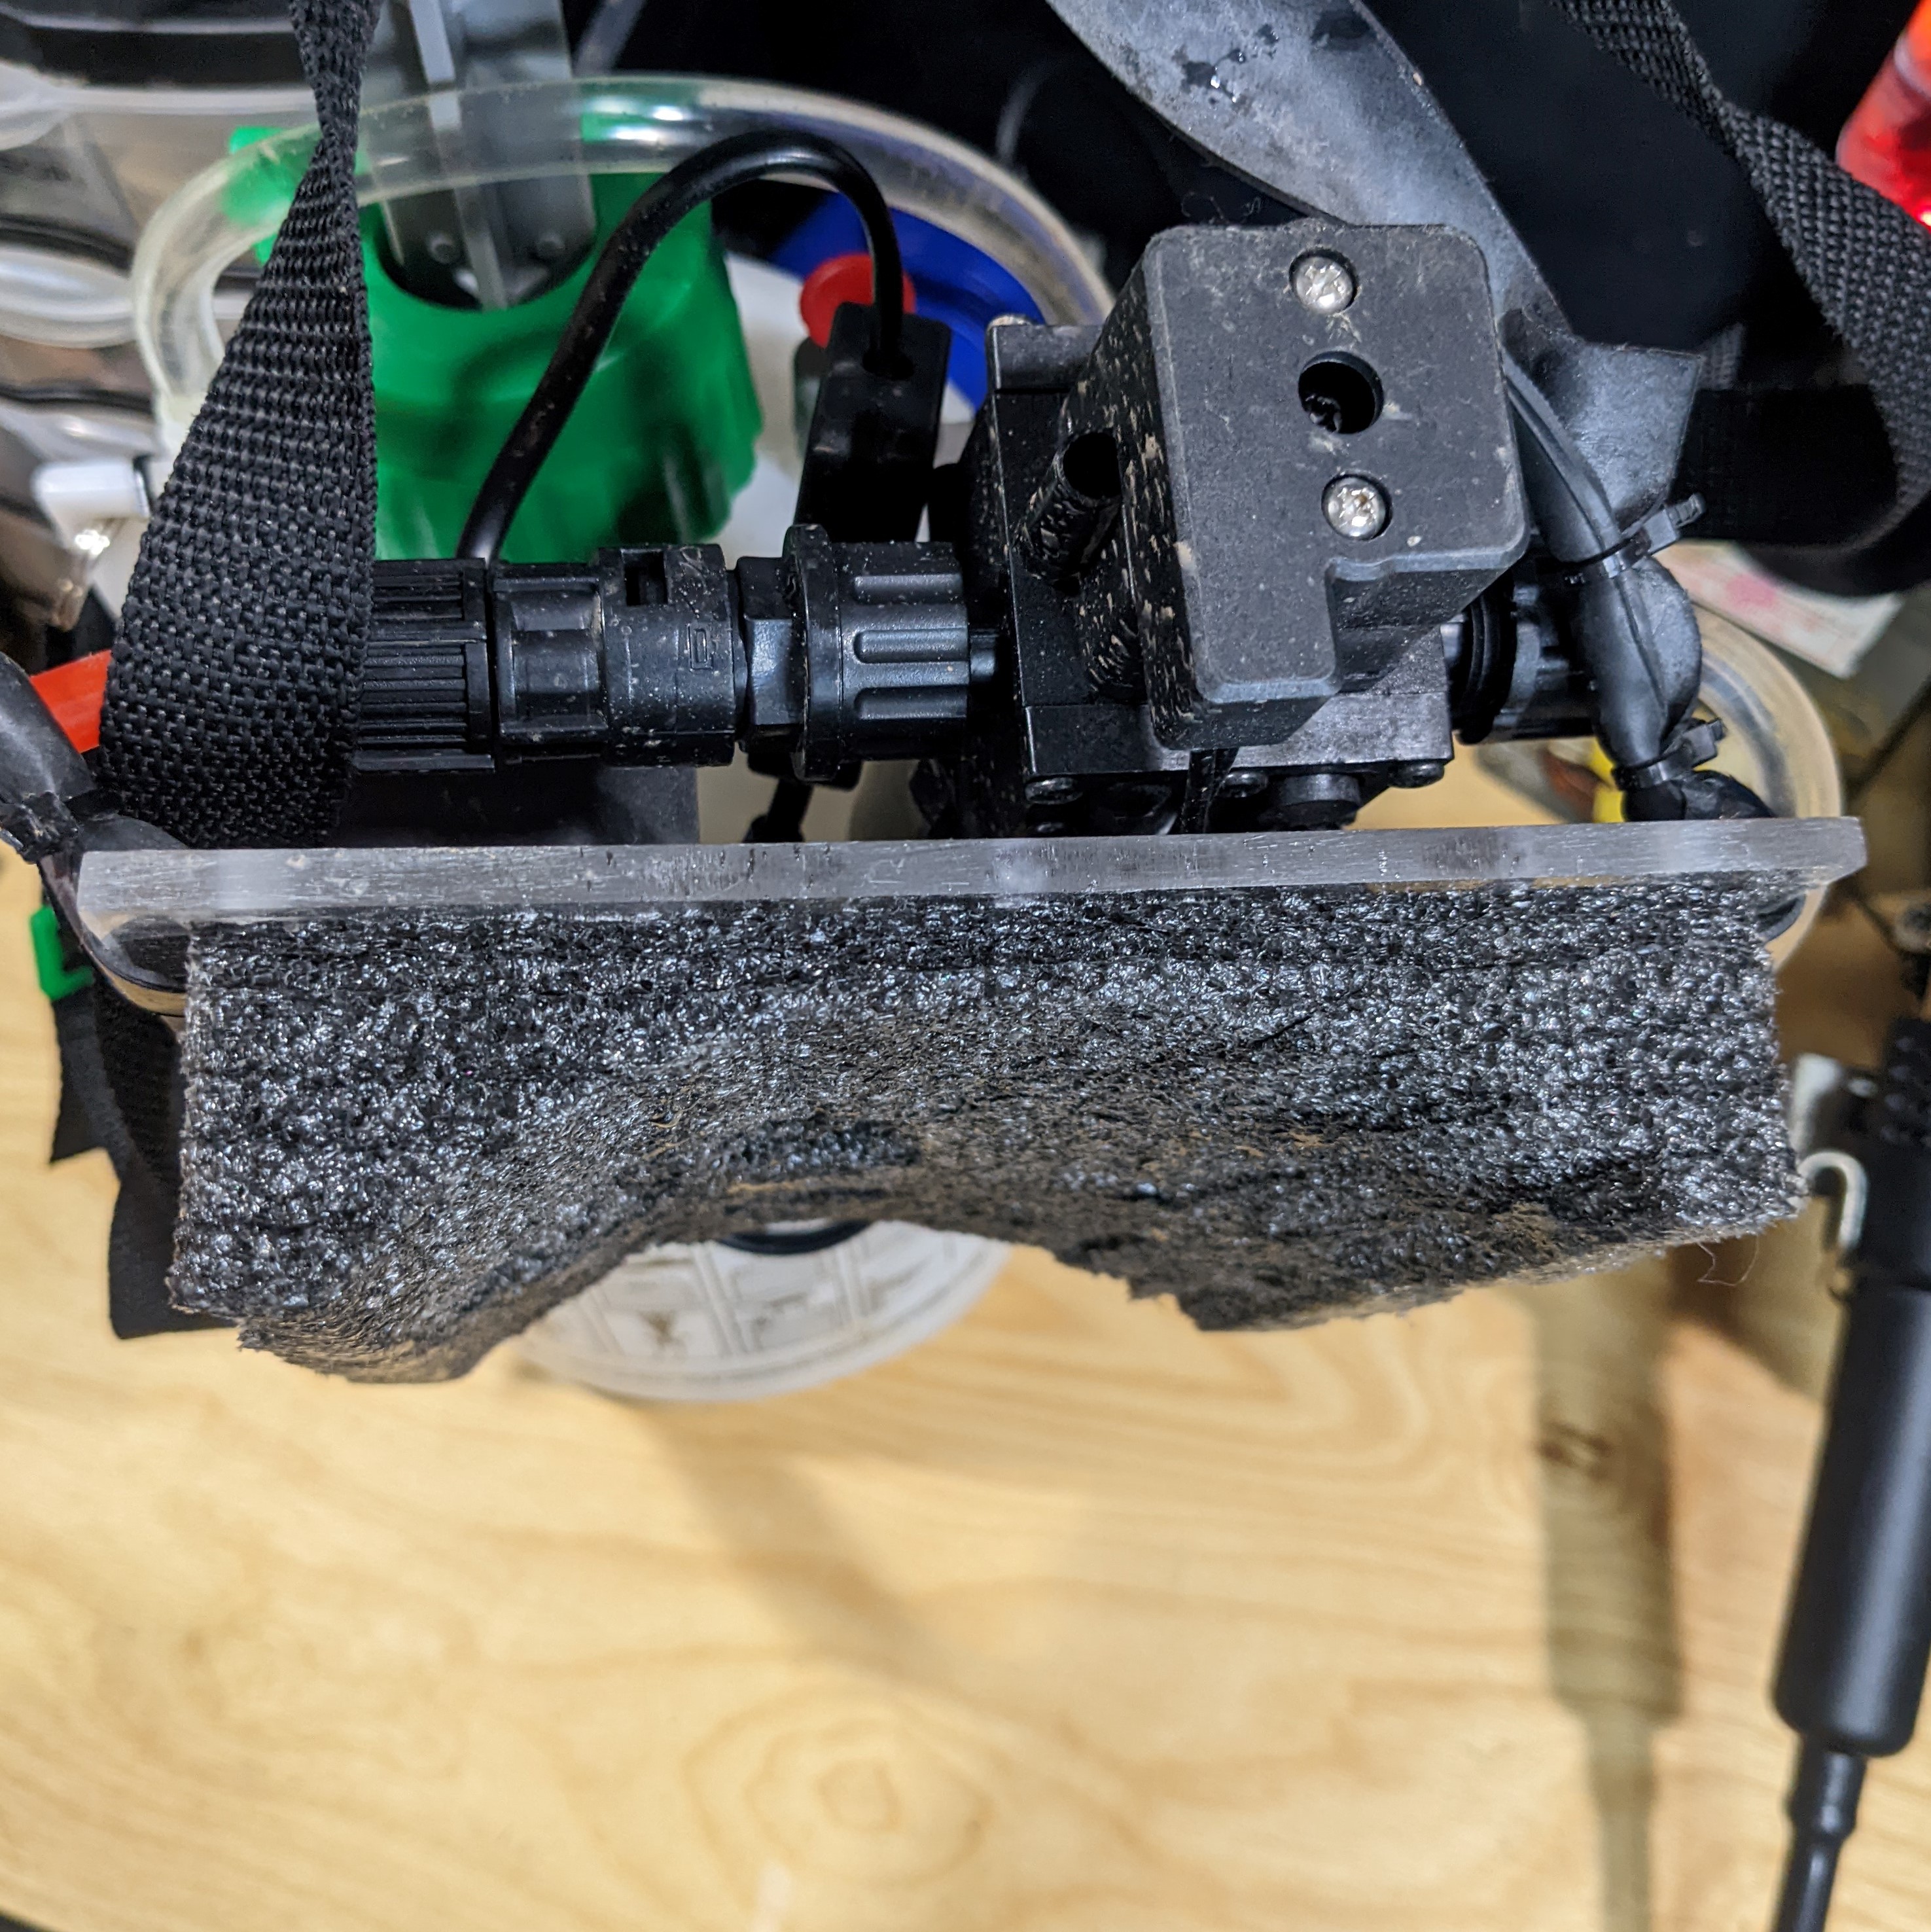
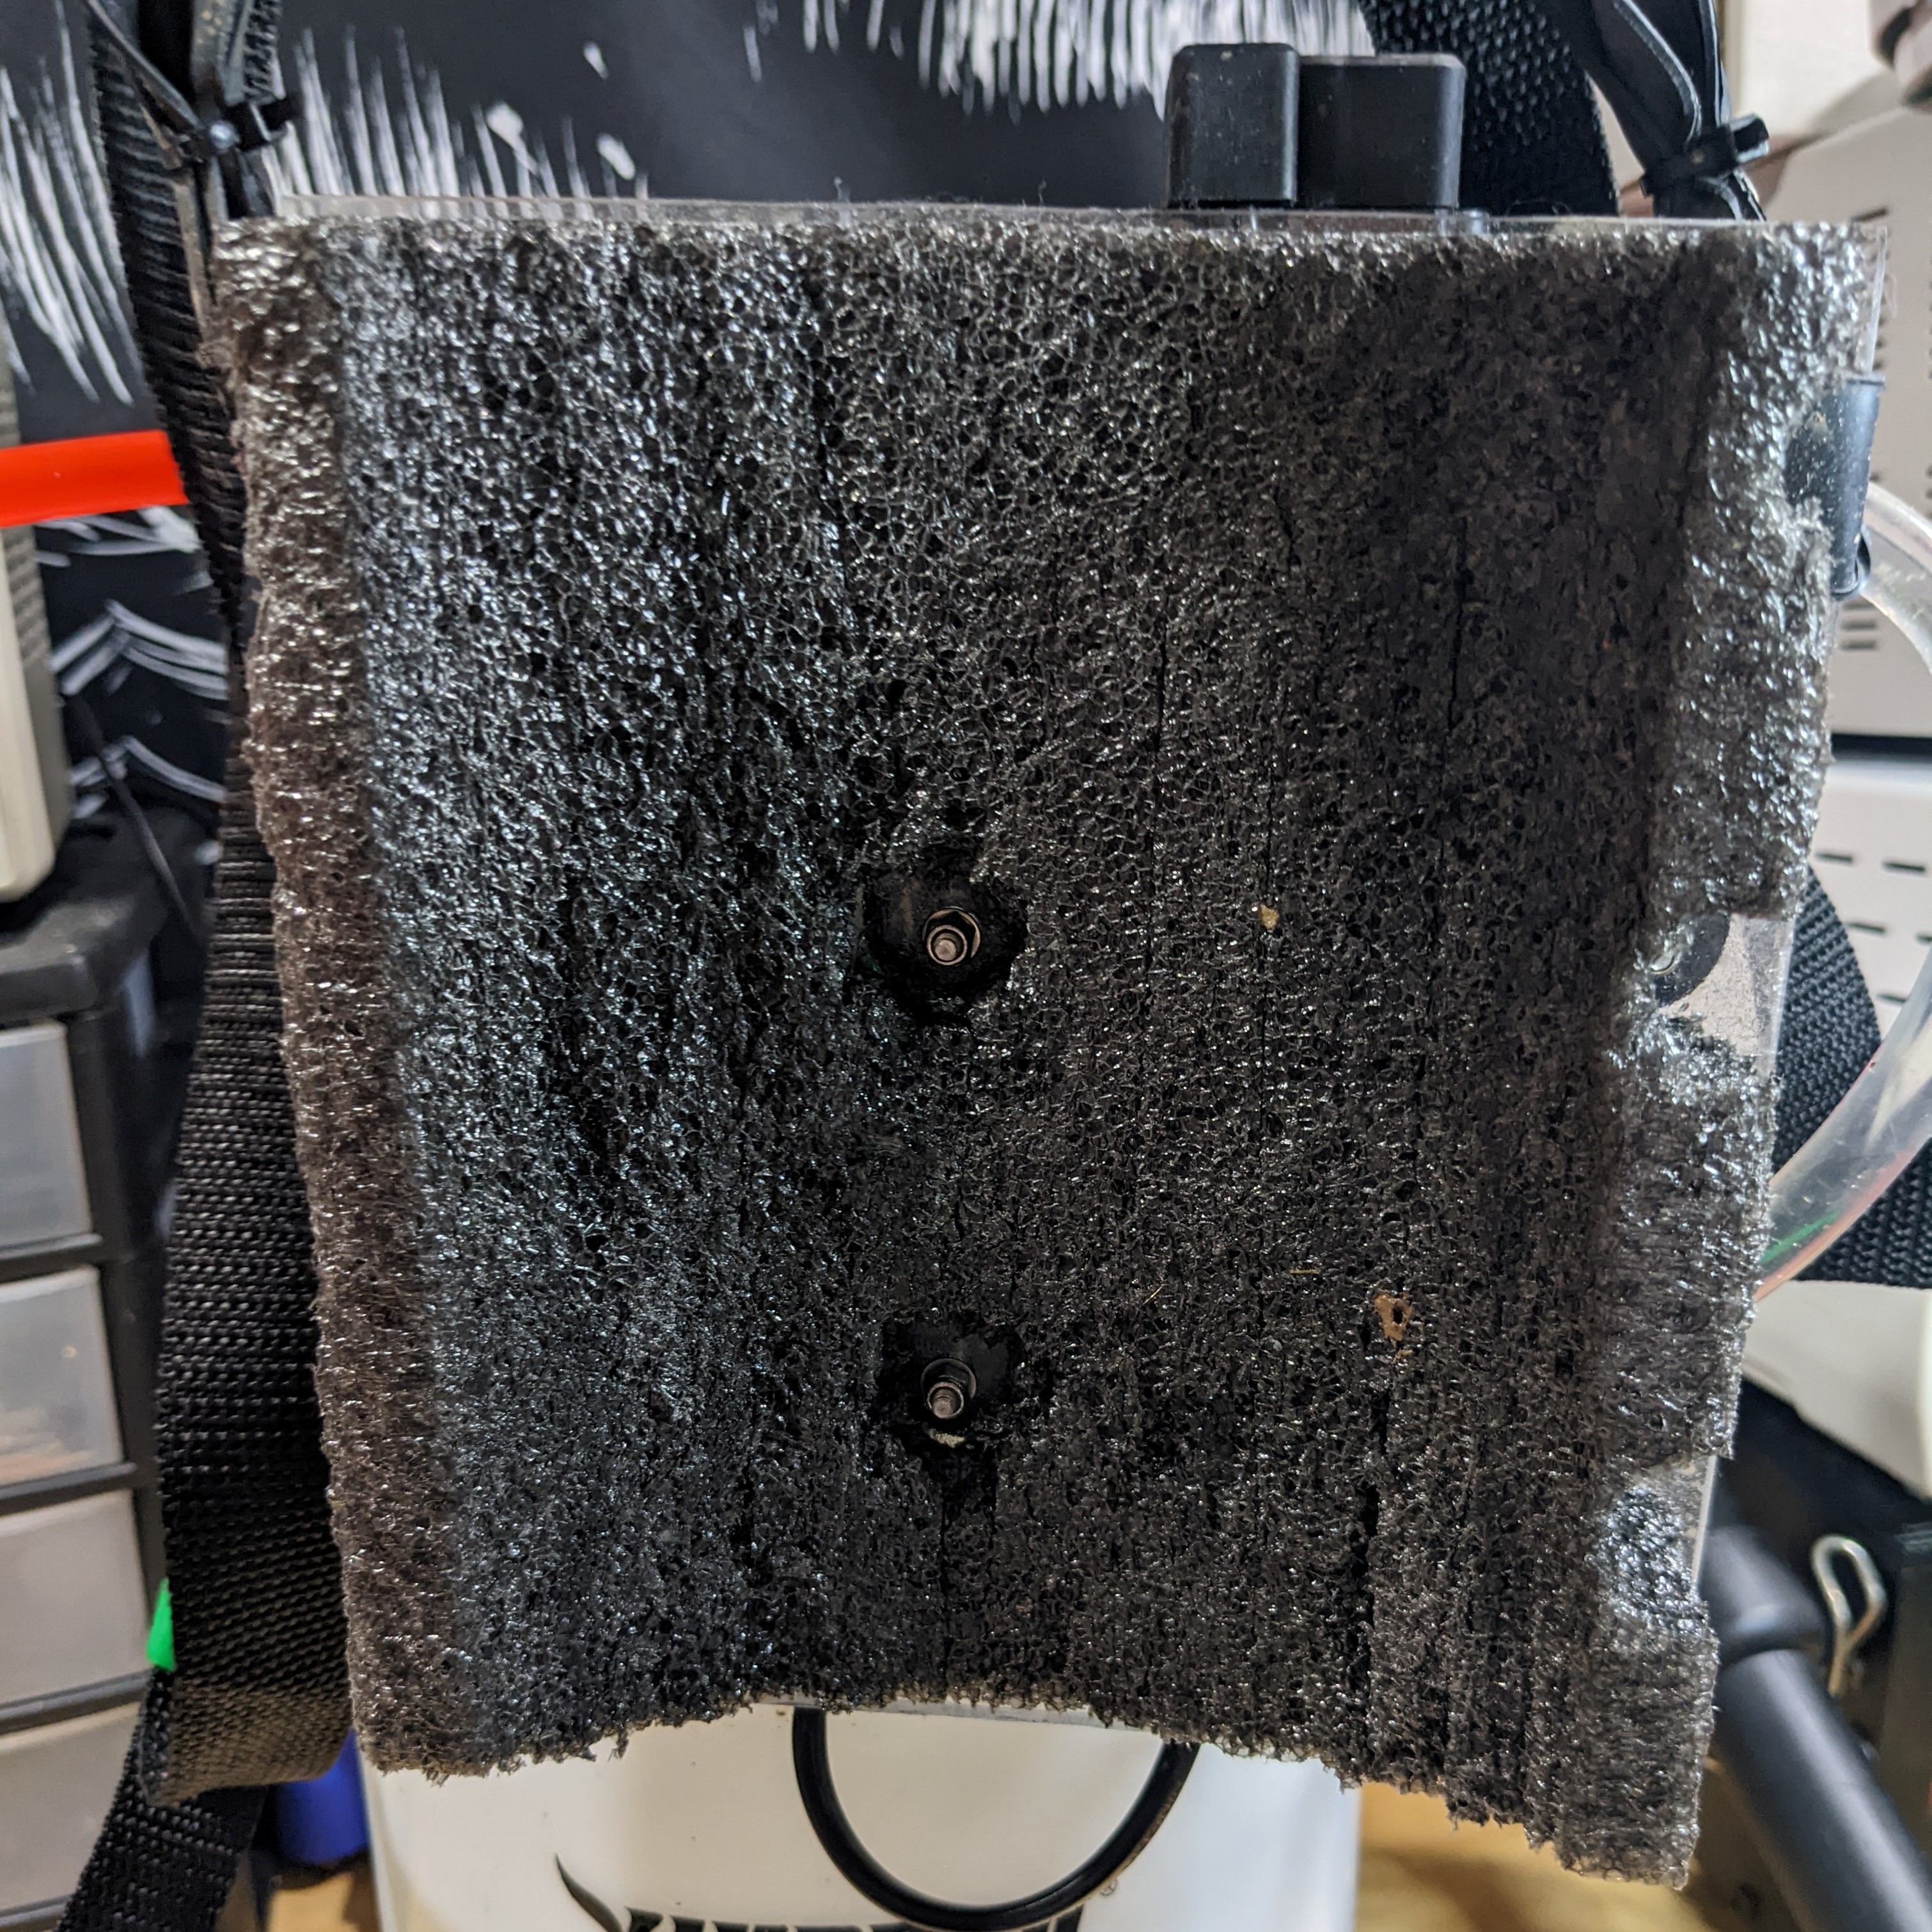
On the back of the acrylic sheet I glued a piece of closed cell foam that I took from a laptop shipping box with spray glue. I then shaped the foam on the back into a semicircle to match the curvature of the garden sprayer using a knife and razor blade. I added this to make things a little more secure and not slide around on the garden sprayer. I used foam as I thought it would dampen vibrations from the pump.
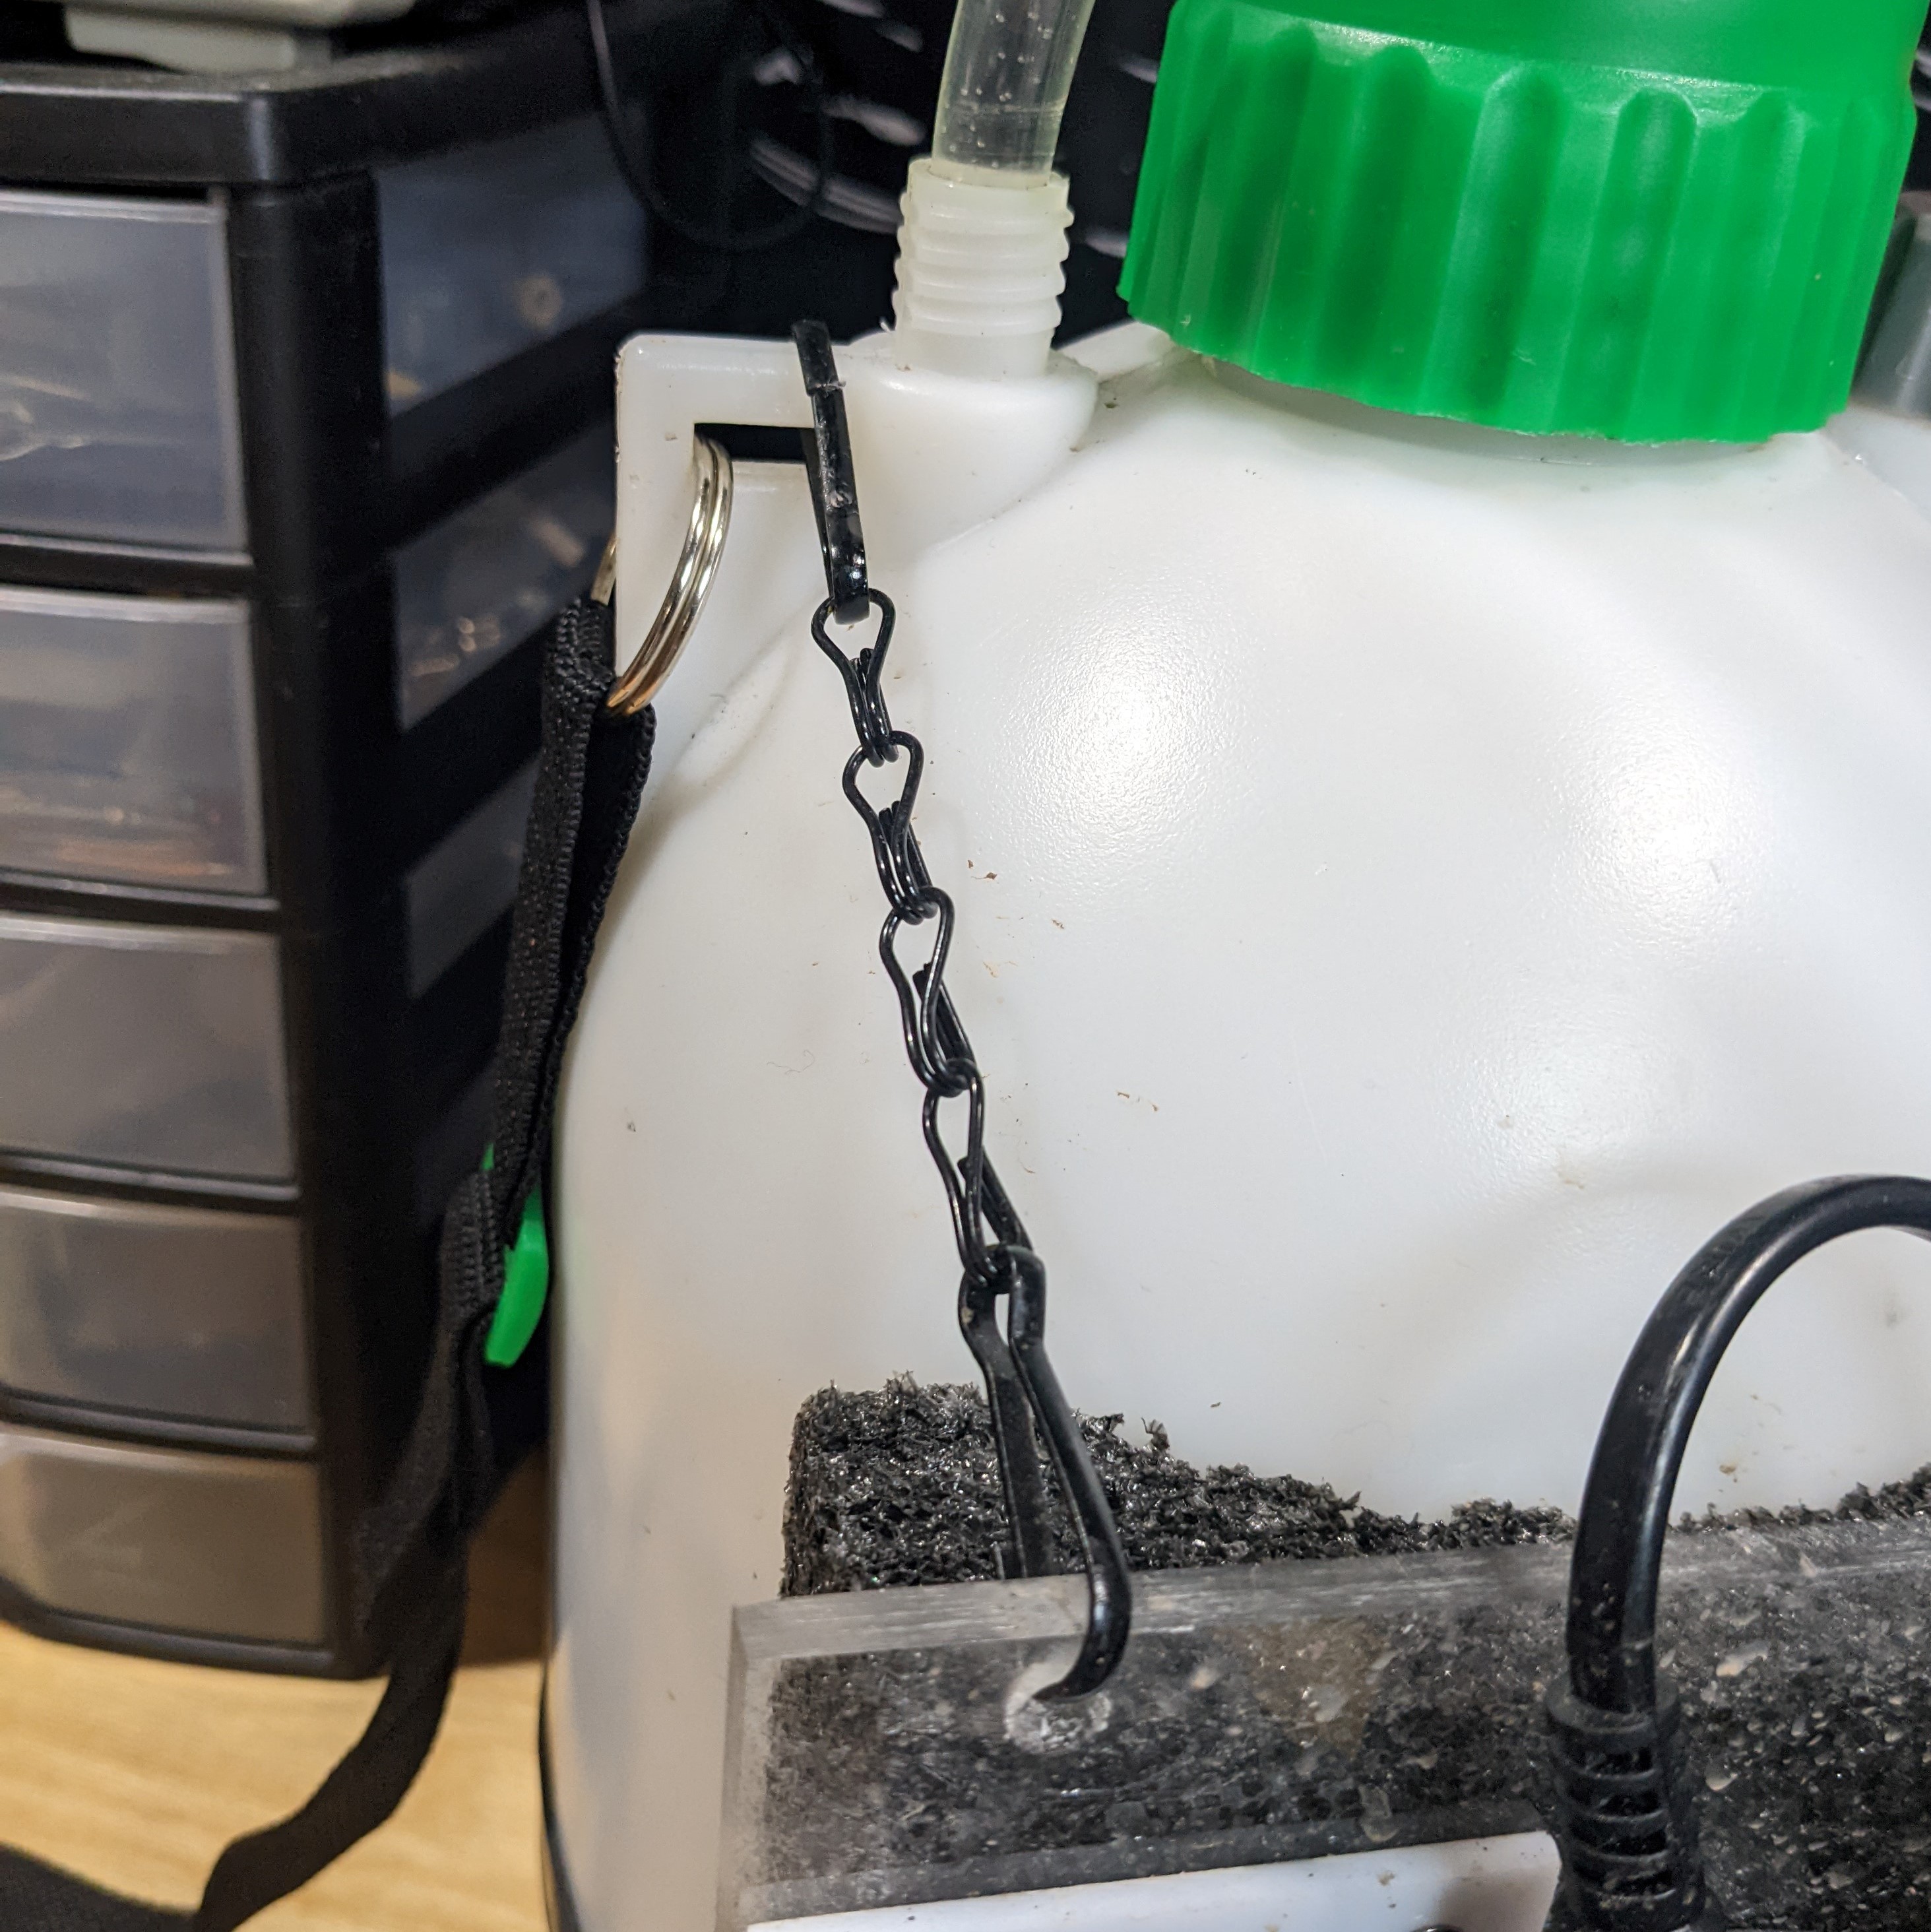
The top of the acrylic plate is hung off of the shoulder strap mount points on the garden sprayer....
Read more »
 NPN
NPN
 Lucas Rangit MAGASWERAN