Close
0%
0%

How to use an aerial 36 inches lens

the different steps involved to shoot with an aerial photographic (enormous) lens when you don't have the airplane to hold it

Similar projects worth following
the lens must be tightly held on the tripod
It's necessary to have a long below
it needs a shutter to take analog daylight pictures
it needs a rig to use it with a digital camera, just to calibrate the shutter, and for fun too

WARNING : What was thought to be a week-end or two project is now more than 3 month and still not completely achieved. So it's a long journey.
ADVISORY : My English may not be perfect, there are some french words around (mostly tools names), nearly everything is metric and I don't always use the right tool at the right time, amateur work.
BEWARE : some pictures could show a slight color cast, the lathe light above my wood bench has a warm LED that's alright for the eyes, but it has a very low CRI and an ignoble greenish peak (that's been corrected when editing, but a good picture shouldn't need editing), and I always wear very colored T-shirts that can give another color by radiosity.
CAUTION : I like funny things, so I may

The lens has been given to me by a teacher years ago, he said it was last used in the Polaroïd workshop to fix and calibrate the autofocus system of the SX 70, long time ago, last century. Research here and there let think that it's been made in UK around 1950 to be used for aerial photography.

It has a sturdy aperture control lever that might have been electro-mechanically controlled, going from f/6,3 thru only f/16, with a very round shape iris due to the big number of the blades : 16 (nowadays, when a lens has more than 6 blades they say it loud : "hey, we've made a rond aperture with 9 blades !").

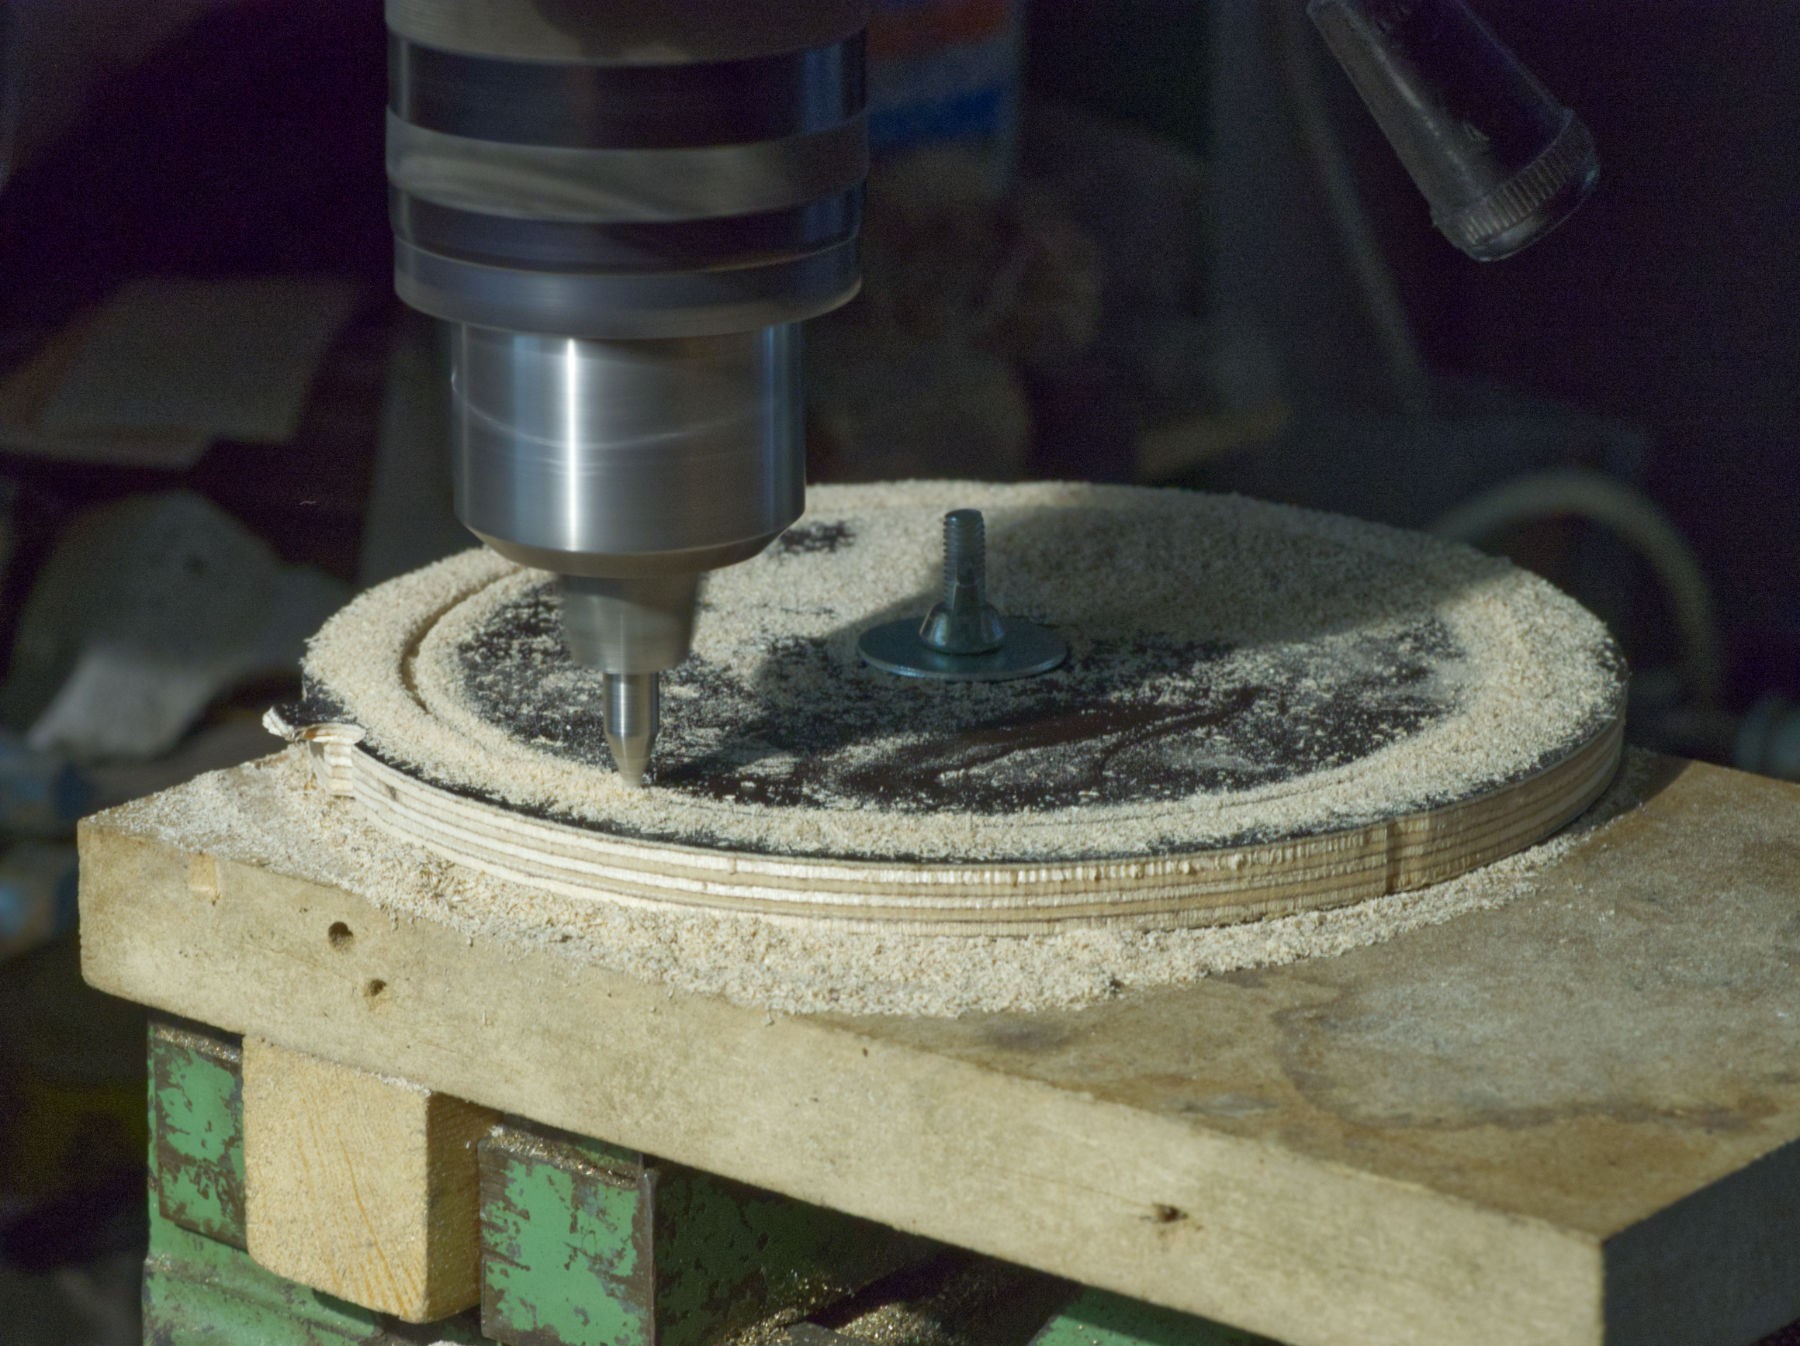
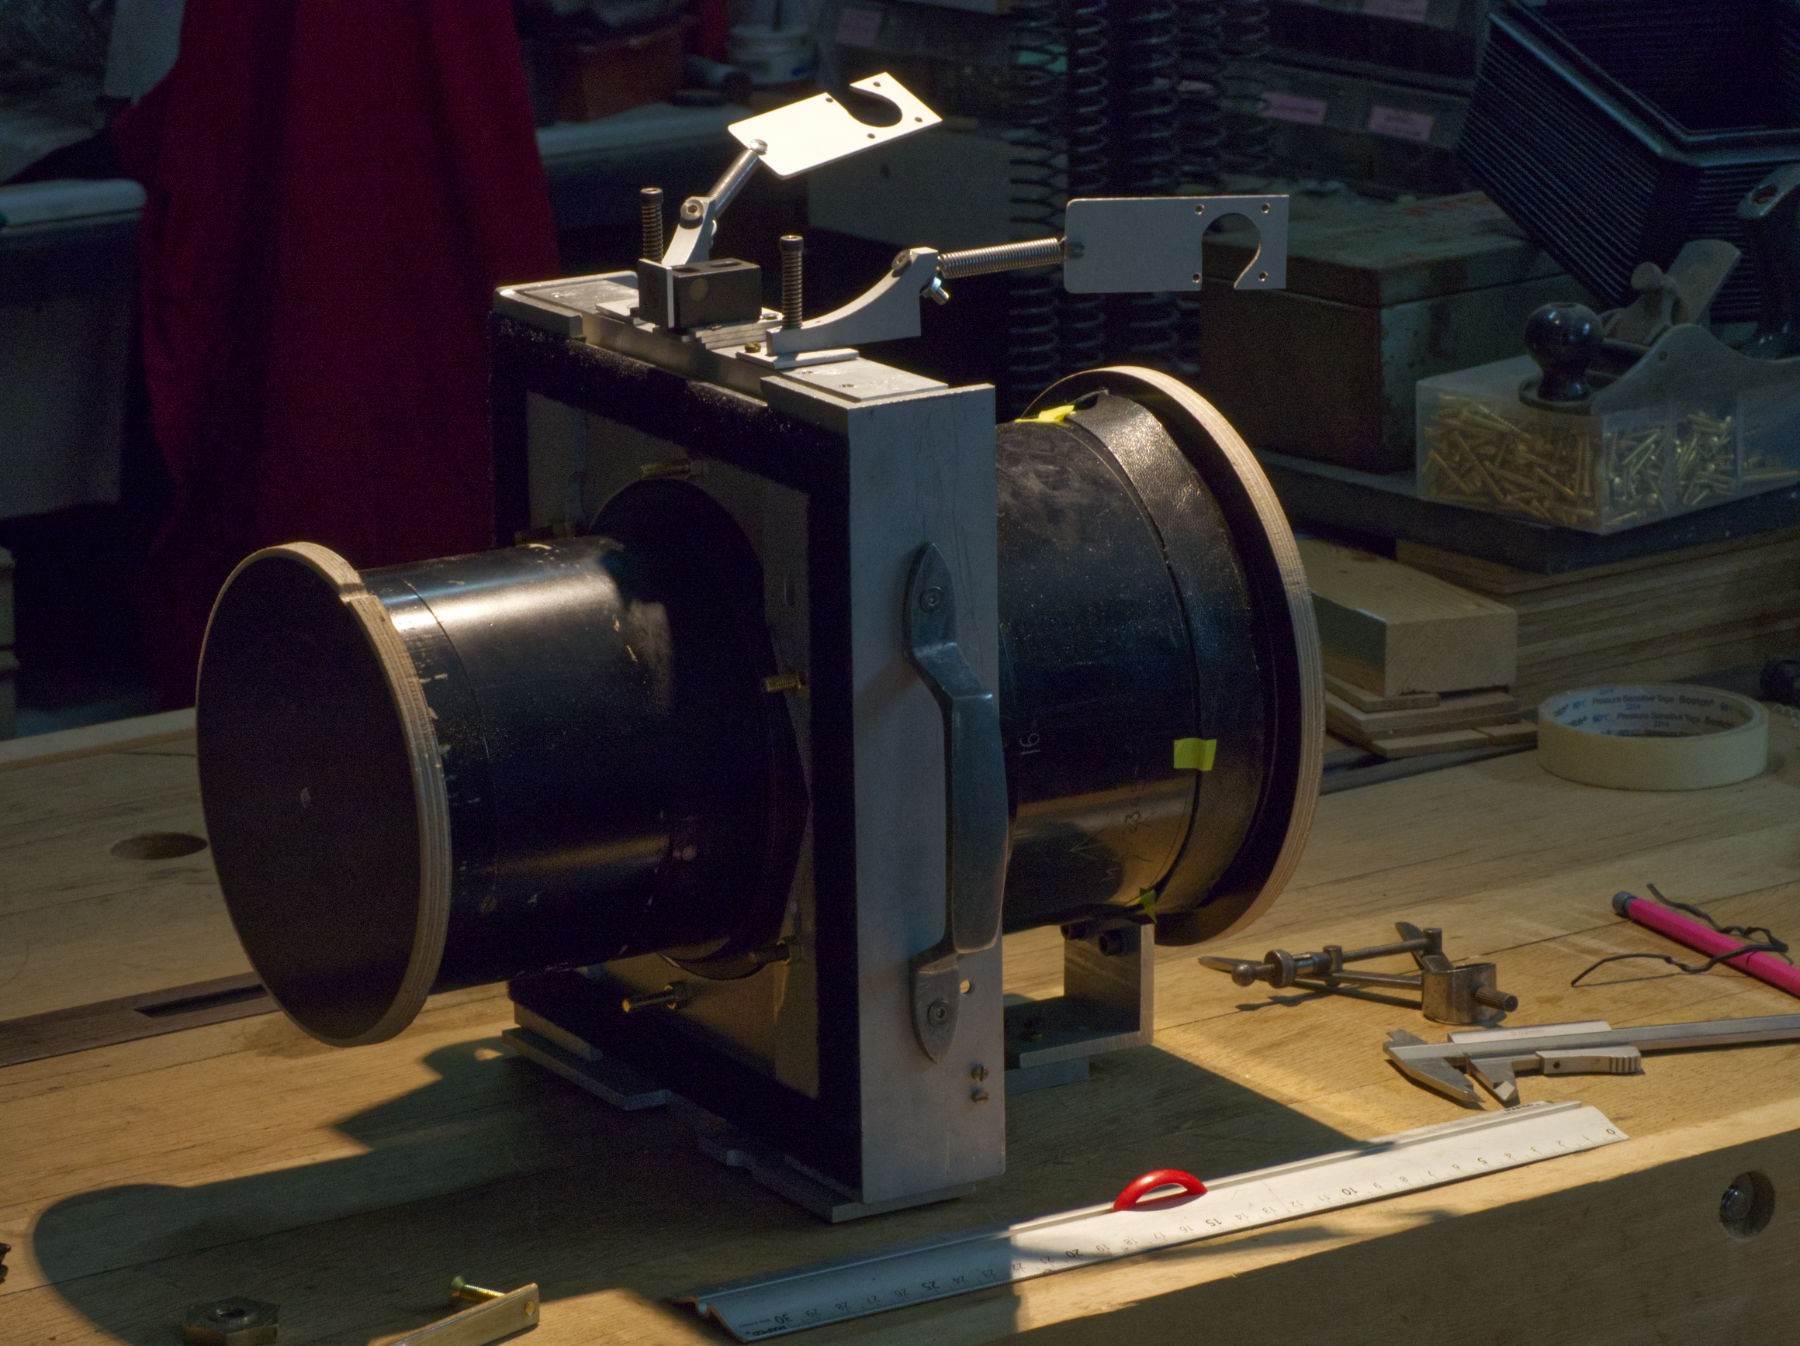
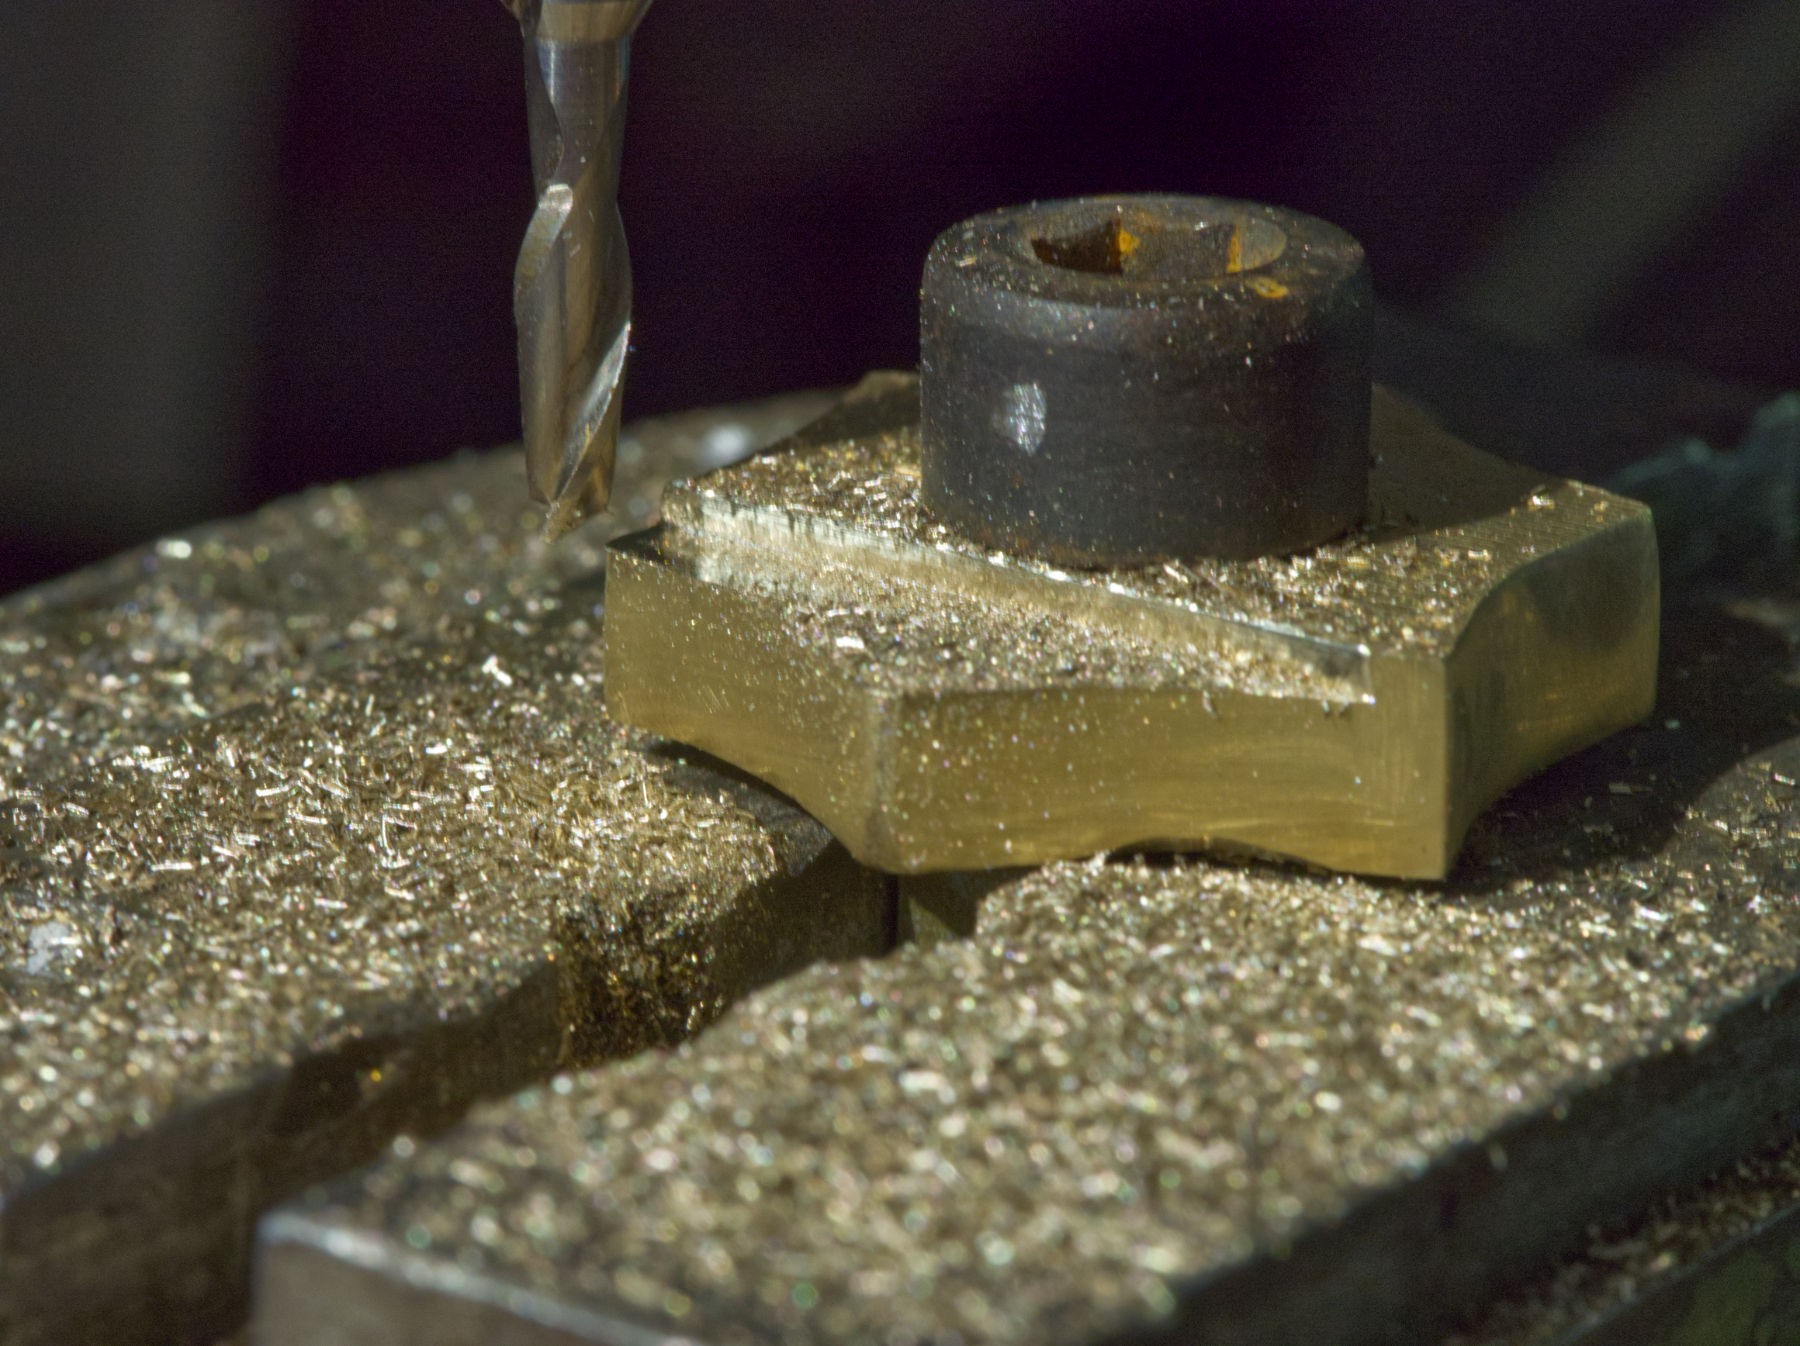
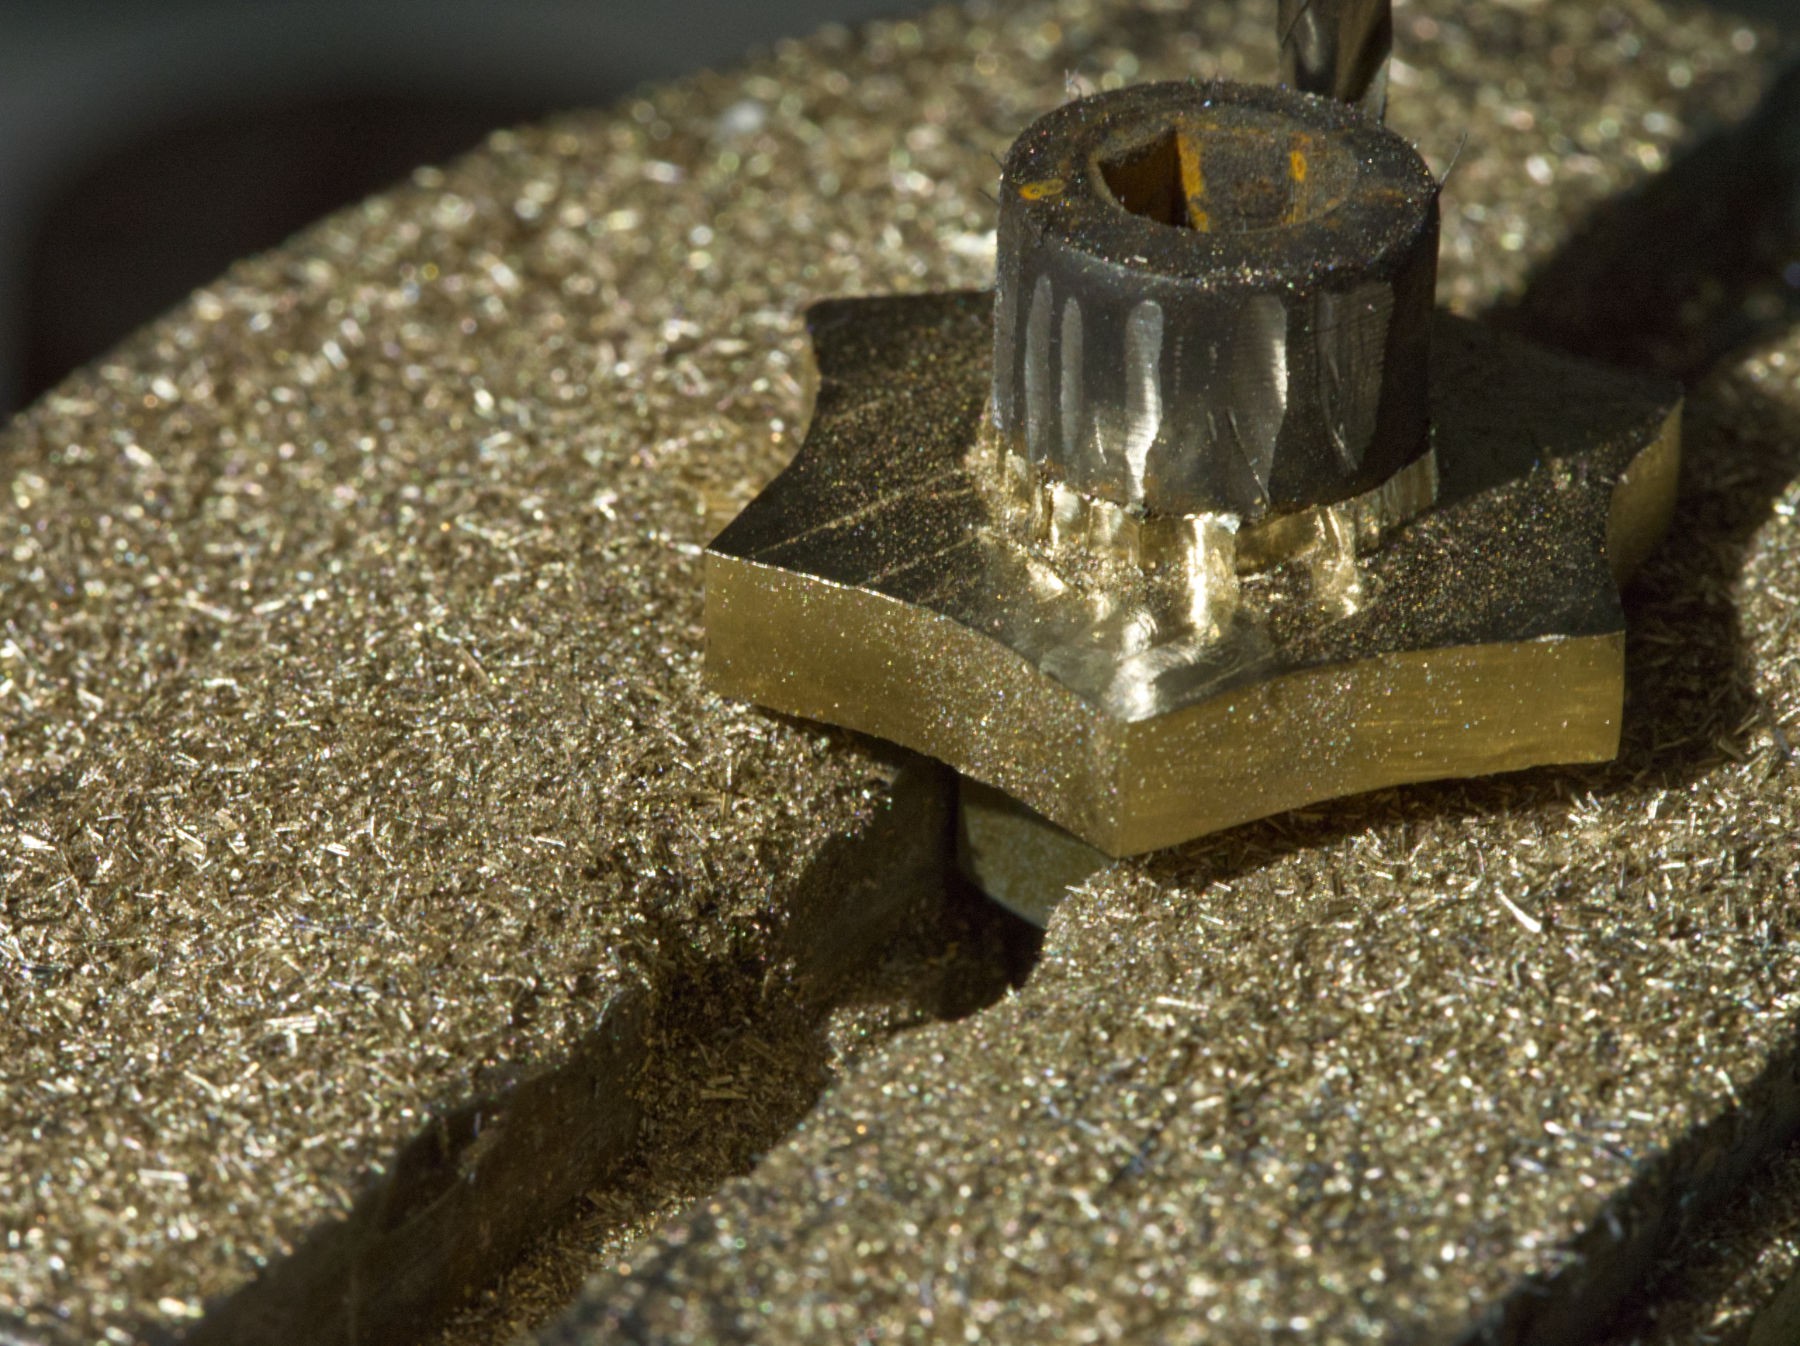
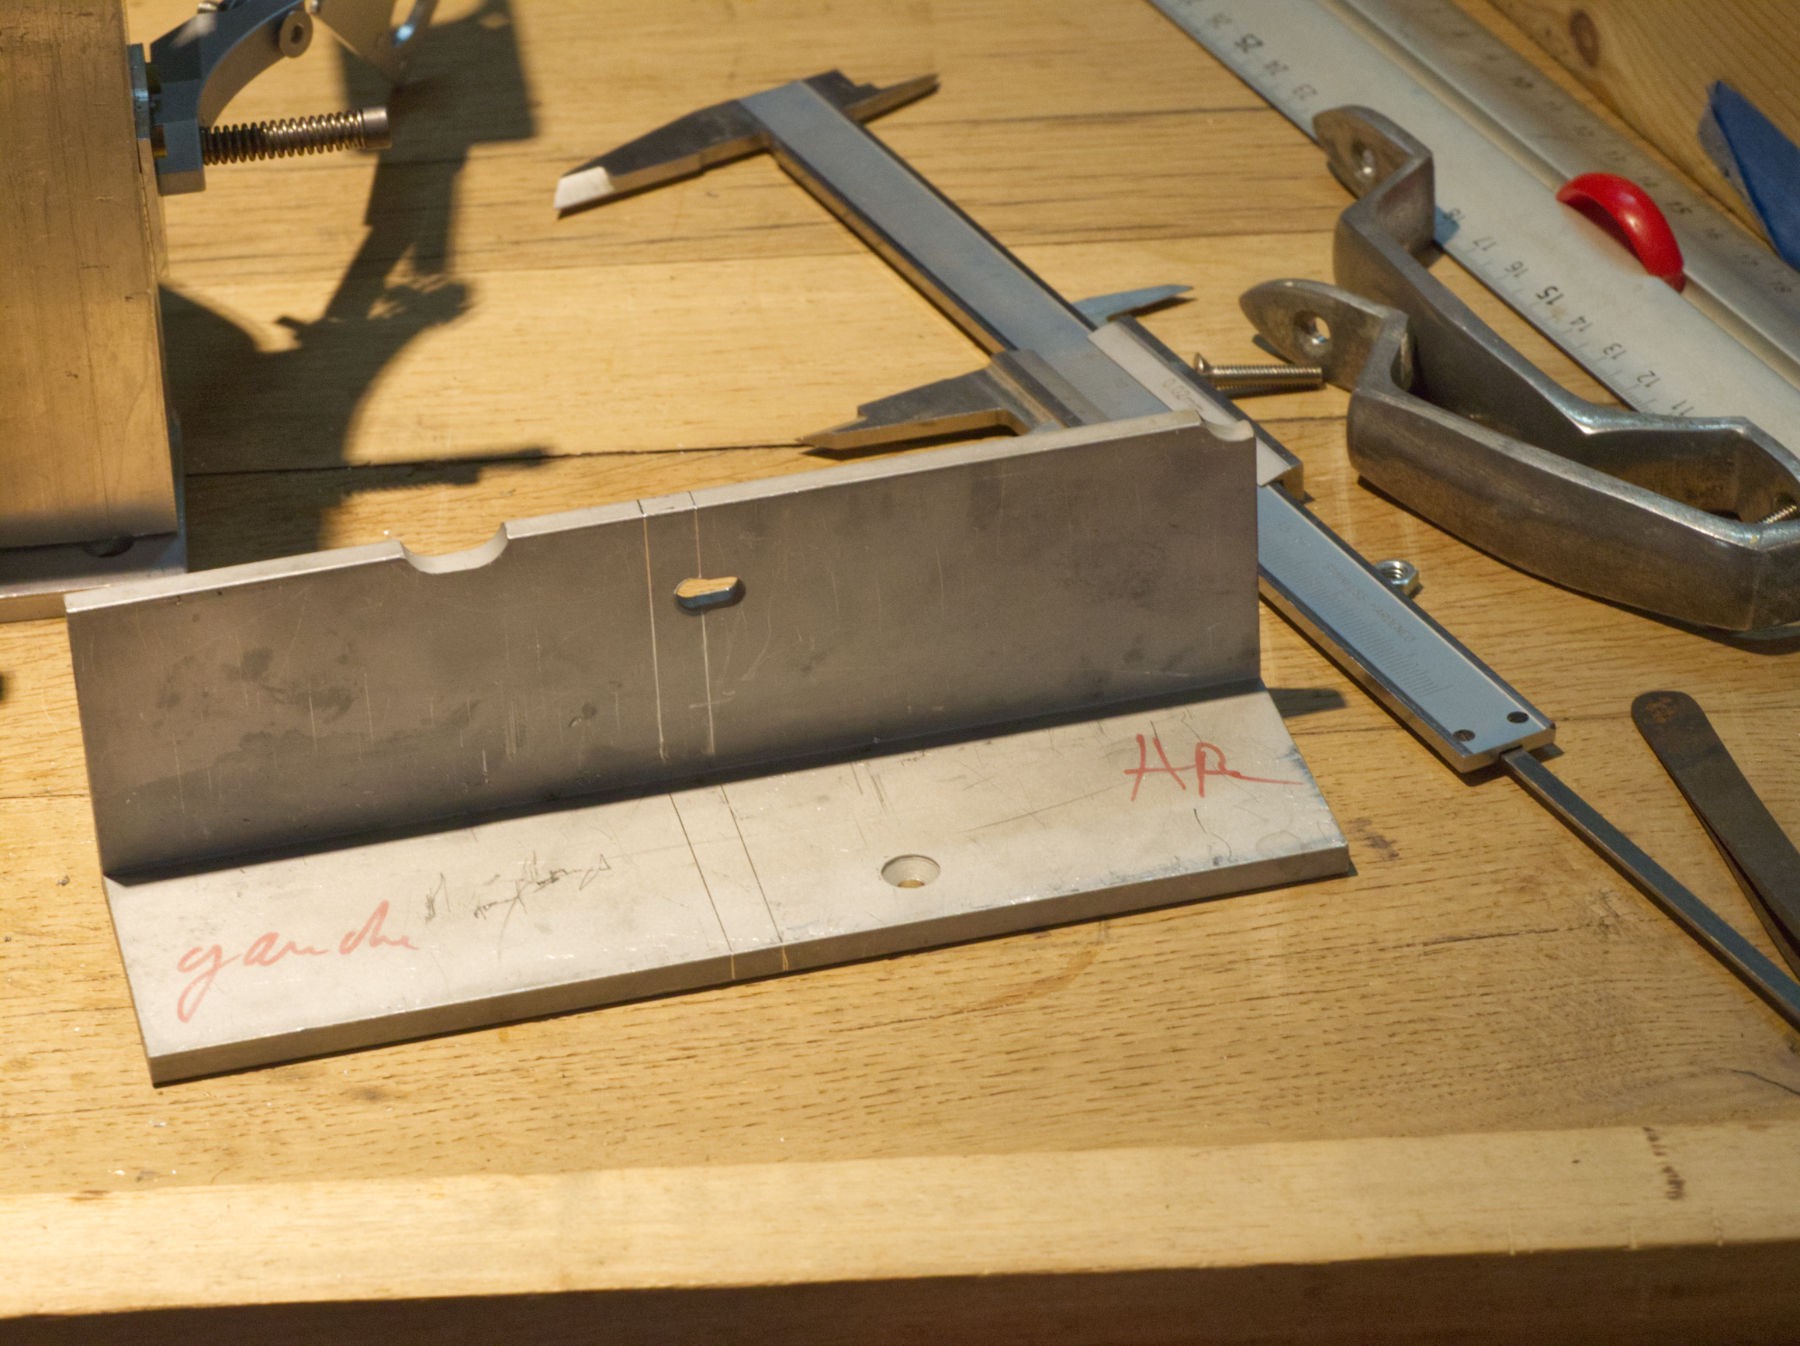
The first step is making a strong lens board so it can be mounted on a tripod.

The brass and glass behemoth weights just under 20 pounds (it must have been a technical request as load is important for an airplane), nearly 9 kg and it must be very still as it's a long focal length that's gonna be used with a narrow field of view, 36 inches is something like 810 mm, and according to the table on that page (https://www.nikonians.org/reviews/fov-tables), it as an horizontal FOV of 2,6 ° on a 35 mm film or sensor, around 7 ° with 4 x 5 " film (and much narrower if mounted on a smaller sensor).

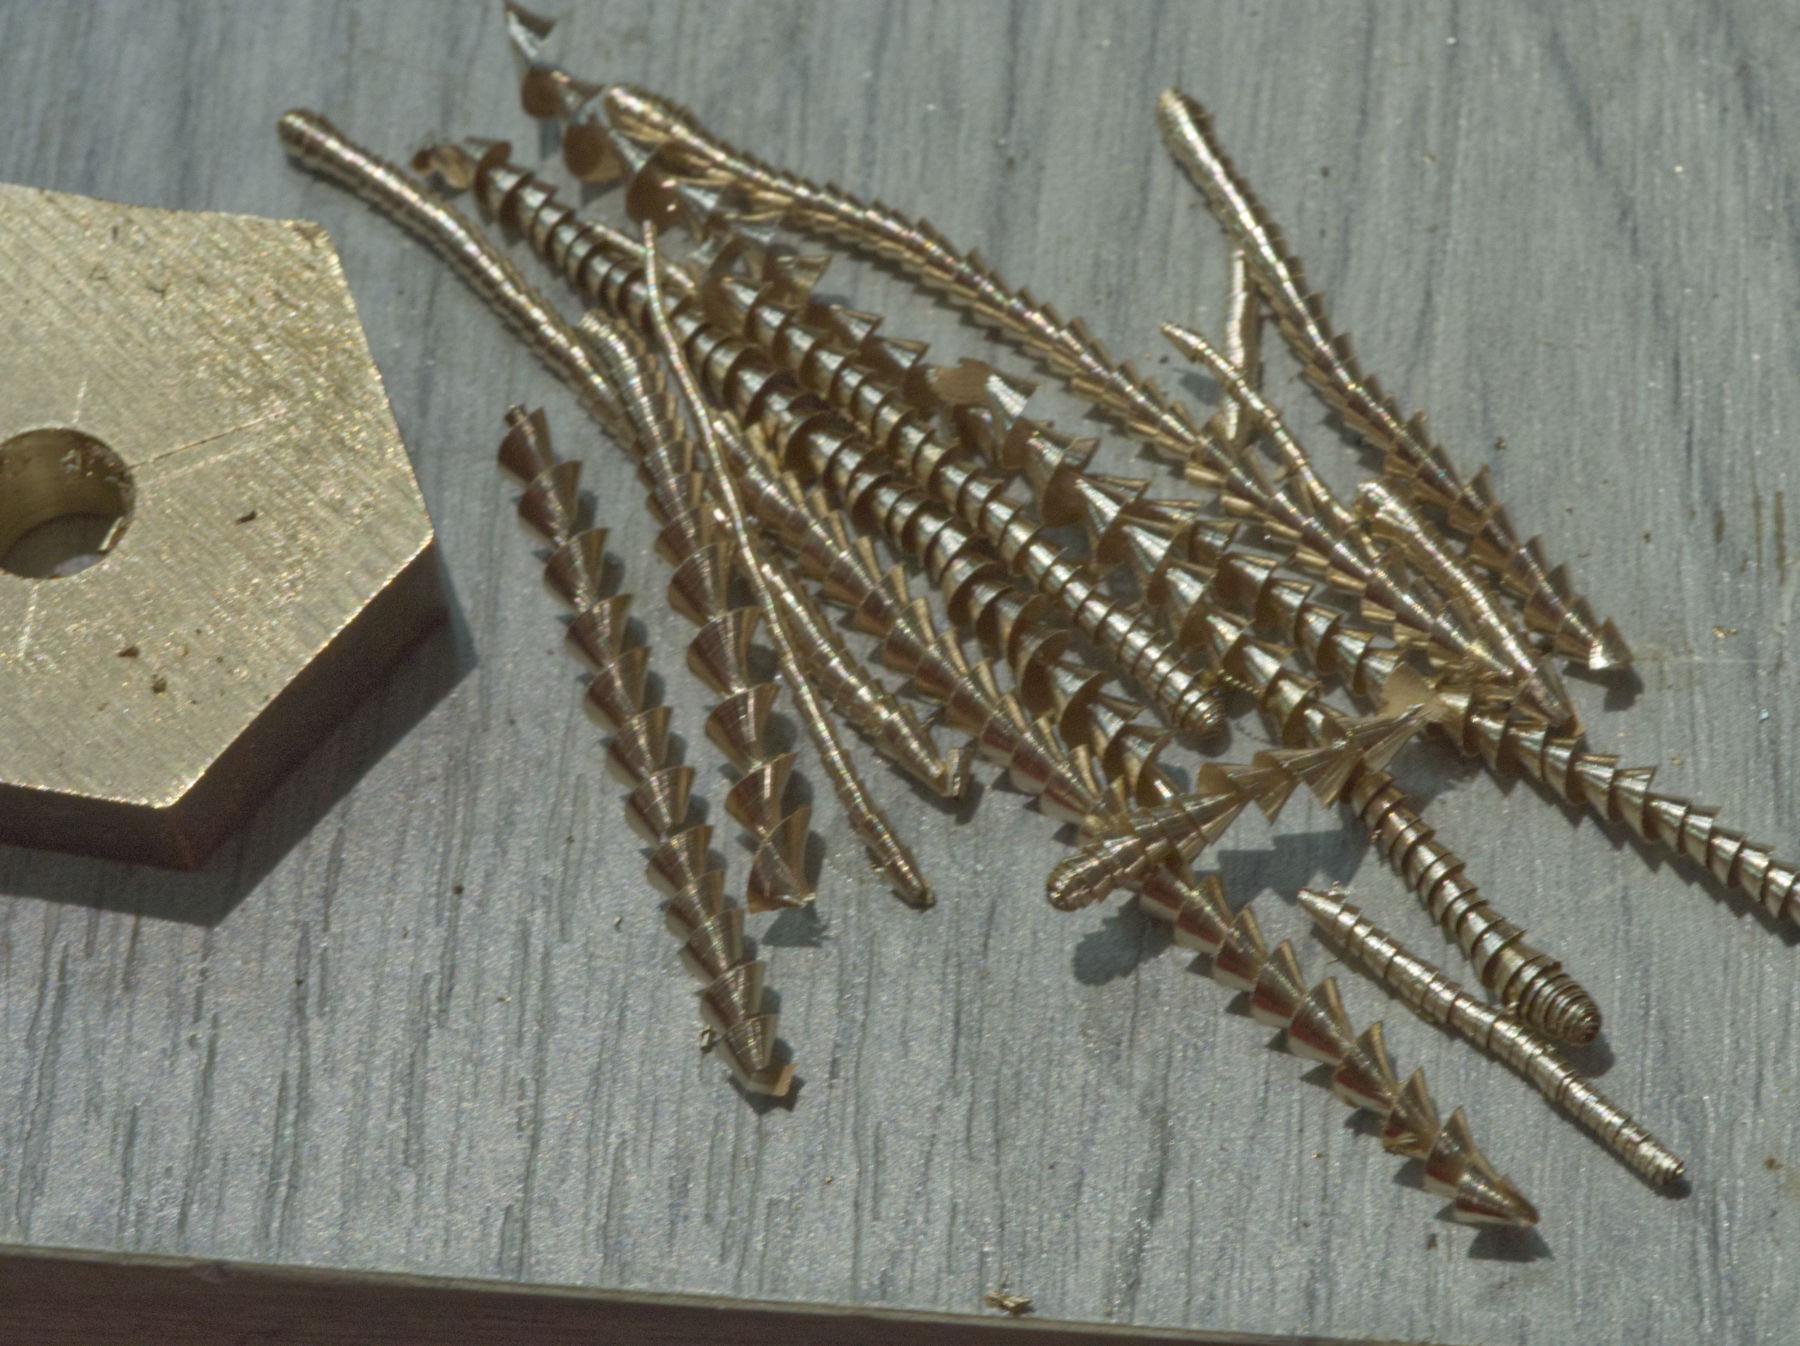
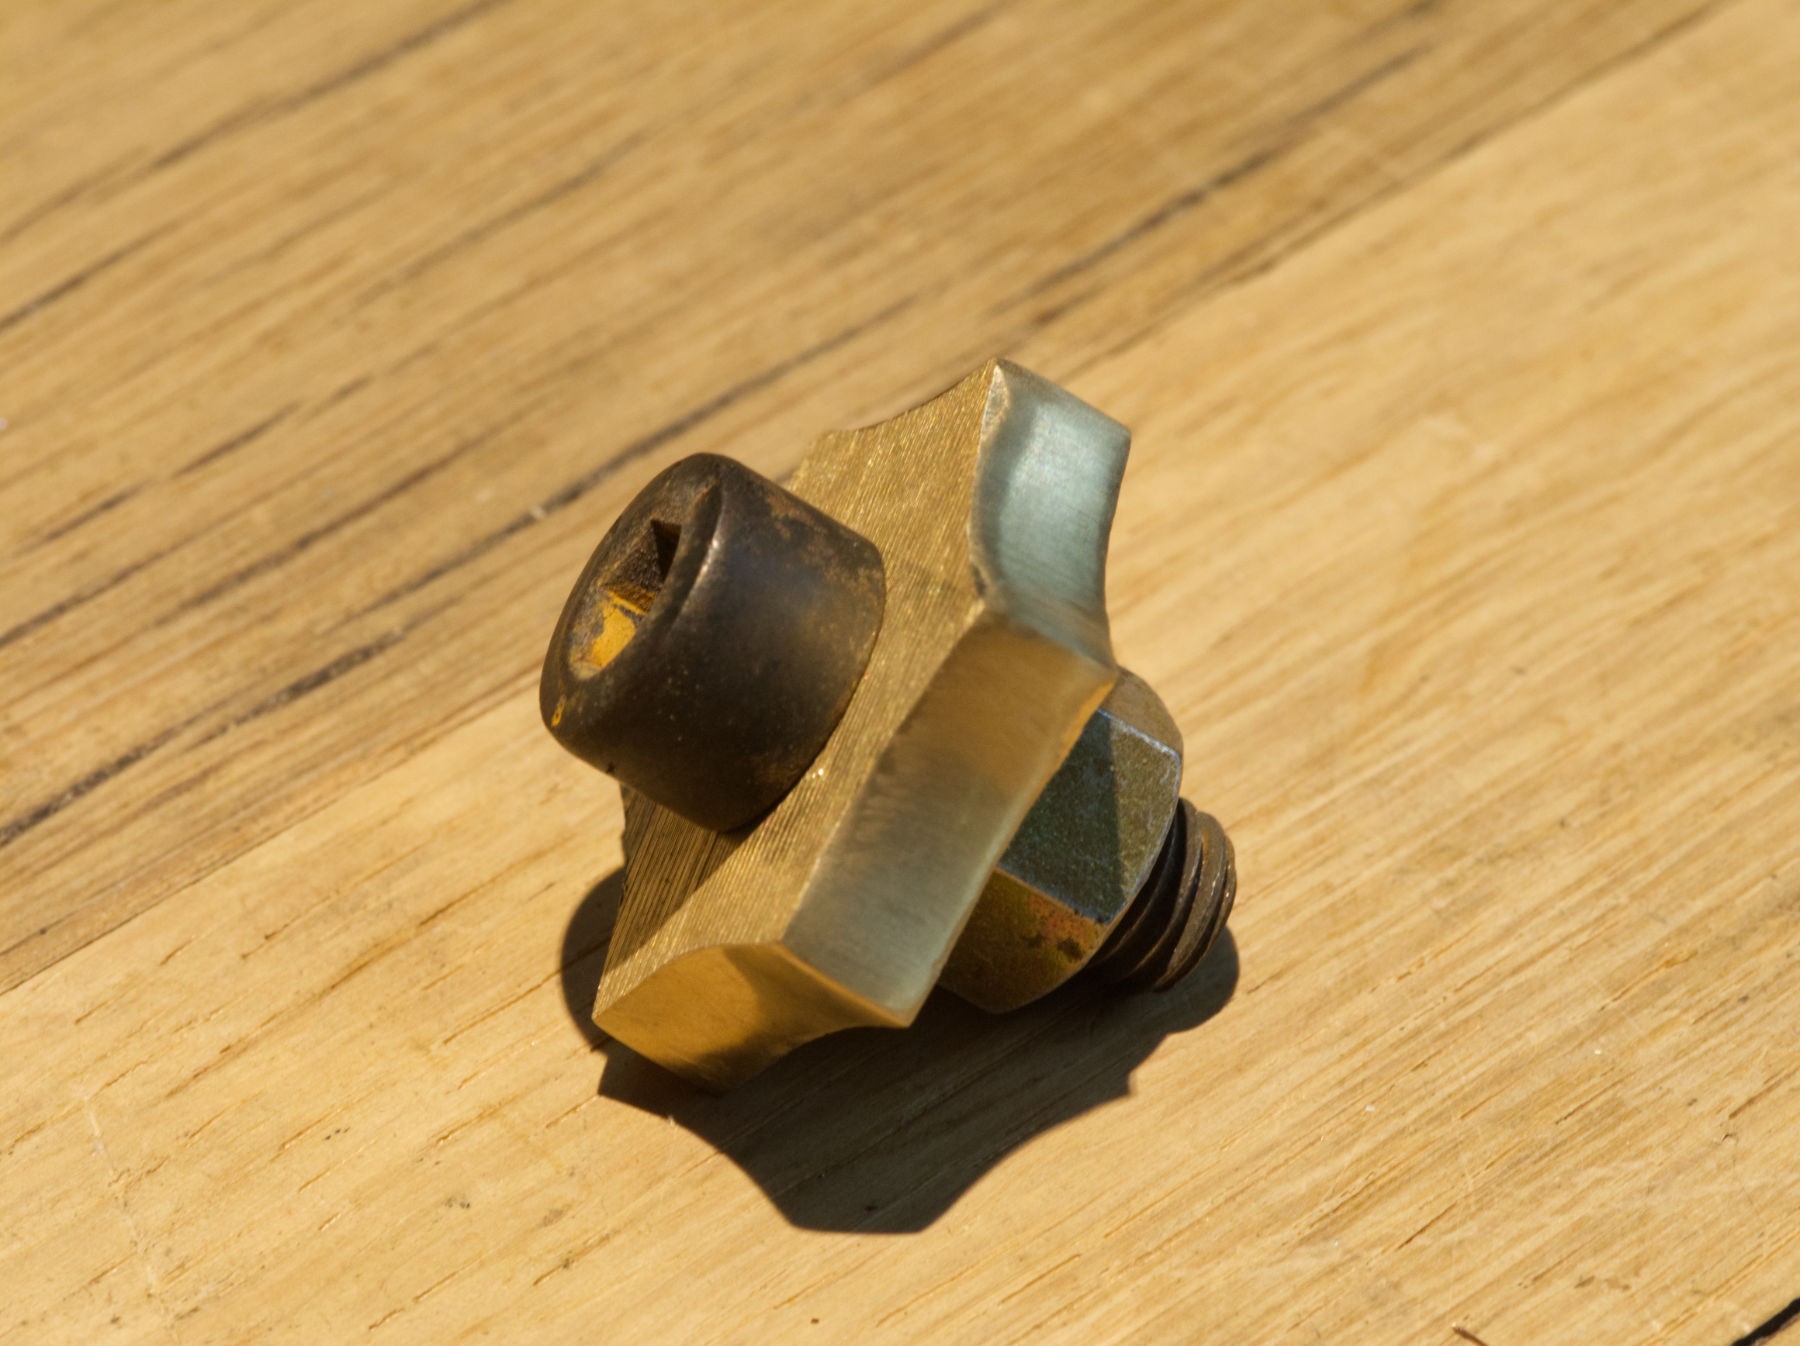
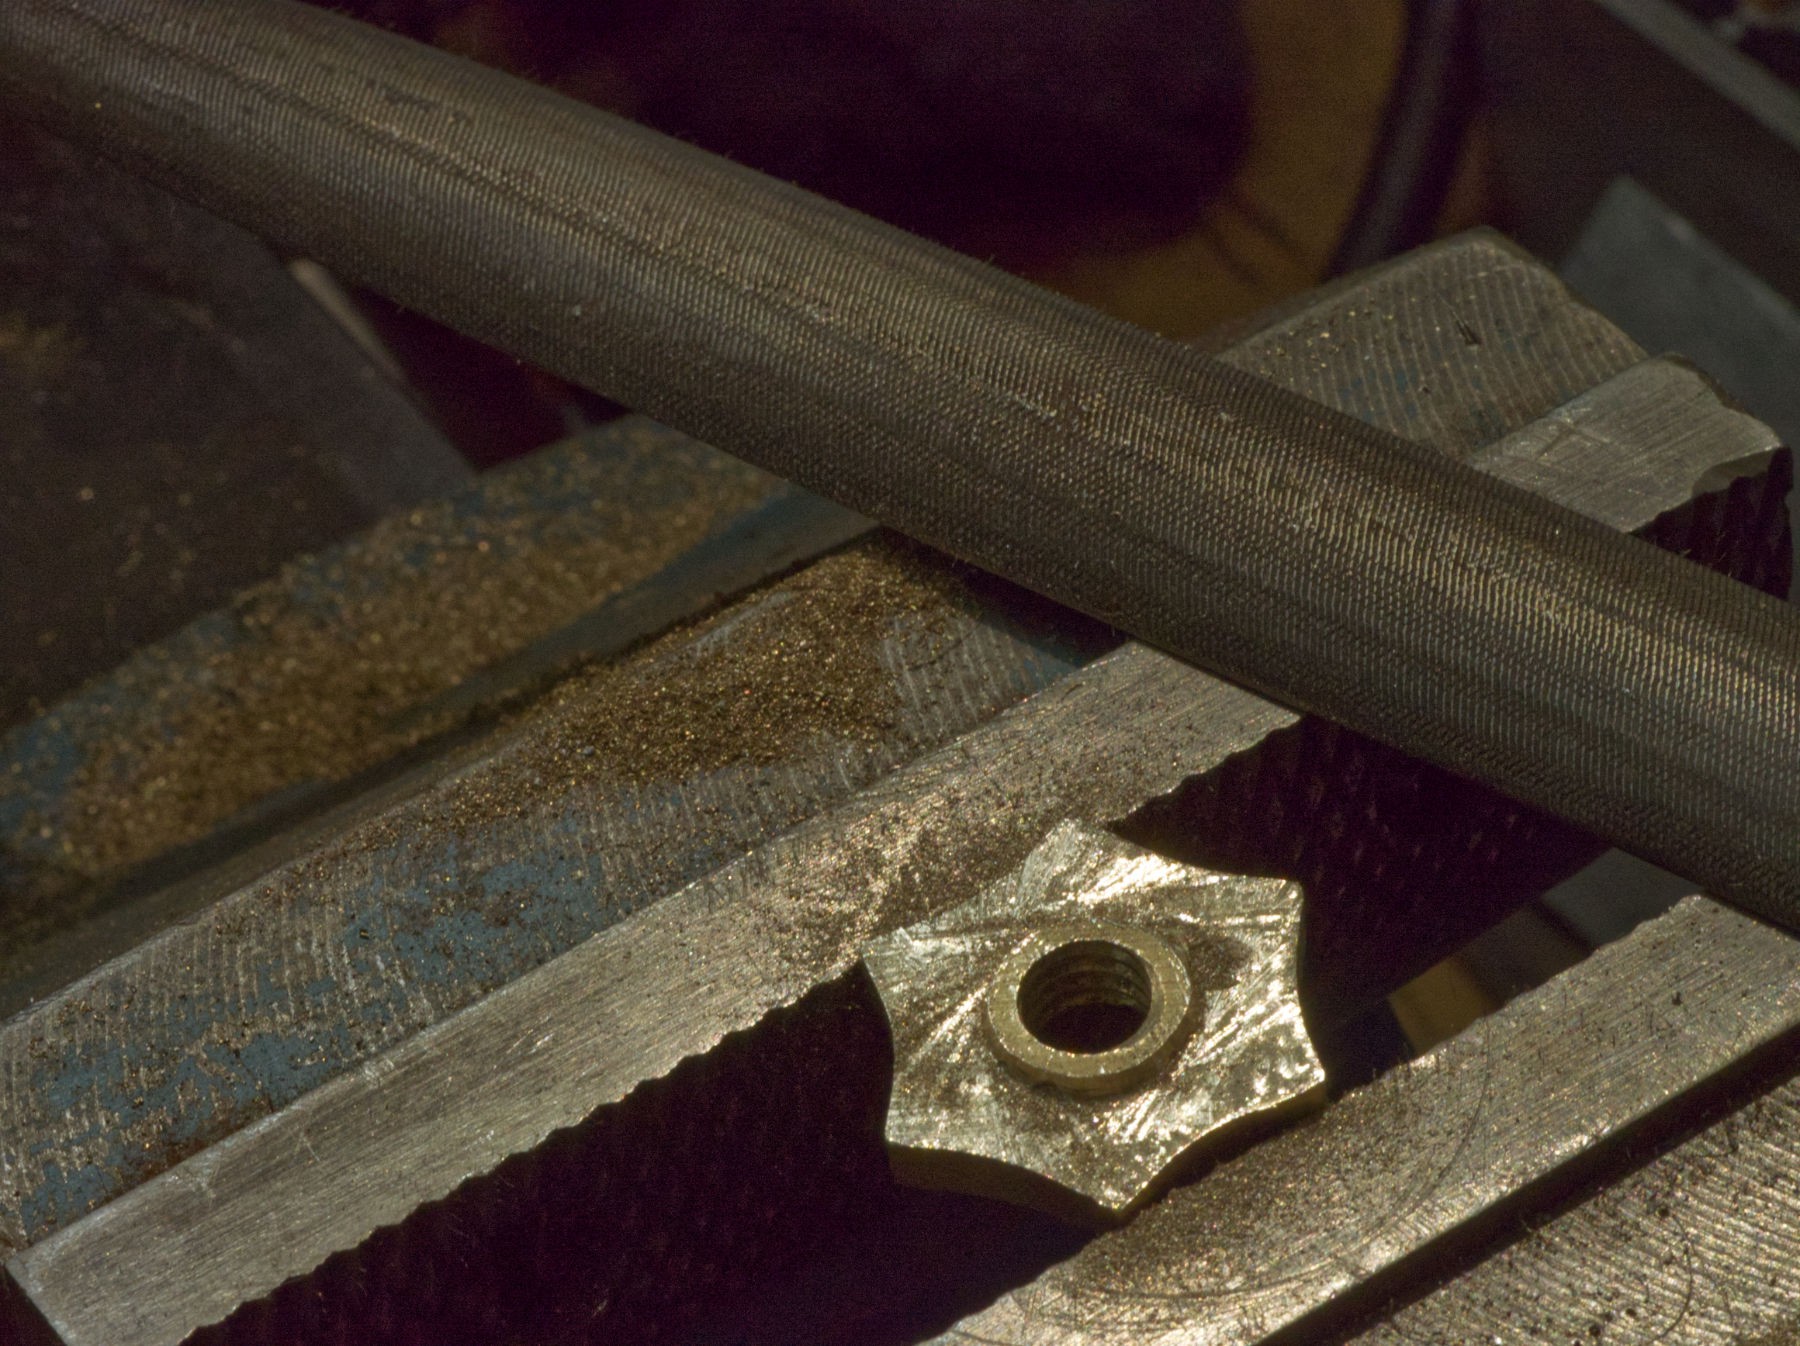
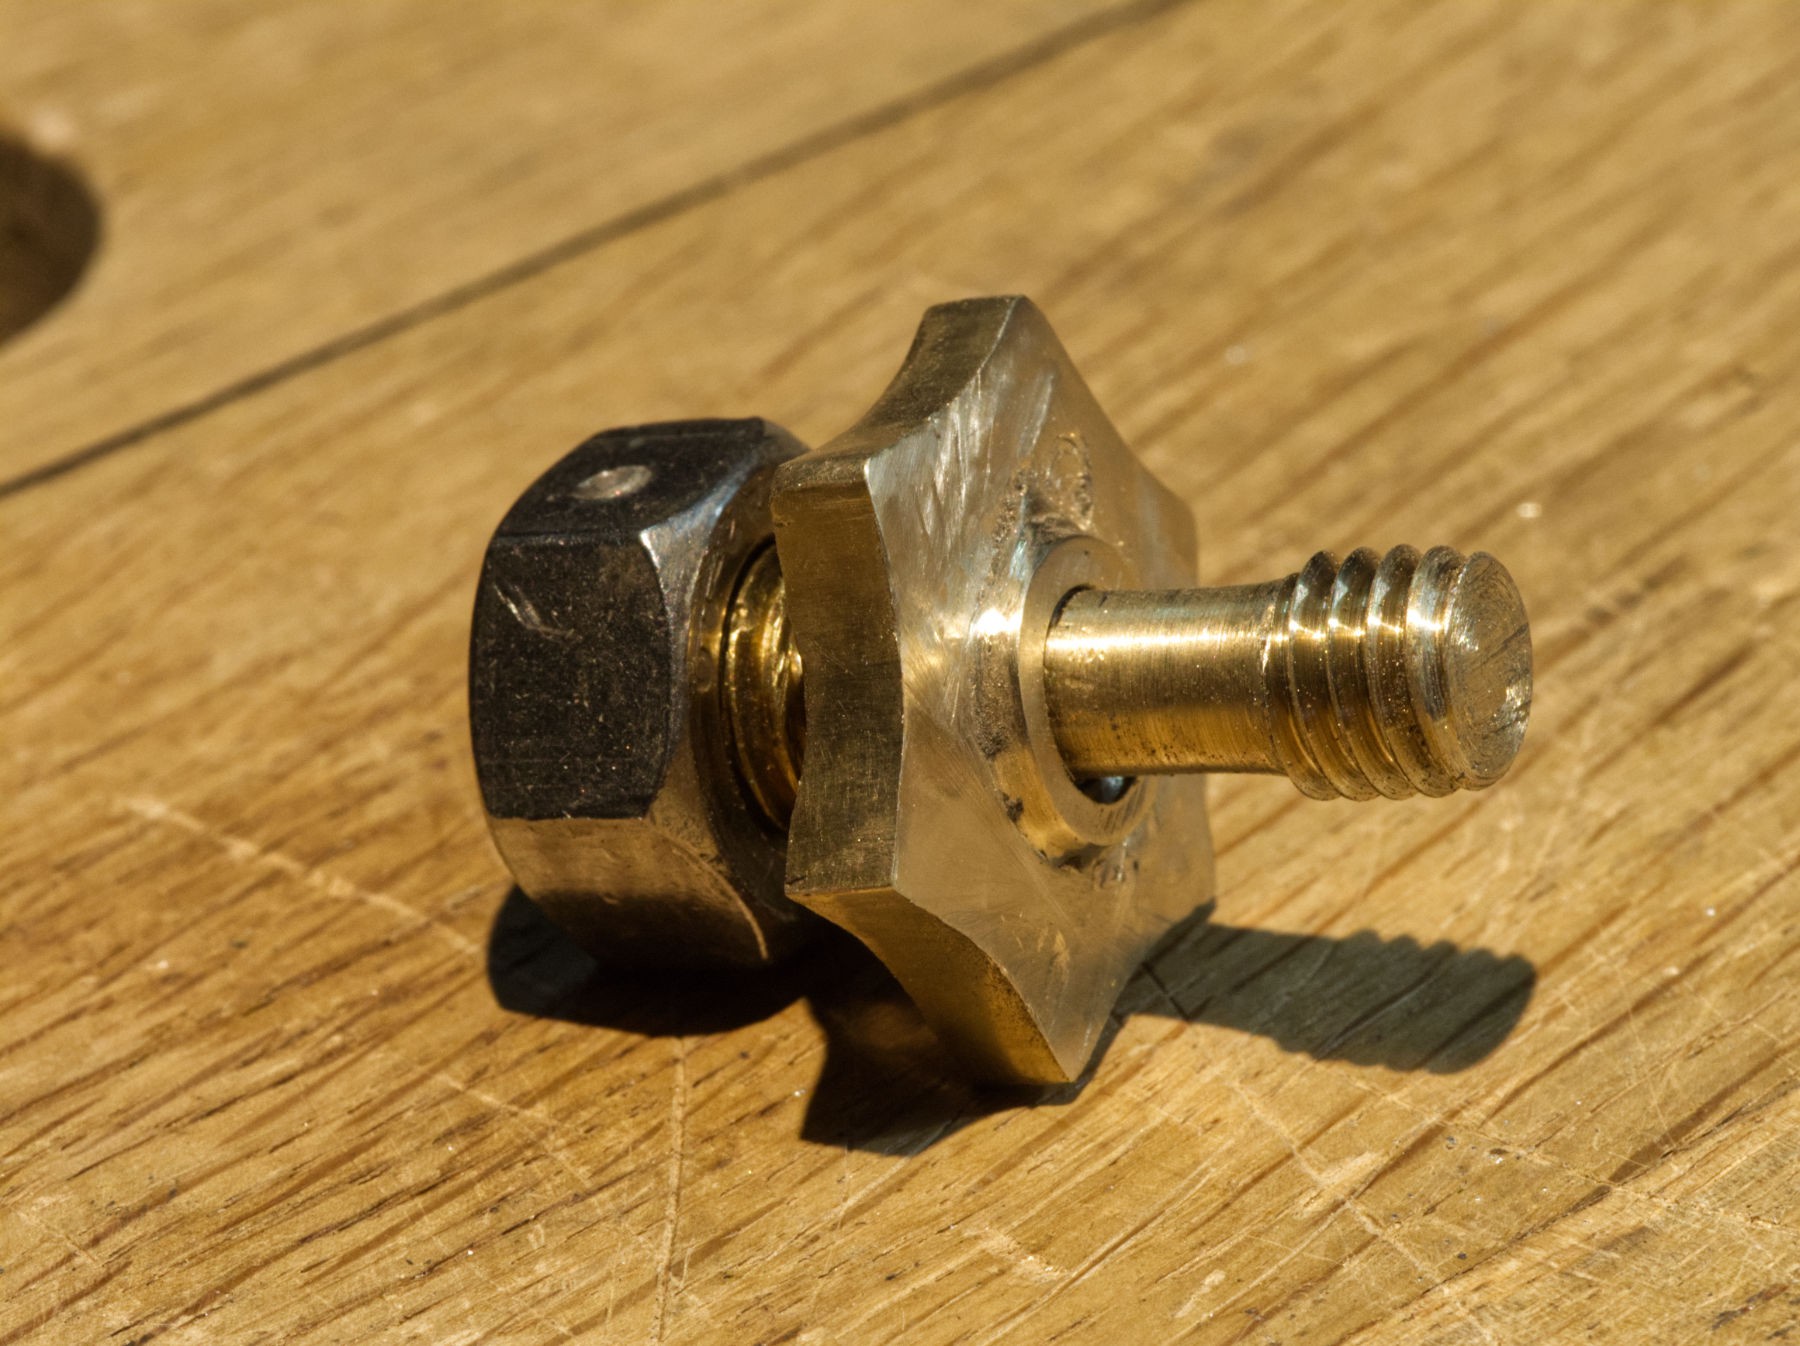
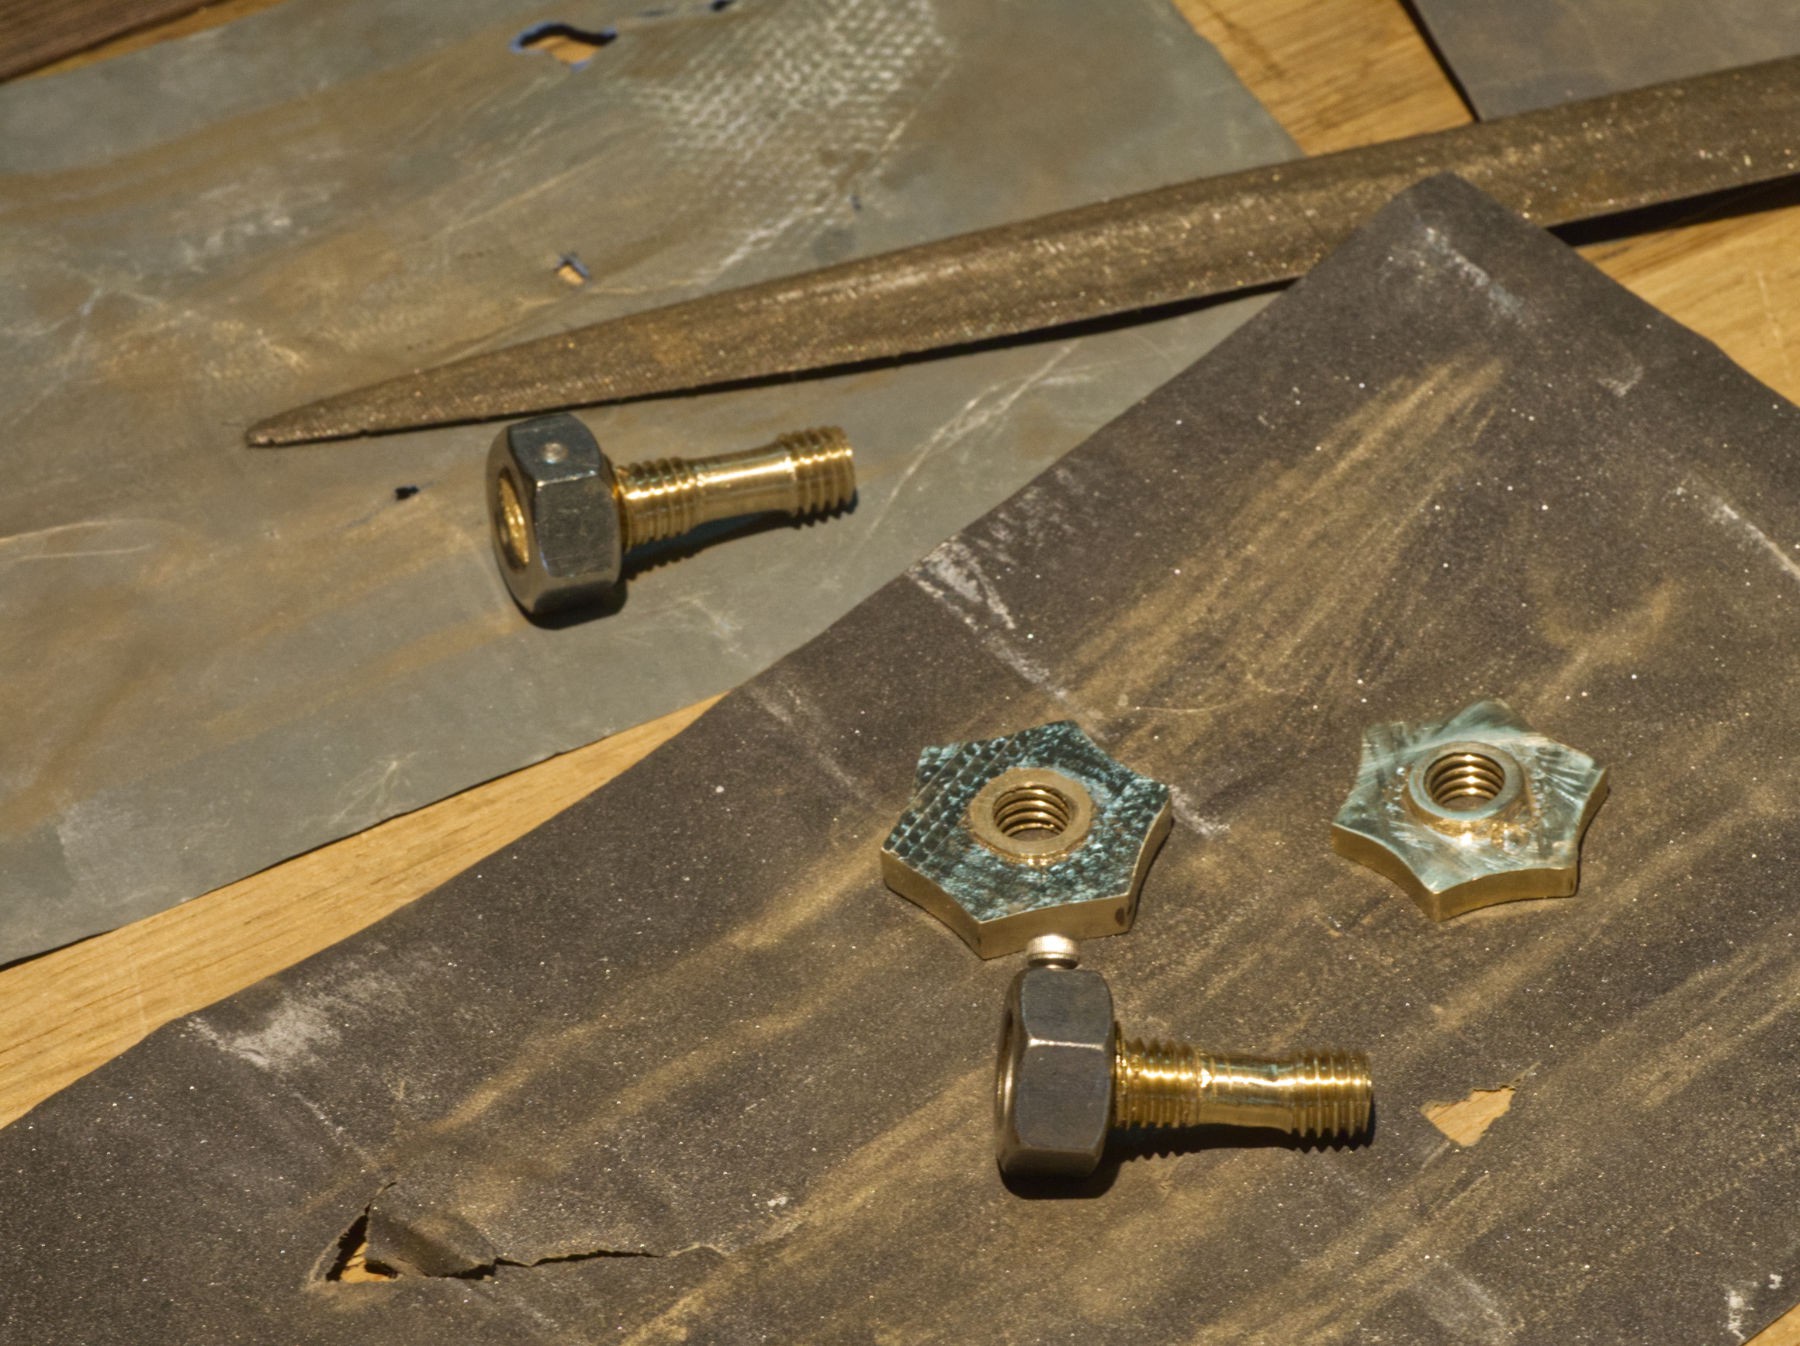
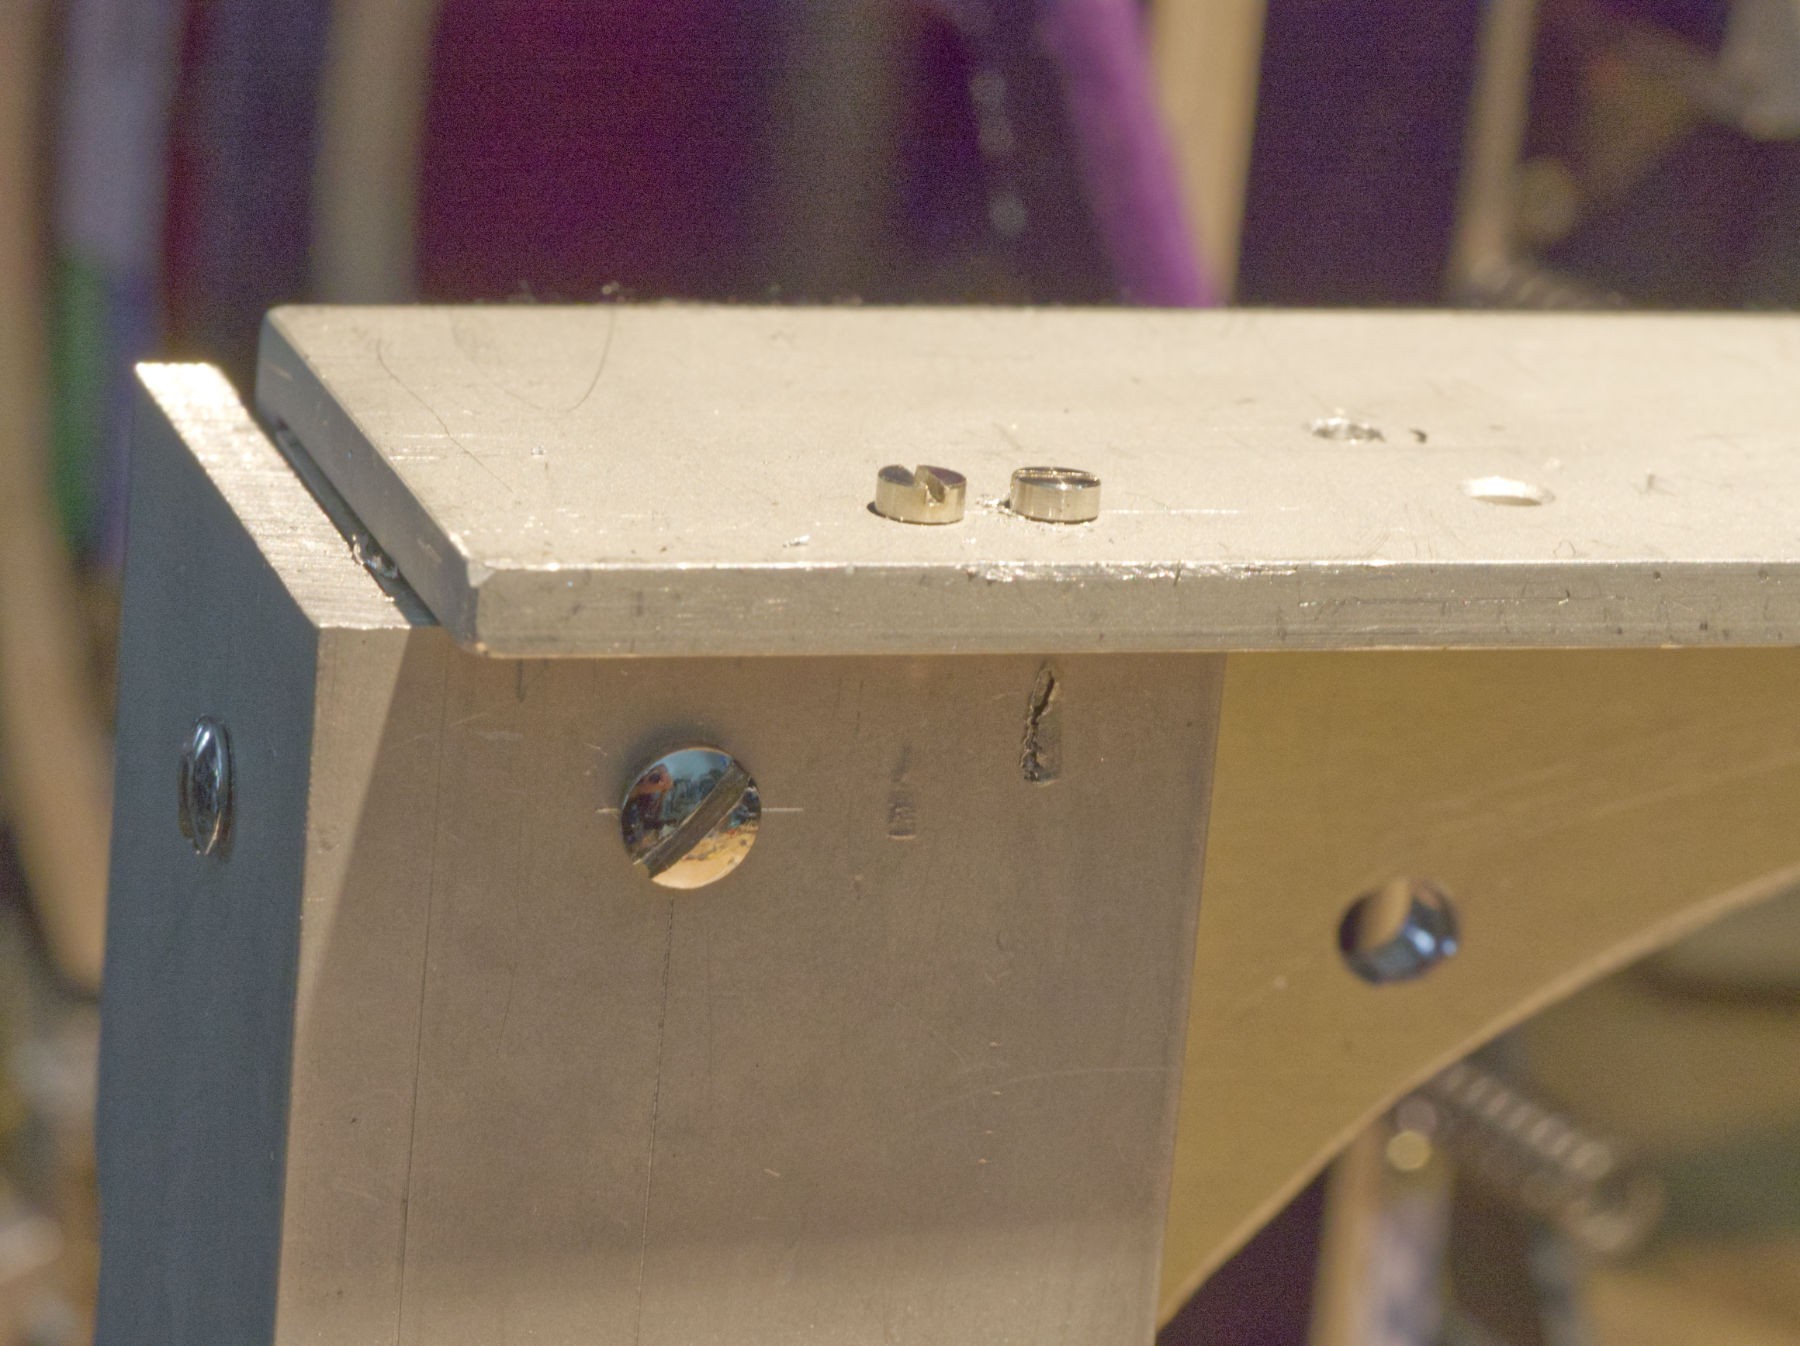
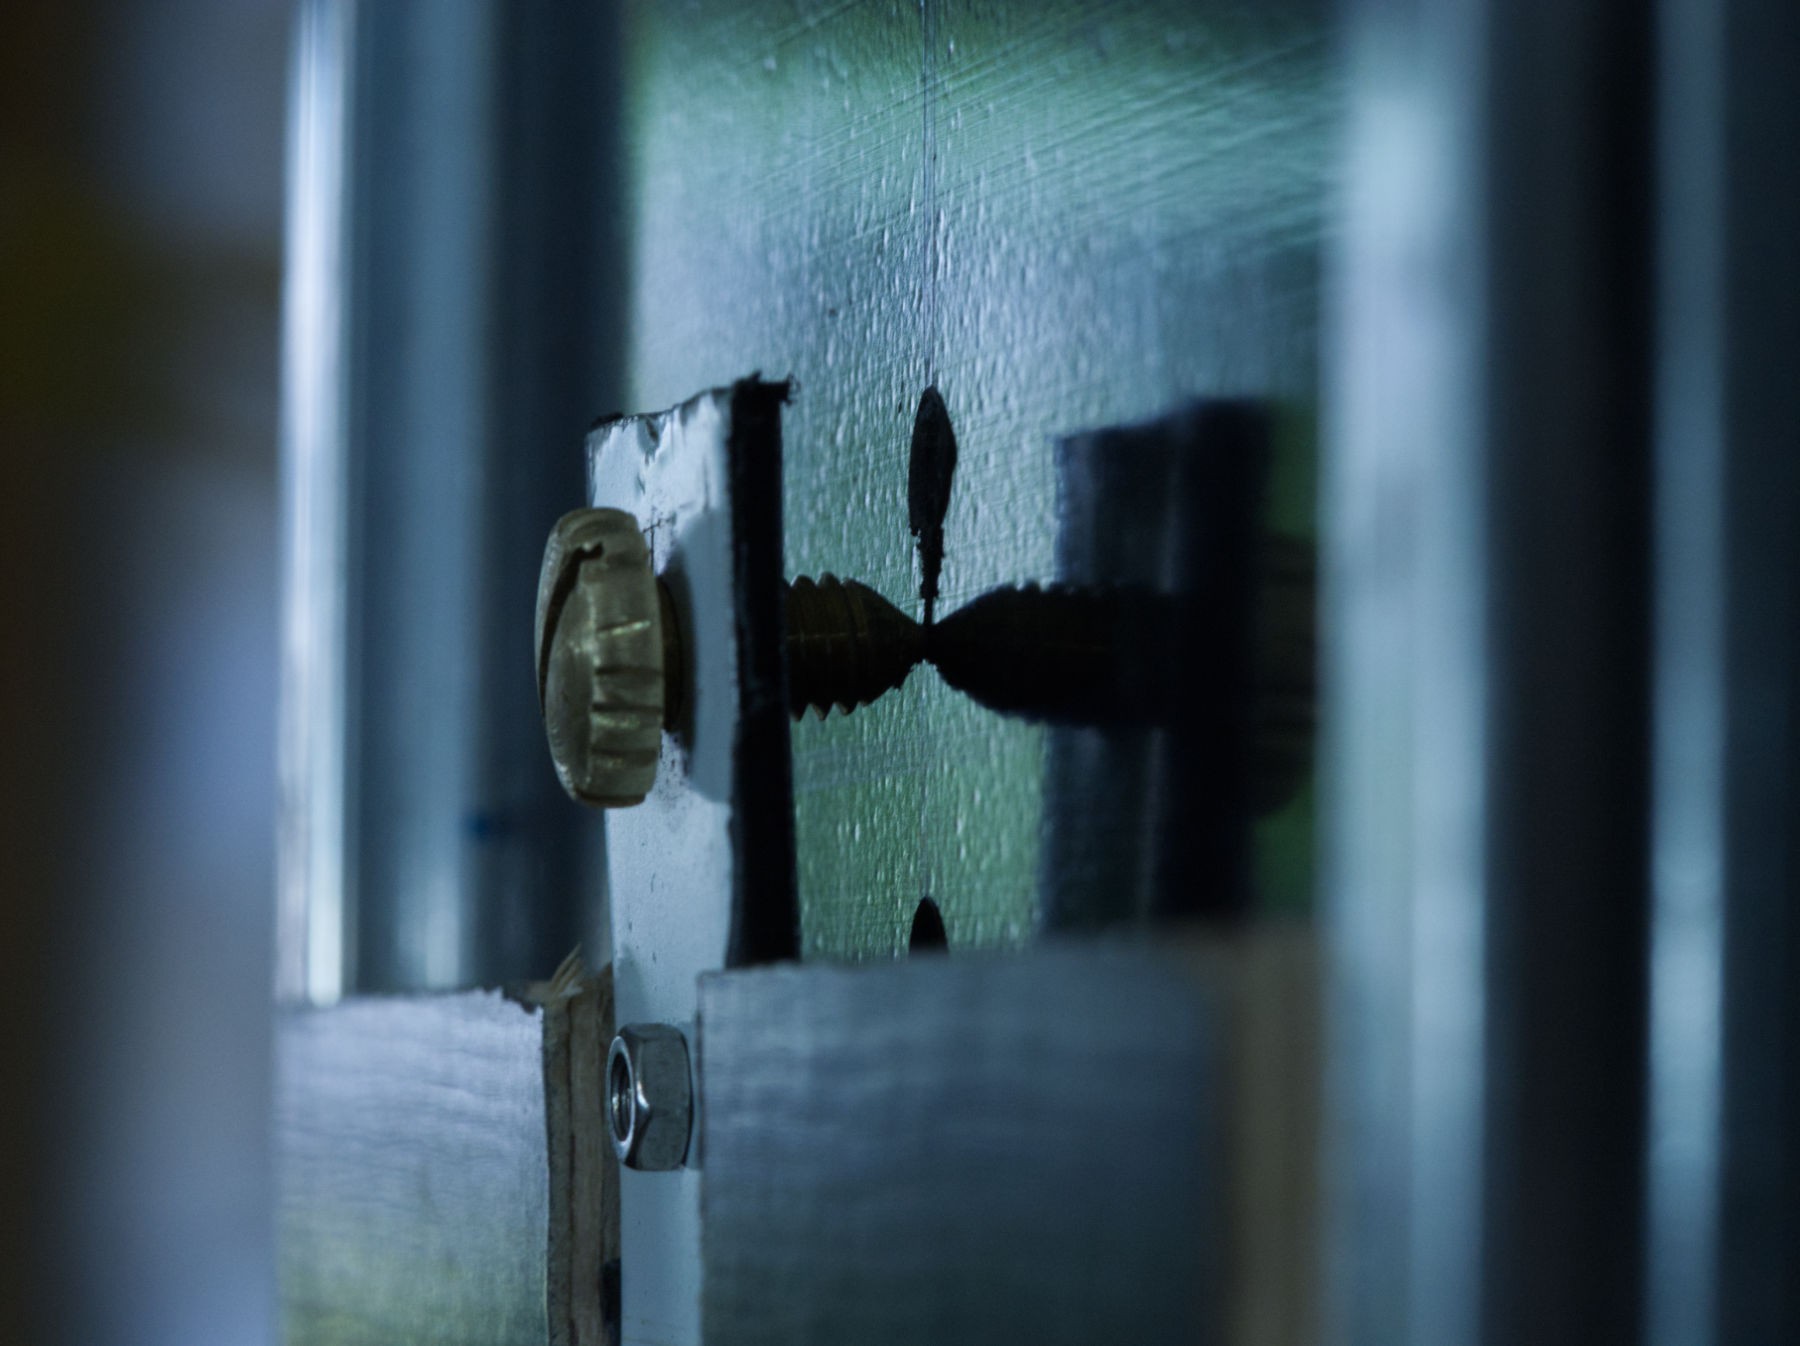
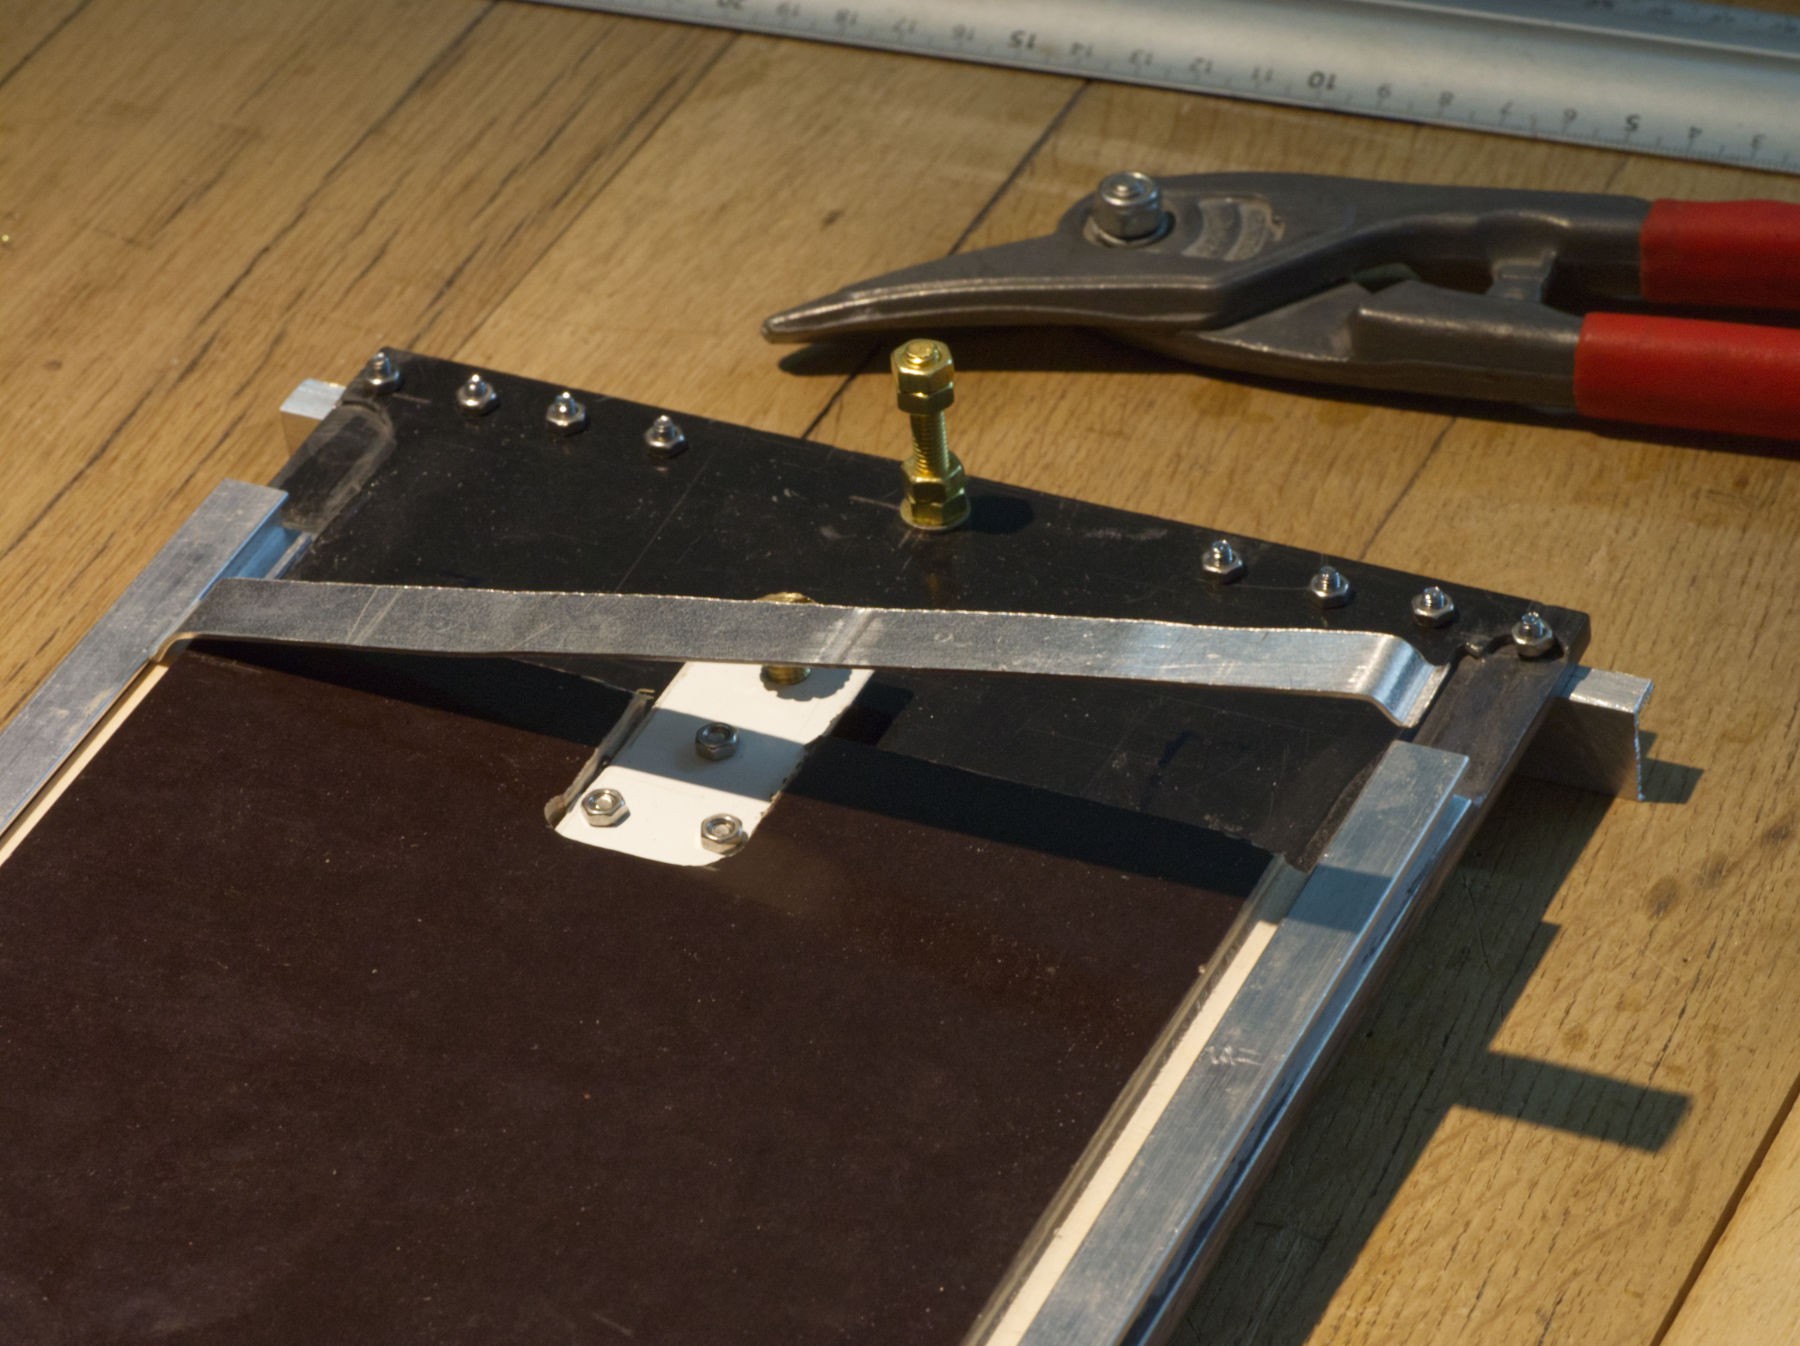
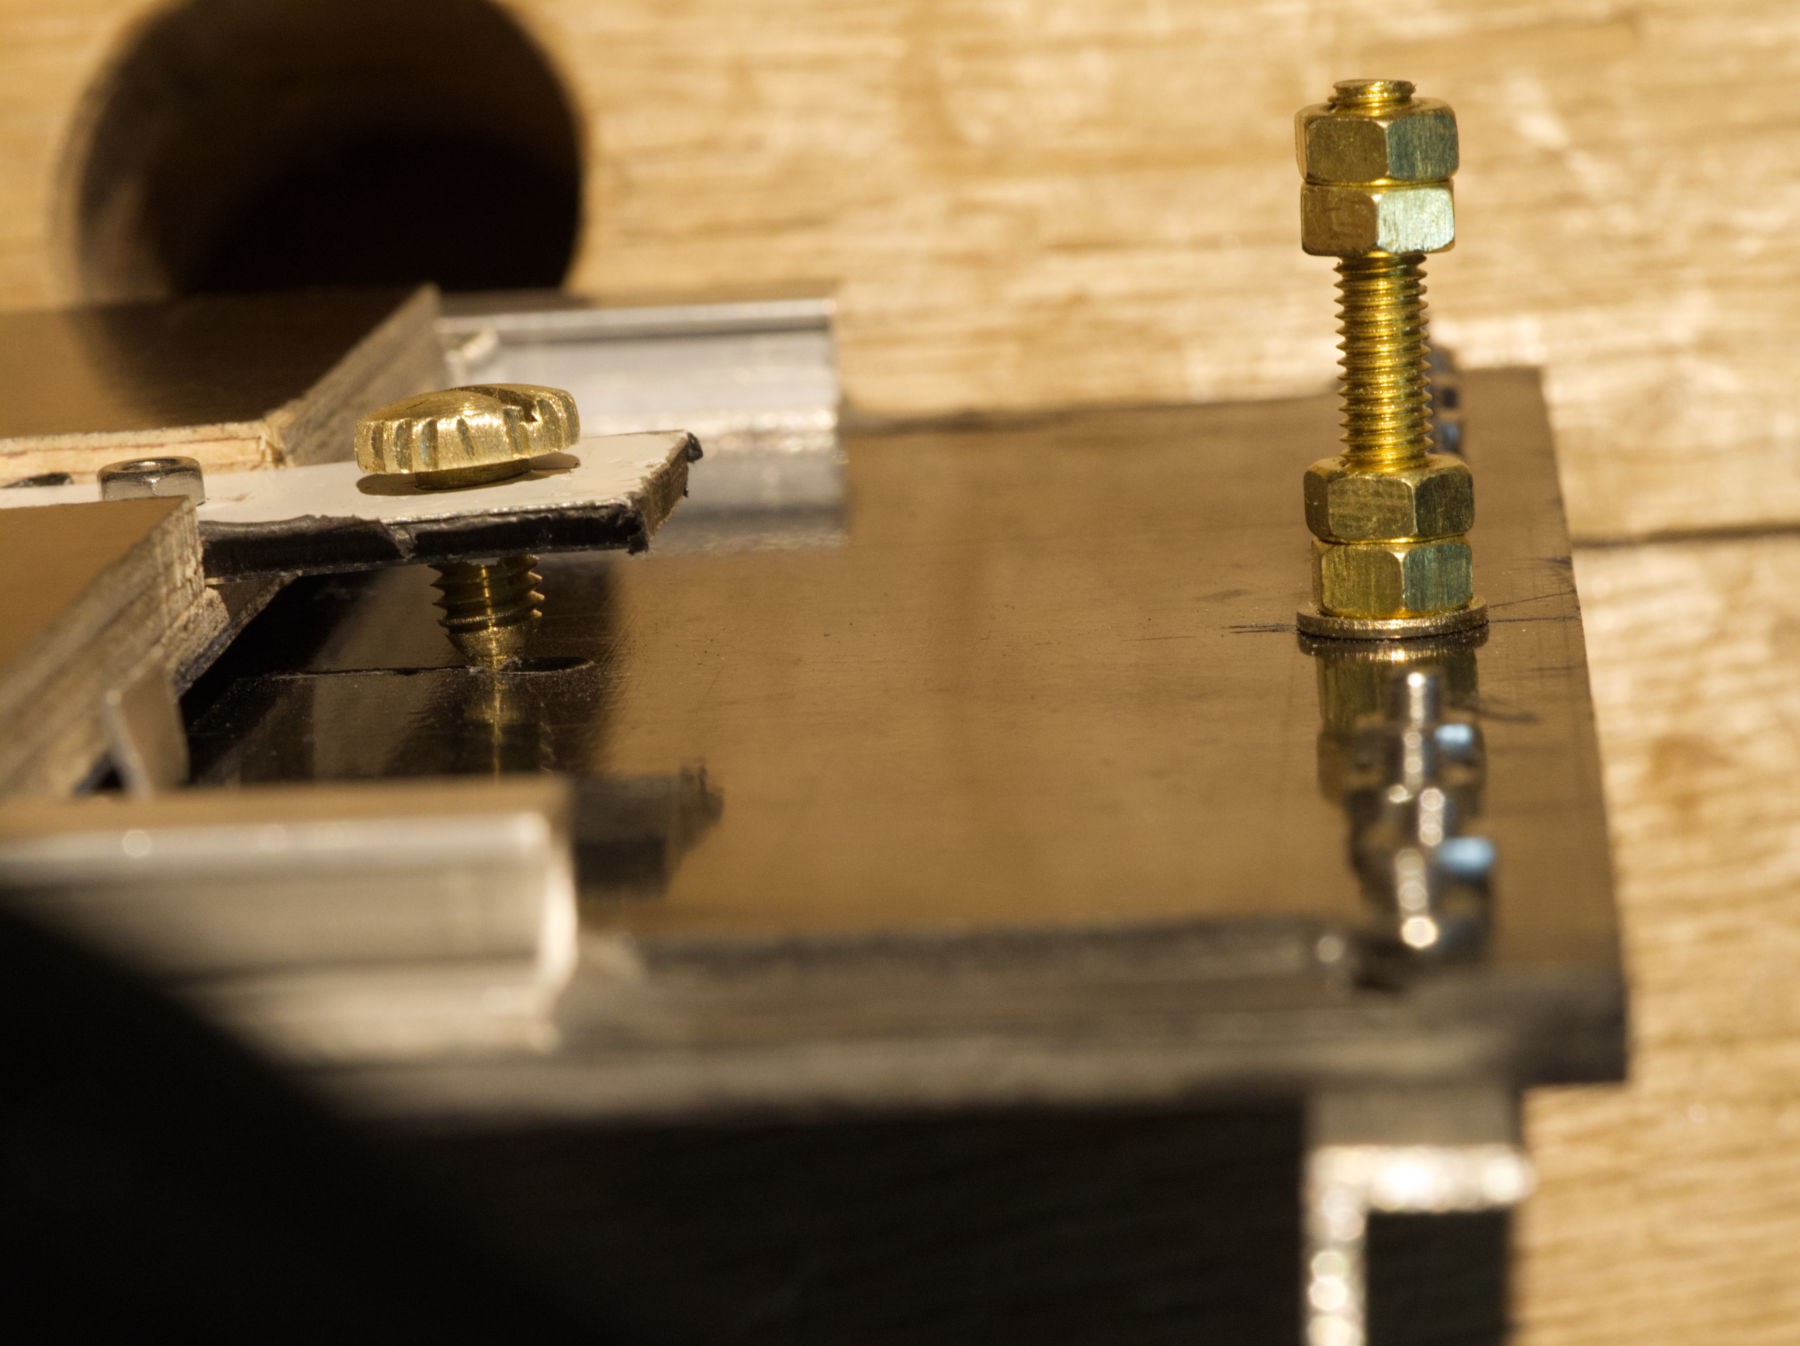
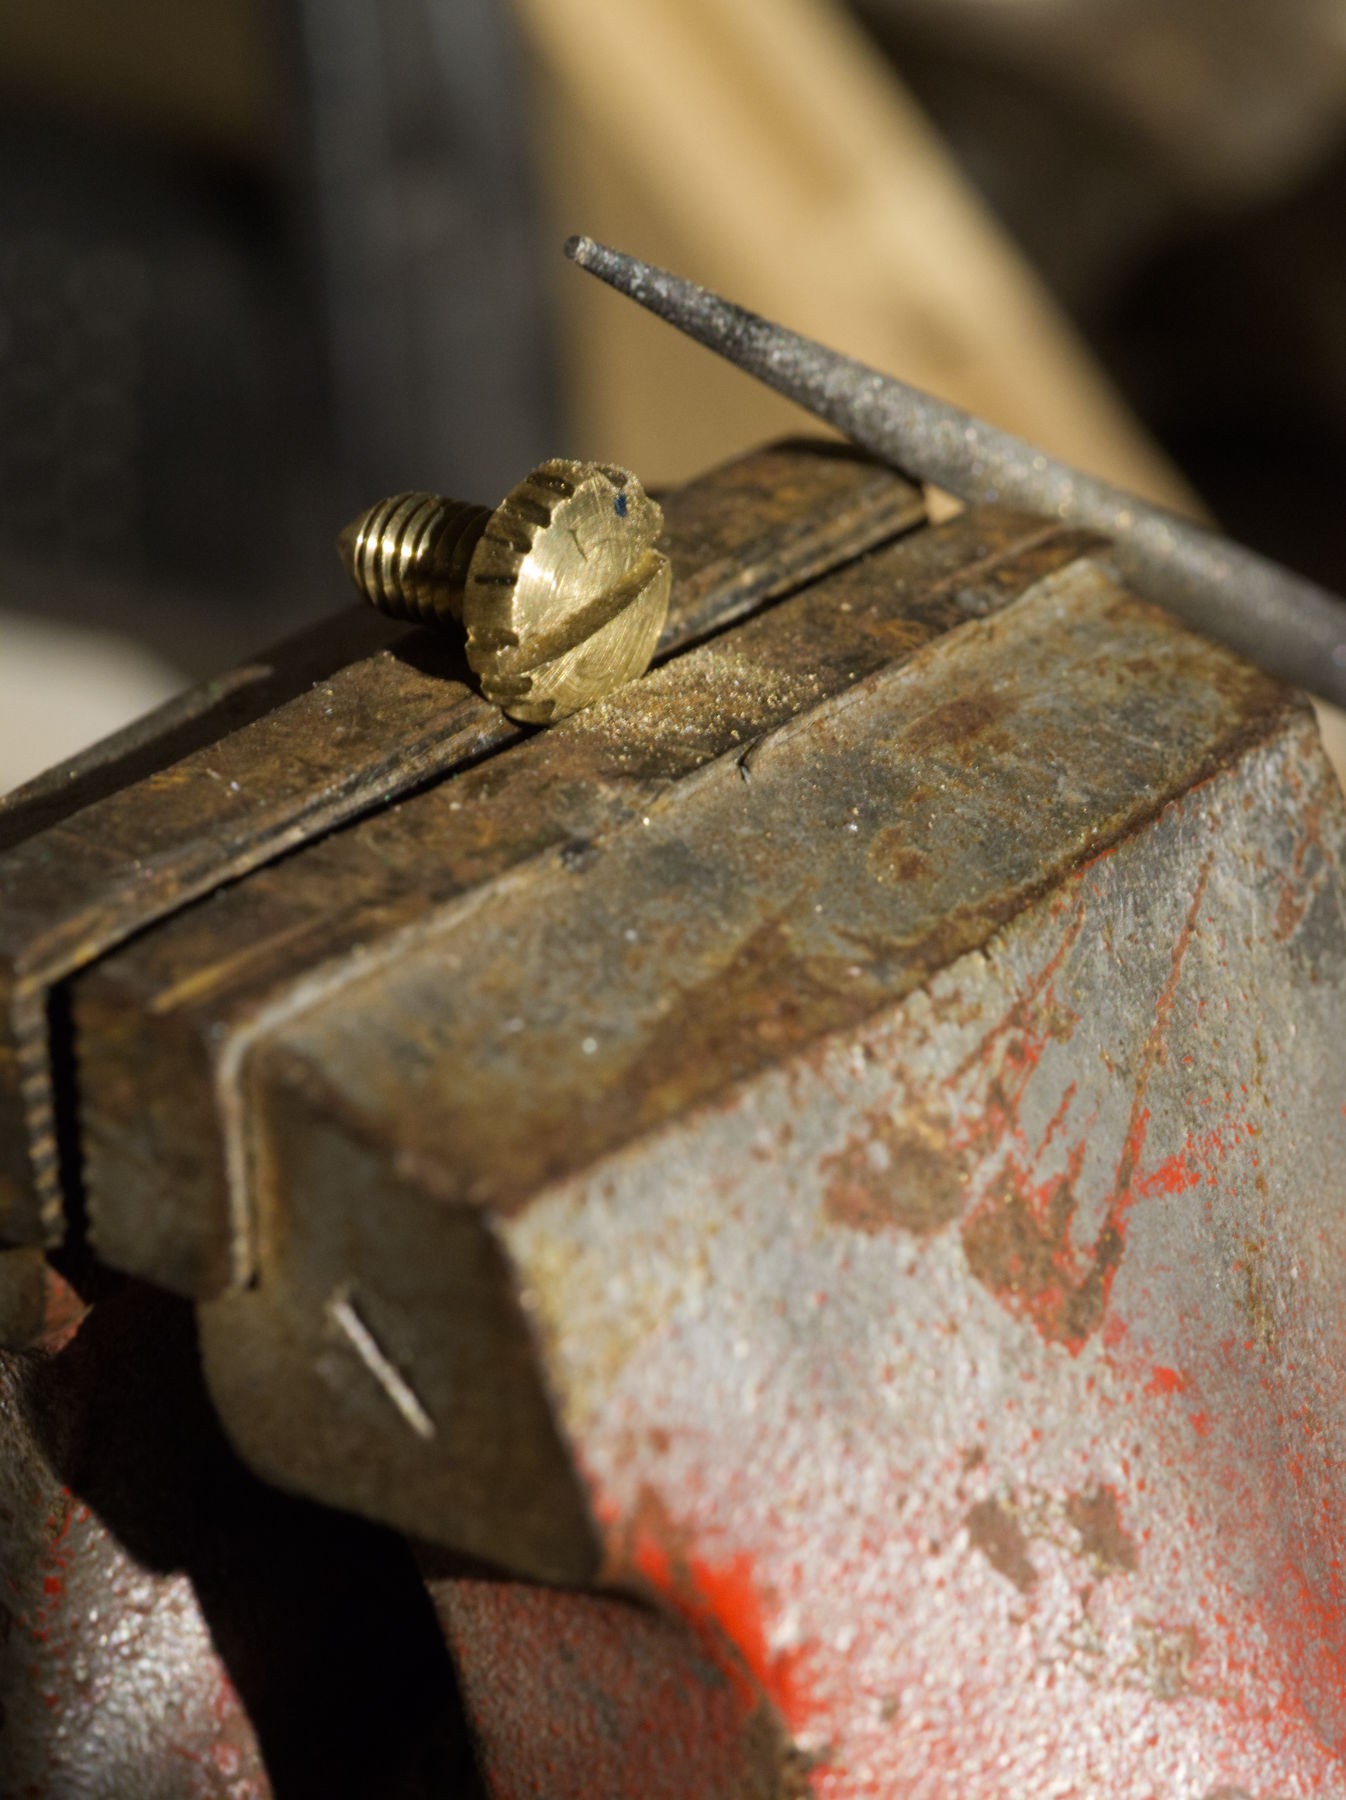
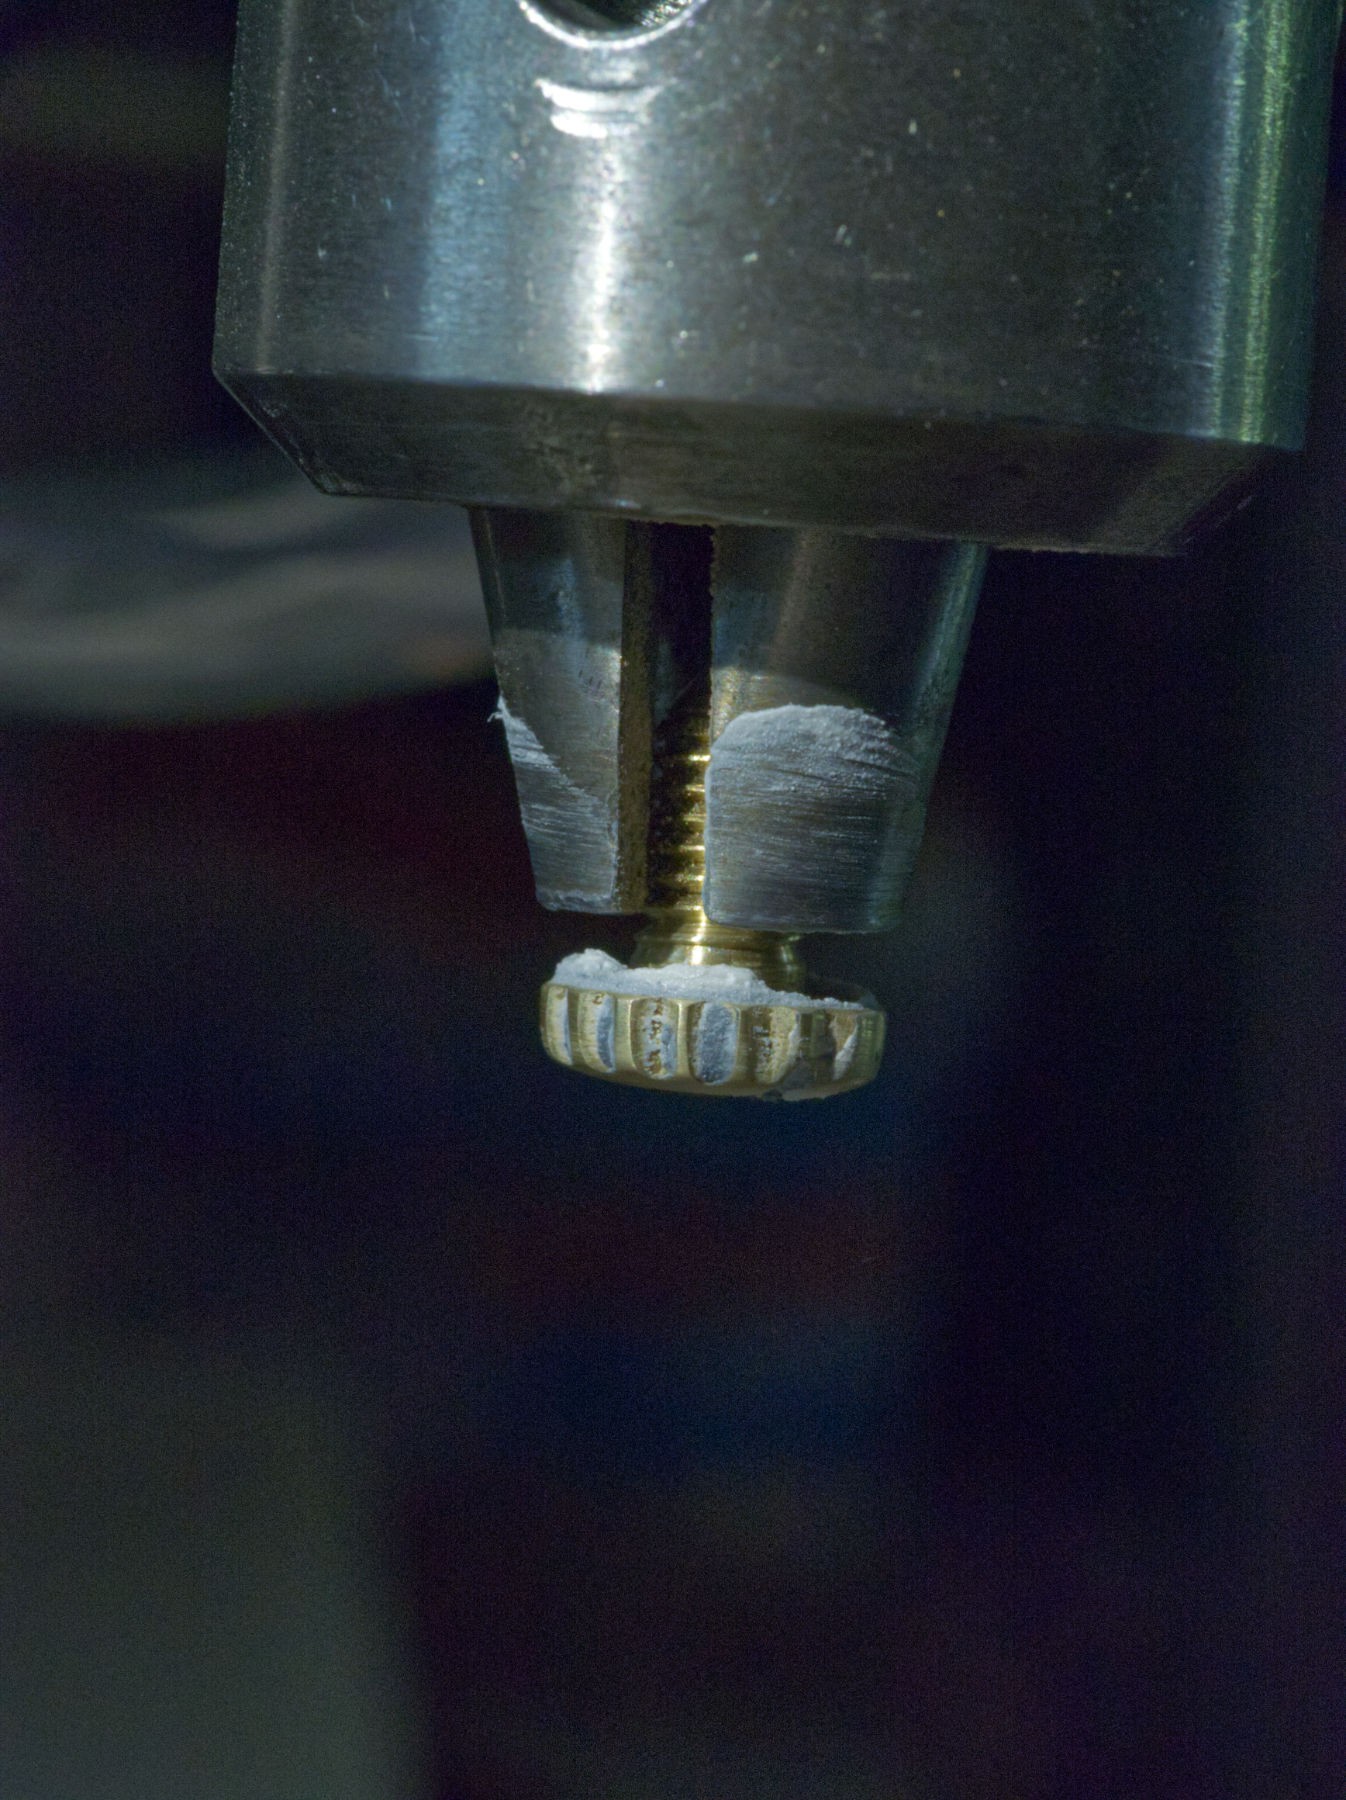
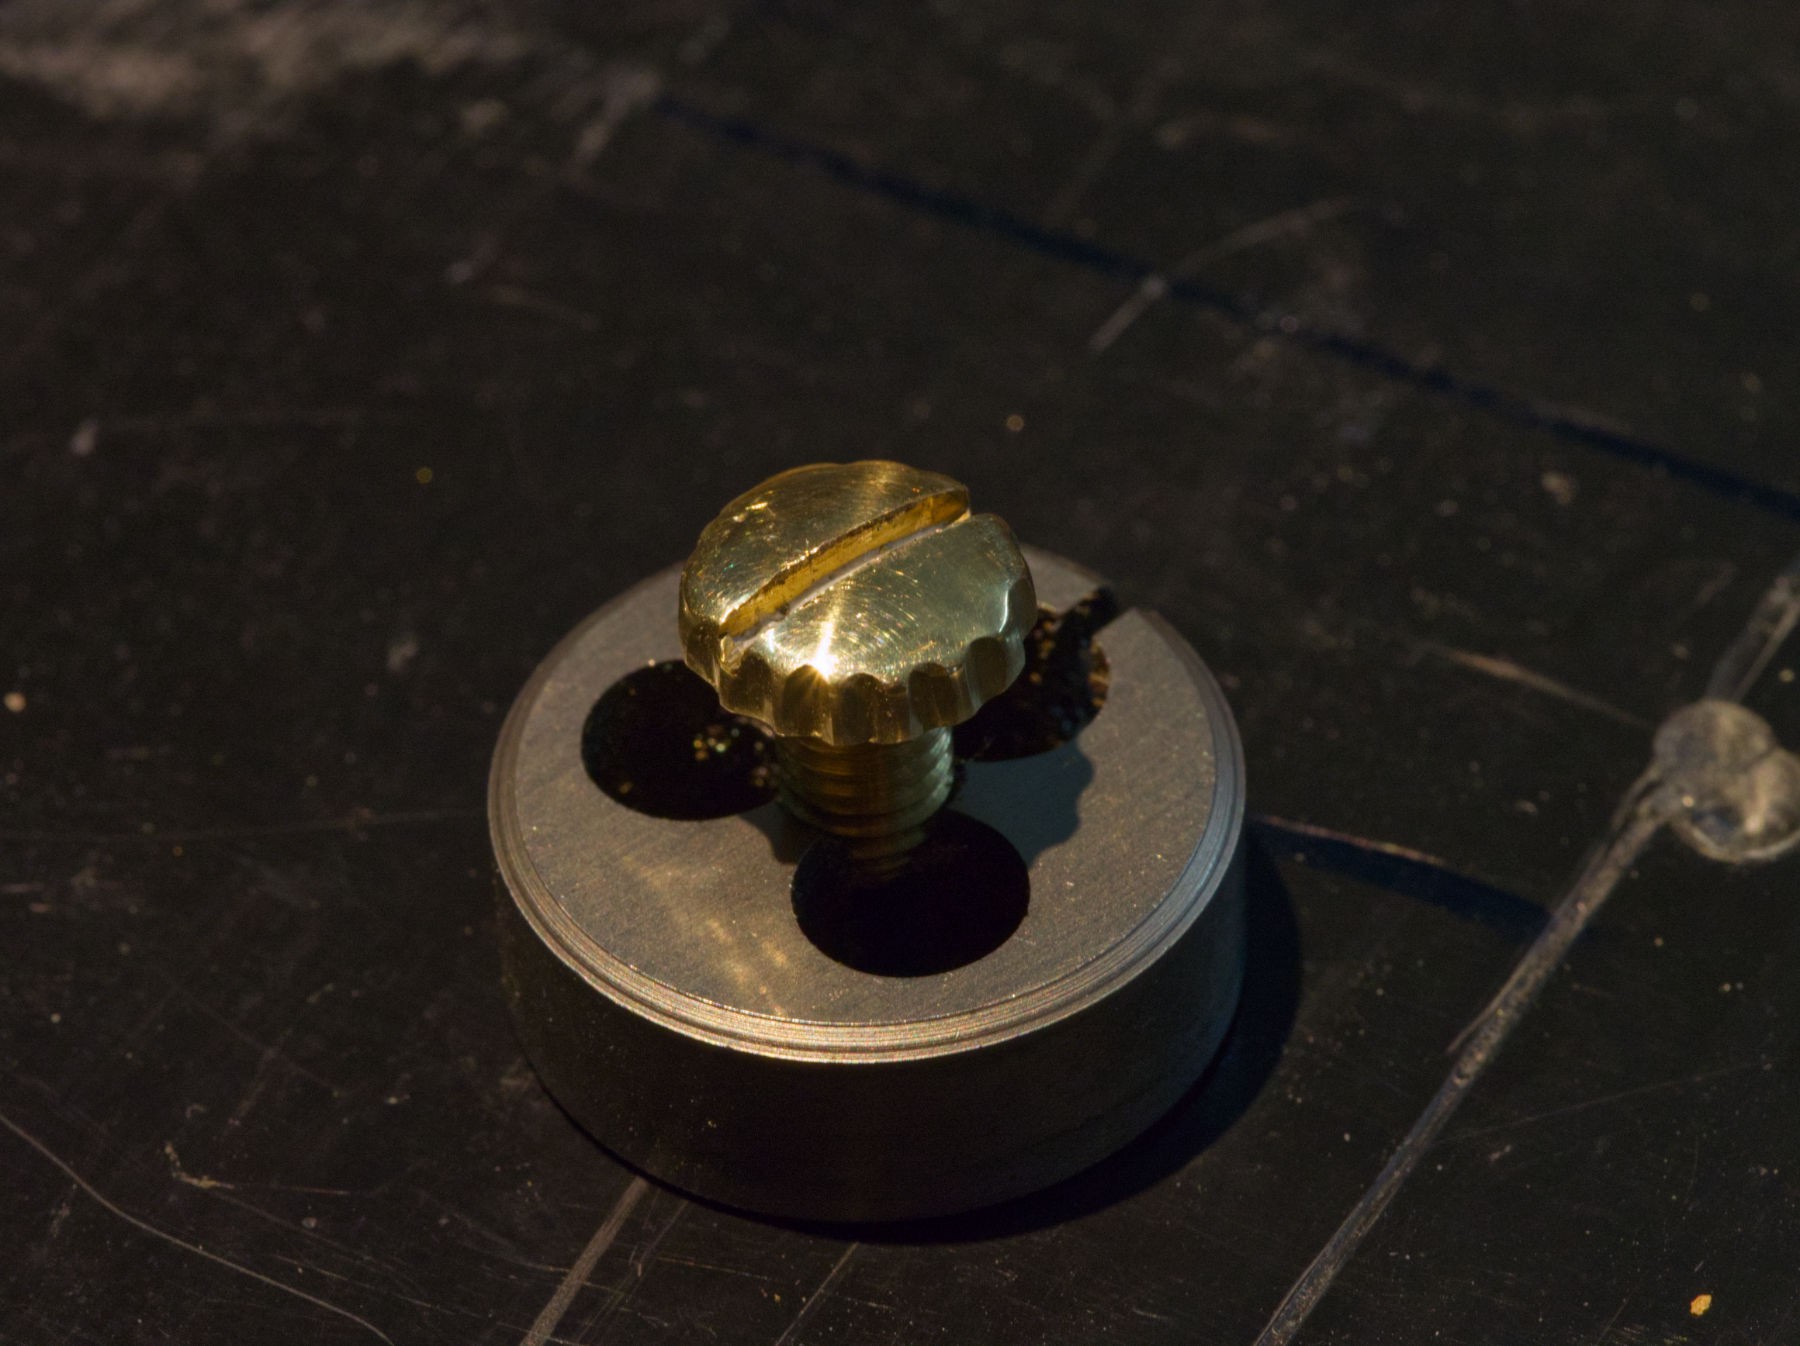
It has six holes that are perfect for those nice brass 5 mm screws (nearly all the mesures are metric, except for the 3/8 " screw for the tripod, and the name of the lens, made in UK) found the other day in bulk, and an 3 mm very hard (un-bendable) aluminium (in French, we use that i whatever the controversy is between the shores of the Atlantic Ocean)  plate.

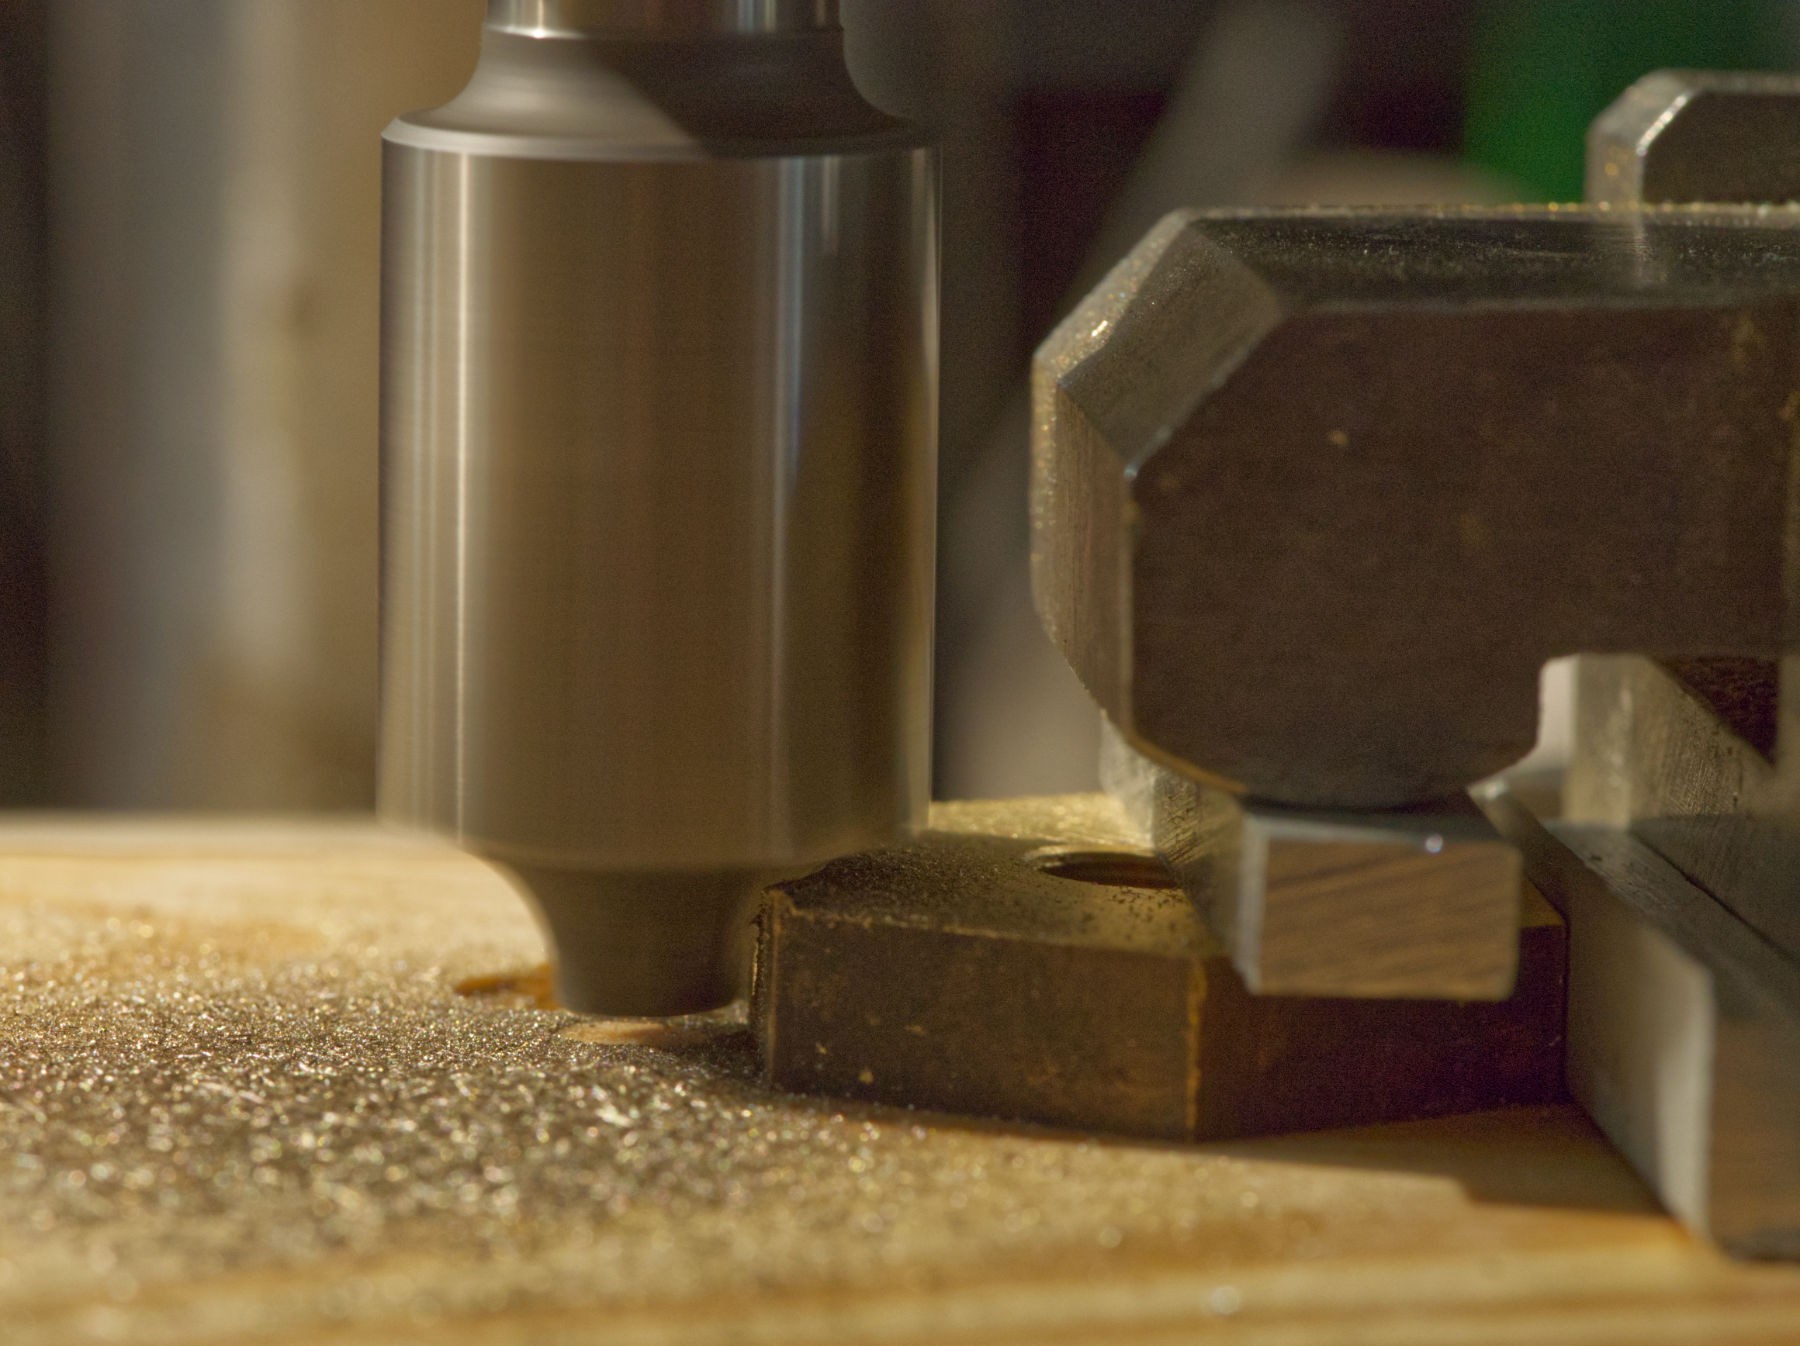
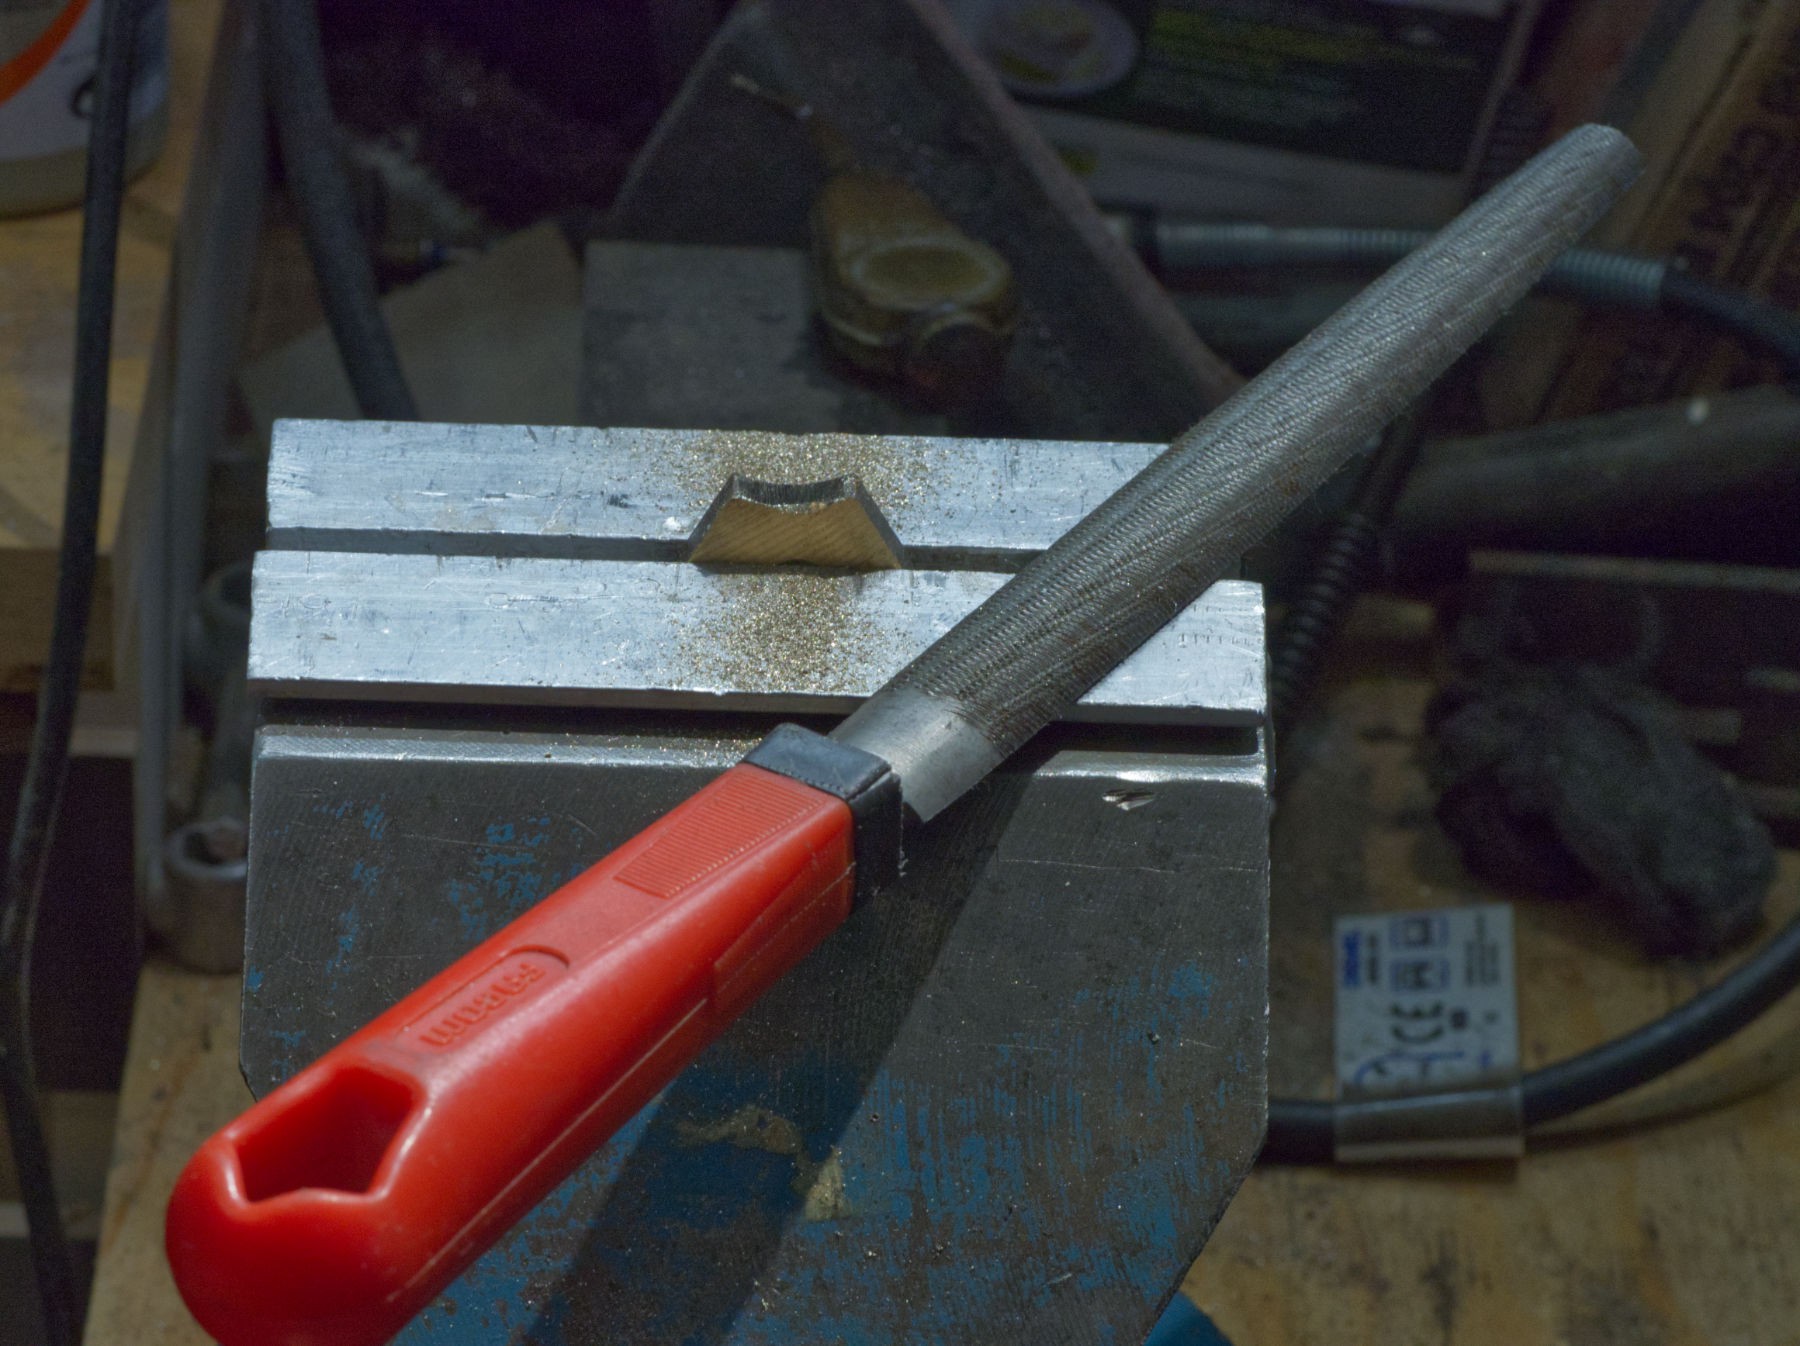
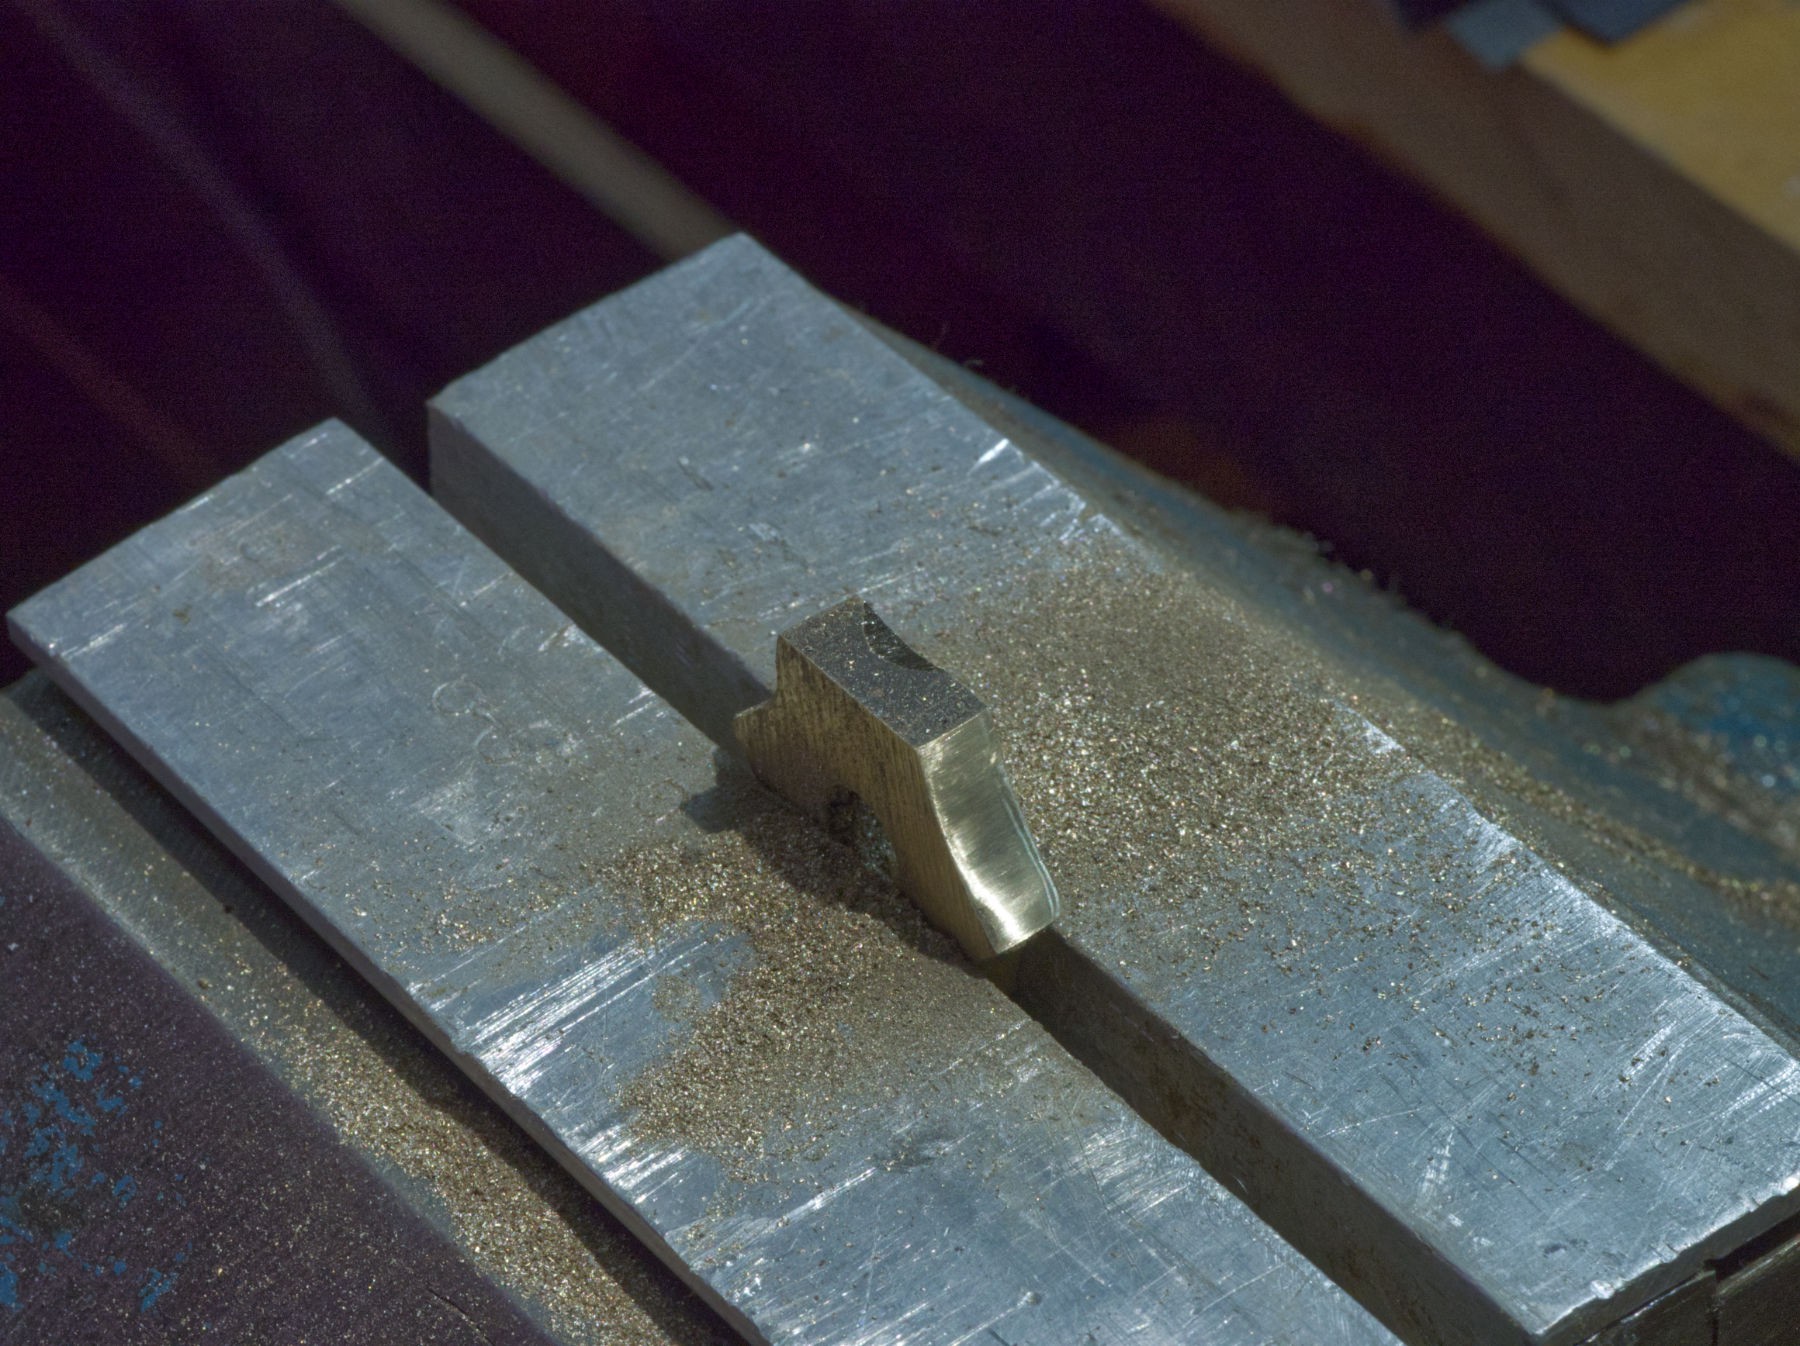
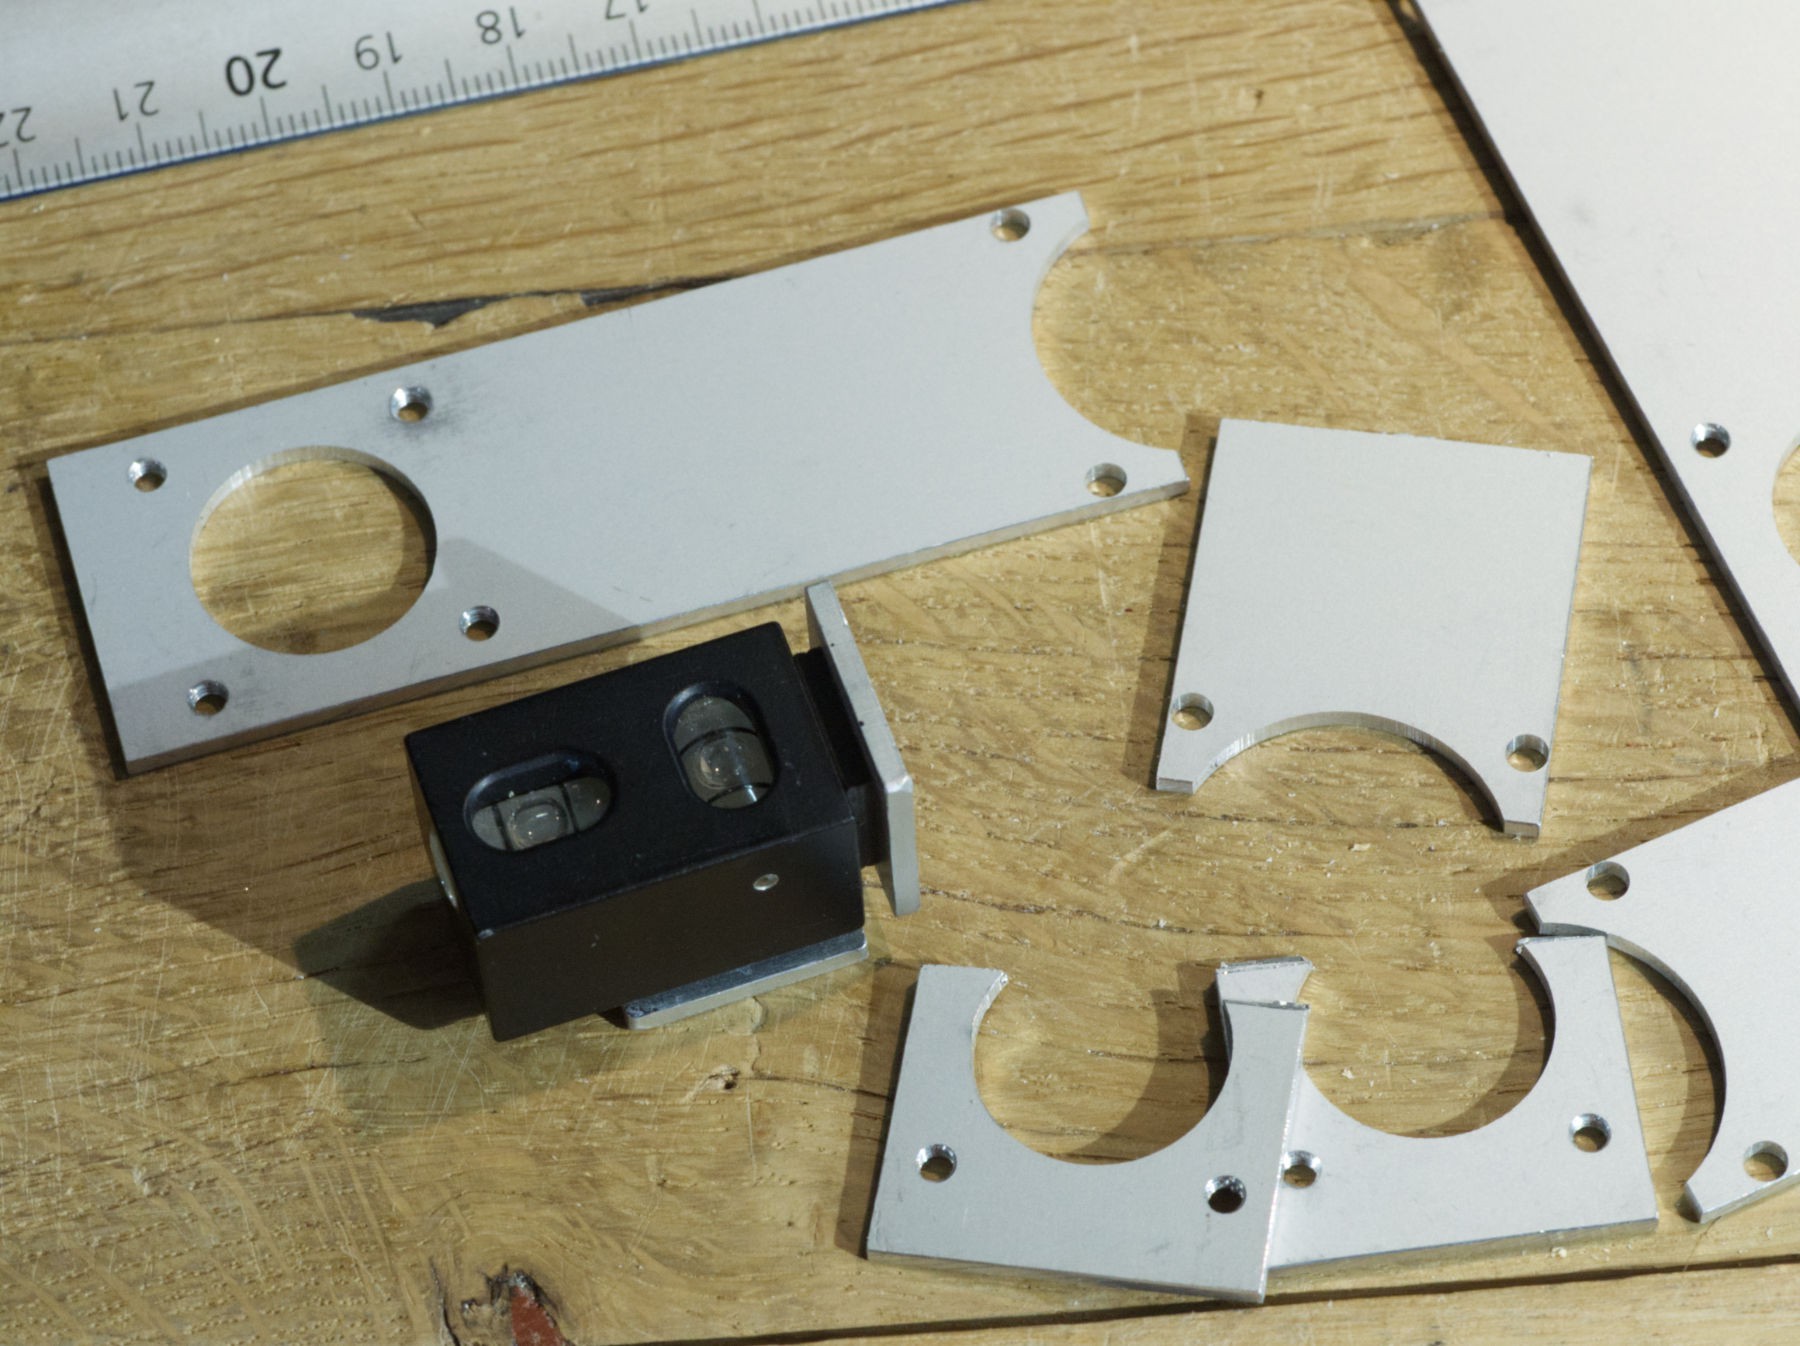
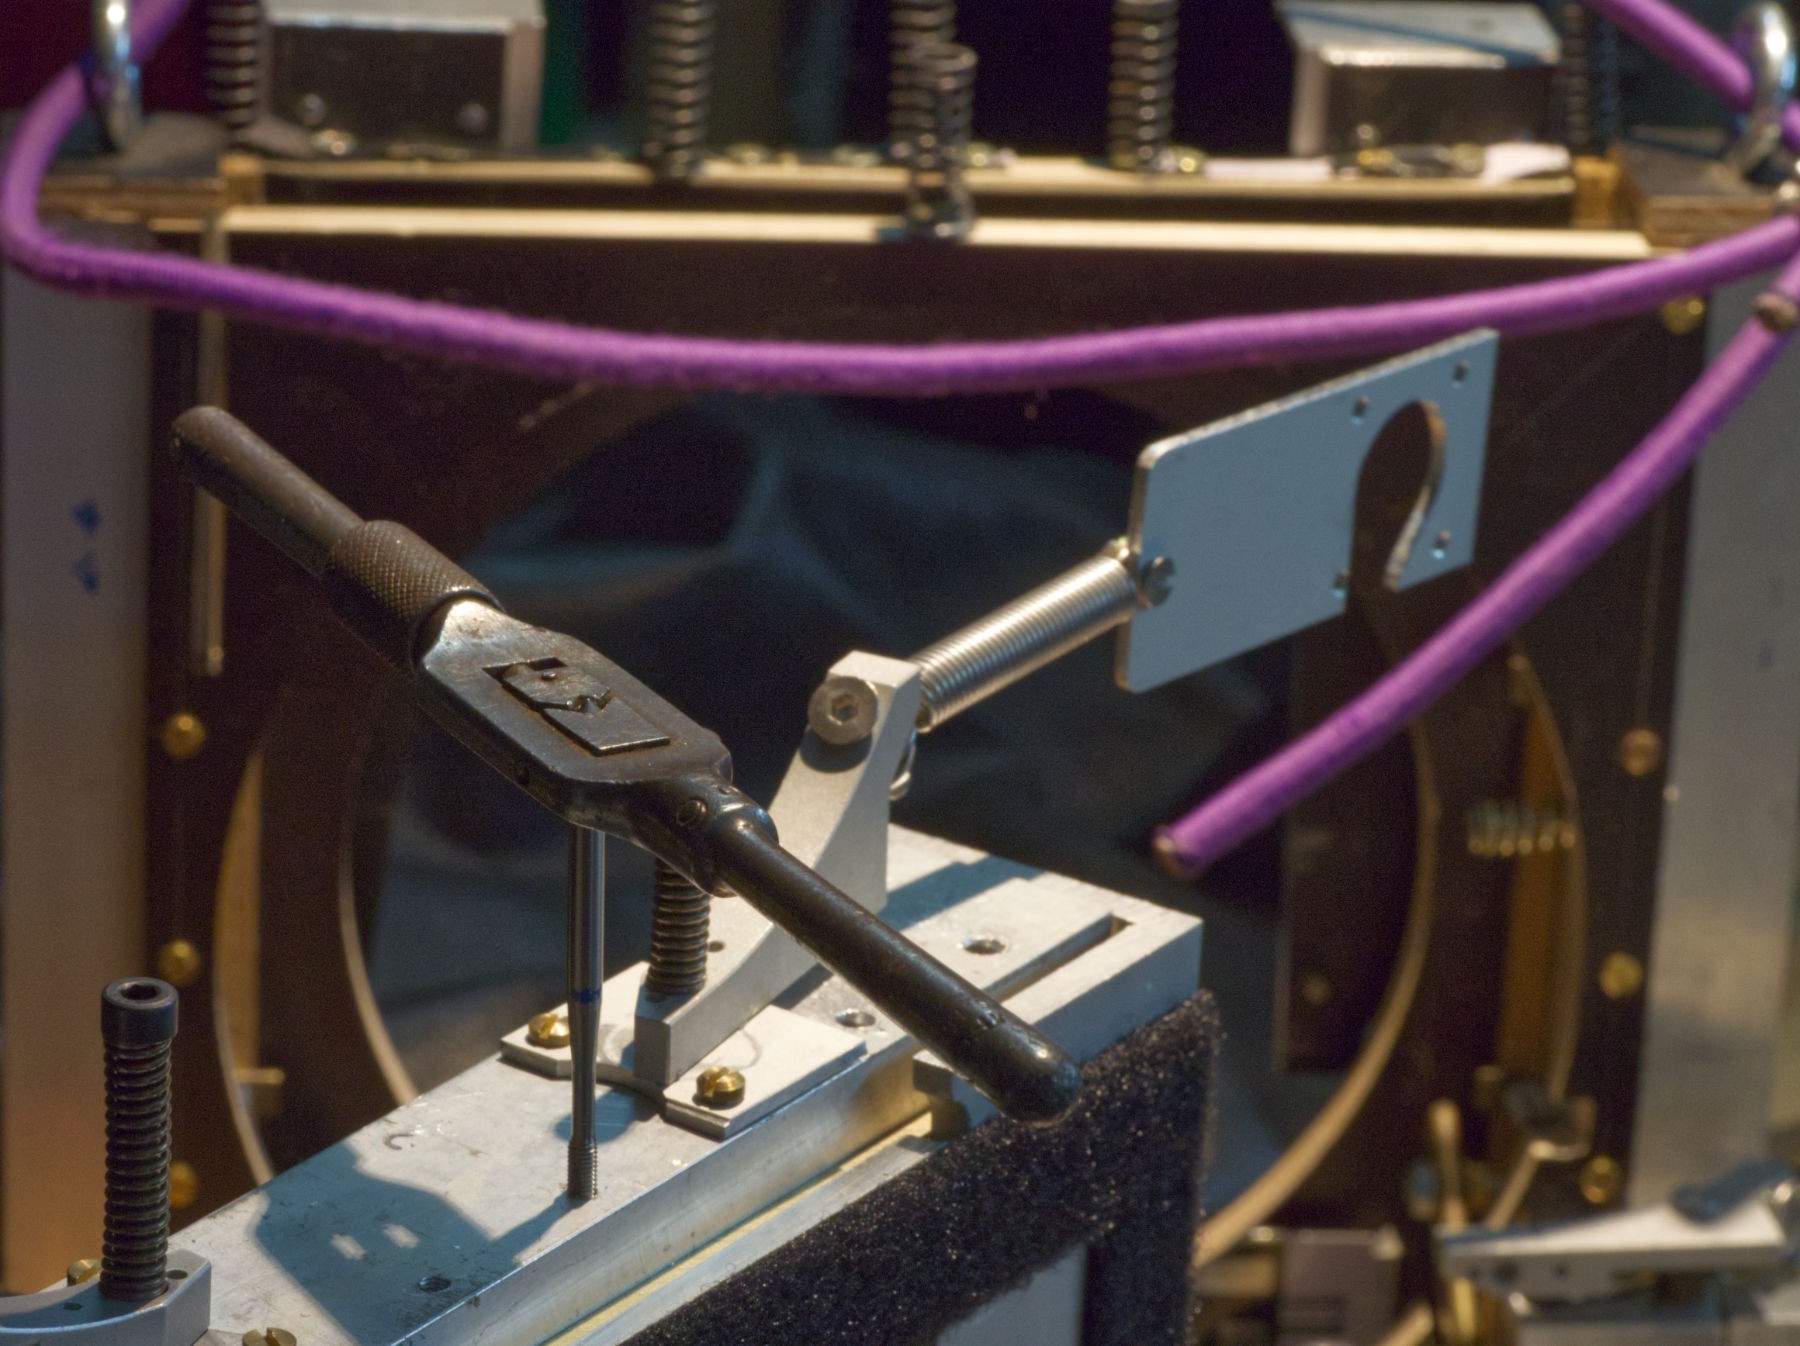
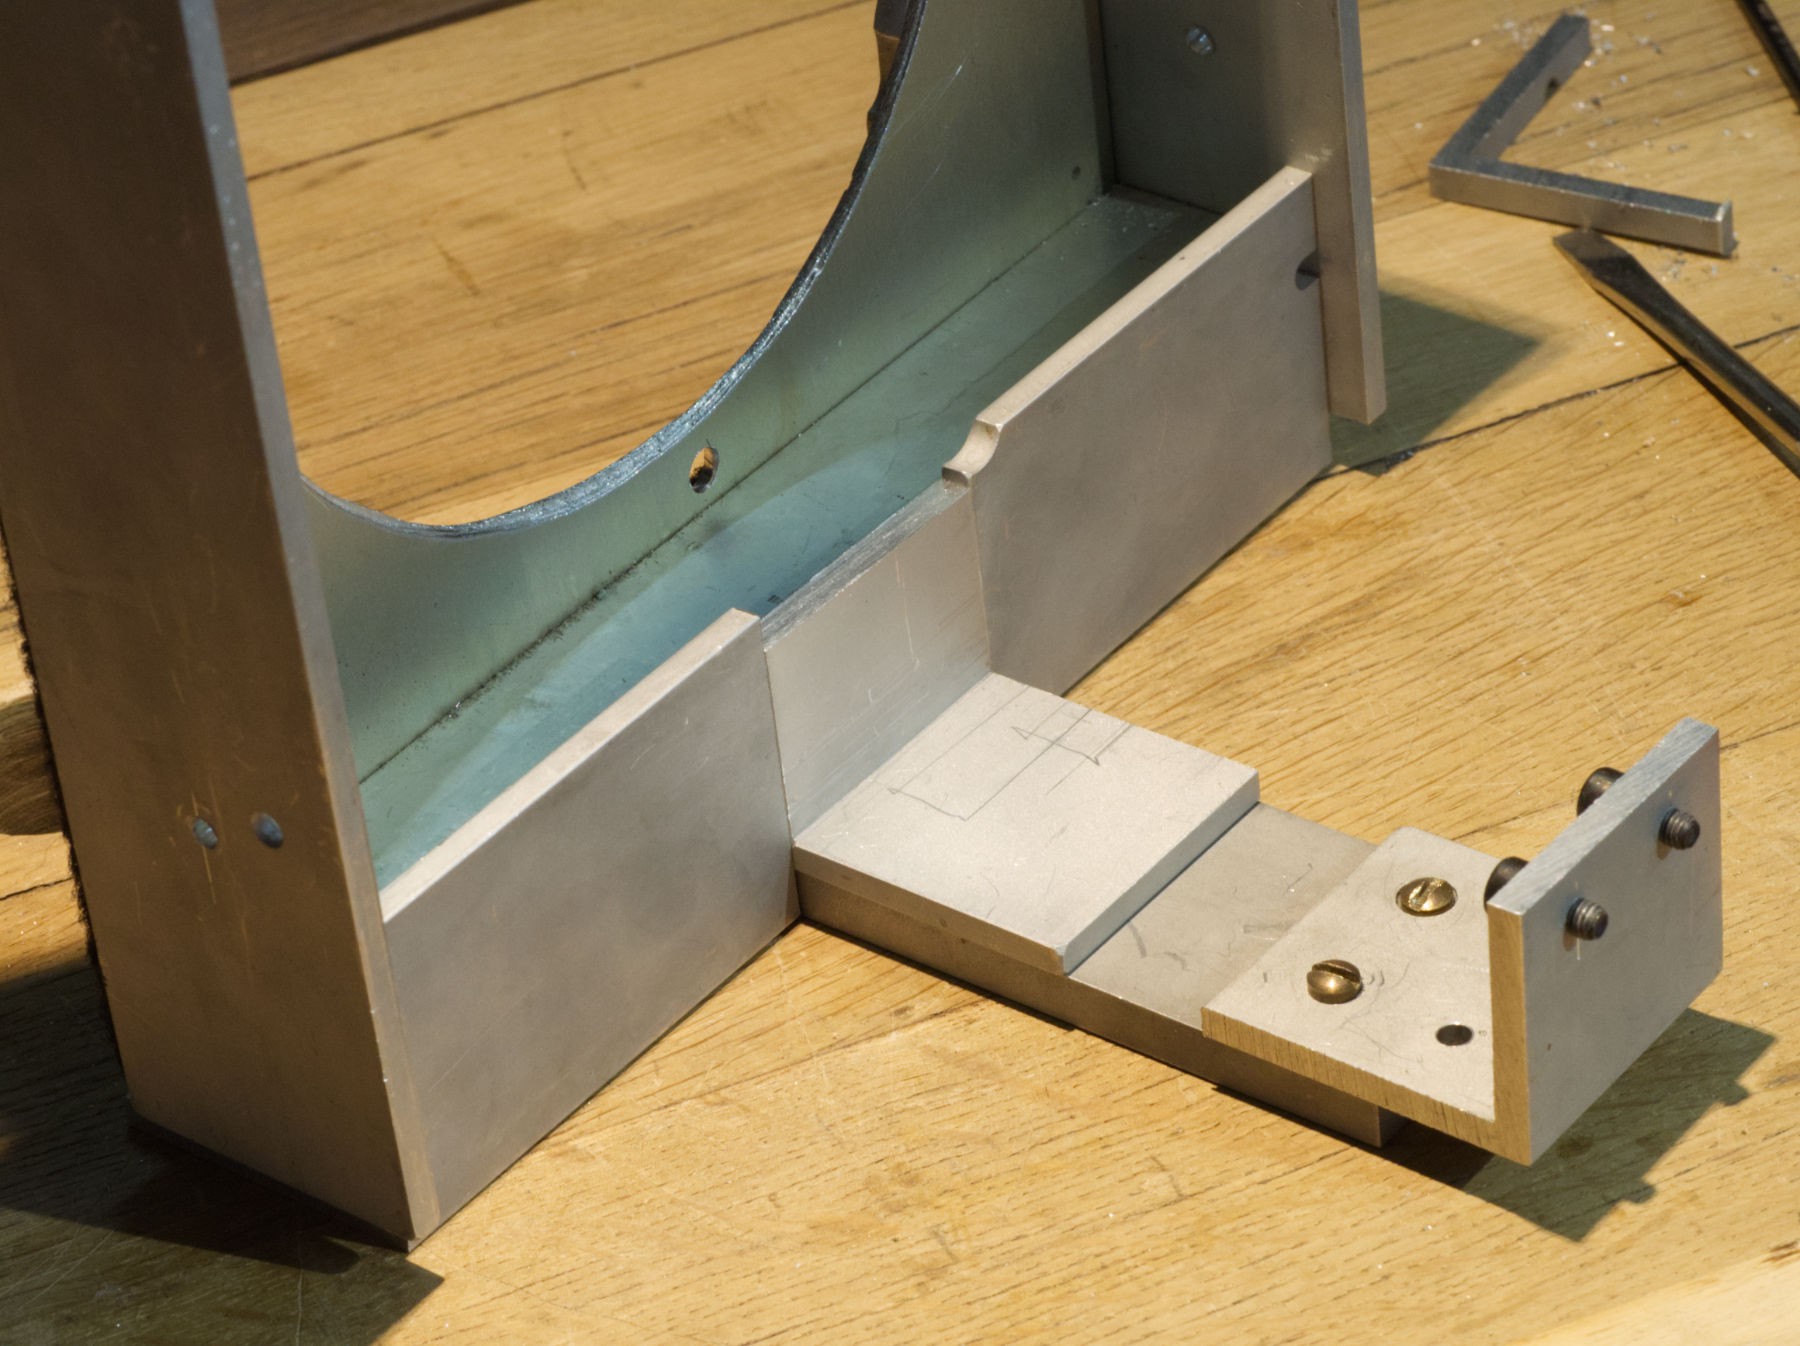
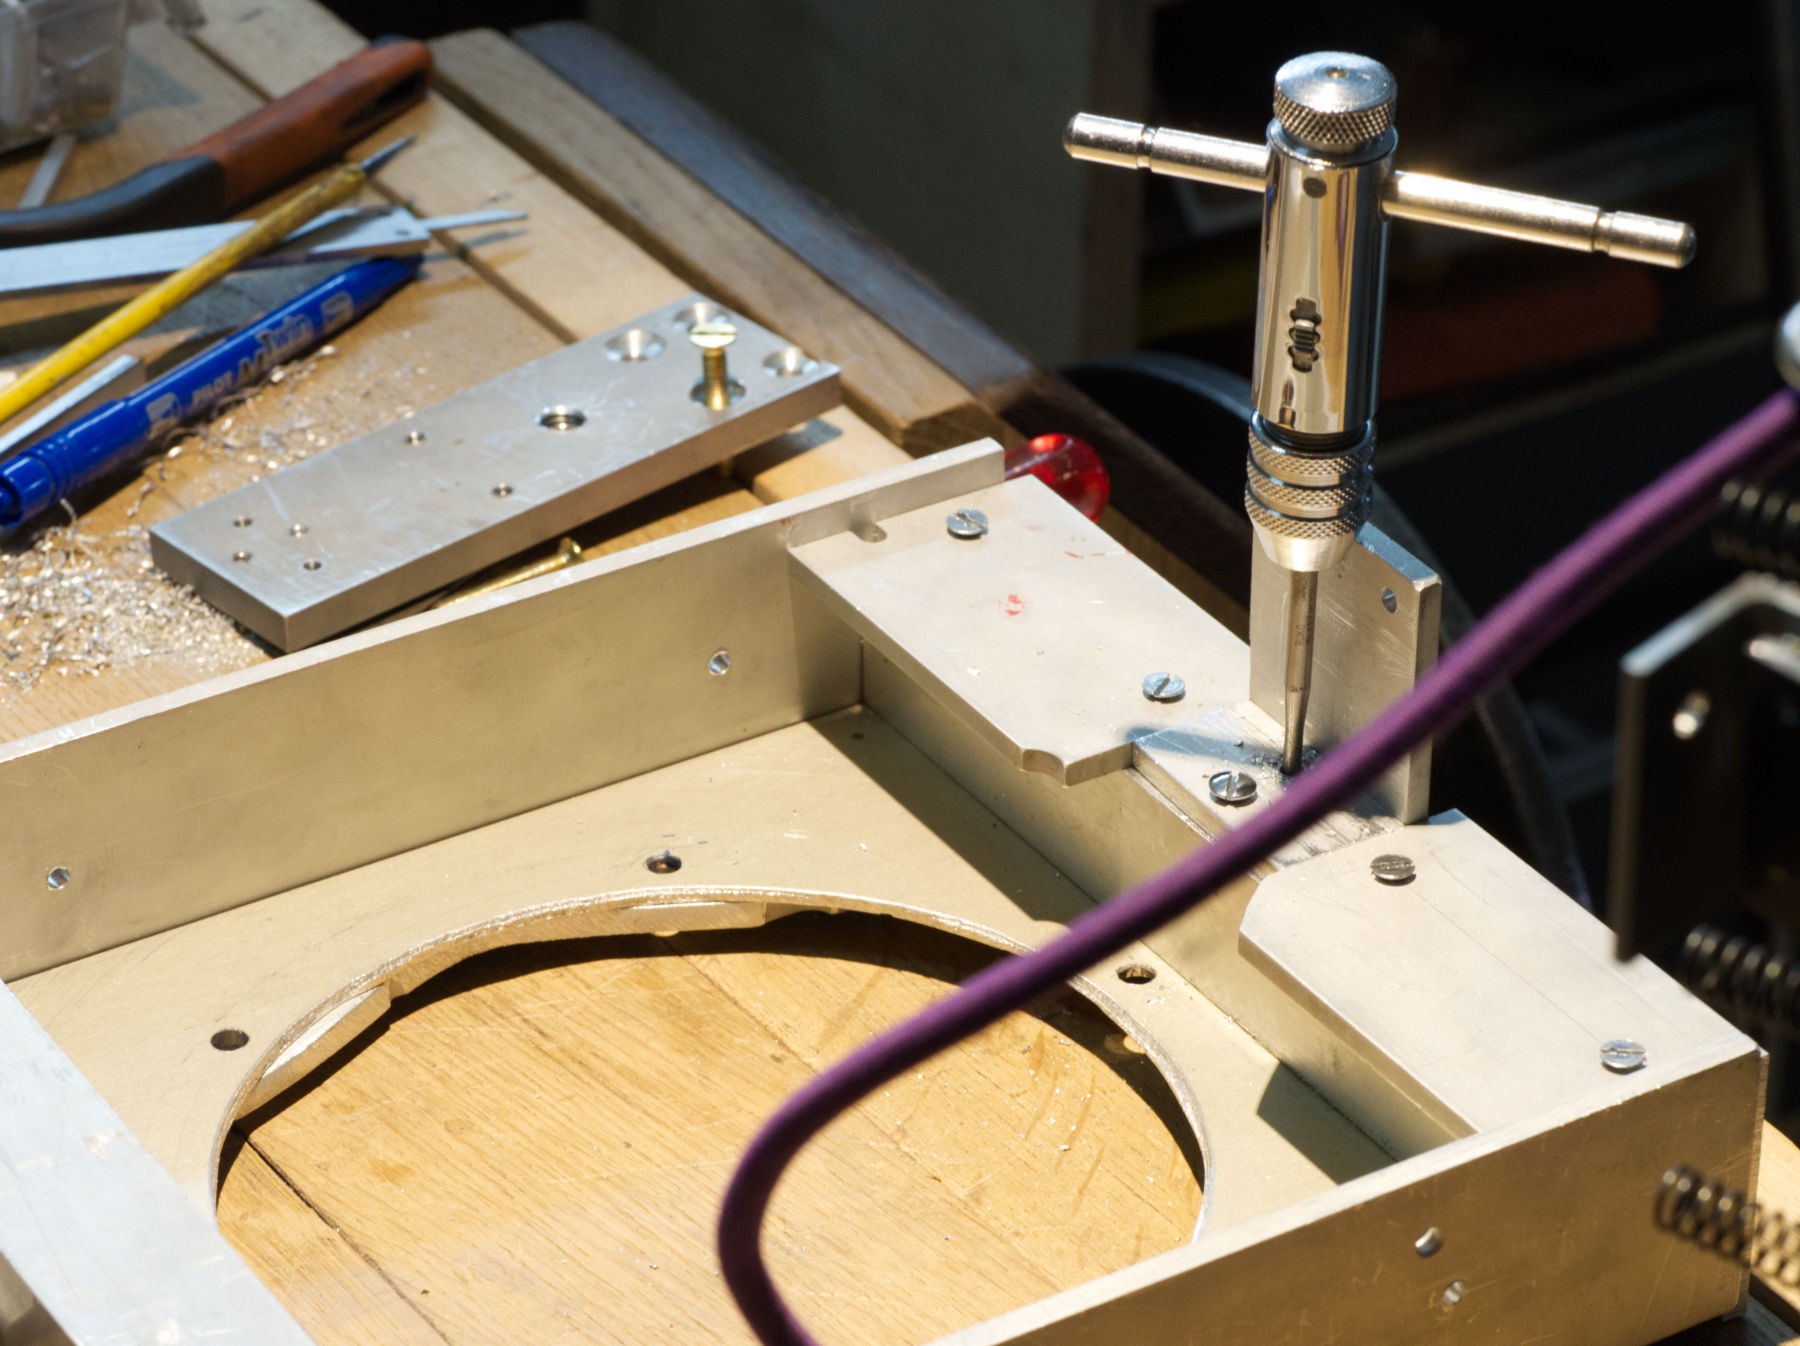
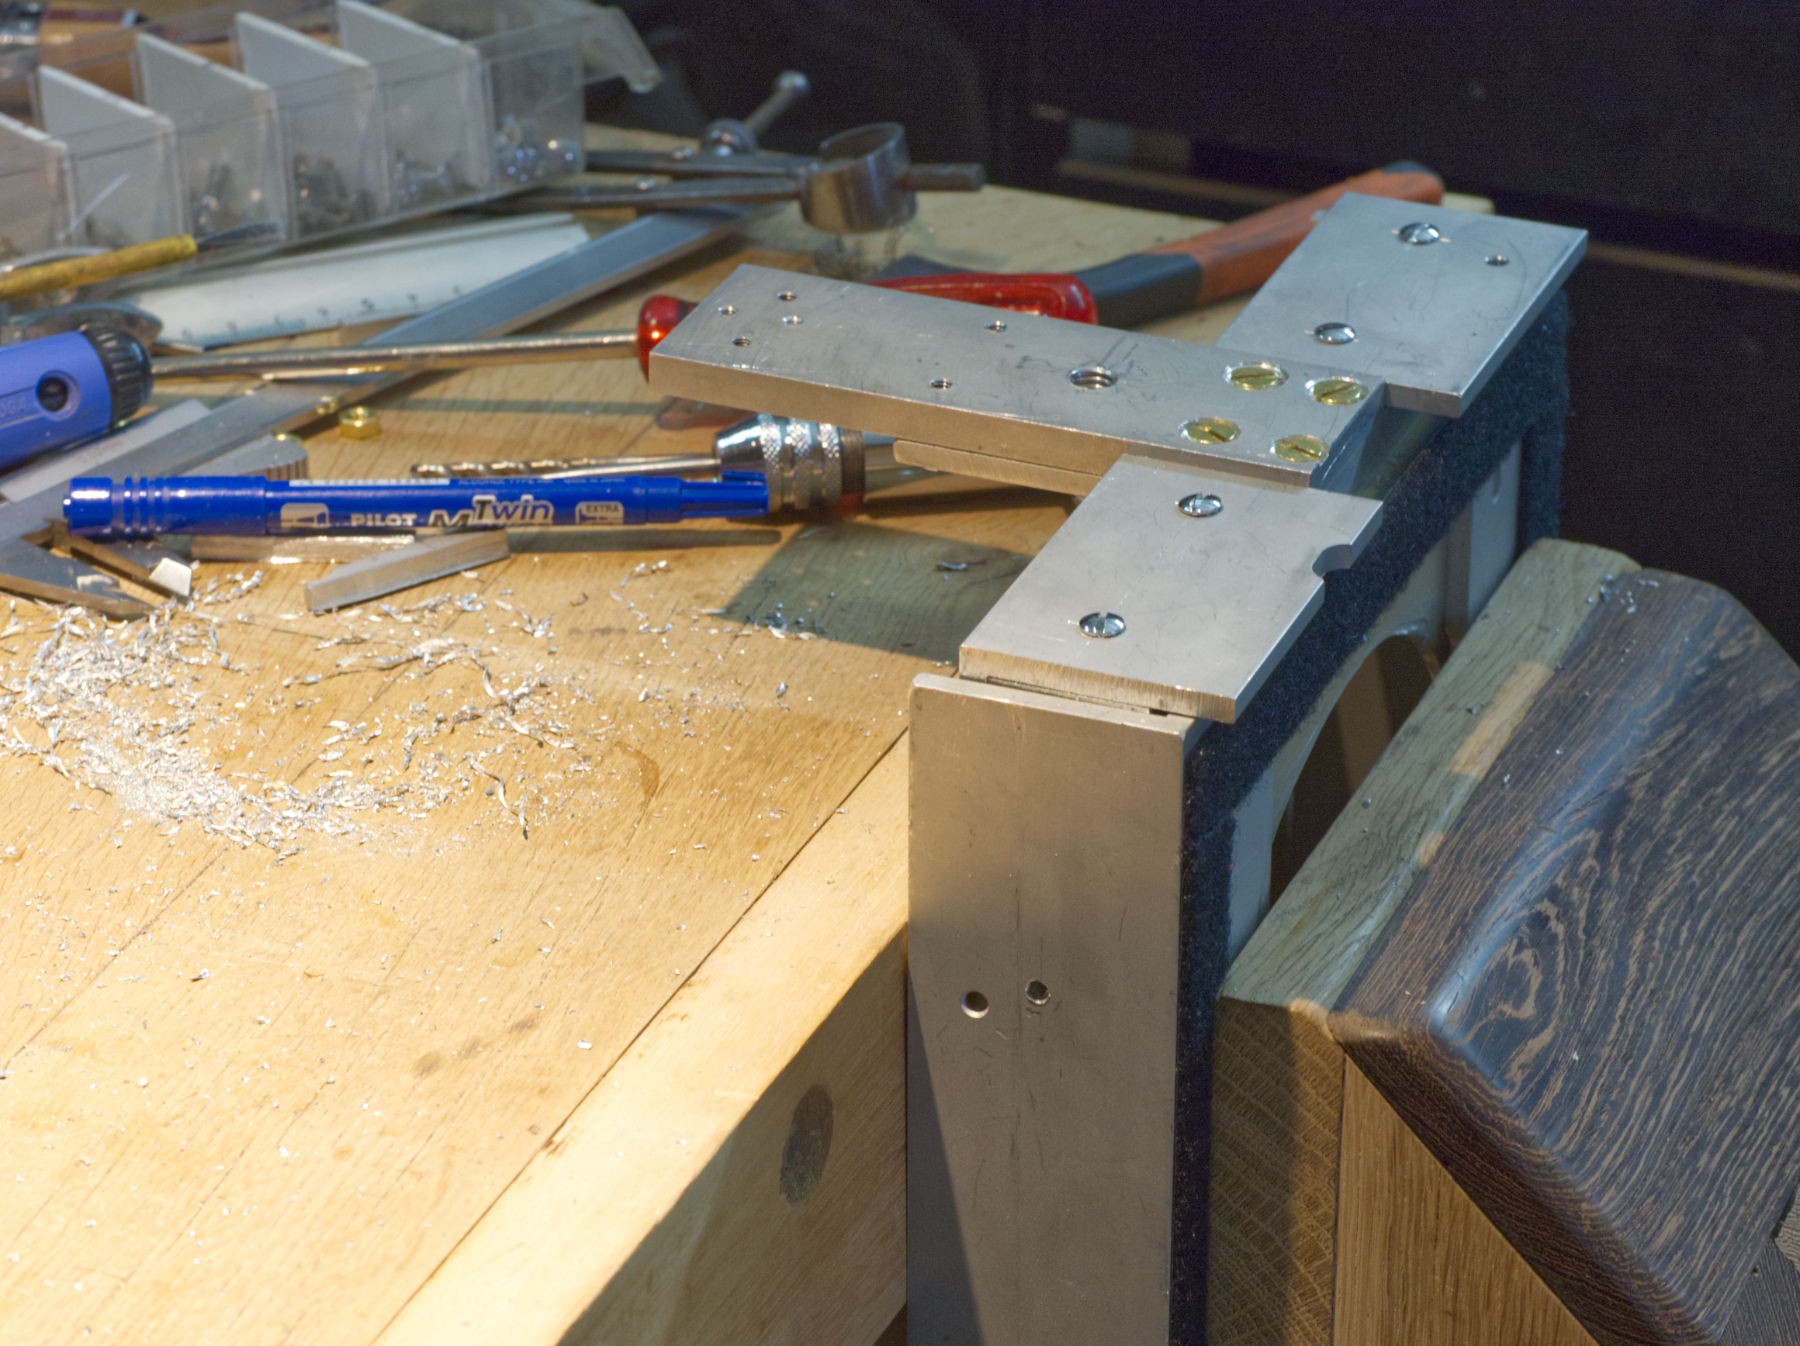
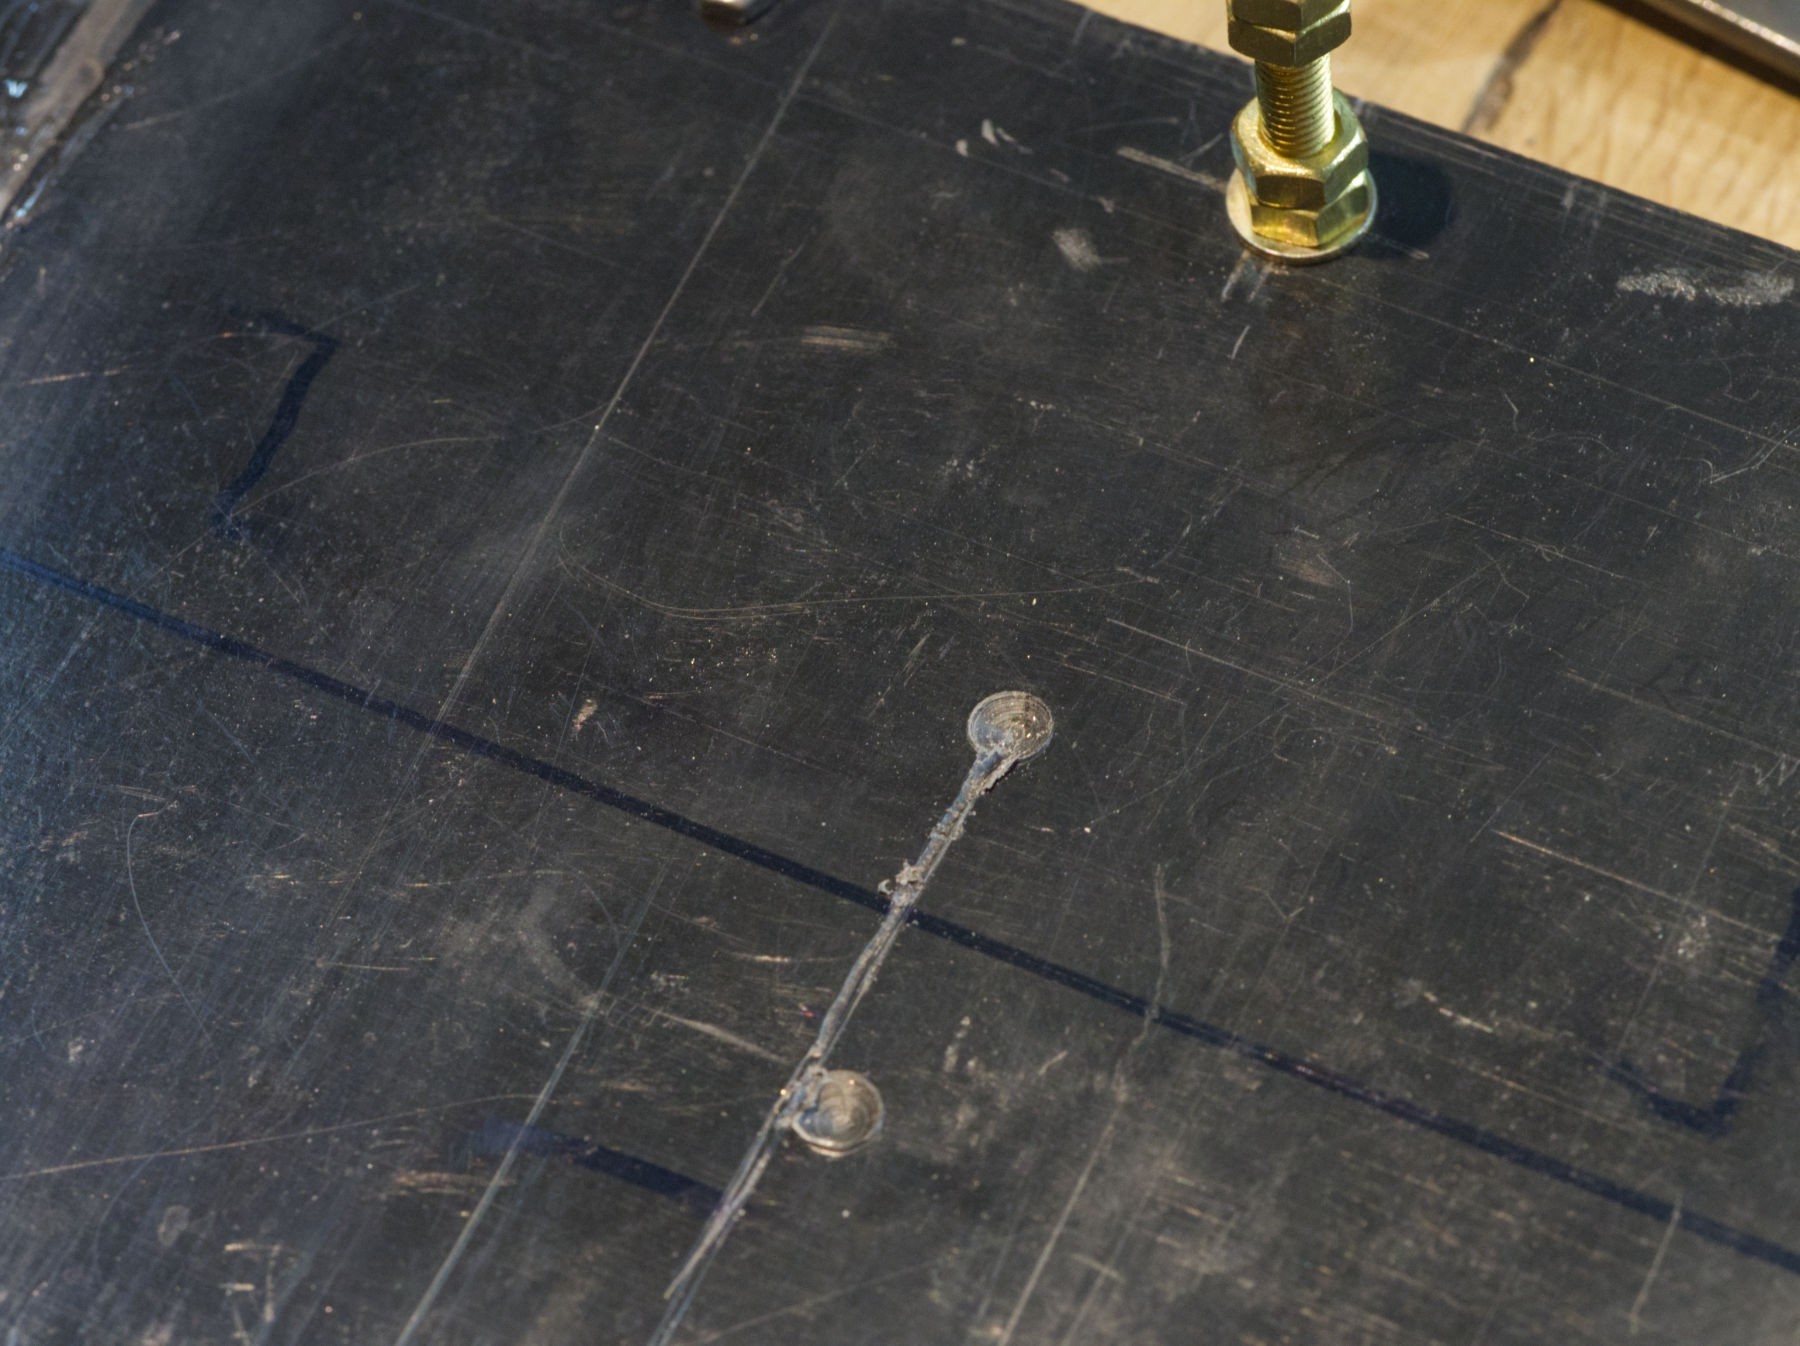
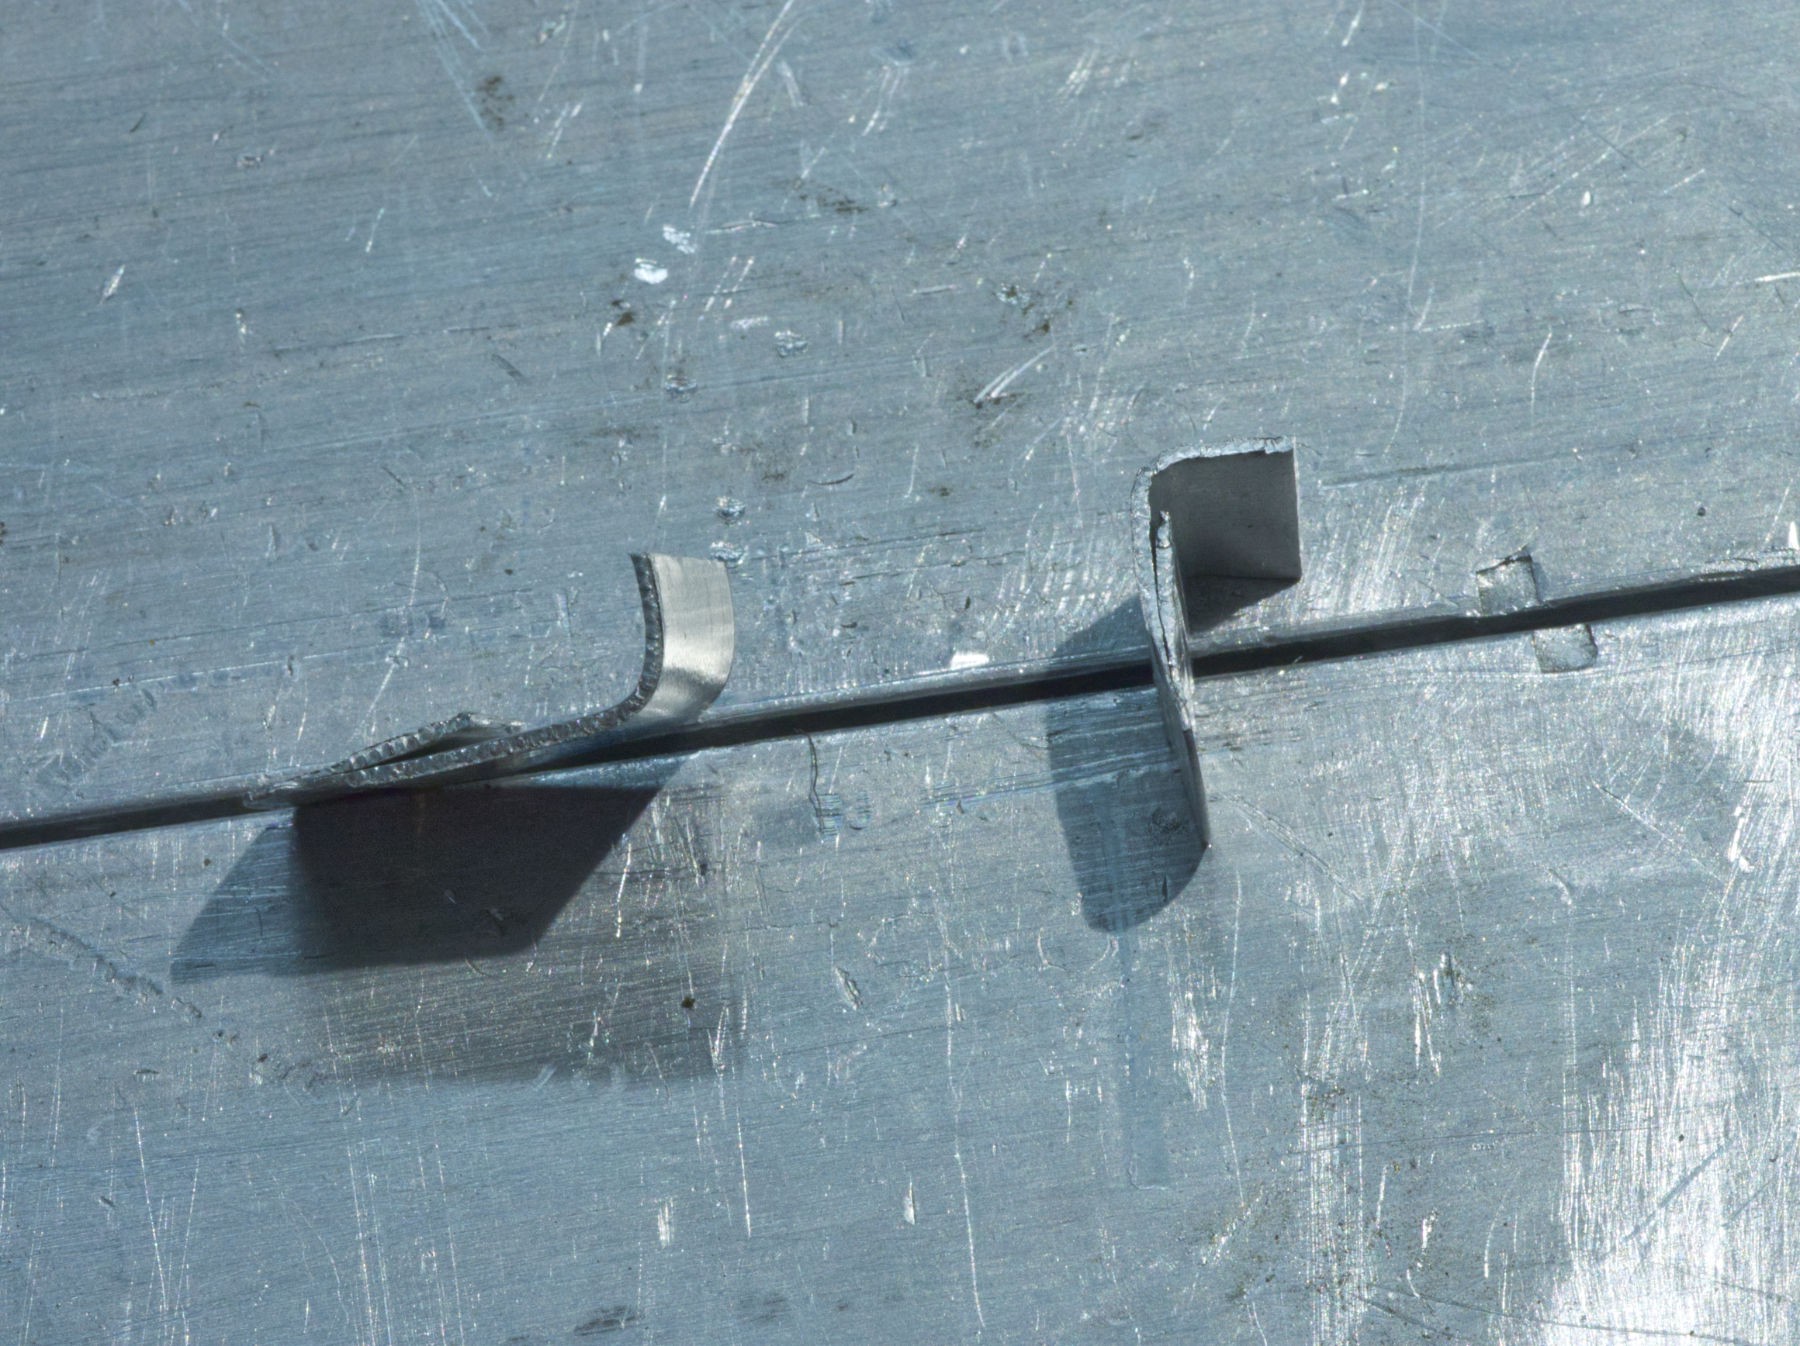
After drilling the 160 mm hole, the board must be held vertically on the tripod, and some 2 mm thick aluminium square tube are used with some 5 mm L profile.

The thing is then mounted on a 3/8" center drilled 8 mm aluminium plate and ready for shooting.

Then a below is needed, a long one, something like 36 inches are necessary if you want to focus at the infinite with an 36 inches focal length, and it must be longer for closer distance photography.

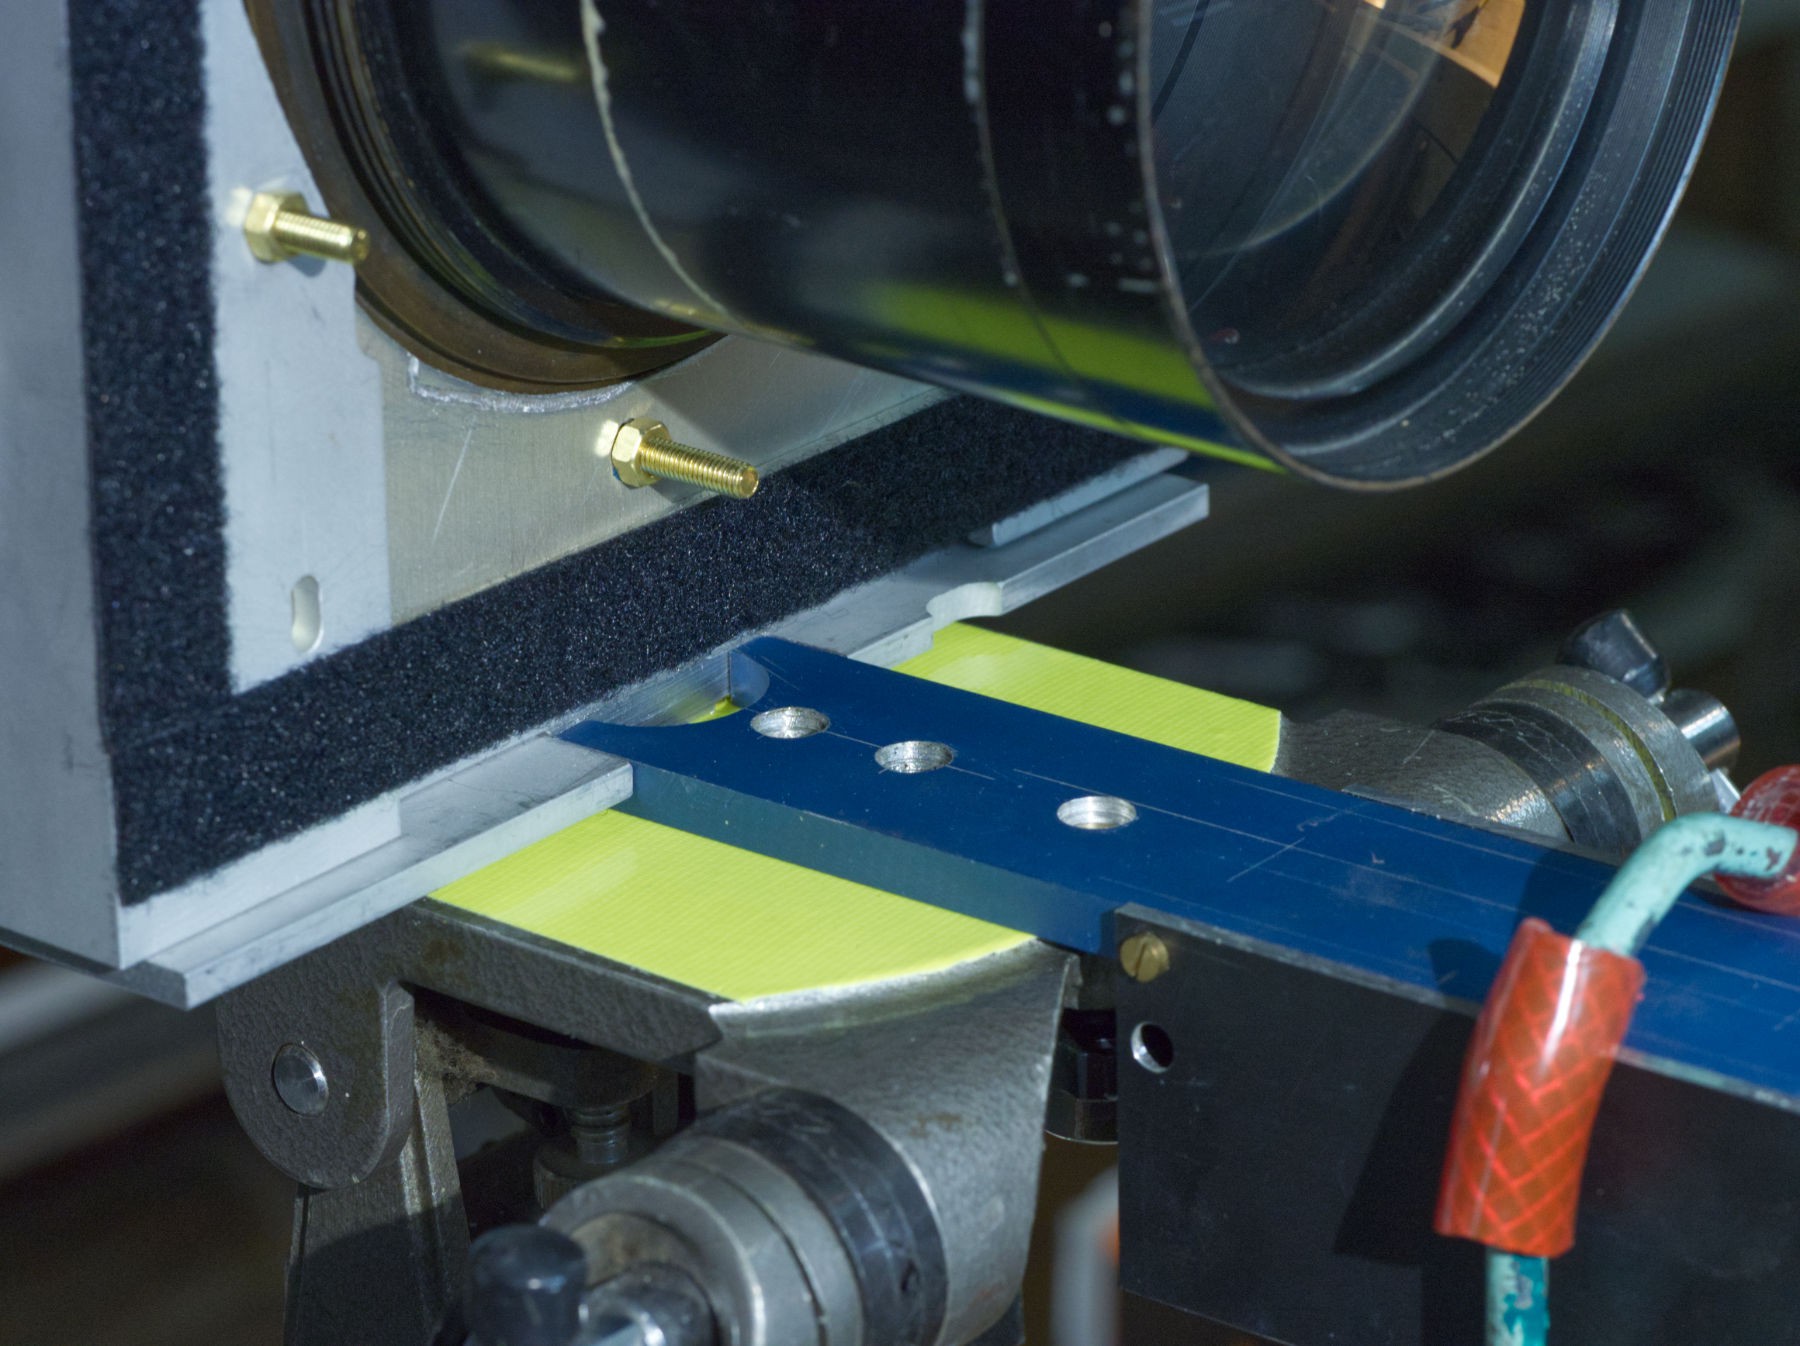
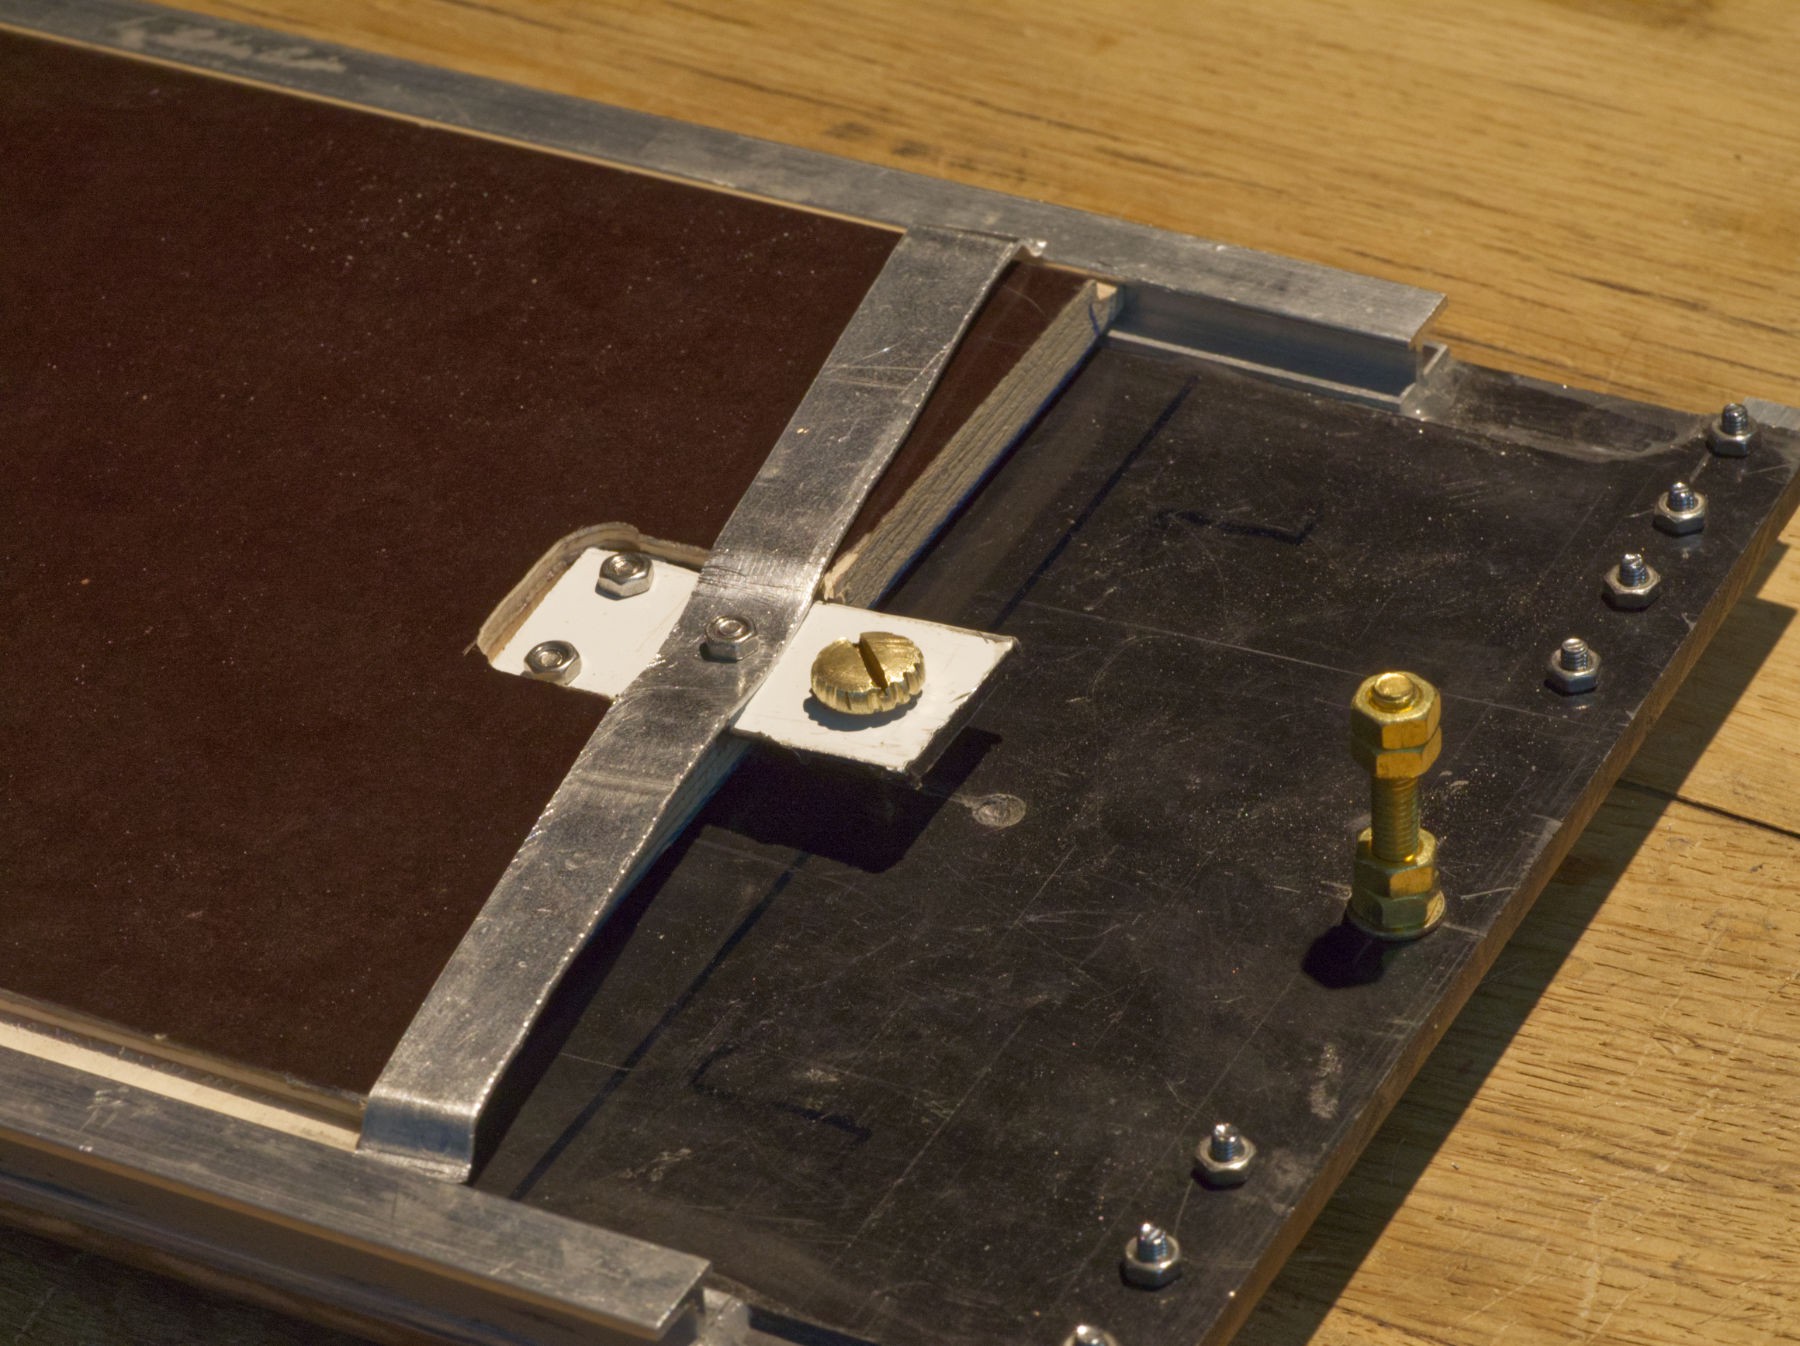
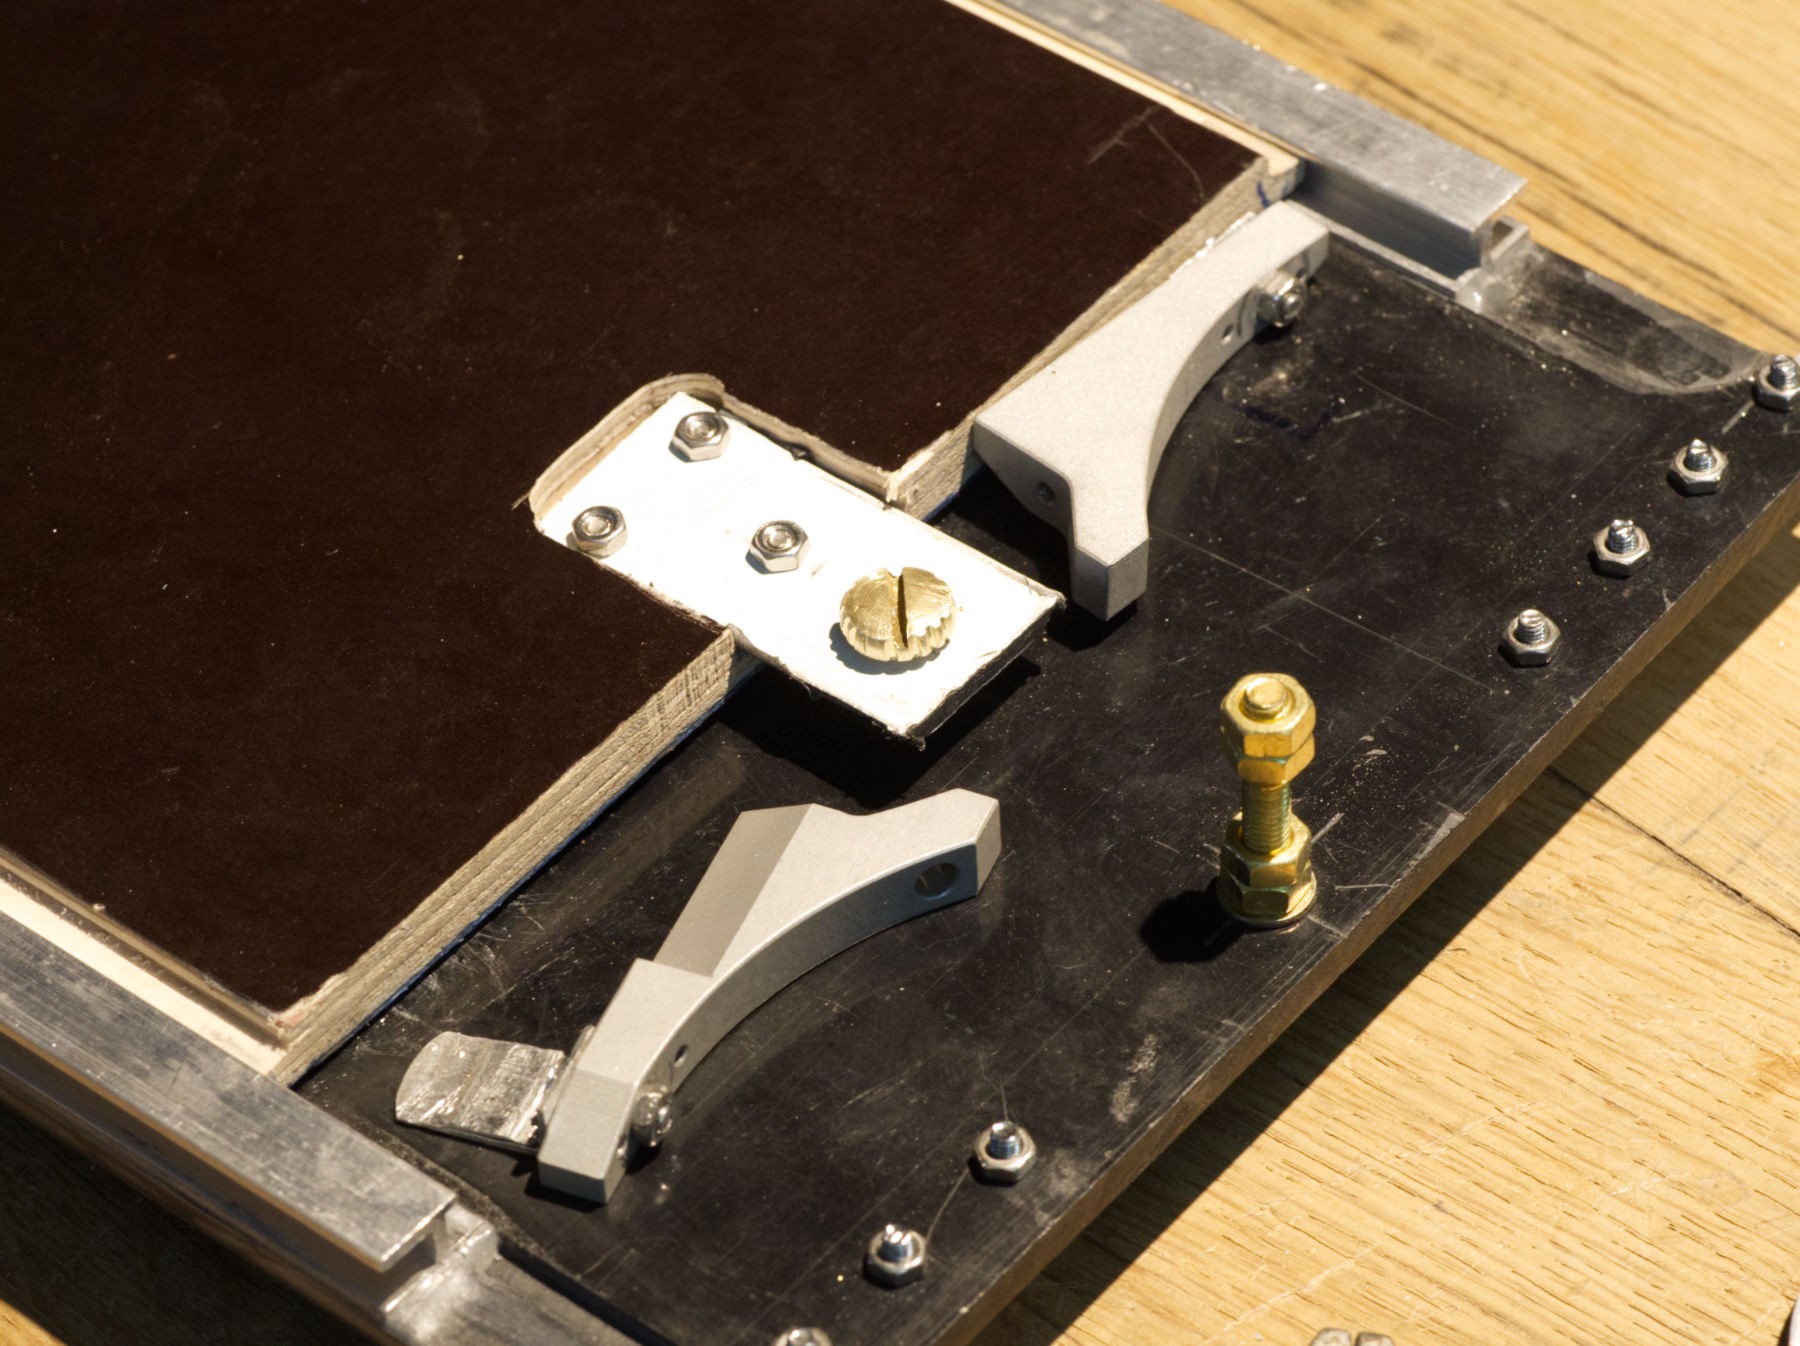
I found a very good donor with a black leather couch cushion given by a neighbor years ago (only the empty envelope, I think the rest of the couch finished in garbage). With the help of Sabrina, my colleague at the " design vêtement " workshop it was easy making a square section 70 centimeters long below that would fit to the back of the lens and to the front of the camera with genuine Velcro tape.

Then as I didn't want to put some Swiss made Velcro tape on my Swiss made Sinar Camera, I had to make a replica of the Sinar Board, the third try was the good one : the first plywood one was nearly good, but too fragile, a second one in plain 1 cm thick PVC  wasn't flat at all due to the heat of the router, so the third one was glued 3 mm thick PVC.

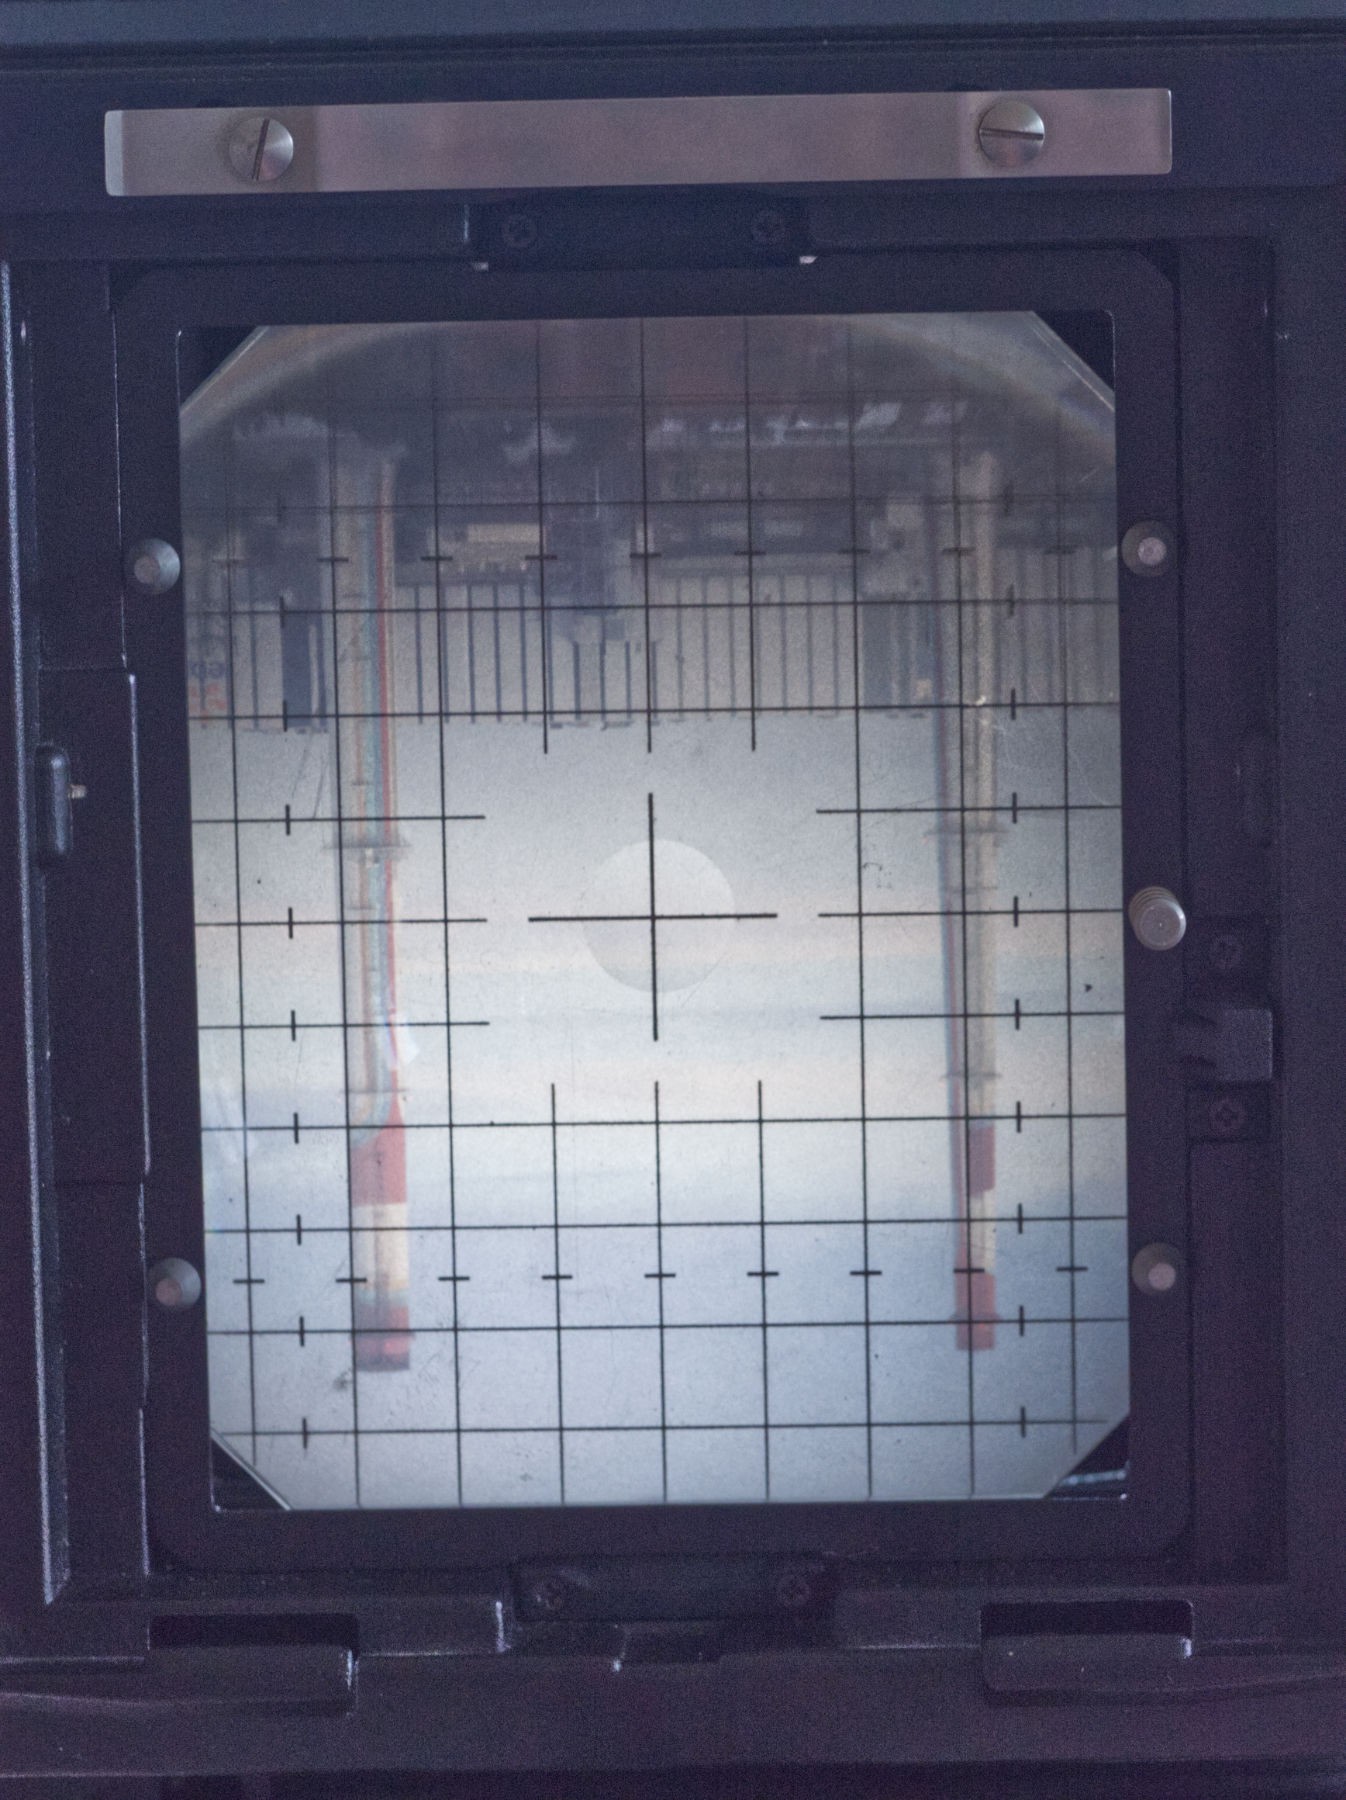
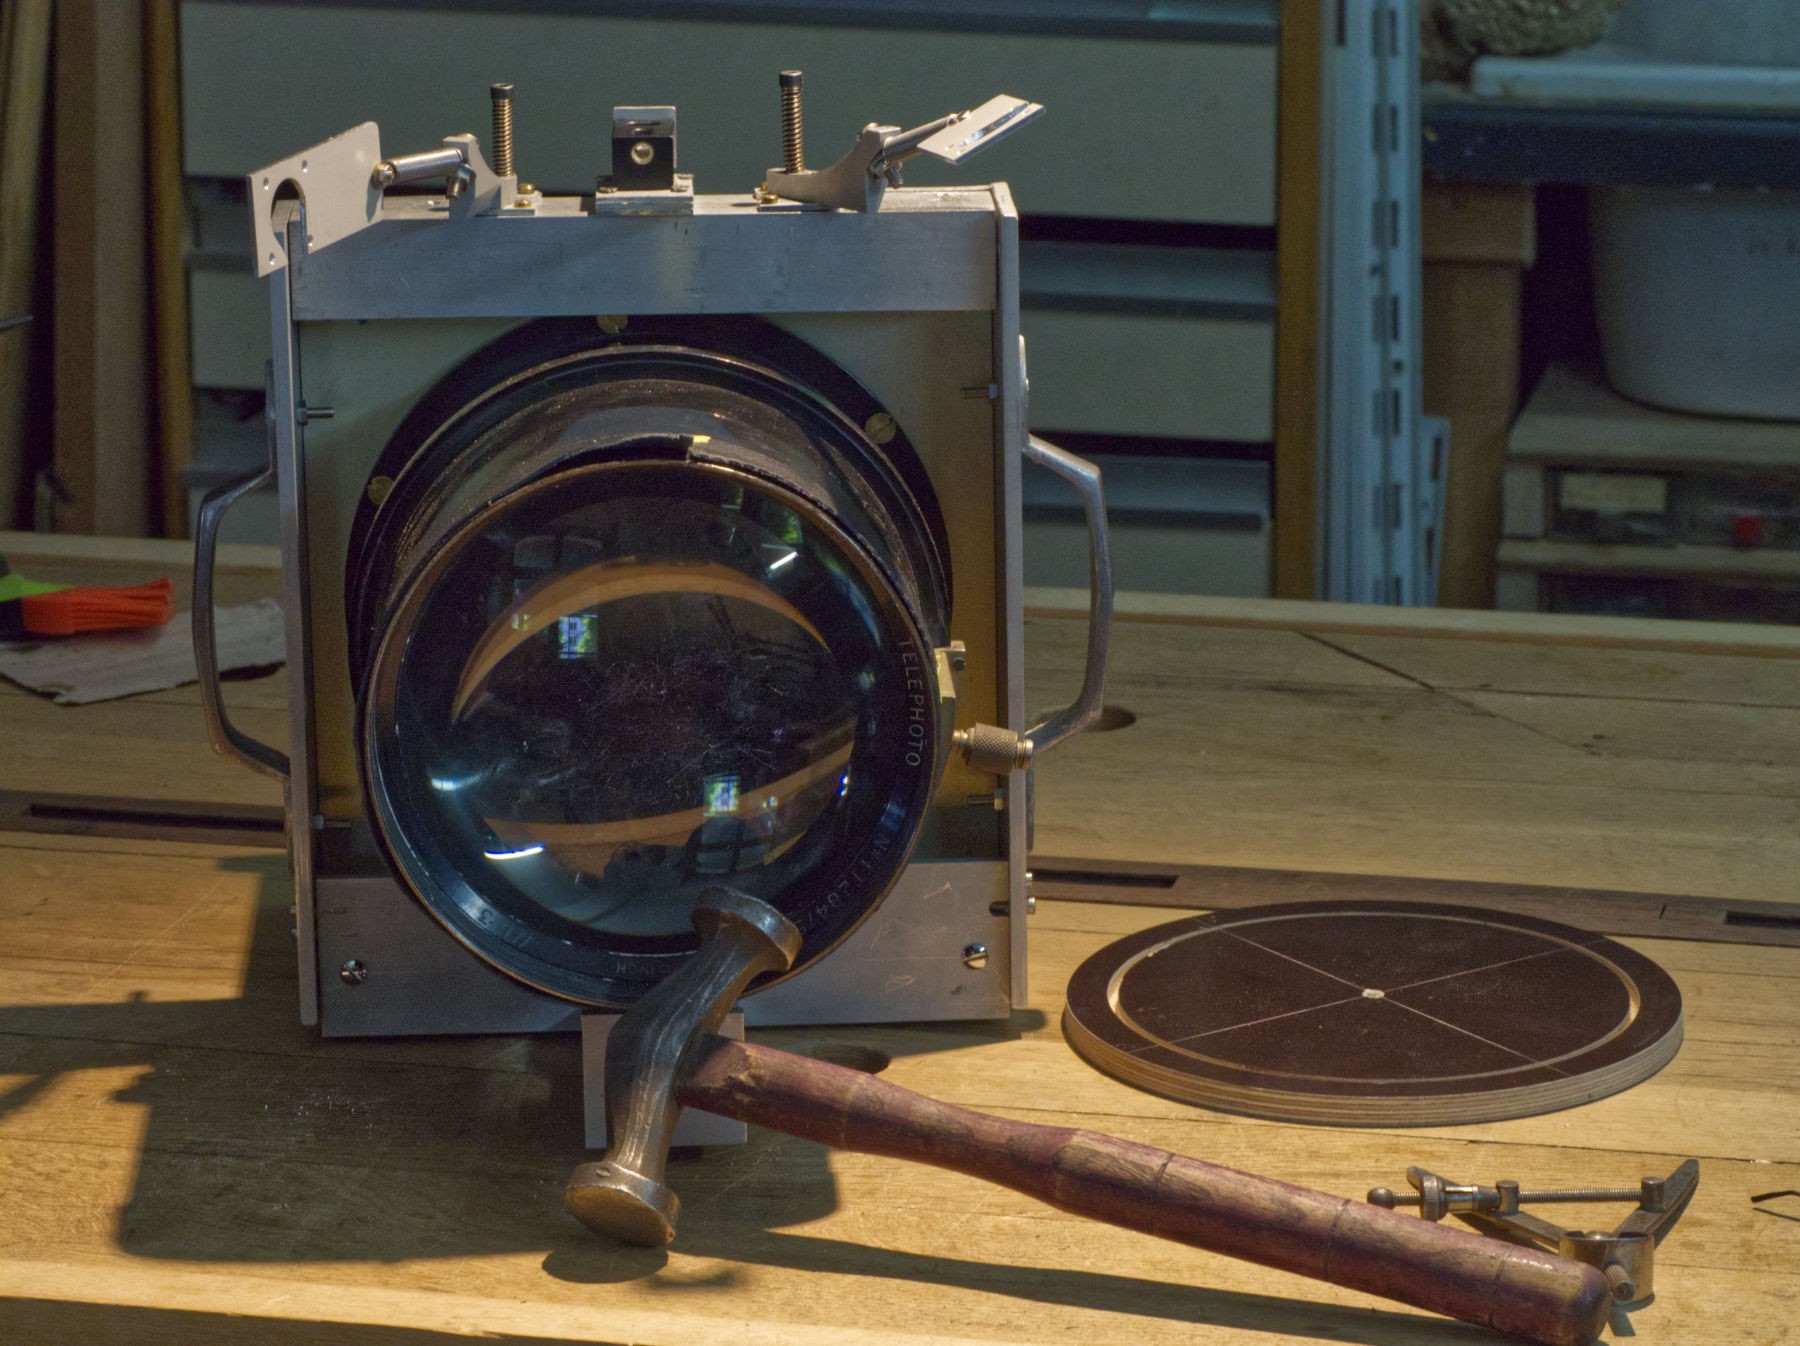
The first vision on the fresnel lens of the camera was a great moment, but... why is my image round ? I through that lens was for very large format films, it should cover easily the frame of the 4 x 5 " camera, and I realized that it was the Copal Sinar shutter's diameter that was round like that : when took away, the full 4 x 5 " frame was completely filled.

And then I have to build a shutter if I want to take bigger than 8 cm round images.

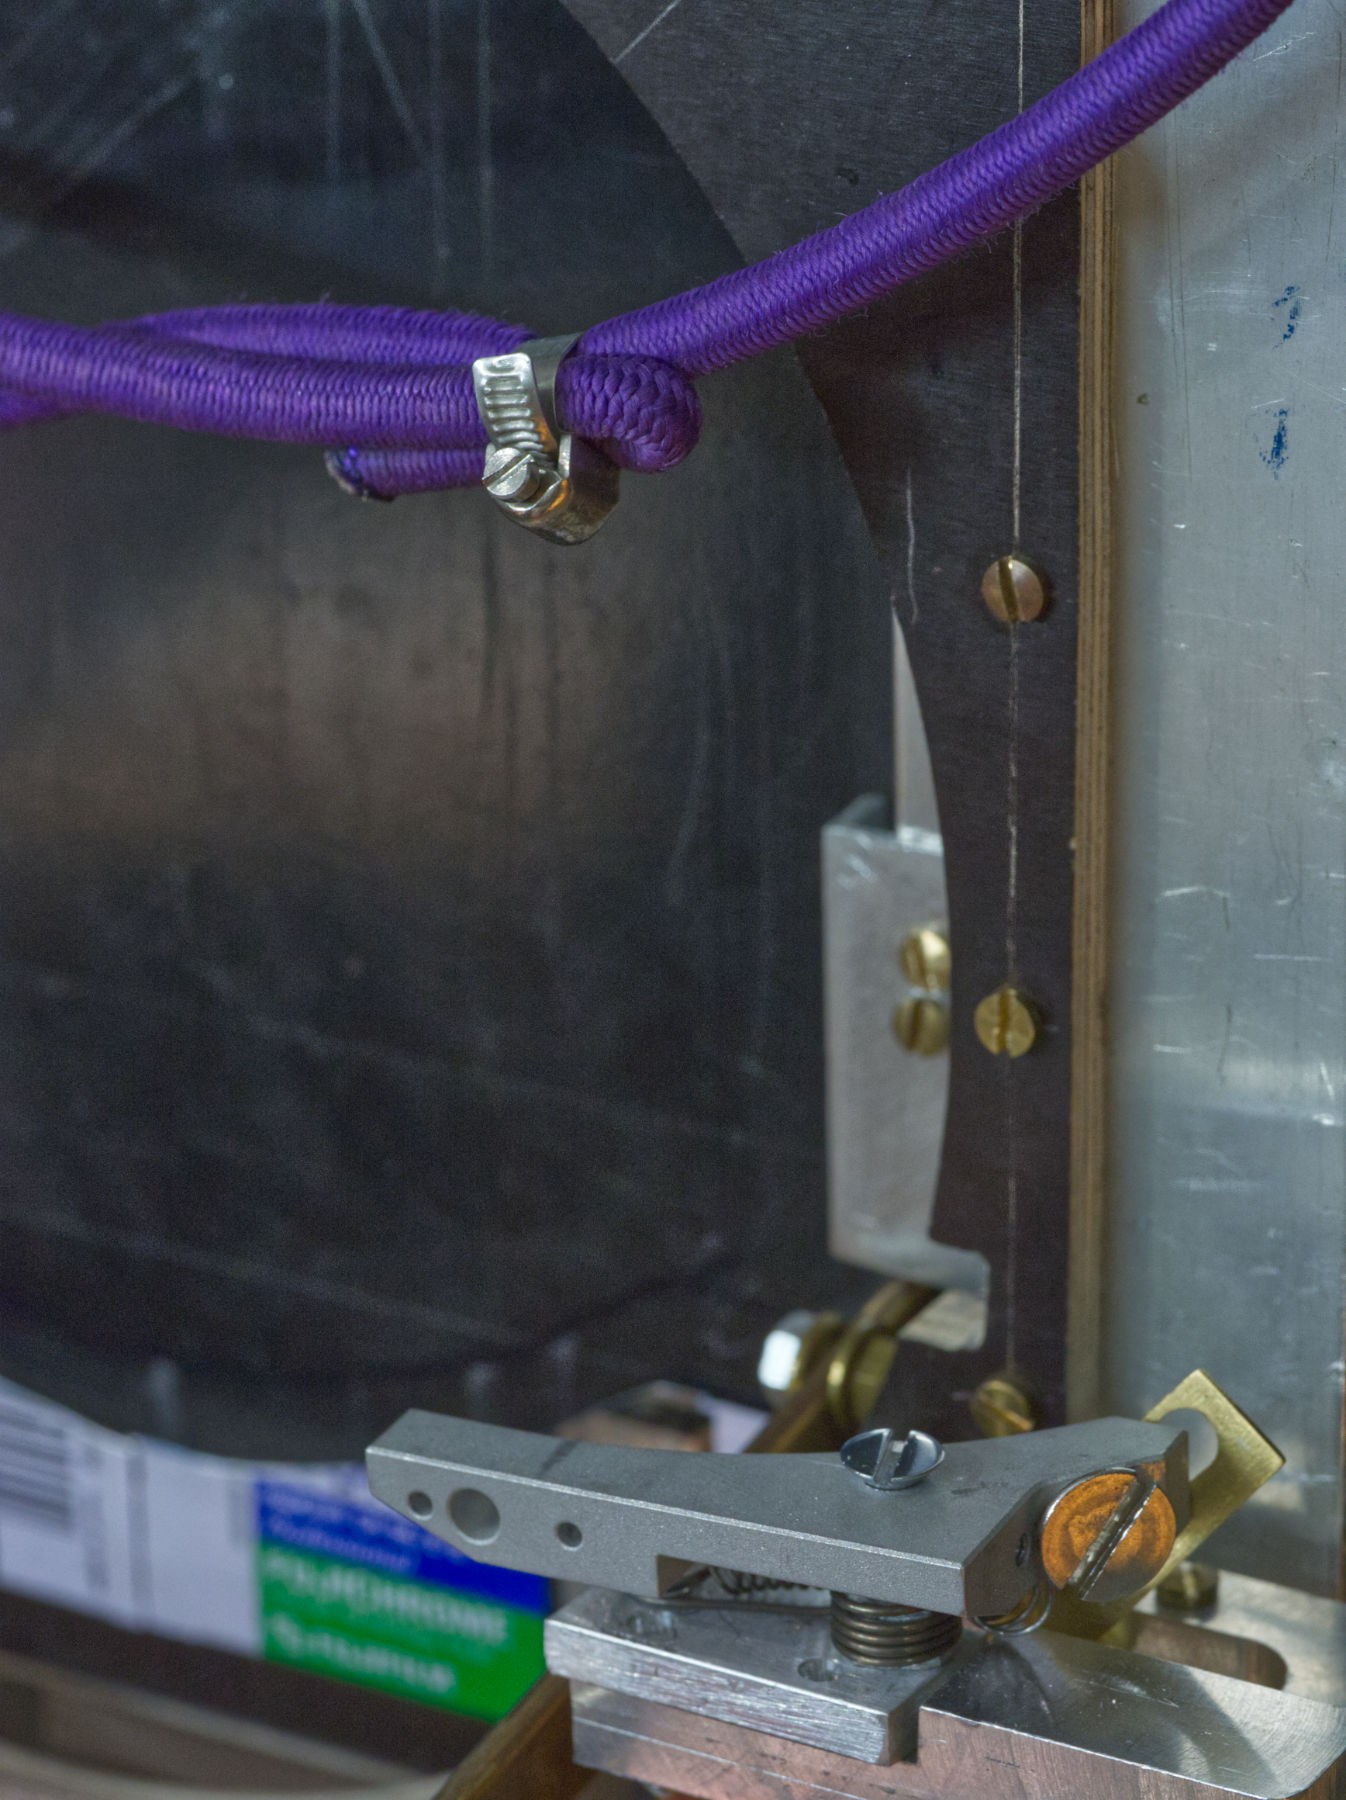
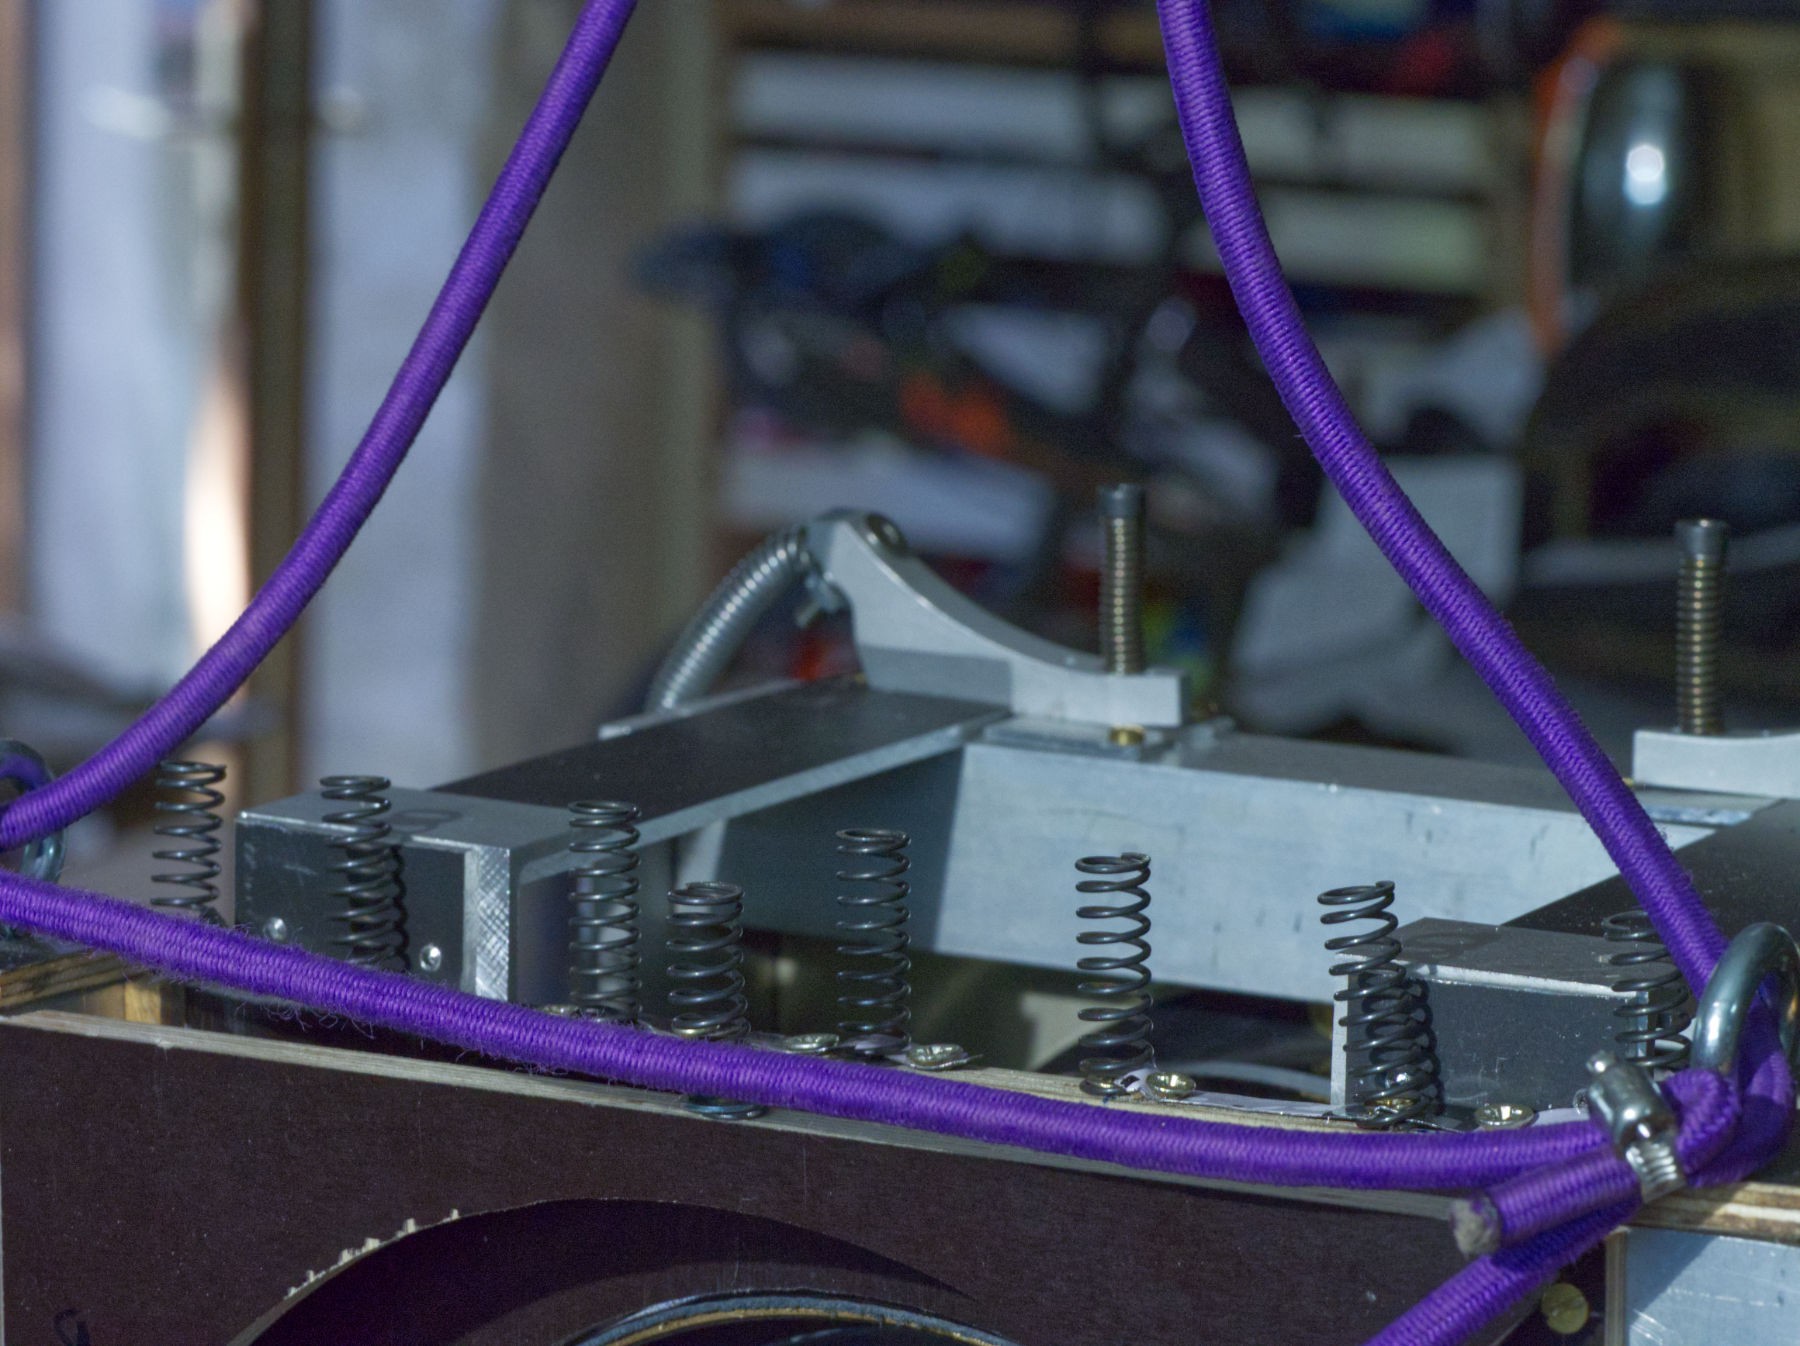
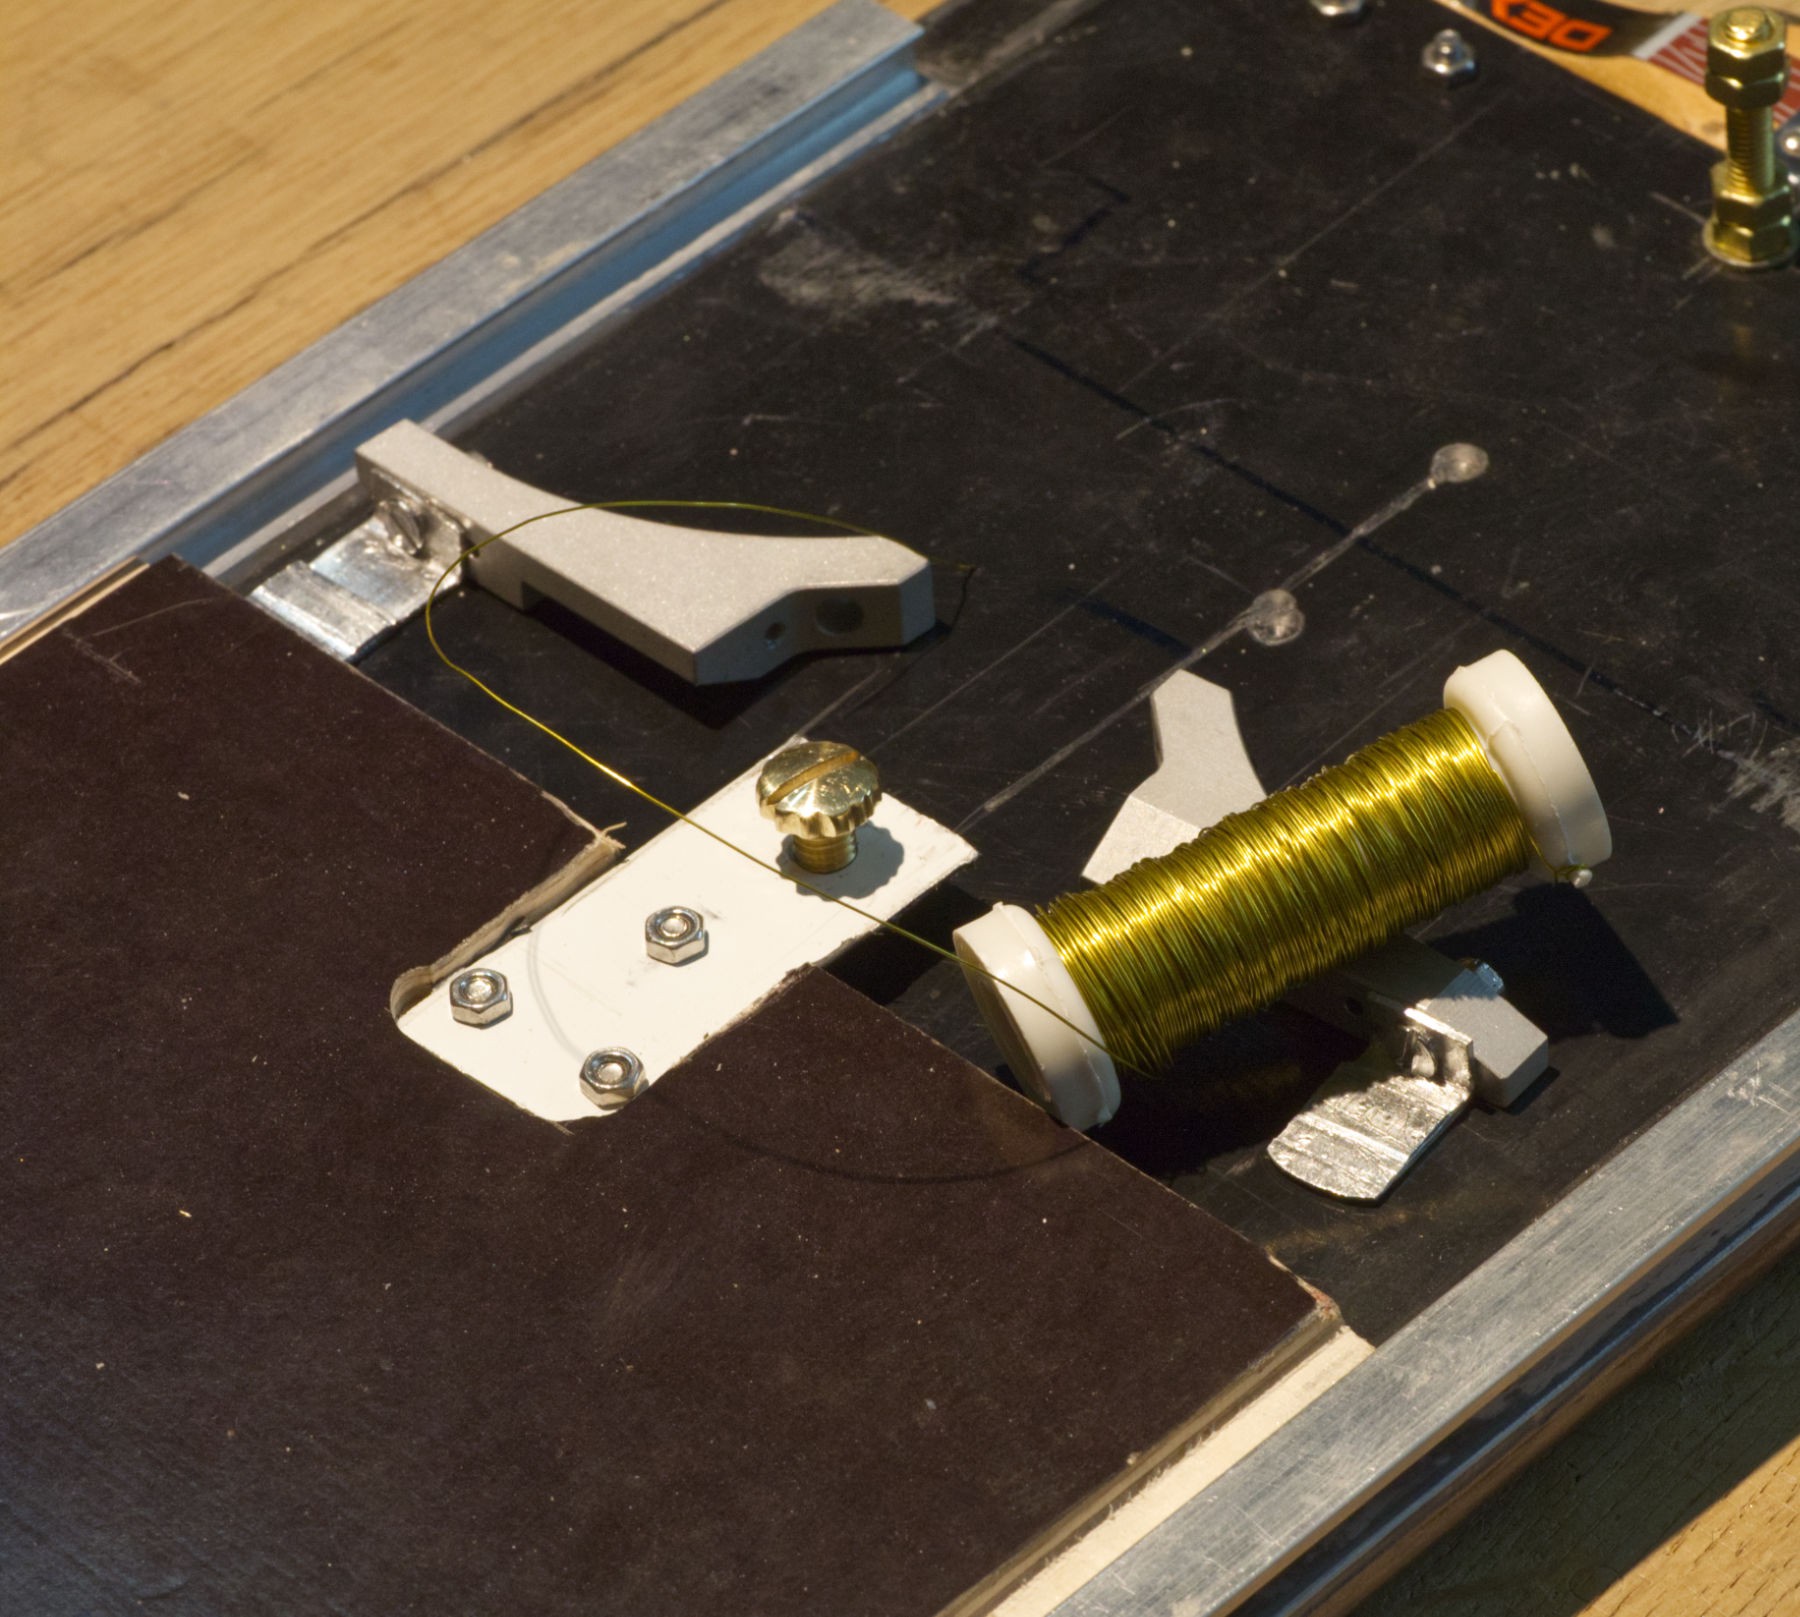
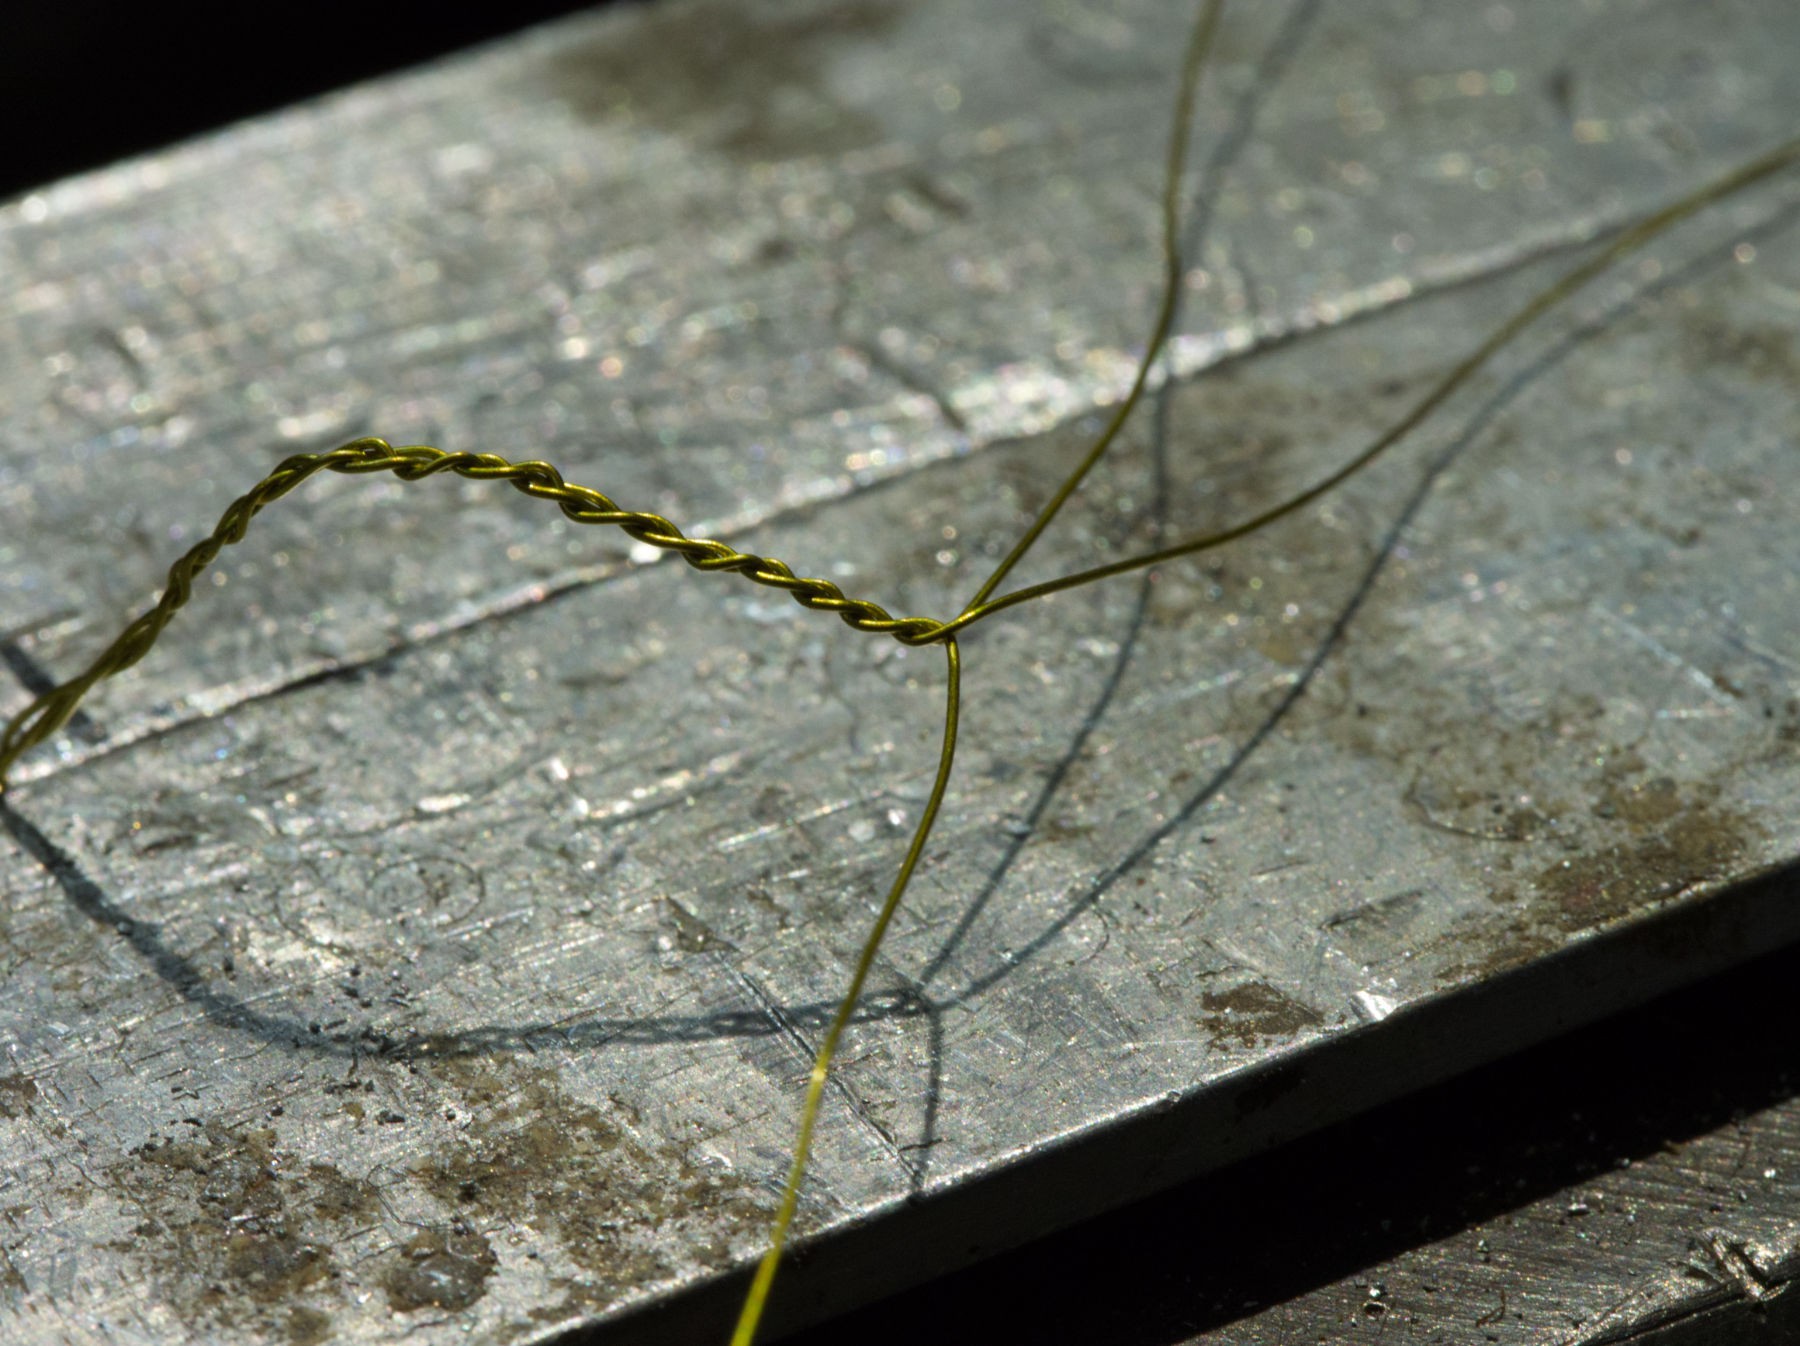
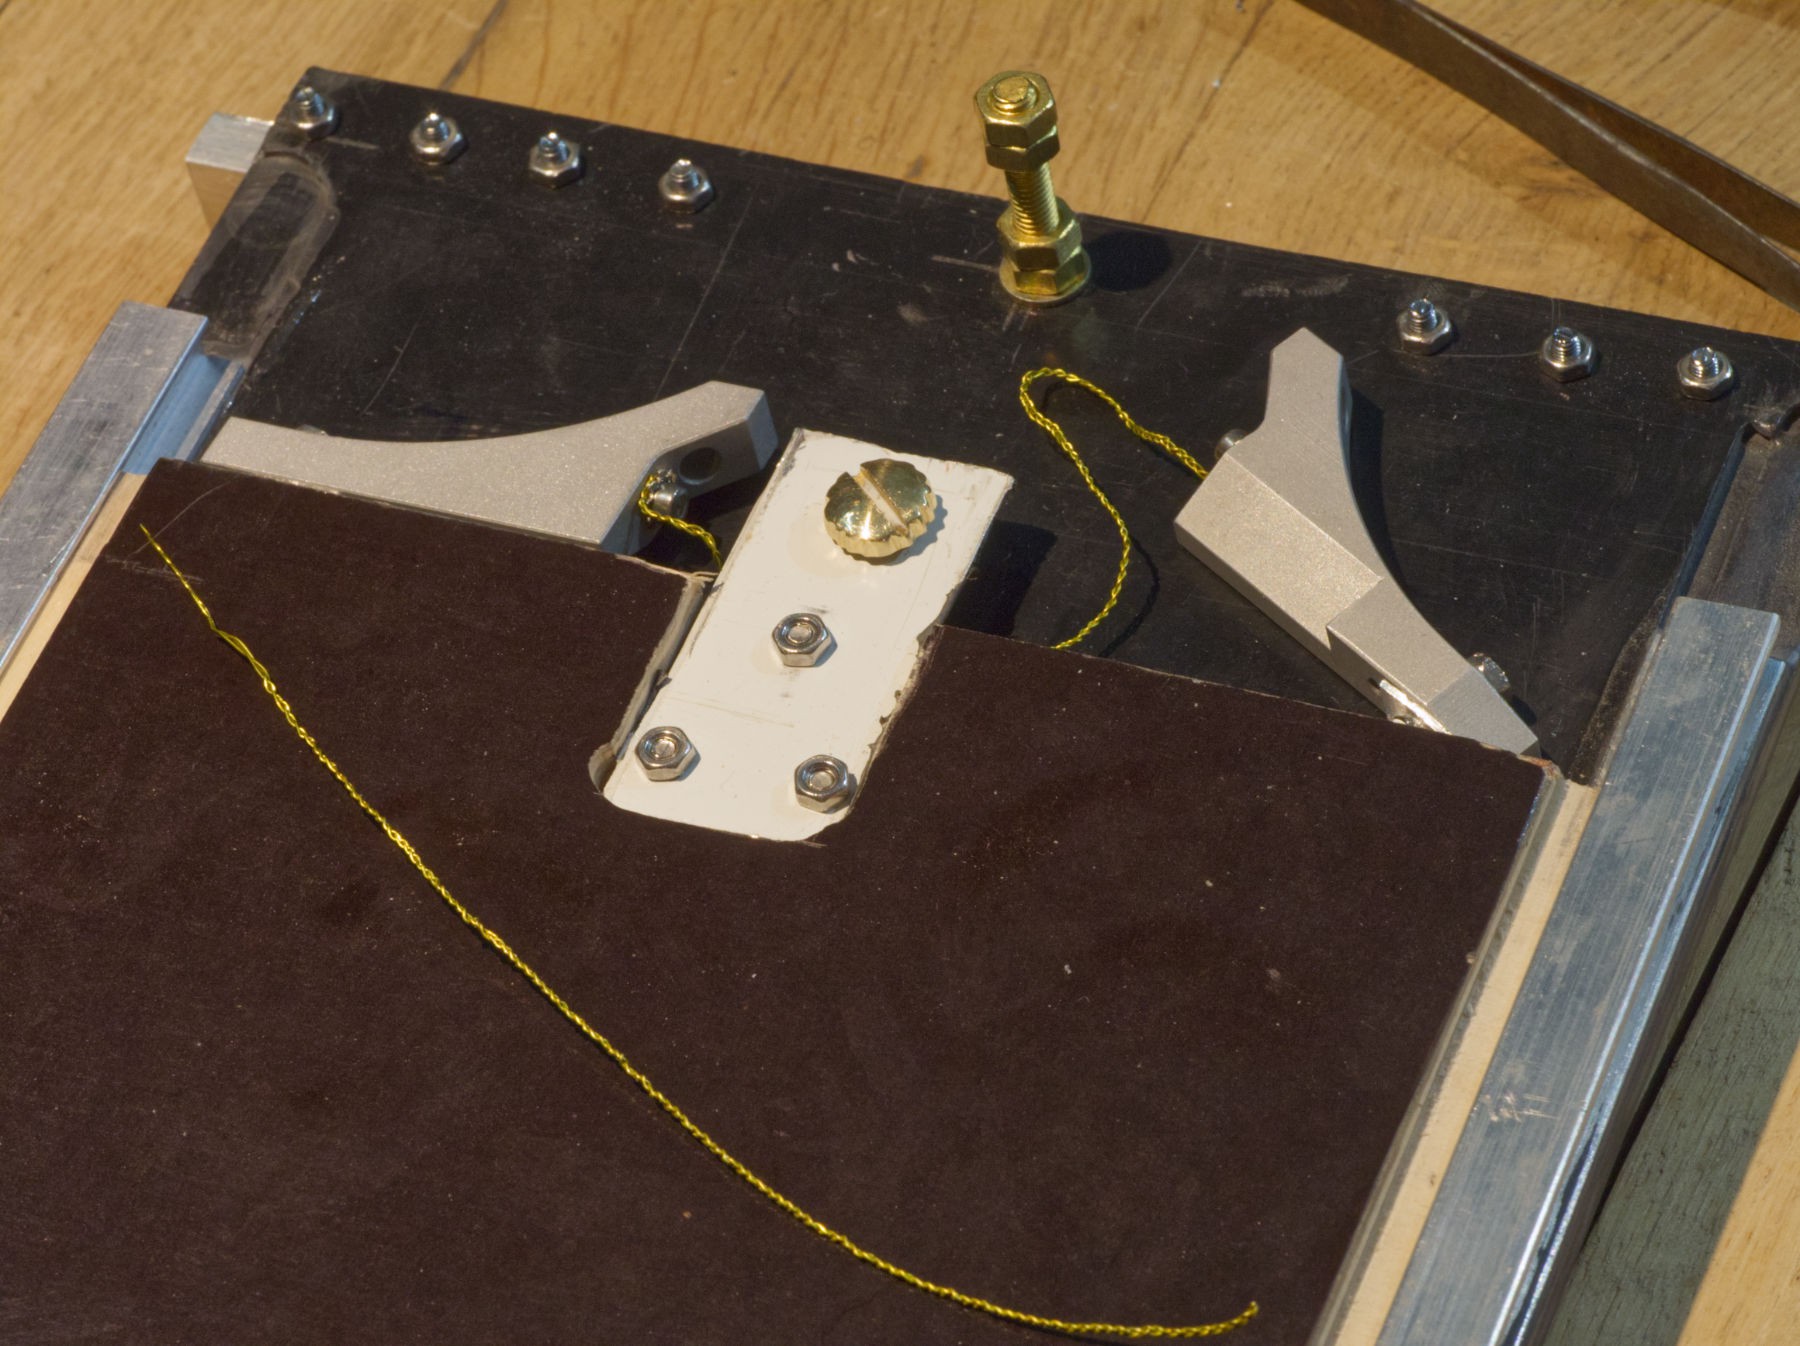
After research, the guillotine type was chosen (vive la révolution !) and the simplest mechanism to activate it : a bungee string.

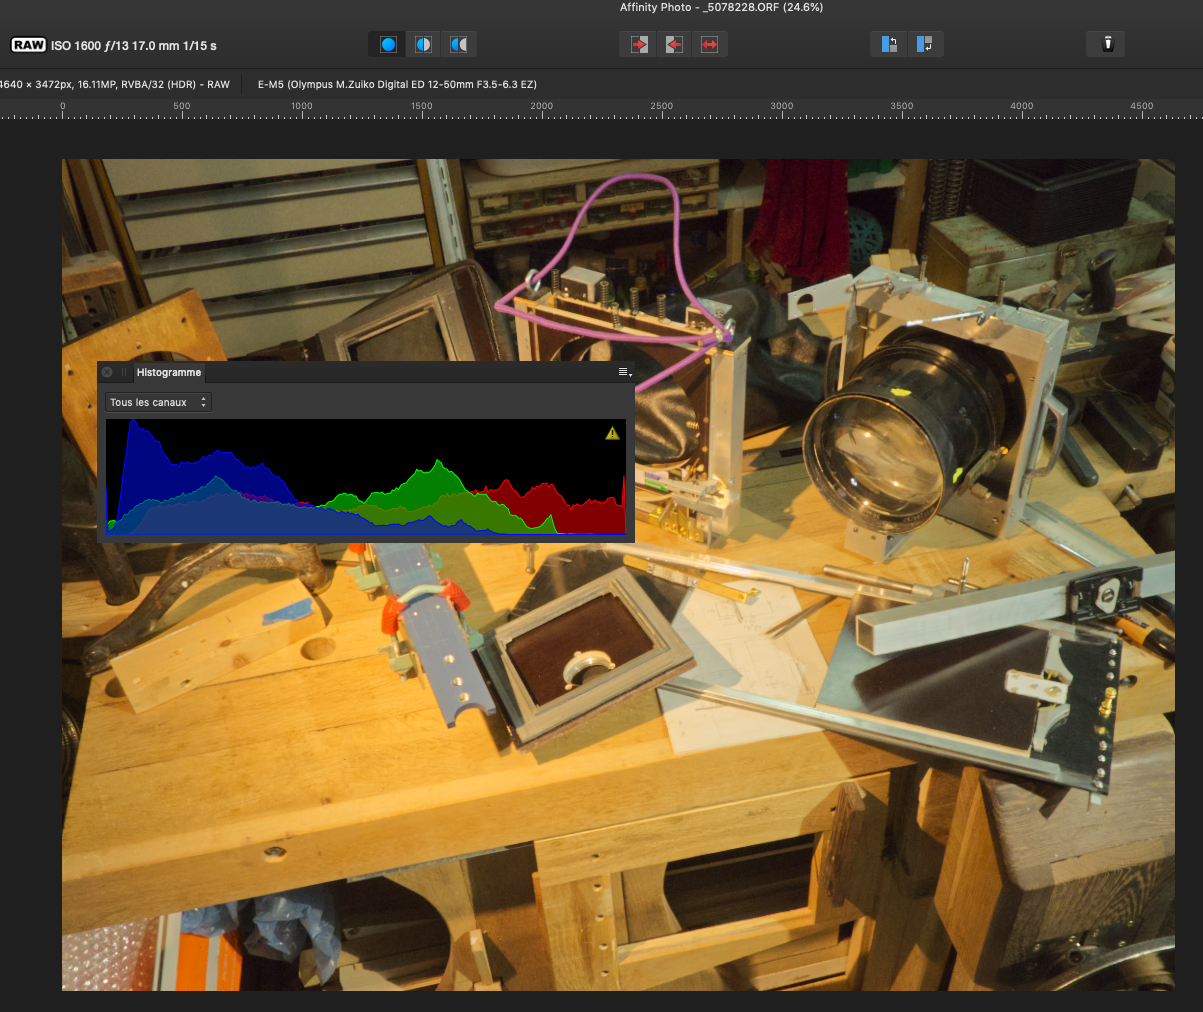
To calibrate the shutter speed, a digital camera mount is needed.

Most of the high end materials used in this project have been found in the street (90 kg of LASER lab quality stuff) : 

very hard (unbendable type) aluminium parts, 3, 5 and 8 mm thick plates and profiles

M 2, M 3, M 4, M5, M6 small length brass screws
Nearly all the other materials have been brought on the cheap in vide greniers (garage sales)

Some things are remains of students projects left in the garbage can or in corridors in the school where I work.

A leather couch cushion given by a neighbor....

Read more »

plan02.jpg

I had to make a precise 1/1 scale drawing of the Sinar camera board/below holding system, because it's impossible to just tape some Swiss made Velcro on a Swiss made camera. To be able to reproduce the very precise mechanical adjustment to hold the below to the camera, and a second one, to hold the digital camera needed to calibrate the shutter.

JPEG Image - 1.52 MB - 04/26/2022 at 09:44

Preview
Download

plan01.jpg

The only sketches I made for that project take only two pages of my notebook. First page is the lens, and the start of the shutter mechanism. And there is a screw, with no measures, but I had to write it down. All the mesures are metrics, because every tool used in France is metric, except the 1/4 and 3/8 screws, unmetric taps and dies are needed.

JPEG Image - 1.40 MB - 04/26/2022 at 09:44

Preview
Download

  • Third test

    [zit] Olivier Gade06/01/2022 at 18:07 0 comments

    From another point of view, close to the red super moon raising axis I'd like to shoot for my son's birthday (he's in Japan and can't see it).

    There's again a lot of wind, but I'm beginning to like that lens a lot, it gives incredible compression of the space.

    Ok, there's so much wind that the crane's been moving, so I had to adapt my frame.

    For the speed, it's good, but there's a blurry trouble.

    I finally had to go inside as the firs rain in a month arrived just for the raising moon schedule.

    Next day, from inside, the air is clean, the grey thing on the front is at  between 1 and 2 km, the white building behind is at about 2,5 km, the television tower is at around 9 km, and the buildings on the back, I didn't even know I could see something that far.

    This is at about 1 km from home.

    Same shot, different lens aperture.

    That's not even the fastest speed of the homemade shutter, so I sure can take picture in bright daylight now.

    There's still that blurry trouble, I suspect a bounce back of the rear of the build, where the camera is mounted, when the bungee's released, the movement is very fast and stops : there are clearly 2 images, one is slightly less exposed (lighter) and another nearly well exposed (darker), it's not a blurry line.

    The rear end isn't fixed at all on anything, it just lies on a square aluminium tube mounted on a tripod.

    It's for sure easier to manipulate to aim, but it must be tightly fastened when taking a picture : easy fix.

    And, all those tests have been made with an Olympus digital camera which sensor size is 24 x times smaller than the 4 x 5 " film that feeds the film camera.

    This is from the Olympus.

    This is what the image is going to be on film.

    So I'm very optimistic about the blur. Of course the rear end must be fastened, and then I can make more tests, with B & W films loaded for the first time in more than 30 years : it's cheaper and more convenient to process, and also the lens has some optical characteristics that can be very interesting in B & W.

    I think it's some kind of requirement for a lens shooting from above, at a far distance, to have a very small dynamic range : when looking at the histogram, in the viewfinder when shooting, to have the best exposure, and in the raw developing software, it's very narrow :

    This is the unprocessed file, no risk of highlights clipping or too dark shadows.

    Same camera, cheap (but not bad) zoom lens, the histogram is much wider.

  • Family picture

    [zit] Olivier Gade06/01/2022 at 11:24 0 comments

    Every part build since about 3 month, on the back from the left, the previous lens board, the Sinar board replica strapped on the below, the shutter, the lens, and in the front the Sinar bench tube adapter, another Sinar Board replica with the Nikon F baïonnette and the blade.

  • Lens caps

    [zit] Olivier Gade06/01/2022 at 10:55 0 comments

    Any lens, even the biggest ones, deserve a lens cap. The two circles remaining of the shutter frame are going to be perfect.

    Milled with the 2 mm bit was very fast and easy.

    Now the beast is secured.

    Before, I had to, very, VERY carefully make the front opening round again with a nice hammer, as the lens might have felt on the floor because the brass surrounding had an impact mark and was deformed.

  • Tightening the bungee

    [zit] Olivier Gade06/01/2022 at 10:42 0 comments

    As the speed was too slow to have the possibility to take pictures on a bright sunny day, the bungee needed to have more tension.

    After a too violent trial with 300 mm off, it's about 200 mm shorter now and it will give a faster speed.

    The tightening of the bungee is achieved with a Serfex clamping ring.

  • Nuts

    [zit] Olivier Gade06/01/2022 at 09:10 0 comments

    A brass hexagonal 27 mm bar gives the necessary material, it had been used as a chisel or something as the end part's been completely deformed by a hammer's numerous hits.

    The center part's still red hot of the light saber cut (a reflection of the very rare sun in my workshop on a red plastic can).

    Using an équerre à centrer (centering square) to mark the place to drill the central hole.

    Makes so nice chips !

    Trying to mill, it's long, not the appropriate bit for the shape needed.

    Hand filling's faster and doesn't make noise, vibrations, and gives my arms and hands a good exercise.

    First a tough file, and a smoother, and a much smoother, and sand paper, from 400 to 2000 grain, brass is very pleasant to work with.

    It'll give a good grip.

    It needs a shoulder, in the center, the head size's perfect.

    Milling is easy.

    Not very fast but not too long.

    A little filling, to have a nice rond shape.

    And that's it : a completely home made 3/8 " screw with its tightening nut.

    The second one was faster to achieve and has a nice guilloché finish.

  • Adding a cute spirit level

    [zit] Olivier Gade06/01/2022 at 09:00 0 comments

    Searching for something completely different in a small drawer, that very cute vintage and still accurate German Linhoff camera spirit level was found, I must use it !

    The price tag, 33 francs (around 5 €) and the all aluminium build let think that it's something sold in the early 70's (the orange color of Odeon photo, the shop's name, is another significant clue).

    You can see that my wood bench is quite well leveled.

    Once again, those nicely machined aluminium parts are going to be used, as it's exactly the right thickness.

    Cut with a metal hand saw and, as it's impossible to bend, the mini vice-grip will help cut the inner edge easily.

    It fits exactly.

    as the existing holes where too close to the level path, it had to be drilled again, not very elegant, but... it's a prototype.

    Drilling, taping, just in the center, between the ears.

    Parfait ! ugly, but nobody will ever notice it.

  • Spring time again

    [zit] Olivier Gade06/01/2022 at 07:36 0 comments

    Some more 35 mm film canisters are easily cut : the blade needs more bumpers at the end of the movement.

    Easy to shape.

    In the small vise, you can see how mat is the inner black paint on this picture.

    A forest of springs !

    Finally, two of them are going to be taken away, as they where touching the back of the blade, the breaking is enough with 6 springs (the blade finishes it's run by a smooth 4 centimeter upwards movement) .

  • Reinforcing the build

    [zit] Olivier Gade05/31/2022 at 17:39 0 comments

    Another of these 5 mm thick aluminium L is going to be used, cut in two halves.

    The 2 mm square tube is too weak. That'll be stronger.

    Drilling, taping, as you can see, stainless steel screws are used.

    It's nice to have a big jaws vise on the bench.

    M3 screws in an 5 mm thick plate, it'll do, but it was close to the disaster.

    As the L shape are bigger than the 30 mm square tube, the alignement with the rear part of the build is perfect and easy now.

  • Second try, is the shutter fast enough ?

    [zit] Olivier Gade05/31/2022 at 17:28 0 comments

    That television tower is at about 10 kilometers from home, the blur is mostly due to the air pollution.

    This has been taken with the shutter of my Olympus camera.

    This is with the shutter I made, it's much more blurry and at the fastest speed, not fast enough.

    Let's try a closer easier to focus frame.

    From the TV tower to the (much closer) TV antennas. (Olympus shutter 1/125 s.)

    Nearly the same exposure value with my shutter, but... ok, the wind was very strong, but... something must be made to strengthen the system.

    And the bungee string must be tightened to have a faster speed.

  • Coin-coin (two wedges)

    [zit] Olivier Gade05/31/2022 at 17:04 0 comments

    After a release, it slipped nearly 5 mm.

    The blind is slipping, even with the screw completely tighten, the shock of the shutter release mechanism is too strong, so some wedges are necessary.

    This very soft aluminium recuit (annealed) is really easy to bend.

    But adjustment is not simple at all, and it's absolutely necessary that the shutter speed change do not affect the framing of the picture, it must be easy to do and fast.

    A pair of coins (wedges) are made with the help of the vise with that mellow aluminium, the sharp end is thinner than half of the thickness of the material.

    After a try, no move, the design is validated.

    Some more of the nice sintered parts are used to have a good grip : it's wedges, so it's hard to put in place, and its good to have a lever to take it off.

    The first uses of the screw had the skin of my finger tips completely worn : some rounding, softening is necessary. Rond File.

    Sanding.

    A moment in the M 6 die to have perfect entrance.

    I don't want to loose those wedges, after unsuccessful search for some very small bungee strings, I finally chose to make a string out of that enameled steel wire, it's very strong (hard to brake) and very soft (easy to bend).

    Tresser, c'est facile ! (weaving is easy !), Never done that before, but it's a gesture that's been done so many times by our ancestors, that I feel my body remembers their actions.

    I didn't need so much of that stuff... next time, another use.

View all 56 project logs

Enjoy this project?

Share

Discussions

Similar Projects

Does this project spark your interest?

Become a member to follow this project and never miss any updates