 [zit] Olivier Gade
Since the fist try, there was an obvious problem for me : it needs a lot of strength to release the blade. As the bungee is quite strong, it's force is only stopped by the screw holding it, and it doesn't slip well at all.
Impossible to need so much strength to take a picture, it must be something smoother !
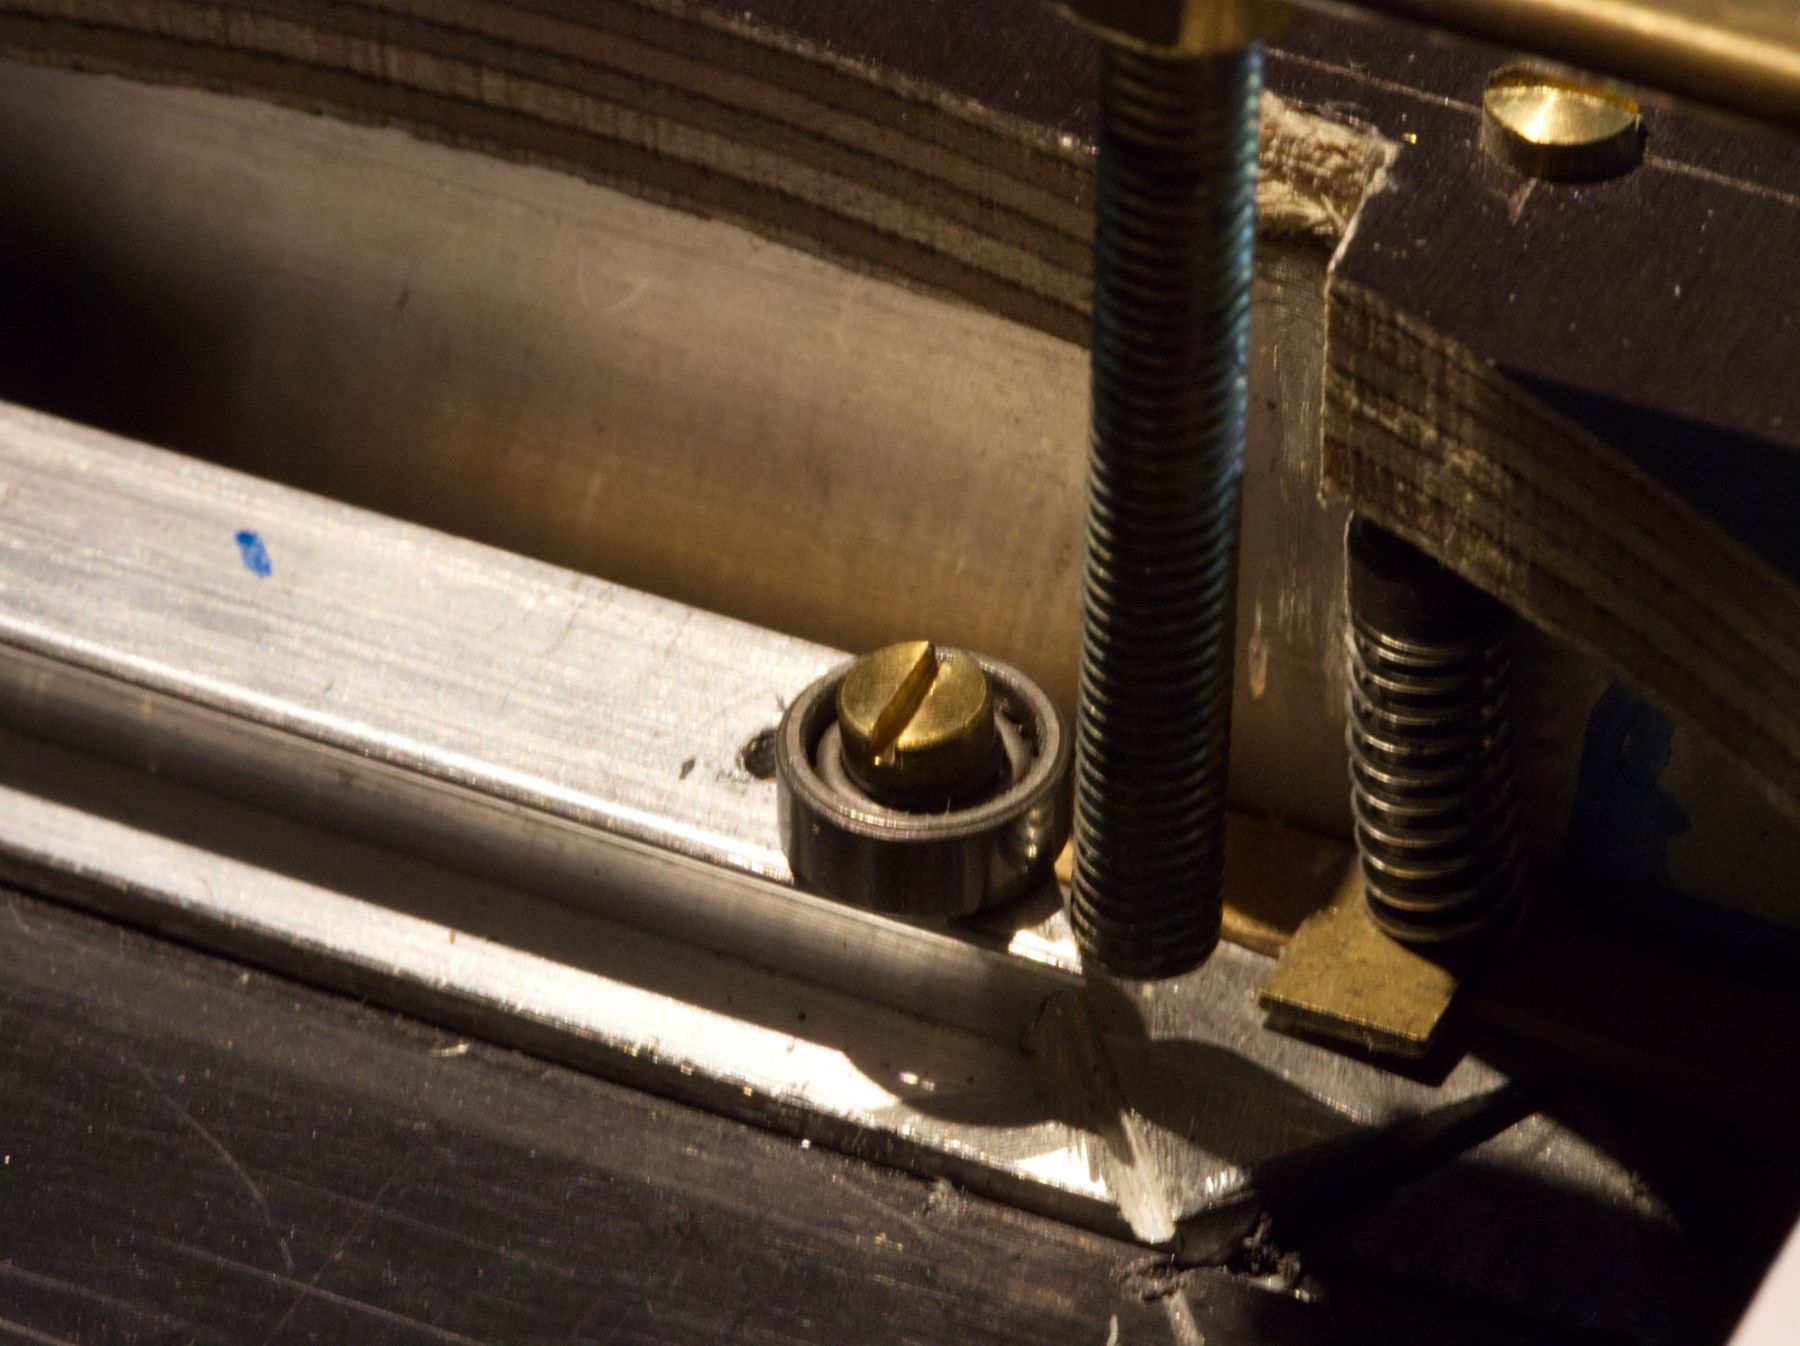
Tried with a small bearing.
Nope, it needs about the same strength and its too close to the flap opening time : the blade get stopped by the flap, there must be enough delay between the flap release mechanism and the shutter one for the flap to open completely before the blade goes, because it goes fast !
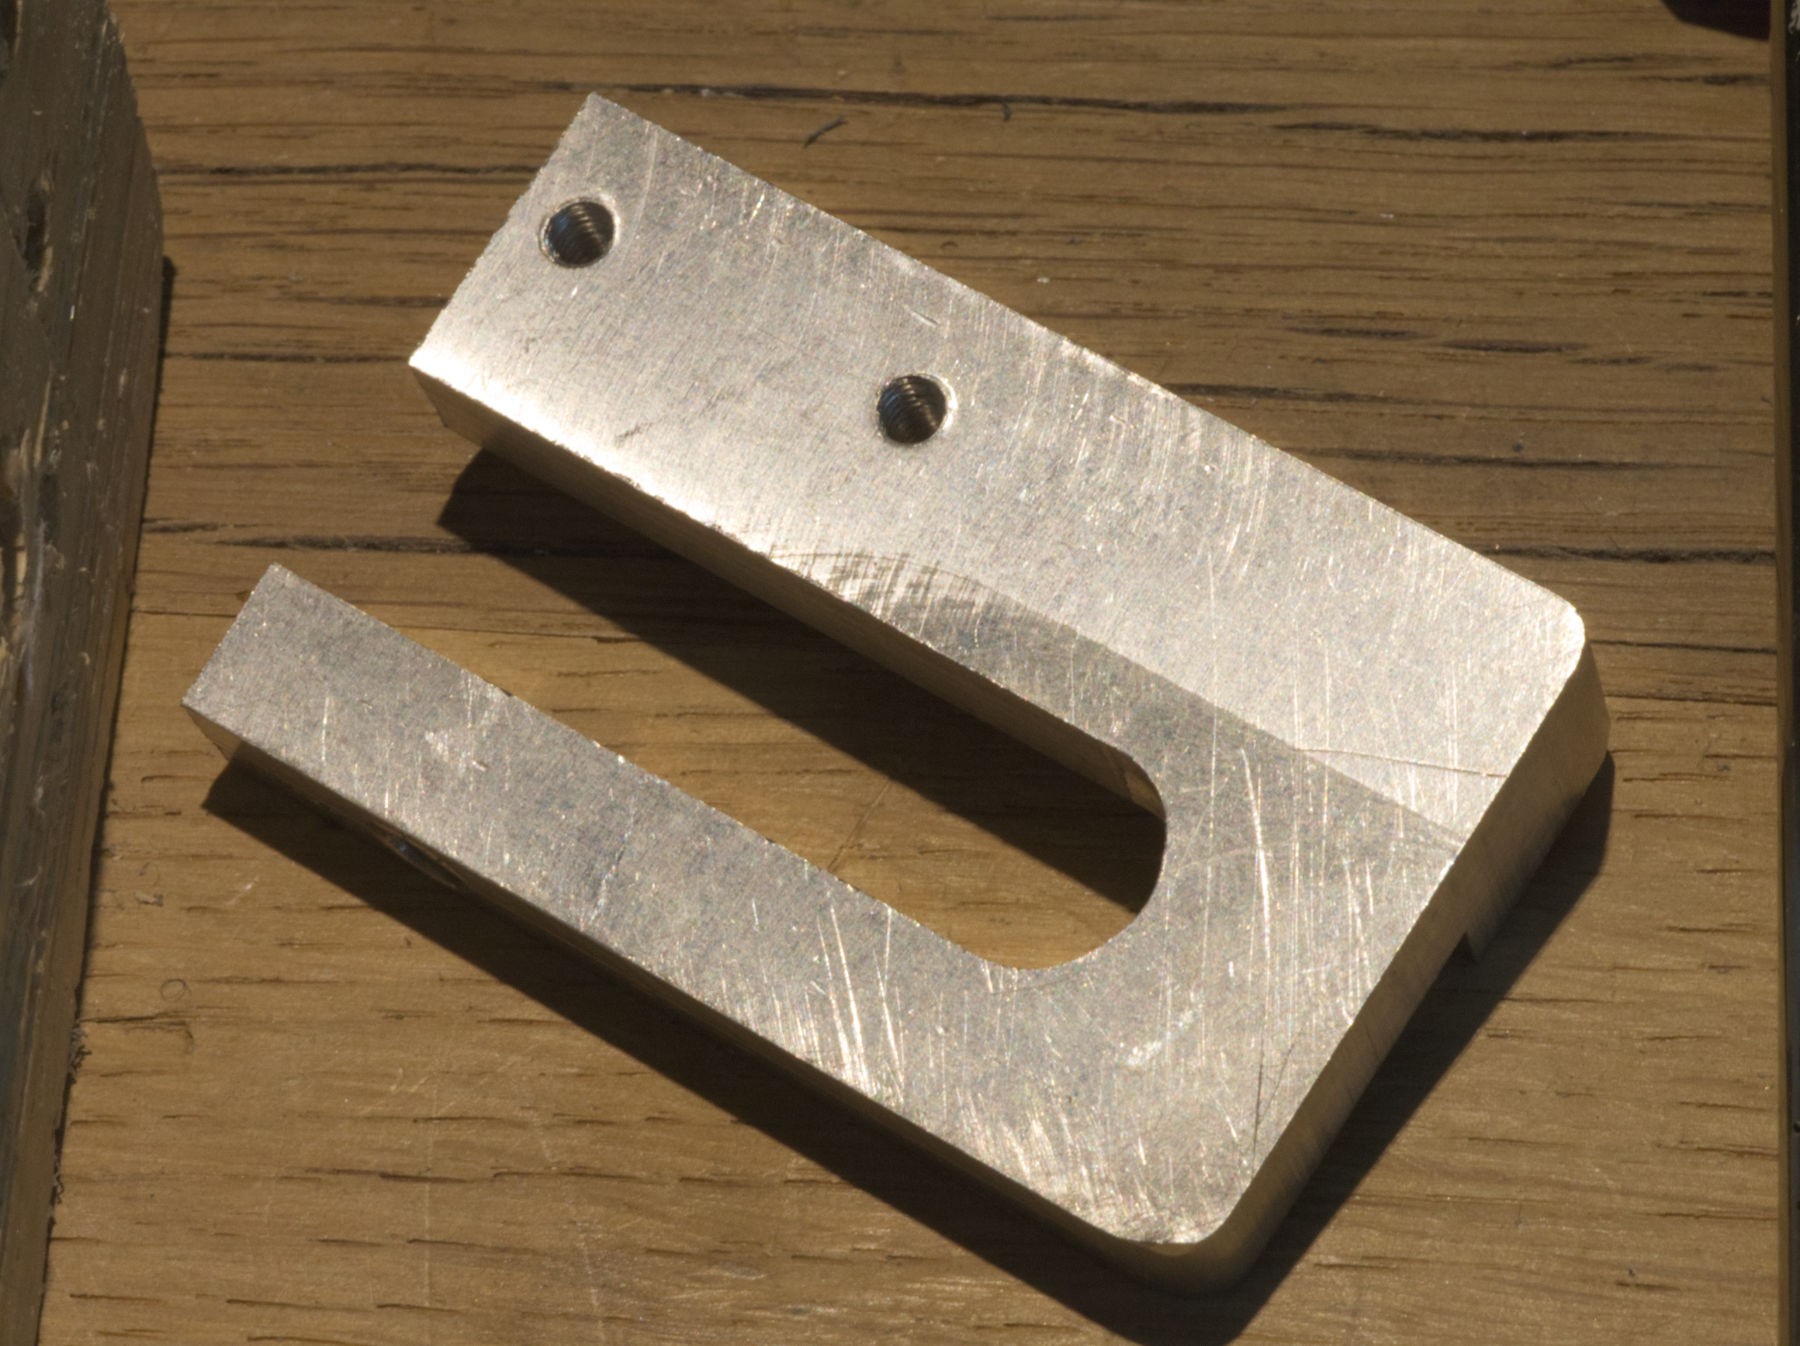
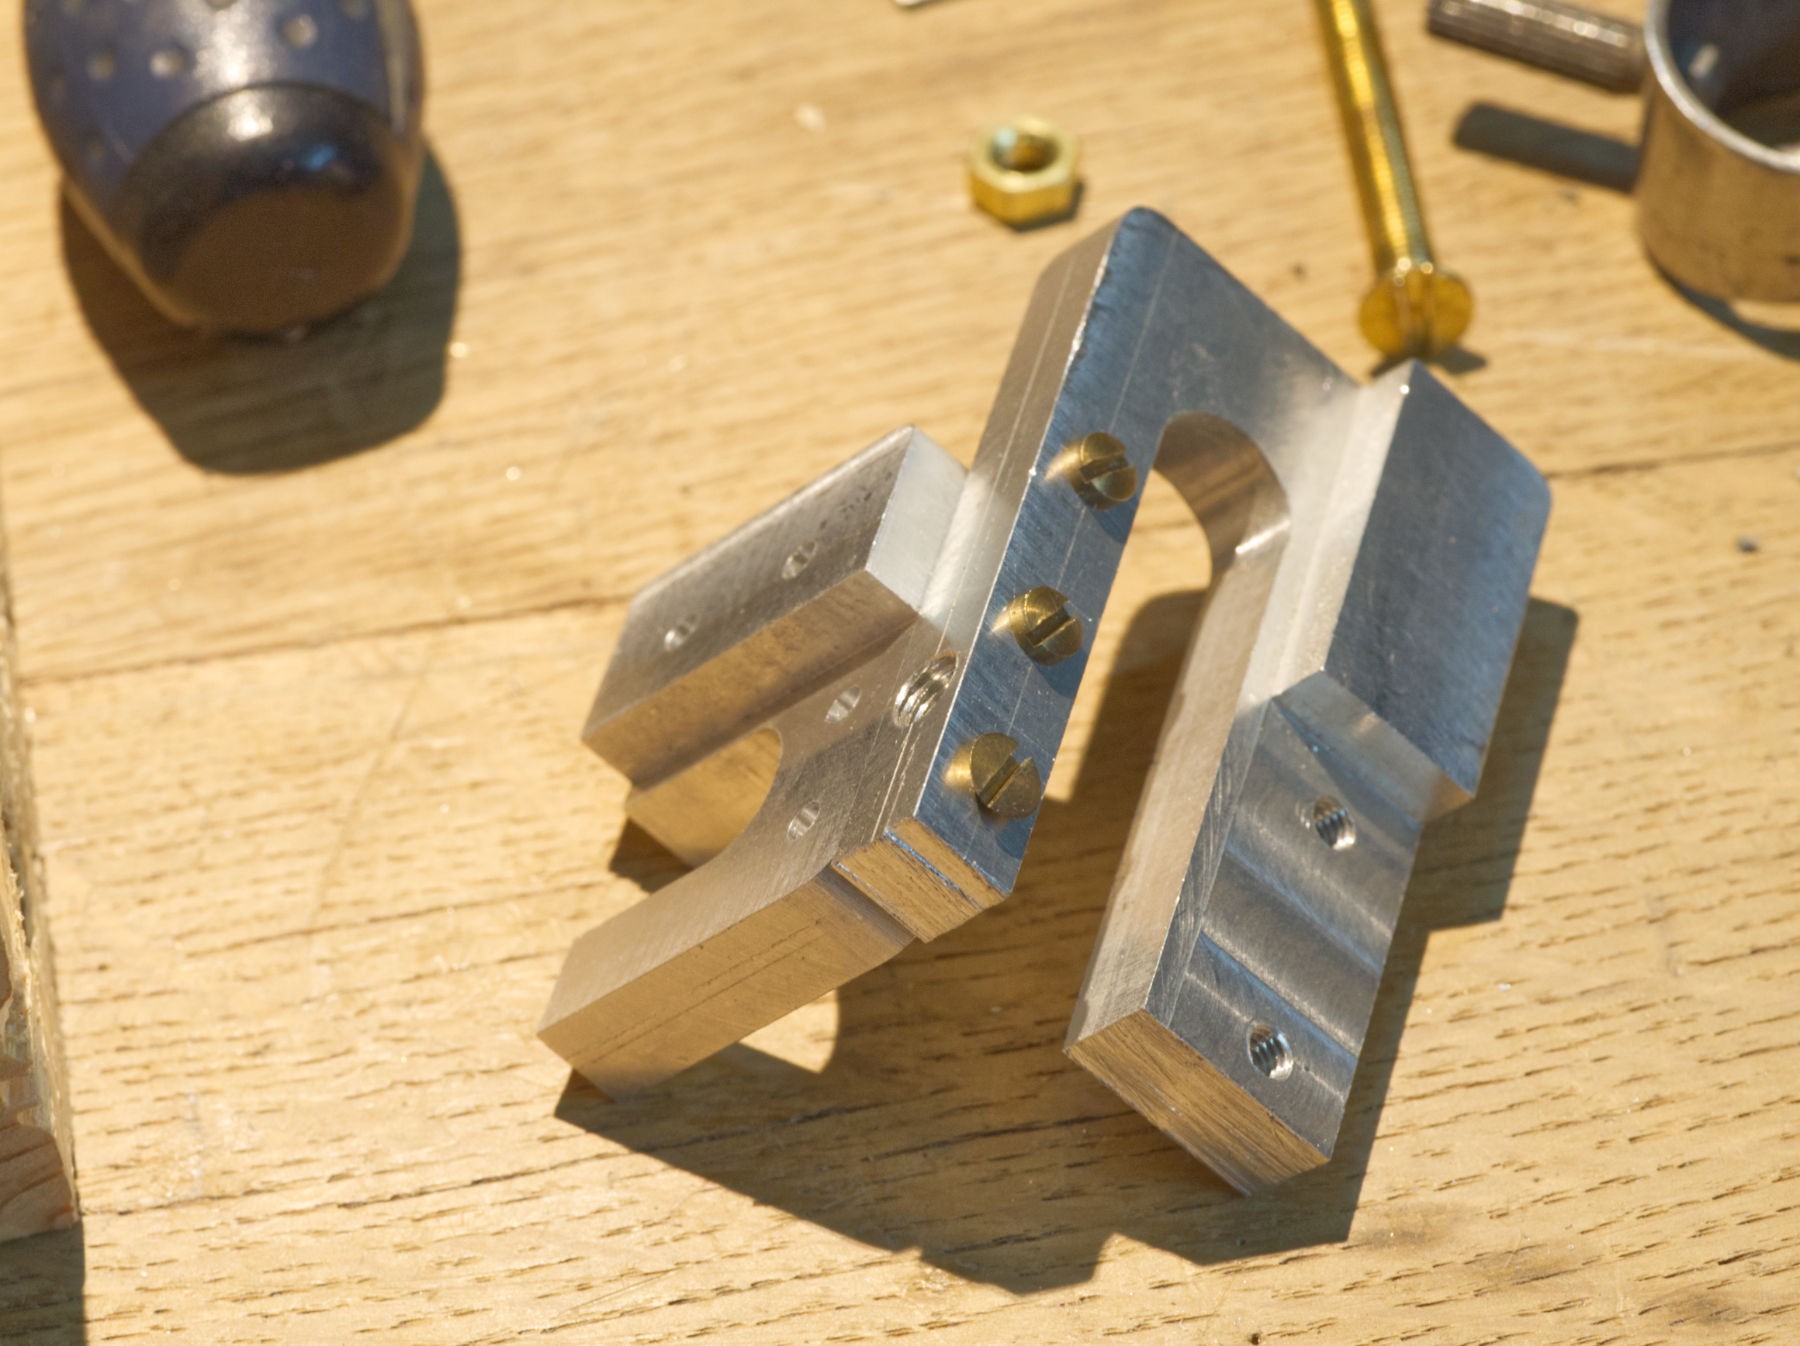
Let's try something completely different, some more pieces of aluminium are going to get a use.
Using the two halves of the same part, assembly preview, it looks exactly like what's needed.
Drilling, taping M 3 threads.
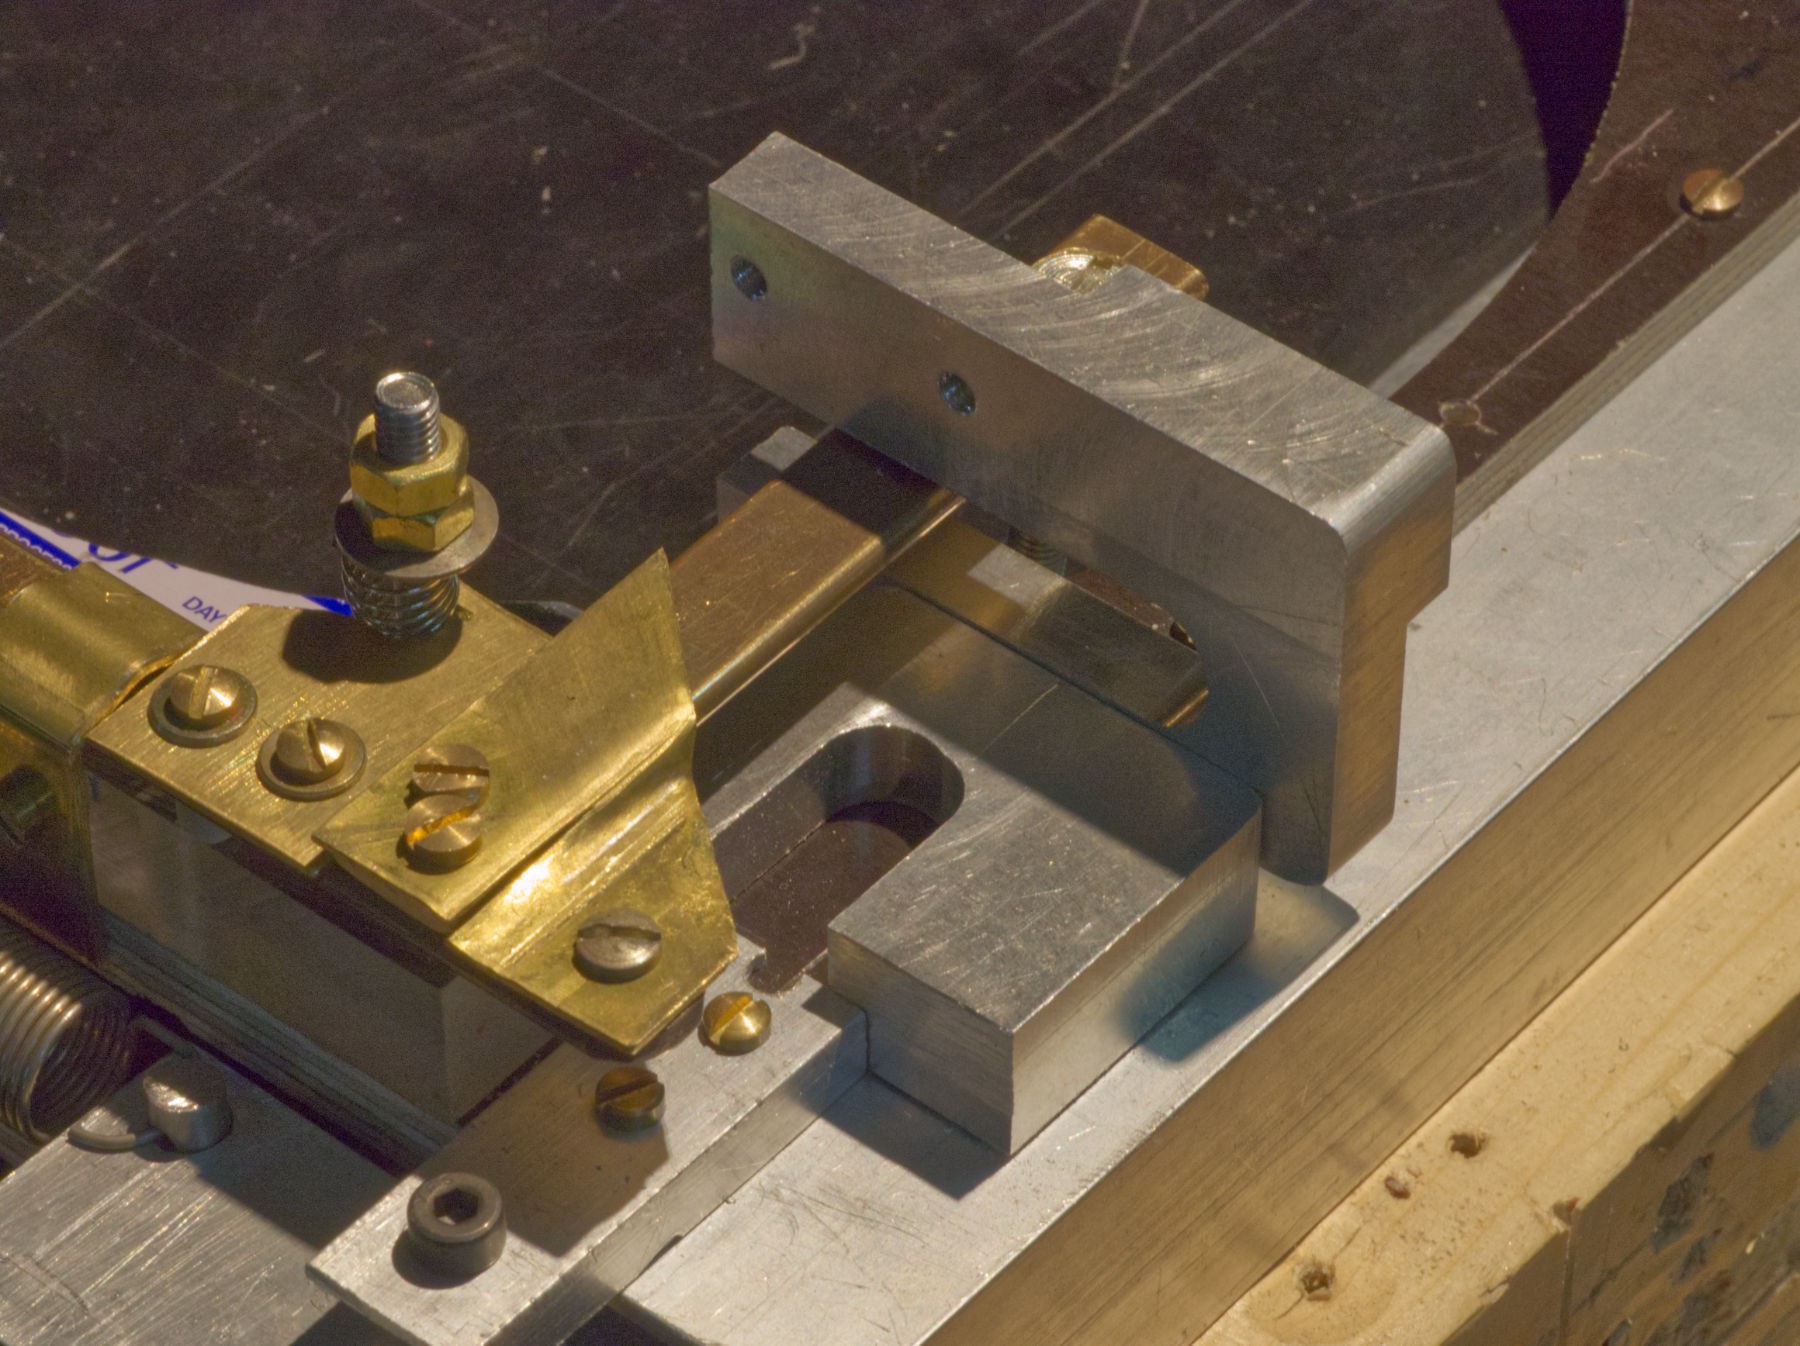
Final assembly.
It's going to be there... drilling... taping...
Okay, let's try that...
No more softness with this mechanism.
In fact, this very trouble was some background thinking for at least a month until...
Fulcrum !
Give me a long enough lever and a fulcrum point and everything is gonna be easy.
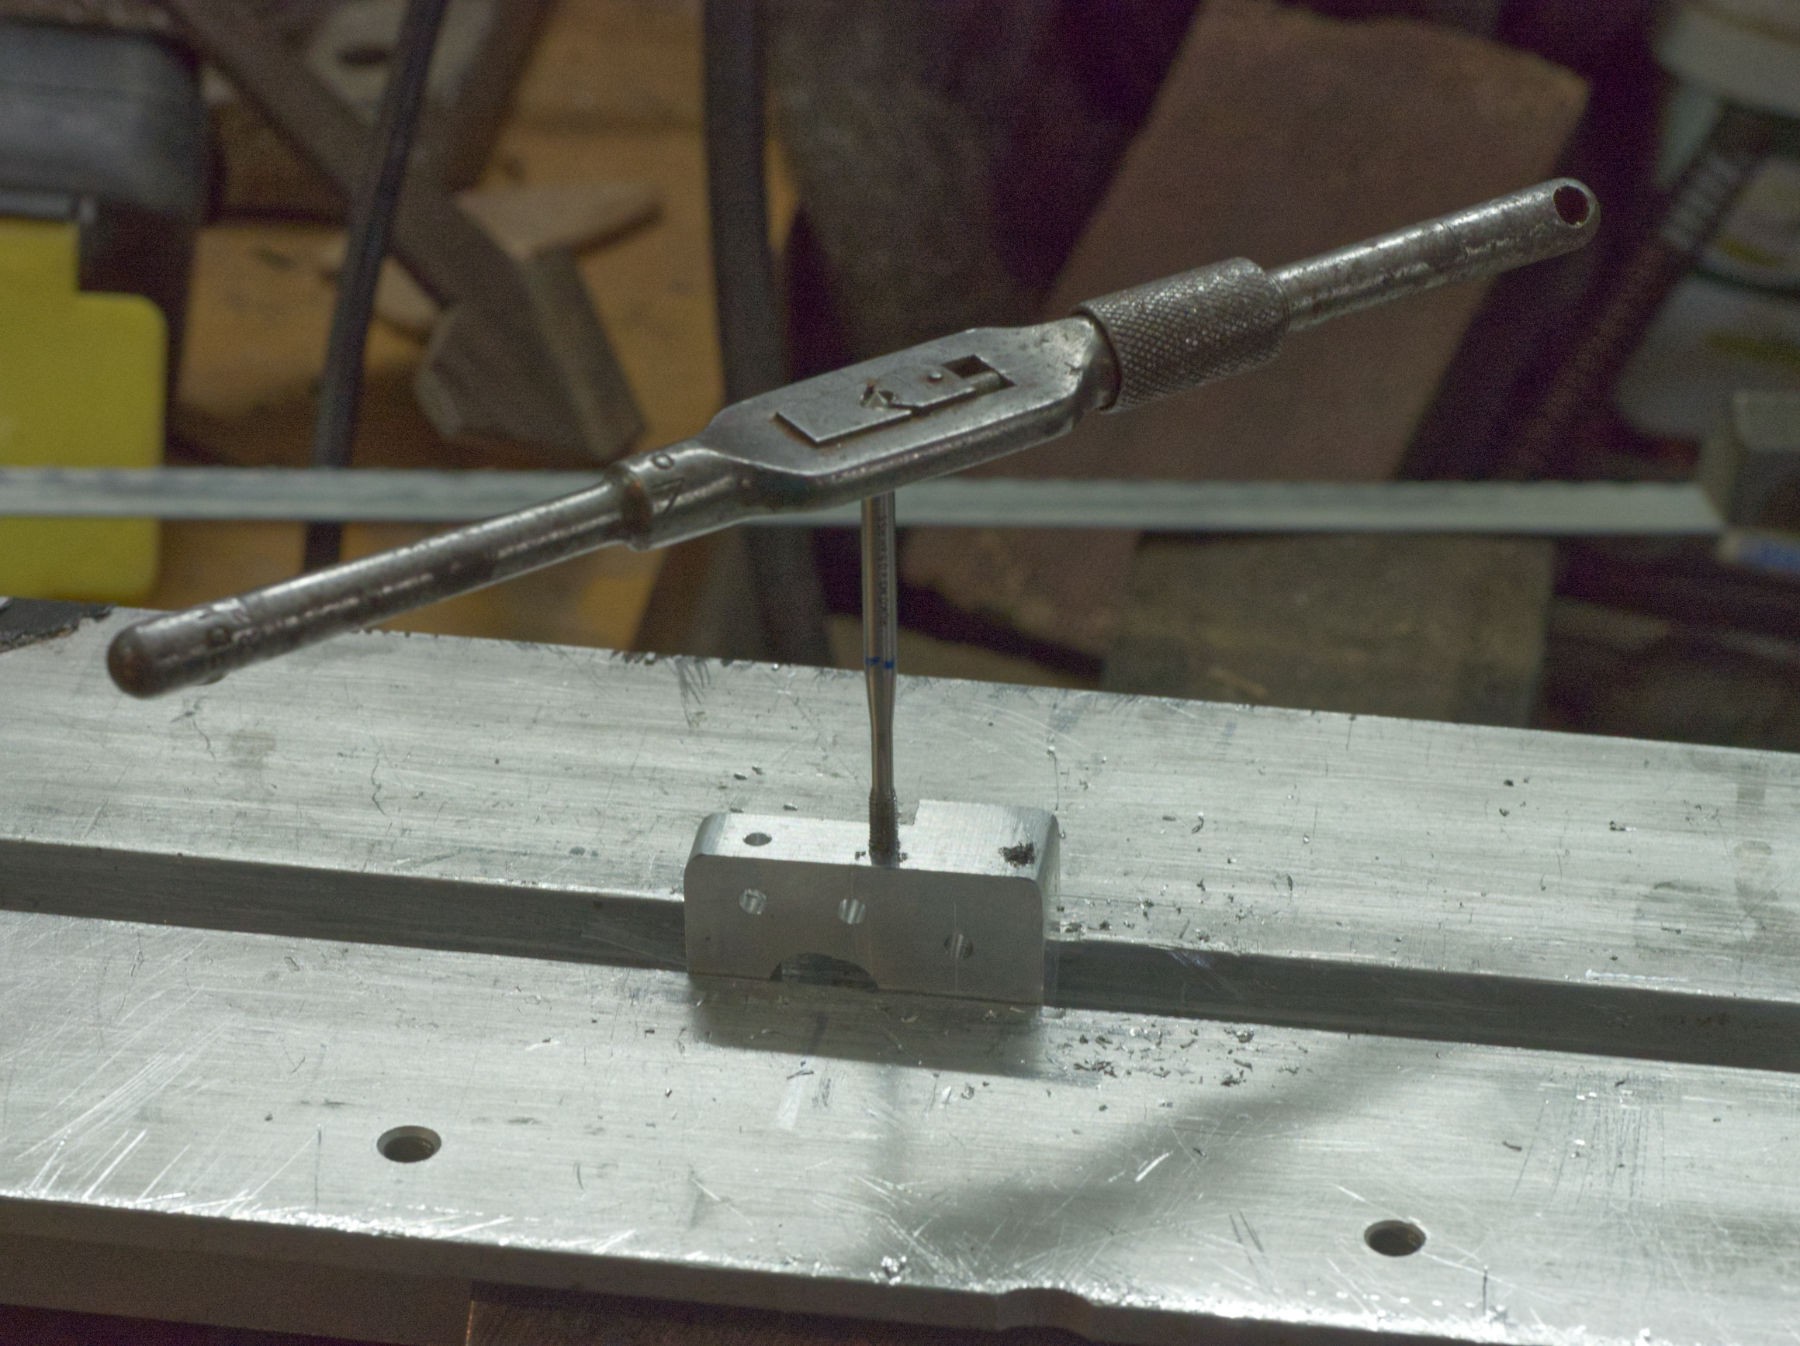
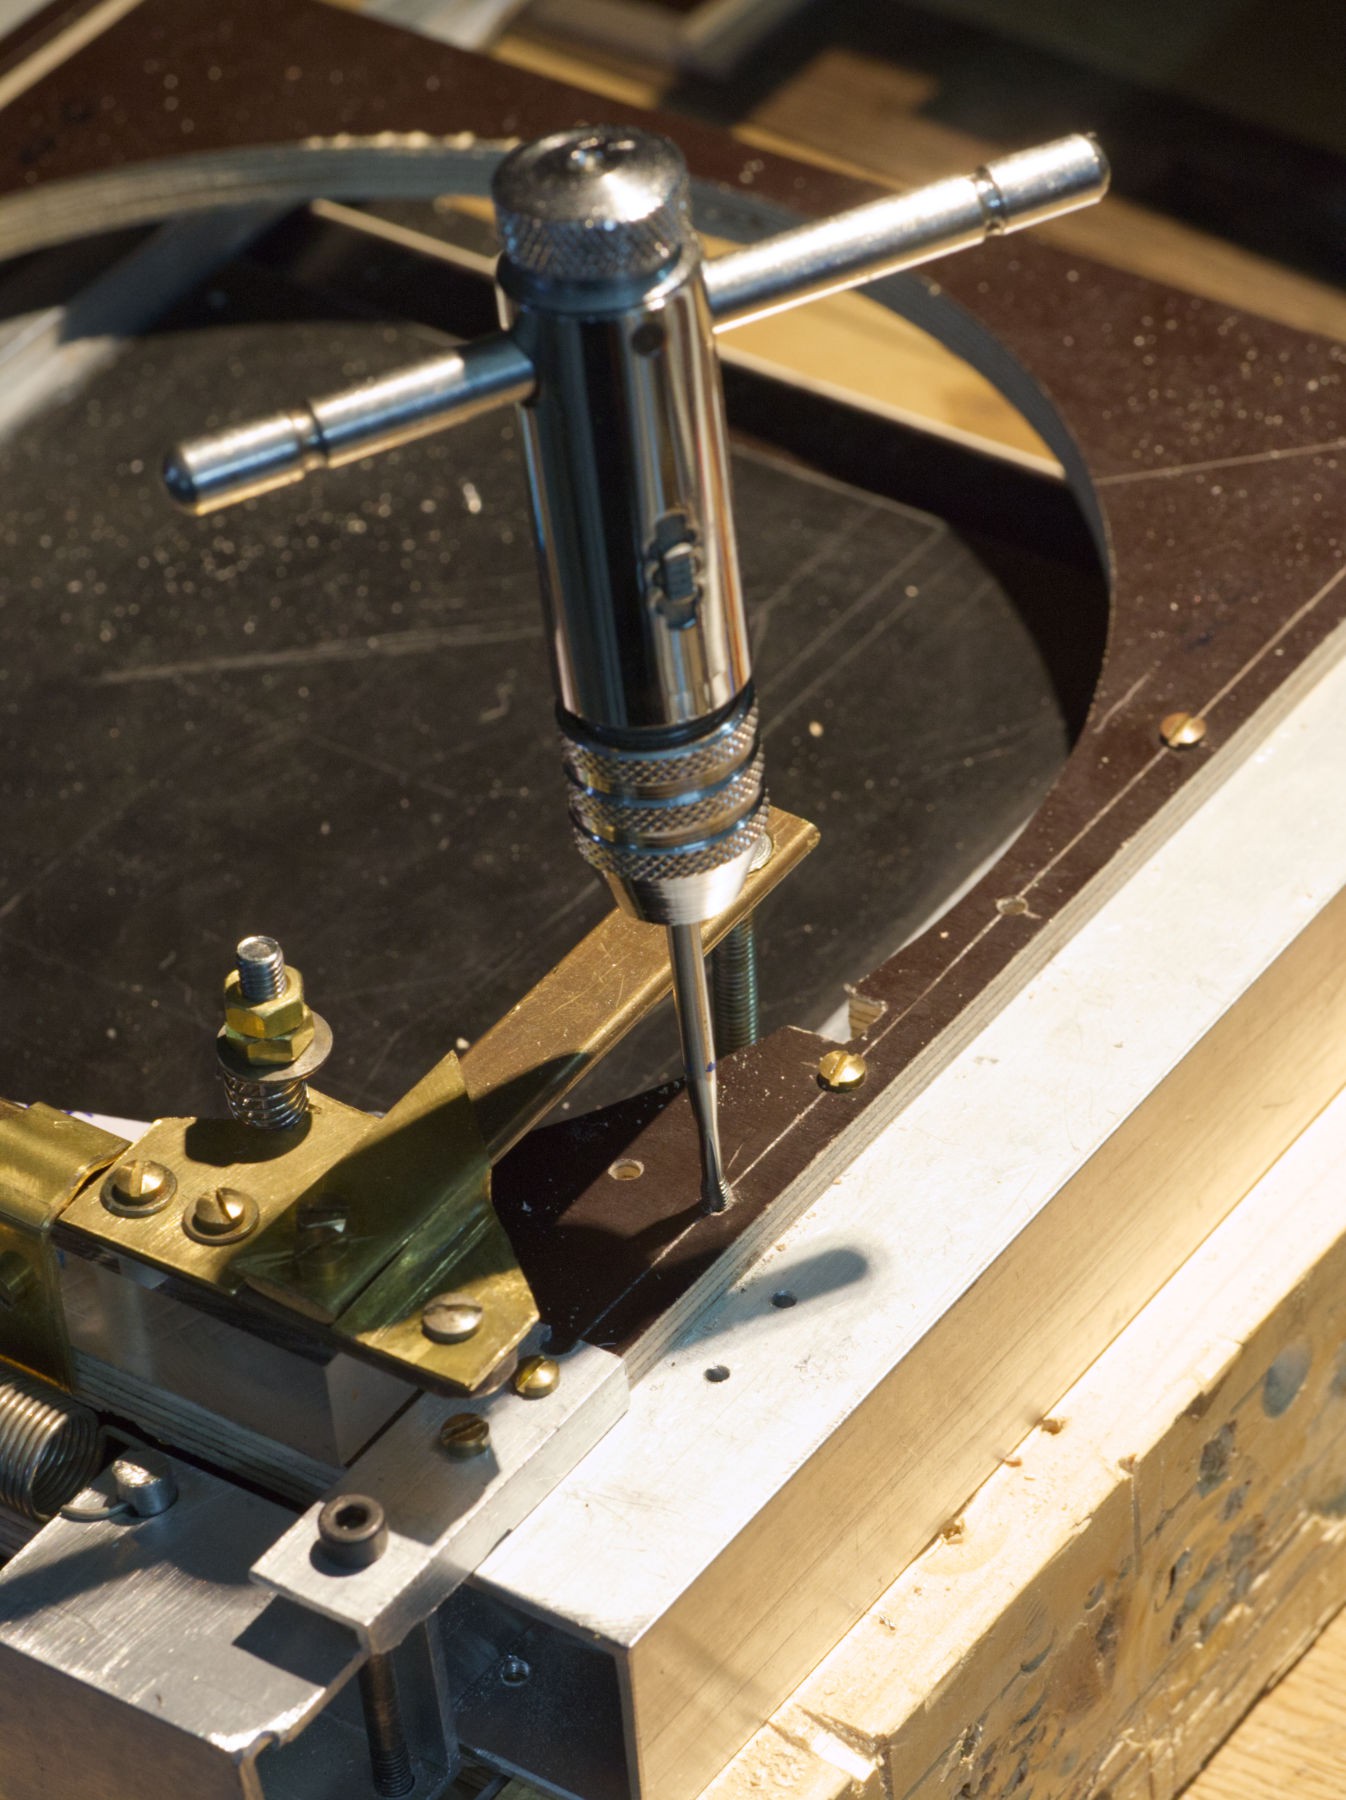
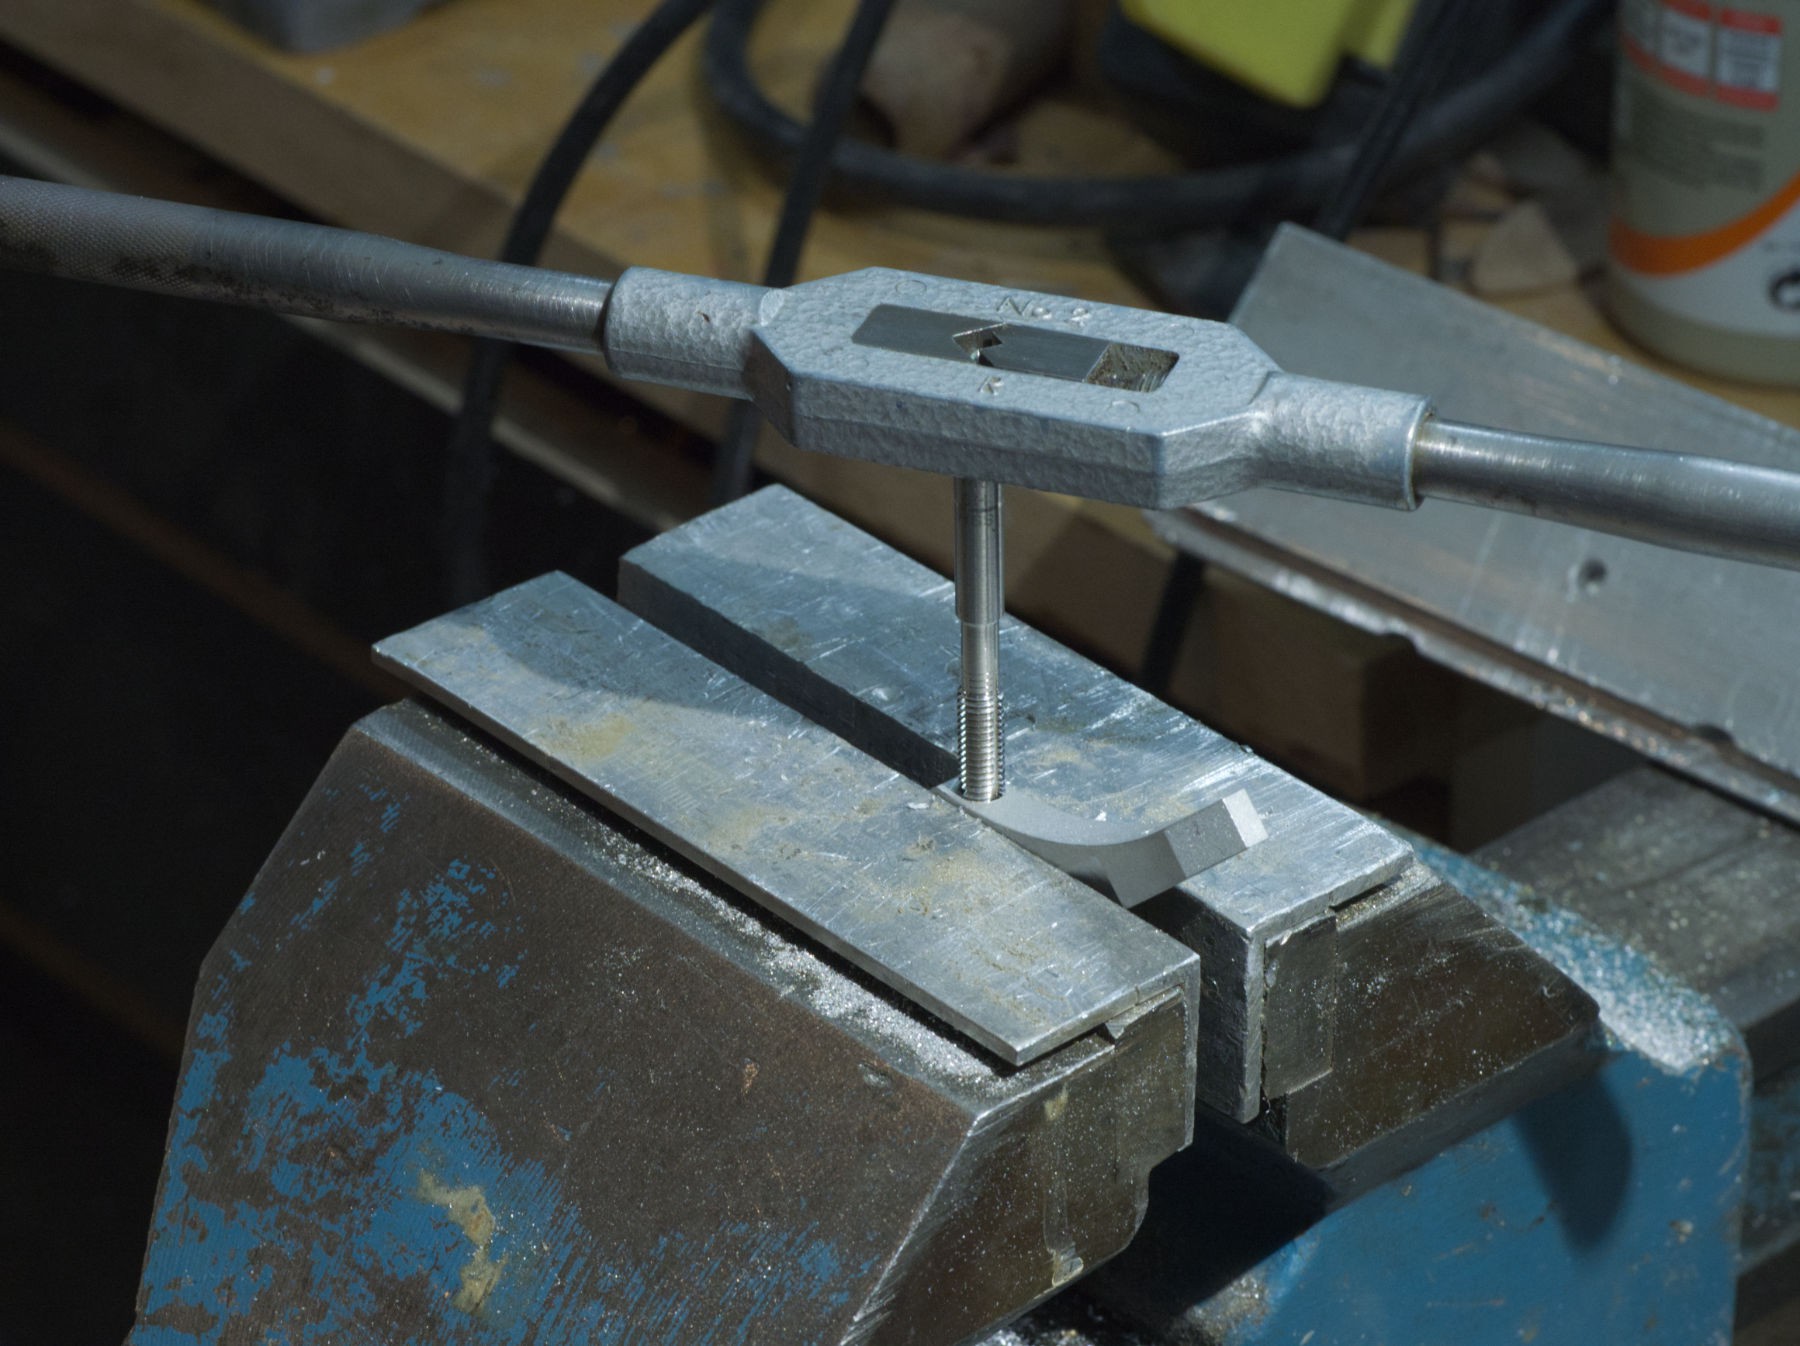
The bench top drill press is too small, but I sure want a hole at the same place on both sides of the square tube, hand drilling would't be accurate enough.
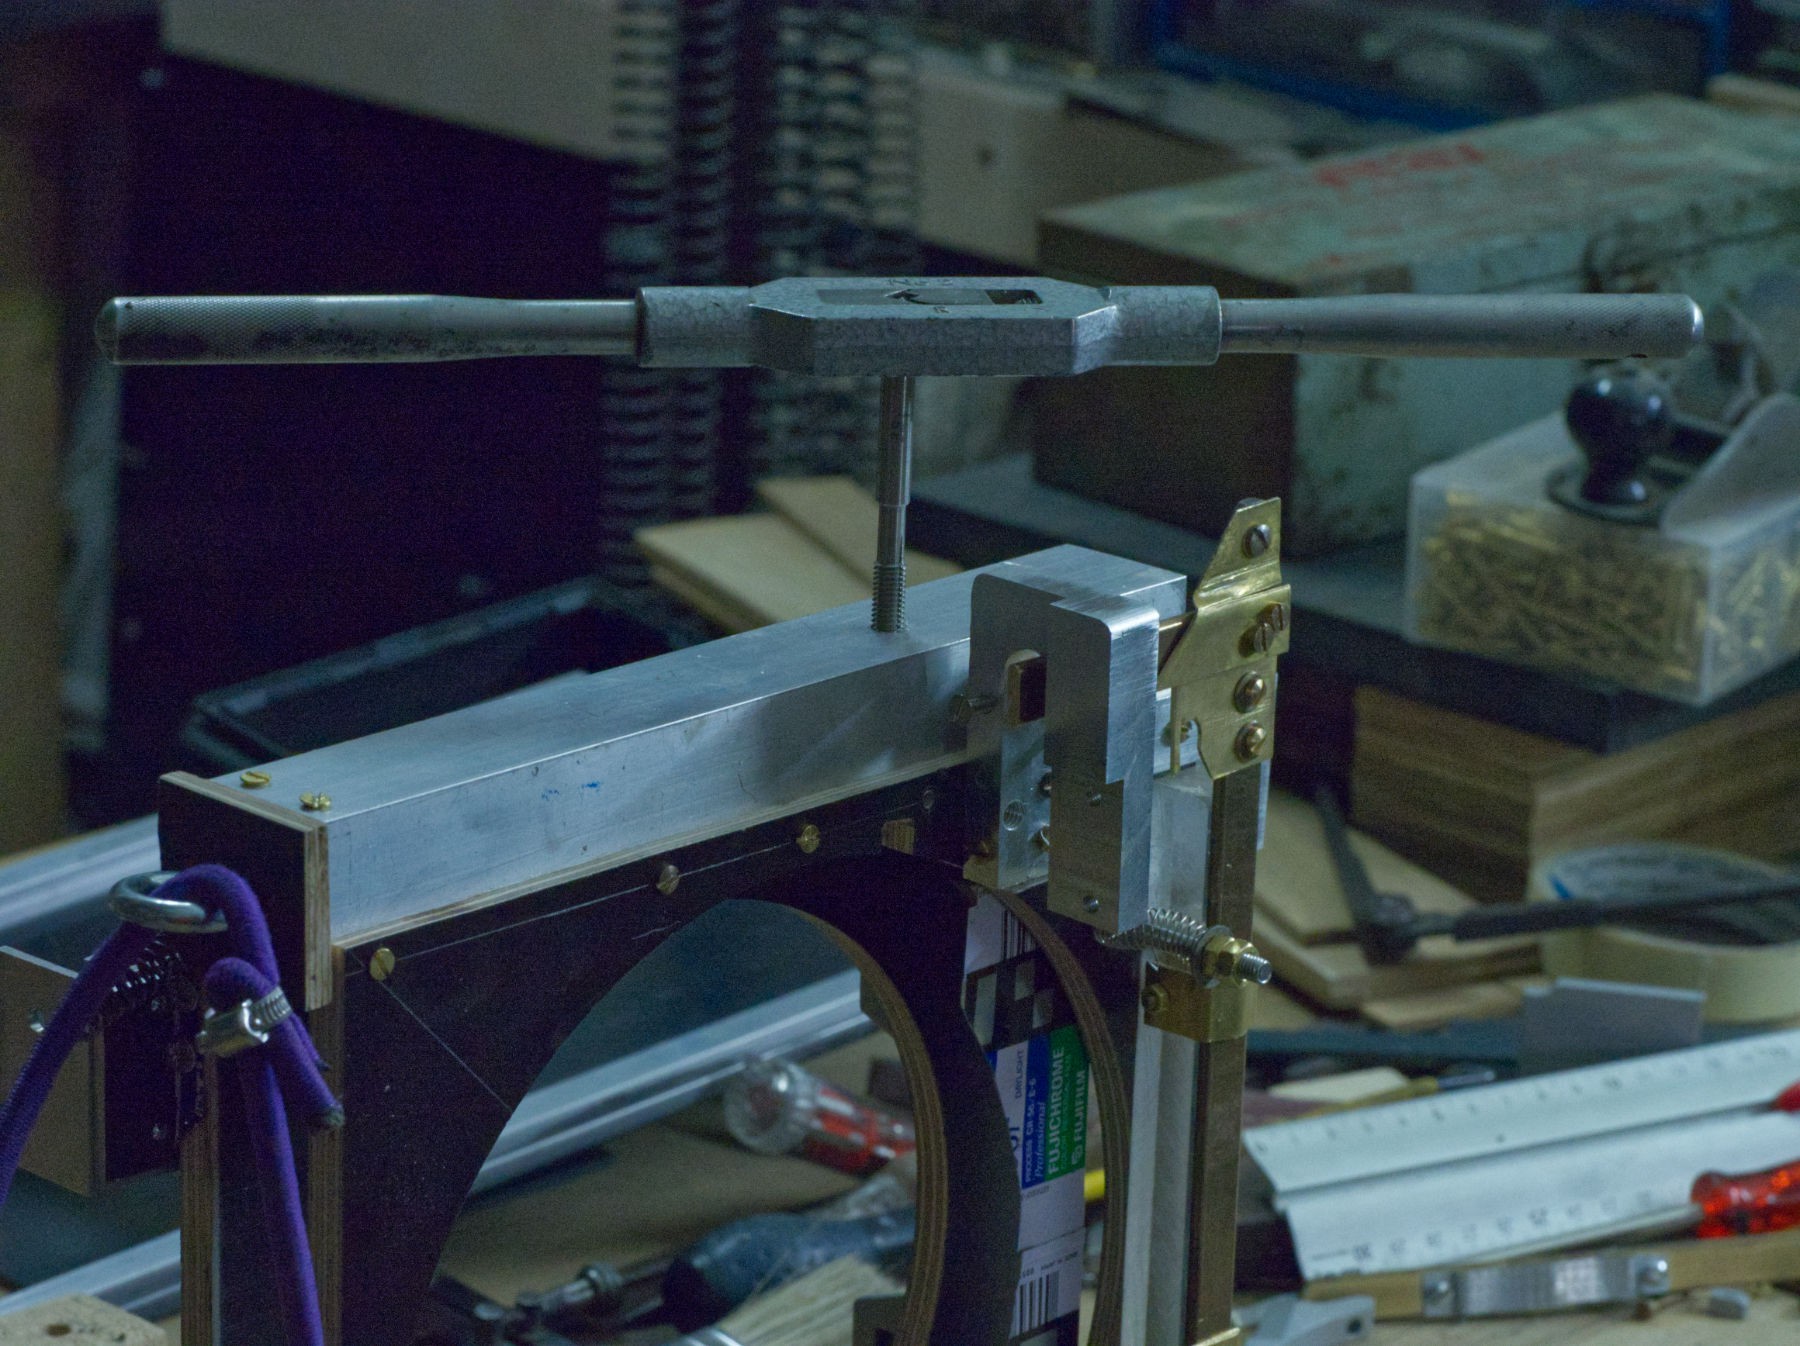
Taping M 6 threads, as the fulcrum point will have to stand a big strength.
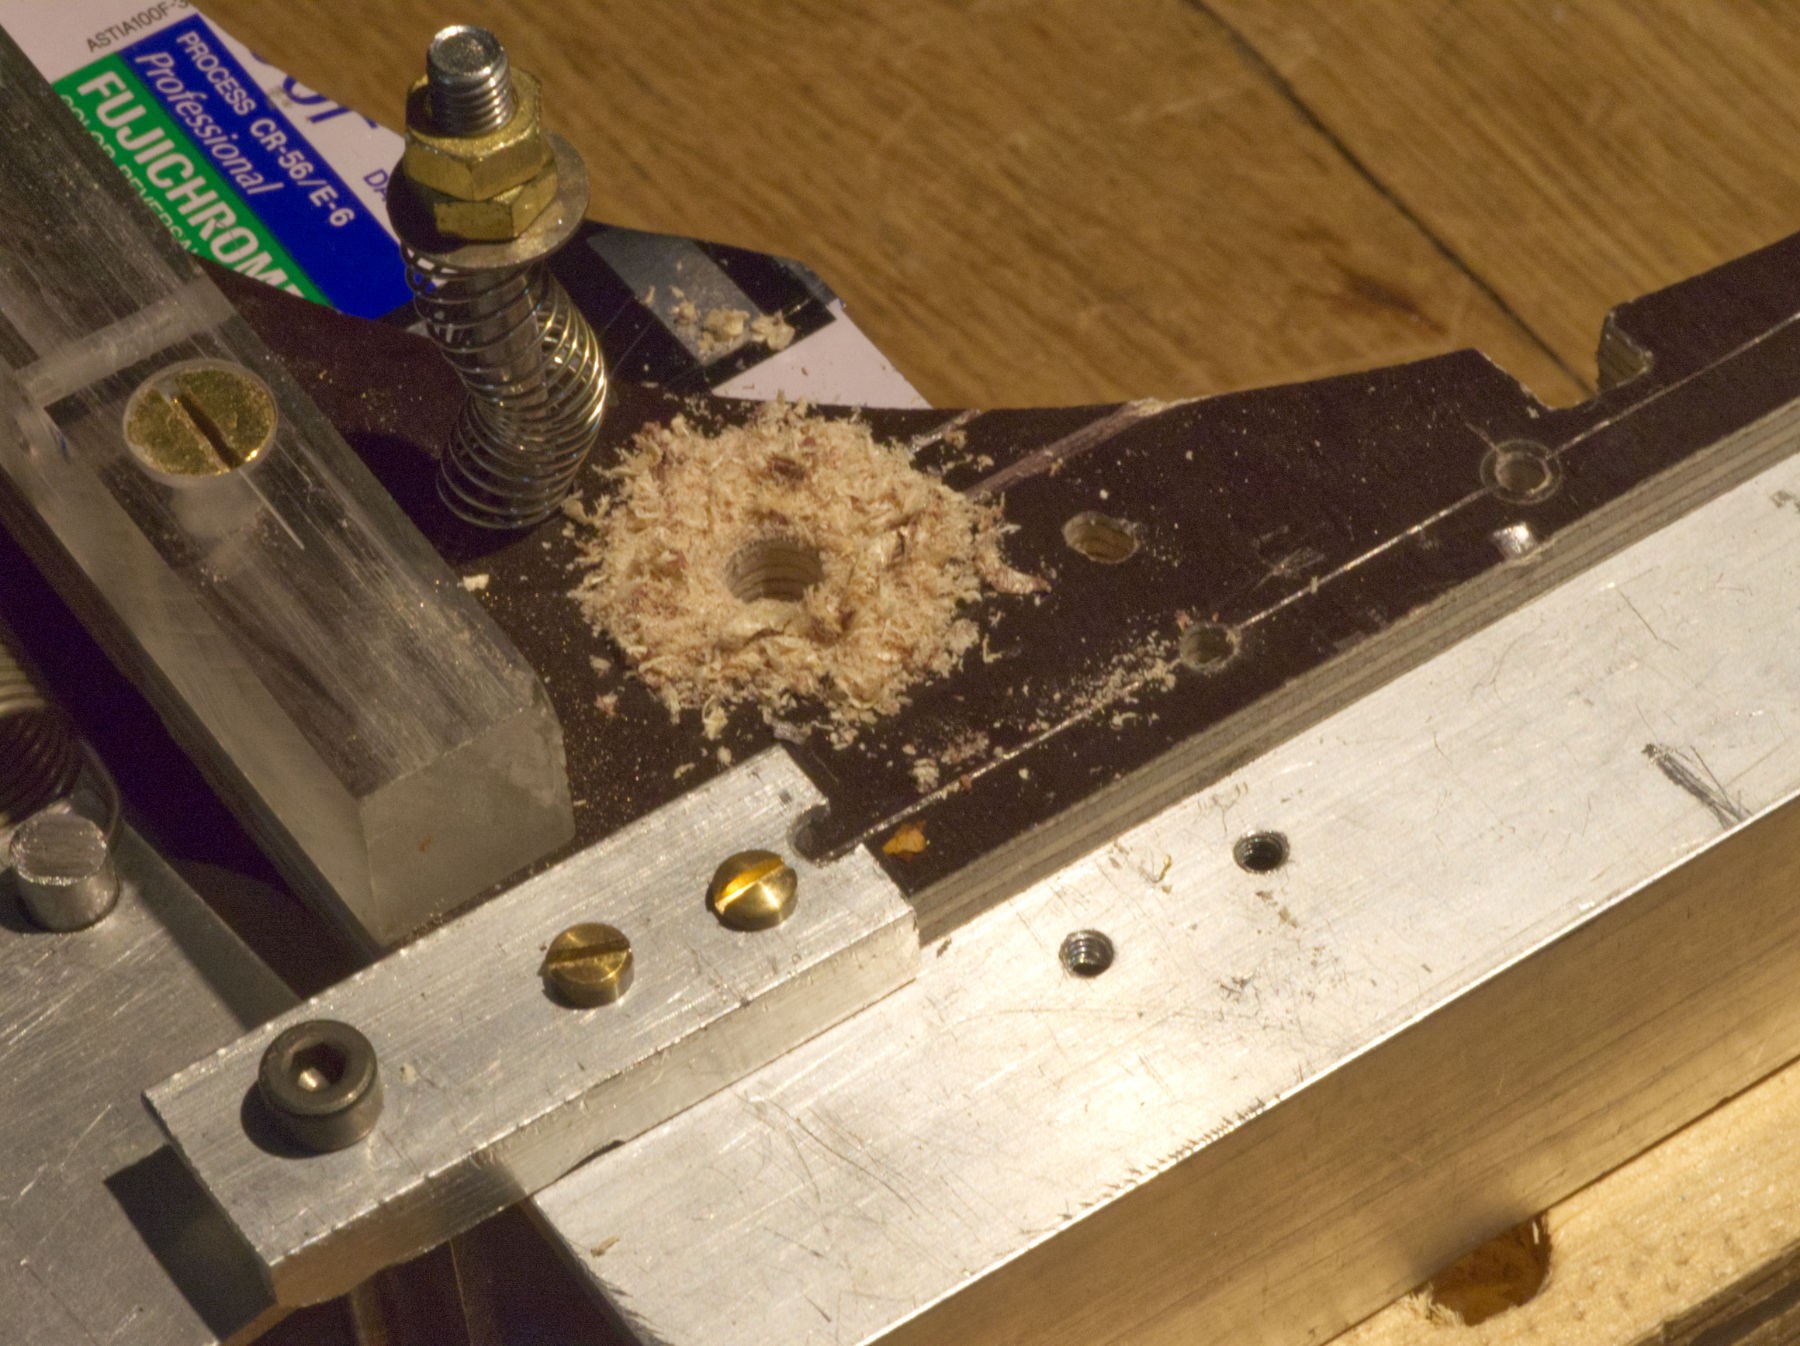
Drilling another hole.
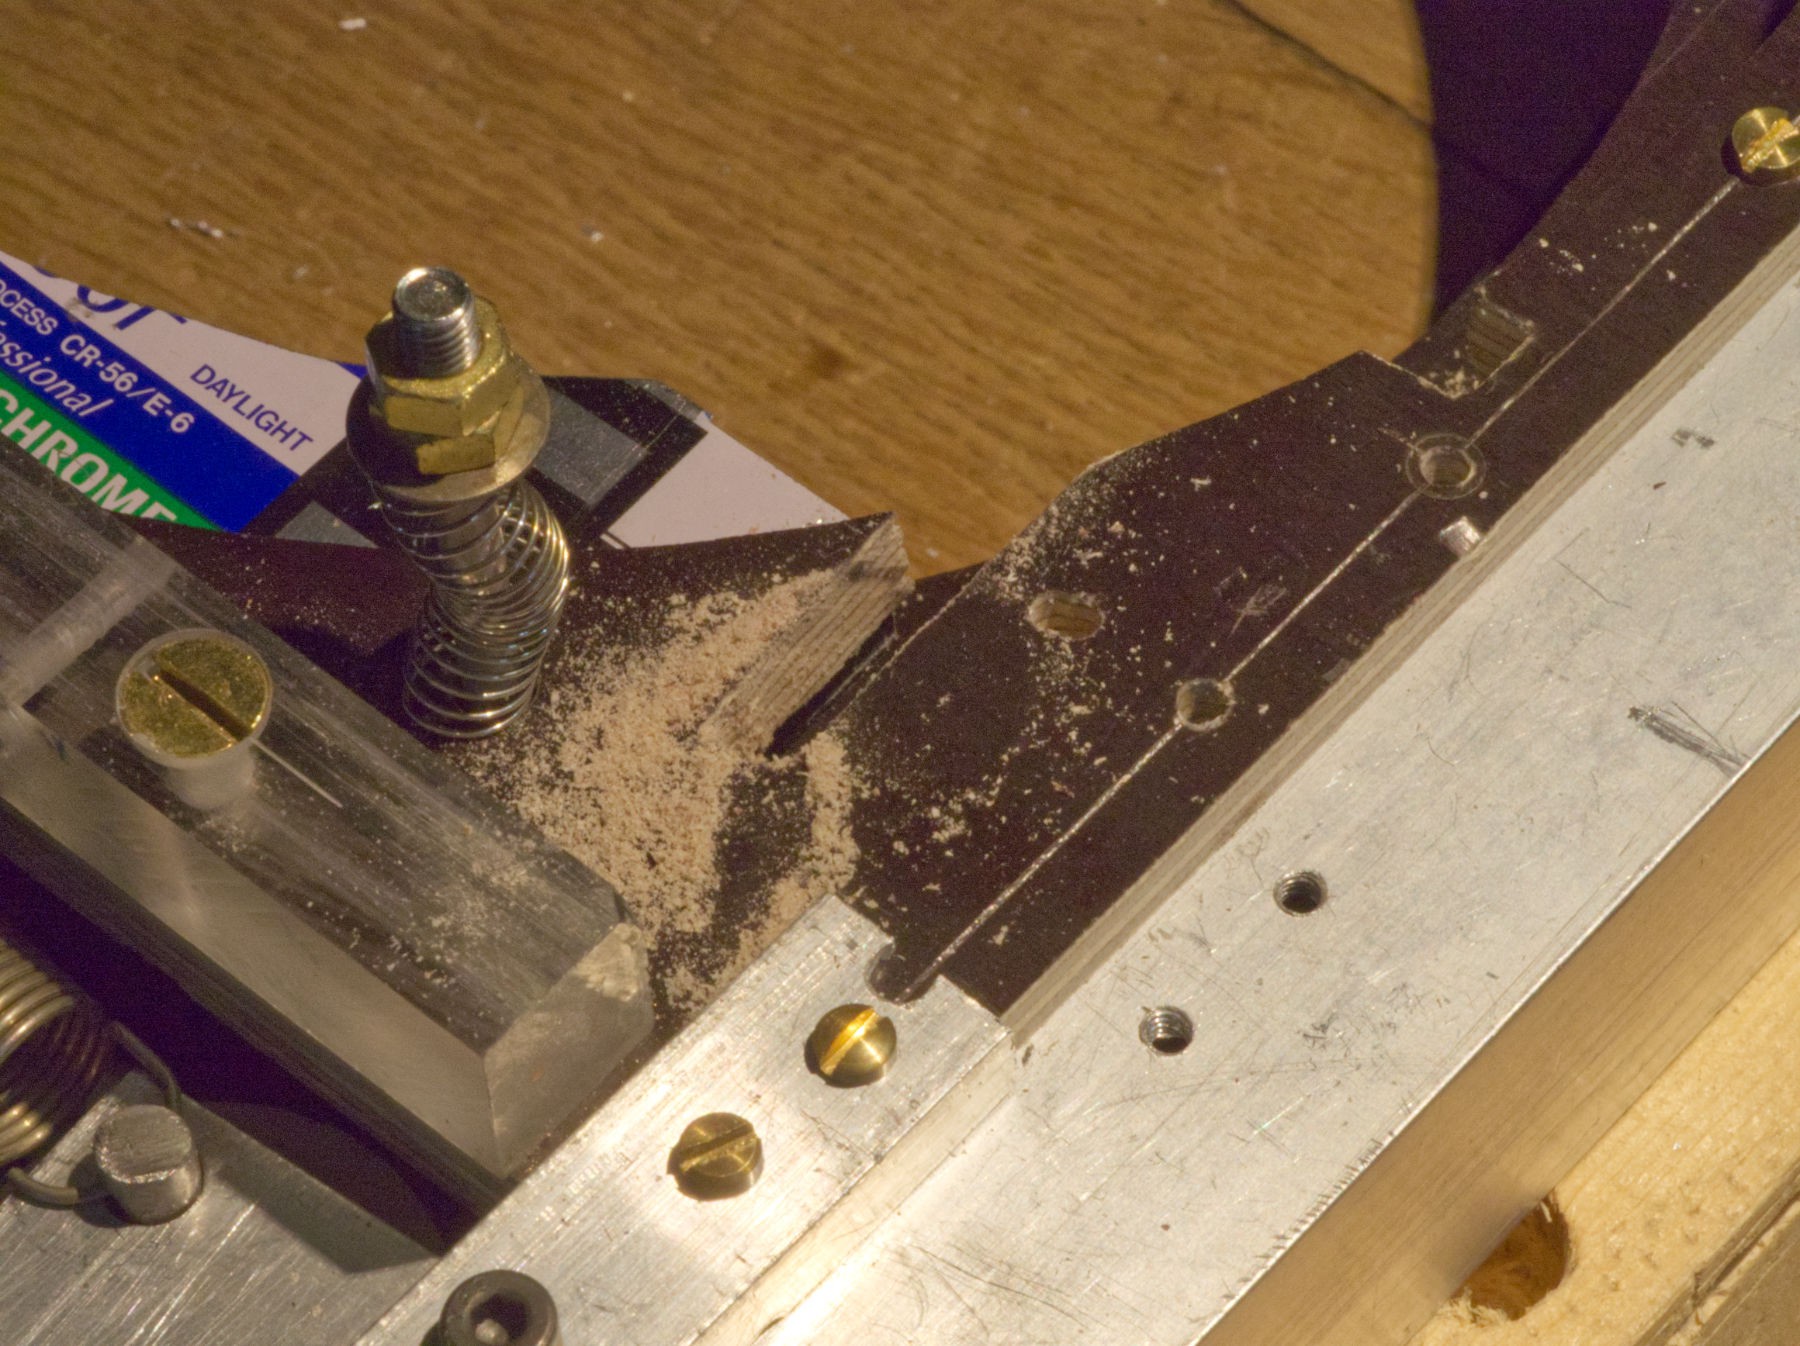
To cut a path for something.
Drilling another 5 mm hole aside the first one that wasn't really at the right place : too close from the blade, it couldn't allow all the needed movement.
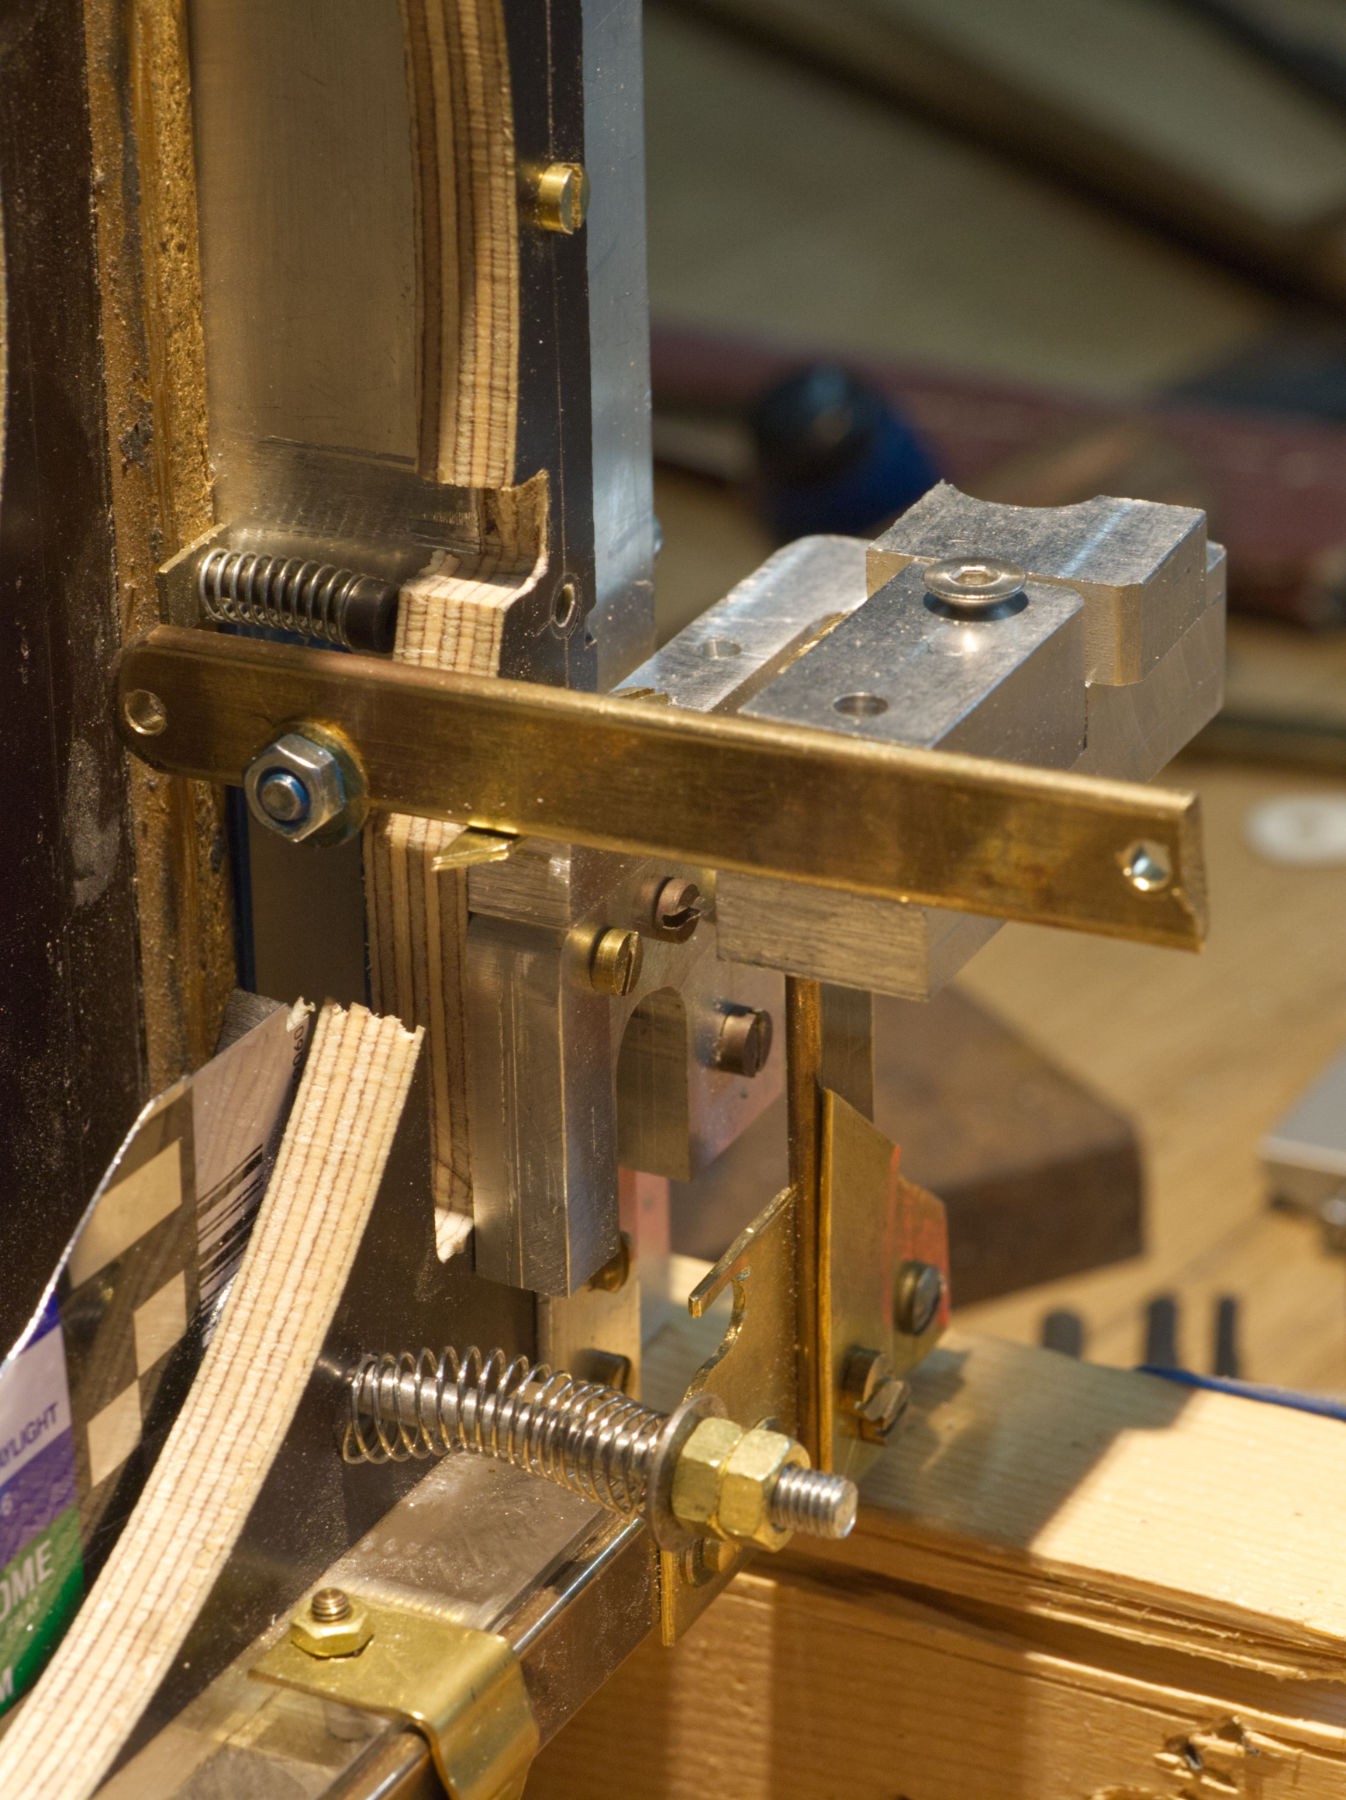
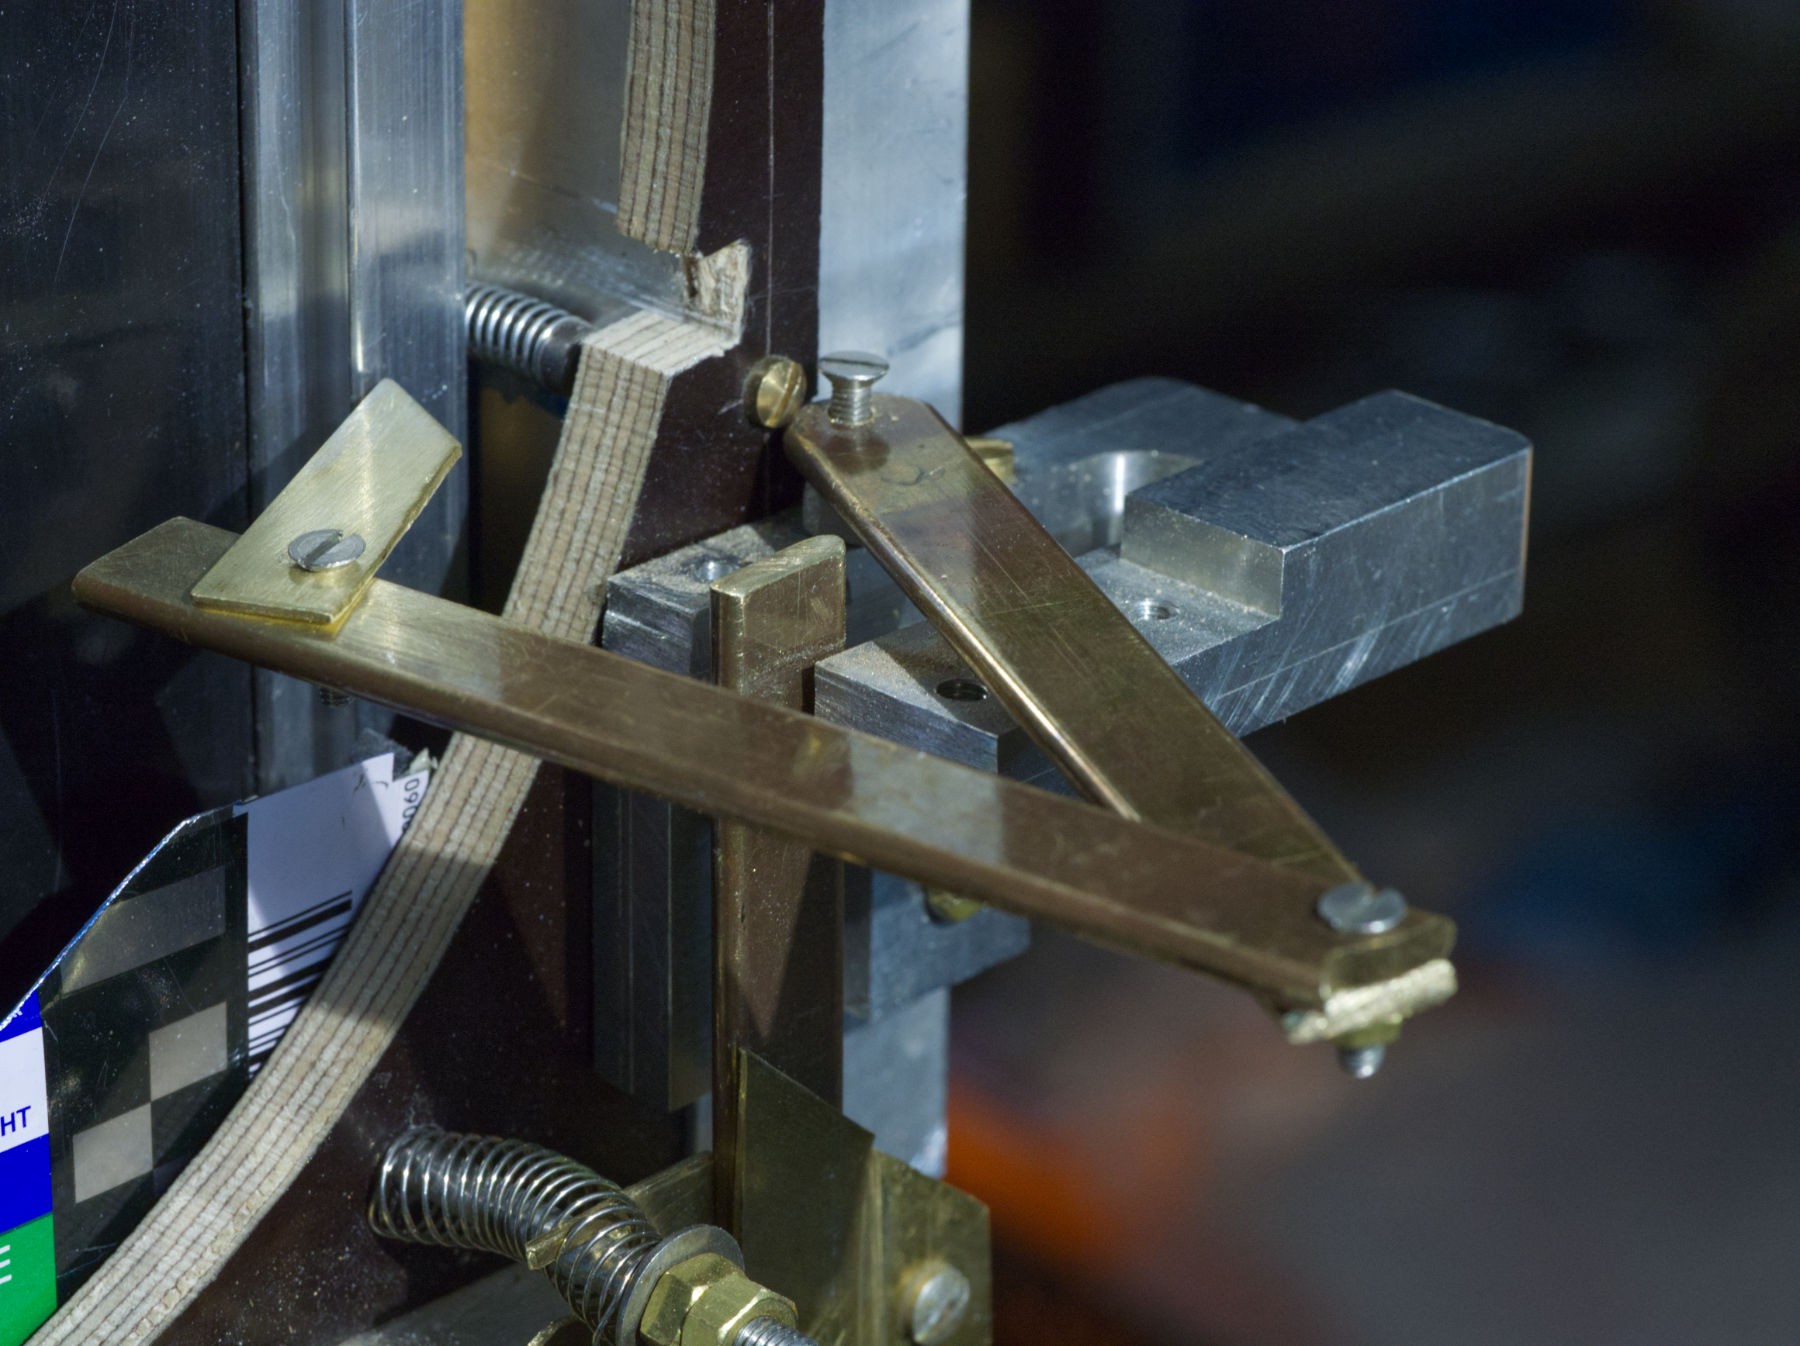
I'm very confident, that lever is the solution. Now, how to release it softly ?
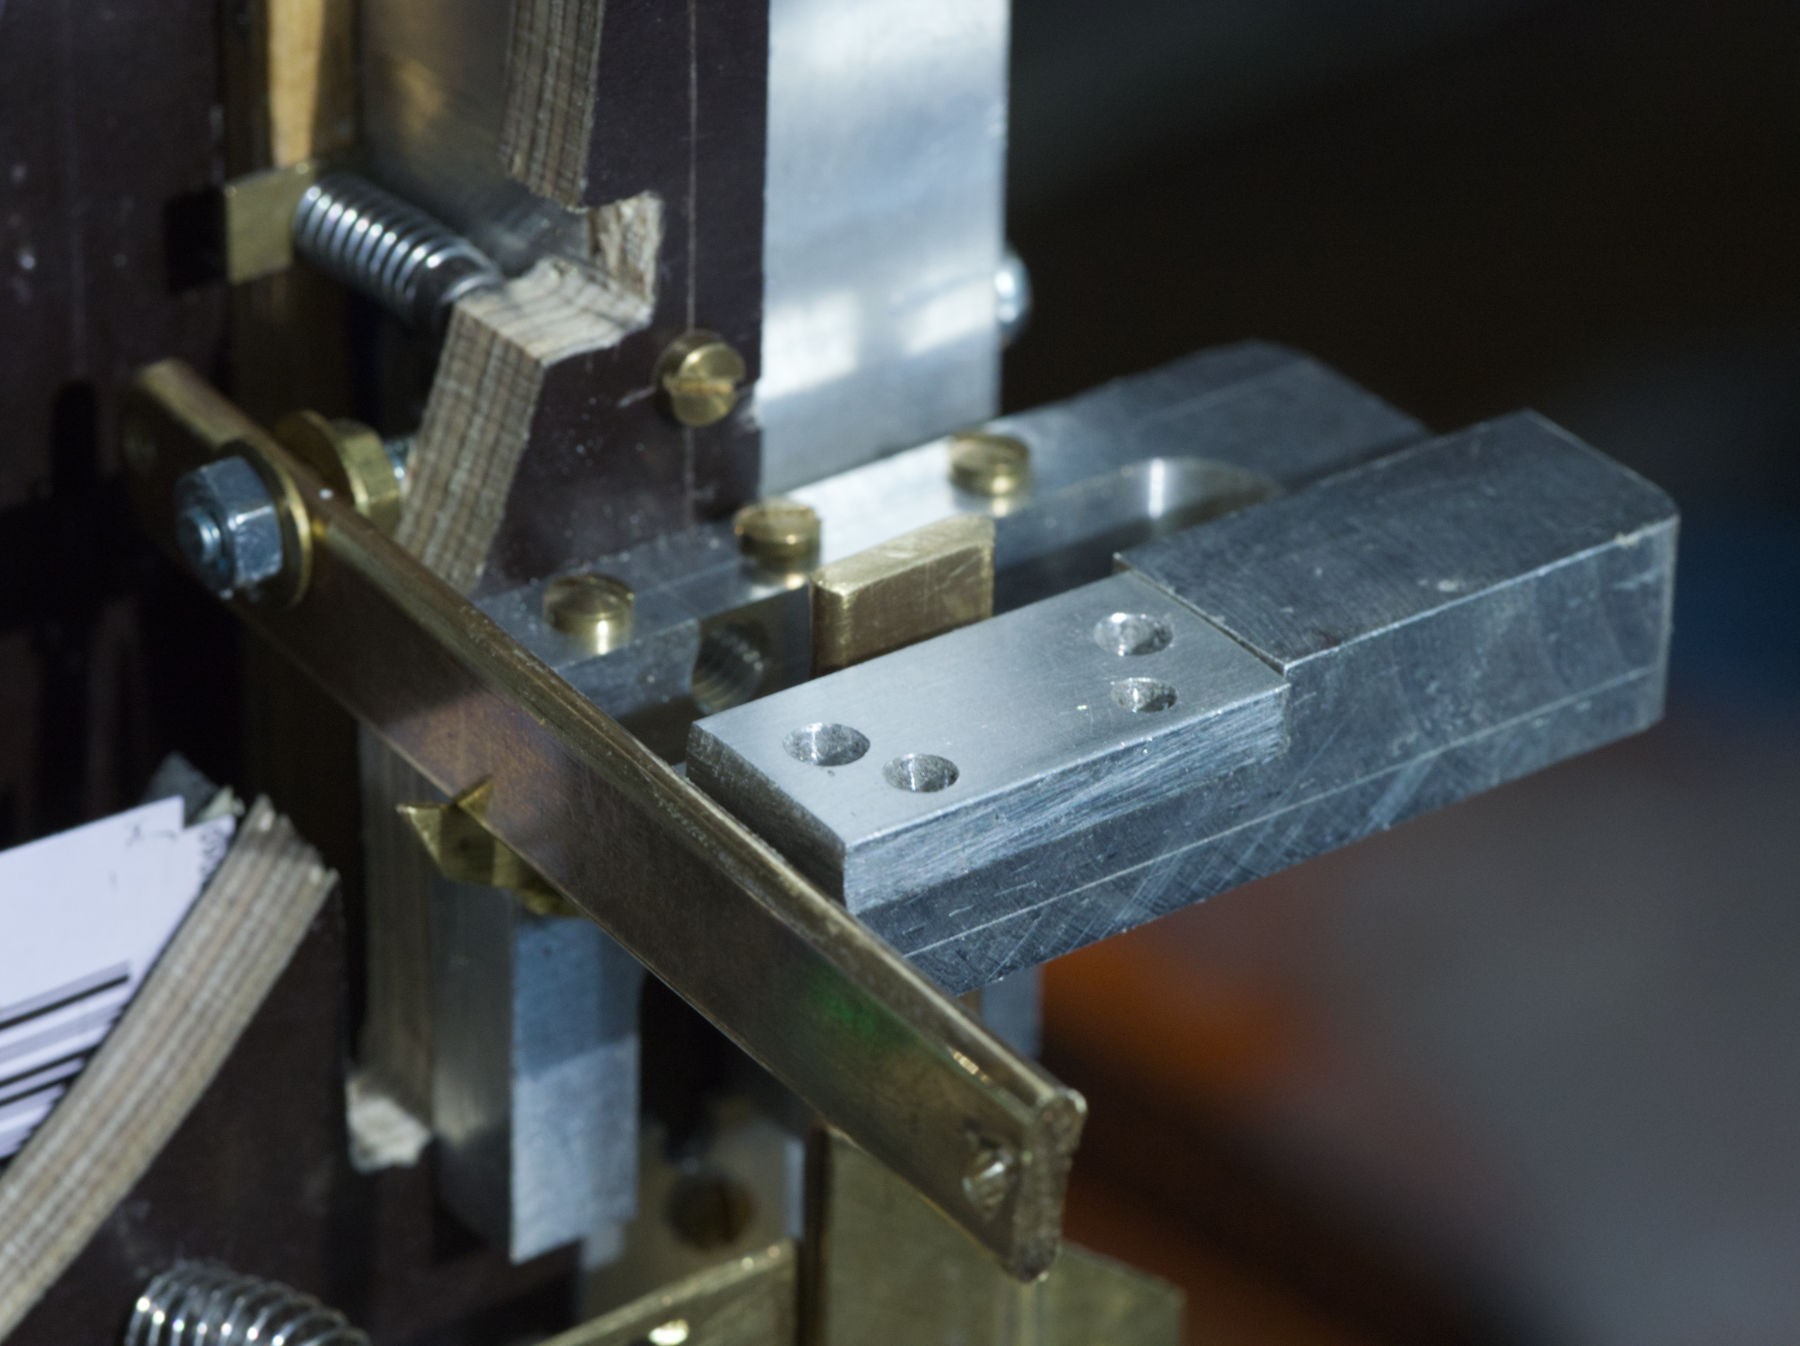
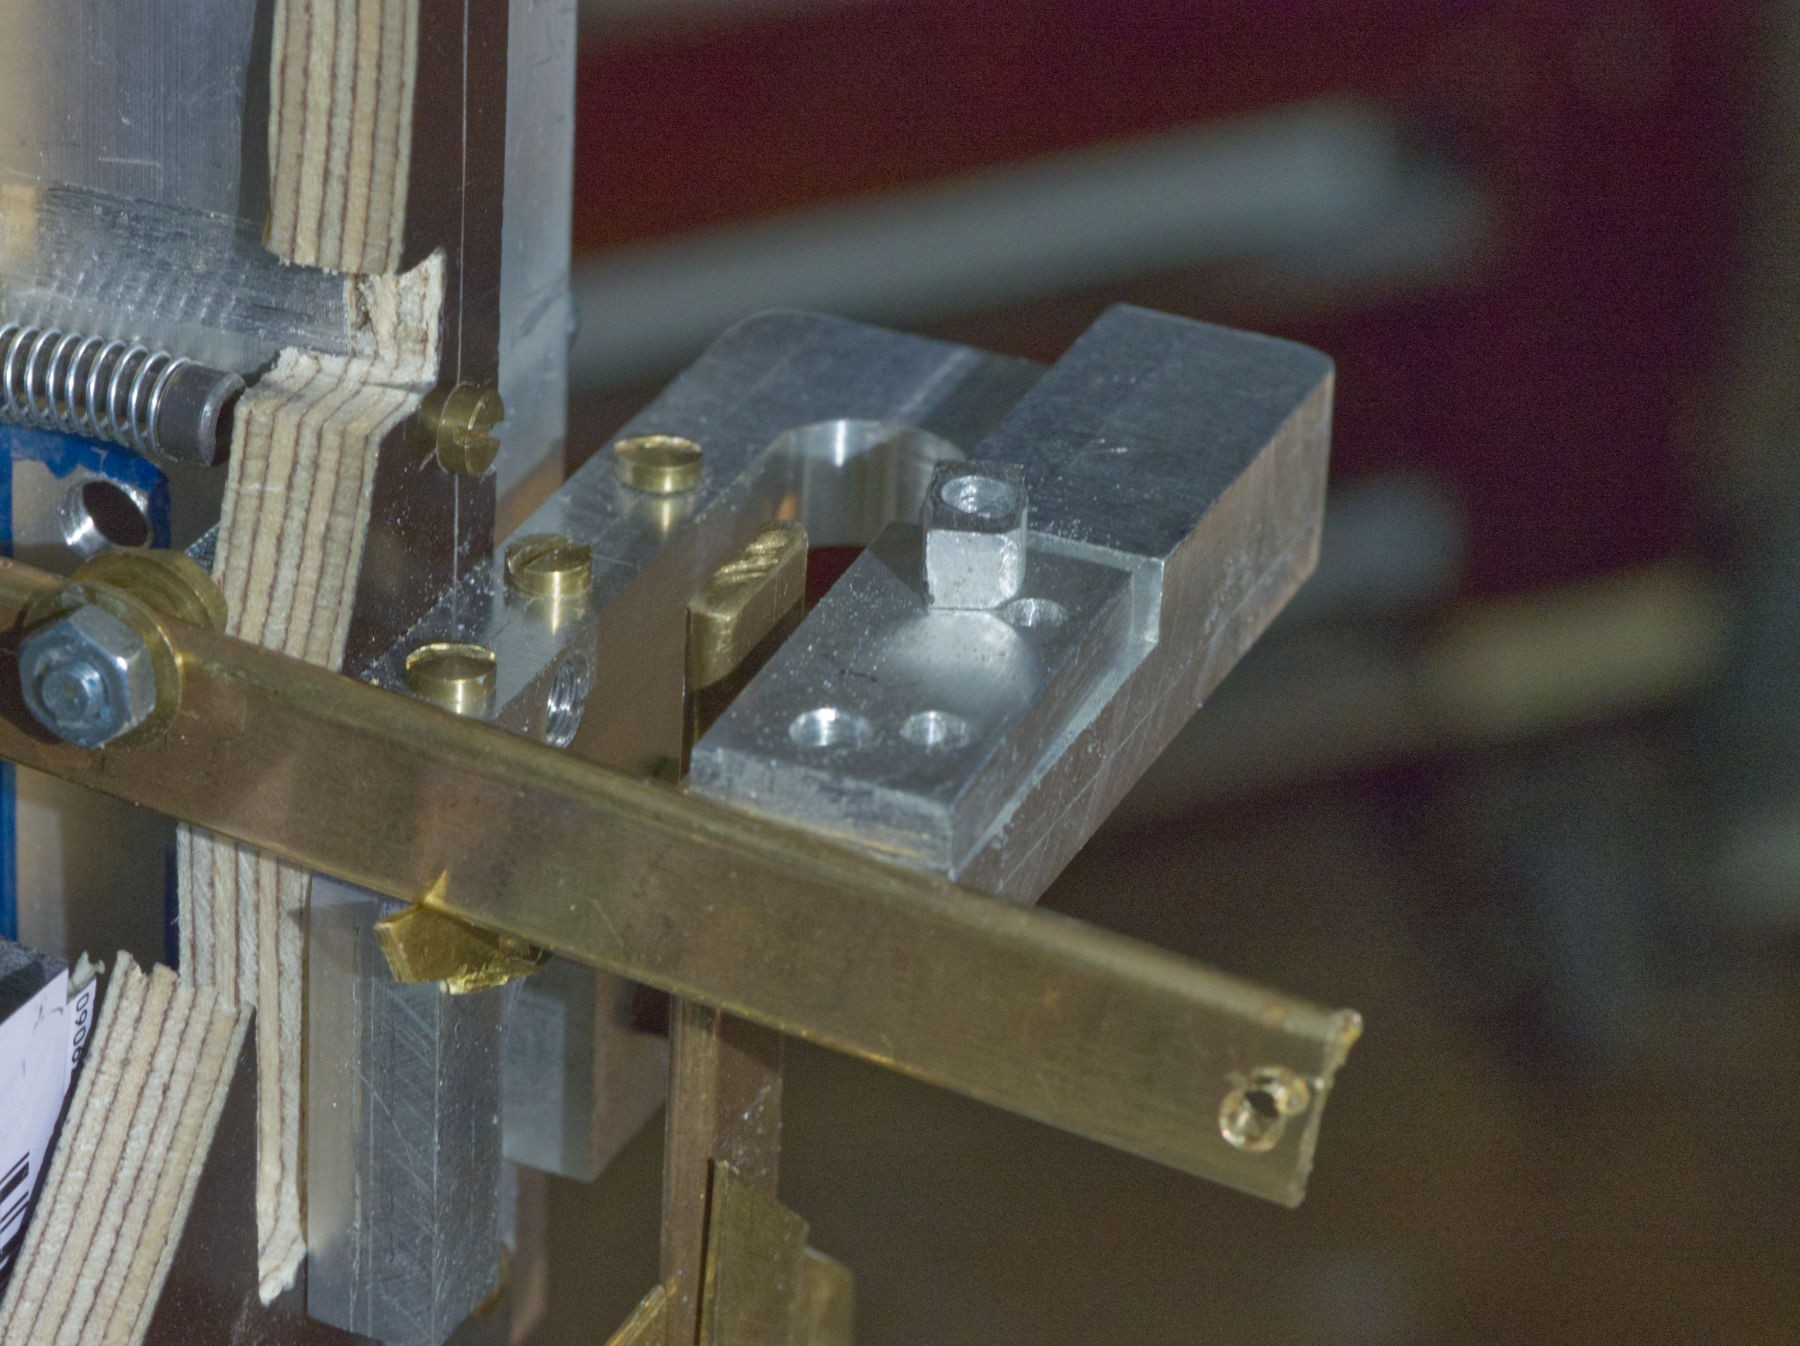
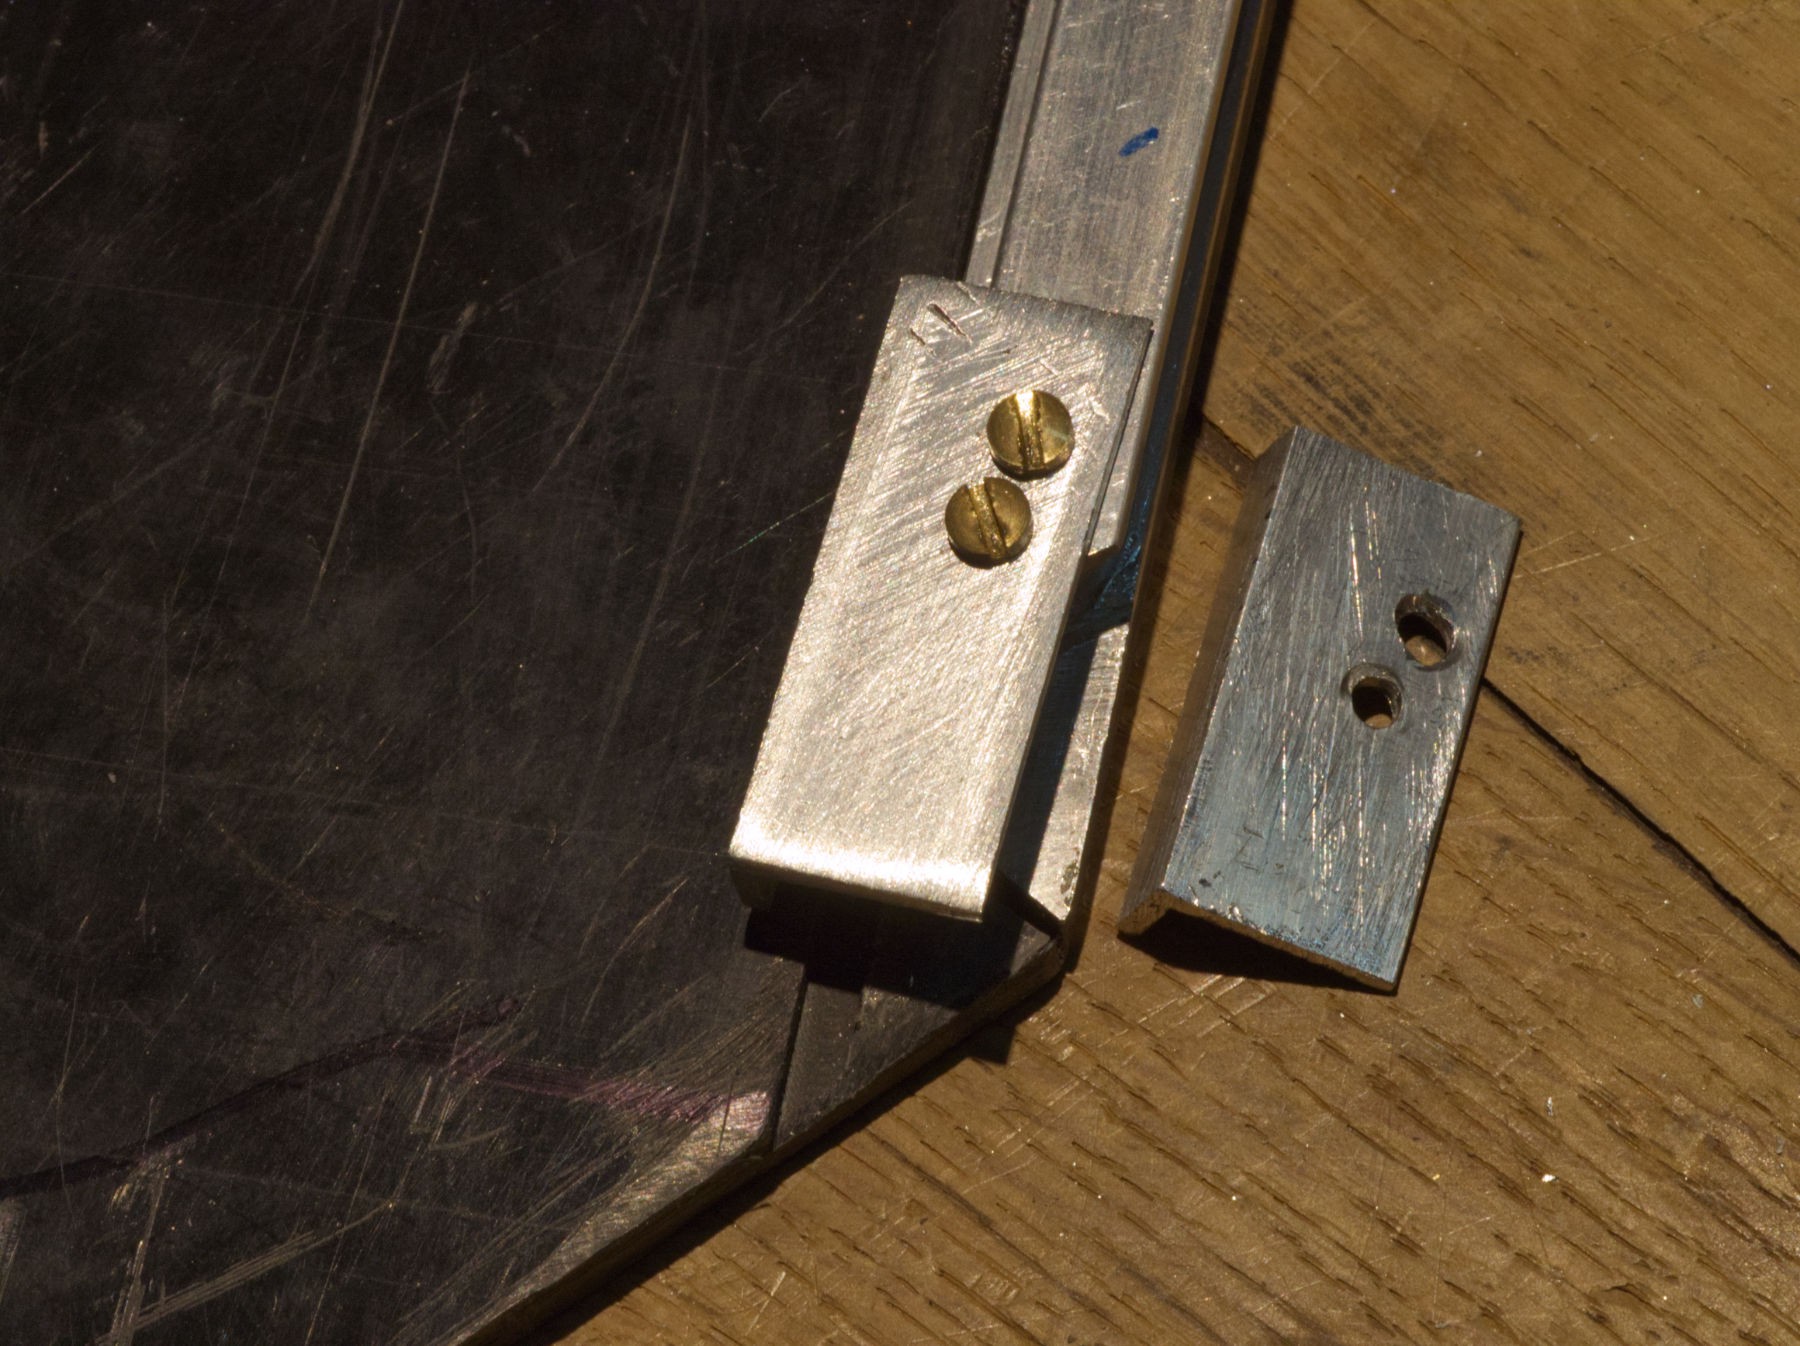
The assembly on the left has been raised with another aluminium block to have the same height as the lever.
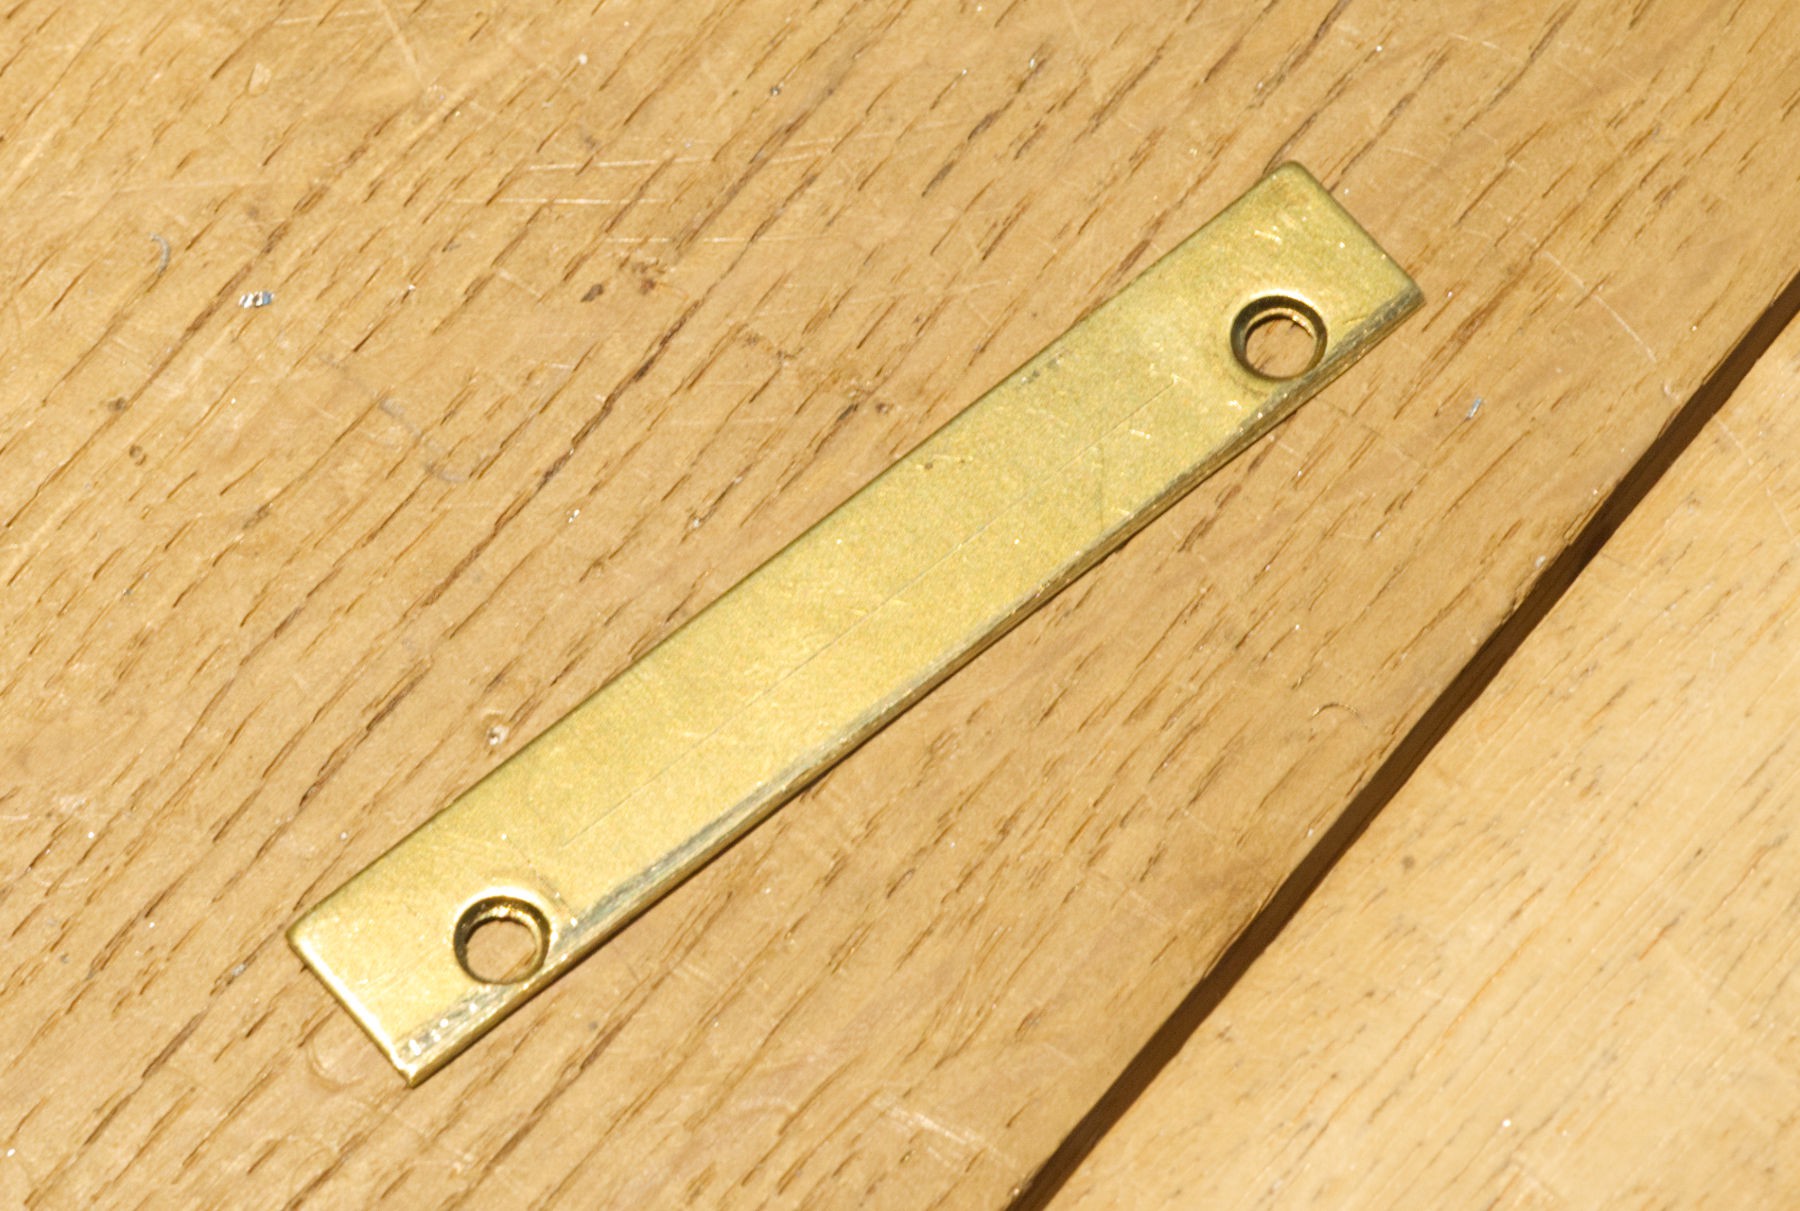
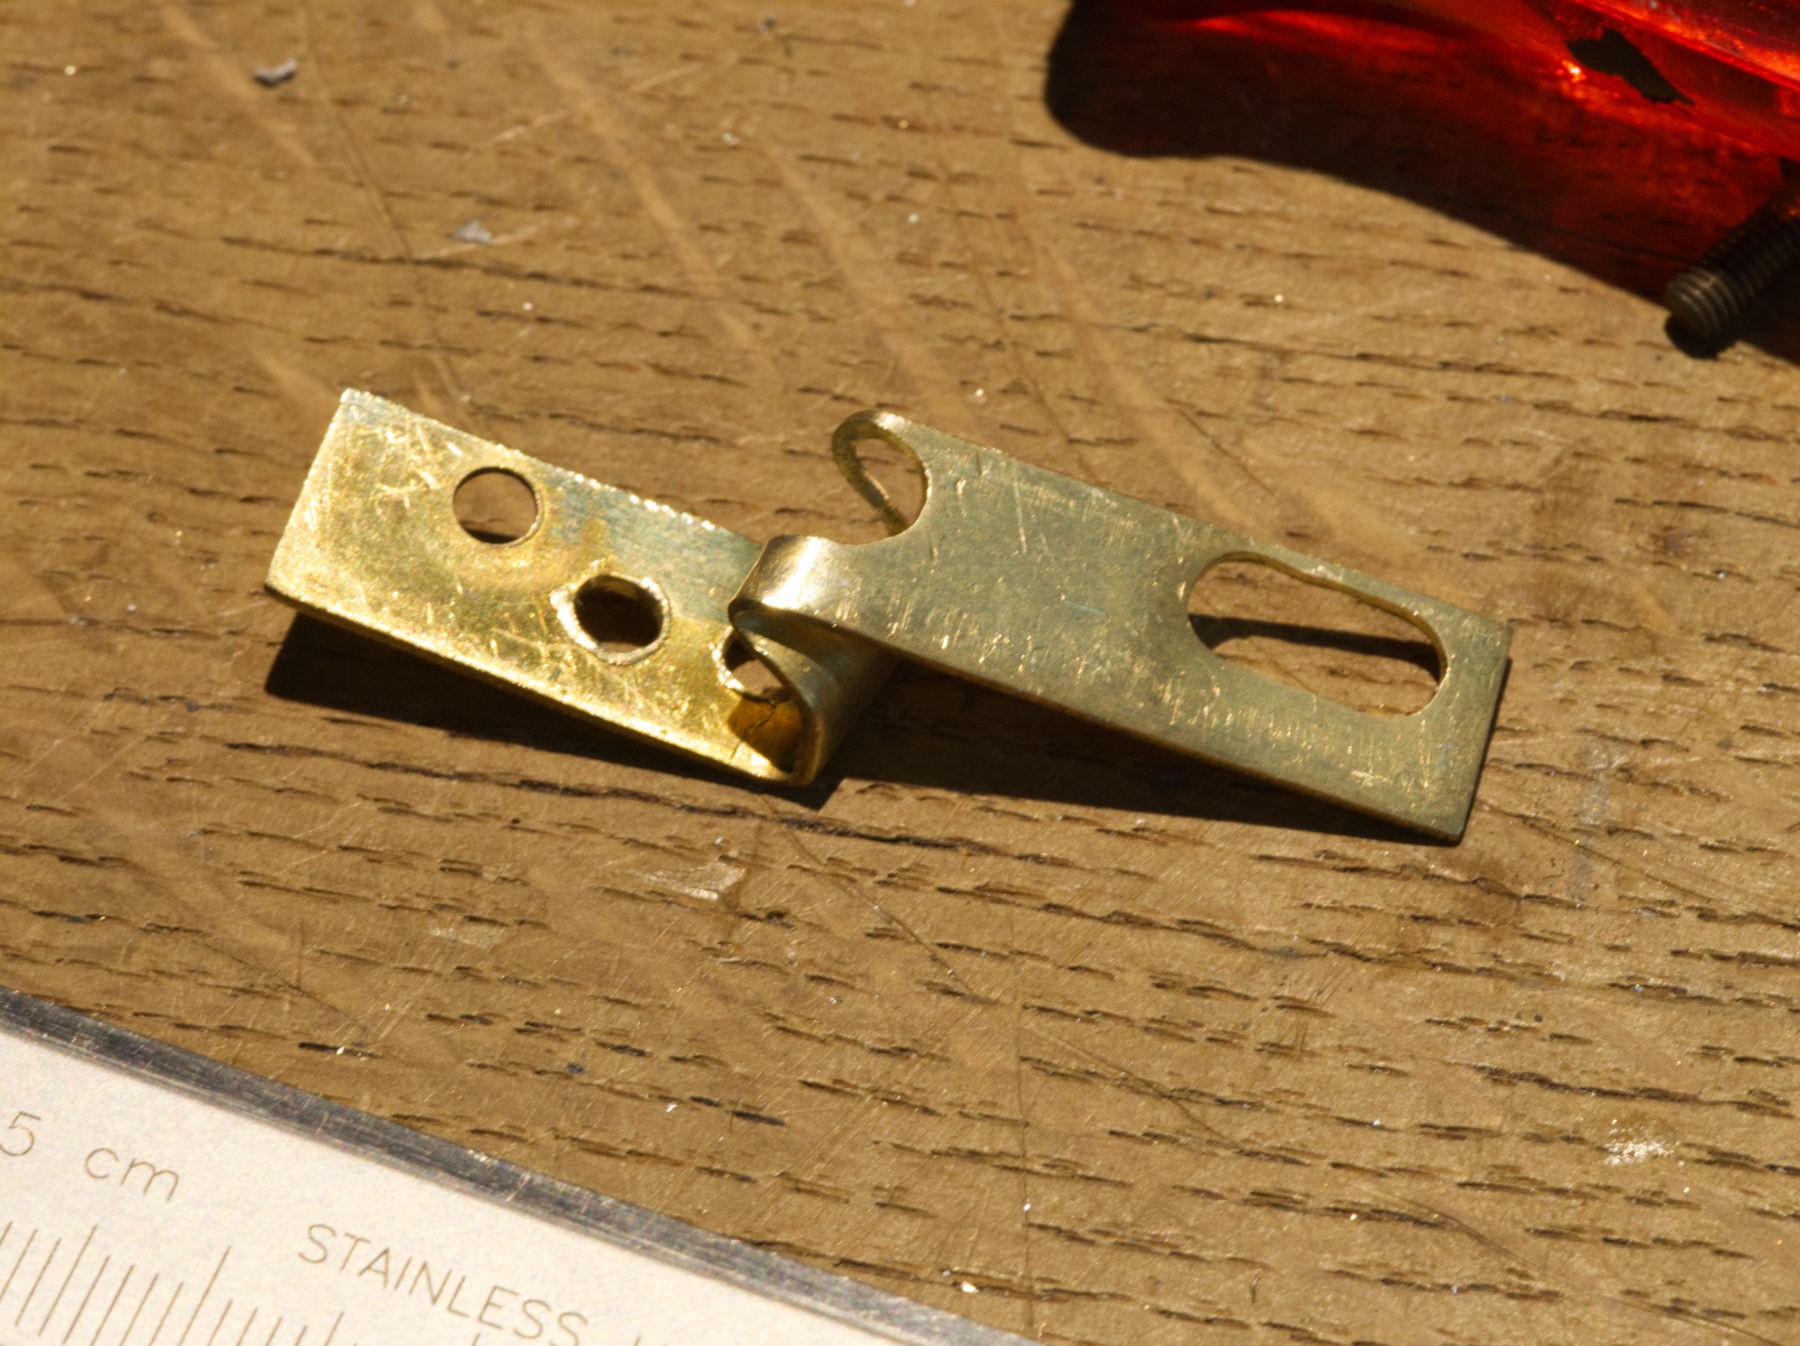
I'll make something with that drop of brass.
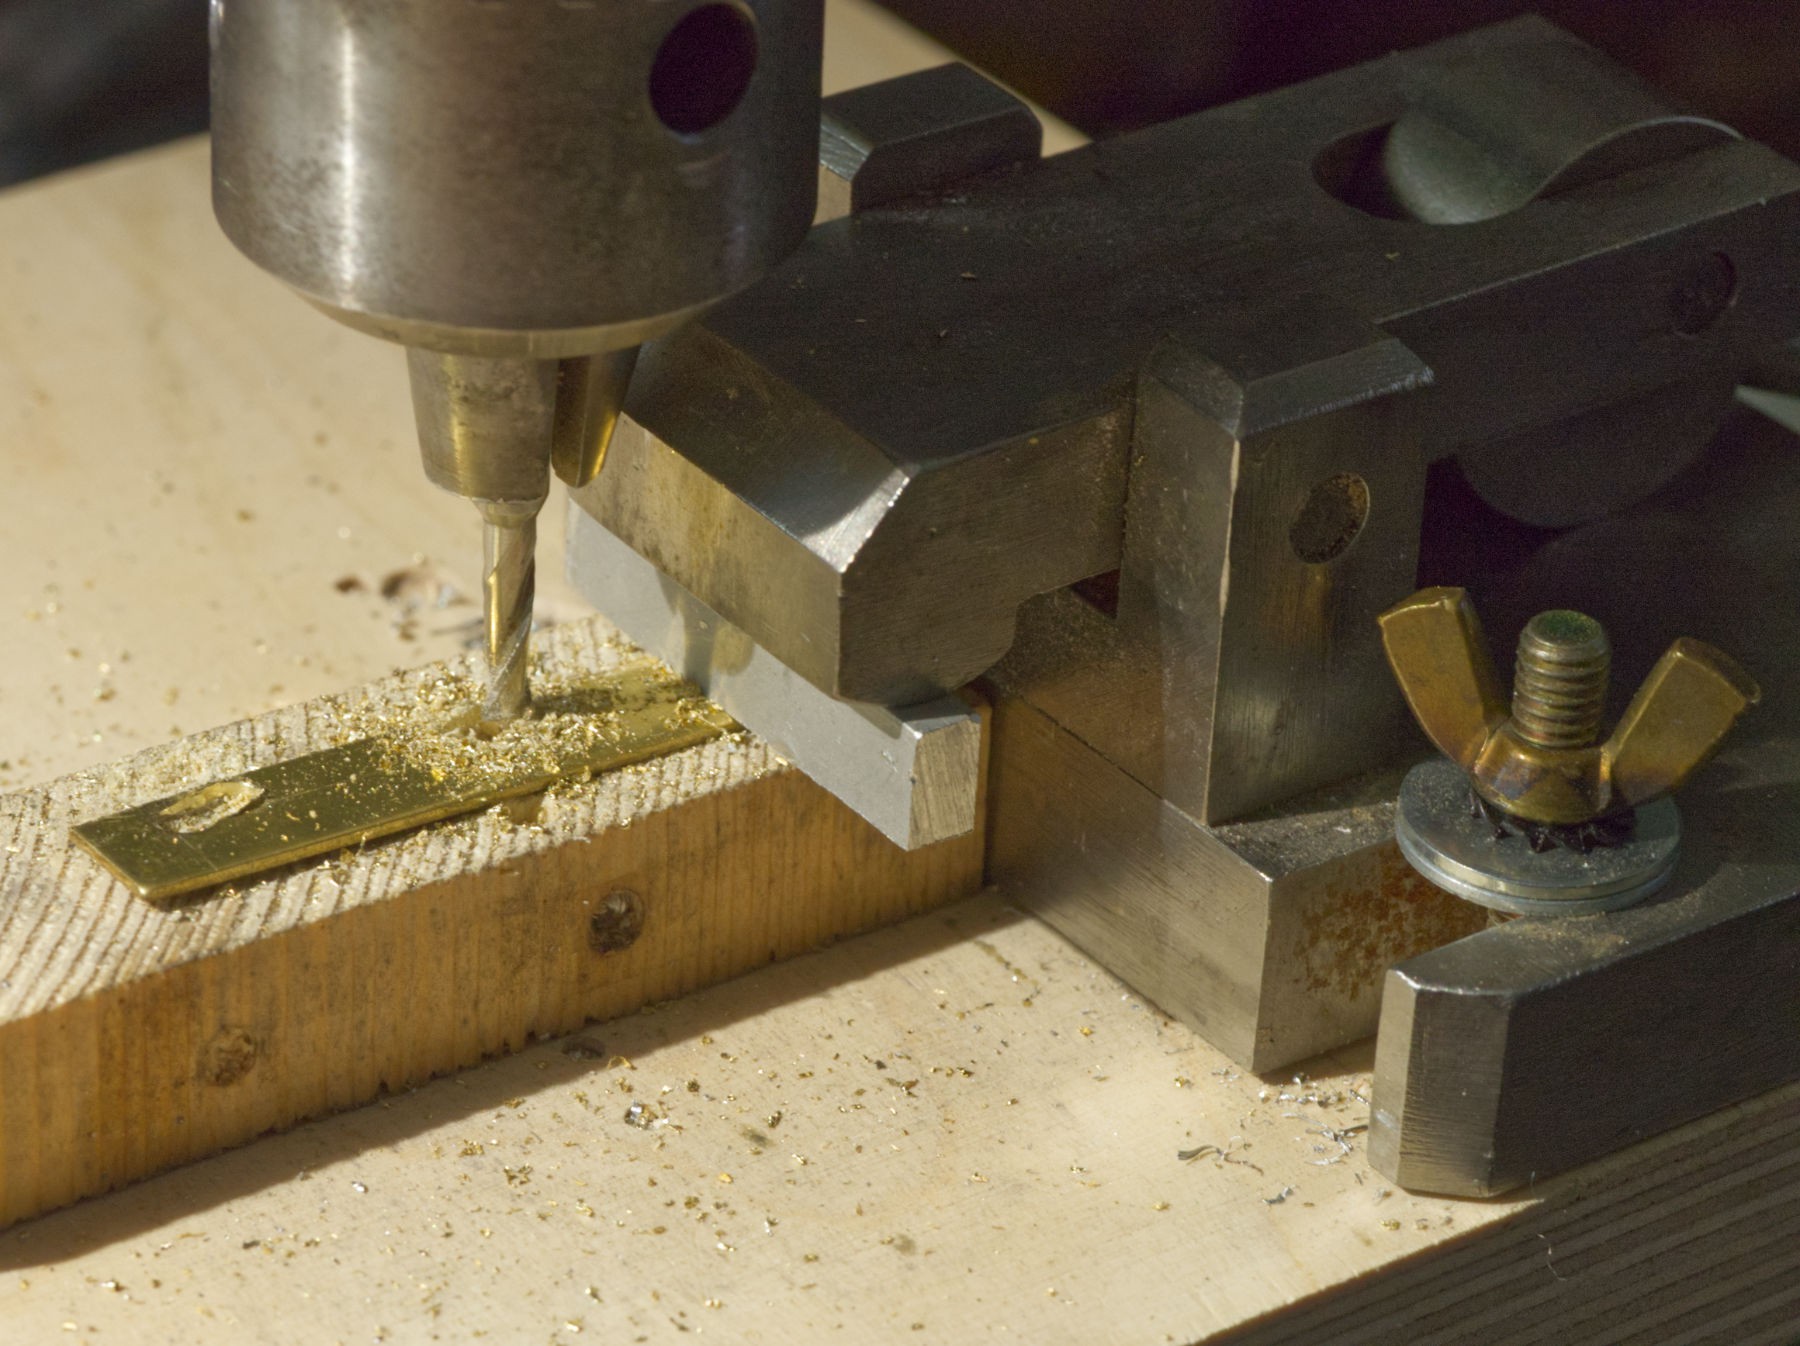
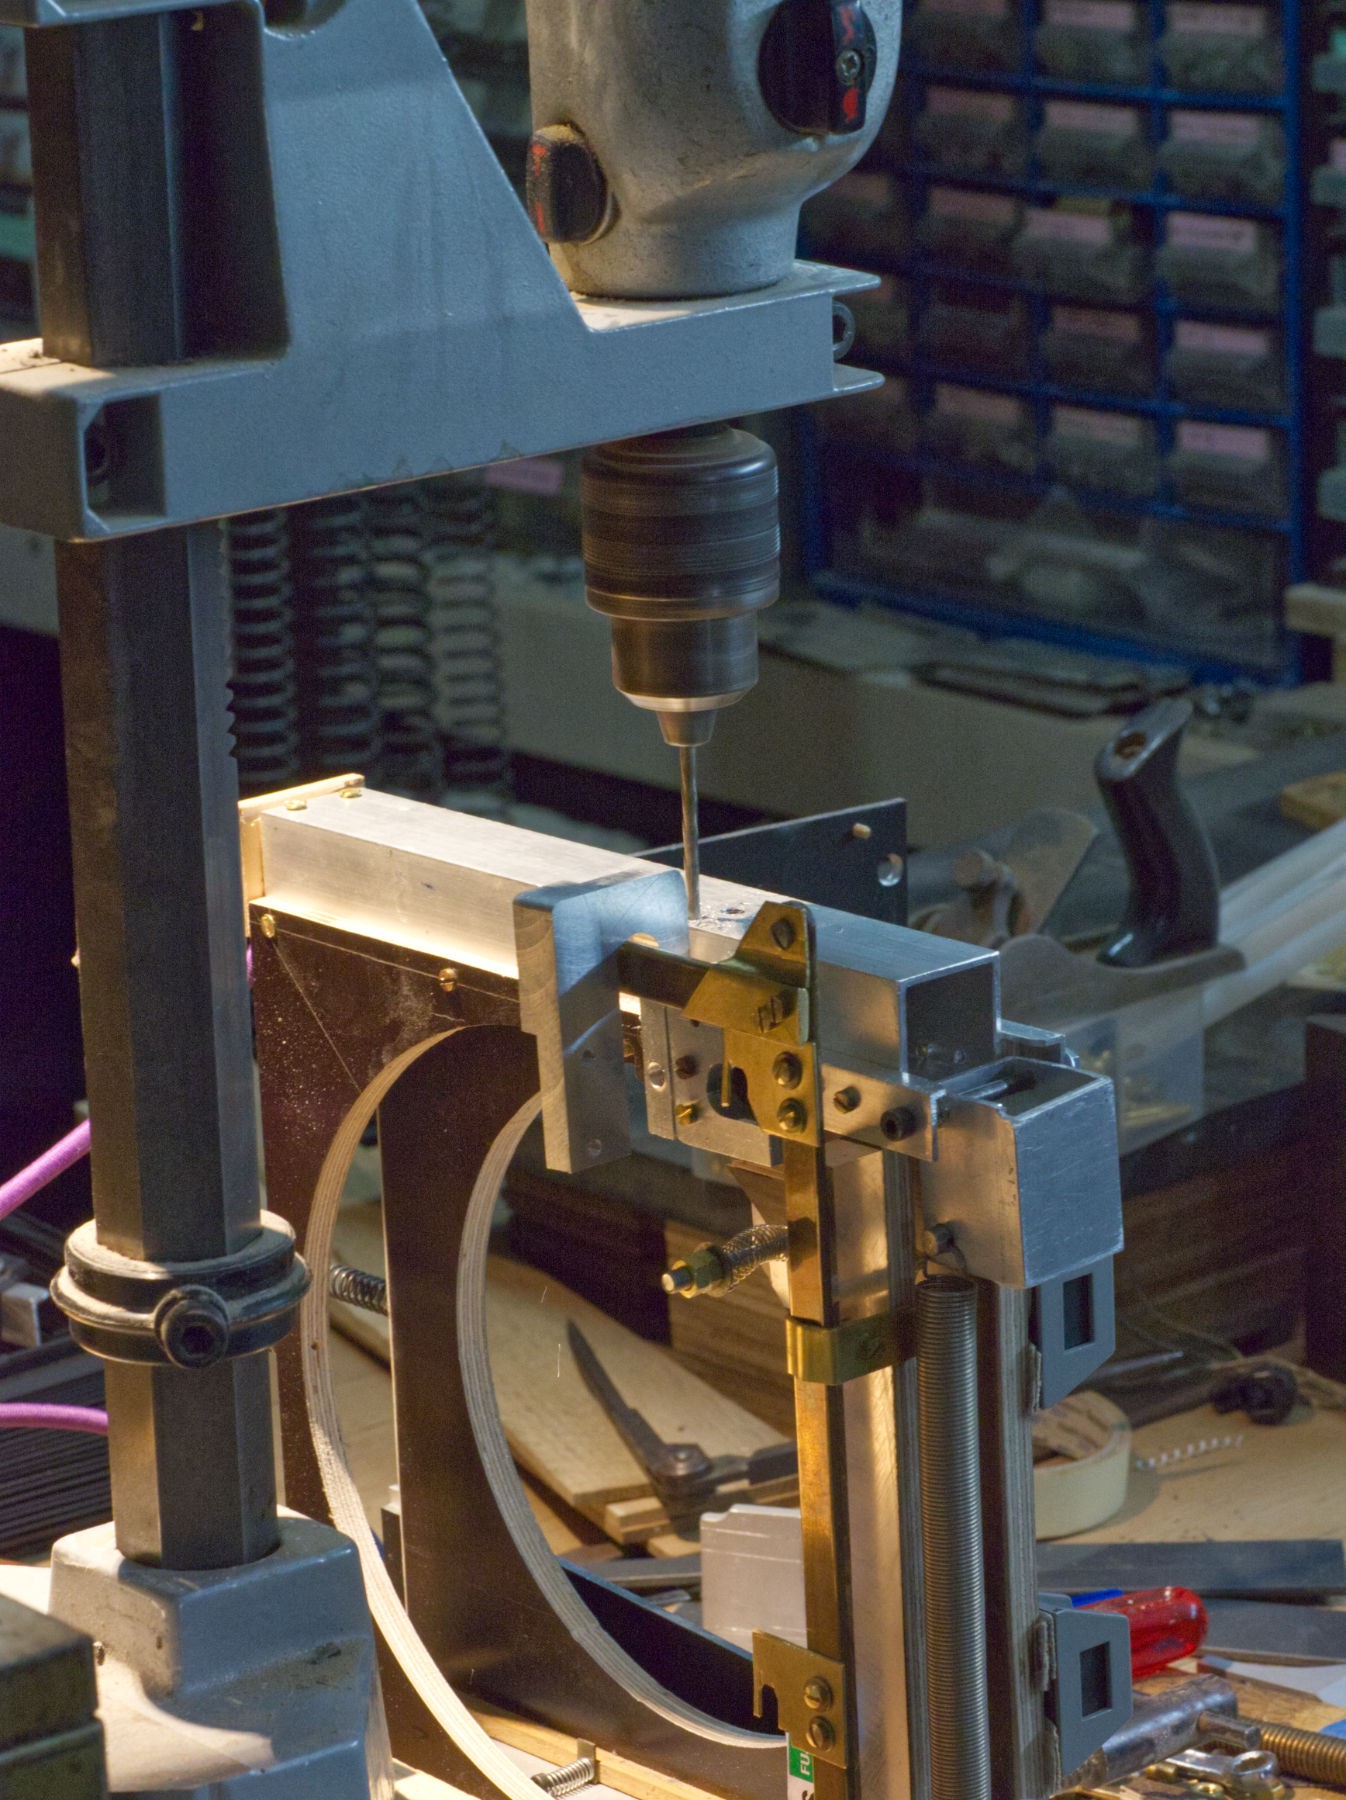
Milling with the the drill press.
Finishing with une queue de rat (round file).

The small aluminium cube part on the top right is going to be pushed by the brass rod in the center of the assembly, and it will liberate the lever.
No. It's still stuck, too much strength...
Lets try something completely different. Adjusting the height with an appropriate piece of aluminium. Only 2 holes are needed, but reusing things is not always compatible with perfect finish.
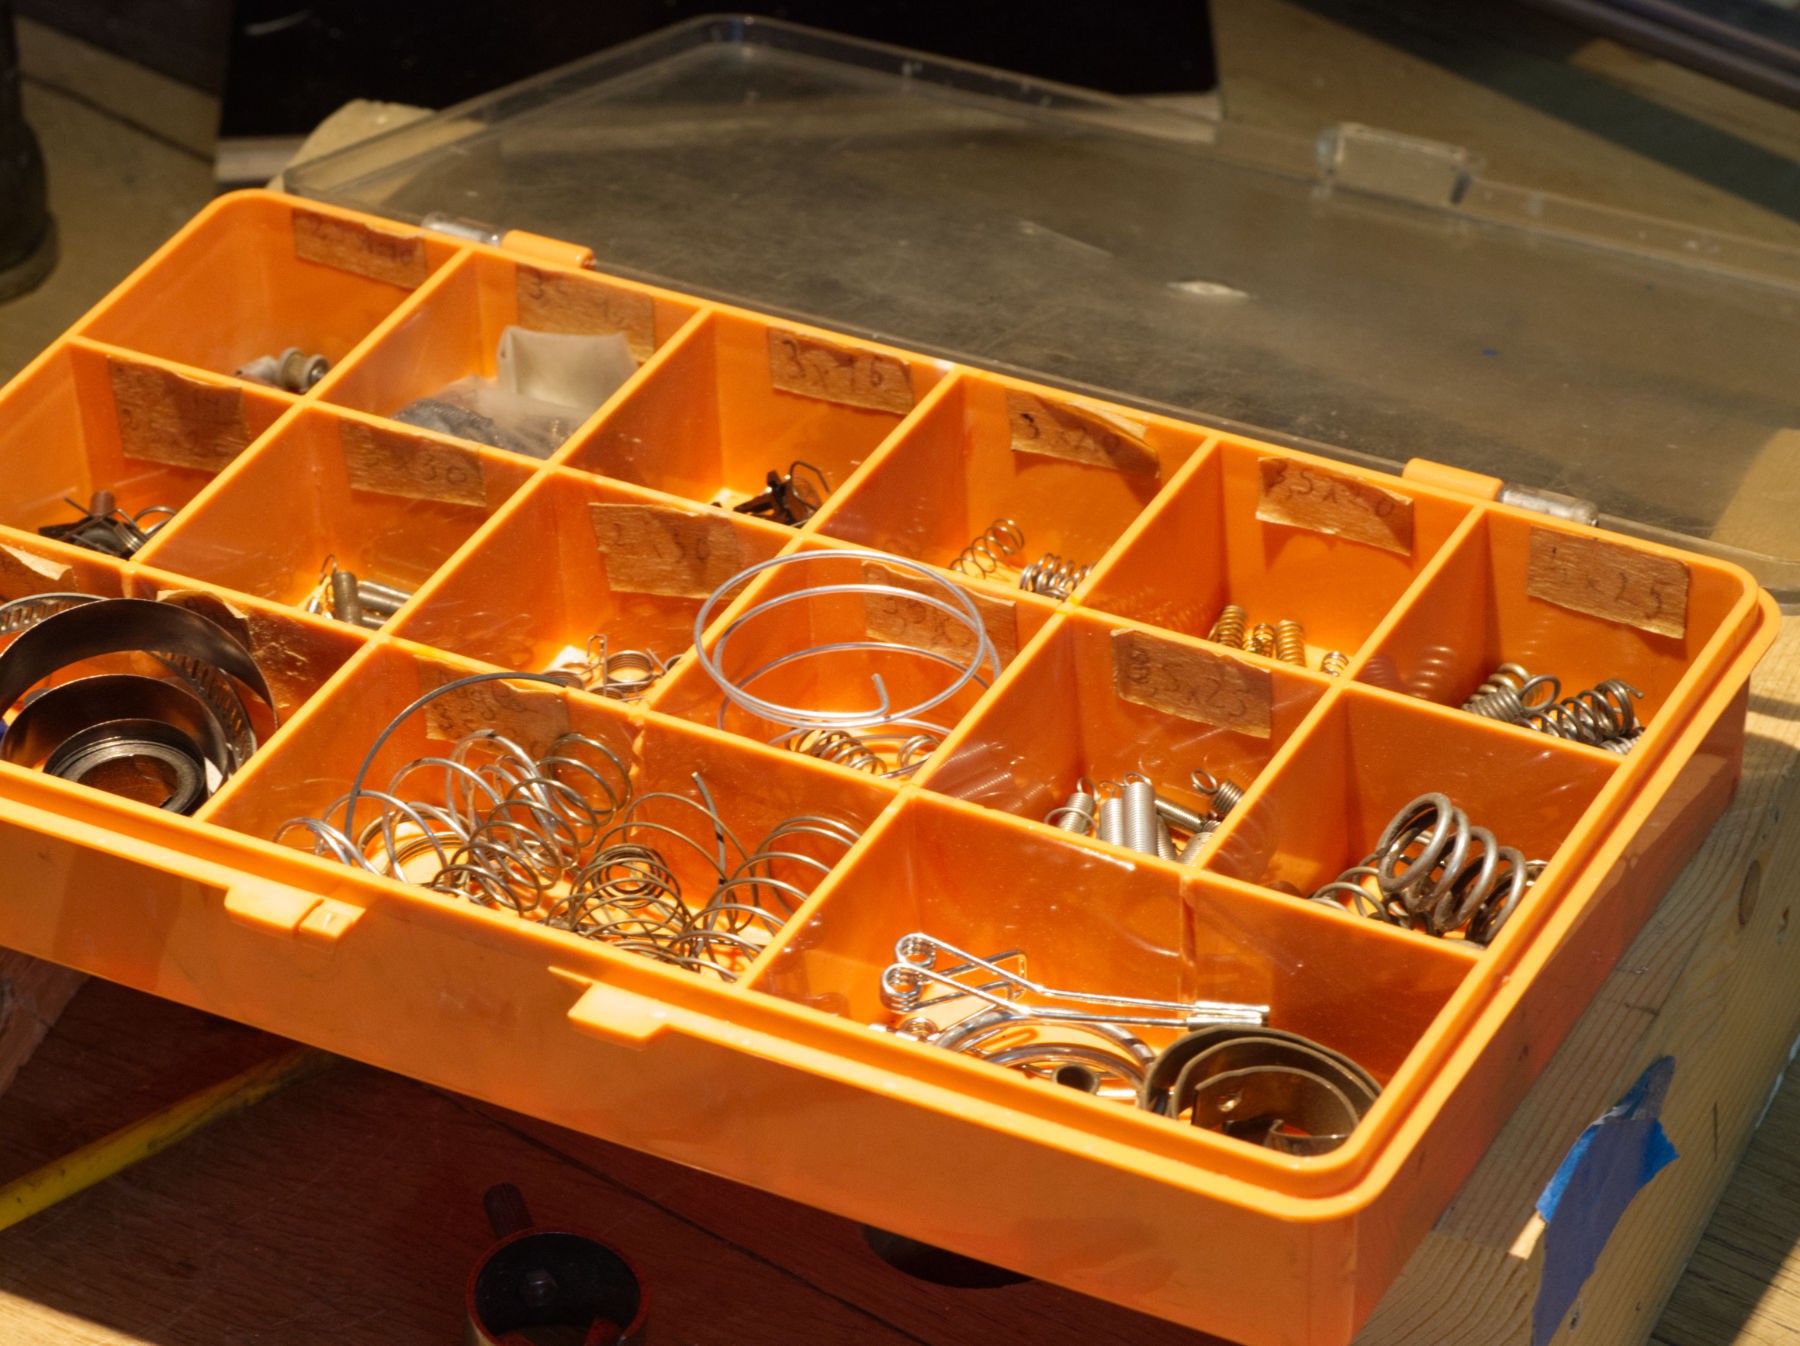
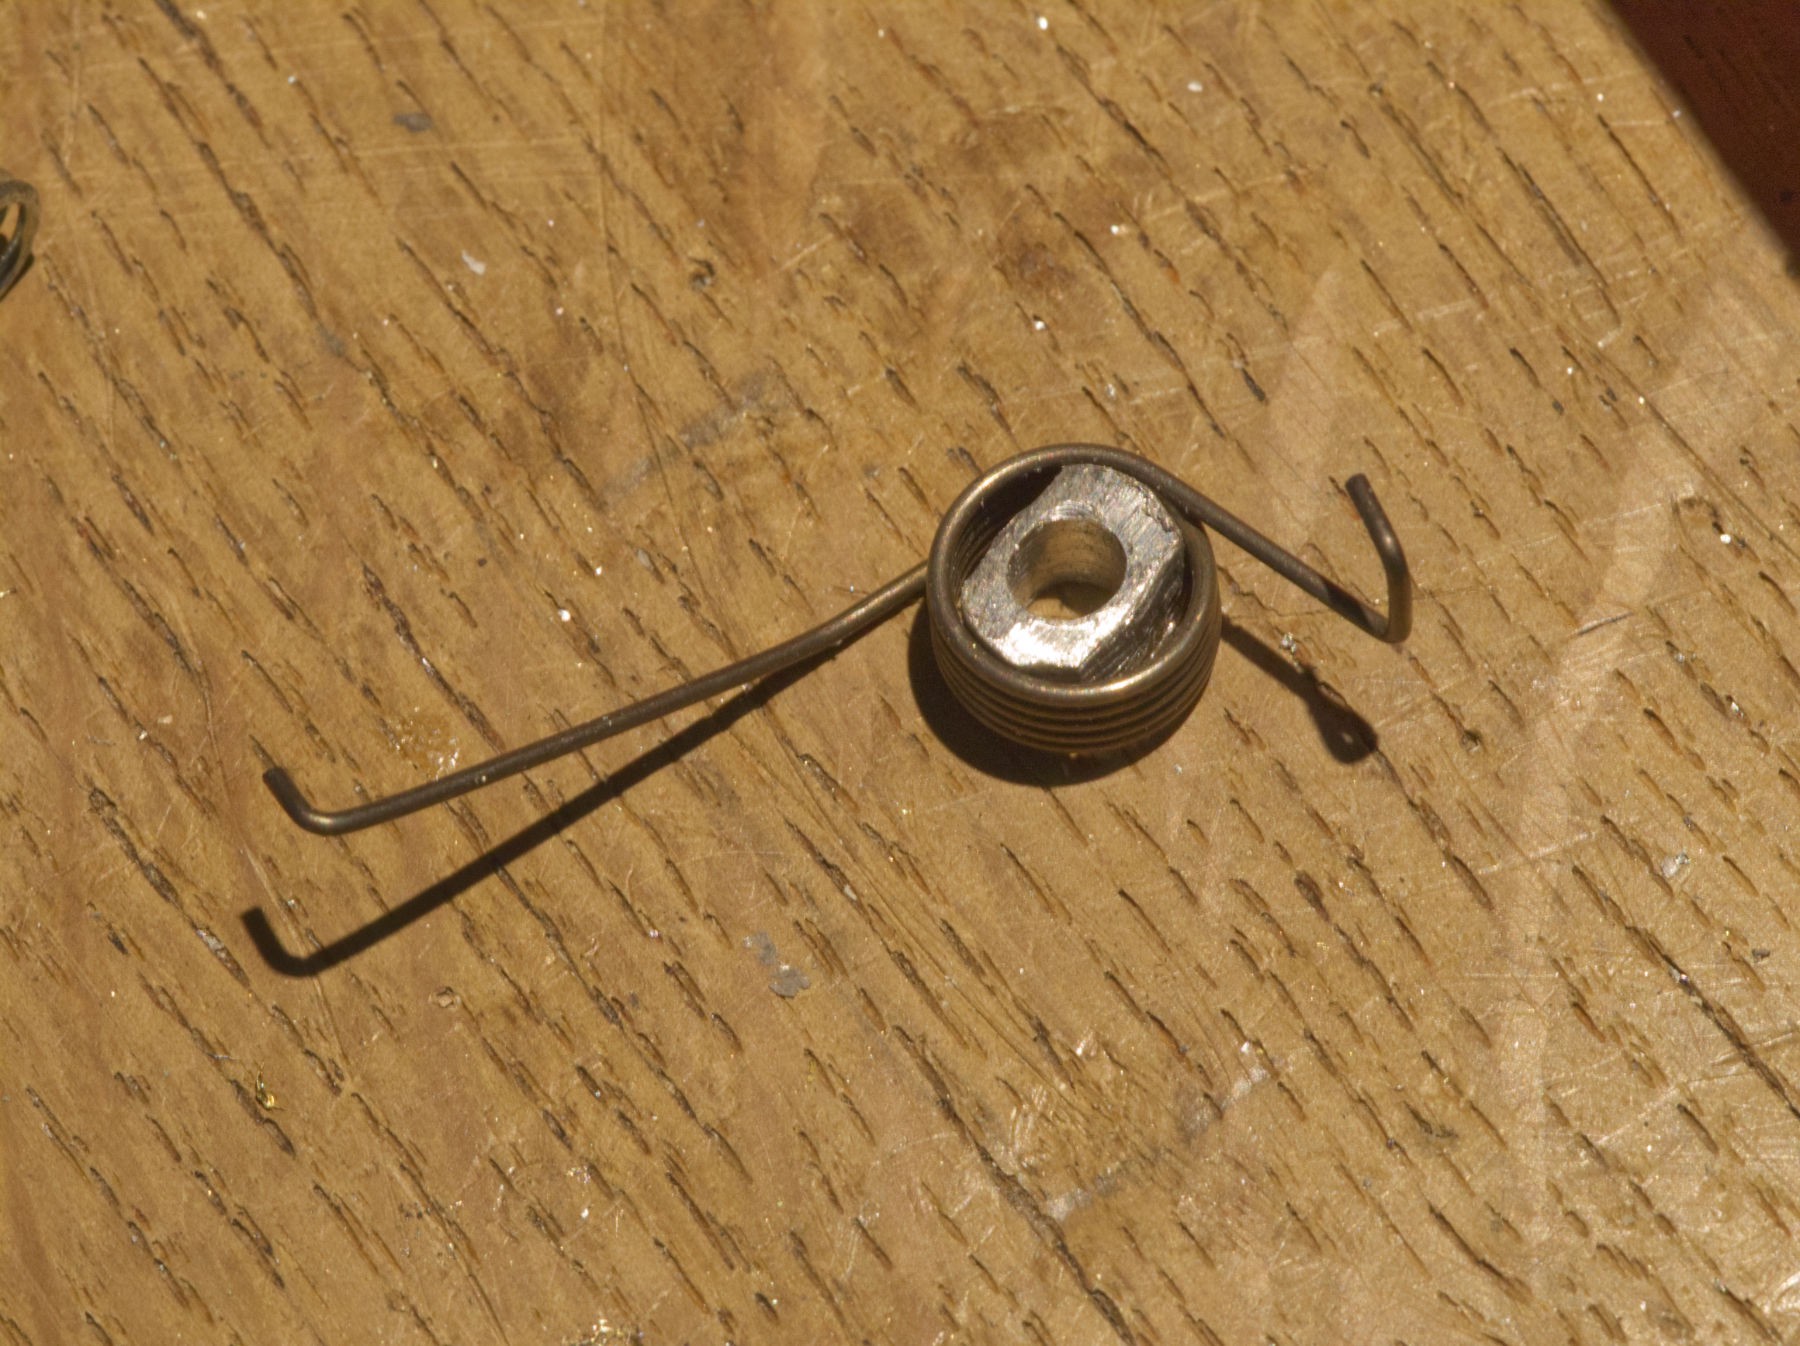
Need a strong and small tension string, found it in that box.
Another of these very nice sintered aluminium parts is taped with M 6 Threads to hold the spring.
An 6 mm thick drop's been drilled (better than a pile of washers that was my first idea) to adjust to the height of the spring.
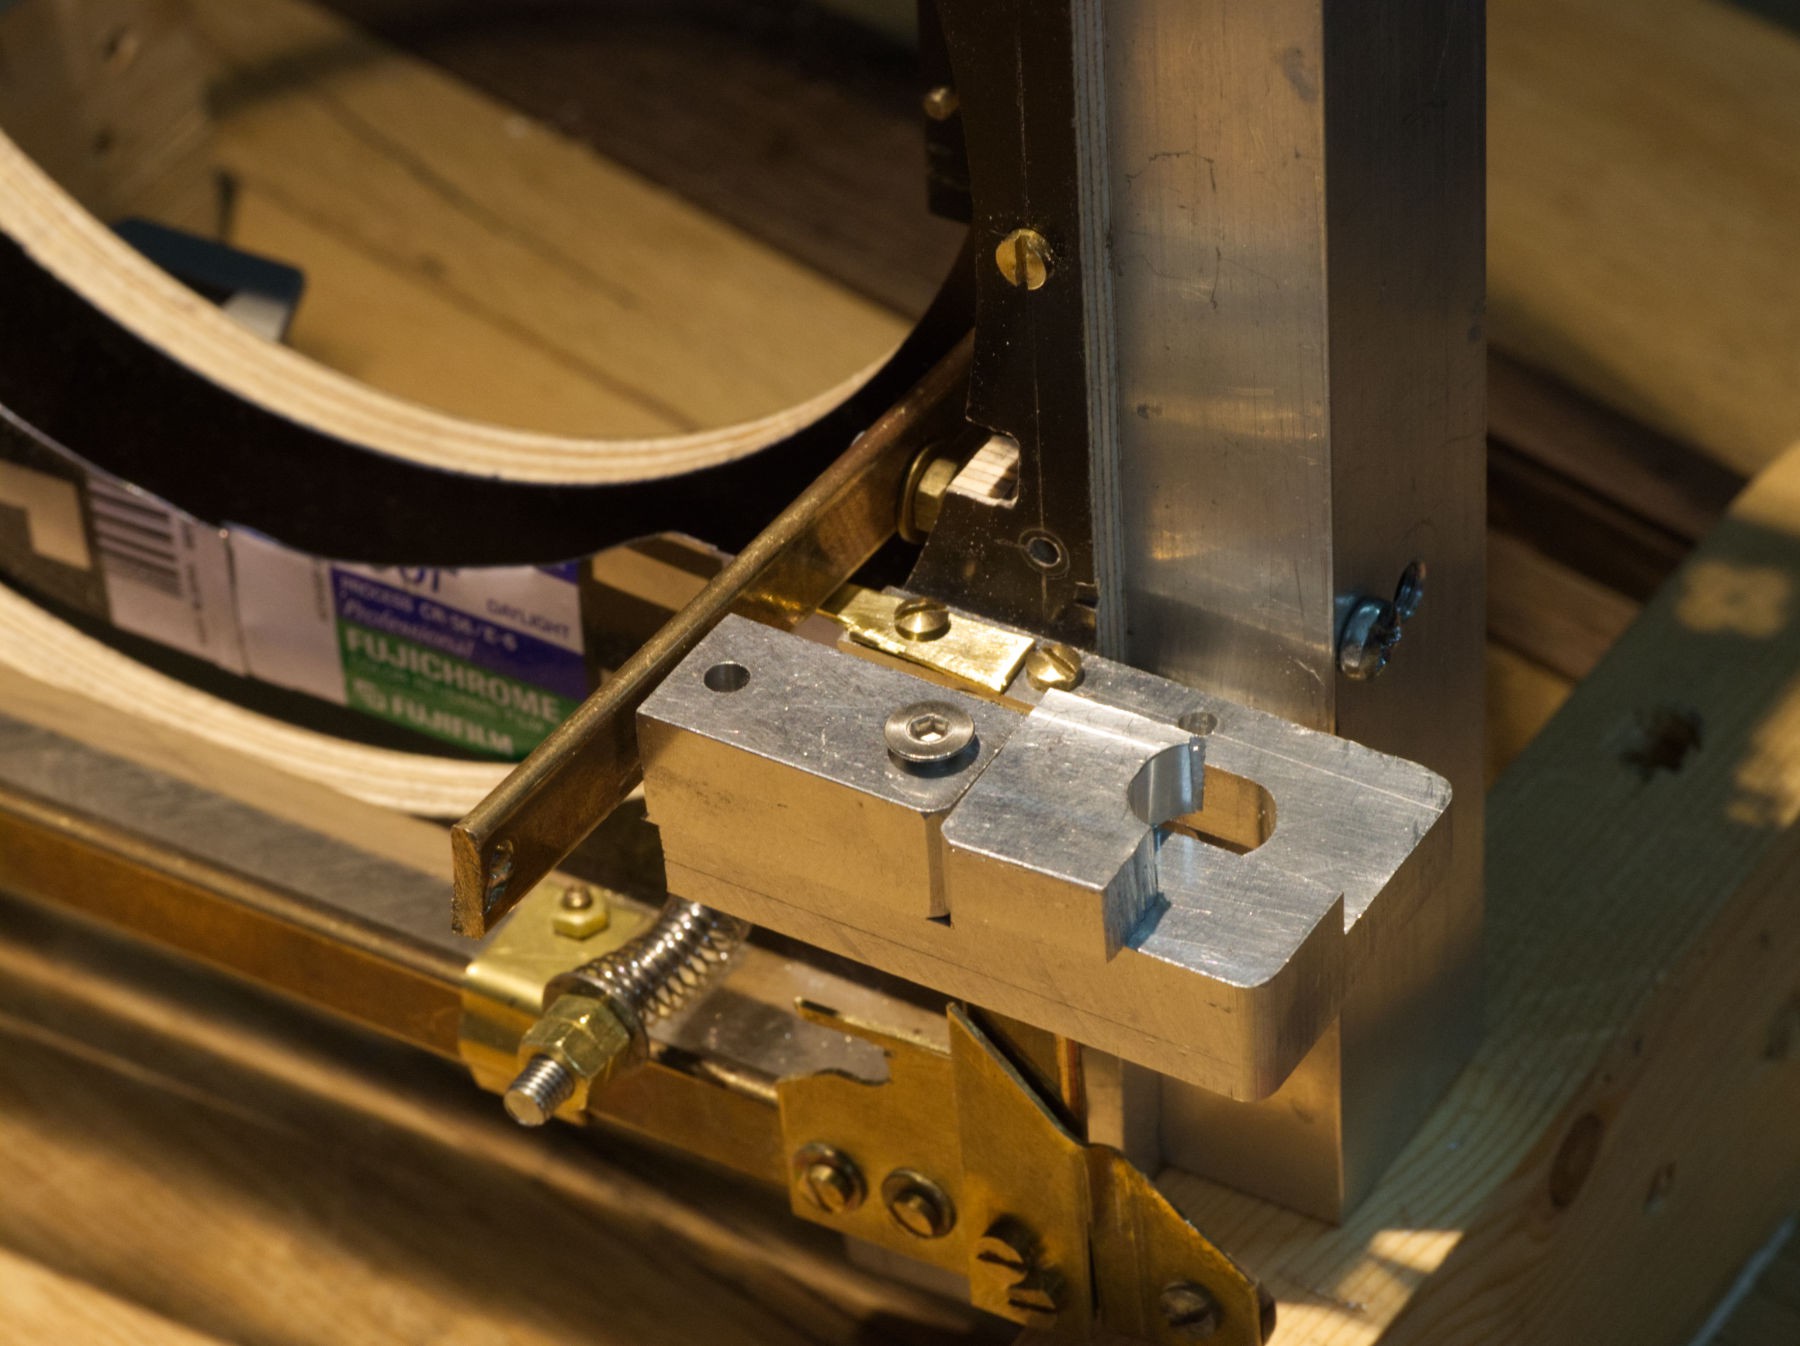
Ready to use, with a hole drilled at the fulcrum point (another lever).

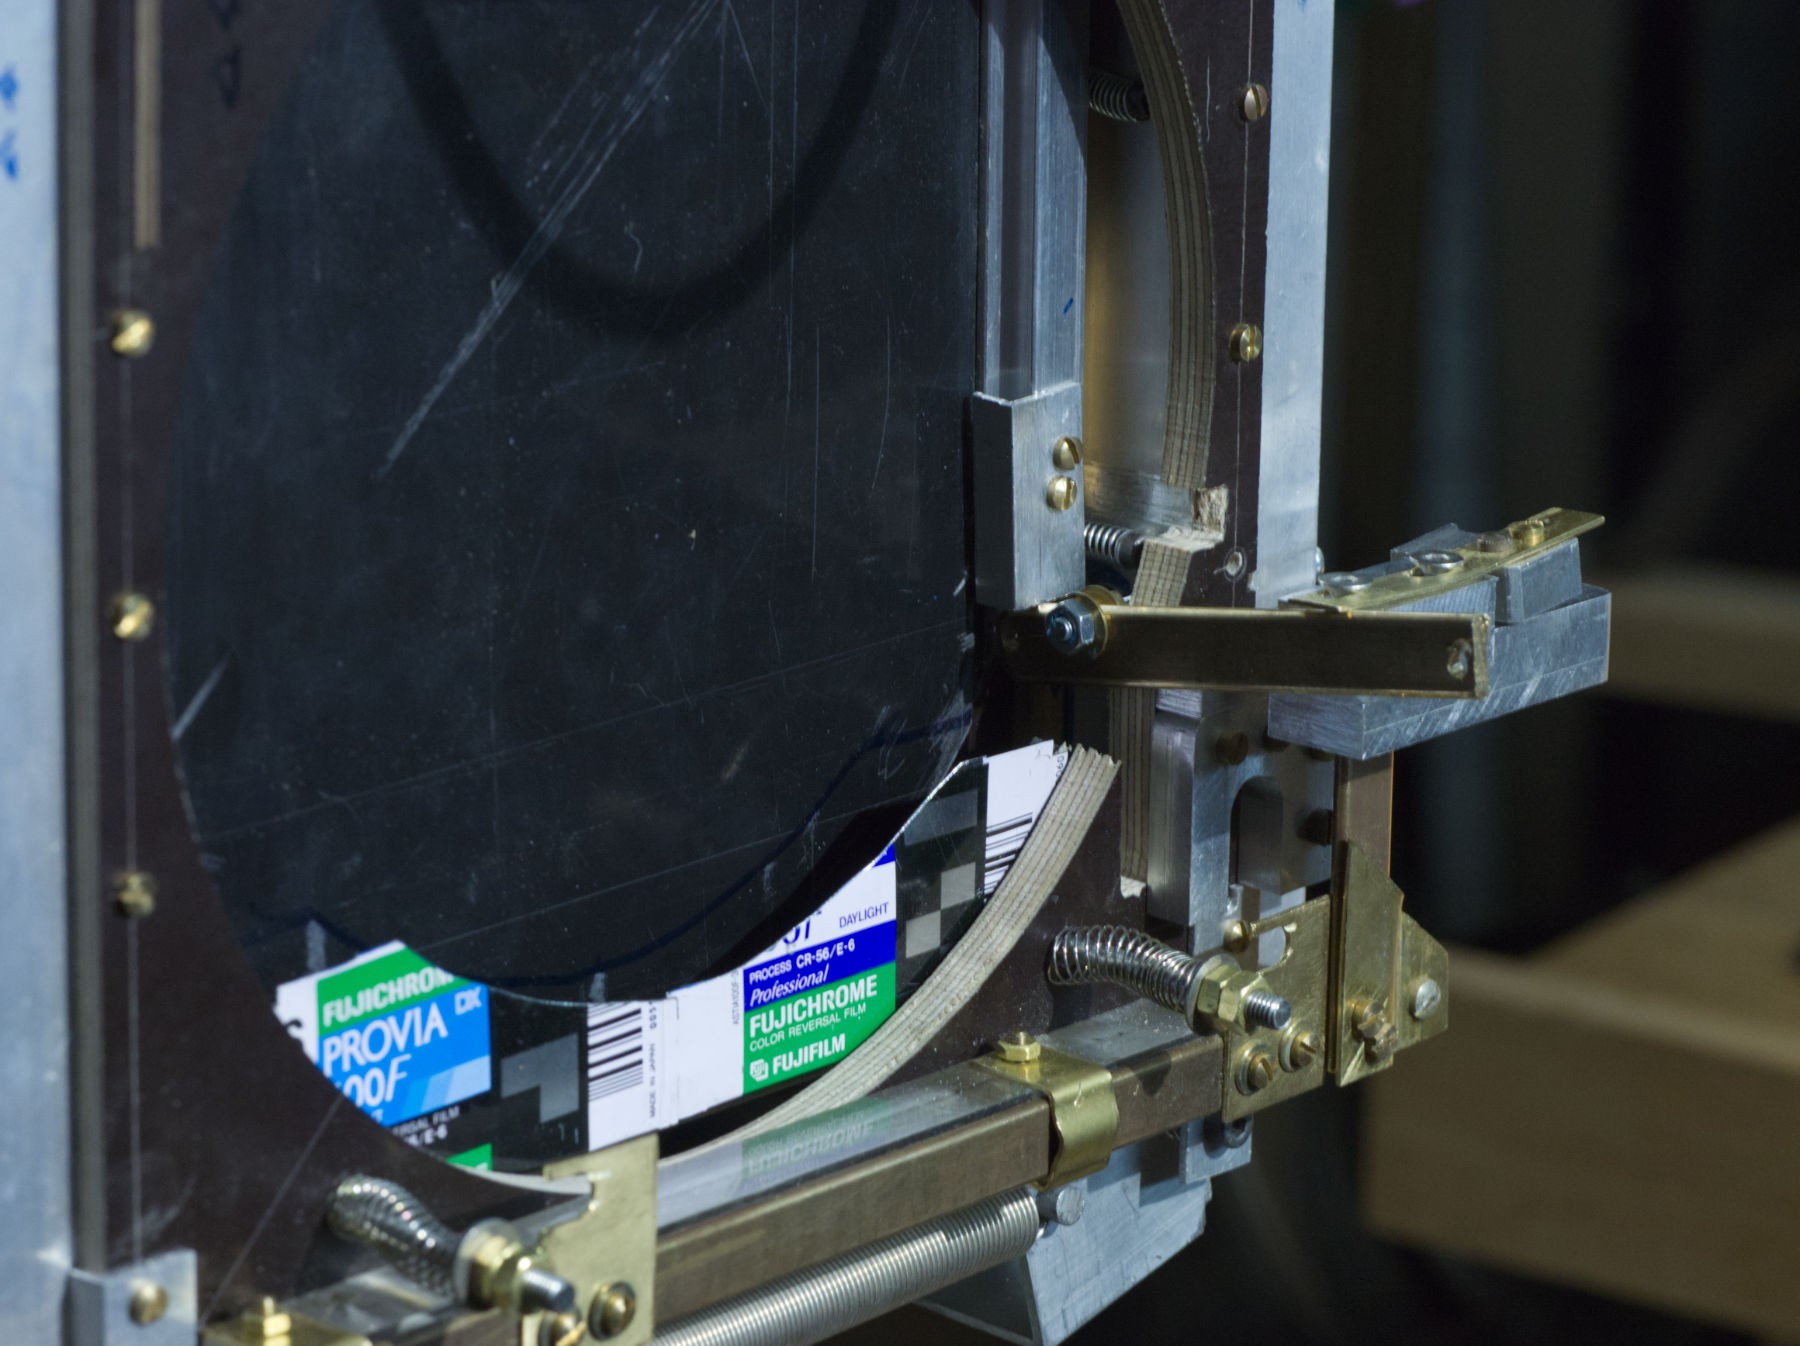
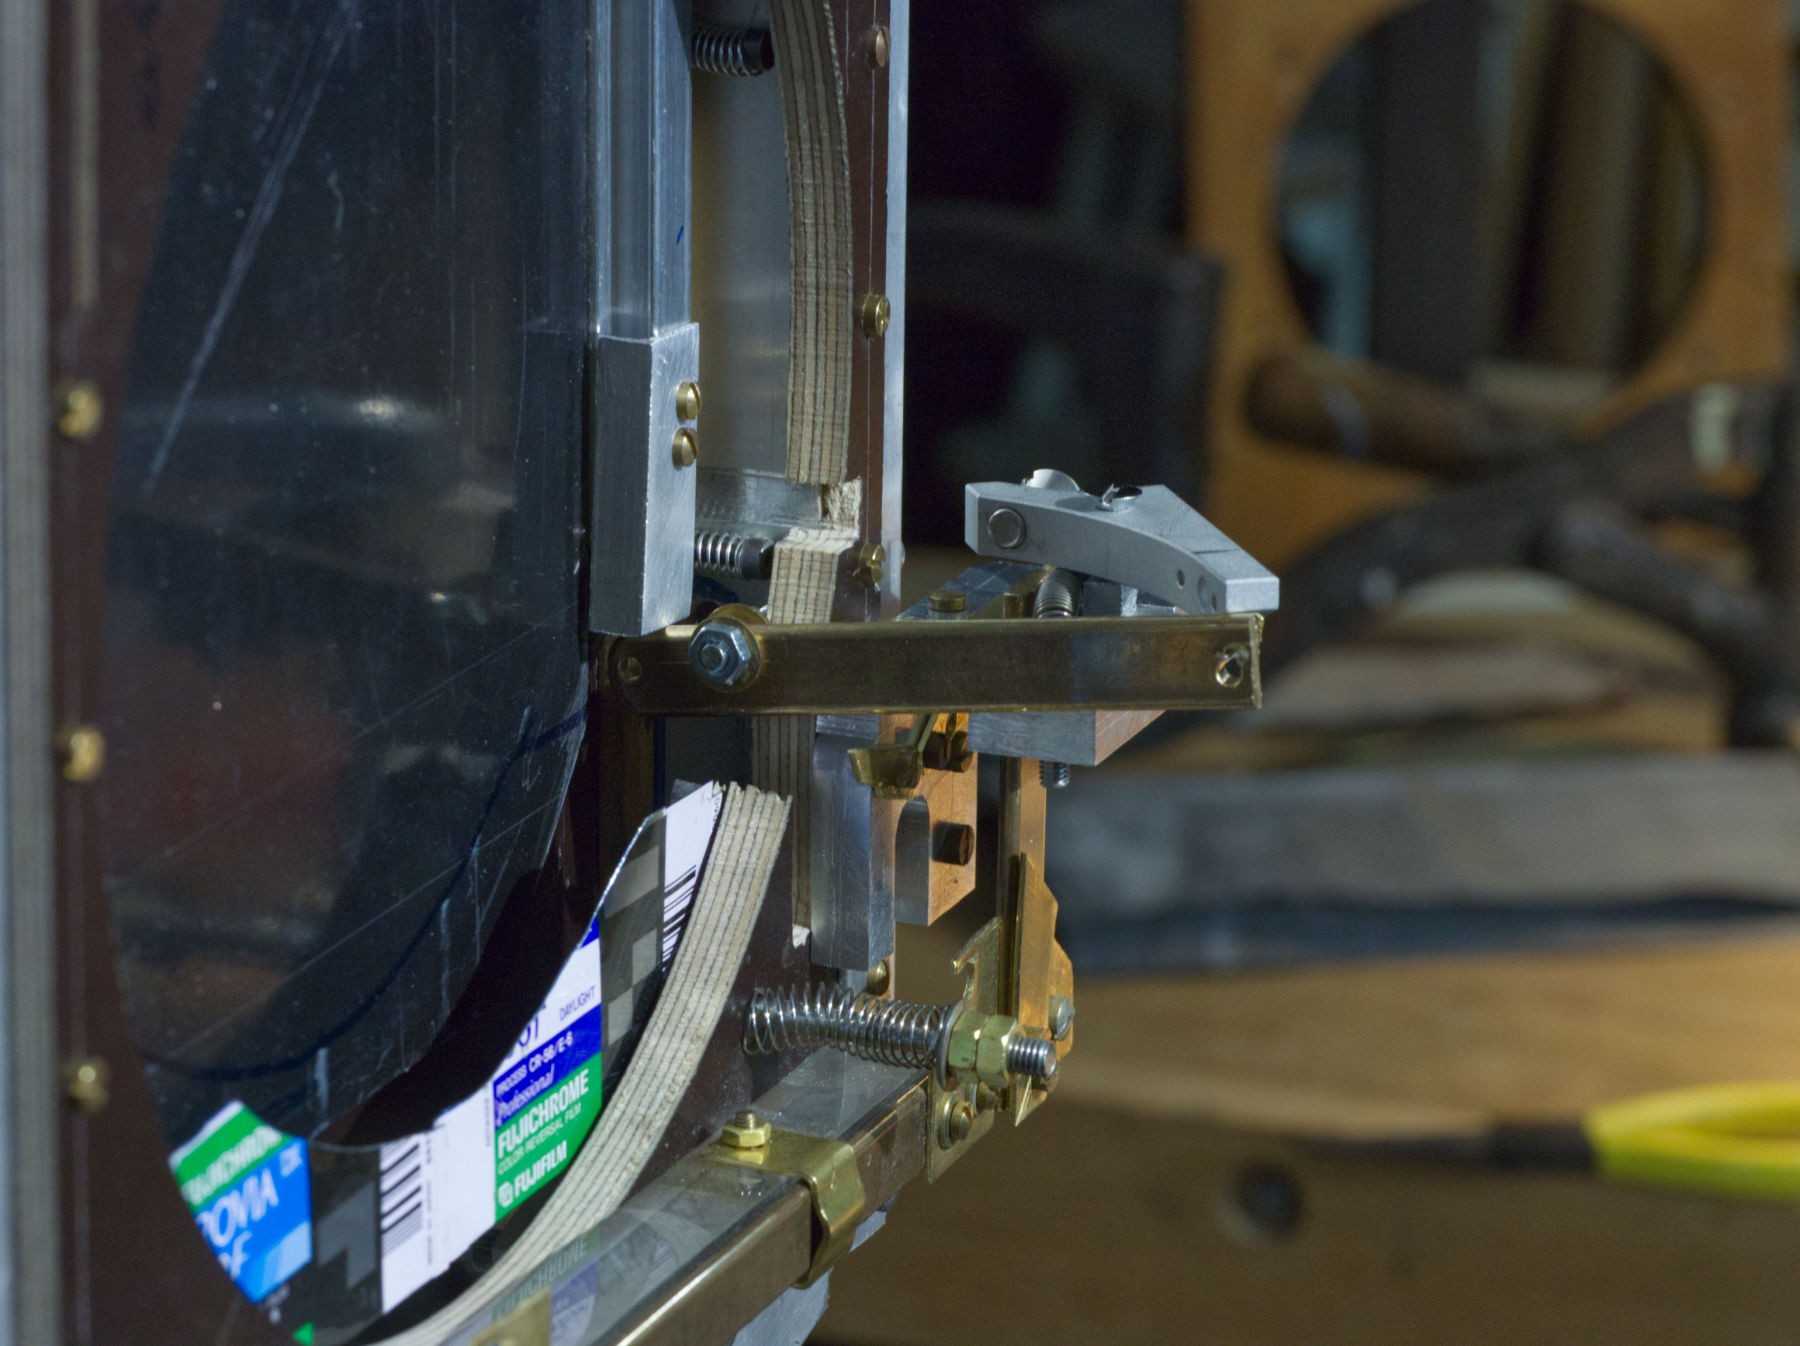
In place... Will it work ?
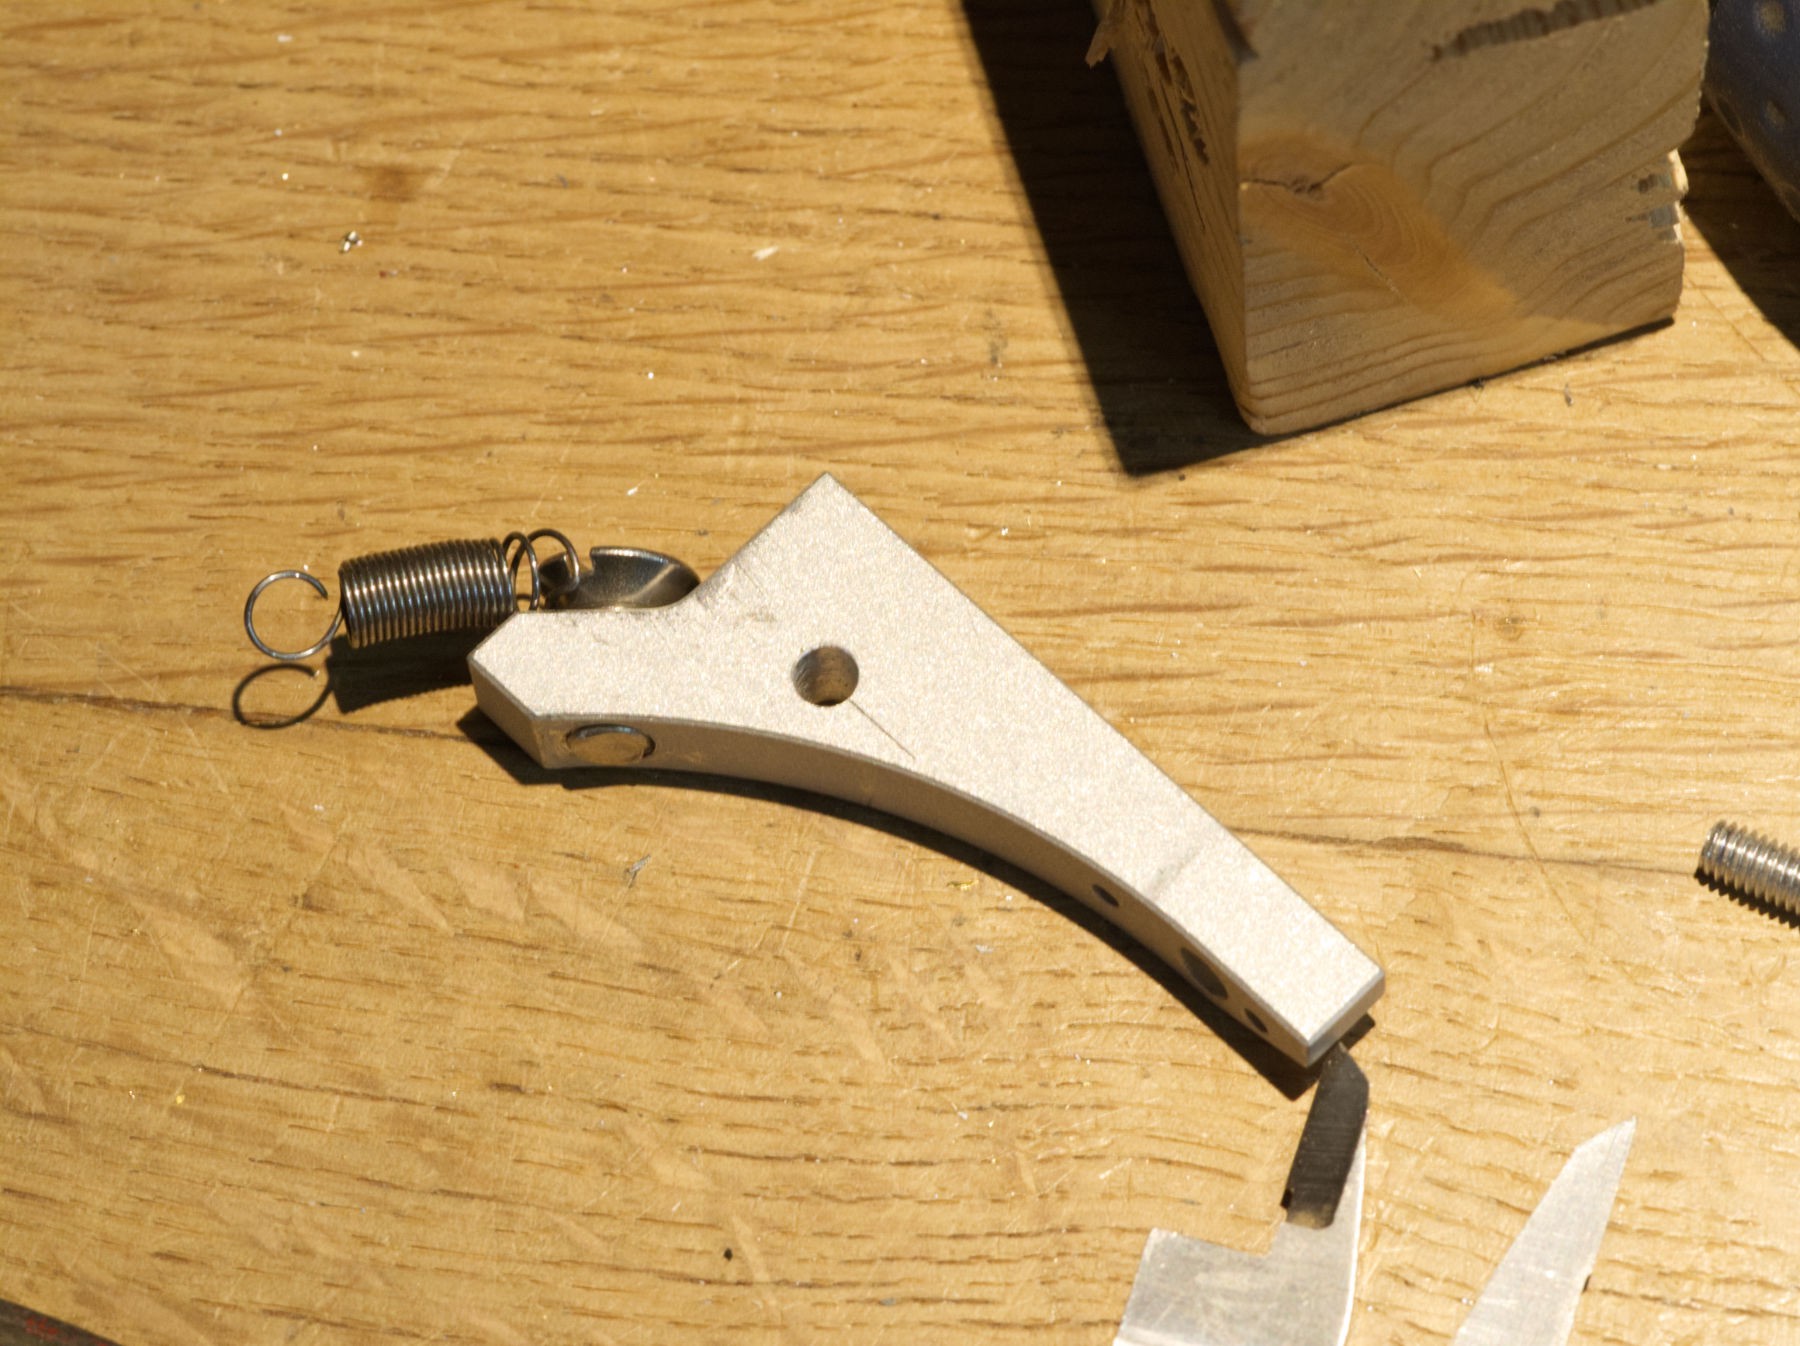
Recycling that useless part into a pusher.
Horrible, isn't it ? but it will work (I hope so). Of course I could have used another piece of metal and kept that for another project, but it had the good size, was lying around on the bench...
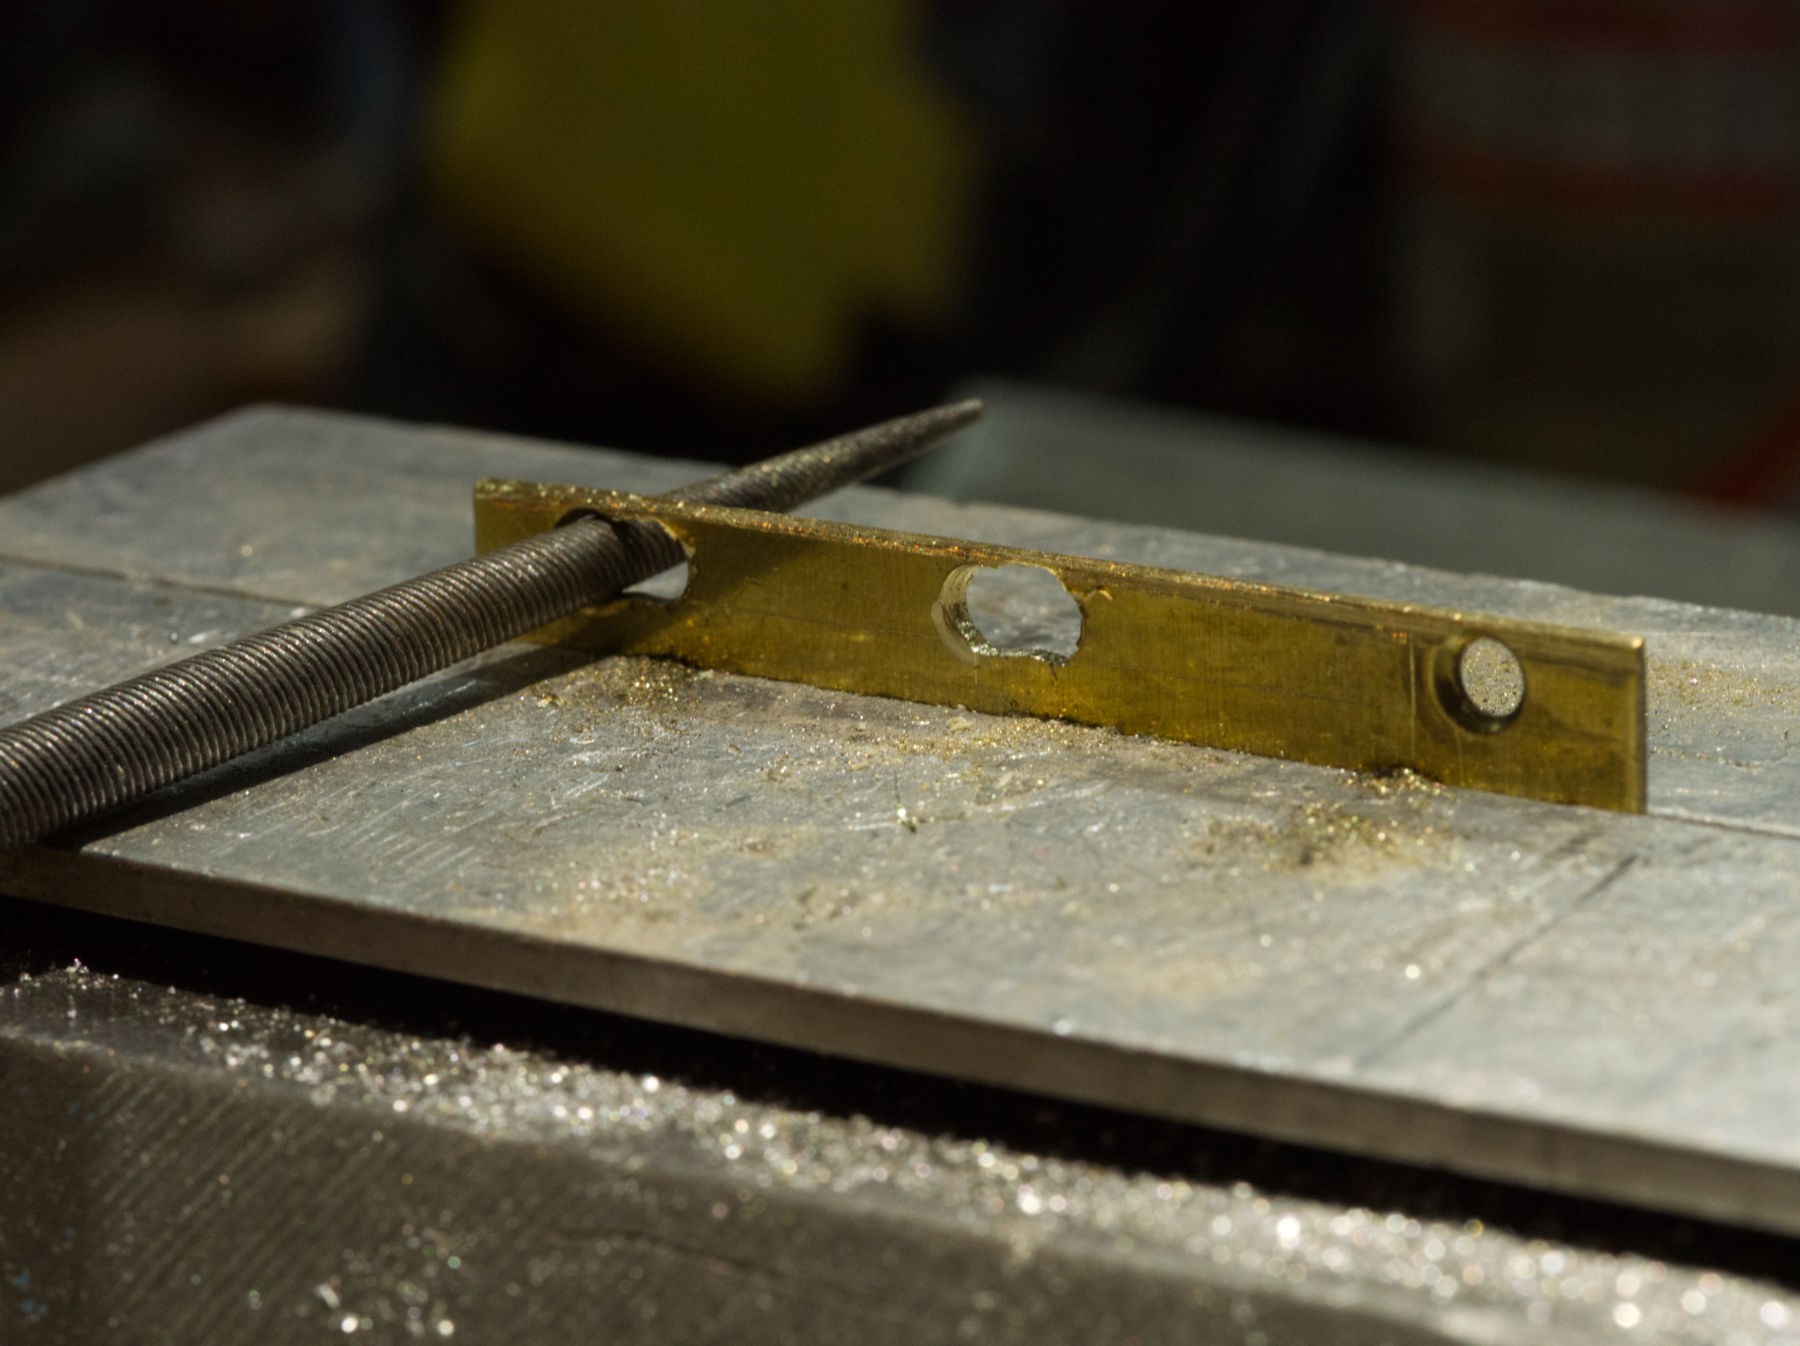
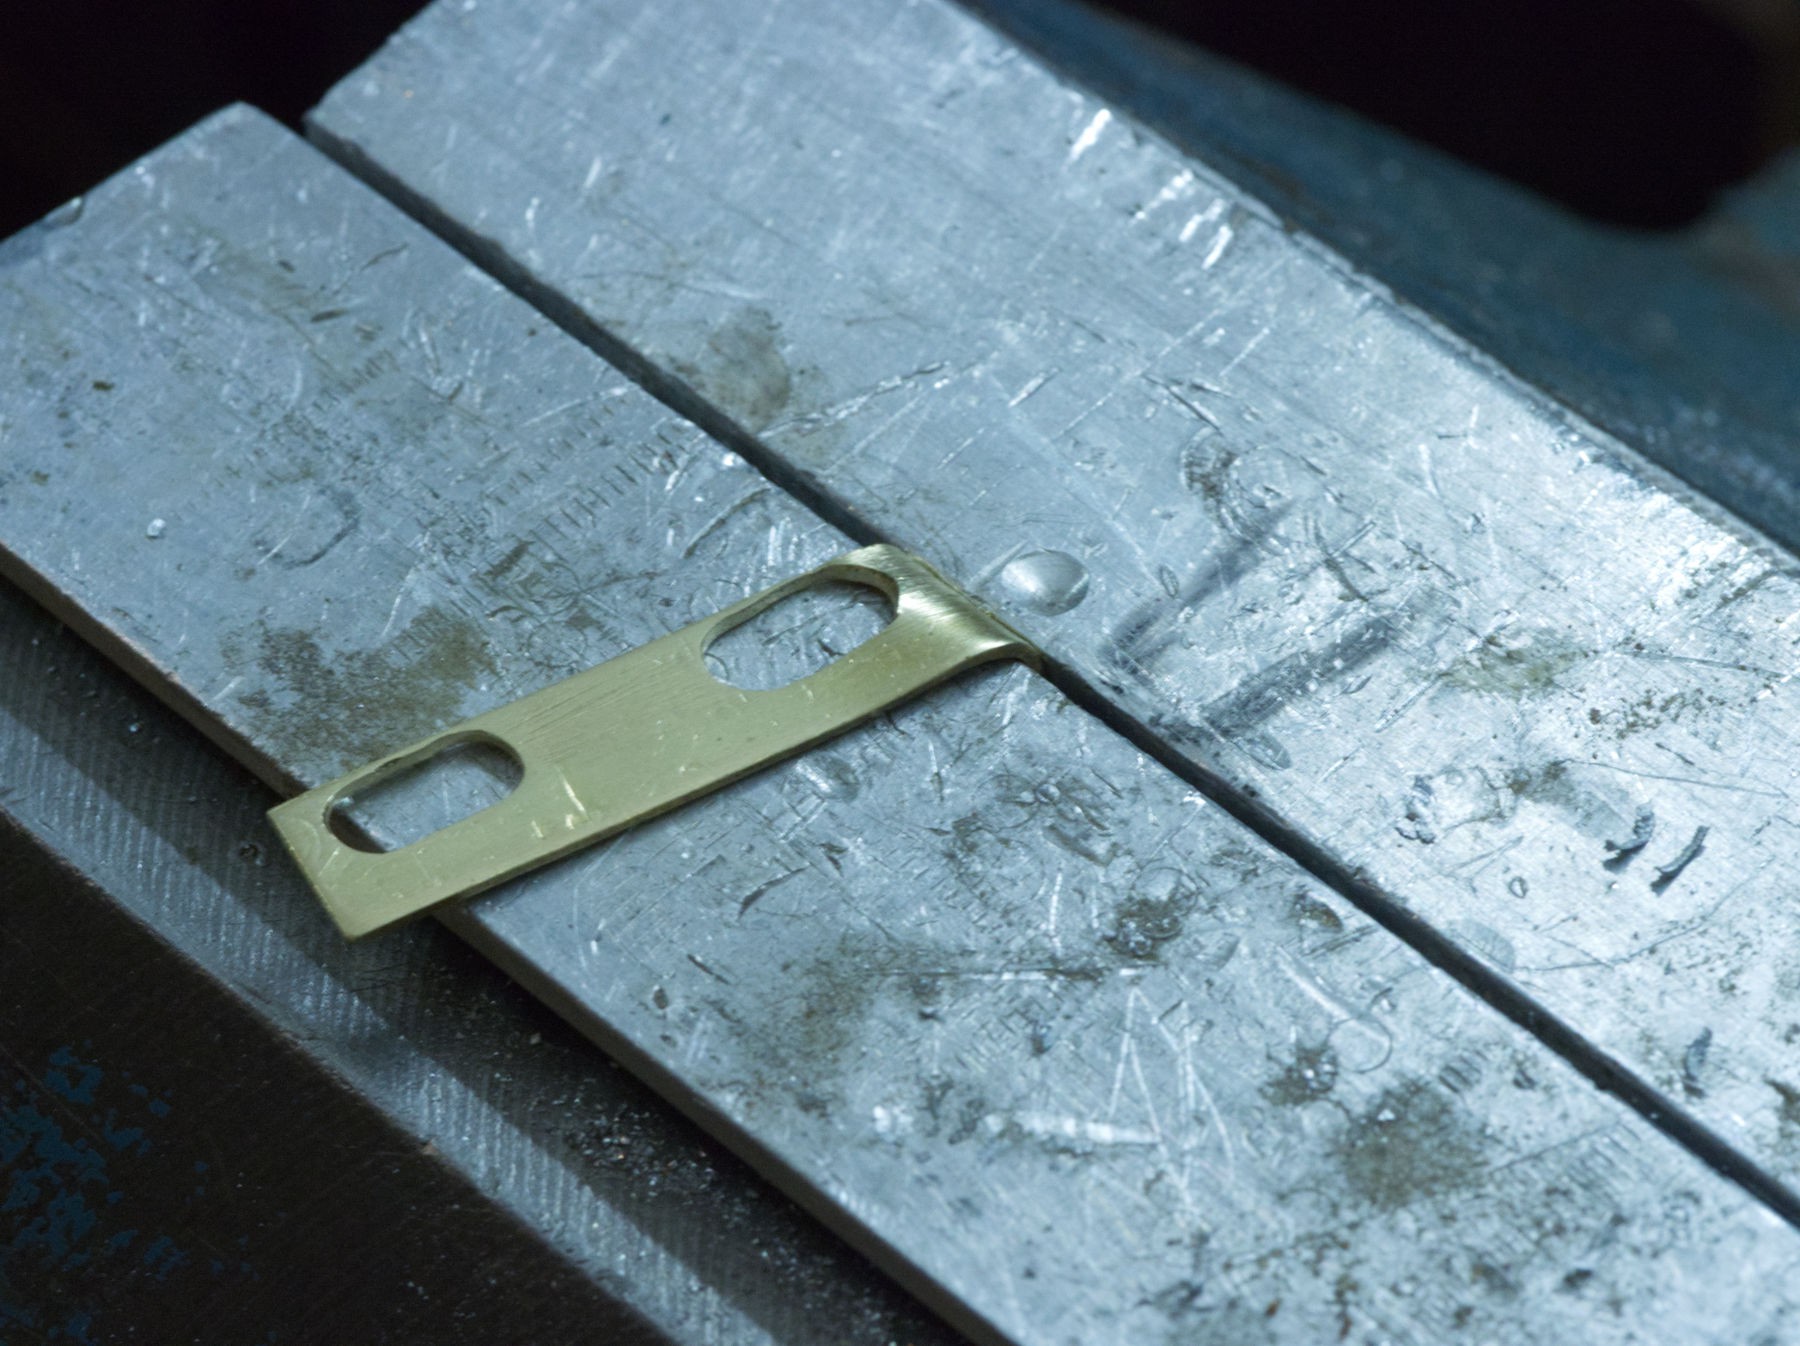
The length of the blade retainer has to be slightly adjusted.
I don't know why I couldn't do a clean job, twice, even wit a lot of care : the thing is not really parallel to the edge of the blade,
it's ugly, but it works alright, and nobody will never notice it, but I'm not proud.
Arghhh !
The movement is now much smoother, no strength is needed to have the mechanism working, but...
It's still stuck, just a millimeter, but it doesn't release the blade :
the spring's not strong enough !
Let's try a two springs mechanism !
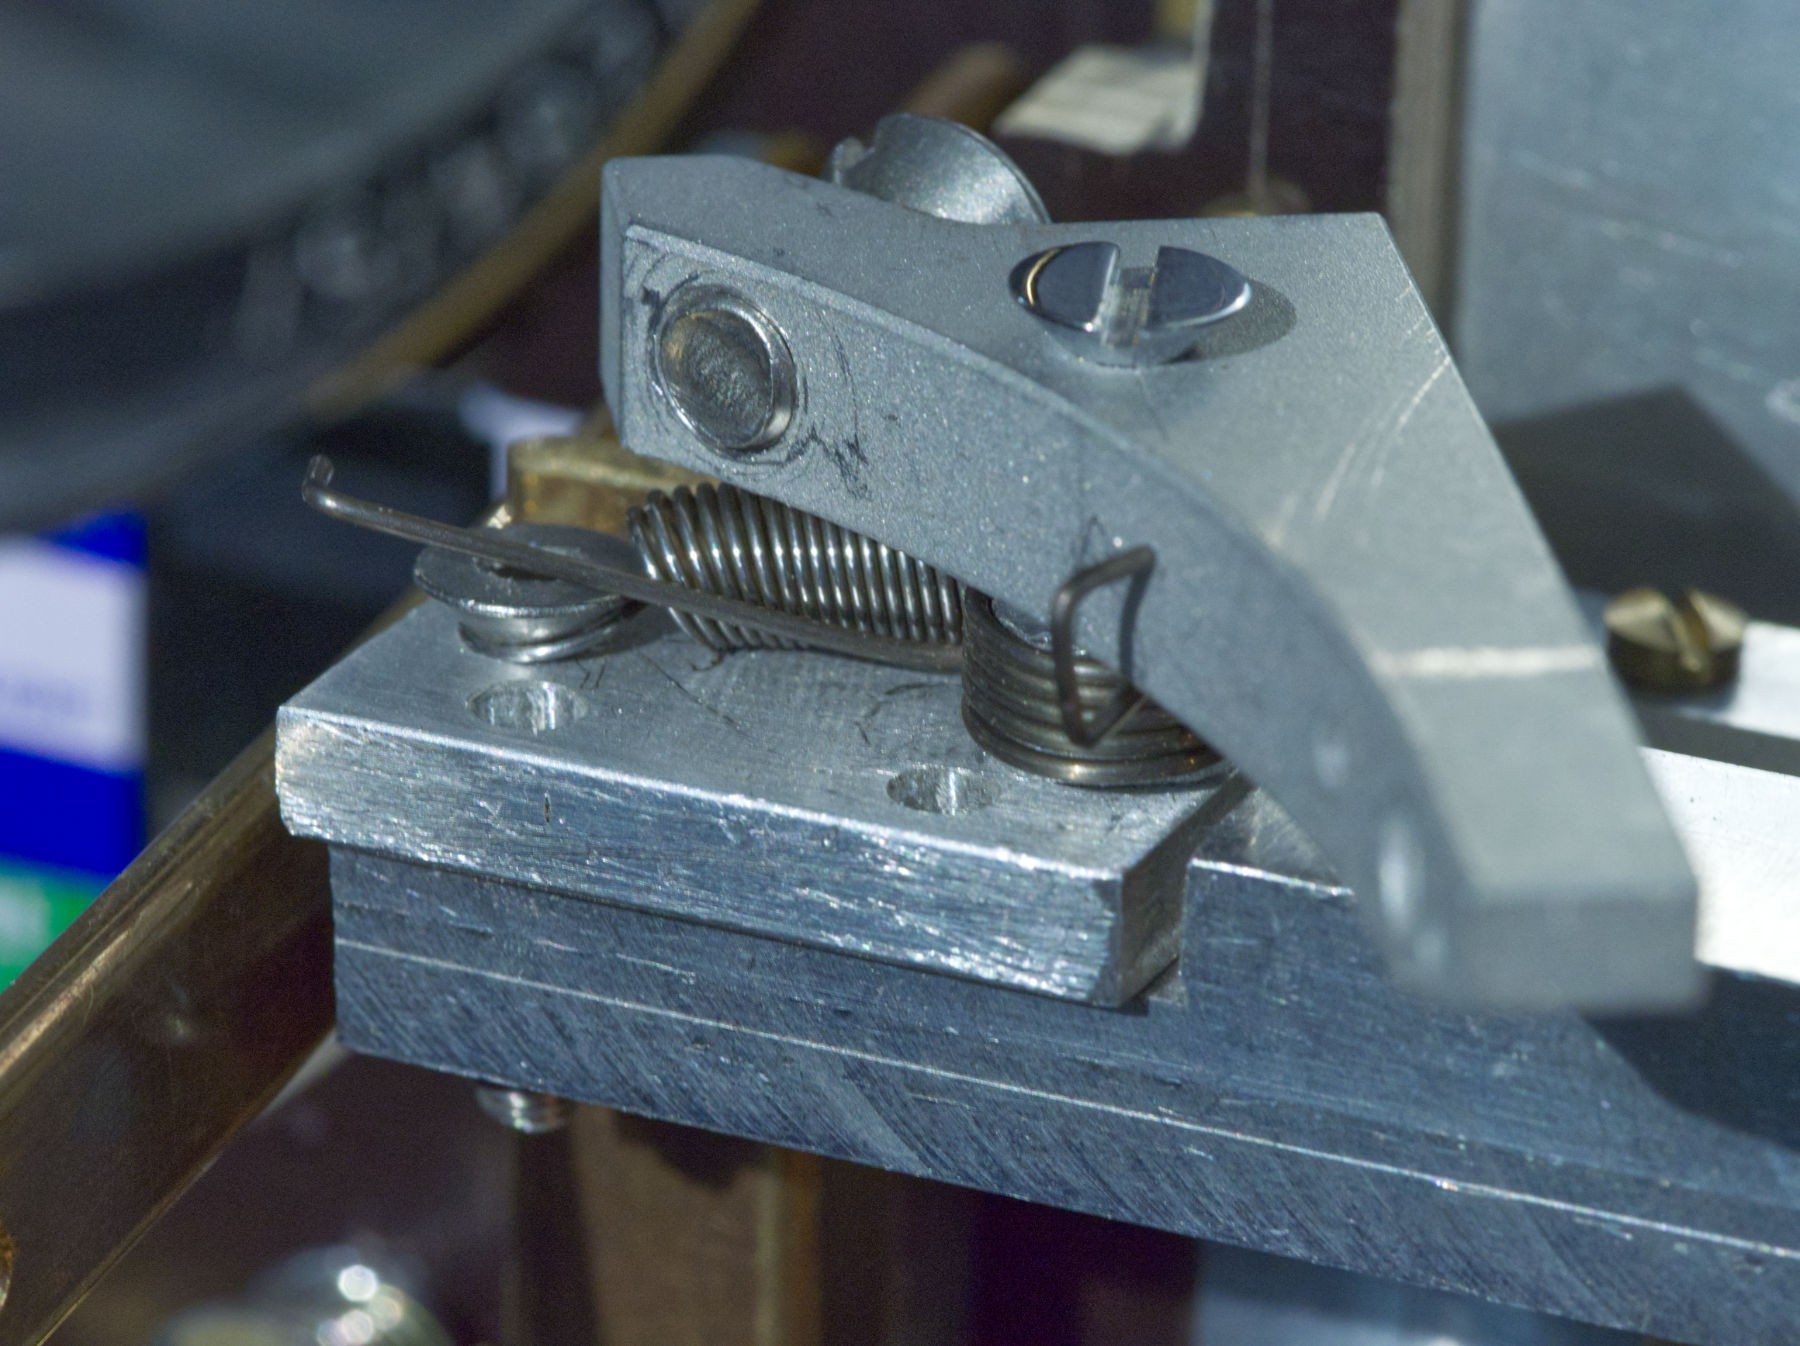
It fits perfectly, the end just have to be bend around the screw on the left side with the appropriate pliers and some strength, you can't bend that with the fingertips!
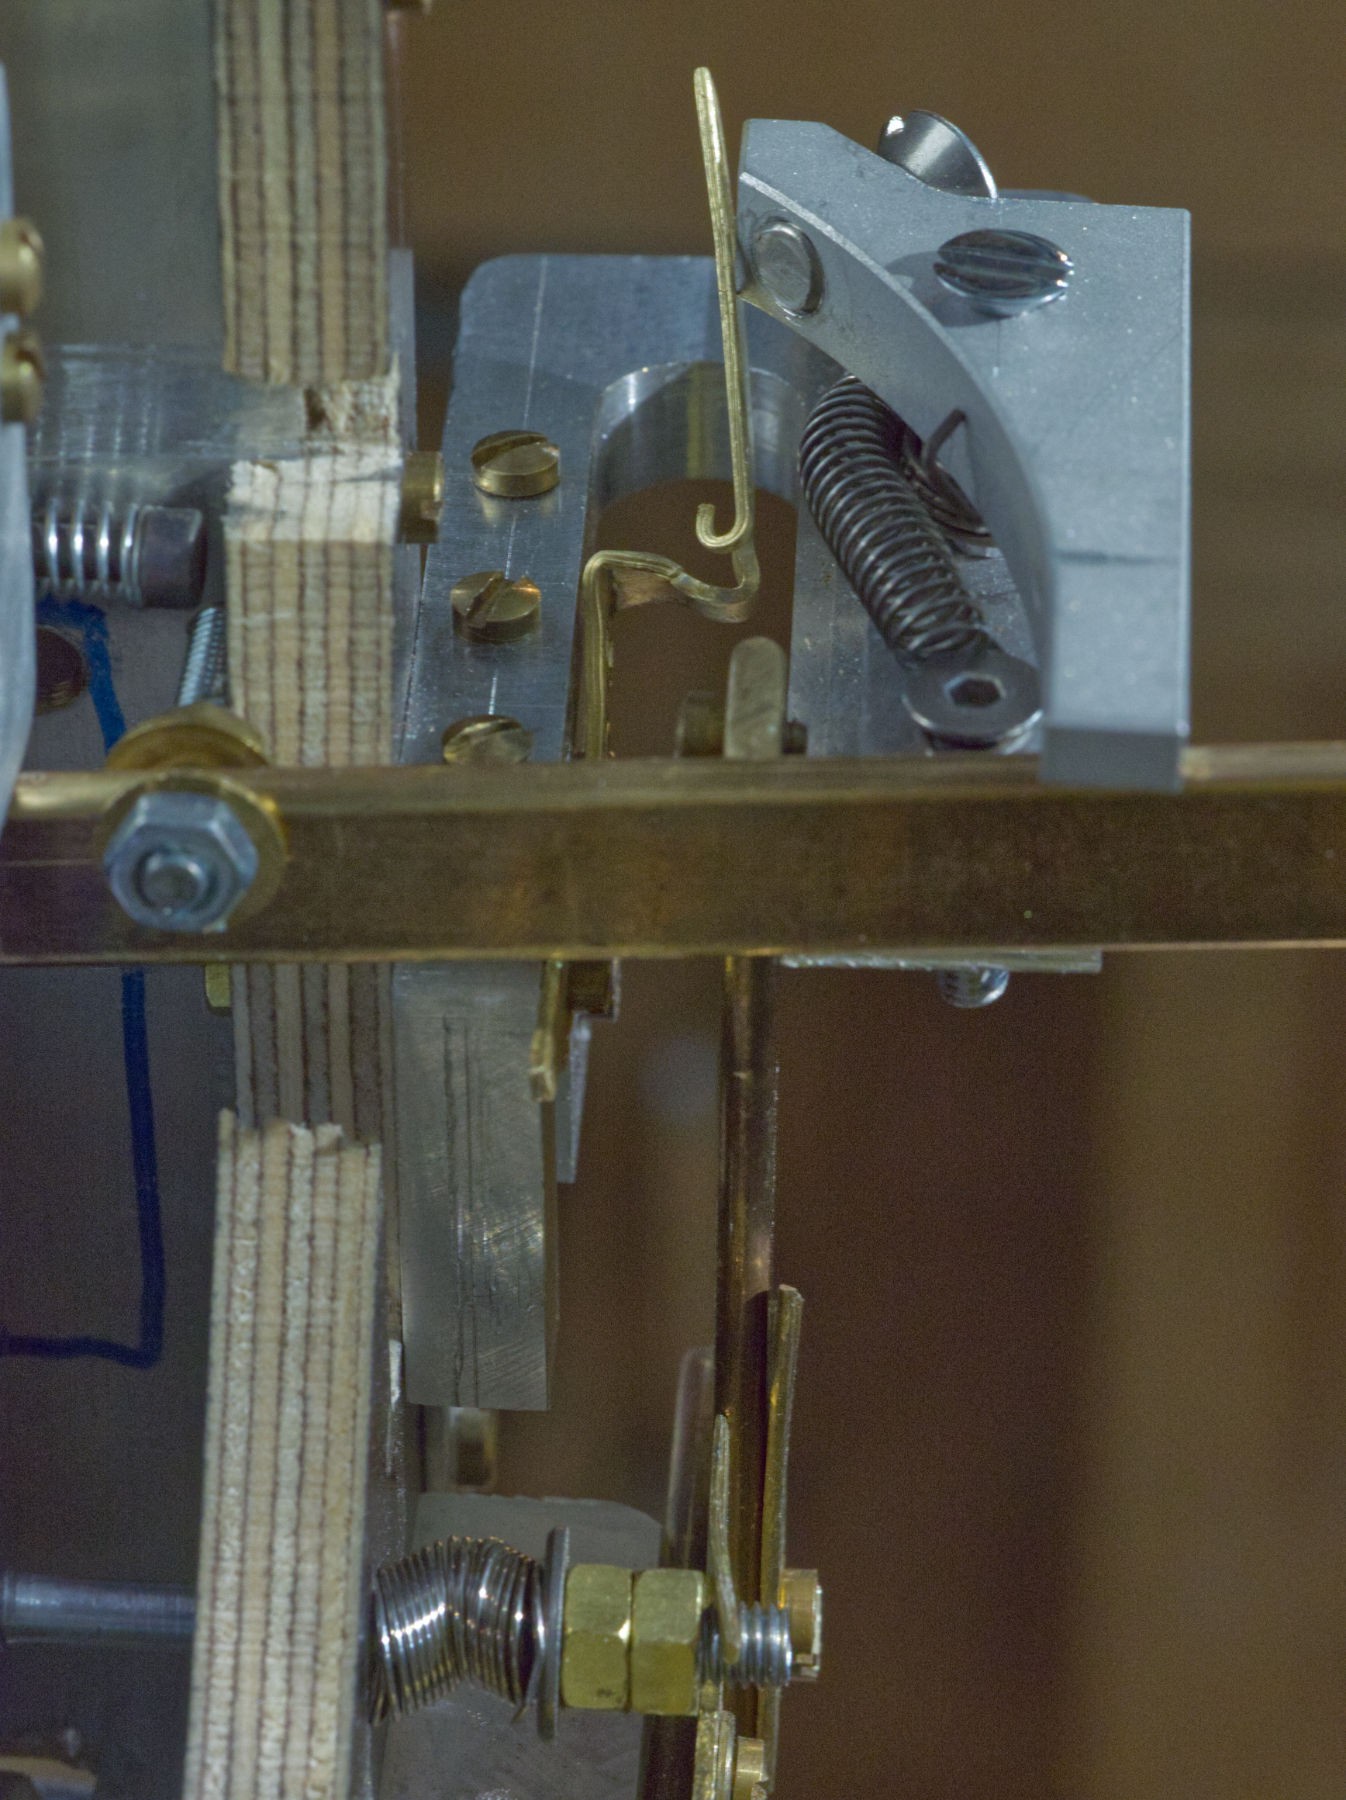
Ready...
And it works !
;oD
Discussions
Become a Hackaday.io Member
Create an account to leave a comment. Already have an account? Log In.